window FORD EXPEDITION 2002 1.G User Guide
[x] Cancel search | Manufacturer: FORD, Model Year: 2002, Model line: EXPEDITION, Model: FORD EXPEDITION 2002 1.GPages: 280, PDF Size: 2.32 MB
Page 77 of 280
![FORD EXPEDITION 2002 1.G User Guide Without trip computer
1. Press and hold the SELECT
control until CAL appears in the
display (approximately eight
seconds) and release.
2. Drive the vehicle slowly (less
than 5 km/h [3 mph]) in circles FORD EXPEDITION 2002 1.G User Guide Without trip computer
1. Press and hold the SELECT
control until CAL appears in the
display (approximately eight
seconds) and release.
2. Drive the vehicle slowly (less
than 5 km/h [3 mph]) in circles](/img/11/4911/w960_4911-76.png)
Without trip computer
1. Press and hold the SELECT
control until CAL appears in the
display (approximately eight
seconds) and release.
2. Drive the vehicle slowly (less
than 5 km/h [3 mph]) in circles until
CAL indicator turns off in about 2±3
complete circles.
3. The compass is now calibrated.
Power quarter rear windows (if equipped)
²With out a moon roof
²With a moon roof
AUTO
CAL
ROOF
RESET
VENTVENT
MODE E/M
VENT VENTROOF
Driver controls
77
Page 78 of 280
Press theportion of the VENT control to open the power rear
quarter windows.
Press the
portion of the VENT control to close the power rear
quarter windows.
AUXILIARY POWER POINT
Power outlets are designed for
accessory plugs only. Do not
hang any type of accessory or
accessory bracket from the plug.
Improper use of the power
outlet can cause damage not
covered by your warranty.
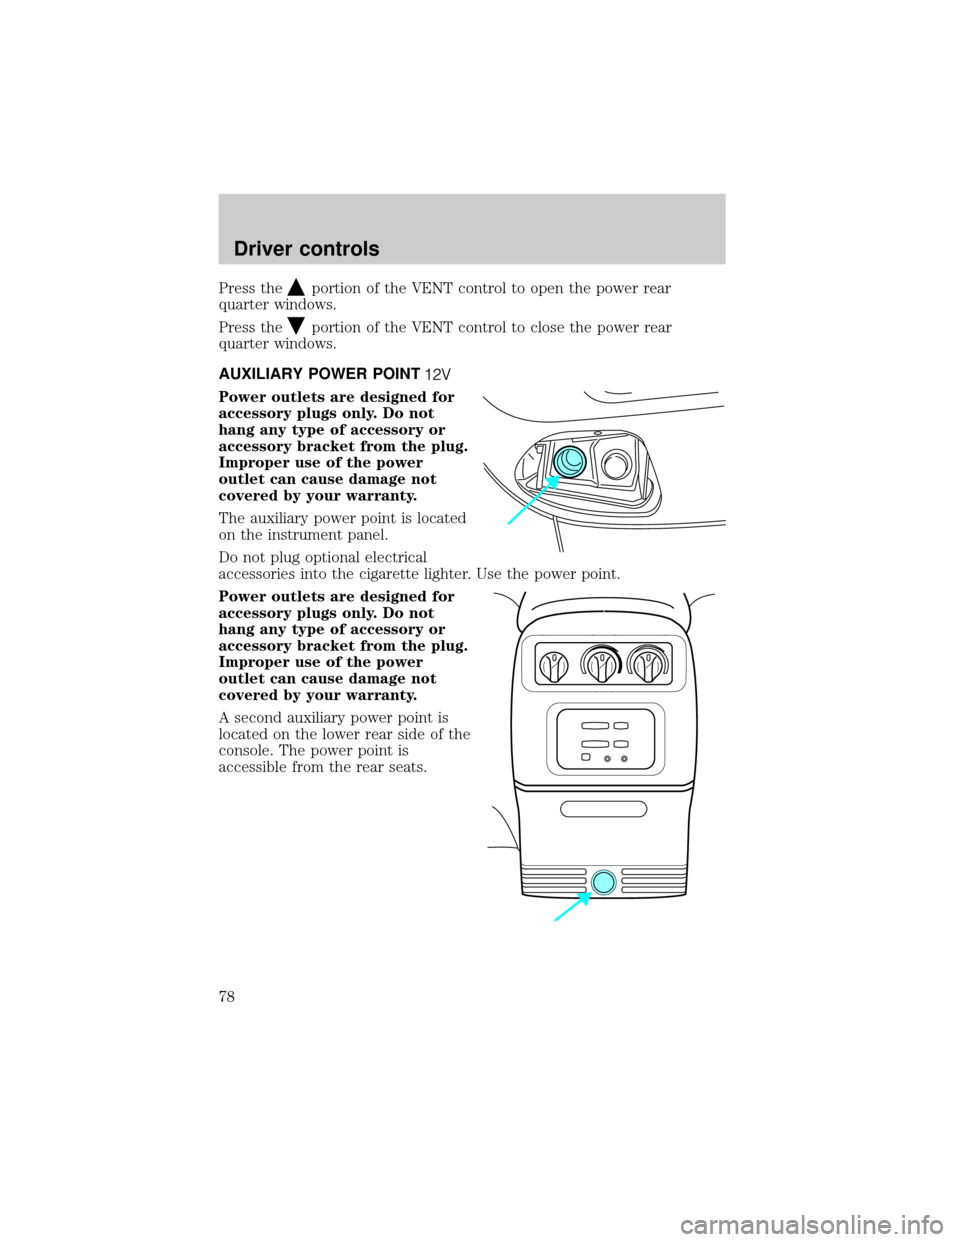
The auxiliary power point is located
on the instrument panel.
Do not plug optional electrical
accessories into the cigarette lighter. Use the power point.
Power outlets are designed for
accessory plugs only. Do not
hang any type of accessory or
accessory bracket from the plug.
Improper use of the power
outlet can cause damage not
covered by your warranty.
A second auxiliary power point is
located on the lower rear side of the
console. The power point is
accessible from the rear seats.
Driver controls
78
Page 79 of 280
POWER WINDOWS
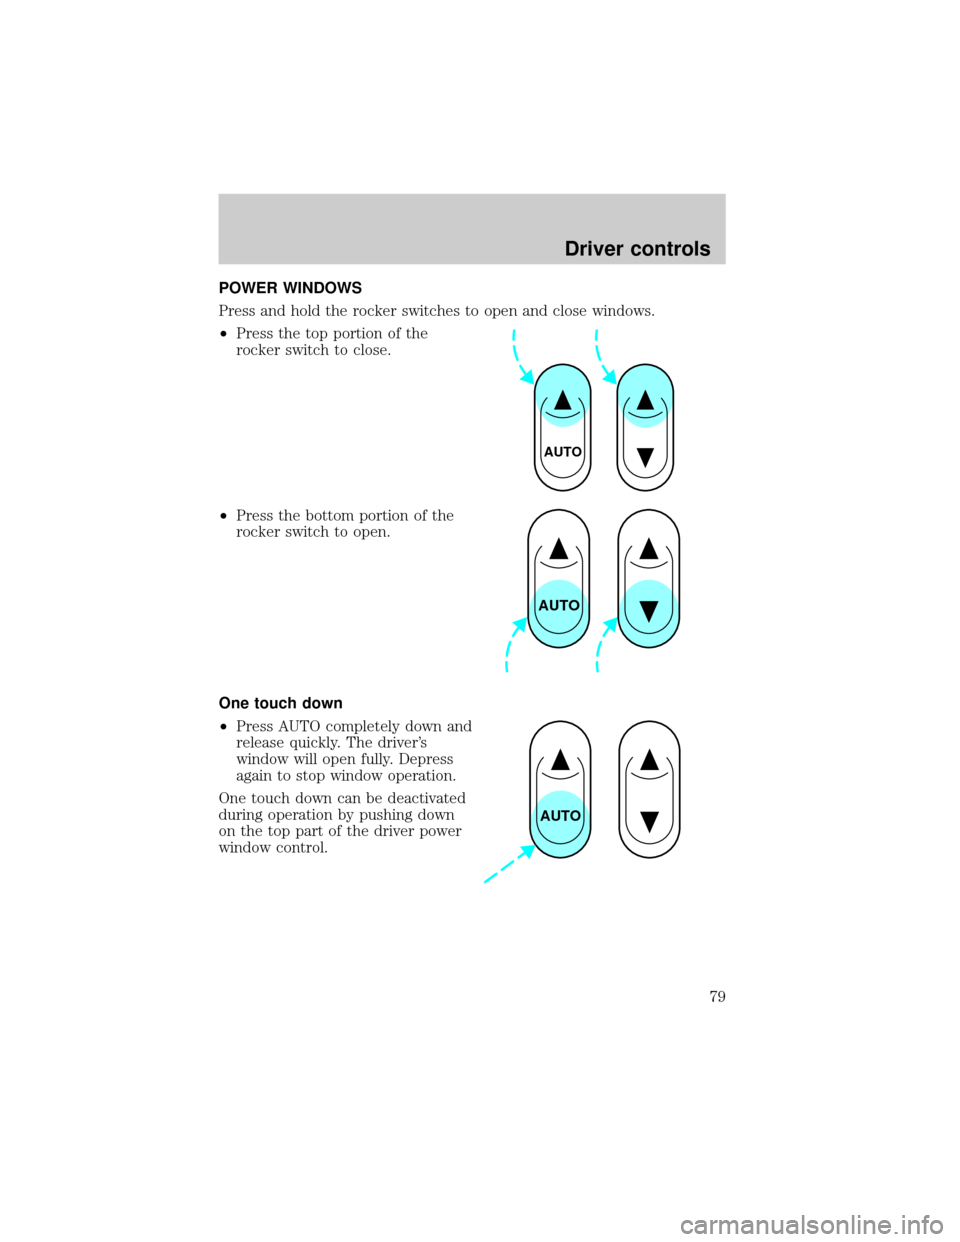
Press and hold the rocker switches to open and close windows.
²Press the top portion of the
rocker switch to close.
²Press the bottom portion of the
rocker switch to open.
One touch down
²Press AUTO completely down and
release quickly. The driver's
window will open fully. Depress
again to stop window operation.
One touch down can be deactivated
during operation by pushing down
on the top part of the driver power
window control.
AUTO
AUTO
AUTO
Driver controls
79
Page 80 of 280
Window lock
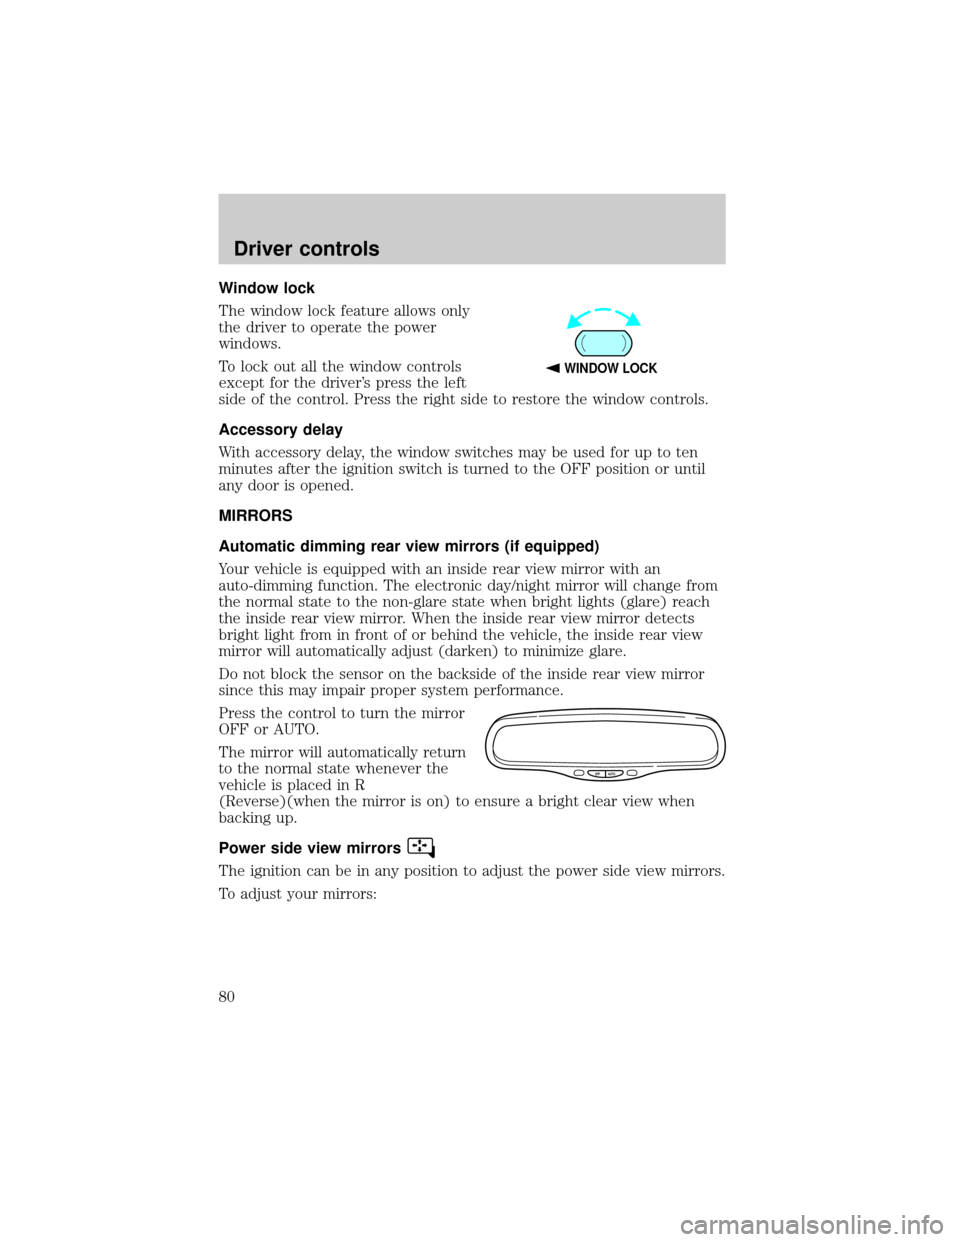
The window lock feature allows only
the driver to operate the power
windows.
To lock out all the window controls
except for the driver's press the left
side of the control. Press the right side to restore the window controls.
Accessory delay
With accessory delay, the window switches may be used for up to ten
minutes after the ignition switch is turned to the OFF position or until
any door is opened.
MIRRORS
Automatic dimming rear view mirrors (if equipped)
Your vehicle is equipped with an inside rear view mirror with an
auto-dimming function. The electronic day/night mirror will change from
the normal state to the non-glare state when bright lights (glare) reach
the inside rear view mirror. When the inside rear view mirror detects
bright light from in front of or behind the vehicle, the inside rear view
mirror will automatically adjust (darken) to minimize glare.
Do not block the sensor on the backside of the inside rear view mirror
since this may impair proper system performance.
Press the control to turn the mirror
OFF or AUTO.
The mirror will automatically return
to the normal state whenever the
vehicle is placed in R
(Reverse)(when the mirror is on) to ensure a bright clear view when
backing up.
Power side view mirrors
The ignition can be in any position to adjust the power side view mirrors.
To adjust your mirrors:
WINDOW LOCK
OFF AUTO
Driver controls
80
Page 81 of 280
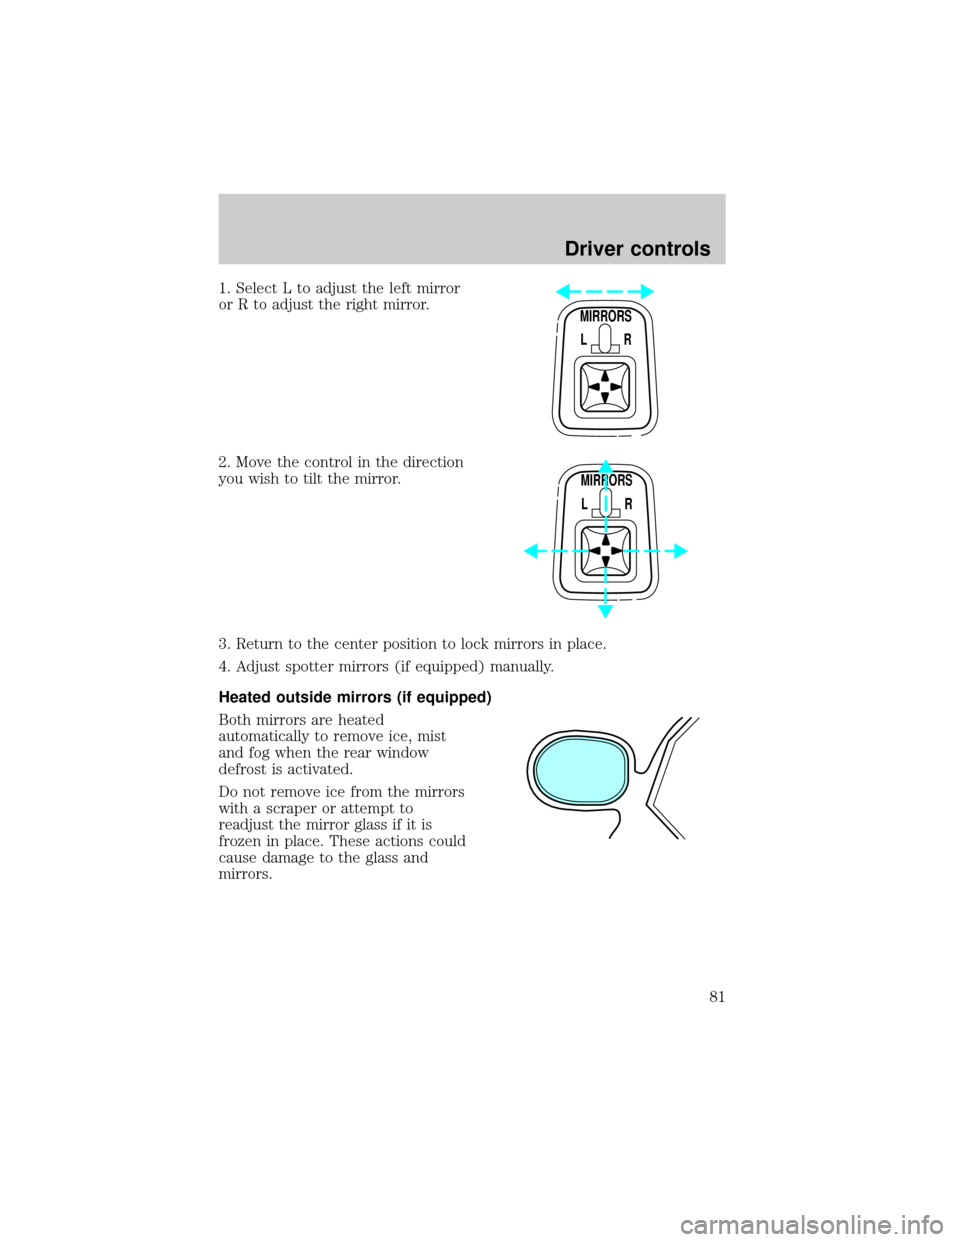
1. Select L to adjust the left mirror
or R to adjust the right mirror.
2. Move the control in the direction
you wish to tilt the mirror.
3. Return to the center position to lock mirrors in place.
4. Adjust spotter mirrors (if equipped) manually.
Heated outside mirrors (if equipped)
Both mirrors are heated
automatically to remove ice, mist
and fog when the rear window
defrost is activated.
Do not remove ice from the mirrors
with a scraper or attempt to
readjust the mirror glass if it is
frozen in place. These actions could
cause damage to the glass and
mirrors.
MIRRORS
L R
MIRRORS
L R
Driver controls
81
Page 93 of 280
Use only soft cups in the cupholder. Hard objects can injure you
in a collision.
Rear center console features (if equipped)
The rear center console incorporates the following features:
²utility compartment
²cupholders
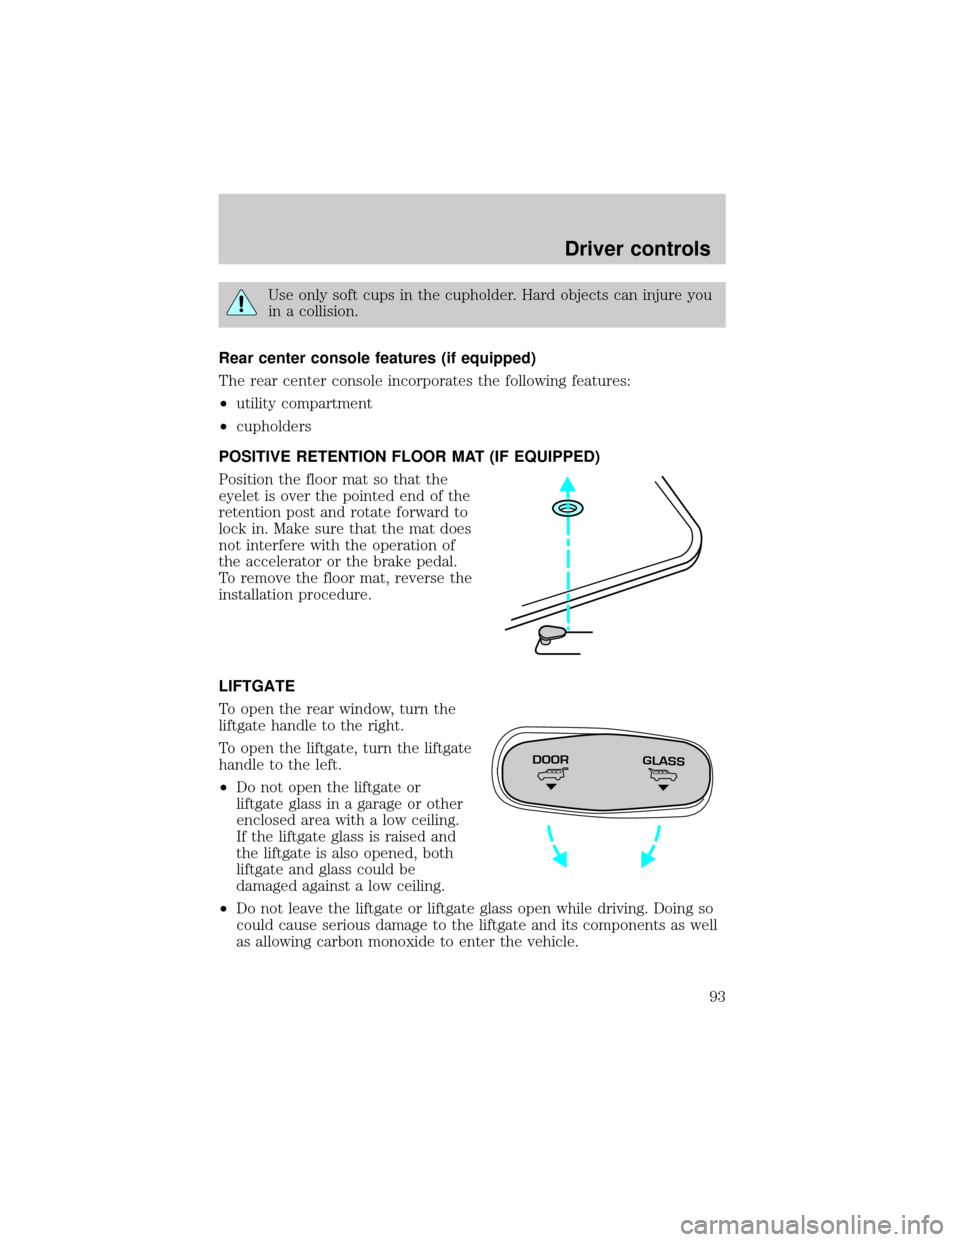
POSITIVE RETENTION FLOOR MAT (IF EQUIPPED)
Position the floor mat so that the
eyelet is over the pointed end of the
retention post and rotate forward to
lock in. Make sure that the mat does
not interfere with the operation of
the accelerator or the brake pedal.
To remove the floor mat, reverse the
installation procedure.
LIFTGATE
To open the rear window, turn the
liftgate handle to the right.
To open the liftgate, turn the liftgate
handle to the left.
²Do not open the liftgate or
liftgate glass in a garage or other
enclosed area with a low ceiling.
If the liftgate glass is raised and
the liftgate is also opened, both
liftgate and glass could be
damaged against a low ceiling.
²Do not leave the liftgate or liftgate glass open while driving. Doing so
could cause serious damage to the liftgate and its components as well
as allowing carbon monoxide to enter the vehicle.
DOORGLASS
Driver controls
93
Page 94 of 280
Make sure that the liftgate door and/or window are closed to
prevent exhaust fumes from being drawn into the vehicle. This
will also prevent passengers and cargo from falling out. If you must
drive with the liftgate door or window open, keep the vents open so
outside air comes into the vehicle.
LUGGAGE RACK (IF EQUIPPED)
The rear cross-bar can be adjusted to fit the item being carried. The
front cross-bar does not move.
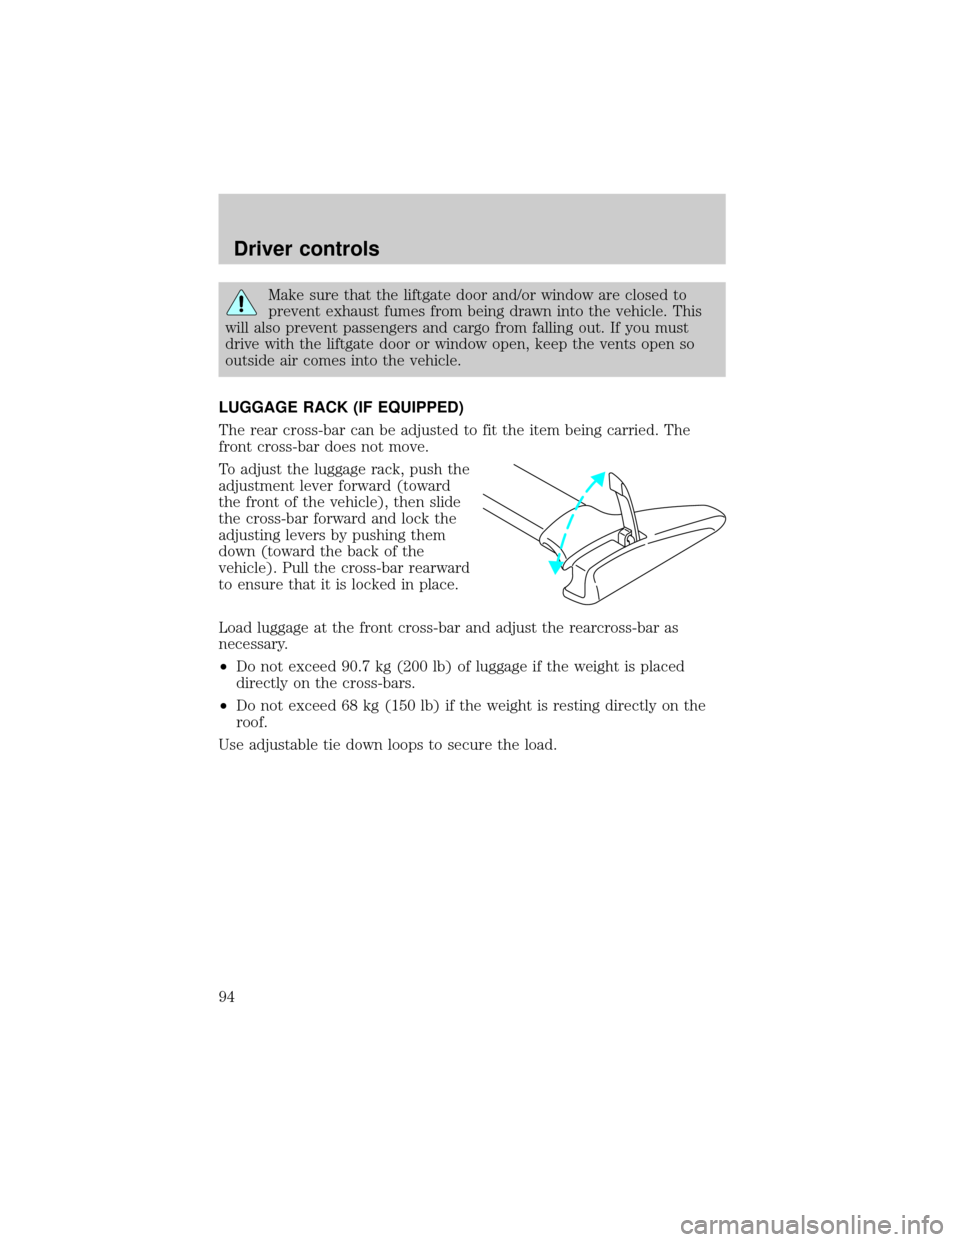
To adjust the luggage rack, push the
adjustment lever forward (toward
the front of the vehicle), then slide
the cross-bar forward and lock the
adjusting levers by pushing them
down (toward the back of the
vehicle). Pull the cross-bar rearward
to ensure that it is locked in place.
Load luggage at the front cross-bar and adjust the rearcross-bar as
necessary.
²Do not exceed 90.7 kg (200 lb) of luggage if the weight is placed
directly on the cross-bars.
²Do not exceed 68 kg (150 lb) if the weight is resting directly on the
roof.
Use adjustable tie down loops to secure the load.
Driver controls
94
Page 100 of 280

Illuminated entry
The illuminated entry system will turn on the interior lights when the
remote transmitter unlock control is pressed.
The illuminated entry system will turn off the interior lights if the
ignition switch is turned to the ON position, or if the remote transmitter
lock control is pressed, or after 25 seconds of illumination.
The inside lights will not turn off if:
²they have been turned on with the dimmer control or
²any door is open
The battery save feature will turn off the interior lights 45 minutes after
the last door is closed, even if the dimmer control is on.
Memory seat/mirrors/adjustable pedal feature (if equipped)
The memory feature allows automatic positioning of the driver seat, side
mirrors and adjustable pedals to three programmable positions.
²To program position one, move the driver seat, both side mirrors, and
adjustable pedals to the desired positions. Press the SET control. The
SET control indicator light will briefly illuminate. While the light is
illuminated, press control 1.
²To program position two, repeat the previous procedure using control
2.
²To program position three, repeat the previous procedure but press
controls 1 and 2 simultaneously.
The memory feature also allows you to recall previously stored positions
with your remote transmitter(s). Up to three remote transmitters can be
activated to utilize the memory recall positions.
Press the memory feature control to move to the previously stored
seat/mirror/adjustable pedal positions.
Activating/deactivating the memory feature on your remote
transmitter
The memory feature from the remote transmitter can be turned off/on,
however, the memory control buttons will continue to operate. Before
following the procedure, make sure that the ignition is OFF and all doors
and the liftgate window are closed. You must complete steps 1±7 within
30 seconds or the procedure will have to be repeated. If the procedure
needs to be repeated, you must wait 30 seconds.
Locks and security
100
Page 101 of 280

1. Turn the ignition key to ON.
2. Press the power door unlock control three times.
3. Turn the ignition key from ON to OFF.
4. Press the power door unlock control three times.
5. Turn the ignition back to ON. The horn will chirp.
6. Press the power door unlock control two times, then press the power
lock control once. The horn will chirp twice if the memory feature was
deactivated or three times (two short and one long) if the memory
feature was activated.
7. Turn ignition to OFF. The horn will chirp once to confirm the
procedure is complete.
Autolock (if equipped)
This feature automatically locks all vehicle doors when:
²all doors, liftgate and liftgate window are closed
²the engine is running
²you shift into any gear putting the vehicle in motion.
Relock
The autolock feature repeats when:
²any door, except the drivers, is opened then closed while the engine is
running and
²you put the vehicle in motion.
Deactivating/activating the autolock feature
Before following the procedure, make sure that the ignition is OFF and
all vehicle doors and the liftgate window are closed.
You must complete steps 1-7 within 30 seconds or the procedure will
have to be repeated. If the procedure needs to be repeated, you must
wait 30 seconds.
1. Turn the ignition key to ON.
2. Press the power door unlock control three times.
3. Turn the ignition key from ON to OFF.
4. Press the power door unlock control three times.
5. Turn the ignition back to ON. The horn will chirp.
Locks and security
101
Page 104 of 280
Activating/deactivating autolock with the keyless entry system
Before following the activation or
deactivation procedures, make sure
that the anti-theft system (if
equipped) is not armed, ignition is
off, and all vehicle doors and liftgate window are closed.
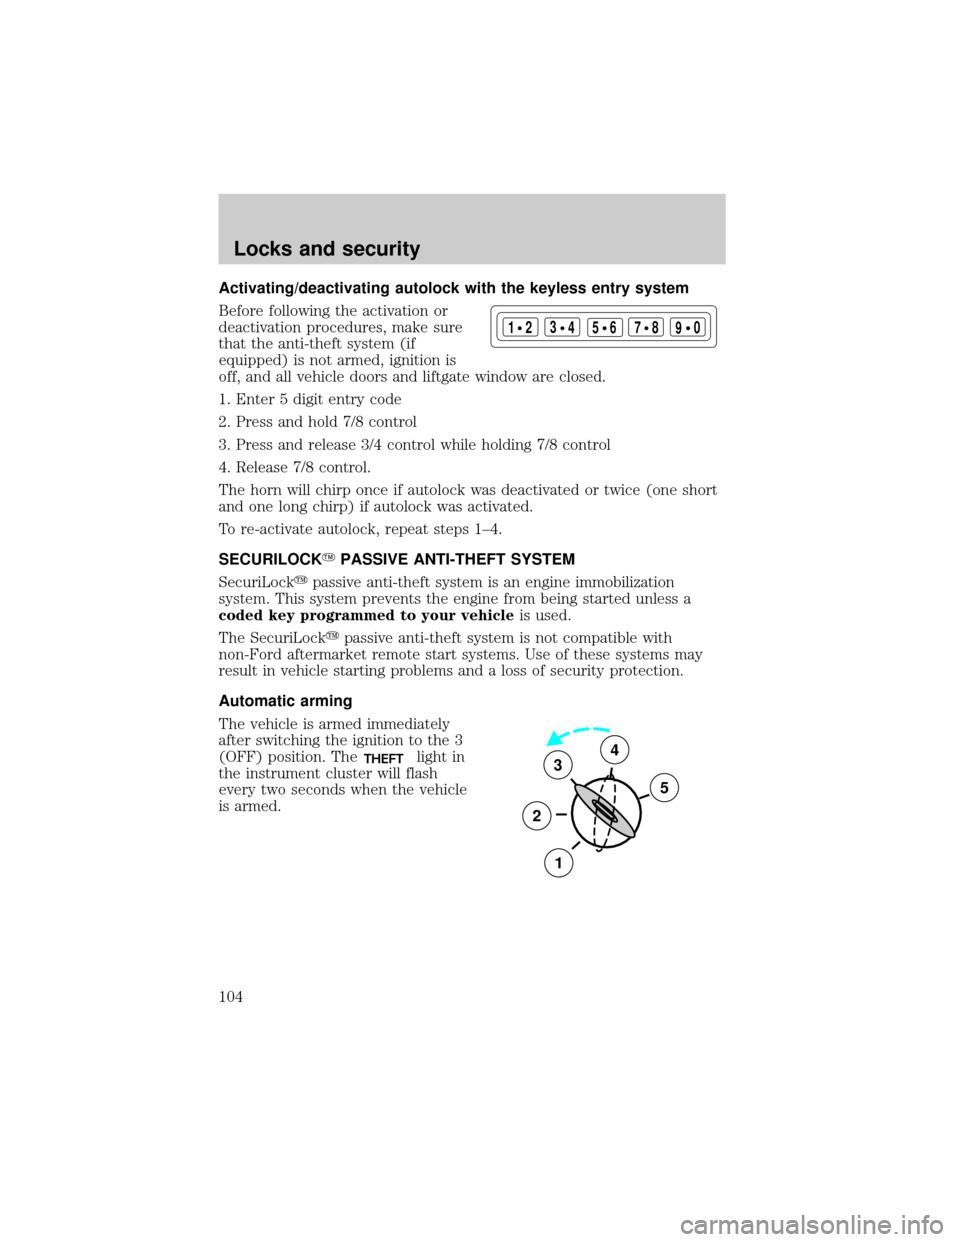
1. Enter 5 digit entry code
2. Press and hold 7/8 control
3. Press and release 3/4 control while holding 7/8 control
4. Release 7/8 control.
The horn will chirp once if autolock was deactivated or twice (one short
and one long chirp) if autolock was activated.
To re-activate autolock, repeat steps 1±4.
SECURILOCKYPASSIVE ANTI-THEFT SYSTEM
SecuriLockypassive anti-theft system is an engine immobilization
system. This system prevents the engine from being started unless a
coded key programmed to your vehicleis used.
The SecuriLockypassive anti-theft system is not compatible with
non-Ford aftermarket remote start systems. Use of these systems may
result in vehicle starting problems and a loss of security protection.
Automatic arming
The vehicle is armed immediately
after switching the ignition to the 3
(OFF) position. The
THEFTlight in
the instrument cluster will flash
every two seconds when the vehicle
is armed.
123
45678
90
3
2
1
5
4
Locks and security
104