seats FORD EXPEDITION 2002 1.G Owners Manual
[x] Cancel search | Manufacturer: FORD, Model Year: 2002, Model line: EXPEDITION, Model: FORD EXPEDITION 2002 1.GPages: 280, PDF Size: 2.32 MB
Page 6 of 280
SPECIAL NOTICES
Emission warranty
The New Vehicle Limited Warranty includes Bumper-to-Bumper
Coverage, Safety Restraint Coverage, Corrosion Coverage, and 7.3L
Power Stroke Diesel Engine Coverage. In addition, your vehicle is eligible
for Emissions Defect and Emissions Performance Warranties. For a
detailed description of what is covered and what is not covered, refer to
theWarranty Guidethat is provided to you along with your Owner's
Guide.
Special instructions
For your safety, your vehicle is fitted with sophisticated electronic
controls.
By operating other electronic equipment (e.g. mobile telephone
without exterior aerial) electromagnetic fields can occur which
can cause malfunctions of the vehicle electronics. Therefore you should
observe the instructions of the equipment manufacturers.
Please read the sectionAir bagin theSeating and safety
restraintschapter. Failure to follow the specific warnings and
instructions could result in personal injury.
Rear facing child or baby seats shouldNEVERbe used in front
of a passenger side air bag.
Introduction
6
Page 29 of 280
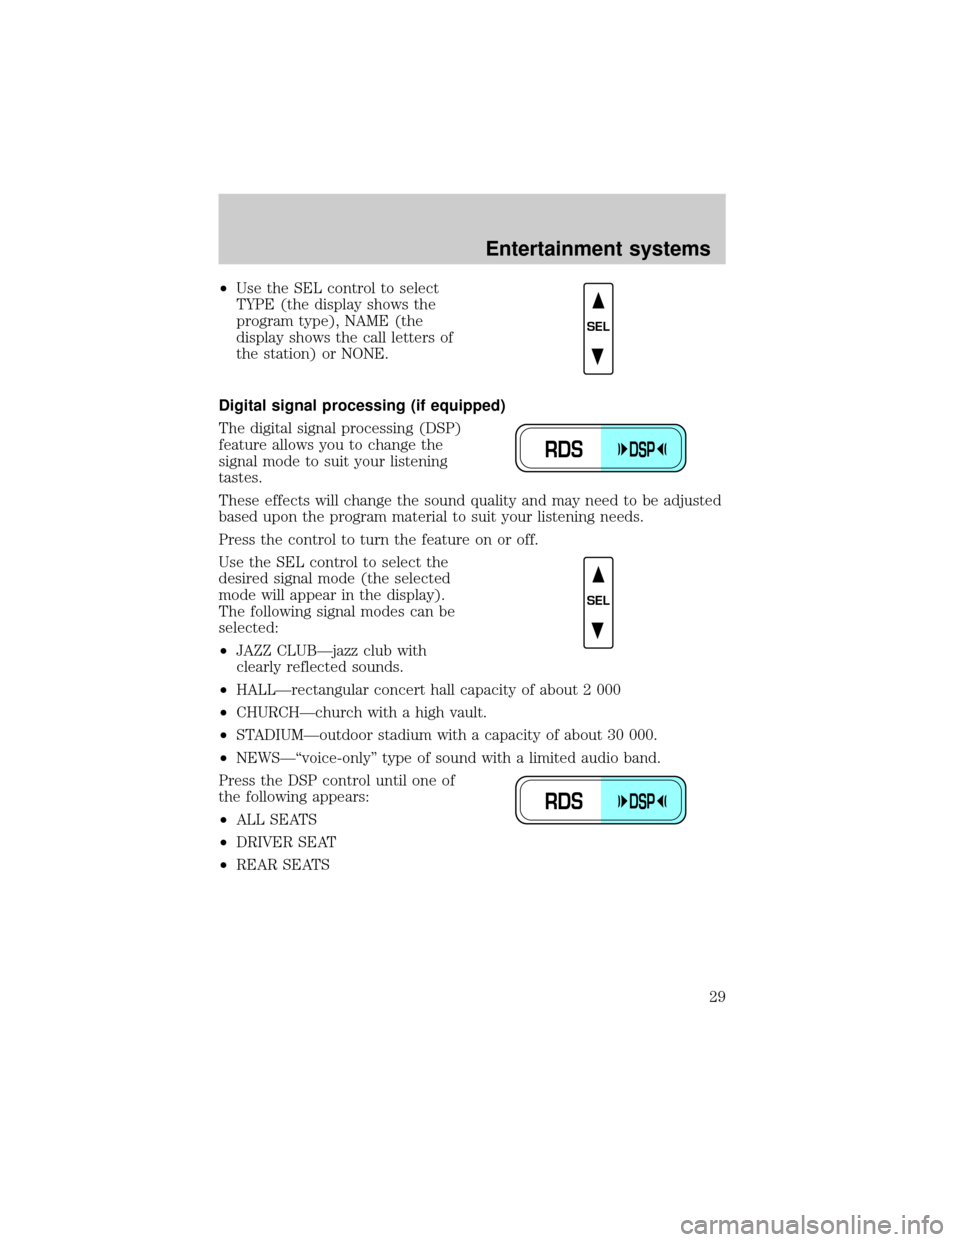
²Use the SEL control to select
TYPE (the display shows the
program type), NAME (the
display shows the call letters of
the station) or NONE.
Digital signal processing (if equipped)
The digital signal processing (DSP)
feature allows you to change the
signal mode to suit your listening
tastes.
These effects will change the sound quality and may need to be adjusted
based upon the program material to suit your listening needs.
Press the control to turn the feature on or off.
Use the SEL control to select the
desired signal mode (the selected
mode will appear in the display).
The following signal modes can be
selected:
²JAZZ CLUBÐjazz club with
clearly reflected sounds.
²HALLÐrectangular concert hall capacity of about 2 000
²CHURCHÐchurch with a high vault.
²STADIUMÐoutdoor stadium with a capacity of about 30 000.
²NEWSЪvoice-onlyº type of sound with a limited audio band.
Press the DSP control until one of
the following appears:
²ALL SEATS
²DRIVER SEAT
²REAR SEATS
SEL
RDSDSP
SEL
RDSDSP
Entertainment systems
29
Page 49 of 280

²To reduce humidity buildup inside the vehicle in cold weather
conditions, don't drive with the climate control system in the OFF or
MAX A/C position.
²To reduce humidity buildup inside the vehicle in warm weather
conditions, don't drive with the climate control system in the OFF
position.
²Under normal weather conditions, your vehicle's climate control
system should be left in any position other than the MAX A/C or OFF
when the vehicle is parked. This allows the vehicle to ªbreatheº
through the outside air inlet duct.
²Under snowy or dirty weather conditions, your vehicle's climate
control system should be left in the OFF position when the vehicle is
parked. This allows the climate control system to be free from
contamination of outside pollutants.
²If your vehicle has been parked with the windows closed during warm
weather conditions, the air conditioner will perform more efficiently in
cooling the vehicle if driven for two or three minutes with the
windows open. This will force most of the hot, stale air out of the
vehicle. Once the vehicle has been ªaired outº, operate the climate
control system as desired.
²Do not put objects under the front seat which may interfere with the
airflow to the rear seats (if equipped).
²Remove any snow, ice or leaves from the air intake area (at the
bottom of the windshield and underneath the hood).
²Do not place objects over the defroster outlets. These objects can
block airflow and reduce visibility through your windshield. Avoid
placing small objects on top of the instrument panel. These objects
may fall down into the defroster outlets and block airflow, in addition
to, damaging the climate control system.
To aid in side window defogging/demisting in cold weather conditions:
1. Select the position that distributes air through the Panel and Floor.
2. Set the temperature control to full heat.
3. Set the fan speed to full fan.
4. Direct the outer panel vents towards the side windows.
5. To increase airflow to the outer panel vents, close the central panel
vents.
Climate controls
49
Page 55 of 280
²Under snowy or dirty weather conditions, your vehicle's climate
control system should be left in the OFF position when the vehicle is
parked. This allows the climate control system to be free from
contamination of outside pollutants.
²If your vehicle has been parked with the windows closed during warm
weather conditions, the air conditioner will perform more efficiently in
cooling the vehicle if driven for two or three minutes with the
windows open. This will force most of the hot, stale air out of the
vehicle. Once the vehicle has been ªaired outº, operate the climate
control system as desired.
²Don't put objects under the front seat that will interfere with the
airflow to the rear seats.
²Remove any snow, ice or leaves from the air intake area at the base of
the windshield.
²Do not place objects over the defroster outlets. These objects can
block airflow and reduce your ability to see through your windshield.
Avoid placing small objects on top of the instrument panel. These
objects may fall down into the defroster outlets and block airflow, in
addition to damaging the climate control system.
To aid in side window defogging/demisting in cold weather conditions:
1. Select PNL²FLR
2. Set the temperature control to full heat
3. Set the fan speed control to HI
4. Direct the outer panel vents towards the side windows.
To increase airflow to the outer panel vents, close the central panel
vents.
Do not place objects on top of the instrument panel, as these
objects may become projectiles in a collision or sudden stop.
AUXILIARY A/C-HEATER CONTROLS (IF EQUIPPED)
Depending on your equipment package, your vehicle may be equipped
with auxiliary A/C-heater controls. The auxiliary A/C-heater feature
provides increased capacity to quickly heat or cool the vehicle. Besides
the driver's control panel for the front seat occupants, the second row
auxiliary A/C-heater controls allow the rear passengers to control the
Climate controls
55
Page 66 of 280
Replacing front parking lamp/turn signal bulbs
1. Make sure that the headlamp control is in the OFF position.
2. Open the hood.
3. Remove the screw and lamp assembly from the vehicle.
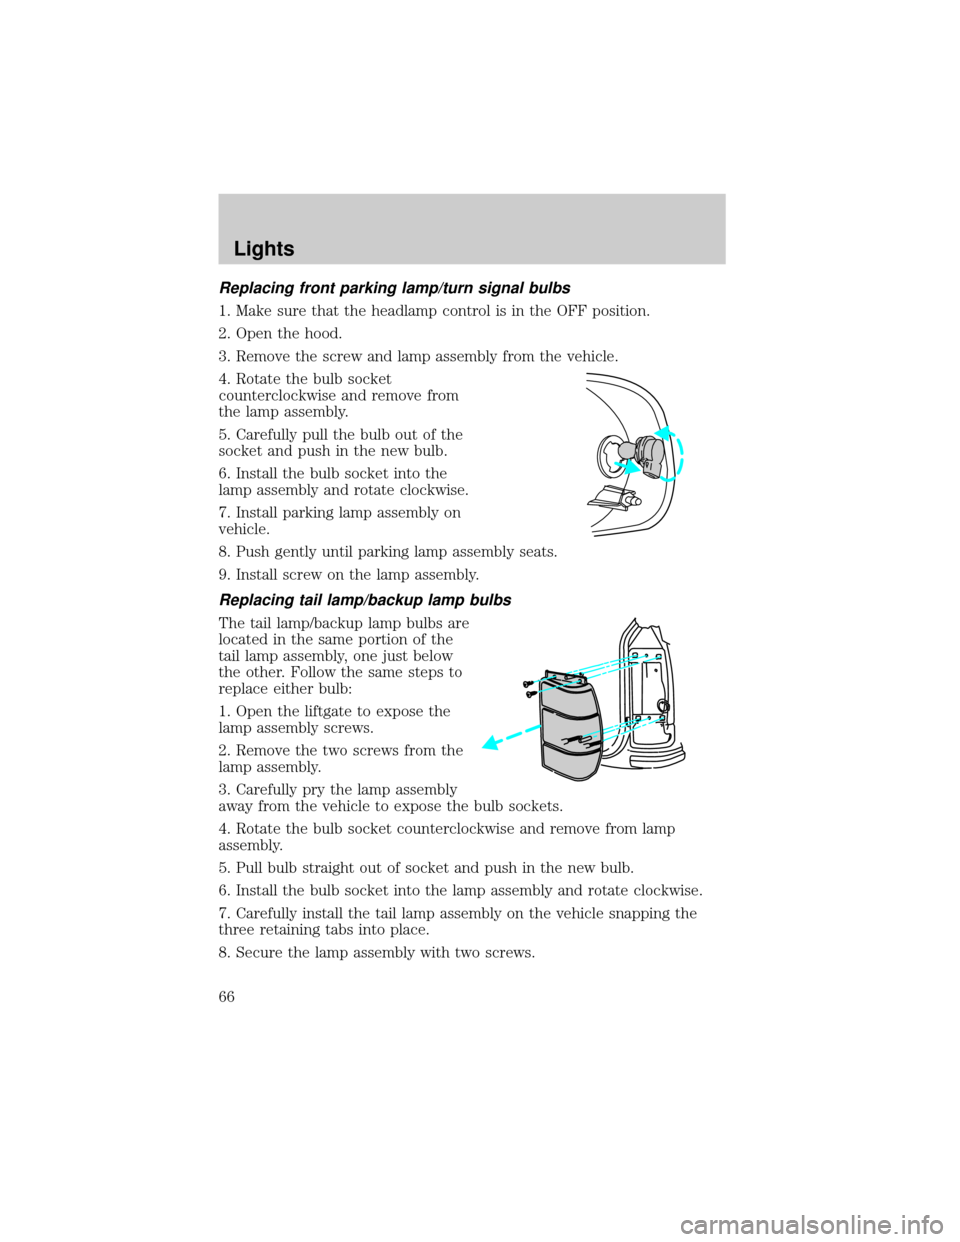
4. Rotate the bulb socket
counterclockwise and remove from
the lamp assembly.
5. Carefully pull the bulb out of the
socket and push in the new bulb.
6. Install the bulb socket into the
lamp assembly and rotate clockwise.
7. Install parking lamp assembly on
vehicle.
8. Push gently until parking lamp assembly seats.
9. Install screw on the lamp assembly.
Replacing tail lamp/backup lamp bulbs
The tail lamp/backup lamp bulbs are
located in the same portion of the
tail lamp assembly, one just below
the other. Follow the same steps to
replace either bulb:
1. Open the liftgate to expose the
lamp assembly screws.
2. Remove the two screws from the
lamp assembly.
3. Carefully pry the lamp assembly
away from the vehicle to expose the bulb sockets.
4. Rotate the bulb socket counterclockwise and remove from lamp
assembly.
5. Pull bulb straight out of socket and push in the new bulb.
6. Install the bulb socket into the lamp assembly and rotate clockwise.
7. Carefully install the tail lamp assembly on the vehicle snapping the
three retaining tabs into place.
8. Secure the lamp assembly with two screws.
Lights
66
Page 78 of 280
Press theportion of the VENT control to open the power rear
quarter windows.
Press the
portion of the VENT control to close the power rear
quarter windows.
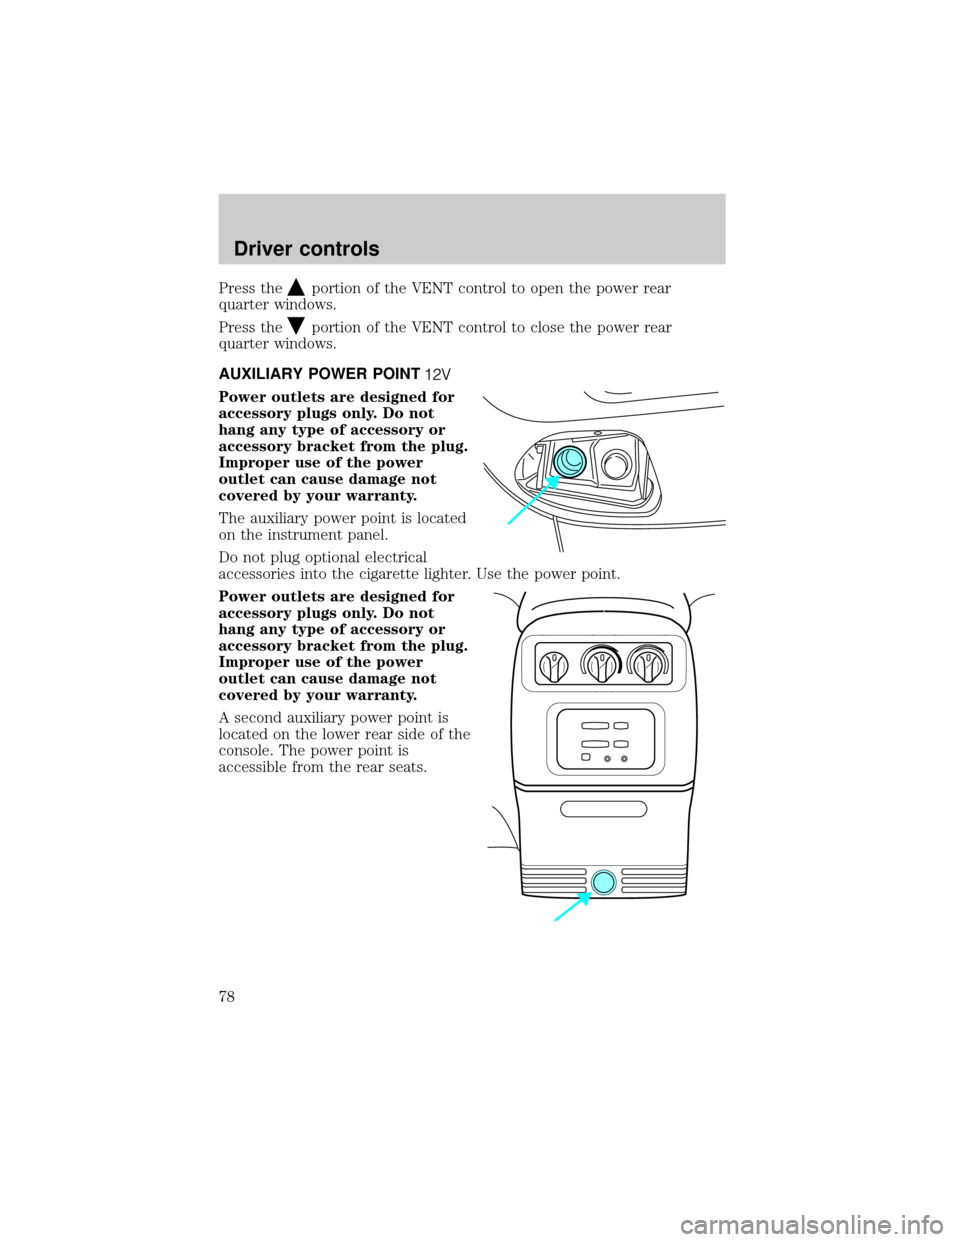
AUXILIARY POWER POINT
Power outlets are designed for
accessory plugs only. Do not
hang any type of accessory or
accessory bracket from the plug.
Improper use of the power
outlet can cause damage not
covered by your warranty.
The auxiliary power point is located
on the instrument panel.
Do not plug optional electrical
accessories into the cigarette lighter. Use the power point.
Power outlets are designed for
accessory plugs only. Do not
hang any type of accessory or
accessory bracket from the plug.
Improper use of the power
outlet can cause damage not
covered by your warranty.
A second auxiliary power point is
located on the lower rear side of the
console. The power point is
accessible from the rear seats.
Driver controls
78
Page 108 of 280
SEATING
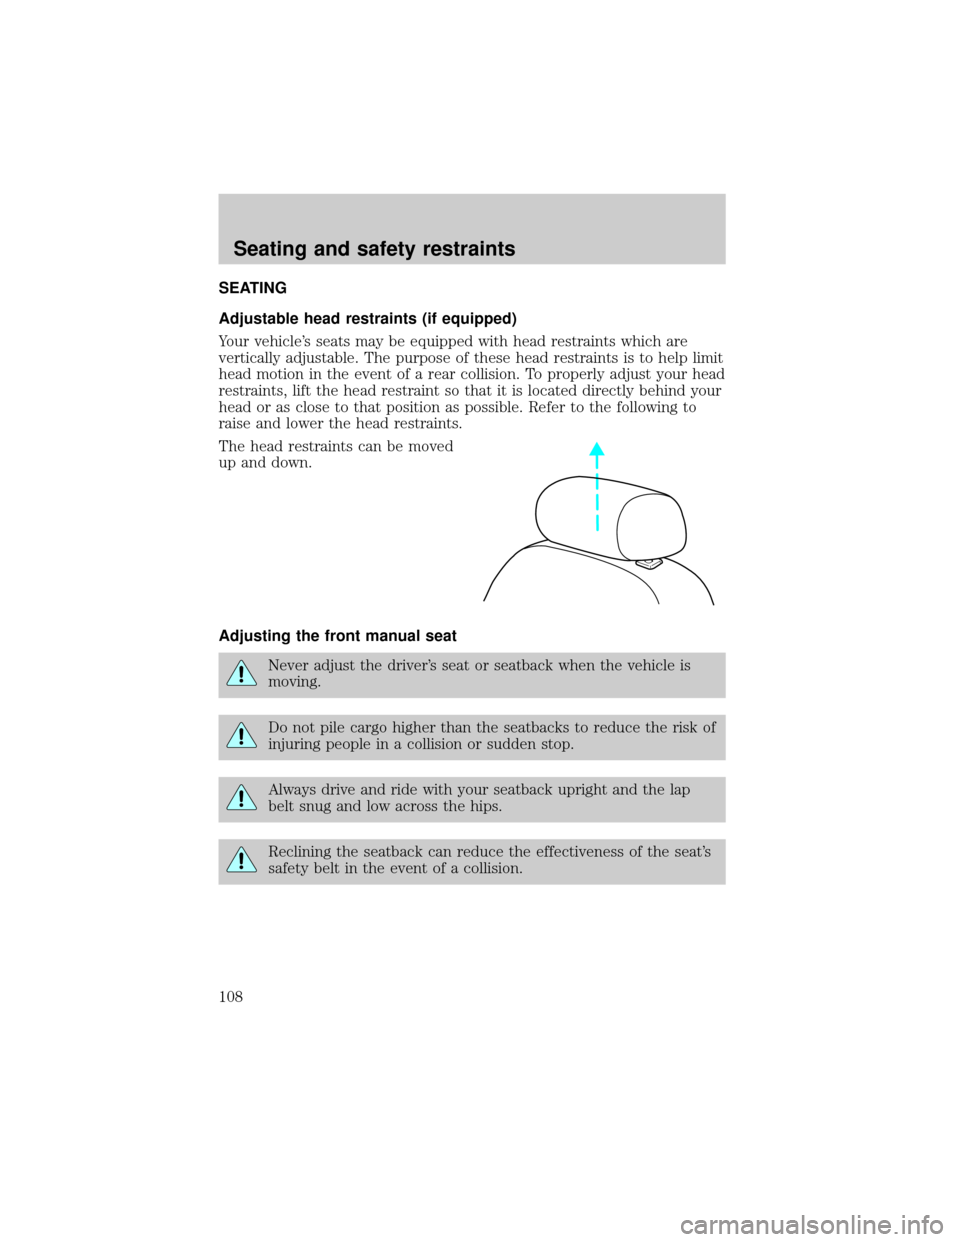
Adjustable head restraints (if equipped)
Your vehicle's seats may be equipped with head restraints which are
vertically adjustable. The purpose of these head restraints is to help limit
head motion in the event of a rear collision. To properly adjust your head
restraints, lift the head restraint so that it is located directly behind your
head or as close to that position as possible. Refer to the following to
raise and lower the head restraints.
The head restraints can be moved
up and down.
Adjusting the front manual seat
Never adjust the driver's seat or seatback when the vehicle is
moving.
Do not pile cargo higher than the seatbacks to reduce the risk of
injuring people in a collision or sudden stop.
Always drive and ride with your seatback upright and the lap
belt snug and low across the hips.
Reclining the seatback can reduce the effectiveness of the seat's
safety belt in the event of a collision.
Seating and safety restraints
108
Page 112 of 280
Memory seats/rearview mirrors/adjustable pedals (if equipped)
This system allows automatic
positioning of the driver seat,
outside rearview mirrors, and
adjustable pedals to three
programmable positions.
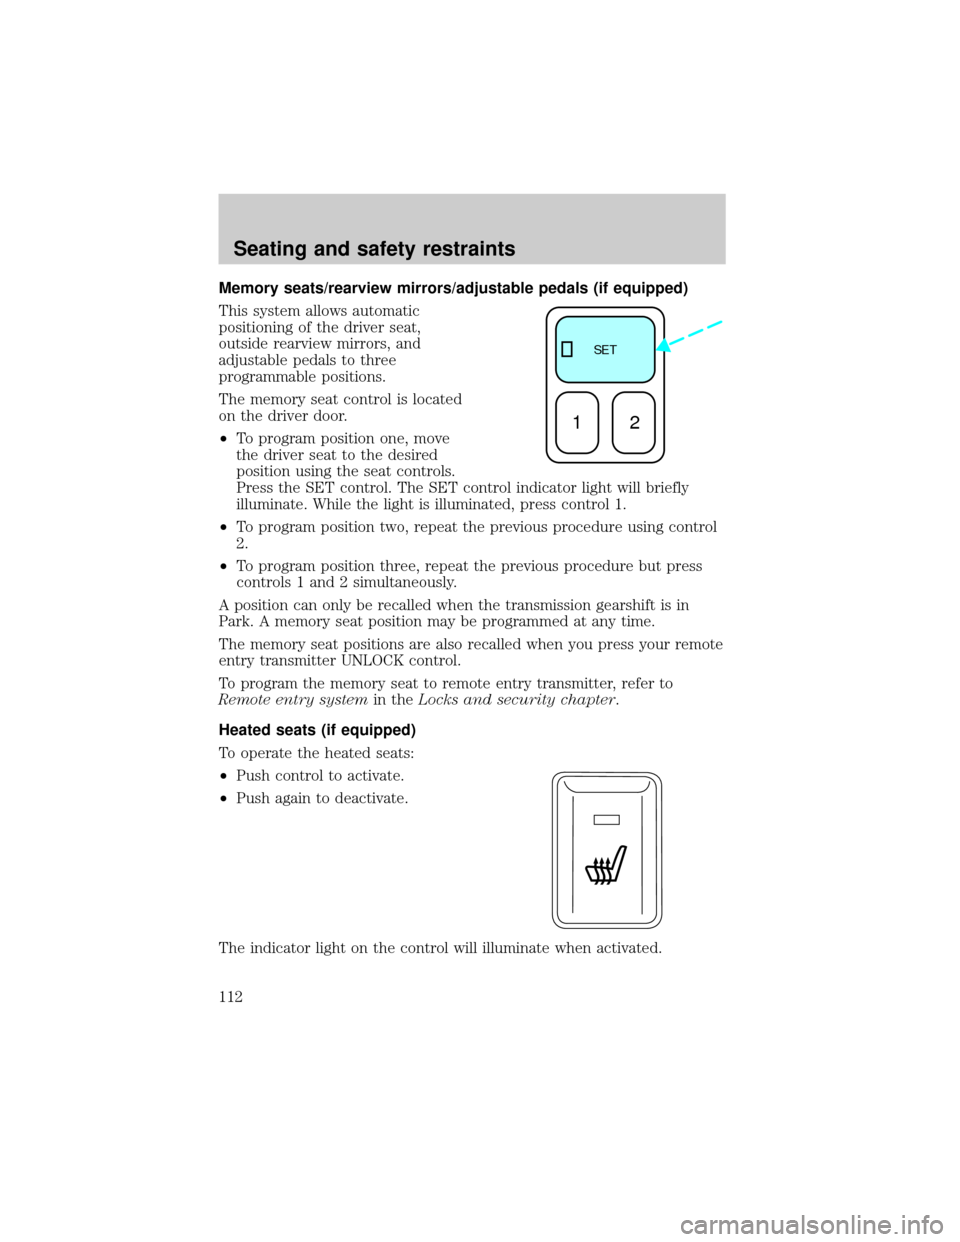
The memory seat control is located
on the driver door.
²To program position one, move
the driver seat to the desired
position using the seat controls.
Press the SET control. The SET control indicator light will briefly
illuminate. While the light is illuminated, press control 1.
²To program position two, repeat the previous procedure using control
2.
²To program position three, repeat the previous procedure but press
controls 1 and 2 simultaneously.
A position can only be recalled when the transmission gearshift is in
Park. A memory seat position may be programmed at any time.
The memory seat positions are also recalled when you press your remote
entry transmitter UNLOCK control.
To program the memory seat to remote entry transmitter, refer to
Remote entry systemin theLocks and security chapter.
Heated seats (if equipped)
To operate the heated seats:
²Push control to activate.
²Push again to deactivate.
The indicator light on the control will illuminate when activated.
SE T
12
Seating and safety restraints
112
Page 113 of 280
REAR SEATS
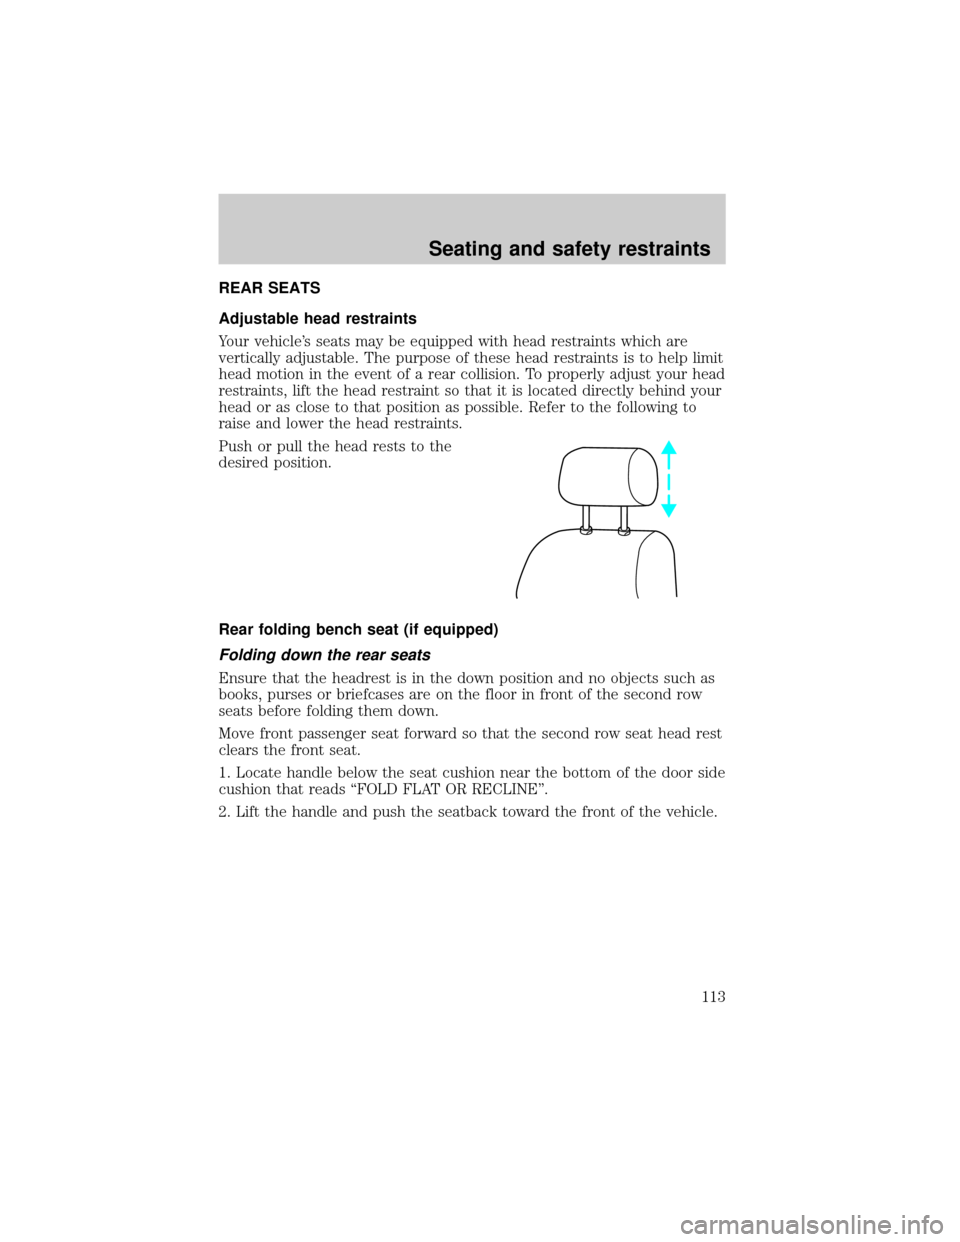
Adjustable head restraints
Your vehicle's seats may be equipped with head restraints which are
vertically adjustable. The purpose of these head restraints is to help limit
head motion in the event of a rear collision. To properly adjust your head
restraints, lift the head restraint so that it is located directly behind your
head or as close to that position as possible. Refer to the following to
raise and lower the head restraints.
Push or pull the head rests to the
desired position.
Rear folding bench seat (if equipped)
Folding down the rear seats
Ensure that the headrest is in the down position and no objects such as
books, purses or briefcases are on the floor in front of the second row
seats before folding them down.
Move front passenger seat forward so that the second row seat head rest
clears the front seat.
1. Locate handle below the seat cushion near the bottom of the door side
cushion that reads ªFOLD FLAT OR RECLINEº.
2. Lift the handle and push the seatback toward the front of the vehicle.
Seating and safety restraints
113
Page 114 of 280
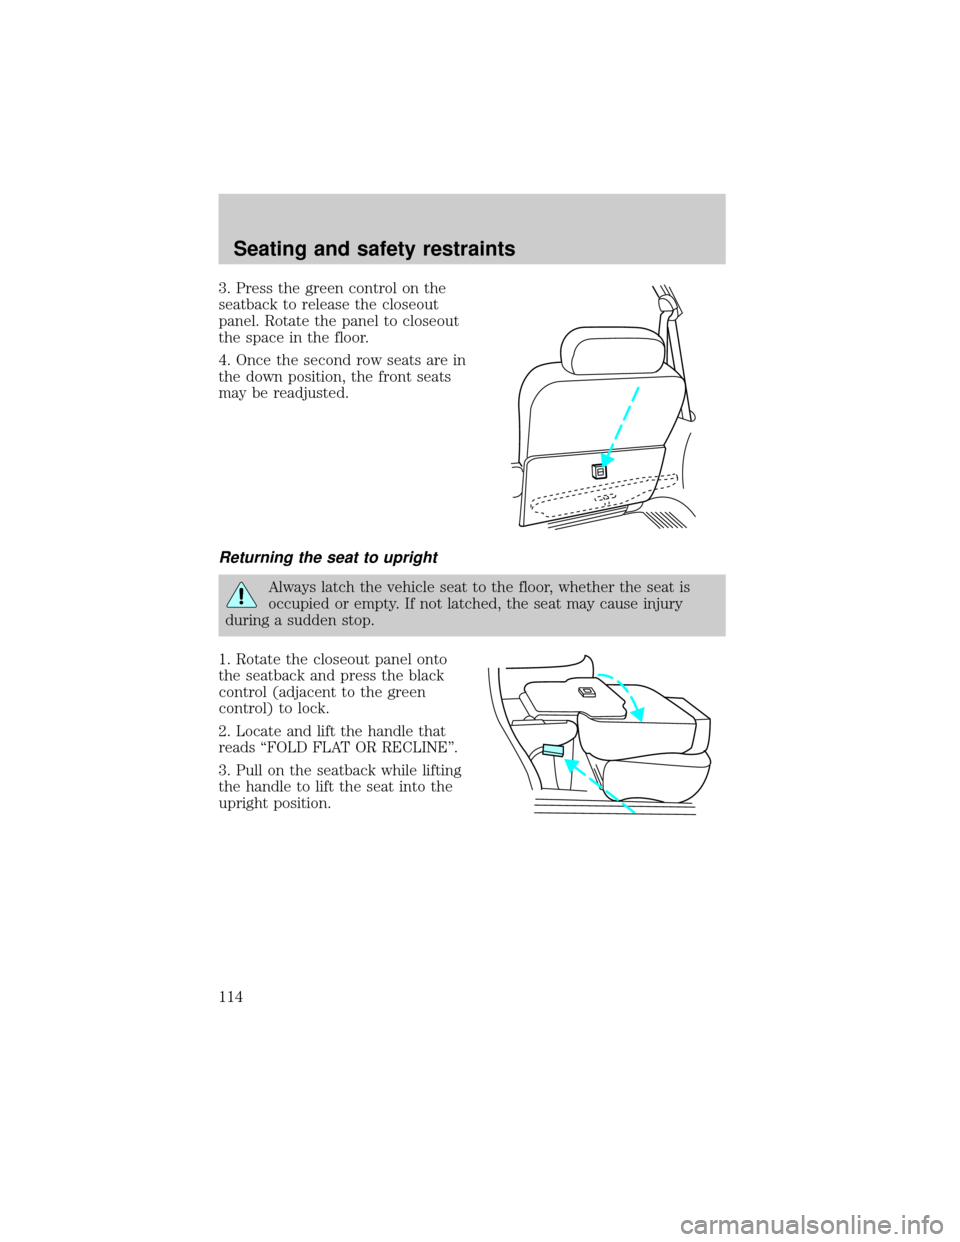
3. Press the green control on the
seatback to release the closeout
panel. Rotate the panel to closeout
the space in the floor.
4. Once the second row seats are in
the down position, the front seats
may be readjusted.
Returning the seat to upright
Always latch the vehicle seat to the floor, whether the seat is
occupied or empty. If not latched, the seat may cause injury
during a sudden stop.
1. Rotate the closeout panel onto
the seatback and press the black
control (adjacent to the green
control) to lock.
2. Locate and lift the handle that
reads ªFOLD FLAT OR RECLINEº.
3. Pull on the seatback while lifting
the handle to lift the seat into the
upright position.
Seating and safety restraints
114