fuel reserve FORD EXPEDITION 2016 3.G Owners Manual
[x] Cancel search | Manufacturer: FORD, Model Year: 2016, Model line: EXPEDITION, Model: FORD EXPEDITION 2016 3.GPages: 421, PDF Size: 6.3 MB
Page 89 of 421

Vehicle Settings and Personalization
See General Information (page 92).
Fuel Gauge
Note: The fuel gauge may vary slightly
when your vehicle is moving or on a gradient.
Switch the ignition on. The fuel gauge
indicates approximately how much fuel
remains in the fuel tank. The arrow
adjacent to the fuel pump symbol
indicates on which side of your vehicle the
fuel filler door is located.
The needle should move toward F when
you refuel your vehicle. If the needle points
to E after adding fuel, this indicates your
vehicle needs service soon.
After refueling, the needle may not always
return to the exact same position. This is
normal.
Note: It may take a short time for the
needle to reach F after leaving the gas
station. This is normal and depends upon
the slope of pavement at the gas station.
Note: The fuel amount dispensed into the
tank is a little less or more than the gauge
indicated. This is normal and depends upon
the slope of pavement at the gas station. Note:
If the gas station nozzle shuts off
before the tank is full, try a different gas
pump nozzle.
Note: There is a small reserve left in the
tank when the fuel gauge reaches empty.
Low Fuel Reminder
A low reminder displays when the distance
to empty reaches 50 miles (80 km) to
empty.
Note: The low fuel reminder can appear at
different fuel gauge positions depending on
fuel economy conditions. This variation is
normal.
Engine Coolant Temperature Gauge
Shows the temperature of the engine
coolant. At normal operating temperature,
the needle remains in the center section.
If the needle enters the red section, the
engine is overheating. Stop the engine,
switch the ignition off and determine the
cause once the engine has cooled down.
Note: Do not restart the engine until you
conclude the cause of overheating. WARNING
Never remove the coolant reservoir
cap while the engine is running or hot.
The hot coolant is under pressure
and may cause serious burns. 86
Expedition (TB7) Canada/United States of America, enUSA, First Printing Instrument Cluster
Page 158 of 421

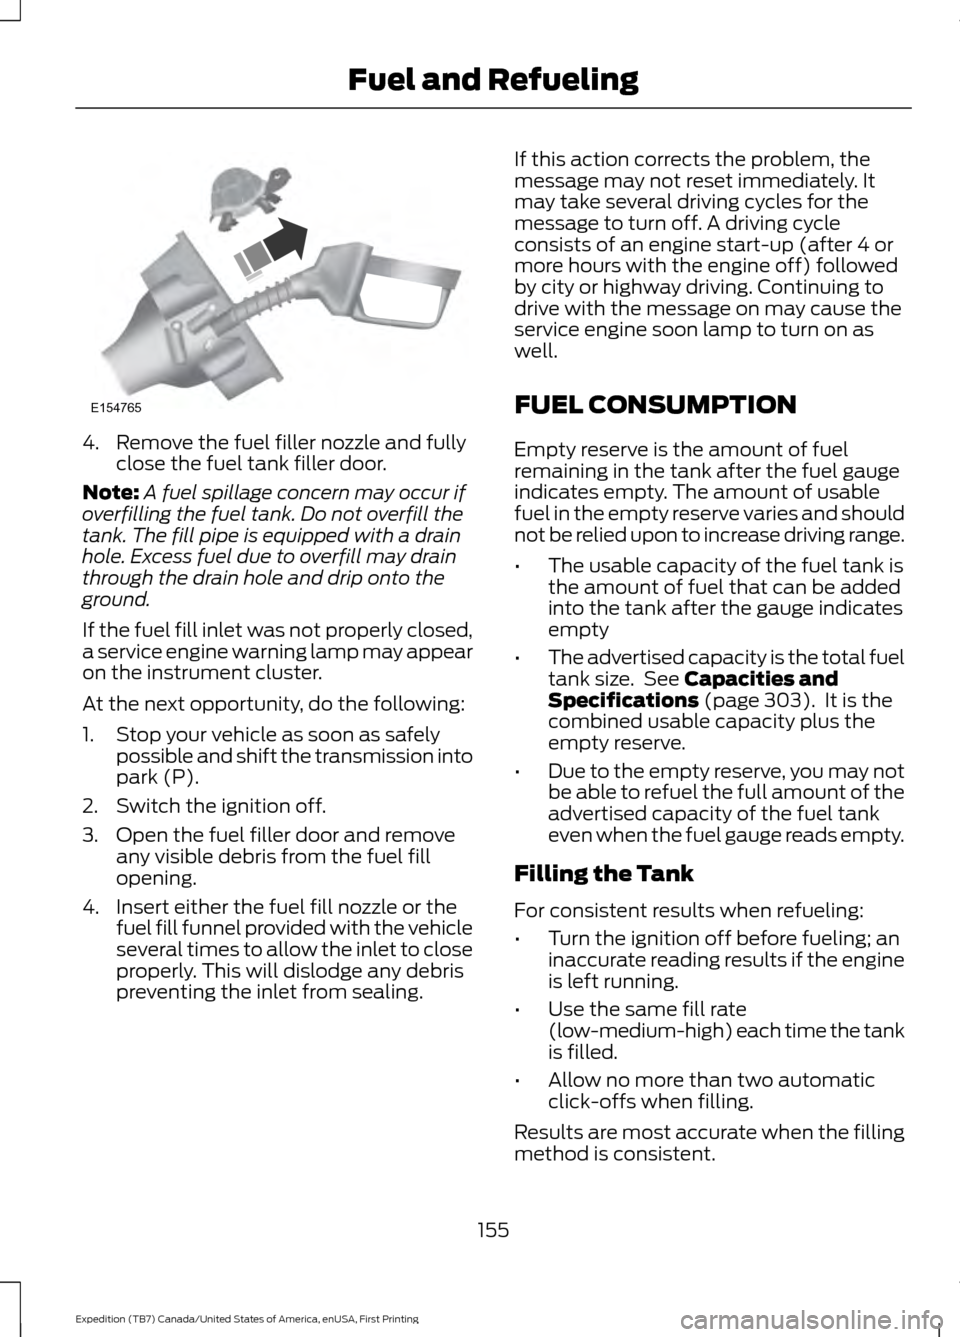
4. Remove the fuel filler nozzle and fully
close the fuel tank filler door.
Note: A fuel spillage concern may occur if
overfilling the fuel tank. Do not overfill the
tank. The fill pipe is equipped with a drain
hole. Excess fuel due to overfill may drain
through the drain hole and drip onto the
ground.
If the fuel fill inlet was not properly closed,
a service engine warning lamp may appear
on the instrument cluster.
At the next opportunity, do the following:
1. Stop your vehicle as soon as safely possible and shift the transmission into
park (P).
2. Switch the ignition off.
3. Open the fuel filler door and remove any visible debris from the fuel fill
opening.
4. Insert either the fuel fill nozzle or the fuel fill funnel provided with the vehicle
several times to allow the inlet to close
properly. This will dislodge any debris
preventing the inlet from sealing. If this action corrects the problem, the
message may not reset immediately. It
may take several driving cycles for the
message to turn off. A driving cycle
consists of an engine start-up (after 4 or
more hours with the engine off) followed
by city or highway driving. Continuing to
drive with the message on may cause the
service engine soon lamp to turn on as
well.
FUEL CONSUMPTION
Empty reserve is the amount of fuel
remaining in the tank after the fuel gauge
indicates empty. The amount of usable
fuel in the empty reserve varies and should
not be relied upon to increase driving range.
•
The usable capacity of the fuel tank is
the amount of fuel that can be added
into the tank after the gauge indicates
empty
• The advertised capacity is the total fuel
tank size. See Capacities and
Specifications (page 303). It is the
combined usable capacity plus the
empty reserve.
• Due to the empty reserve, you may not
be able to refuel the full amount of the
advertised capacity of the fuel tank
even when the fuel gauge reads empty.
Filling the Tank
For consistent results when refueling:
• Turn the ignition off before fueling; an
inaccurate reading results if the engine
is left running.
• Use the same fill rate
(low-medium-high) each time the tank
is filled.
• Allow no more than two automatic
click-offs when filling.
Results are most accurate when the filling
method is consistent.
155
Expedition (TB7) Canada/United States of America, enUSA, First Printing Fuel and RefuelingE154765
Page 272 of 421

REPAIRING MINOR PAINT
DAMAGE
Authorized dealers have touch-up paint to
match your vehicle
’s color. Your vehicle
color code is printed on a sticker on the
front, left-hand side door jamb. Take your
color code to your authorized dealer to
make sure you get the correct color.
Before repairing minor paint damage, use
a cleaner such as Motorcraft Bug and Tar
Remover to remove particles such as bird
droppings, tree sap, insect deposits, tar
spots, road salt and industrial fallout.
Always read the instructions before using
cleaning products.
CLEANING THE ALLOY
WHEELS
Note: Do not apply a cleaning chemical to
warm or hot wheel rims and covers.
Note: Some automatic car washes may
cause damage to the finish on your wheel
rims and covers.
Note: Industrial-strength or heavy-duty
cleaners in combination with brush agitation
to remove brake dust and dirt, could wear
away the clear coat finish over a period time.
Note: Do not use hydrofluoric acid-based
or high caustic-based wheel cleaners, steel
wool, fuels or strong household detergents.
Note: If you intend parking your vehicle for
an extended period after cleaning the
wheels with a wheel cleaner, drive your
vehicle for a few minutes before doing so.
This will reduce the risk of increased
corrosion of the brake discs.
Alloy wheels and wheel covers are coated
with a clear coat paint finish. To maintain
their condition we recommend that you: •
Clean the wheels weekly using
Motorcraft Wheel and Tire Cleaner.
Apply using manufacturer's
instructions.
• Use a sponge to remove heavy
deposits of dirt and brake dust
accumulation.
• Rinse thoroughly with a strong stream
of water when you have completed the
cleaning process.
• To remove tar and grease, use
Motorcraft Bug and Tar Remover.
VEHICLE STORAGE
If you plan on storing your vehicle for 30
days or more, read the following
maintenance recommendations to make
sure your vehicle stays in good operating
condition.
We engineer and test all motor vehicles
and their components for reliable, regular
driving. Under various conditions,
long-term storage may lead to degraded
engine performance or failure unless you
use specific precautions to preserve engine
components.
General
• Store all vehicles in a dry, ventilated
place.
• Protect from sunlight, if possible.
• If vehicles are stored outside, they
require regular maintenance to protect
against rust and damage.
Body
• Wash your vehicle thoroughly to
remove dirt, grease, oil, tar or mud from
exterior surfaces, rear-wheel housing
and the underside of front fenders.
• Periodically wash your vehicle if it is
stored in exposed locations.
269
Expedition (TB7) Canada/United States of America, enUSA, First Printing Vehicle Care