ECO mode FORD EXPEDITION 2016 3.G Quick Reference Guide
[x] Cancel search | Manufacturer: FORD, Model Year: 2016, Model line: EXPEDITION, Model: FORD EXPEDITION 2016 3.GPages: 10, PDF Size: 3.01 MB
Page 4 of 10

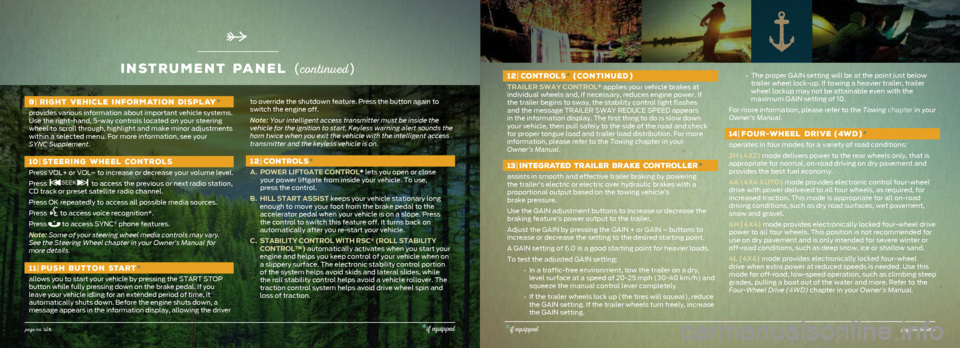
12| CONTROLS * (CONTINUED )
TRAILER SWAY CONTROL* applies your vehicle brakes at
individual wheels and, if necessary, reduces engine power. If
the trailer begins to sway, the stability control light flashes
and the message TRAILER SWAY REDUCE SPEED appears
in the information display. The first thing to do is slow down
your vehicle, then pull safely to the side of the road and check
for proper tongue load and trailer load distribution. For more
information, please refer to the Towing chapter in your
Owner’s Manual.
13 | INTEGRATED TRAILER BRAKE CONTROLLER *
assists in smooth and effective trailer braking by powering
the trailer’s electric or electric over hydraulic brakes with a
proportional output based on the towing vehicle’s
brake pressure.
Use the GAIN adjustment buttons to increase or decrease the
braking feature’s power output to the trailer.
Adjust the GAIN by pressing the GAIN + or GAIN – buttons to
increase or decrease the setting to the desired starting point.
A GAIN setting of 6.0 is a good starting point for heavier loads.
To test the adjusted GAIN setting:
• In a traffic-free environment, tow the trailer on a dry,
level surface at a speed of 20-25 mph (30-40 km/h) and
squeeze the manual control lever completely.
• If the trailer wheels lock up (the tires will squeal), reduce
the GAIN setting. If the trailer wheels turn freely, increase
the GAIN setting.
• The proper GAIN setting will be at the point just below
trailer wheel lock-up. If towing a heavier trailer, trailer
wheel lockup may not be attainable even with the
maximum GAIN setting of 10.
For more information, please refer to the Towing chapter in your
Owner’s Manual.
14 | FOUR -WHEEL DRIVE (4W D )*
operates in four modes for a variety of road conditions:
2H (4X2) mode delivers power to the rear wheels only, that is
appropriate for normal, on-road driving on dry pavement and
provides the best fuel economy.
4A (4X4 AUTO) mode provides electronic control four-wheel
drive with power delivered to all four wheels, as required, for
increased traction. This mode is appropriate for all on-road
driving conditions, such as dry road surfaces, wet pavement,
snow and gravel.
4H (4X4) mode provides electronically locked four-wheel drive
power to all four wheels. This position is not recommended for
use on dry pavement and is only intended for severe winter or
off-road conditions, such as deep snow, ice or shallow sand.
4L (4X4) mode provides electronically locked four-wheel
drive when extra power at reduced speeds is needed. Use this
mode for off-road, low-speed operation, such as climbing steep
grades, pulling a boat out of the water and more. Refer to the
Four-Wheel Drive (4WD) chapter in your Owner’s Manual.
inStrument panel (co ntinued )
page no. six*if equipped*if equippedpage no. seven
9| RIGHT VEHICLE INFORMATION DISPLAY *
provides various information about important vehicle systems.
Use the right-hand, 5-way controls located on your steering
wheel to scroll through, highlight and make minor adjustments
within a selected menu. For more information, see your
SYNC Supplement.
10 | STEERING WHEEL CONTROLS
Press VOL+ or VOL– to increase or decrease your volume level.
Press
to access the previous or next radio station,
CD track or preset satellite radio channel.
Press OK repeatedly to access all possible media sources.
Press
to access voice recognition*.
Press
to access SYNC® phone features.
Note: Some of your steering wheel media controls may vary.
See the Steering Wheel chapter in your Owner’s Manual for
more details.
11| PUSH BUTTON START *
allows you to start your vehicle by pressing the START STOP
button while fully pressing down on the brake pedal. If you
leave your vehicle idling for an extended period of time, it
automatically shuts down. Before the engine shuts down, a
message appears in the information display, allowing the driver
to override the shutdown feature. Press the button again to
switch the engine off.
Note: Your intelligent access transmitter must be inside the
vehicle for the ignition to start. Keyless warning alert sounds the
horn twice when you exit the vehicle with the intelligent access
transmitter and the keyless vehicle is on.
12| CONTROLS *
A. POWER LIFTGATE CONTROL* lets you open or close
your power liftgate from inside your vehicle. To use,
press the control.
B. HILL START ASSIST keeps your vehicle stationary long
enough to move your foot from the brake pedal to the
accelerator pedal when your vehicle is on a slope. Press
the control to switch this feature off. It turns back on
automatically after you re-start your vehicle.
C. STABILITY CONTROL WITH RSC
® (ROLL STABILITY
CONTROL™) automatically activates when you start your
engine and helps you keep control of your vehicle when on
a slippery surface. The electronic stability control portion
of the system helps avoid skids and lateral slides, while
the roll stability control helps avoid a vehicle rollover. The
traction control system helps avoid drive wheel spin and
loss of traction.
Page 6 of 10

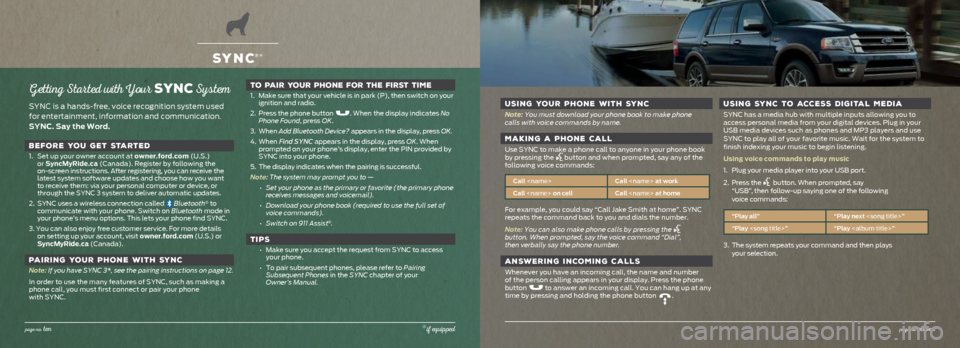
Getting Started with Your SYNC System
SYNC is a hands-free, voice recognition system used
for entertainment, information and communication.
SYNC. Say the Word.BEFORE YOU GET STARTED
1. Set up your owner account at owner.ford.com (U.S.)
or SyncMyRide.ca (Canada). Register by following the
on-screen instructions. After registering, you can receive the
latest system software updates and choose how you want
to receive them: via your personal computer or device, or
through the SYNC 3 system to deliver automatic updates.
2. SYNC uses a wireless connection called
Bluetooth® to
communicate with your phone. Switch on Bluetooth mode in
your phone’s menu options. This lets your phone find SYNC.
3. You can also enjoy free customer service. For more details on setting up your account, visit owner.ford.com (U.S.) or
SyncMyRide.ca (Canada).
PAIRING YOUR PHONE WITH SYNC
Note: If you have SYNC 3*, see the pairing instructions on page 12.
In order to use the many features of SYNC, such as making a
phone call, you must first connect or pair your phone
with SYNC.
TO PAIR YOUR PHONE FOR THE FIRST TIME
1. Make sure that your vehicle is in park (P), then switch on your
ignition and radio.
2. Press the phone button
. When the display indicates No
Phone Found, press OK.
3. When Add Bluetooth Device? appears in the display, press OK.
4. When Find SYNC appears in the display, press OK. When
prompted on your phone’s display, enter the PIN provided by
SYNC into your phone.
5. The display indicates when the pairing is successful.
Note: The system may prompt you to — • Set your phone as the primary or favorite (the primary phone
receives messages and voicemail).
• Download your phone book (required to use the full set of
voice commands).
• Switch on 911 Assist
®.
TIPS
• Make sure you accept the request from SYNC to access
your phone.
• To pair subsequent phones, please refer to Pairing
Subsequent Phones in the SYNC chapter of your
Owner’s Manual.
SYNC®*
USING YOUR PHONE WITH SYNC
Note: You must download your phone book to make phone
calls with voice commands by name.
MAKING A PHONE CALL
Use SYNC to make a phone call to anyone in your phone book
by pressing the button and when prompted, say any of the
following voice commands:
Call
Call
For example, you could say “Call Jake Smith at home”. SYNC
repeats the command back to you and dials the number.
Note: You can also make phone calls by pressing the
button. When prompted, say the voice command “Dial”,
then verbally say the phone number.
ANSWERING INCOMING CALLS
Whenever you have an incoming call, the name and number
of the person calling appears in your display. Press the phone
button
to answer an incoming call. You can hang up at any
time by pressing and holding the phone button .
USING SYNC TO ACCESS DIGITAL MEDIA
SYNC has a media hub with multiple inputs allowing you to
access personal media from your digital devices. Plug in your
USB media devices such as phones and MP3 players and use
SYNC to play all of your favorite music. Wait for the system to
finish indexing your music to begin listening.
Using voice commands to play music
1. Plug your media player into your USB port.
2. Press the
button. When prompted, say
“USB”, then follow-up saying one of the following
voice commands:
“Play all” “Play next
“Play
3. The system repeats your command and then plays
your selection.
page no. ten*if equippedpage no. eleven
Page 8 of 10

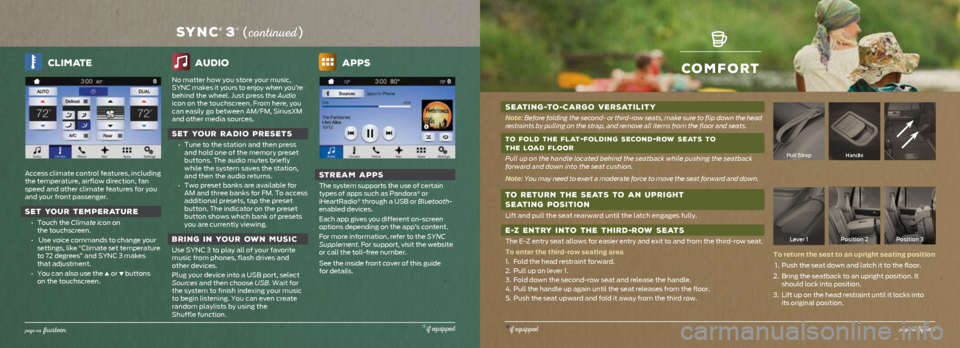
comfort
SEATING-TO -CARGO VERSATILITY
Note: Before folding the second- or third-row seats, make sure to flip down th\
e head
restraints by pulling on the strap, and remove all items from the floor \
and seats.
TO FOLD THE FLAT
-FOLDING SECOND-ROW SEATS TO
THE LOAD FLOOR
Pull up on the handle located behind the seatback while pushing the seat\
back
forward and down into the seat cushion.
Note: You may need to exert a moderate force to move the seat forward and dow\
n.
TO RETURN THE SEATS TO AN UPRIGHT
SEATING POSITION
Lift and pull the seat rearward until the latch engages fully.
E -Z ENTRY INTO THE THIRD -ROW SEATS
The E-Z entry seat allows for easier entry and exit to and from the thir\
d-row seat.
To enter the third-row seating area
1. Fold the head restraint forward.
2. Pull up on lever 1.
3. Fold down the second-row seat and release the handle.
4. Pull the handle up again until the seat releases from the floor.
5. Push the seat upward and fold it away from the third row.
Pull StrapHandle
Lever 1 Position 2 Position 3
To return the seat to an upright seating position
1. Push the seat down and latch it to the floor.
2. Bring the seatback to an upright position. It
should lock into position.
3. Lift up on the head restraint until it locks into
its original position.
*if equippedpage no. fifte en
Climate
Access climate control features, including
the temperature, airflow direction, fan
speed and other climate features for you
and your front passenger.
SET YOUR TEMPERATURE
• Touch the Climate icon on
the touchscreen.
• Use voice commands to change your
settings, like “Climate set temperature
to 72 degrees” and SYNC 3 makes
that adjustment.
• You can also use the
▲ or ▼ buttons
on the touchscreen.
audio
No matter how you store your music,
SYNC makes it yours to enjoy when you’re
behind the wheel. Just press the Audio
icon on the touchscreen. From here, you
can easily go between AM/FM, SiriusXM
and other media sources.
SET YOUR RADIO PRESETS
• Tune to the station and then press
and hold one of the memory preset
buttons. The audio mutes briefly
while the system saves the station,
and then the audio returns.
• Two preset banks are available for
AM and three banks for FM. To access
additional presets, tap the preset
button. The indicator on the preset
button shows which bank of presets
you are currently viewing.
BRING IN YOUR OWN MUSIC
Use SYNC 3 to play all of your favorite
music from phones, flash drives and
other devices.
Plug your device into a USB port, select
Sources and then choose USB. Wait for
the system to finish indexing your music
to begin listening. You can even create
random playlists by using the
Shuffle function.
Apps
STREAM APPS
The system supports the use of certain
types of apps such as Pandora® or
iHeartRadio® through a USB or Bluetooth-
enabled devices.
Each app gives you different on-screen
options depending on the app’s content.
For more information, refer to the SYNC
Supplement. For support, visit the website
or call the toll-free number.
See the inside front cover of this guide
for details.
SYNC® 3* ( co ntinued )
page no. fo urteen*if equipped