FORD EXPLORER 1997 2.G Owners Manual
Manufacturer: FORD, Model Year: 1997, Model line: EXPLORER, Model: FORD EXPLORER 1997 2.GPages: 236, PDF Size: 2.43 MB
Page 211 of 236
4. Lock the bulb assembly into
place by turning it clockwise until
it stops.
Highmount brakelamp
The highmount brakelamp is
located just above the rear liftgate
window. For bulb replacement, see
a dealer or qualified service
technician.
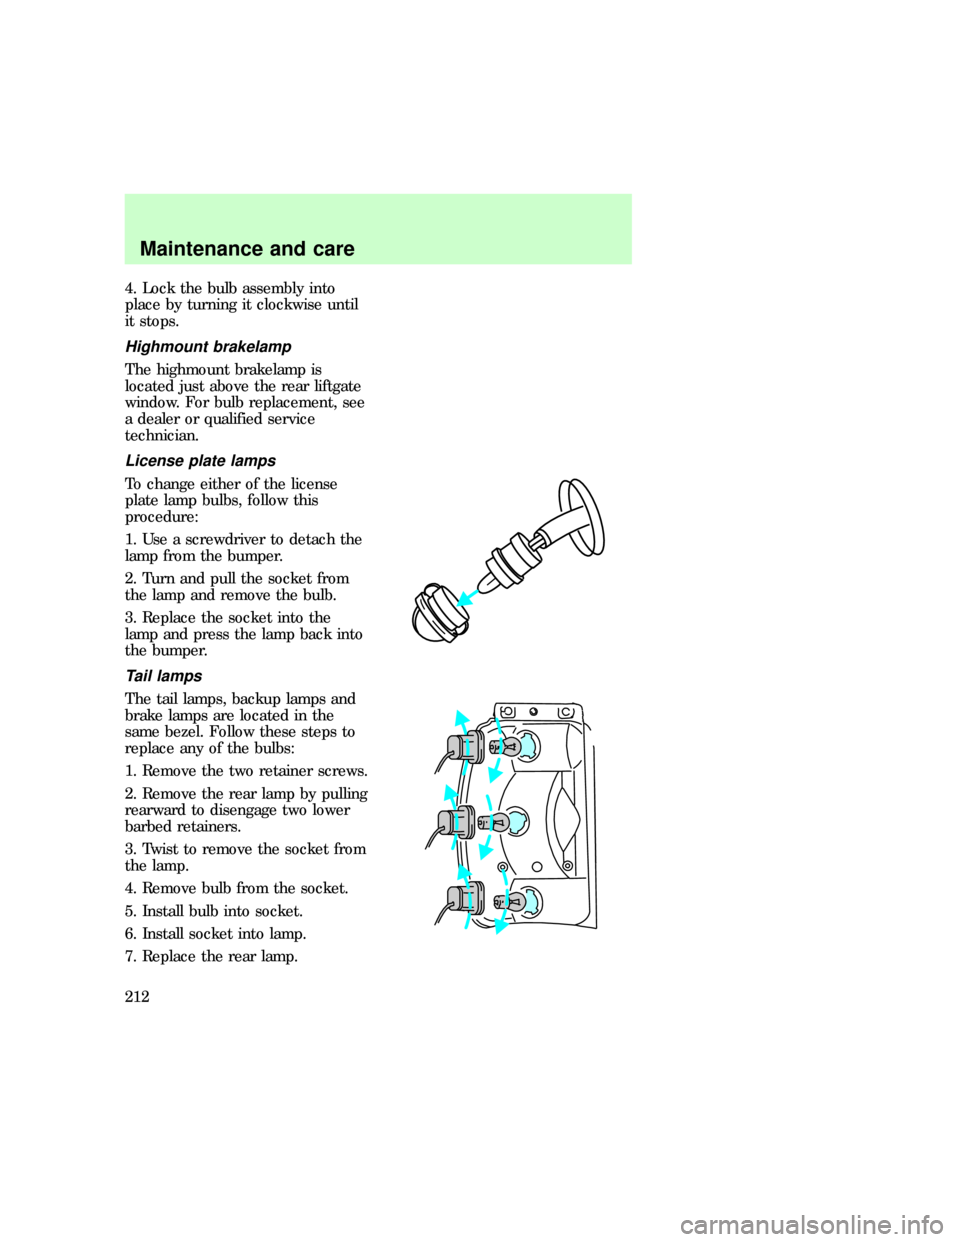
License plate lamps
To change either of the license
plate lamp bulbs, follow this
procedure:
1. Use a screwdriver to detach the
lamp from the bumper.
2. Turn and pull the socket from
the lamp and remove the bulb.
3. Replace the socket into the
lamp and press the lamp back into
the bumper.
Tail lamps
The tail lamps, backup lamps and
brake lamps are located in the
same bezel. Follow these steps to
replace any of the bulbs:
1. Remove the two retainer screws.
2. Remove the rear lamp by pulling
rearward to disengage two lower
barbed retainers.
3. Twist to remove the socket from
the lamp.
4. Remove bulb from the socket.
5. Install bulb into socket.
6. Install socket into lamp.
7. Replace the rear lamp.
uno_highmount
uno_license_plate
uno_tail_lamps
uno_interior_bulbs
Maintenance and care
212
Page 212 of 236
Replacing the interior bulbs
Check the operation of the
following interior bulbs frequently:
²interior overhead lamp
²map lamp
²courtesy and cargo lamps
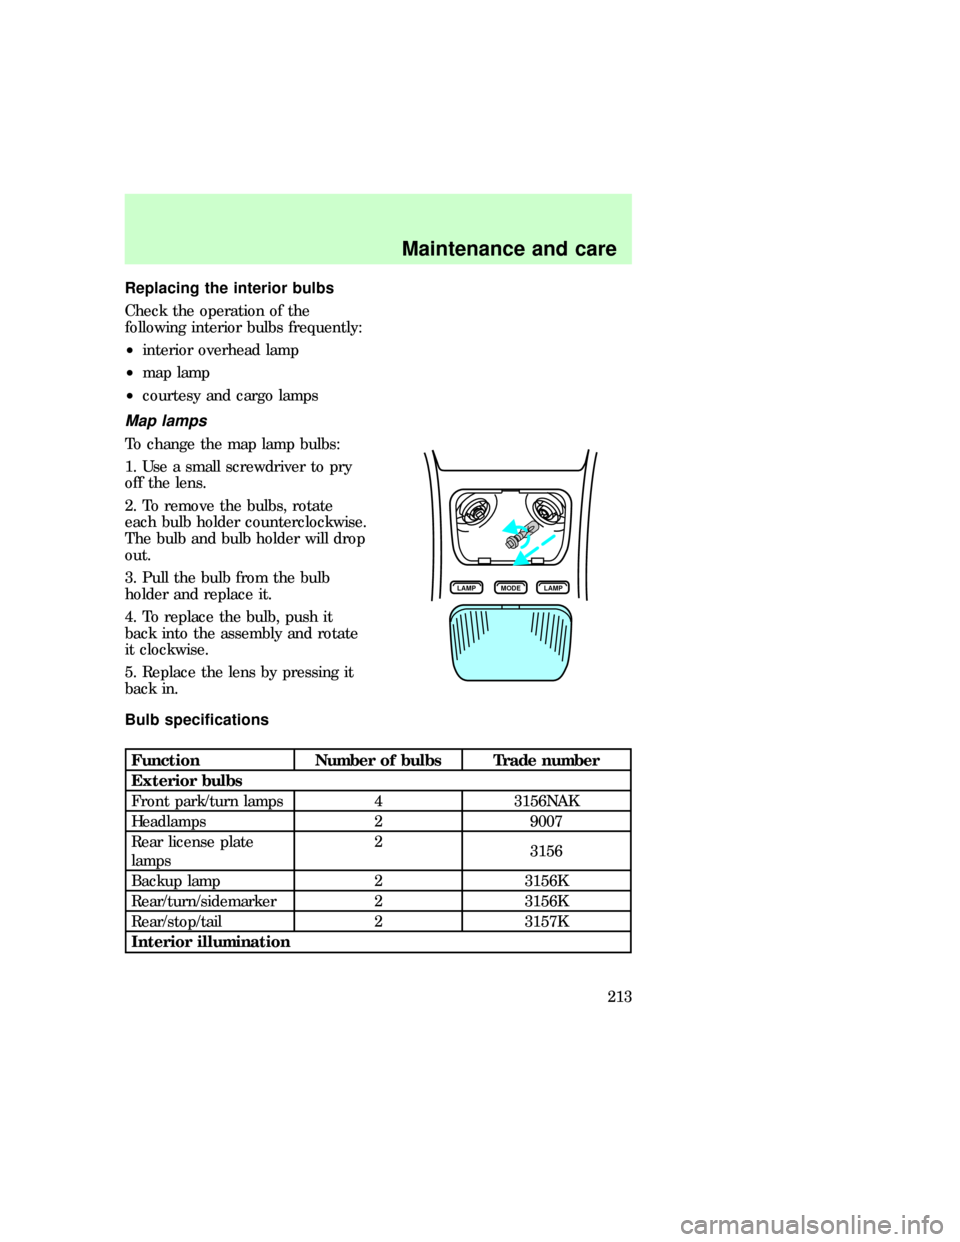
Map lamps
To change the map lamp bulbs:
1. Use a small screwdriver to pry
off the lens.
2. To remove the bulbs, rotate
each bulb holder counterclockwise.
The bulb and bulb holder will drop
out.
3. Pull the bulb from the bulb
holder and replace it.
4. To replace the bulb, push it
back into the assembly and rotate
it clockwise.
5. Replace the lens by pressing it
back in.
Bulb specifications
Function Number of bulbs Trade number
Exterior bulbs
Front park/turn lamps 4 3156NAK
Headlamps 2 9007
Rear license plate
lamps2
3156
Backup lamp 2 3156K
Rear/turn/sidemarker 2 3156K
Rear/stop/tail 2 3157K
Interior illumination
LAMP LAMPMODE
uno_maplamps
uno_bulb_spec_chart
Maintenance and care
213
Page 213 of 236
Function Number of bulbs Trade number
Cargo lamp 1 211-2
Interior overhead lamp 1 912 (906)
Front door courtesy
lamp1
168
Map lamps 2 168 (T10)
Ashtray lamp 1 161
Glove compartment
lamp1
194
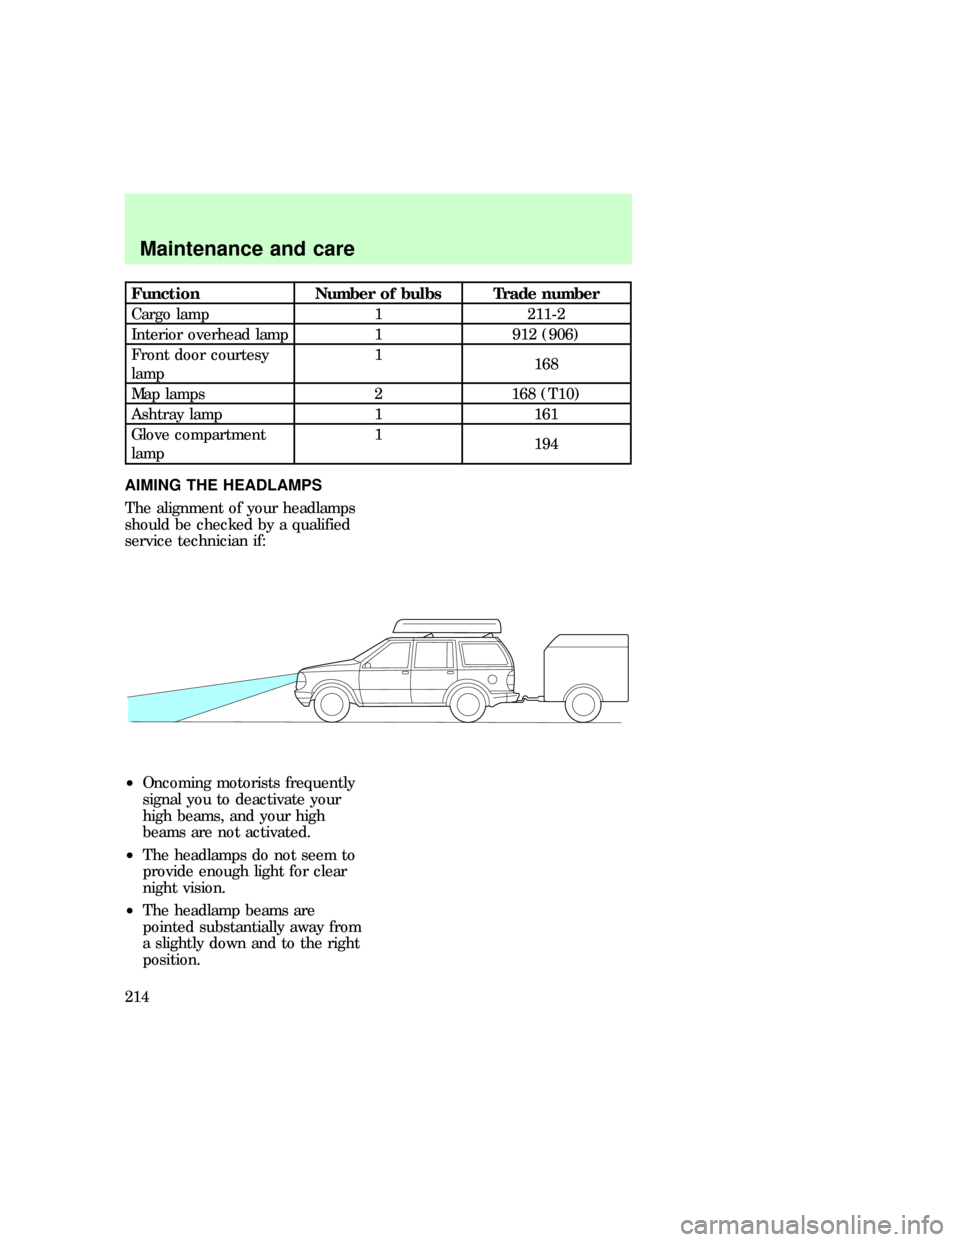
AIMING THE HEADLAMPS
The alignment of your headlamps
should be checked by a qualified
service technician if:
²Oncoming motorists frequently
signal you to deactivate your
high beams, and your high
beams are not activated.
²The headlamps do not seem to
provide enough light for clear
night vision.
²The headlamp beams are
pointed substantially away from
a slightly down and to the right
position.
uno_aiming_headlamps
com_cleaning_caring.01
Maintenance and care
214
Page 214 of 236
CLEANING AND CARING FOR
YOUR VEHICLE
Refer to the ªCustomer Assistance
Guideº for a list of Ford-approved
cleaners, polishes and waxes.
Washing your vehicle
Wash your vehicle regularly with
cold or lukewarm water. Never use
strong detergents or soap. If your
vehicle is particularly dirty, use a
quality car wash detergent. Always
use a clean sponge, washing glove
or similar device and plenty of
water for best results. To avoid
spots, avoid washing when the
hood is still warm, immediately
after or during exposure to strong
sunlight.
During winter months, it is
especially important to wash the
vehicle on a regular basis. Large
quantities of dirt and road salt are
difficult to remove, and they also
cause damage to the vehicle.
Remove any exterior accessories,
such as antennas, before entering
a car wash.
²After washing, apply the brakes
several times to dry them.
Waxing your vehicle
The best way to determine when
the paintwork needs waxing is by
noting when water stops beading
on the surface. This could be every
three or four months, depending
on operating conditions.
Use only carnauba or
synthetic-based waxes. Remove
com_washing_vehicle.01
com_waxing_vehicle.01
Maintenance and care
215
Page 215 of 236
any bugs and tar before waxing
vehicle. Use cleaning fluid or
alcohol with a clean cloth to
remove. Use tar remover to
remove any tar spots.
Repairing paint chips
Minor scratches or paint damage
from road debris may be repaired
with touch-up paint, paint repair
foil or aerosol paint spray from the
Ford accessory line. Observe the
application instructions on the
products.
Remove particles such as bird
droppings, tree sap, insect
remains, tar spots, road salt and
industrial fallout immediately.
Cleaning the wheels
Wash the wheels with the same
detergent you use to clean the
body of your vehicle. Do not use
acid-based wheel cleaners, steel
wool, fuel or strong detergents.
Never use abrasives that will
damage the finish of special wheel
surfaces. Use a tar remover to
remove grease and tar.
Cleaning the engine
Engines are more efficient when
they are clean because grease and
dirt buildup act as insulators and
keep the engine warmer than
normal. Follow these guidelines to
clean your engine:
²Take care when using a power
washer to clean the engine. The
com_repairing_chips
uno_wheels_cleaning
com_engine_cleaning.01
Maintenance and care
216
Page 216 of 236
high pressure fluid could
penetrate the sealed parts and
cause damage.
²Do not spray with cold water to
avoid cracking the engine block.
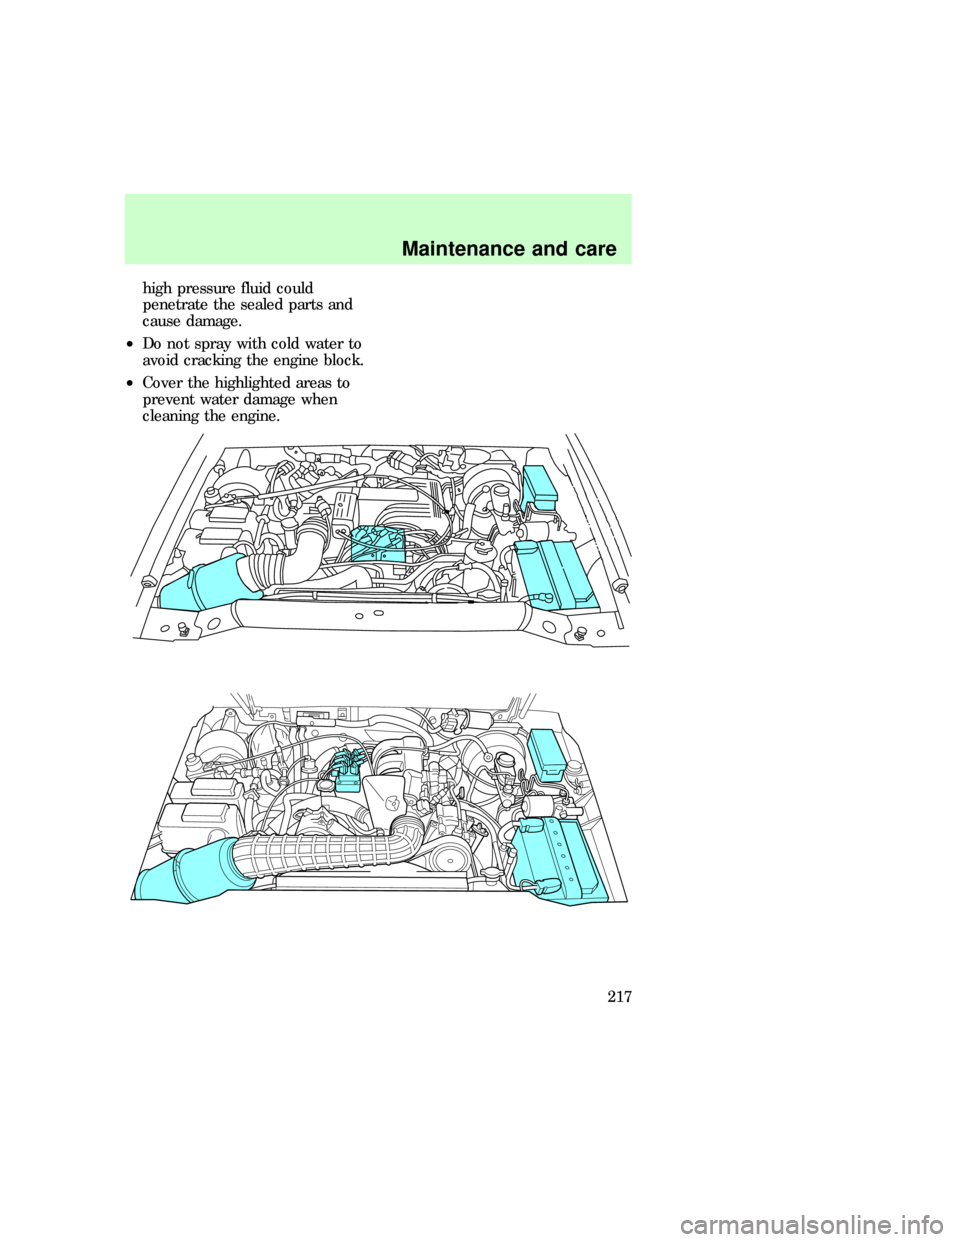
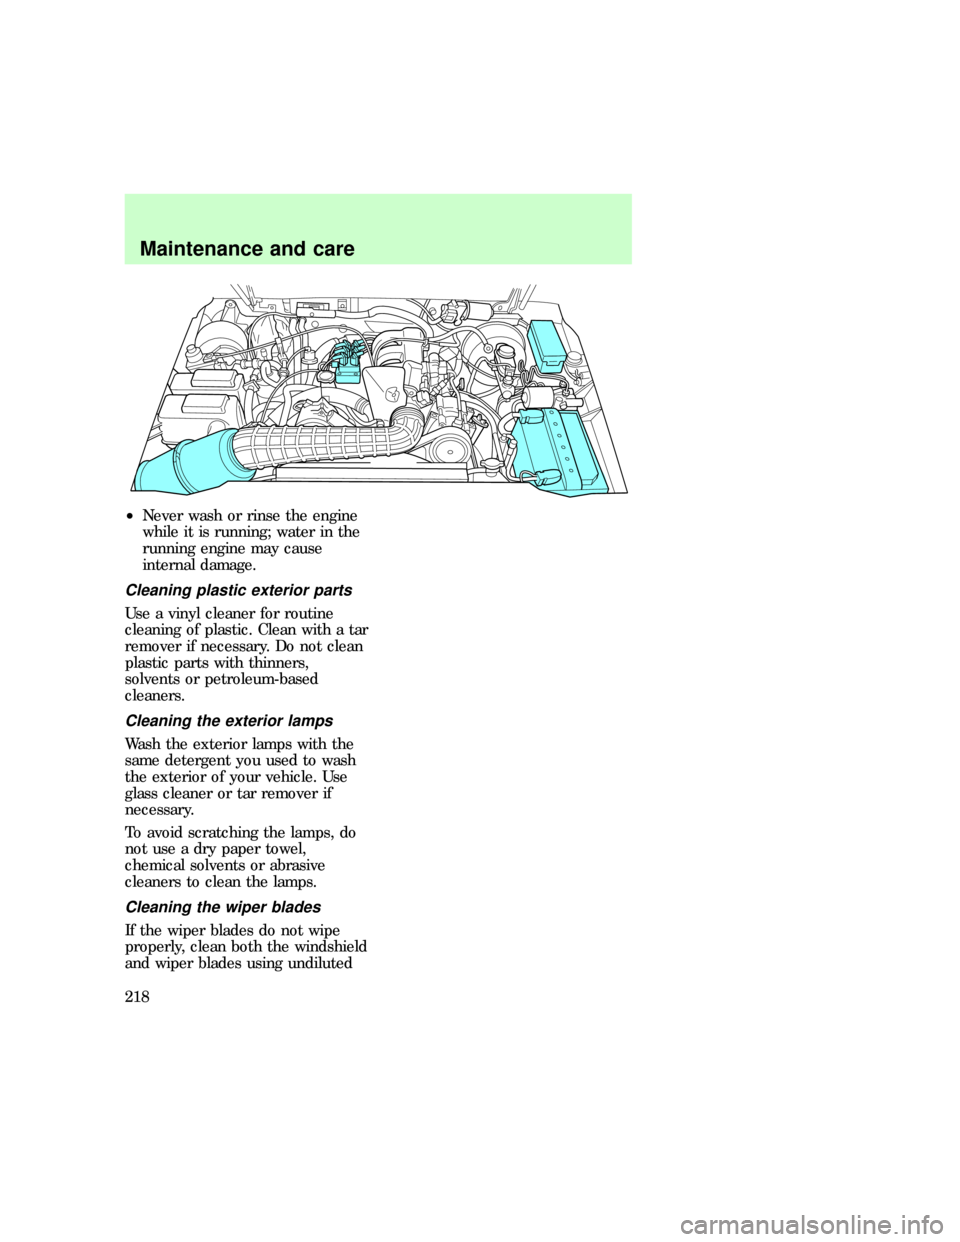
²Cover the highlighted areas to
prevent water damage when
cleaning the engine.
Maintenance and care
217
Page 217 of 236
²Never wash or rinse the engine
while it is running; water in the
running engine may cause
internal damage.
Cleaning plastic exterior parts
Use a vinyl cleaner for routine
cleaning of plastic. Clean with a tar
remover if necessary. Do not clean
plastic parts with thinners,
solvents or petroleum-based
cleaners.
Cleaning the exterior lamps
Wash the exterior lamps with the
same detergent you used to wash
the exterior of your vehicle. Use
glass cleaner or tar remover if
necessary.
To avoid scratching the lamps, do
not use a dry paper towel,
chemical solvents or abrasive
cleaners to clean the lamps.
Cleaning the wiper blades
If the wiper blades do not wipe
properly, clean both the windshield
and wiper blades using undiluted
com_plastic_exterior.01
uno_exterior_lamps
uno_wiper_cleaning
Maintenance and care
218
Page 218 of 236
windshield wiper solution or a mild
detergent. Rinse thoroughly with
clean water. To avoid damaging the
blades, do not use fuel, kerosene,
paint thinner or other solvents.
Cleaning the instrument panel
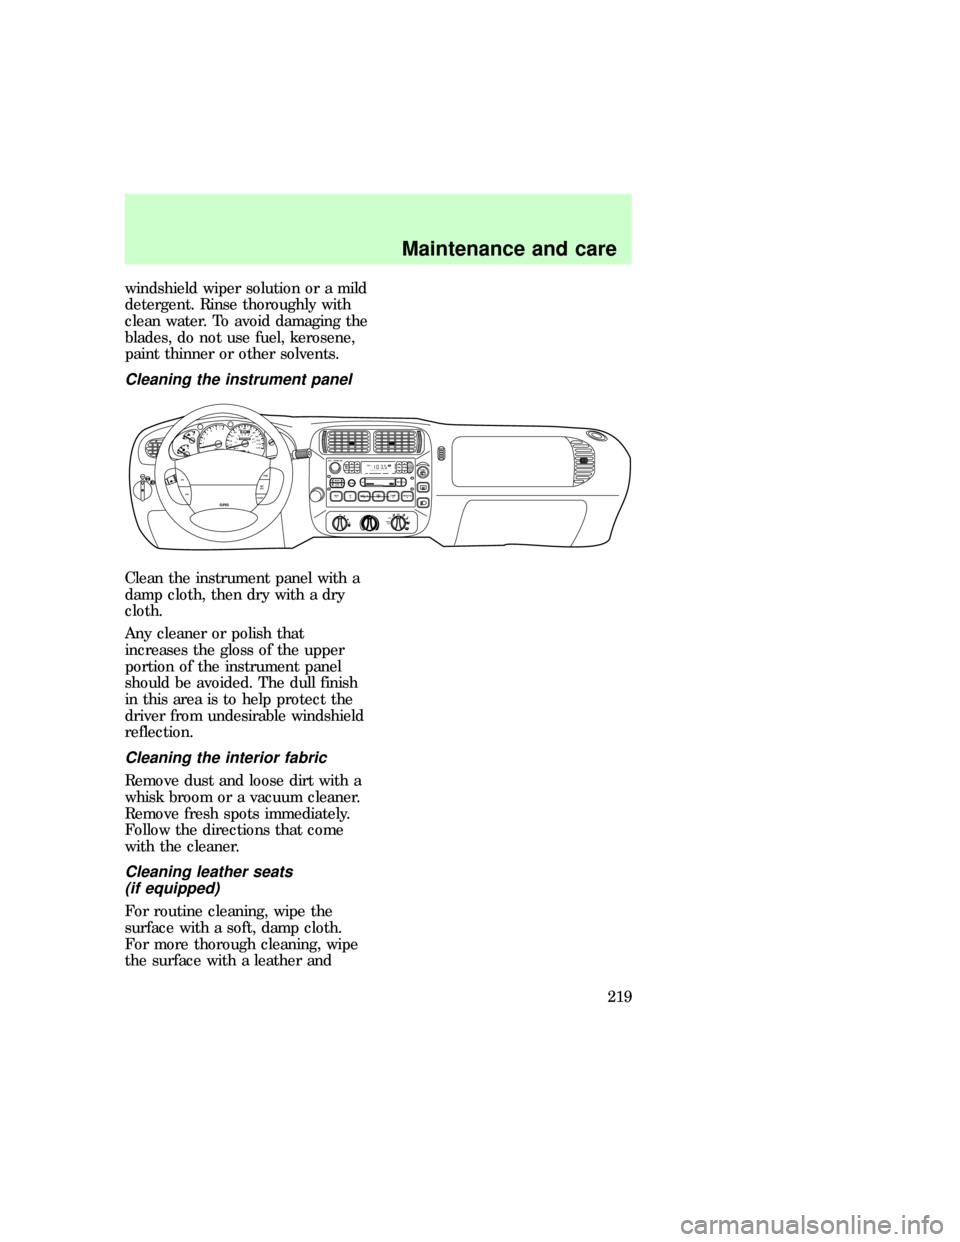
Clean the instrument panel with a
damp cloth, then dry with a dry
cloth.
Any cleaner or polish that
increases the gloss of the upper
portion of the instrument panel
should be avoided. The dull finish
in this area is to help protect the
driver from undesirable windshield
reflection.
Cleaning the interior fabric
Remove dust and loose dirt with a
whisk broom or a vacuum cleaner.
Remove fresh spots immediately.
Follow the directions that come
with the cleaner.
Cleaning leather seats
(if equipped)
For routine cleaning, wipe the
surface with a soft, damp cloth.
For more thorough cleaning, wipe
the surface with a leather and
0P RND21RPM x 100012345
6H
C
EF
RSM
SET
ACC
COAST OFF ONOFF
SRS
HI LOOFF*A/C*MAX
A/C
REW
1FF
2SIDE 1-2
3
FM 1STVOL – PUSH ON
AM
FMBASS TREBBAL FADE
AUTO
SET CLK
SEEKTUNE
DISCSSCAN4DOLBY SYSTEMEJTAPE CDCOMP5SHUFFLE
6
PUSH
020
1030405060
70
80
90
110
120000000oooo
km/h10020406080100
120
140
160
180
uno_instru-panel_cleaning
com_int_fabric_cleaning.01
com_leather_seats_cleaning.01
Maintenance and care
219
Page 219 of 236
vinyl cleaner or a mild soap.
Cleaning and maintaining the
safety belts
Clean the safety belts with a mild
soap solution recommended for
cleaning upholstery or carpets. Do
not bleach or dye the belts,
because these actions may weaken
the belt webbing.
All safety belt assemblies,
including retractors, buckles, front
seat belt buckle support assemblies
(slide bar) (if equipped), shoulder
belt height adjusters (if equipped),
child safety seat tether bracket
assemblies (if equipped) and
attaching hardware should be
inspected after any collision. Ford
recommends that all safety belt
assemblies used in vehicles
involved in a collision be replaced.
However, if the collision was minor
and a qualified technician finds
that the belts do not show damage
and continue to operate properly,
they do not need to be replaced.
Safety belt assemblies not in use
during a collision should also be
inspected and replaced if either
damage or improper operation is
noted.
Cleaning the built-in child seat
(if equipped)
Clean the built-in child seat with
mild soap and water. Do not use
household cleaning products
because they may weaken the
safety belt webbing or damage the
vinyl parts of the seat.
com_safety_belts_cleaning.01
com_child-seat_cleaning.01
Maintenance and care
220
Page 220 of 236
The child seat liner is removable
and may be machine-washed and
air dried.
Maintenance and care
221