remove seats FORD EXPLORER 1998 2.G Owners Manual
[x] Cancel search | Manufacturer: FORD, Model Year: 1998, Model line: EXPLORER, Model: FORD EXPLORER 1998 2.GPages: 210, PDF Size: 1.65 MB
Page 25 of 210

the floor ducts will be slightly warmer than the air sent to the
instrument panel registers. If the temperature is about 10ÉC (50ÉF) or
higher, the air conditioner will automatically dehumidify the air to
prevent fogging.
²
-Distributes outside air through the windshield defroster ducts.
It can be used to clear ice or fog from the windshield. If the
temperature is about 10ÉC (50ÉF) or higher, the air conditioner will
automatically dehumidify the air to prevent fogging.
Operating tips
²In humid weather, selectbefore driving. This will prevent your
windshield from fogging. After a few minutes, select any desired
position.
²To prevent humidity buildup inside the vehicle, don't drive with the
climate control system in the OFF position.
²Don't put objects under the front seat that will interfere with the
airflow to the back seats.
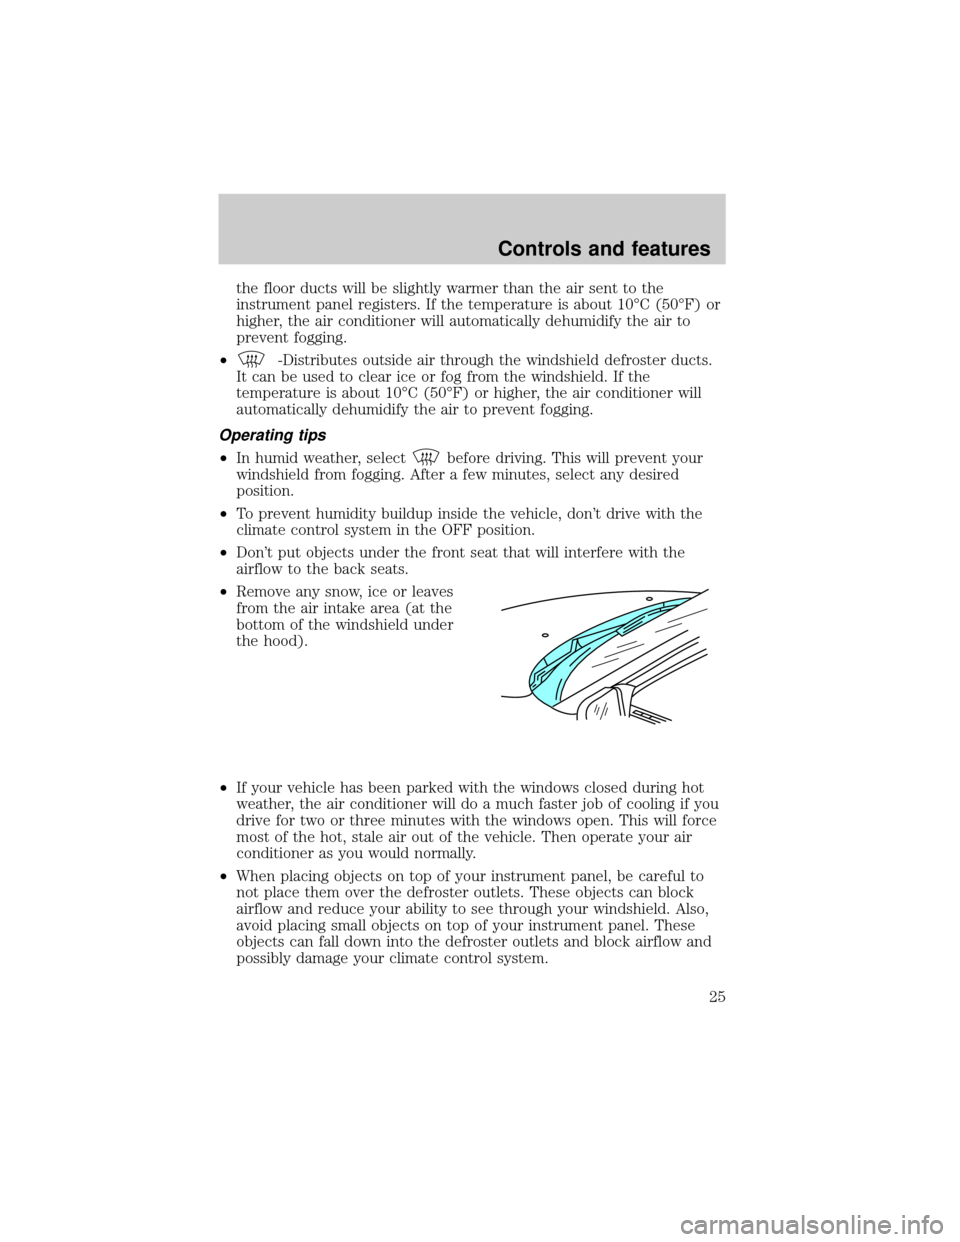
²Remove any snow, ice or leaves
from the air intake area (at the
bottom of the windshield under
the hood).
²If your vehicle has been parked with the windows closed during hot
weather, the air conditioner will do a much faster job of cooling if you
drive for two or three minutes with the windows open. This will force
most of the hot, stale air out of the vehicle. Then operate your air
conditioner as you would normally.
²When placing objects on top of your instrument panel, be careful to
not place them over the defroster outlets. These objects can block
airflow and reduce your ability to see through your windshield. Also,
avoid placing small objects on top of your instrument panel. These
objects can fall down into the defroster outlets and block airflow and
possibly damage your climate control system.
Controls and features
25
Page 31 of 210

Operating tips
²In humid weather, select DEFbefore driving. This will prevent
your windshield from fogging. After a few minutes, select any desired
position.
²To prevent humidity buildup inside the vehicle, don't drive with the
climate control system in the OFF position.
²Don't put objects under the front seat that will interfere with the
airflow to the back seats.
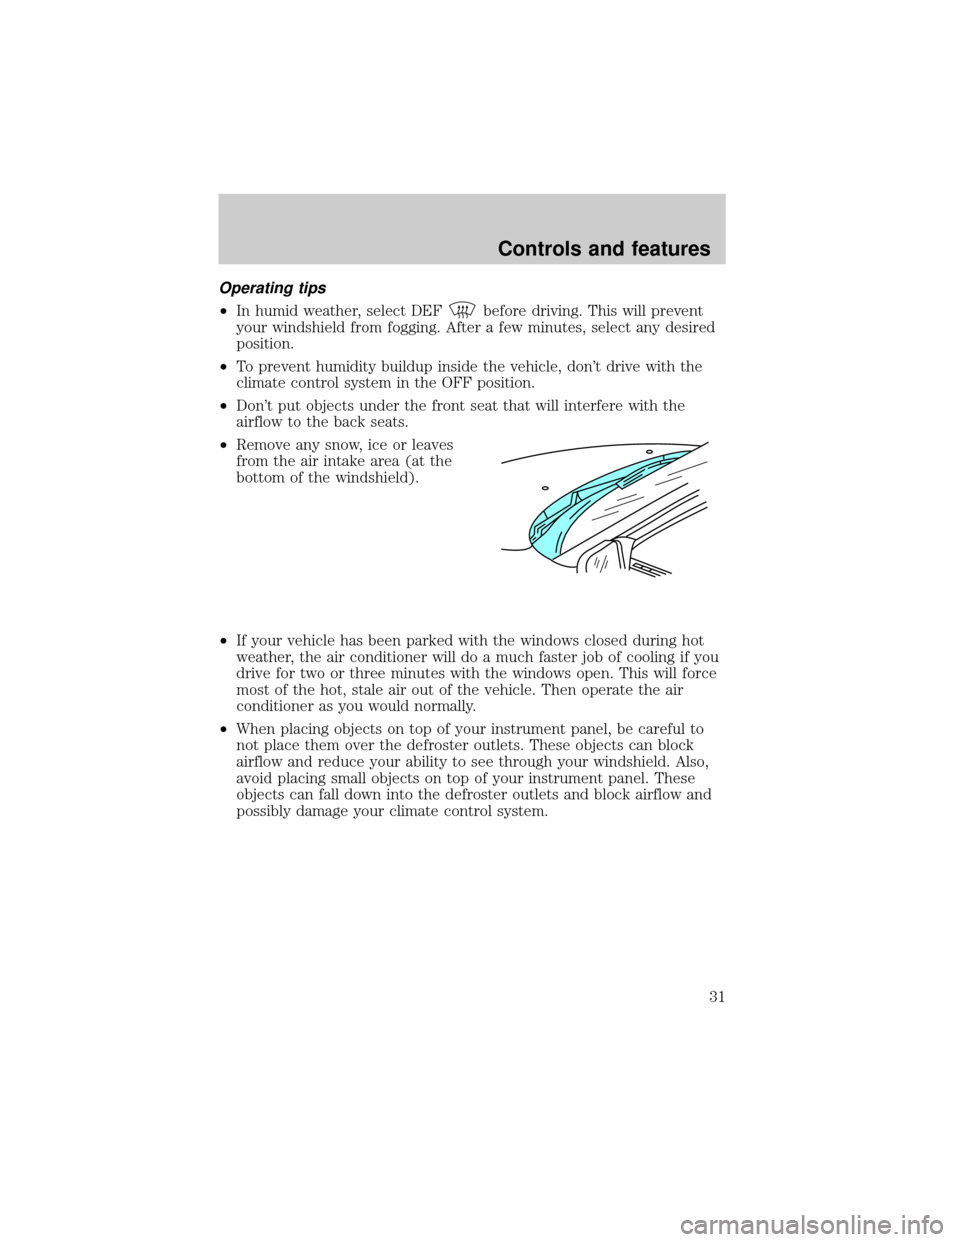
²Remove any snow, ice or leaves
from the air intake area (at the
bottom of the windshield).
²If your vehicle has been parked with the windows closed during hot
weather, the air conditioner will do a much faster job of cooling if you
drive for two or three minutes with the windows open. This will force
most of the hot, stale air out of the vehicle. Then operate the air
conditioner as you would normally.
²When placing objects on top of your instrument panel, be careful to
not place them over the defroster outlets. These objects can block
airflow and reduce your ability to see through your windshield. Also,
avoid placing small objects on top of your instrument panel. These
objects can fall down into the defroster outlets and block airflow and
possibly damage your climate control system.
Controls and features
31
Page 78 of 210

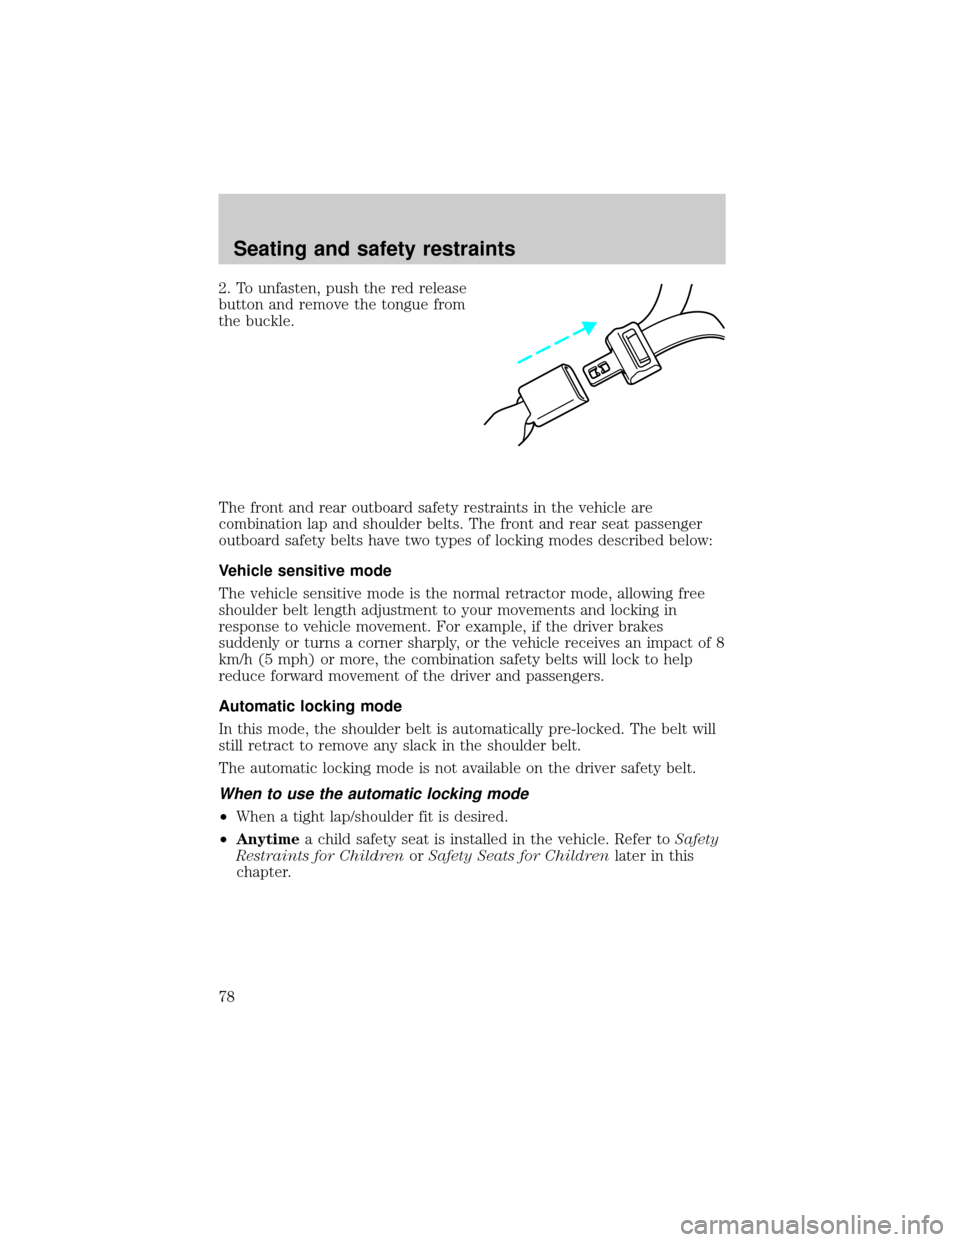
2. To unfasten, push the red release
button and remove the tongue from
the buckle.
The front and rear outboard safety restraints in the vehicle are
combination lap and shoulder belts. The front and rear seat passenger
outboard safety belts have two types of locking modes described below:
Vehicle sensitive mode
The vehicle sensitive mode is the normal retractor mode, allowing free
shoulder belt length adjustment to your movements and locking in
response to vehicle movement. For example, if the driver brakes
suddenly or turns a corner sharply, or the vehicle receives an impact of 8
km/h (5 mph) or more, the combination safety belts will lock to help
reduce forward movement of the driver and passengers.
Automatic locking mode
In this mode, the shoulder belt is automatically pre-locked. The belt will
still retract to remove any slack in the shoulder belt.
The automatic locking mode is not available on the driver safety belt.
When to use the automatic locking mode
²When a tight lap/shoulder fit is desired.
²Anytimea child safety seat is installed in the vehicle. Refer toSafety
Restraints for ChildrenorSafety Seats for Childrenlater in this
chapter.
Seating and safety restraints
78
Page 144 of 210

CHANGING THE TIRES
If you get a flat tire while driving, do not apply the brake heavily.
Instead, gradually decrease your speed. Hold the steering wheel firmly
and slowly move to a safe place on the side of the road.
Spare tire information
Your vehicle is equipped with a spare tire that may be used as a spare or
a regular tire. The spare tire is not equipped with wheel trim. The wheel
trim from the original wheel/tire may be used on the spare.
If your vehicle is equipped with 4WD or AWD, a spare tire of a
different size than the road tires should not be used. Such a tire
could result in damage to driveline components and make the
vehicle difficult to control.
Location of the spare tire and tools
The spare tire and tools for your vehicle are stowed in the following
locations:
Tool Location
Spare tire Under the vehicle, just in front of the rear
bumper
Jack, lug nut wrench Left rear quarter panel behind interior trim
Jack handle Behind rear seats, under carpet
Removing the spare tire
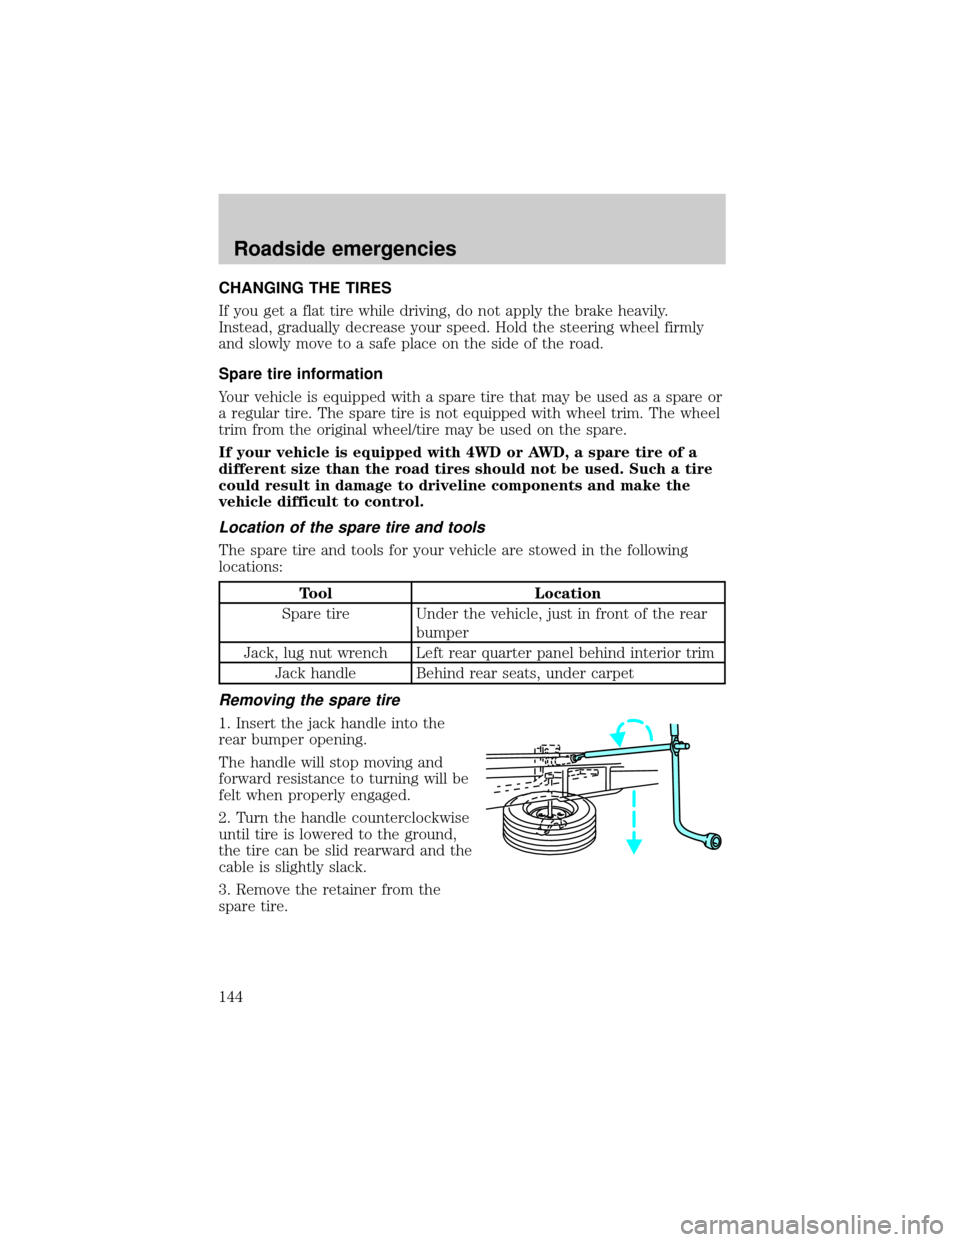
1. Insert the jack handle into the
rear bumper opening.
The handle will stop moving and
forward resistance to turning will be
felt when properly engaged.
2. Turn the handle counterclockwise
until tire is lowered to the ground,
the tire can be slid rearward and the
cable is slightly slack.
3. Remove the retainer from the
spare tire.
Roadside emergencies
144
Page 195 of 210

Check the safety belt system periodically to make sure there are no
nicks, wear or cuts. If your vehicle has been involved in an accident,
refer to theSafety belt maintenancesection in theSeating and safety
restraintschapter.
Cleaning the built-in child seat (if equipped)
Clean with mild soap and water. Do not use household cleaning products
because they may weaken the safety belt webbing or damage the vinyl
parts of the seat.
The child seat liner is removable and may be machine-washed and air
dried.
Underbody
Flush the complete underside of vehicle frequently. Keep body drain
holes unplugged. Inspect for road damage.
Cleaning leather seats (if equipped)
For routine cleaning, wipe the surface with a soft, damp cloth. For more
thorough cleaning, wipe the surface with a mild soap.
If the leather cannot be completely cleaned using a mild soap and water
solution, the leather may be cleaned using a commercially available
cleaning product ``Tanners Preserve Leather Cleaner'' and a 3M ``Type T''
scrubbing pad by using the following steps;
The type of scrubbing pad is very critical because the common 3M
``Scotch Brite'' green pad is too aggressive and will damage the
leather surface
²Spray a small amount of the leather cleaner on the pad and rub the
area to be cleaned with the pad using a circular motion. Only clean 1/4
of the area at a time. For heavily soiled areas, spray the cleaner
directly onto the leather (two squirts should be adequate) and rub
with the pad. Repeat if necessary.
²Use a soft, damp cloth to remove the loosened dirt and foam.
²Dry with a soft cloth.
Do not use household cleaners, glass cleaner, alcohol solutions or
cleaner intended for vinyl, rubber or plastics. These products can
damage the leather.
In some instances, color or dye transfer can occur when wet
clothing (wool, denim, leathers or other non-colorfast garments)
Maintenance and care
195