Break FORD EXPLORER 1999 2.G Owners Manual
[x] Cancel search | Manufacturer: FORD, Model Year: 1999, Model line: EXPLORER, Model: FORD EXPLORER 1999 2.GPages: 264, PDF Size: 1.83 MB
Page 2 of 264

ICONS
Indicates a safety alert. Read the
following section onWarnings.
Indicates vehicle information related
to recycling and other
environmental concerns will follow.
Correct vehicle usage and the
authorized disposal of waste
cleaning and lubrication materials are significant steps towards
protecting the environment.
Indicates a message regarding child
safety restraints. Refer toSeating
and safety restraintsfor more
information.
Indicates that this Owner Guide
contains information on this subject.
Please refer to the Index to locate
the appropriate section which will
provide you more information.
WARNINGS
Warnings provide information which may reduce the risk of personal
injury and prevent possible damage to others, your vehicle and its
equipment.
BREAKING-IN YOUR VEHICLE
There are no particular breaking-in rules for your vehicle. During the
first 1 600 km (1 000 miles) of driving, vary speeds frequently. This is
necessary to give the moving parts a chance to break in.
Introduction
2
Page 147 of 264
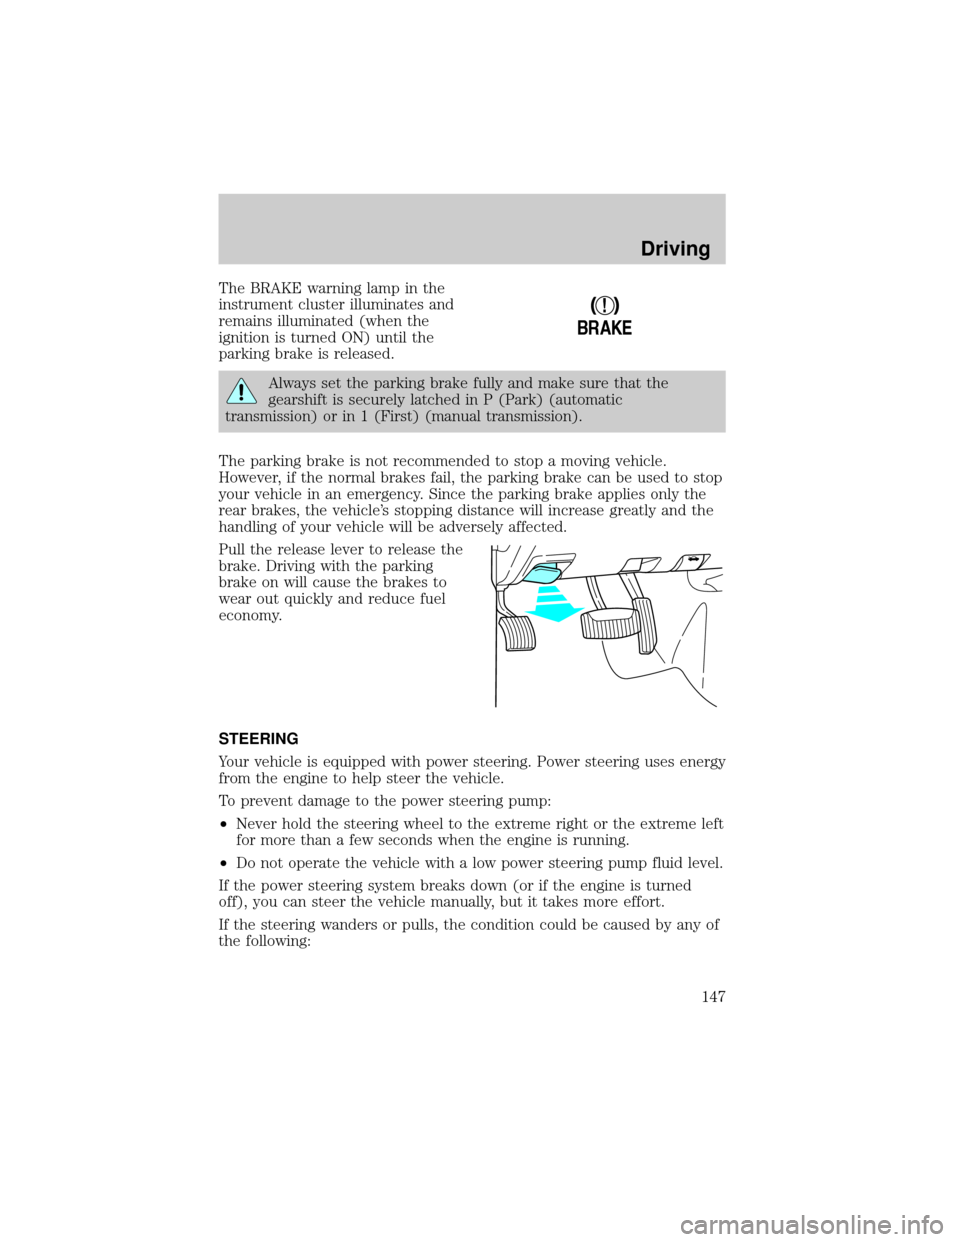
The BRAKE warning lamp in the
instrument cluster illuminates and
remains illuminated (when the
ignition is turned ON) until the
parking brake is released.
Always set the parking brake fully and make sure that the
gearshift is securely latched in P (Park) (automatic
transmission) or in 1 (First) (manual transmission).
The parking brake is not recommended to stop a moving vehicle.
However, if the normal brakes fail, the parking brake can be used to stop
your vehicle in an emergency. Since the parking brake applies only the
rear brakes, the vehicle's stopping distance will increase greatly and the
handling of your vehicle will be adversely affected.
Pull the release lever to release the
brake. Driving with the parking
brake on will cause the brakes to
wear out quickly and reduce fuel
economy.
STEERING
Your vehicle is equipped with power steering. Power steering uses energy
from the engine to help steer the vehicle.
To prevent damage to the power steering pump:
²Never hold the steering wheel to the extreme right or the extreme left
for more than a few seconds when the engine is running.
²Do not operate the vehicle with a low power steering pump fluid level.
If the power steering system breaks down (or if the engine is turned
off), you can steer the vehicle manually, but it takes more effort.
If the steering wanders or pulls, the condition could be caused by any of
the following:
!
BRAKE
Driving
147
Page 176 of 264
Launching or retrieving a boat
When backing down a ramp during boat launching or retrieval,
²Do not allow the static water level to rise above the bottom edge of
the rear bumper and
²Do not allow waves to break higher than 15 cm (six inches) above the
bottom edge of the rear bumper.
Exceeding these limits may allow water to enter critical vehicle
components, adversely affecting driveability, emissions, reliability and
causing internal transmission damage.
Replace the rear axle lubricant anytime the axle has been submerged in
water. Rear axle lubricant quantities are not to be checked or changed
unless a leak is suspected or repair required.
Disconnect the wiring to the trailer before backing the trailer into the
water. Reconnect the wiring to the trailer after the trailer is removed
from the water.
Recreational towing (all wheels on the ground)
(Neutral tow kit accessory)
On vehicles equipped with a 4.0L engine, an accessory is available that
allows you to tow your vehicle, behind another vehicle, with all the
wheels on the ground. Contact your dealer for more details. Do not tow
your vehicle with all wheels on the ground unless you install the neutral
tow kit as vehicle damage may occur.
Driving
176
Page 178 of 264
HAZARD FLASHER
Use only in an emergency to warn traffic of vehicle breakdown,
approaching danger, etc. The hazard flashers can be operated when the
ignition is off.
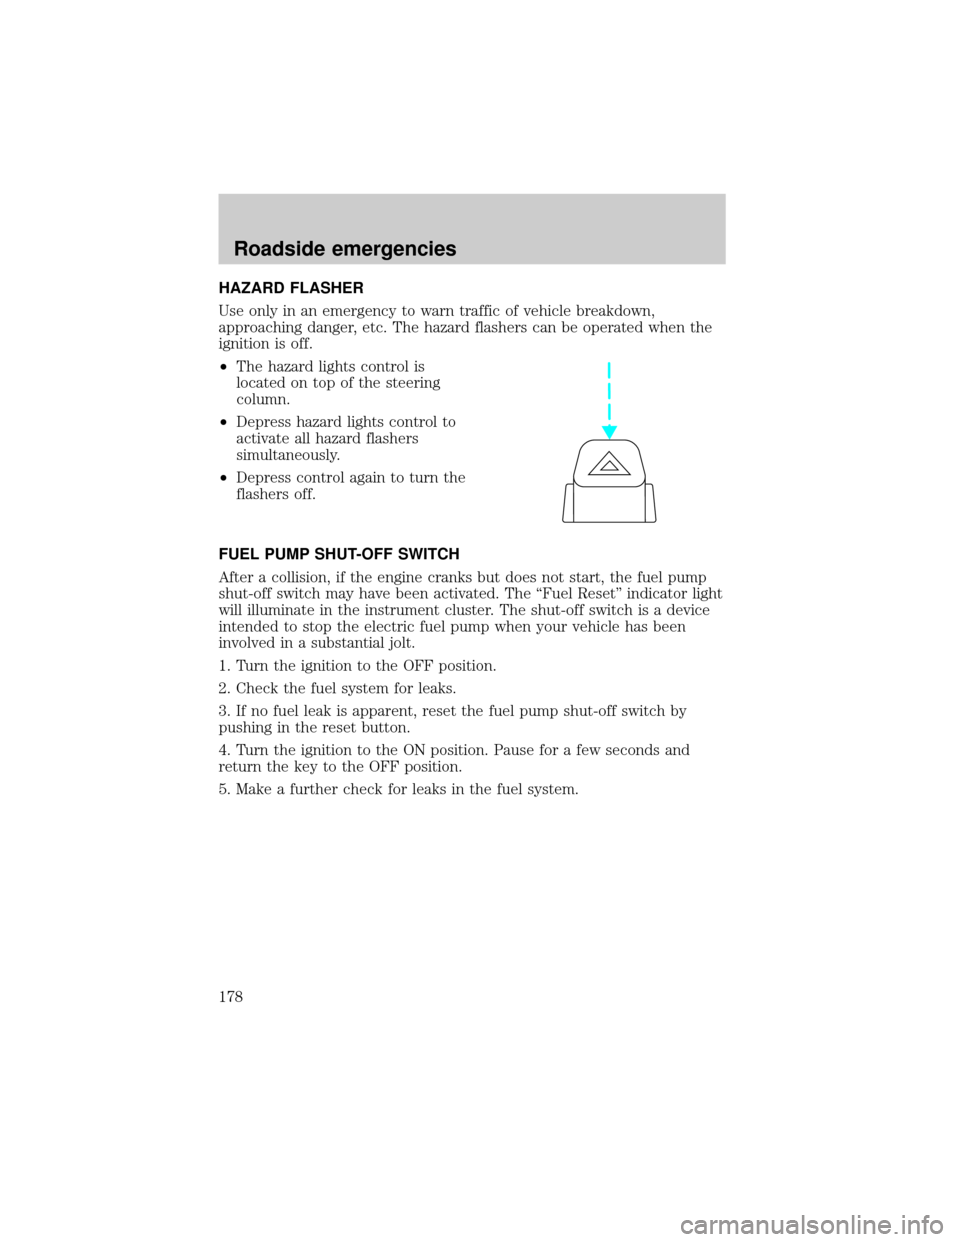
²The hazard lights control is
located on top of the steering
column.
²Depress hazard lights control to
activate all hazard flashers
simultaneously.
²Depress control again to turn the
flashers off.
FUEL PUMP SHUT-OFF SWITCH
After a collision, if the engine cranks but does not start, the fuel pump
shut-off switch may have been activated. The ªFuel Resetº indicator light
will illuminate in the instrument cluster. The shut-off switch is a device
intended to stop the electric fuel pump when your vehicle has been
involved in a substantial jolt.
1. Turn the ignition to the OFF position.
2. Check the fuel system for leaks.
3. If no fuel leak is apparent, reset the fuel pump shut-off switch by
pushing in the reset button.
4. Turn the ignition to the ON position. Pause for a few seconds and
return the key to the OFF position.
5. Make a further check for leaks in the fuel system.
Roadside emergencies
178
Page 231 of 264

If you do not use the proper fuel filler cap, the pressure in the
fuel tank can damage the fuel system or cause it to work
improperly in a collision.
Fuel Filter
Your vehicle is equipped with a fuel filter that is mounted on the
underbody.
For fuel filter replacement, see your dealer or a qualified service
technician. Refer to the Scheduled Maintenance Guide for the
appropriate intervals for changing the fuel filter.
If you replace the fuel filter, replace it with an authorized
Motorcraft part. The customer warranty may be void for any
damage to the fuel system if an authorized Motorcraft fuel filter
is not used.
ESSENTIALS OF GOOD FUEL ECONOMY
Measuring techniques
Your best source of information about actual fuel economy is you, the
driver. You must gather information as accurately and consistently as
possible. Fuel expense, frequency of fillups or fuel gauge readings are
NOT accurate as a measure of fuel economy. We do not recommend
taking fuel economy measurements during the first 1 600 km (1 000
miles) of driving (engine break-in period). You will get a more accurate
measurement after 3 000 km±5 000 km (2 000 miles-3 000 miles).
The advertised fuel capacity of the fuel tank on your vehicle is equal to
the rated refill capacity of the fuel tank as listed in the Refill Capacities
chart in this ªOwner Guide.º The advertised capacity is the amount of
the Indicated Capacity and the Empty Reserve combined. Indicated
Capacity is the difference in the amount of fuel in a full tank and a tank
when the fuel gauge indicates empty. Empty Reserve is the small amount
of usable fuel remaining in the fuel tank after the fuel gauge indicates
empty.
The amount of Empty Reserve varies and should not be relied
upon to increase driving range. When refueling your vehicle after
the fuel gauge indicates empty, you might not be able to refuel
the full amount of the advertised capacity of the fuel tank due to
the empty reserve still present in the tank.
Maintenance and care
231
Page 237 of 264
Replacing headlamp bulbs
Handle a halogen headlamp bulb carefully and keep out of
children's reach. Grasp the bulb only by its plastic base and do
not touch the glass. The oil from your hand could cause the bulb to
break the next time the headlamps are operated.
If the bulb is accidentally touched, it should be cleaned with rubbing
alcohol before being used.
To remove the headlamp bulb:
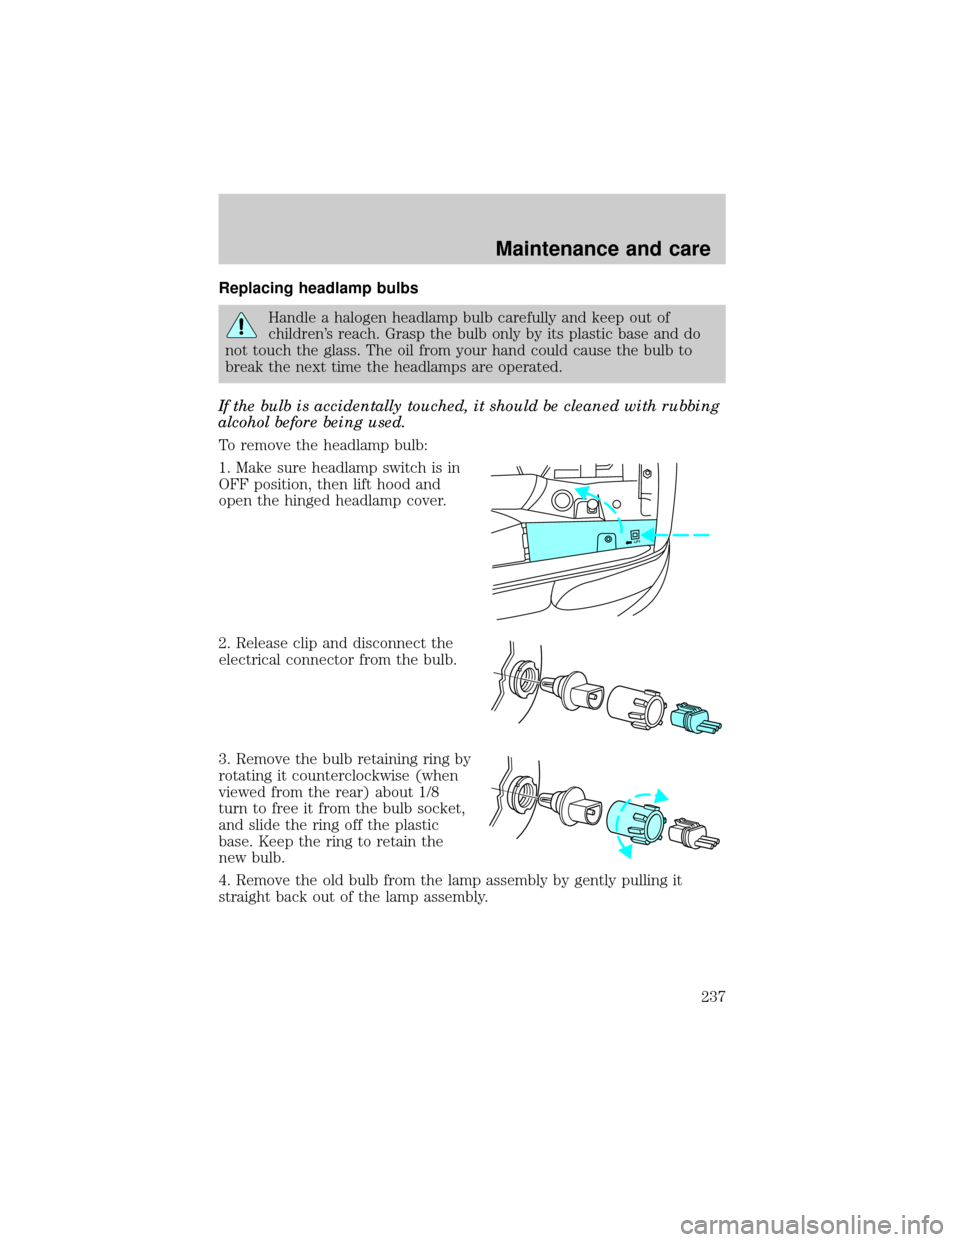
1. Make sure headlamp switch is in
OFF position, then lift hood and
open the hinged headlamp cover.
2. Release clip and disconnect the
electrical connector from the bulb.
3. Remove the bulb retaining ring by
rotating it counterclockwise (when
viewed from the rear) about 1/8
turn to free it from the bulb socket,
and slide the ring off the plastic
base. Keep the ring to retain the
new bulb.
4. Remove the old bulb from the lamp assembly by gently pulling it
straight back out of the lamp assembly.
LIFT
Maintenance and care
237
Page 257 of 264
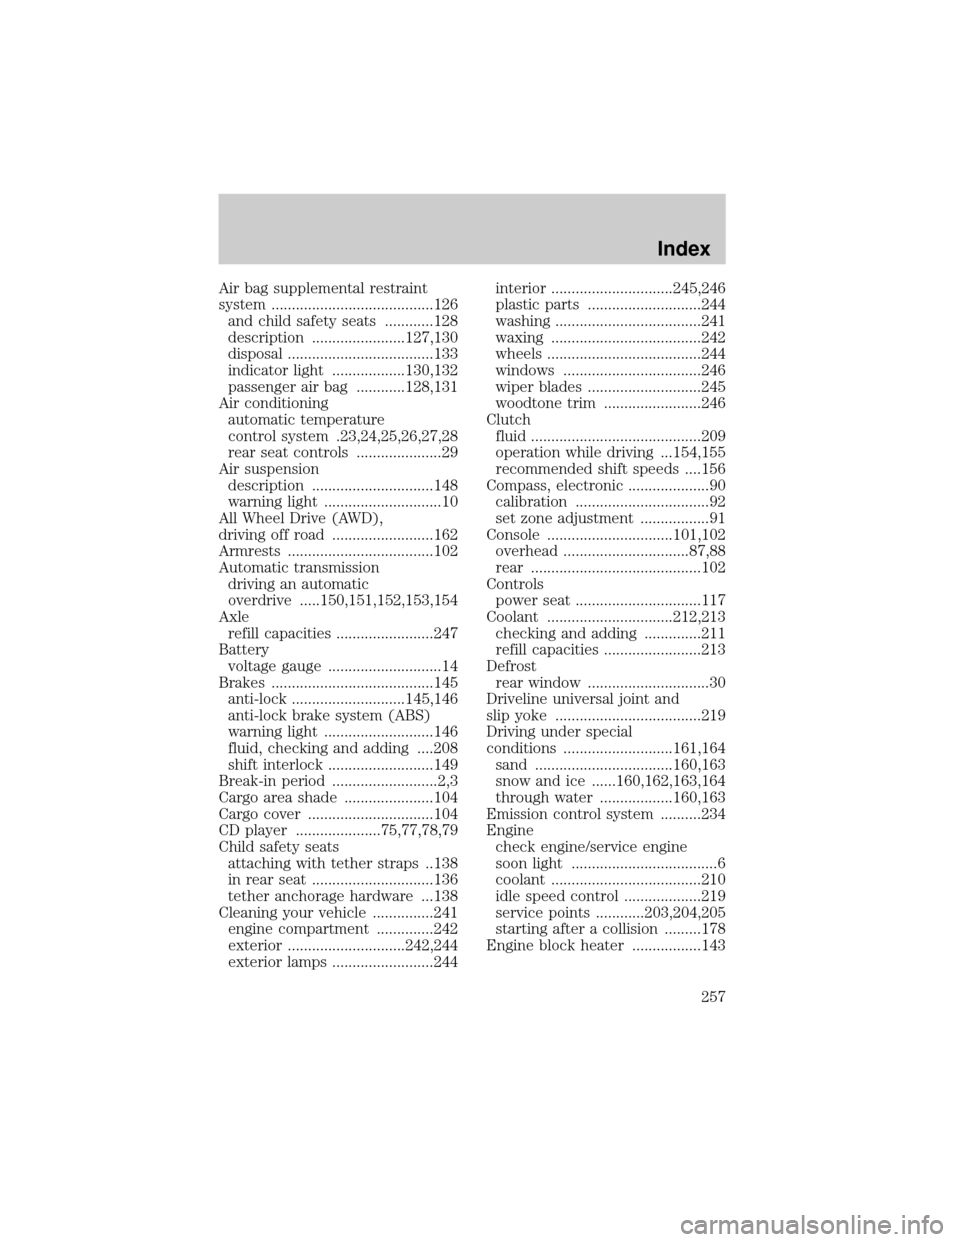
Air bag supplemental restraint
system ........................................126
and child safety seats ............128
description .......................127,130
disposal ....................................133
indicator light ..................130,132
passenger air bag ............128,131
Air conditioning
automatic temperature
control system .23,24,25,26,27,28
rear seat controls .....................29
Air suspension
description ..............................148
warning light .............................10
All Wheel Drive (AWD),
driving off road .........................162
Armrests ....................................102
Automatic transmission
driving an automatic
overdrive .....150,151,152,153,154
Axle
refill capacities ........................247
Battery
voltage gauge ............................14
Brakes ........................................145
anti-lock ............................145,146
anti-lock brake system (ABS)
warning light ...........................146
fluid, checking and adding ....208
shift interlock ..........................149
Break-in period ..........................2,3
Cargo area shade ......................104
Cargo cover ...............................104
CD player .....................75,77,78,79
Child safety seats
attaching with tether straps ..138
in rear seat ..............................136
tether anchorage hardware ...138
Cleaning your vehicle ...............241
engine compartment ..............242
exterior .............................242,244
exterior lamps .........................244interior ..............................245,246
plastic parts ............................244
washing ....................................241
waxing .....................................242
wheels ......................................244
windows ..................................246
wiper blades ............................245
woodtone trim ........................246
Clutch
fluid ..........................................209
operation while driving ...154,155
recommended shift speeds ....156
Compass, electronic ....................90
calibration .................................92
set zone adjustment .................91
Console ...............................101,102
overhead ...............................87,88
rear ..........................................102
Controls
power seat ...............................117
Coolant ...............................212,213
checking and adding ..............211
refill capacities ........................213
Defrost
rear window ..............................30
Driveline universal joint and
slip yoke ....................................219
Driving under special
conditions ...........................161,164
sand ..................................160,163
snow and ice ......160,162,163,164
through water ..................160,163
Emission control system ..........234
Engine
check engine/service engine
soon light ....................................6
coolant .....................................210
idle speed control ...................219
service points ............203,204,205
starting after a collision .........178
Engine block heater .................143
Index
257