length FORD EXPLORER 1999 2.G Owners Manual
[x] Cancel search | Manufacturer: FORD, Model Year: 1999, Model line: EXPLORER, Model: FORD EXPLORER 1999 2.GPages: 264, PDF Size: 1.83 MB
Page 85 of 264
TILT STEERING WHEEL (IF EQUIPPED)
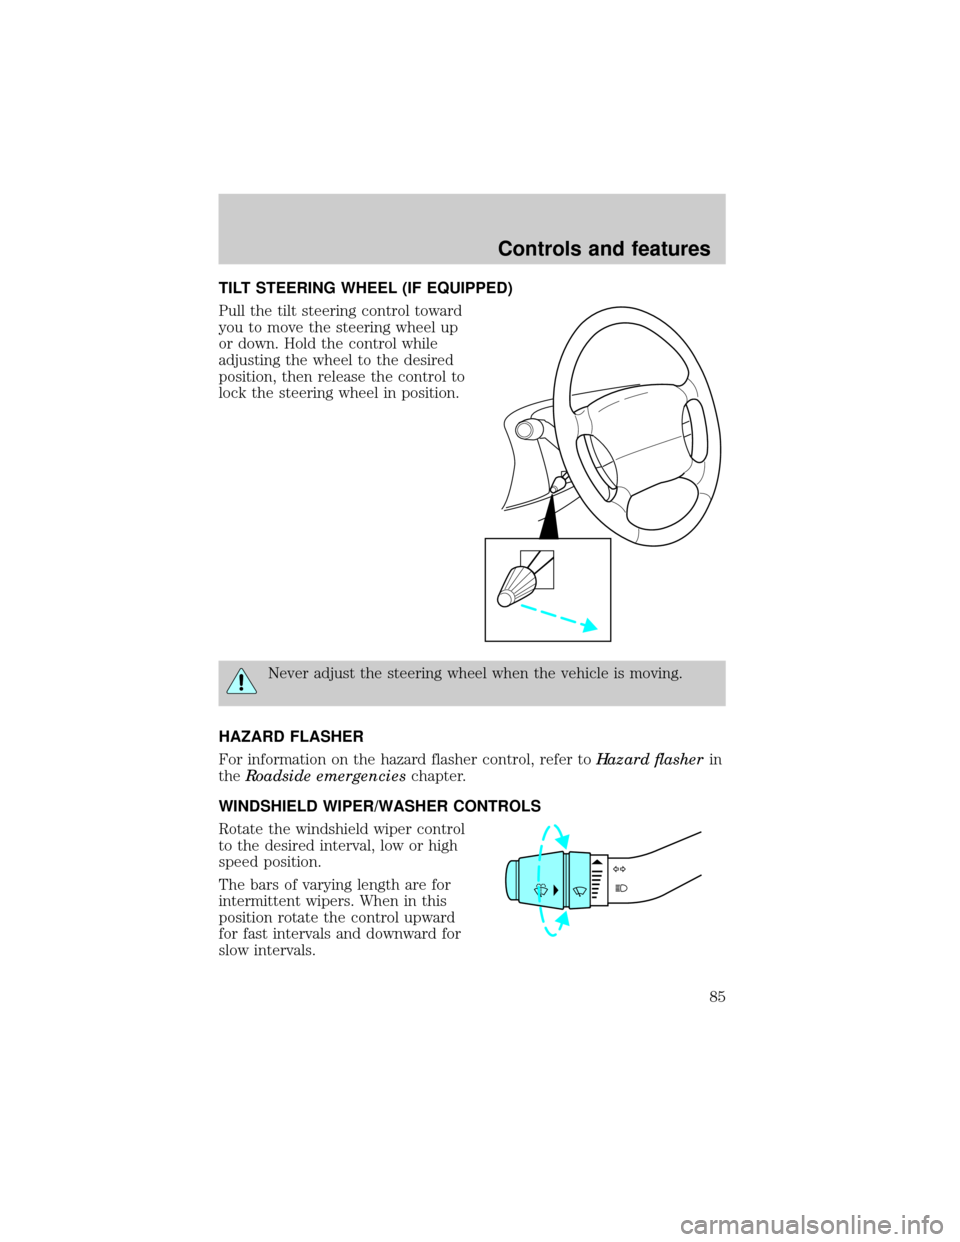
Pull the tilt steering control toward
you to move the steering wheel up
or down. Hold the control while
adjusting the wheel to the desired
position, then release the control to
lock the steering wheel in position.
Never adjust the steering wheel when the vehicle is moving.
HAZARD FLASHER
For information on the hazard flasher control, refer toHazard flasherin
theRoadside emergencieschapter.
WINDSHIELD WIPER/WASHER CONTROLS
Rotate the windshield wiper control
to the desired interval, low or high
speed position.
The bars of varying length are for
intermittent wipers. When in this
position rotate the control upward
for fast intervals and downward for
slow intervals.
Controls and features
85
Page 95 of 264
The 2nd or 3rd press from step 3 will activate the door. The HomeLinkt
Universal Transceiver has now been trained to the receiver. The
remaining two buttons may now be programmed if this has not
previously been done.
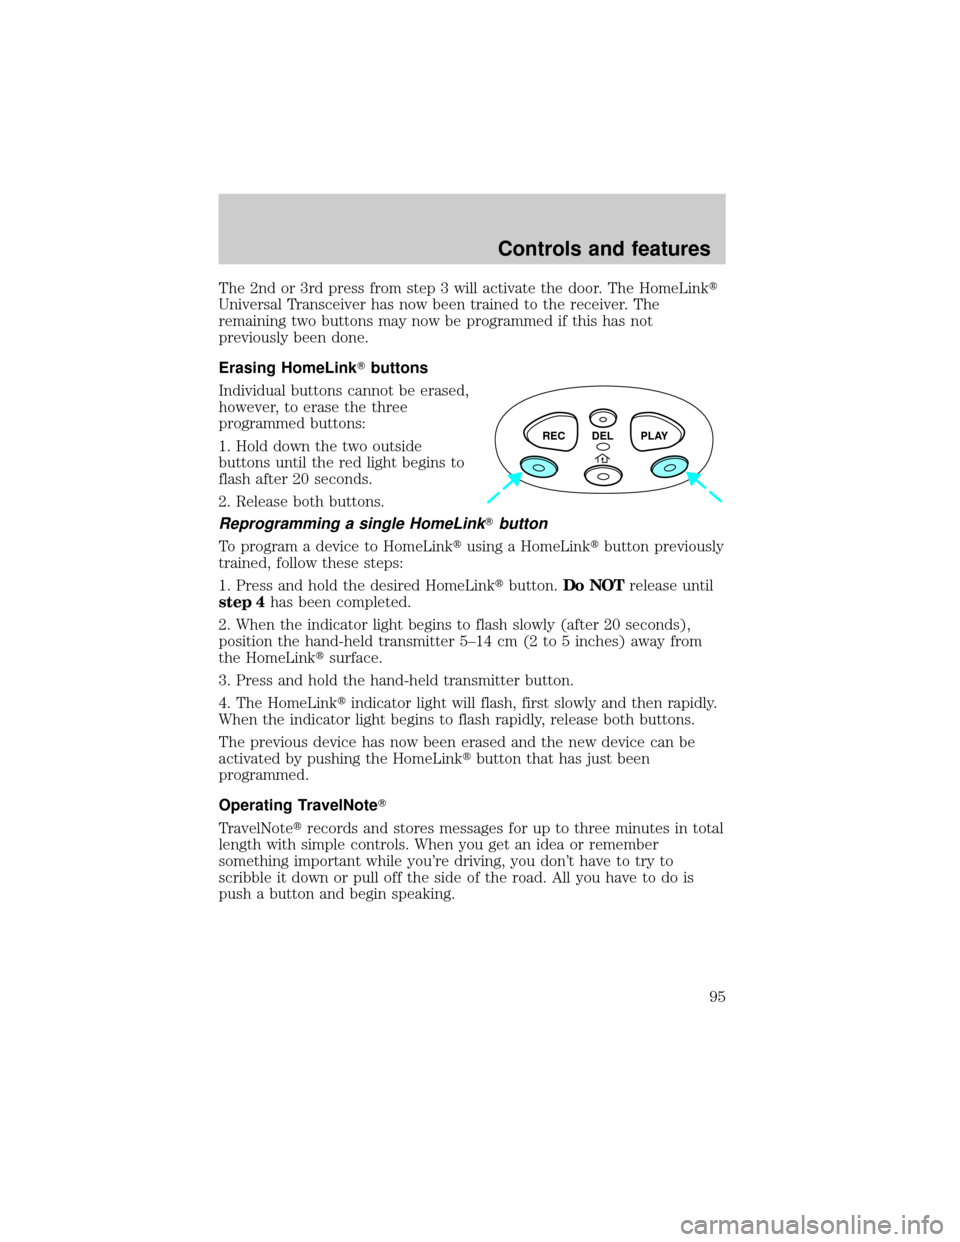
Erasing HomeLinkTbuttons
Individual buttons cannot be erased,
however, to erase the three
programmed buttons:
1. Hold down the two outside
buttons until the red light begins to
flash after 20 seconds.
2. Release both buttons.
Reprogramming a single HomeLinkTbutton
To program a device to HomeLinktusing a HomeLinktbutton previously
trained, follow these steps:
1. Press and hold the desired HomeLinktbutton.Do NOTrelease until
step 4has been completed.
2. When the indicator light begins to flash slowly (after 20 seconds),
position the hand-held transmitter 5±14 cm (2 to 5 inches) away from
the HomeLinktsurface.
3. Press and hold the hand-held transmitter button.
4. The HomeLinktindicator light will flash, first slowly and then rapidly.
When the indicator light begins to flash rapidly, release both buttons.
The previous device has now been erased and the new device can be
activated by pushing the HomeLinktbutton that has just been
programmed.
Operating TravelNoteT
TravelNotetrecords and stores messages for up to three minutes in total
length with simple controls. When you get an idea or remember
something important while you're driving, you don't have to try to
scribble it down or pull off the side of the road. All you have to do is
push a button and begin speaking.
REC DEL PLAY
Controls and features
95
Page 105 of 264
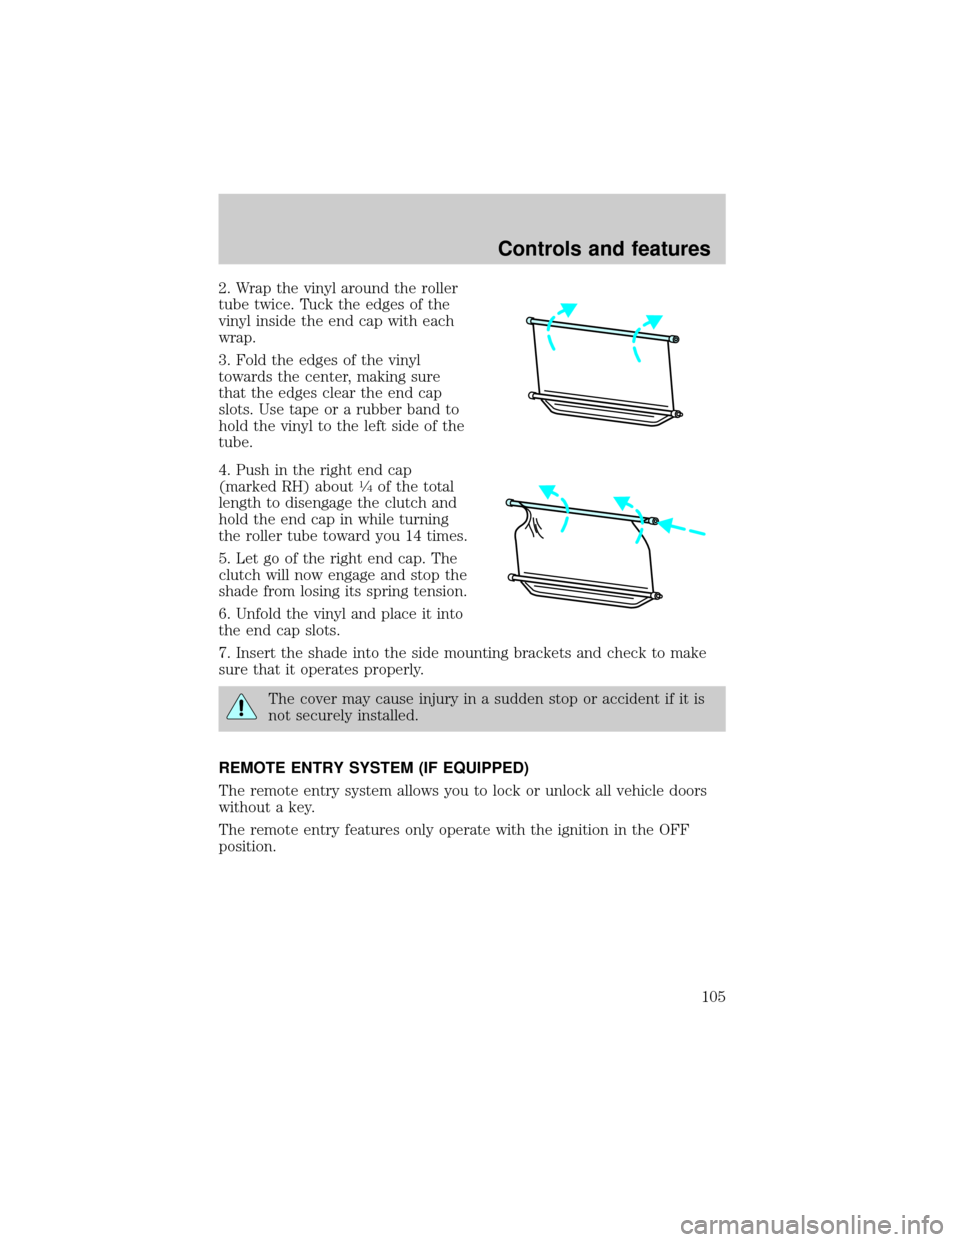
2. Wrap the vinyl around the roller
tube twice. Tuck the edges of the
vinyl inside the end cap with each
wrap.
3. Fold the edges of the vinyl
towards the center, making sure
that the edges clear the end cap
slots. Use tape or a rubber band to
hold the vinyl to the left side of the
tube.
4. Push in the right end cap
(marked RH) about
1¤4of the total
length to disengage the clutch and
hold the end cap in while turning
the roller tube toward you 14 times.
5. Let go of the right end cap. The
clutch will now engage and stop the
shade from losing its spring tension.
6. Unfold the vinyl and place it into
the end cap slots.
7. Insert the shade into the side mounting brackets and check to make
sure that it operates properly.
The cover may cause injury in a sudden stop or accident if it is
not securely installed.
REMOTE ENTRY SYSTEM (IF EQUIPPED)
The remote entry system allows you to lock or unlock all vehicle doors
without a key.
The remote entry features only operate with the ignition in the OFF
position.
Controls and features
105
Page 122 of 264
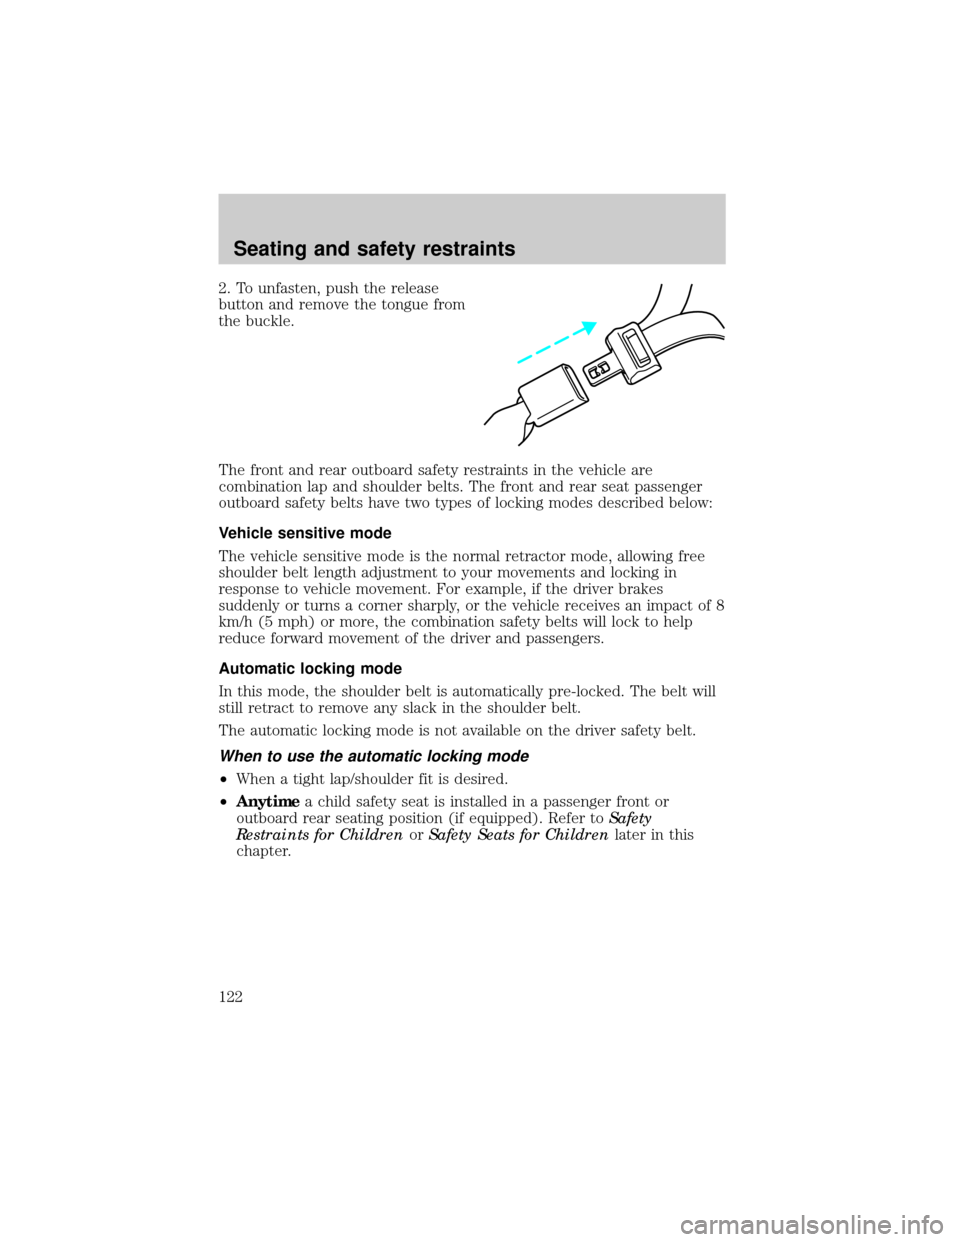
2. To unfasten, push the release
button and remove the tongue from
the buckle.
The front and rear outboard safety restraints in the vehicle are
combination lap and shoulder belts. The front and rear seat passenger
outboard safety belts have two types of locking modes described below:
Vehicle sensitive mode
The vehicle sensitive mode is the normal retractor mode, allowing free
shoulder belt length adjustment to your movements and locking in
response to vehicle movement. For example, if the driver brakes
suddenly or turns a corner sharply, or the vehicle receives an impact of 8
km/h (5 mph) or more, the combination safety belts will lock to help
reduce forward movement of the driver and passengers.
Automatic locking mode
In this mode, the shoulder belt is automatically pre-locked. The belt will
still retract to remove any slack in the shoulder belt.
The automatic locking mode is not available on the driver safety belt.
When to use the automatic locking mode
²When a tight lap/shoulder fit is desired.
²Anytimea child safety seat is installed in a passenger front or
outboard rear seating position (if equipped). Refer toSafety
Restraints for ChildrenorSafety Seats for Childrenlater in this
chapter.
Seating and safety restraints
122
Page 252 of 264
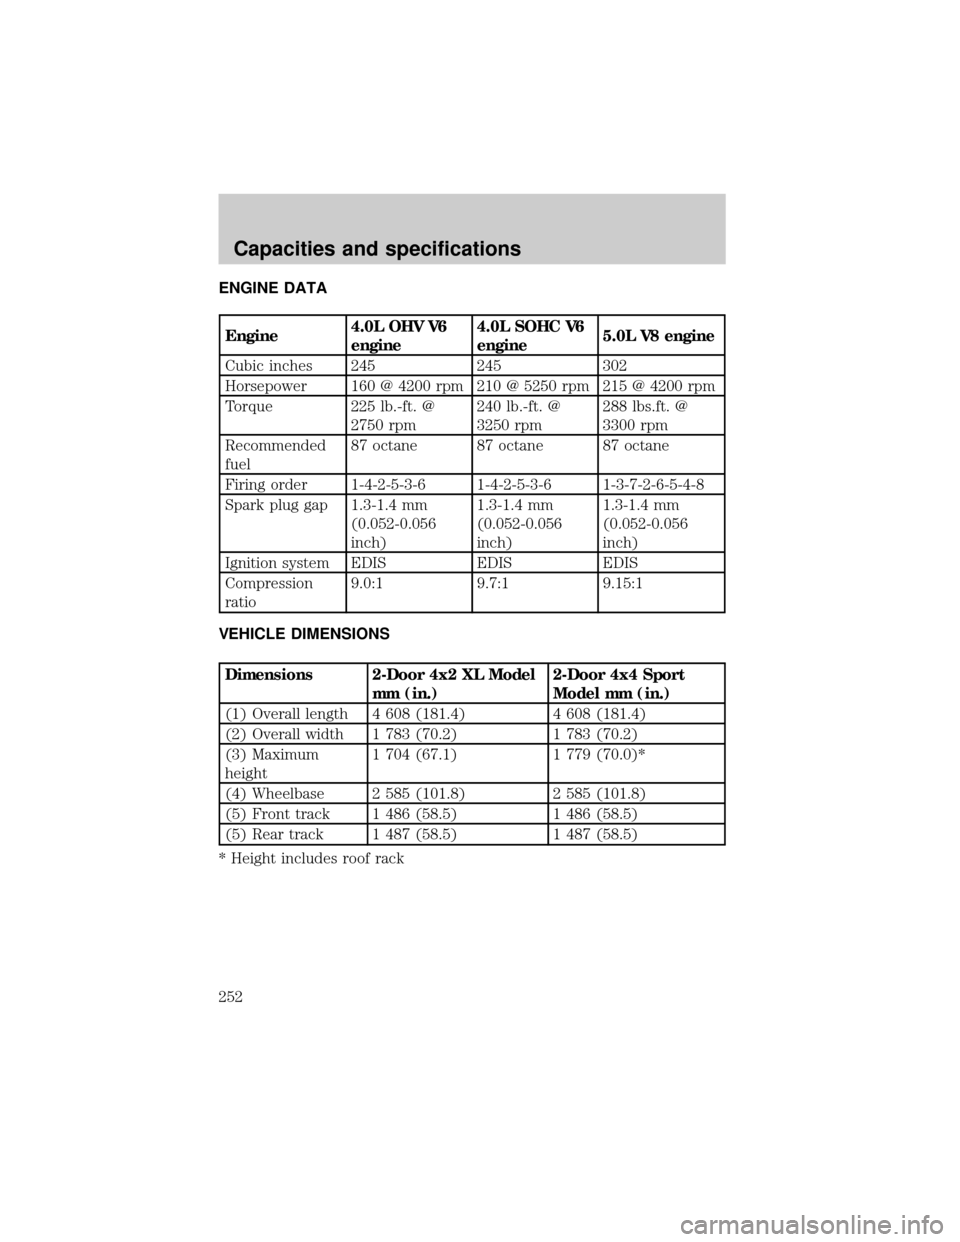
ENGINE DATA
Engine4.0L OHV V6
engine4.0L SOHC V6
engine5.0L V8 engine
Cubic inches 245 245 302
Horsepower 160 @ 4200 rpm 210 @ 5250 rpm 215 @ 4200 rpm
Torque 225 lb.-ft. @
2750 rpm240 lb.-ft. @
3250 rpm288 lbs.ft. @
3300 rpm
Recommended
fuel87 octane 87 octane 87 octane
Firing order 1-4-2-5-3-6 1-4-2-5-3-6 1-3-7-2-6-5-4-8
Spark plug gap 1.3-1.4 mm
(0.052-0.056
inch)1.3-1.4 mm
(0.052-0.056
inch)1.3-1.4 mm
(0.052-0.056
inch)
Ignition system EDIS EDIS EDIS
Compression
ratio9.0:1 9.7:1 9.15:1
VEHICLE DIMENSIONS
Dimensions 2-Door 4x2 XL Model
mm (in.)2-Door 4x4 Sport
Model mm (in.)
(1) Overall length 4 608 (181.4) 4 608 (181.4)
(2) Overall width 1 783 (70.2) 1 783 (70.2)
(3) Maximum
height1 704 (67.1) 1 779 (70.0)*
(4) Wheelbase 2 585 (101.8) 2 585 (101.8)
(5) Front track 1 486 (58.5) 1 486 (58.5)
(5) Rear track 1 487 (58.5) 1 487 (58.5)
* Height includes roof rack
Capacities and specifications
252
Page 253 of 264
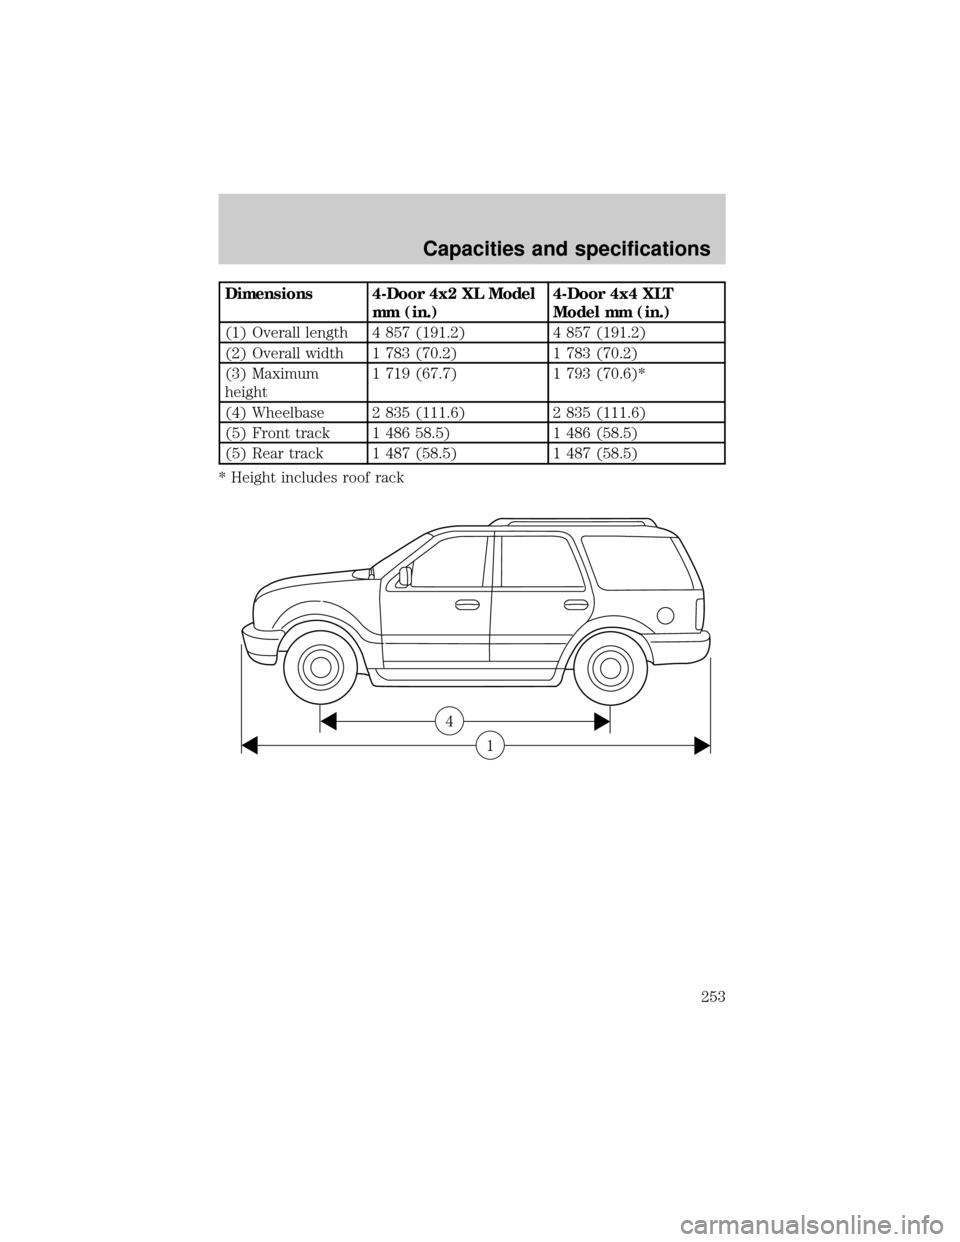
Dimensions 4-Door 4x2 XL Model
mm (in.)4-Door 4x4 XLT
Model mm (in.)
(1) Overall length 4 857 (191.2) 4 857 (191.2)
(2) Overall width 1 783 (70.2) 1 783 (70.2)
(3) Maximum
height1 719 (67.7) 1 793 (70.6)*
(4) Wheelbase 2 835 (111.6) 2 835 (111.6)
(5) Front track 1 486 58.5) 1 486 (58.5)
(5) Rear track 1 487 (58.5) 1 487 (58.5)
* Height includes roof rack
4
1
Capacities and specifications
253