FORD EXPLORER 2000 2.G Manual PDF
Manufacturer: FORD, Model Year: 2000, Model line: EXPLORER, Model: FORD EXPLORER 2000 2.GPages: 296, PDF Size: 2.17 MB
Page 71 of 296
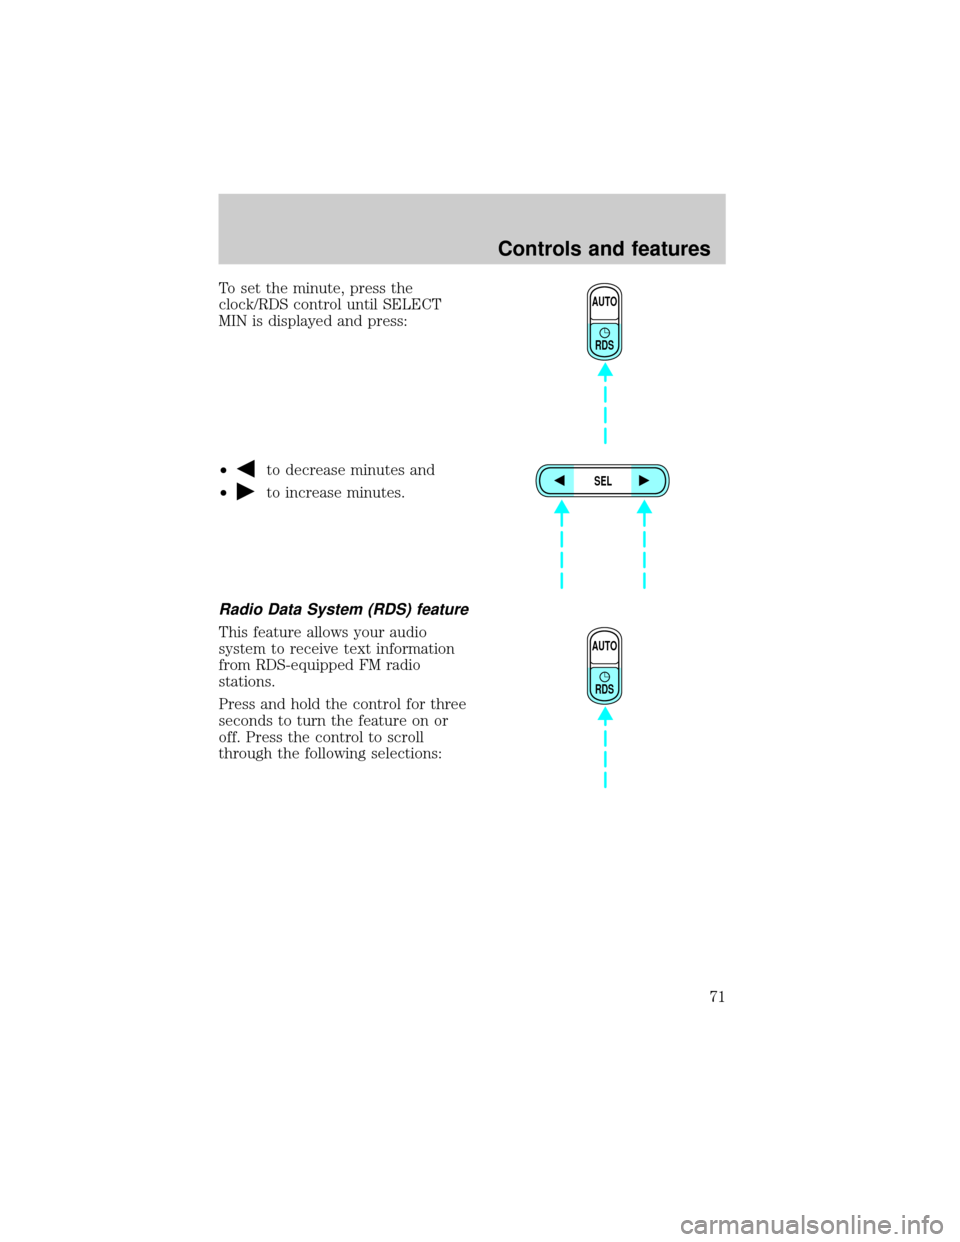
To set the minute, press the
clock/RDS control until SELECT
MIN is displayed and press:
²
to decrease minutes and
²
to increase minutes.
Radio Data System (RDS) feature
This feature allows your audio
system to receive text information
from RDS-equipped FM radio
stations.
Press and hold the control for three
seconds to turn the feature on or
off. Press the control to scroll
through the following selections:
AUTO
RDS
SEL
AUTO
RDS
Controls and features
71
Page 72 of 296
RDS traffic announcement
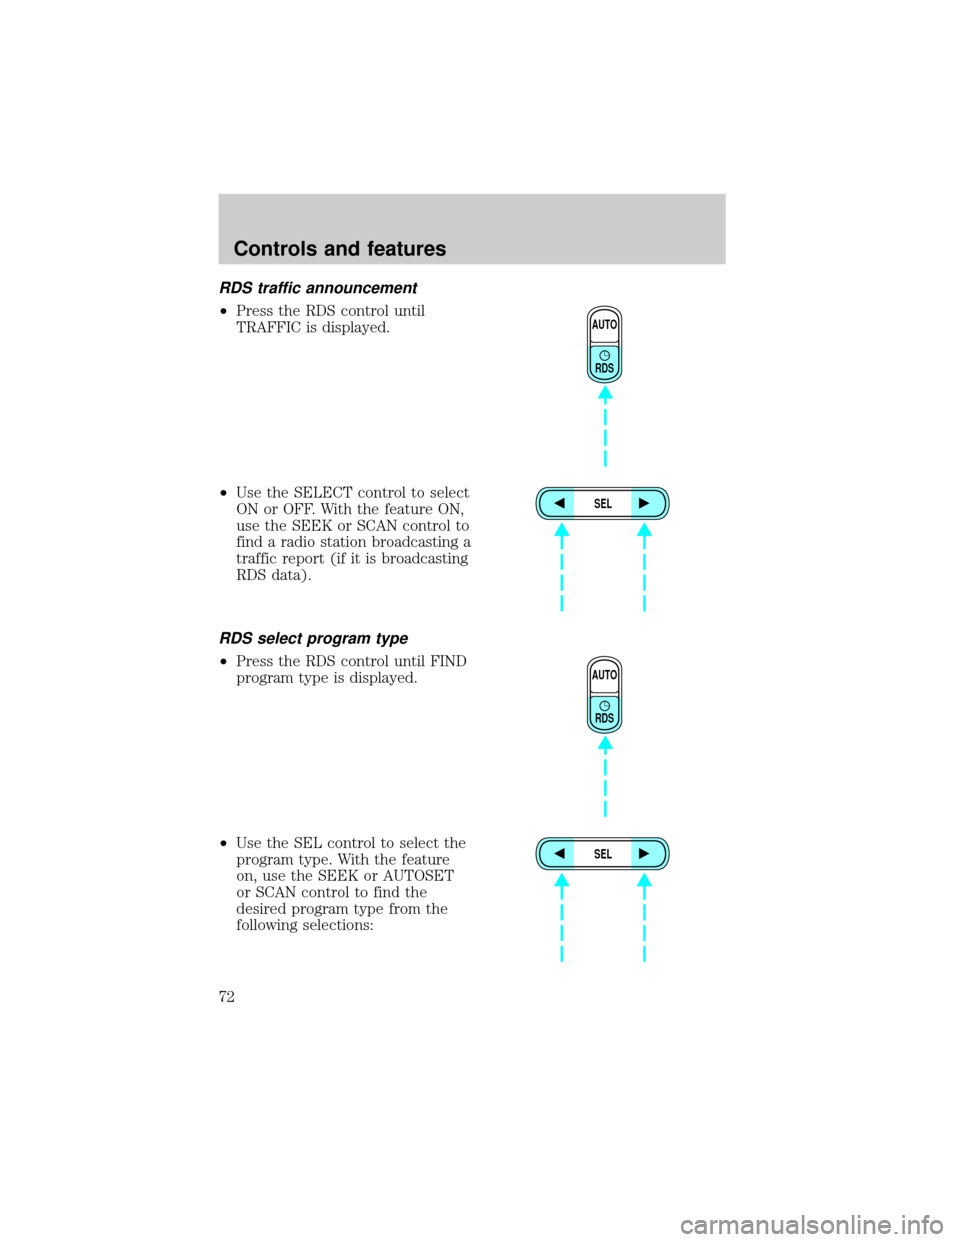
²Press the RDS control until
TRAFFIC is displayed.
²Use the SELECT control to select
ON or OFF. With the feature ON,
use the SEEK or SCAN control to
find a radio station broadcasting a
traffic report (if it is broadcasting
RDS data).
RDS select program type
²Press the RDS control until FIND
program type is displayed.
²Use the SEL control to select the
program type. With the feature
on, use the SEEK or AUTOSET
or SCAN control to find the
desired program type from the
following selections:
AUTO
RDS
SEL
AUTO
RDS
SEL
Controls and features
72
Page 73 of 296
²Classic
²Country
²Info
²Jazz/R&B
²Religious
²Rock
²Soft
²To p 4 0
RDS show
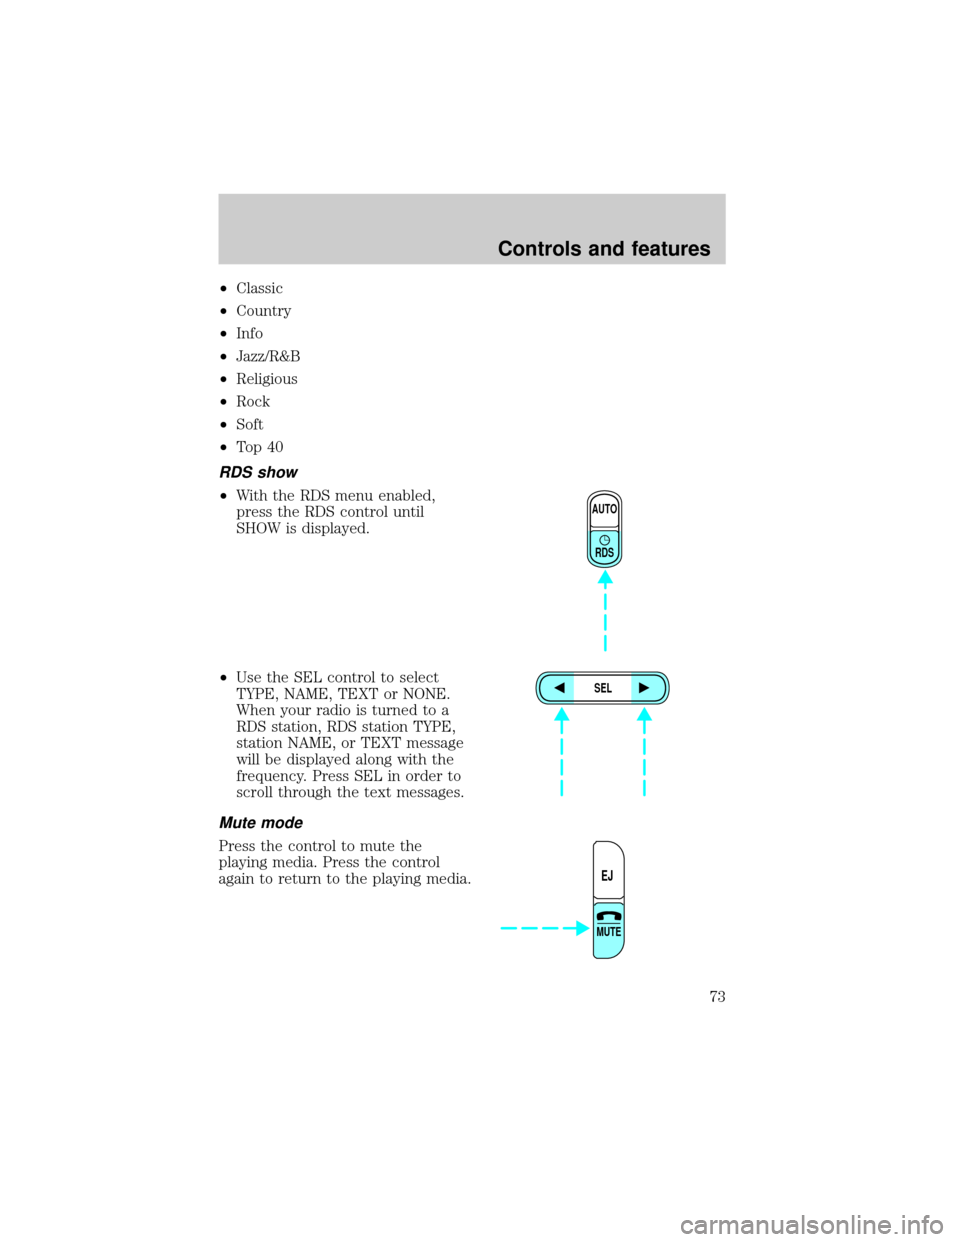
²With the RDS menu enabled,
press the RDS control until
SHOW is displayed.
²Use the SEL control to select
TYPE, NAME, TEXT or NONE.
When your radio is turned to a
RDS station, RDS station TYPE,
station NAME, or TEXT message
will be displayed along with the
frequency. Press SEL in order to
scroll through the text messages.
Mute mode
Press the control to mute the
playing media. Press the control
again to return to the playing media.
AUTO
RDS
SEL
EJ
MUTE
Controls and features
73
Page 74 of 296
Rear seat controls (if equipped)
The Personal Audio System, a
feature of the optional Premium
AM/FM Stereo/Cassette/Single CD
and the MACHtAudio System with
AM/FM Stereo/Cassette/Single CD,
allows front and middle seat
passengers to listen to different
media sources (radio, cassette or
CD) simultaneously. However, the
front and middle-seat passengers
cannot listen to two different radio
stations at the same time.
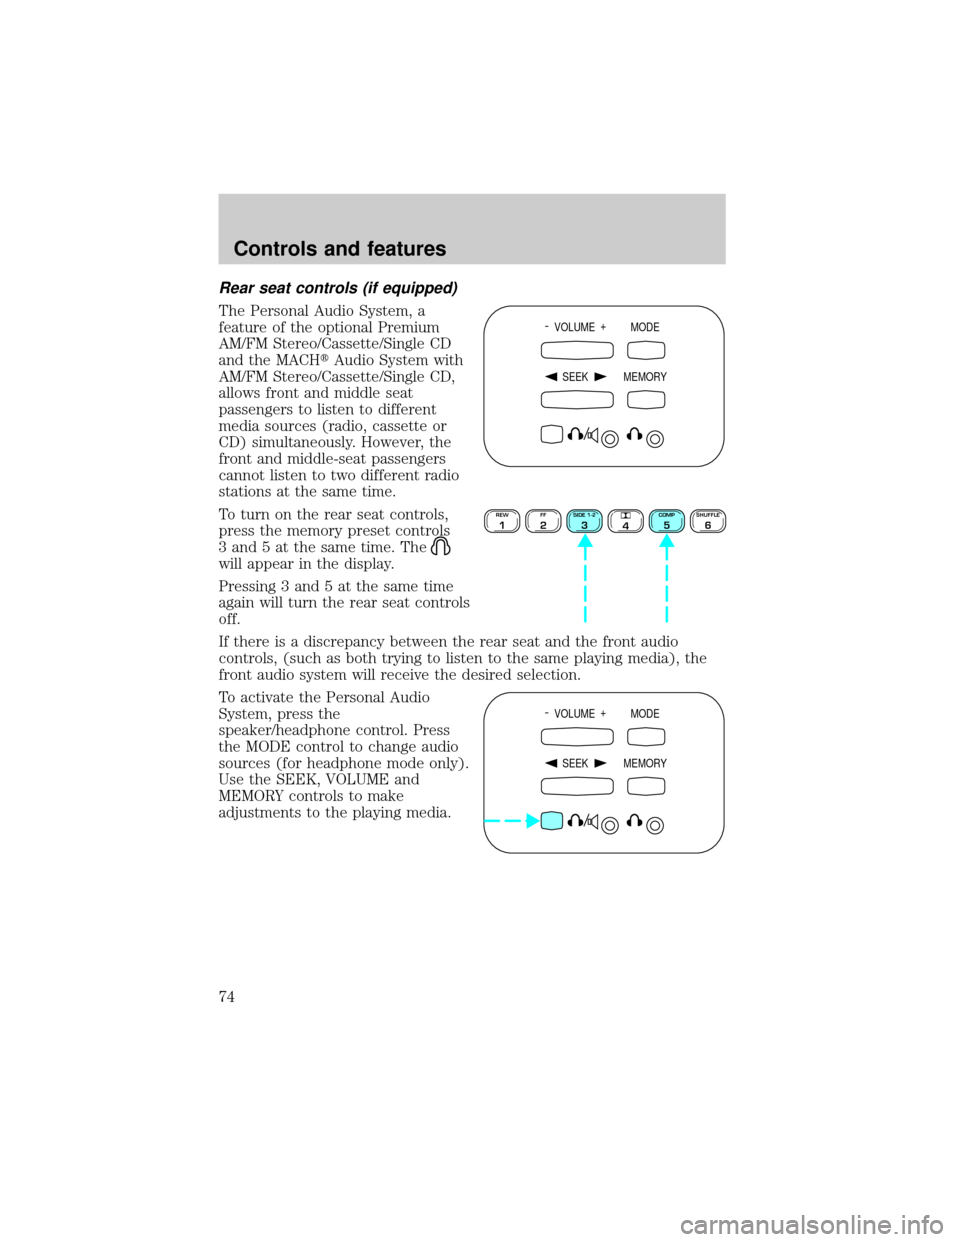
To turn on the rear seat controls,
press the memory preset controls
3 and 5 at the same time. The
will appear in the display.
Pressing 3 and 5 at the same time
again will turn the rear seat controls
off.
If there is a discrepancy between the rear seat and the front audio
controls, (such as both trying to listen to the same playing media), the
front audio system will receive the desired selection.
To activate the Personal Audio
System, press the
speaker/headphone control. Press
the MODE control to change audio
sources (for headphone mode only).
Use the SEEK, VOLUME and
MEMORY controls to make
adjustments to the playing media.
- VOLUME +
MODE
SEEK MEMORY
REW1FF2SIDE 1-23
4COMP5SHUFFLE6
- VOLUME +
MODE
SEEK MEMORY
Controls and features
74
Page 75 of 296
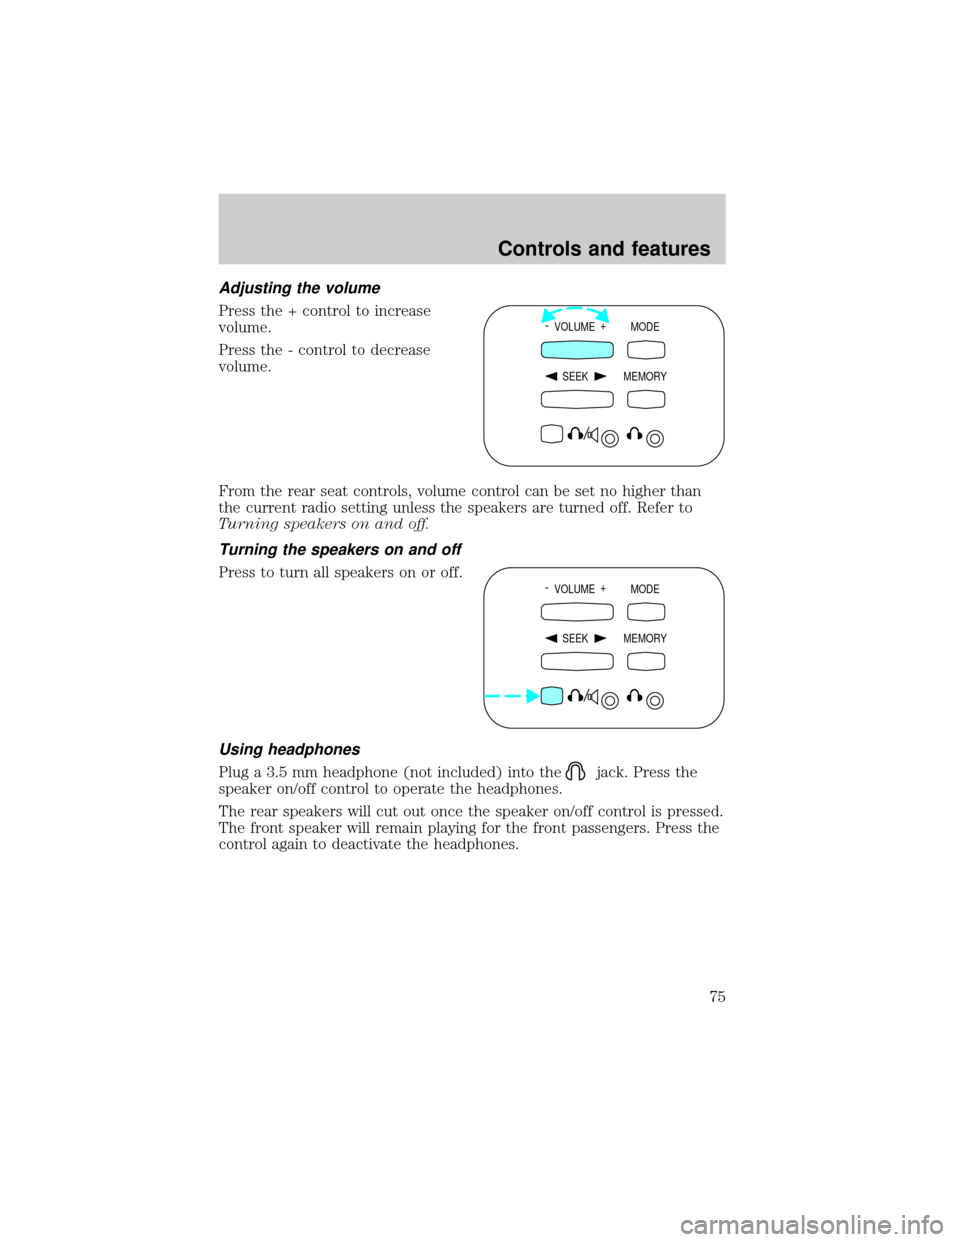
Adjusting the volume
Press the + control to increase
volume.
Press the - control to decrease
volume.
From the rear seat controls, volume control can be set no higher than
the current radio setting unless the speakers are turned off. Refer to
Turning speakers on and off.
Turning the speakers on and off
Press to turn all speakers on or off.
Using headphones
Plug a 3.5 mm headphone (not included) into thejack. Press the
speaker on/off control to operate the headphones.
The rear speakers will cut out once the speaker on/off control is pressed.
The front speaker will remain playing for the front passengers. Press the
control again to deactivate the headphones.
- VOLUME +
MODE
SEEK MEMORY
- VOLUME +
MODE
SEEK MEMORY
Controls and features
75
Page 76 of 296
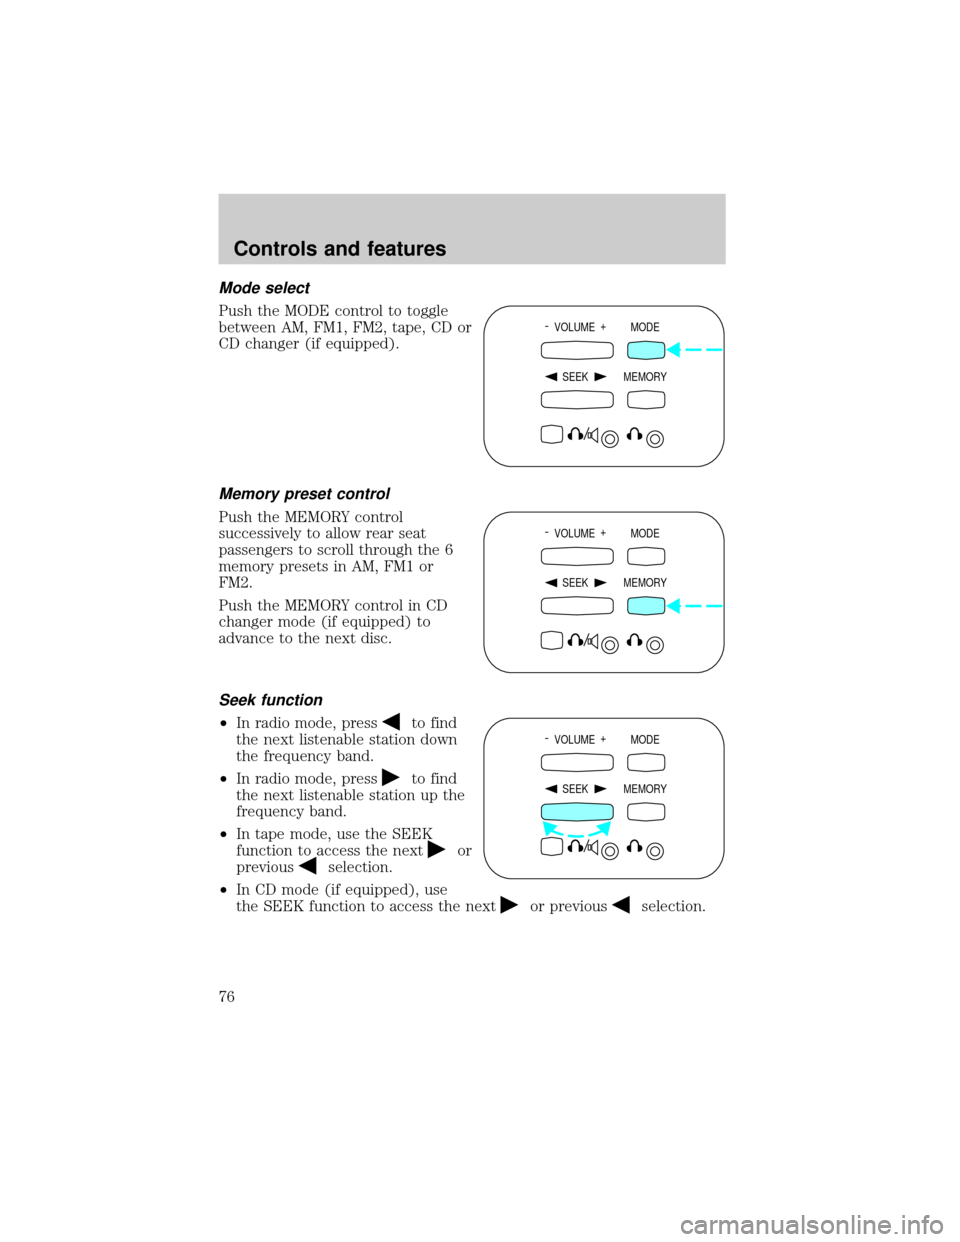
Mode select
Push the MODE control to toggle
between AM, FM1, FM2, tape, CD or
CD changer (if equipped).
Memory preset control
Push the MEMORY control
successively to allow rear seat
passengers to scroll through the 6
memory presets in AM, FM1 or
FM2.
Push the MEMORY control in CD
changer mode (if equipped) to
advance to the next disc.
Seek function
²In radio mode, pressto find
the next listenable station down
the frequency band.
²In radio mode, press
to find
the next listenable station up the
frequency band.
²In tape mode, use the SEEK
function to access the next
or
previous
selection.
²In CD mode (if equipped), use
the SEEK function to access the next
or previousselection.
- VOLUME +
MODE
SEEK MEMORY
- VOLUME +
MODE
SEEK MEMORY
- VOLUME +
MODE
SEEK MEMORY
Controls and features
76
Page 77 of 296
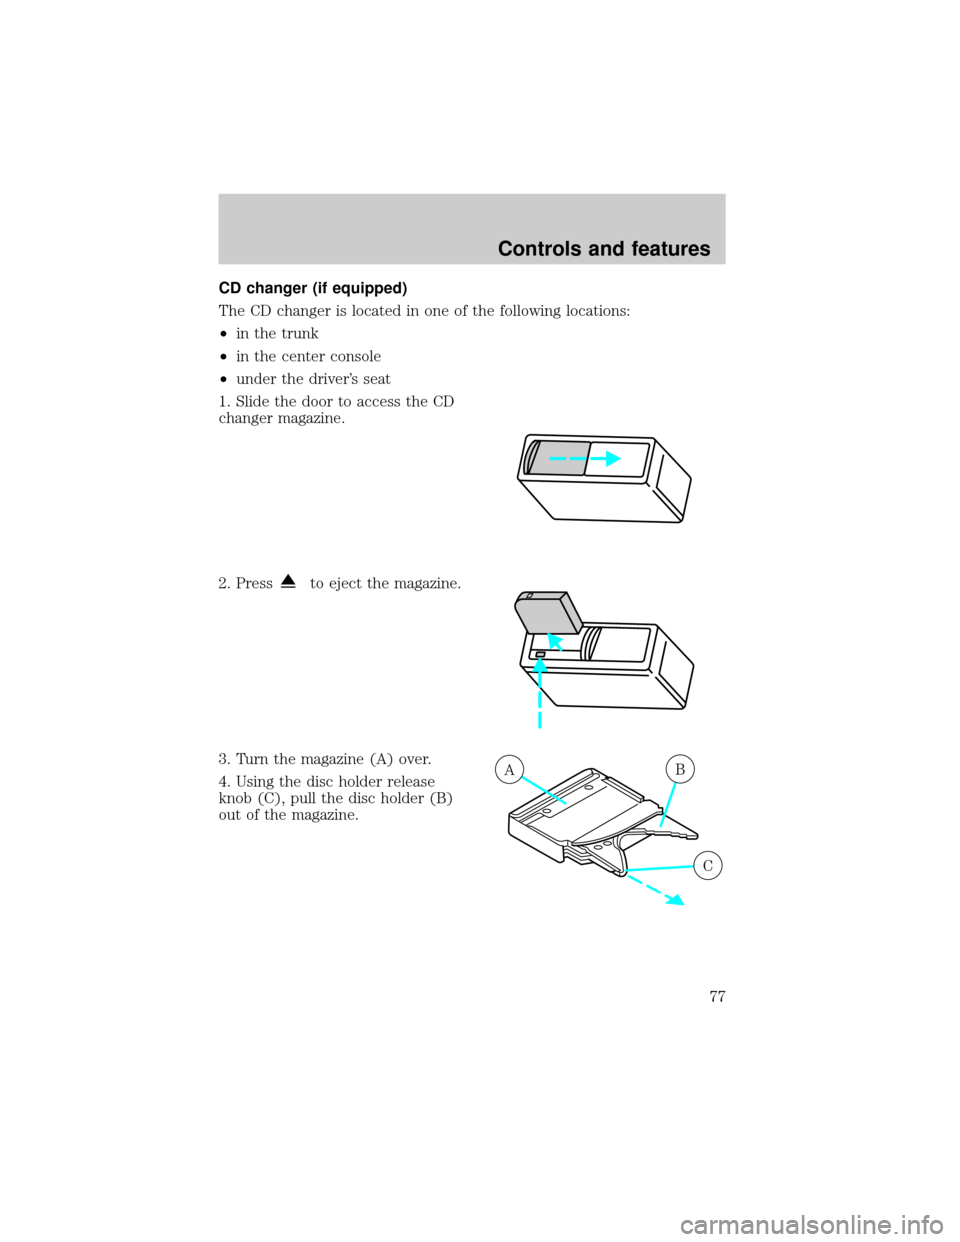
CD changer (if equipped)
The CD changer is located in one of the following locations:
²in the trunk
²in the center console
²under the driver's seat
1. Slide the door to access the CD
changer magazine.
2. Press
to eject the magazine.
3. Turn the magazine (A) over.
4. Using the disc holder release
knob (C), pull the disc holder (B)
out of the magazine.
AB
C
Controls and features
77
Page 78 of 296
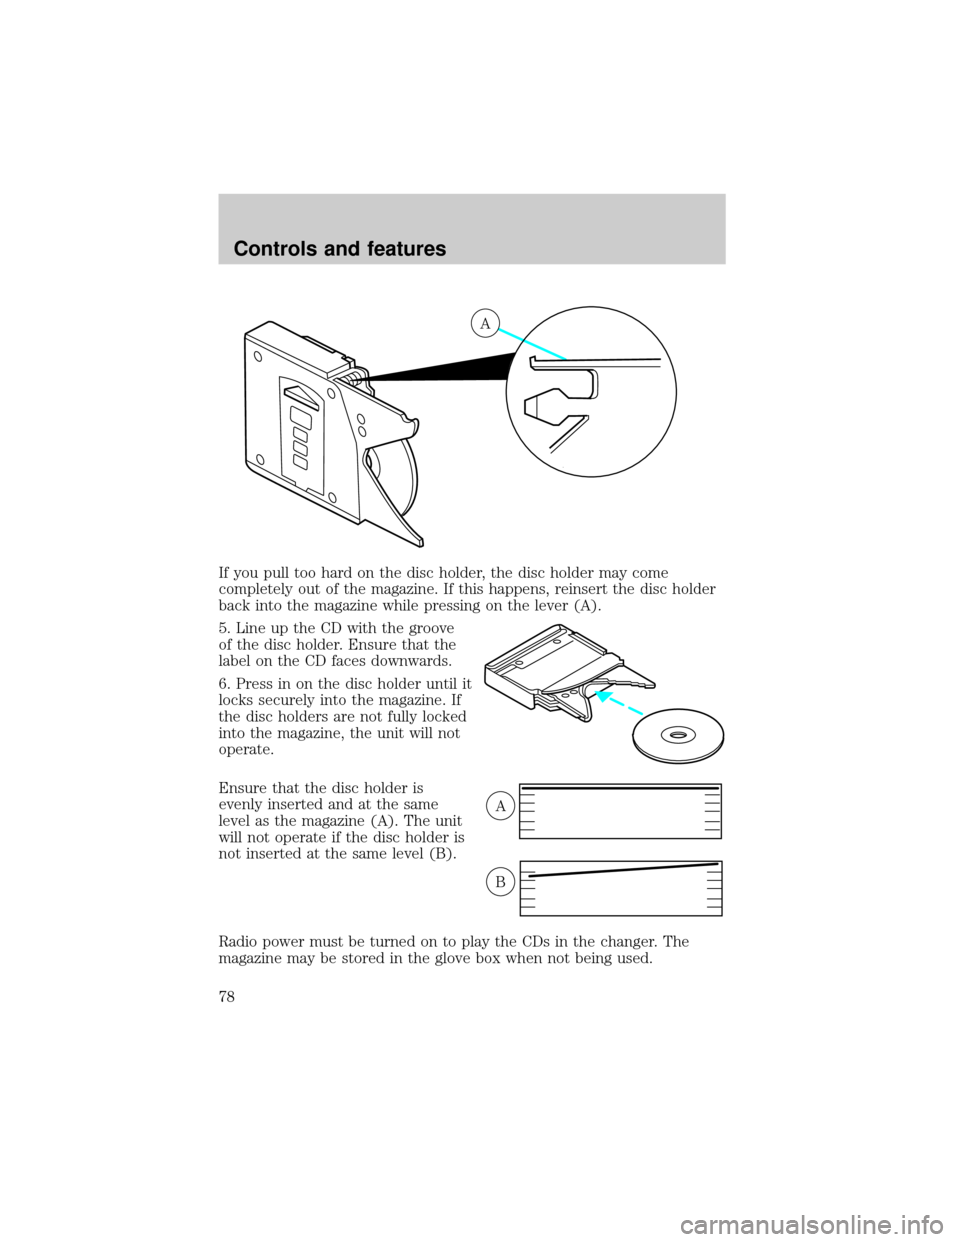
If you pull too hard on the disc holder, the disc holder may come
completely out of the magazine. If this happens, reinsert the disc holder
back into the magazine while pressing on the lever (A).
5. Line up the CD with the groove
of the disc holder. Ensure that the
label on the CD faces downwards.
6. Press in on the disc holder until it
locks securely into the magazine. If
the disc holders are not fully locked
into the magazine, the unit will not
operate.
Ensure that the disc holder is
evenly inserted and at the same
level as the magazine (A). The unit
will not operate if the disc holder is
not inserted at the same level (B).
Radio power must be turned on to play the CDs in the changer. The
magazine may be stored in the glove box when not being used.
A
A
B
Controls and features
78
Page 79 of 296
The CD magazine may be inserted or ejected with the radio power off.
ONLY use the magazine supplied with the CD changer, other types will
damage the unit.
Keep the CD changer door closed. Coins and foreign objects will damage
the CD player and void your audio system warranty.
Do not insert any promotional (odd shaped or sized) discs, or
discs with removable labels into the CD player as jamming may
occur.
Troubleshooting the CD changer (if equipped)
The laser beam used in the compact disc player is harmful to the
eyes. Do not attempt to disassemble the case.
If sound skips:
²You may be traveling on a rough road, playing badly scratched discs or
the disc may be dirty. Skipping will not scratch the discs or damage
the player.
If your changer does not work, it may be that:
²A disc is already loaded where you want to insert a disc.
²The disc is inserted with the label surface downward.
²The disc is dusty or defective.
²The player's internal temperature is above 60ÉC (140ÉF). Allow the
player to cool down before operating.
²A disc with format and dimensions not within industry standards is
inserted.
Cleaning compact discs
Inspect all discs for contamination before playing. If necessary, clean
discs only with an approved CD cleaner and wipe from the center out to
the edge. Do not use circular motion.
CD and CD changer care
²Handle discs by their edges only. Never touch the playing surface.
²Do not expose discs to direct sunlight or heat sources for extended
periods of time.
Controls and features
79
Page 80 of 296

²Do not insert more than one disc into each slot of the CD changer
magazine.
Do not insert any promotional (odd shaped or sized) discs, or
discs with removable labels into the CD player as jamming may
occur.
Cleaning cassette player (if equipped)
Clean the tape player head with a cassette cleaning cartridge after 10 to
12 hours of play in order to maintain the best sound and operation.
Cassette and cassette player care
²Use only cassettes that are 90 minutes long or less.
²Do not expose tapes to direct sunlight, high humidity, extreme heat or
extreme cold. Allow tapes that may have been exposed to extreme
temperatures to reach a moderate temperature before playing.
²Tighten very loose tapes by inserting a finger or pencil into the hole
and turning the hub.
²Remove loose labels before inserting tapes.
²Do not leave tapes in the cassette player for a long time when not
being played.
Radio frequency information
The Federal Communications Commission (FCC) and the Canadian Radio
and Telecommunications Commission(CRTC) establish the frequencies
AM and FM stations may use for their broadcasts. Allowable frequencies
are:
AM 530, 540±1600, 1610 kHz
FM 87.7, 87.9±107.7, 107.9 MHz
Not all frequencies are used in a given area.
Radio reception factors
Three factors can affect radio reception:
²Distance/strength.The further an FM signal travels, the weaker it is.
The listenable range of the average FM station is approximately 40 km
(24 miles). This range can be affected by ªsignal modulation.º Signal
modulation is a process radio stations use to increase their
strength/volume relative to other stations.
Controls and features
80