FORD EXPLORER 2009 4.G Owners Manual
Manufacturer: FORD, Model Year: 2009, Model line: EXPLORER, Model: FORD EXPLORER 2009 4.GPages: 407, PDF Size: 3.47 MB
Page 291 of 407
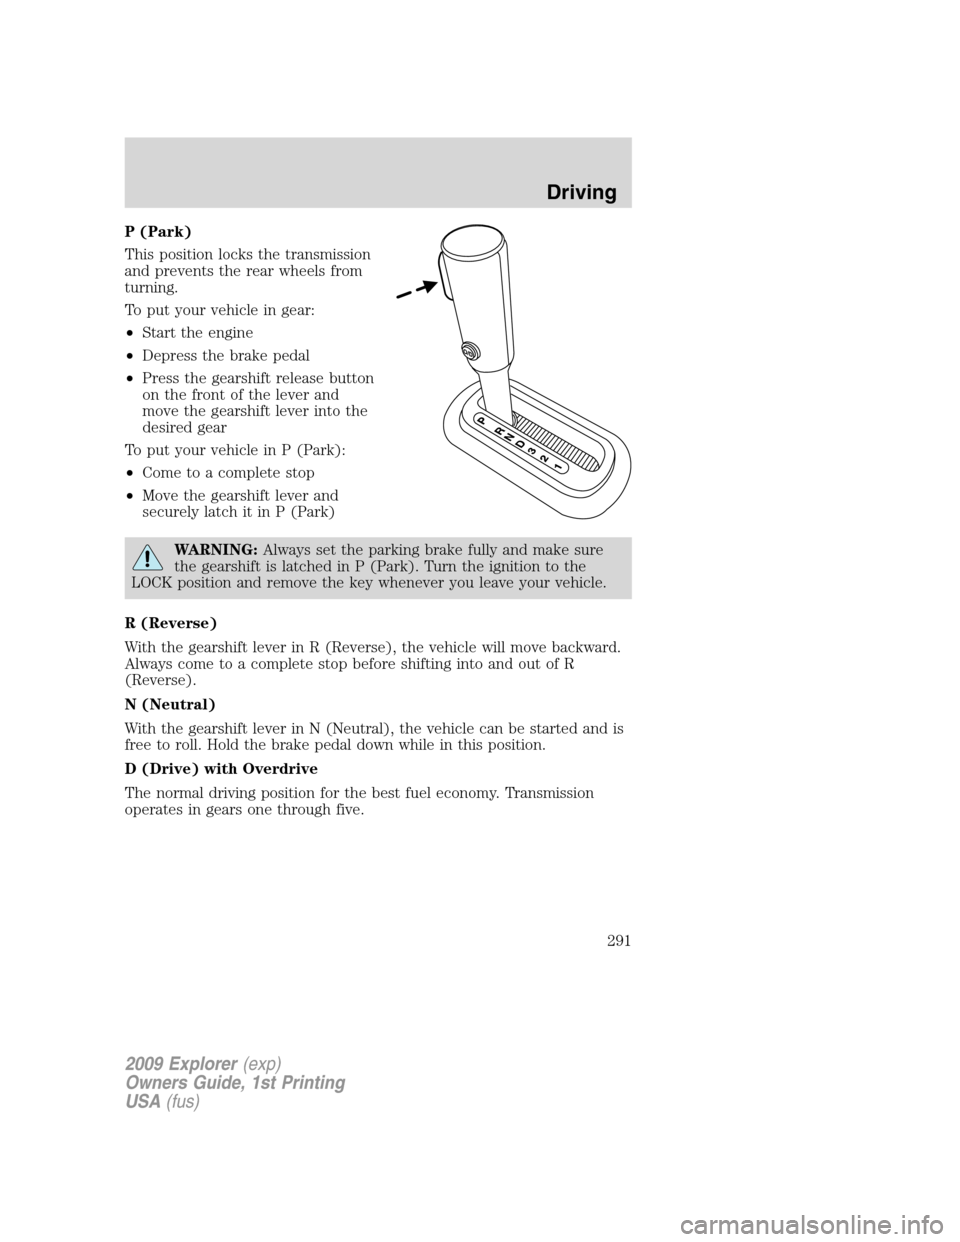
P (Park)
This position locks the transmission
and prevents the rear wheels from
turning.
To put your vehicle in gear:
•Start the engine
•Depress the brake pedal
•Press the gearshift release button
on the front of the lever and
move the gearshift lever into the
desired gear
To put your vehicle in P (Park):
•Come to a complete stop
•Move the gearshift lever and
securely latch it in P (Park)
WARNING:Always set the parking brake fully and make sure
the gearshift is latched in P (Park). Turn the ignition to the
LOCK position and remove the key whenever you leave your vehicle.
R (Reverse)
With the gearshift lever in R (Reverse), the vehicle will move backward.
Always come to a complete stop before shifting into and out of R
(Reverse).
N (Neutral)
With the gearshift lever in N (Neutral), the vehicle can be started and is
free to roll. Hold the brake pedal down while in this position.
D (Drive) with Overdrive
The normal driving position for the best fuel economy. Transmission
operates in gears one through five.
2009 Explorer(exp)
Owners Guide, 1st Printing
USA(fus)
Driving
291
Page 292 of 407
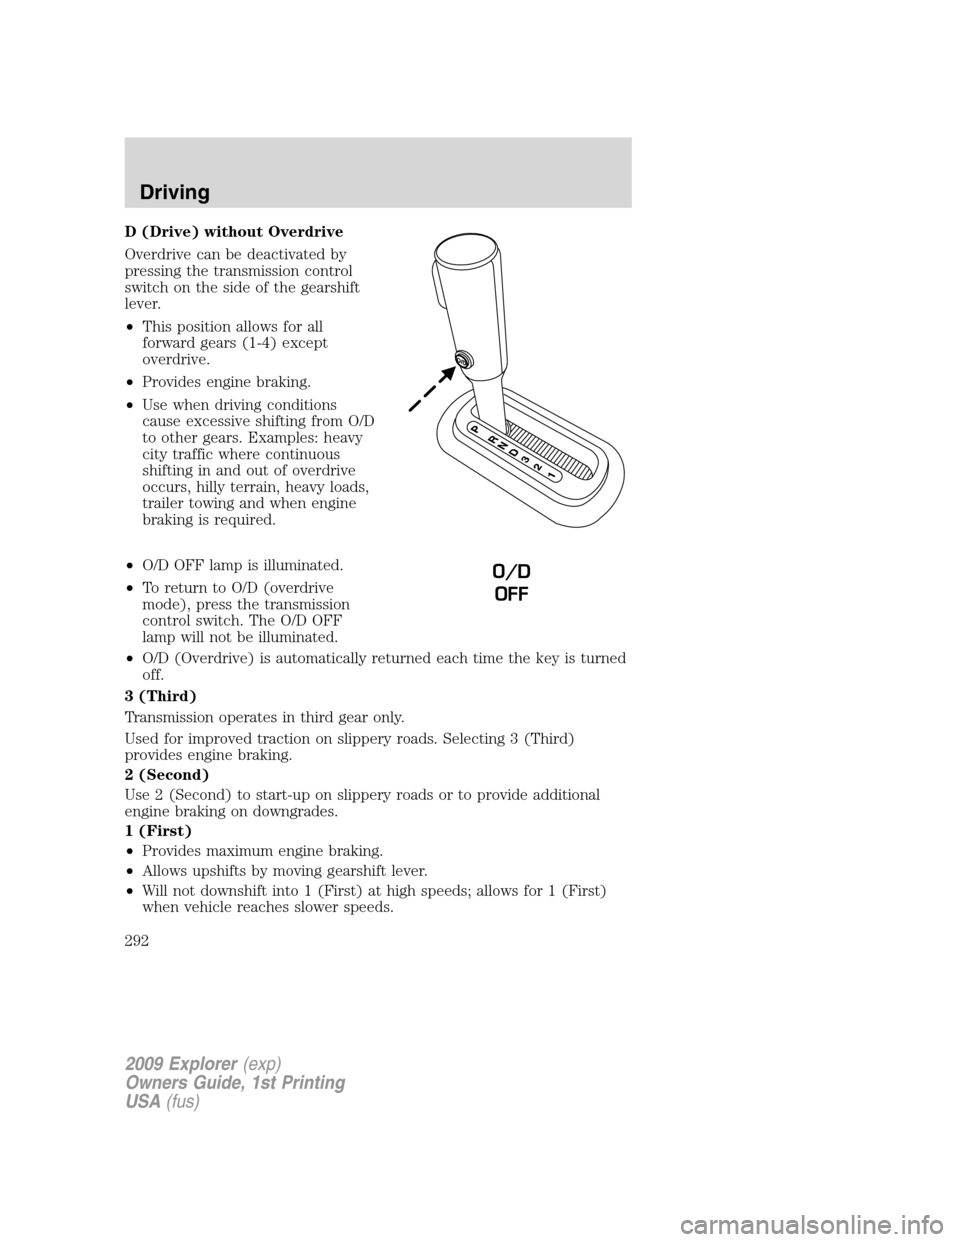
D (Drive) without Overdrive
Overdrive can be deactivated by
pressing the transmission control
switch on the side of the gearshift
lever.
•This position allows for all
forward gears (1-4) except
overdrive.
•Provides engine braking.
•Use when driving conditions
cause excessive shifting from O/D
to other gears. Examples: heavy
city traffic where continuous
shifting in and out of overdrive
occurs, hilly terrain, heavy loads,
trailer towing and when engine
braking is required.
•O/D OFF lamp is illuminated.
•To return to O/D (overdrive
mode), press the transmission
control switch. The O/D OFF
lamp will not be illuminated.
•O/D (Overdrive) is automatically returned each time the key is turned
off.
3 (Third)
Transmission operates in third gear only.
Used for improved traction on slippery roads. Selecting 3 (Third)
provides engine braking.
2 (Second)
Use 2 (Second) to start-up on slippery roads or to provide additional
engine braking on downgrades.
1 (First)
•Provides maximum engine braking.
•Allows upshifts by moving gearshift lever.
•Will not downshift into 1 (First) at high speeds; allows for 1 (First)
when vehicle reaches slower speeds.
O/D
OFF
2009 Explorer(exp)
Owners Guide, 1st Printing
USA(fus)
Driving
292
Page 293 of 407
Forced downshifts
•Allowed in D (Overdrive) or Drive.
•Depress the accelerator to the floor.
•Allows transmission to select an appropriate gear.
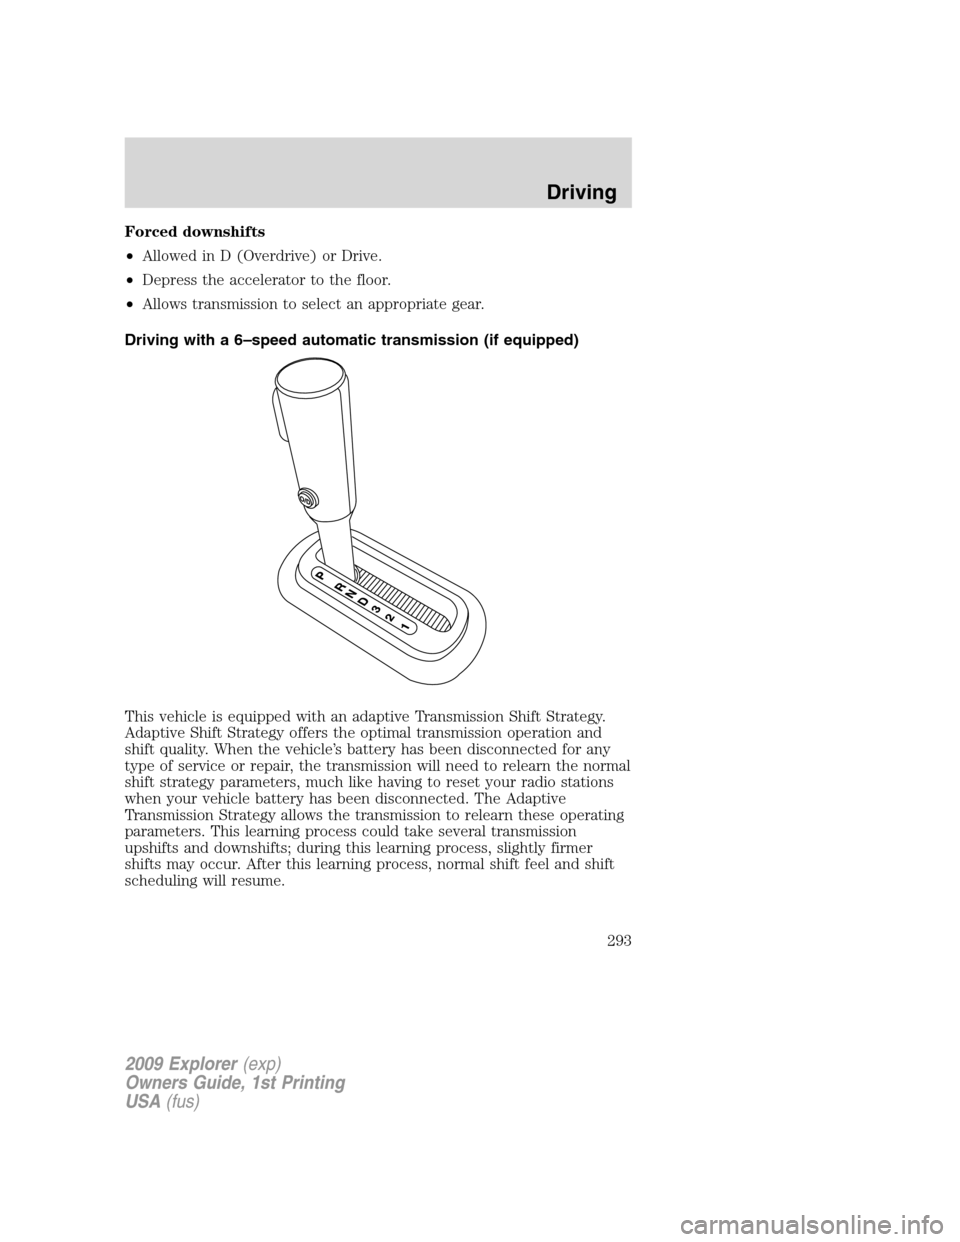
Driving with a 6–speed automatic transmission (if equipped)
This vehicle is equipped with an adaptive Transmission Shift Strategy.
Adaptive Shift Strategy offers the optimal transmission operation and
shift quality. When the vehicle’s battery has been disconnected for any
type of service or repair, the transmission will need to relearn the normal
shift strategy parameters, much like having to reset your radio stations
when your vehicle battery has been disconnected. The Adaptive
Transmission Strategy allows the transmission to relearn these operating
parameters. This learning process could take several transmission
upshifts and downshifts; during this learning process, slightly firmer
shifts may occur. After this learning process, normal shift feel and shift
scheduling will resume.
2009 Explorer(exp)
Owners Guide, 1st Printing
USA(fus)
Driving
293
Page 294 of 407
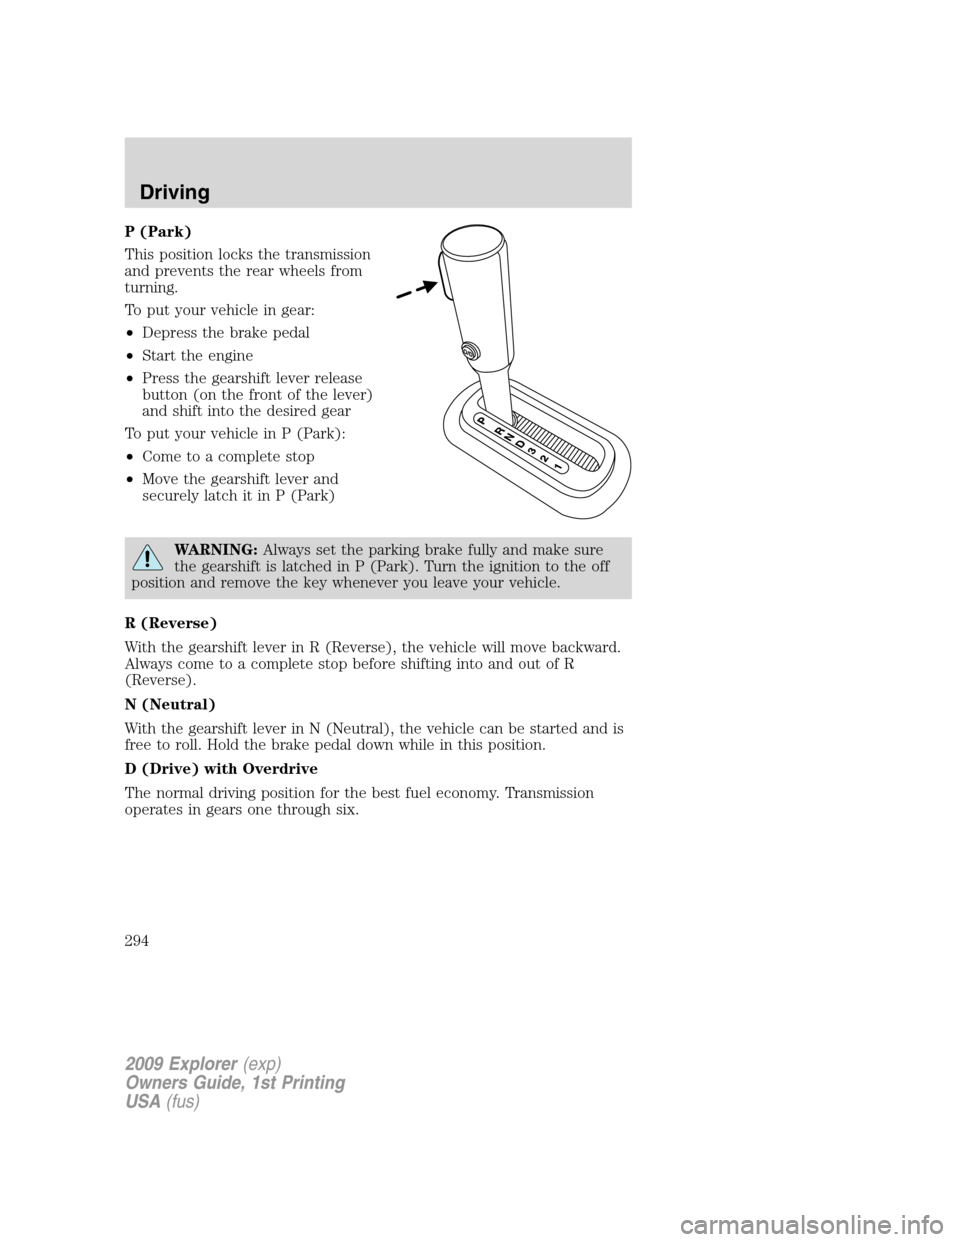
P (Park)
This position locks the transmission
and prevents the rear wheels from
turning.
To put your vehicle in gear:
•Depress the brake pedal
•Start the engine
•Press the gearshift lever release
button (on the front of the lever)
and shift into the desired gear
To put your vehicle in P (Park):
•Come to a complete stop
•Move the gearshift lever and
securely latch it in P (Park)
WARNING:Always set the parking brake fully and make sure
the gearshift is latched in P (Park). Turn the ignition to the off
position and remove the key whenever you leave your vehicle.
R (Reverse)
With the gearshift lever in R (Reverse), the vehicle will move backward.
Always come to a complete stop before shifting into and out of R
(Reverse).
N (Neutral)
With the gearshift lever in N (Neutral), the vehicle can be started and is
free to roll. Hold the brake pedal down while in this position.
D (Drive) with Overdrive
The normal driving position for the best fuel economy. Transmission
operates in gears one through six.
2009 Explorer(exp)
Owners Guide, 1st Printing
USA(fus)
Driving
294
Page 295 of 407
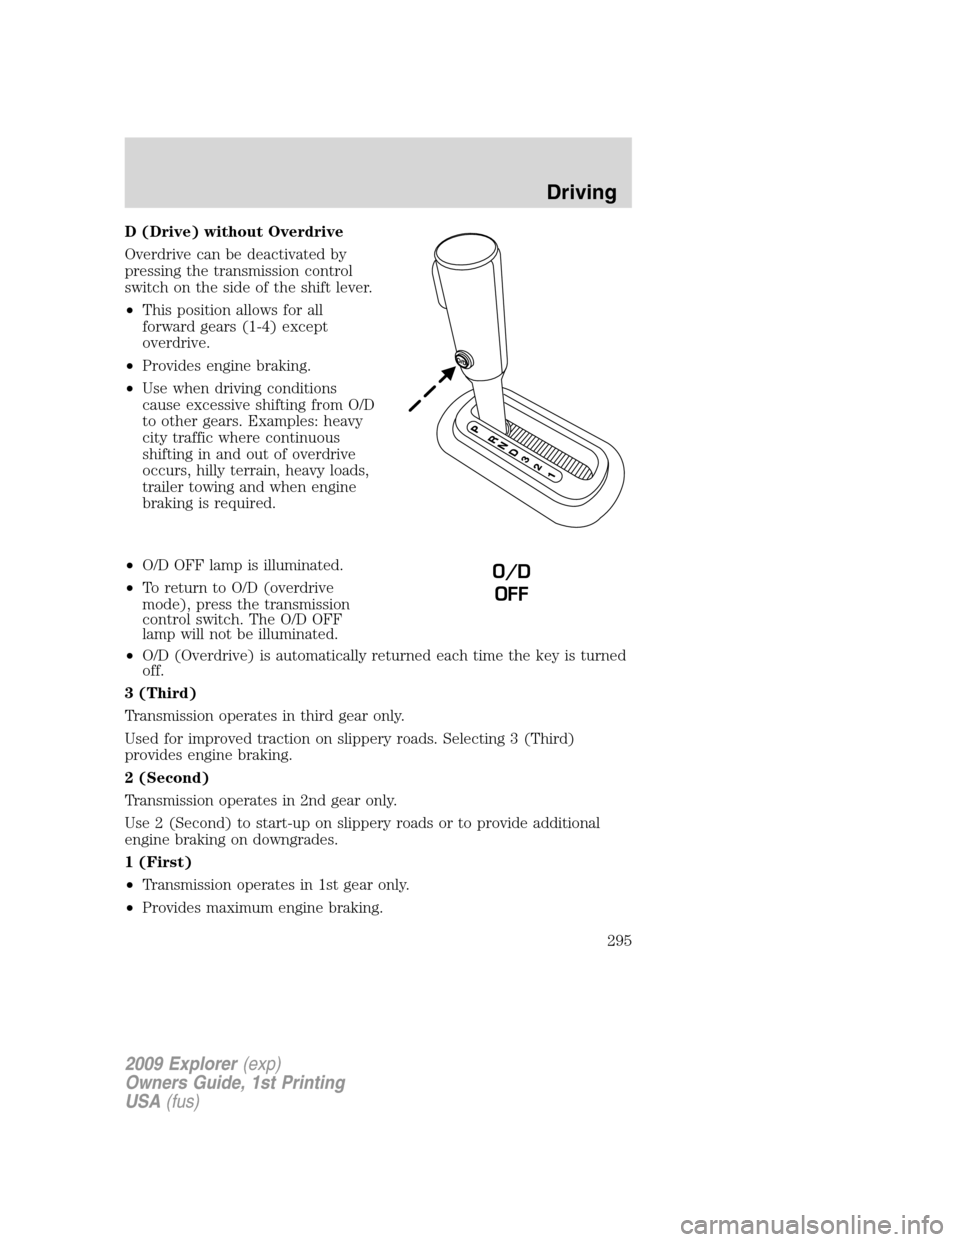
D (Drive) without Overdrive
Overdrive can be deactivated by
pressing the transmission control
switch on the side of the shift lever.
•This position allows for all
forward gears (1-4) except
overdrive.
•Provides engine braking.
•Use when driving conditions
cause excessive shifting from O/D
to other gears. Examples: heavy
city traffic where continuous
shifting in and out of overdrive
occurs, hilly terrain, heavy loads,
trailer towing and when engine
braking is required.
•O/D OFF lamp is illuminated.
•To return to O/D (overdrive
mode), press the transmission
control switch. The O/D OFF
lamp will not be illuminated.
•O/D (Overdrive) is automatically returned each time the key is turned
off.
3 (Third)
Transmission operates in third gear only.
Used for improved traction on slippery roads. Selecting 3 (Third)
provides engine braking.
2 (Second)
Transmission operates in 2nd gear only.
Use 2 (Second) to start-up on slippery roads or to provide additional
engine braking on downgrades.
1 (First)
•Transmission operates in 1st gear only.
•Provides maximum engine braking.
O/D
OFF
2009 Explorer(exp)
Owners Guide, 1st Printing
USA(fus)
Driving
295
Page 296 of 407
•Allows upshifts by moving gearshift lever.
•Will not downshift into 1 (First) at high speeds; allows for 1 (First)
when vehicle reaches slower speeds.
Forced downshifts
•Allowed in D (Drive) only.
•Depress the accelerator to the floor.
•Allows transmission to select an appropriate gear.
If your vehicle gets stuck in mud or snow
If your vehicle gets stuck in mud or snow, it may be rocked out by
shifting between forward and reverse gears, stopping between shifts in a
steady pattern. Press lightly on the accelerator in each gear.
Do not rock the vehicle if the engine is not at normal operating
temperature or damage to the transmission may occur.
Do not rock the vehicle for more than a minute or damage to the
transmission and tires may occur, or the engine may overheat.
REVERSE SENSING SYSTEM (IF EQUIPPED)
The reverse sensing system sounds a tone to warn the driver of obstacles
near the rear bumper when the R (Reverse) gear is selected.
WARNING:To help avoid personal injury, please read and
understand the limitations of the reverse sensing system as
contained in this section. The park assist is only an aid for some
(generally large and fixed) objects when moving in reverse on a flat
surface at “parking speeds”. Inclement weather may also affect the
function of the RSS; this may include reduced performance or a false
activation.
WARNING:To help avoid personal injury, always use caution
when in R (Reverse) and when using the reverse sensing system.
WARNING:This system is not designed to prevent contact with
small or moving objects. The system is designed to provide a
warning to assist the driver in detecting objects to avoid damaging the
vehicle. The system may not detect smaller objects, particularly those
close to the ground.
2009 Explorer(exp)
Owners Guide, 1st Printing
USA(fus)
Driving
296
Page 297 of 407
WARNING:Certain add-on devices such as large trailer hitches,
bike or surfboard racks and any device that may block the
normal detection zone of the reverse sensing system may create false
beeps.
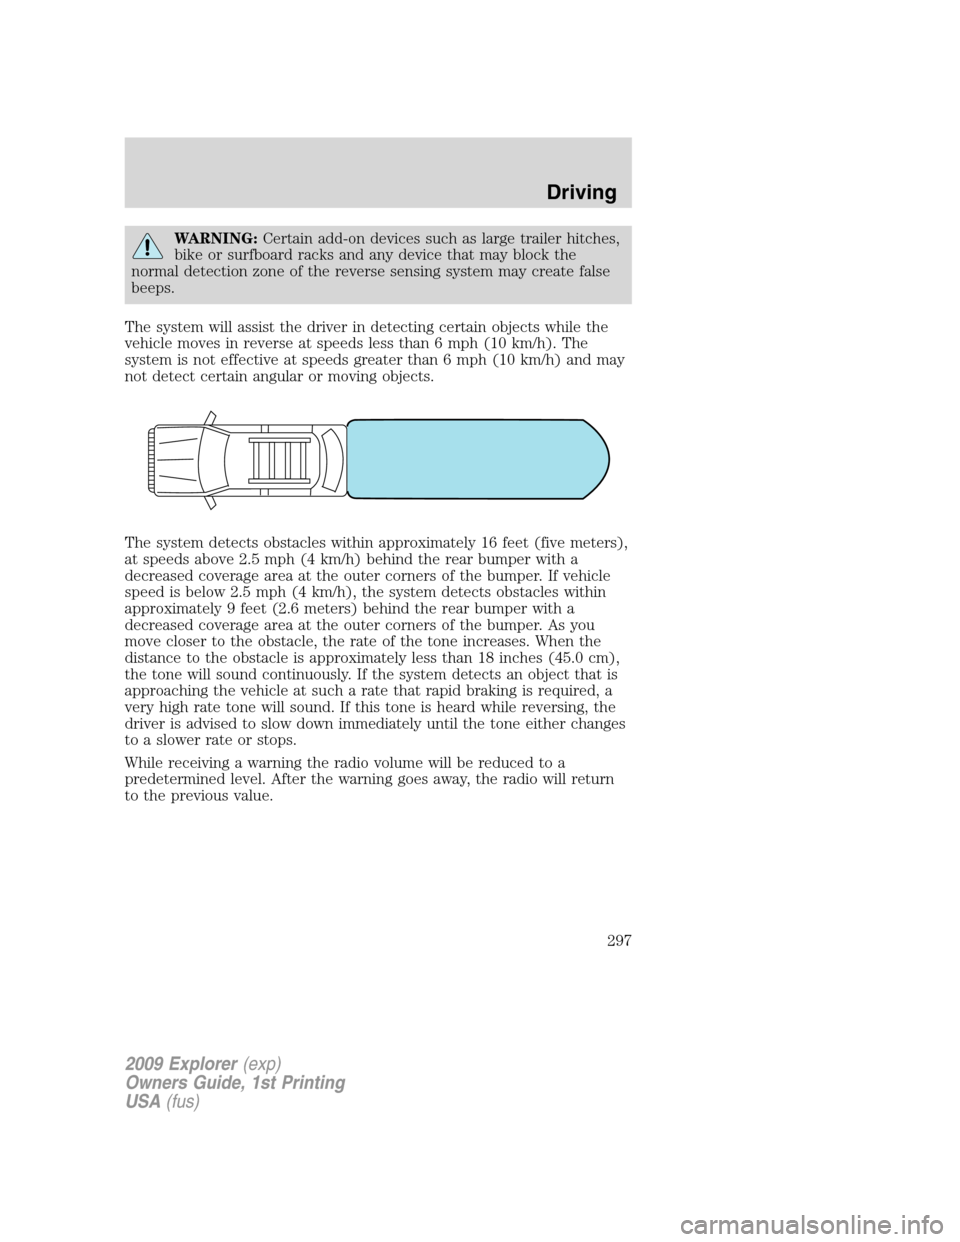
The system will assist the driver in detecting certain objects while the
vehicle moves in reverse at speeds less than 6 mph (10 km/h). The
system is not effective at speeds greater than 6 mph (10 km/h) and may
not detect certain angular or moving objects.
The system detects obstacles within approximately 16 feet (five meters),
at speeds above 2.5 mph (4 km/h) behind the rear bumper with a
decreased coverage area at the outer corners of the bumper. If vehicle
speed is below 2.5 mph (4 km/h), the system detects obstacles within
approximately 9 feet (2.6 meters) behind the rear bumper with a
decreased coverage area at the outer corners of the bumper. As you
move closer to the obstacle, the rate of the tone increases. When the
distance to the obstacle is approximately less than 18 inches (45.0 cm),
the tone will sound continuously. If the system detects an object that is
approaching the vehicle at such a rate that rapid braking is required, a
very high rate tone will sound. If this tone is heard while reversing, the
driver is advised to slow down immediately until the tone either changes
to a slower rate or stops.
While receiving a warning the radio volume will be reduced to a
predetermined level. After the warning goes away, the radio will return
to the previous value.
2009 Explorer(exp)
Owners Guide, 1st Printing
USA(fus)
Driving
297
Page 298 of 407
Audible Warnings
Distance to Object Warning
Speed above 2.5 mph (4 km/h)
up to 1.6 feet (.5 meters) Solid
1.6 feet (.5 meters) to 3.1 feet
(1 meter)Fast beep
3.1 feet (1 meter) to 5.7 feet
(1.8 meters)Medium/fast beep
5.7 feet (1.8 meters) to 9 feet
(2.8 meters)Medium beep
9 feet (2.8 meters) to 13 feet
(4 meters)Medium/slow beep
13 feet (4 meters) to 19.6 feet
(6 meters)Slow beep
Speed below 2.5 mph (4 km/h)
up to 1.4 feet (.4 meters) Solid
1.4 feet (.4 meters) to 3 feet
(.9 meters)Fast beep
3 feet (.9 meters) to 4.5 feet
(1.4 meters)Medium beep
4.5 feet (1.4 meters) to
6.3 feet (1.9 meters)Medium/slow beep
6.3 feet (1.9 meters) to
8.7 feet (2.6 meters)Slow beep
8.7 feet (2.6 meters) to
16.4 feet (5 meters)No sound
The reverse sensing system is automatically enabled when the gear
selector is placed in R (Reverse) and the ignition is on. A control in the
message center allows the driver to disable the system only when the
ignition is on and the gear selector is in R (Reverse). Refer toMessage
centerin theDriver Controlschapter.
The message center will indicate the system is off and will not allow the
driver to switch the system on to indicate a failure of the reverse sensing
system.
2009 Explorer(exp)
Owners Guide, 1st Printing
USA(fus)
Driving
298
Page 299 of 407
The radar sensor is located behind the rear bumper/fascia. Always
keep the rear bumper/fascia free from snow, ice and large
accumulations of dirt. These elements may cause the system to
operate inaccurately.
If the vehicle sustains damage to the rear bumper/fascia, leaving
it misaligned or bent, the sensing zone may be altered causing
inaccurate measurement of obstacles or false alarms.
FOUR-WHEEL DRIVE (4WD) OPERATION (IF EQUIPPED)
WARNING:For important information regarding safe operation
of this type of vehicle, seePreparing to drive your vehiclein
this chapter.
Four–wheel drive (4WD) supplies power to all four wheels. Do not use
4X4 High or 4X4 Low on dry, hard surfaced roads. Doing so will produce
excessive noise, increase tire wear and may damage drive components.
4X4 High and 4X4 Low are only intended for consistently slippery or
loose surfaces. The use of 4X4 High or 4X4 Low on these surfaces may
produce some noise, such as occasional clunks, but will not damage the
drive system.
If equipped with the Electronic Shift 4WD System, and 4WD Low
is selected while the vehicle is moving above 3 mph (5 km/h), the
4WD system will not engage. This is normal and should be no
reason for concern.Refer toShifting to/from 4WD Lowfor proper
operation.
System indicator lights
•4X4- momentarily illuminates
when the vehicle is started.
Illuminates when 4X4 HIGH
(4WD High) is selected.
•4X4 LOW– momentarily
illuminates when the vehicle is
started. Illuminates when 4X4
LOW (4WD Low) is selected.
4x4
4x4
LOW
2009 Explorer(exp)
Owners Guide, 1st Printing
USA(fus)
Driving
299
Page 300 of 407
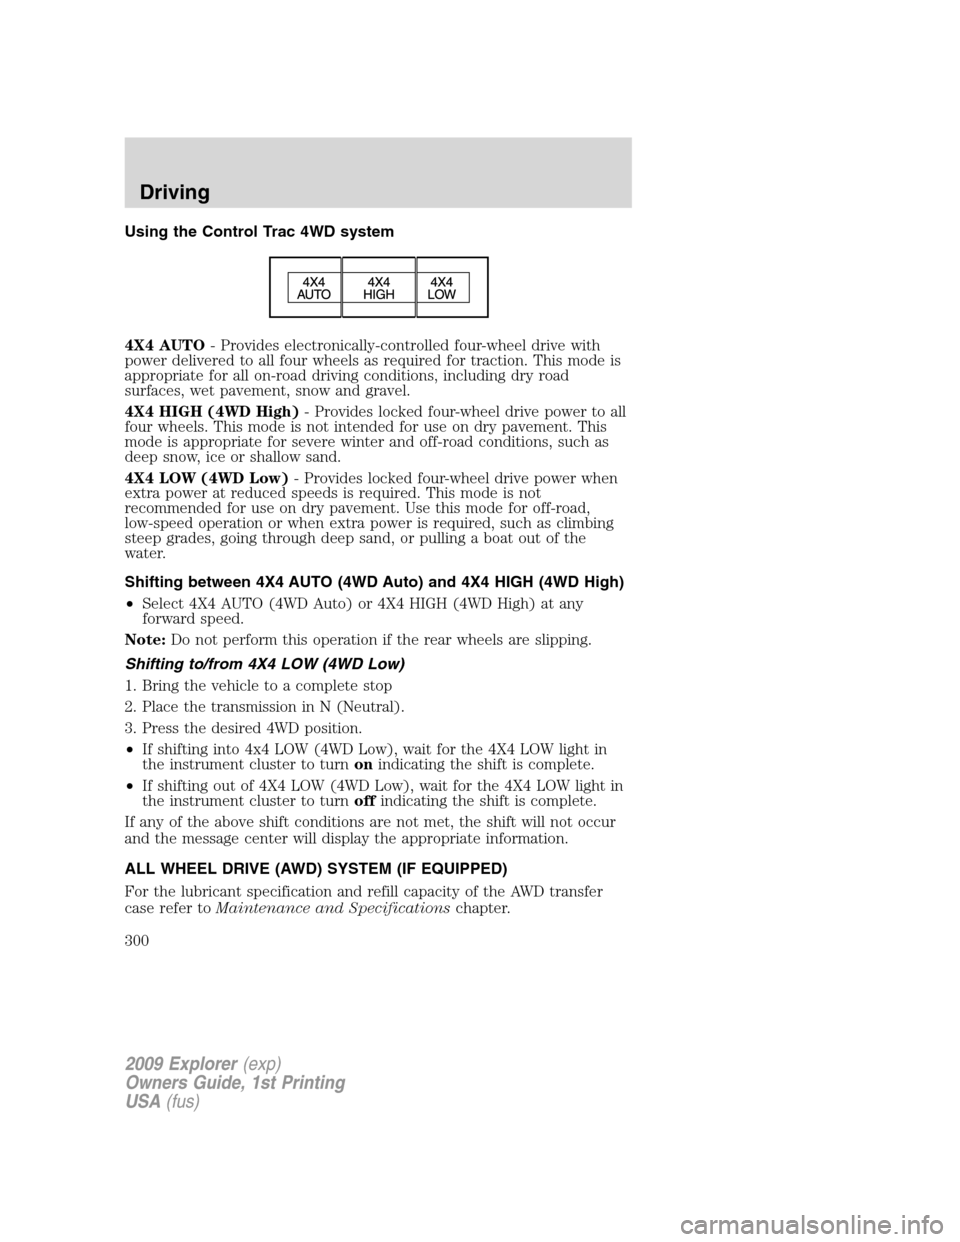
Using the Control Trac 4WD system
4X4 AUTO- Provides electronically-controlled four-wheel drive with
power delivered to all four wheels as required for traction. This mode is
appropriate for all on-road driving conditions, including dry road
surfaces, wet pavement, snow and gravel.
4X4 HIGH (4WD High)- Provides locked four-wheel drive power to all
four wheels. This mode is not intended for use on dry pavement. This
mode is appropriate for severe winter and off-road conditions, such as
deep snow, ice or shallow sand.
4X4 LOW (4WD Low)- Provides locked four-wheel drive power when
extra power at reduced speeds is required. This mode is not
recommended for use on dry pavement. Use this mode for off-road,
low-speed operation or when extra power is required, such as climbing
steep grades, going through deep sand, or pulling a boat out of the
water.
Shifting between 4X4 AUTO (4WD Auto) and 4X4 HIGH (4WD High)
•Select 4X4 AUTO (4WD Auto) or 4X4 HIGH (4WD High) at any
forward speed.
Note:Do not perform this operation if the rear wheels are slipping.
Shifting to/from 4X4 LOW (4WD Low)
1. Bring the vehicle to a complete stop
2. Place the transmission in N (Neutral).
3. Press the desired 4WD position.
•If shifting into 4x4 LOW (4WD Low), wait for the 4X4 LOW light in
the instrument cluster to turnonindicating the shift is complete.
•If shifting out of 4X4 LOW (4WD Low), wait for the 4X4 LOW light in
the instrument cluster to turnoffindicating the shift is complete.
If any of the above shift conditions are not met, the shift will not occur
and the message center will display the appropriate information.
ALL WHEEL DRIVE (AWD) SYSTEM (IF EQUIPPED)
For the lubricant specification and refill capacity of the AWD transfer
case refer toMaintenance and Specificationschapter.
2009 Explorer(exp)
Owners Guide, 1st Printing
USA(fus)
Driving
300