language FORD EXPLORER 2009 4.G Owners Manual
[x] Cancel search | Manufacturer: FORD, Model Year: 2009, Model line: EXPLORER, Model: FORD EXPLORER 2009 4.GPages: 407, PDF Size: 3.47 MB
Page 57 of 407
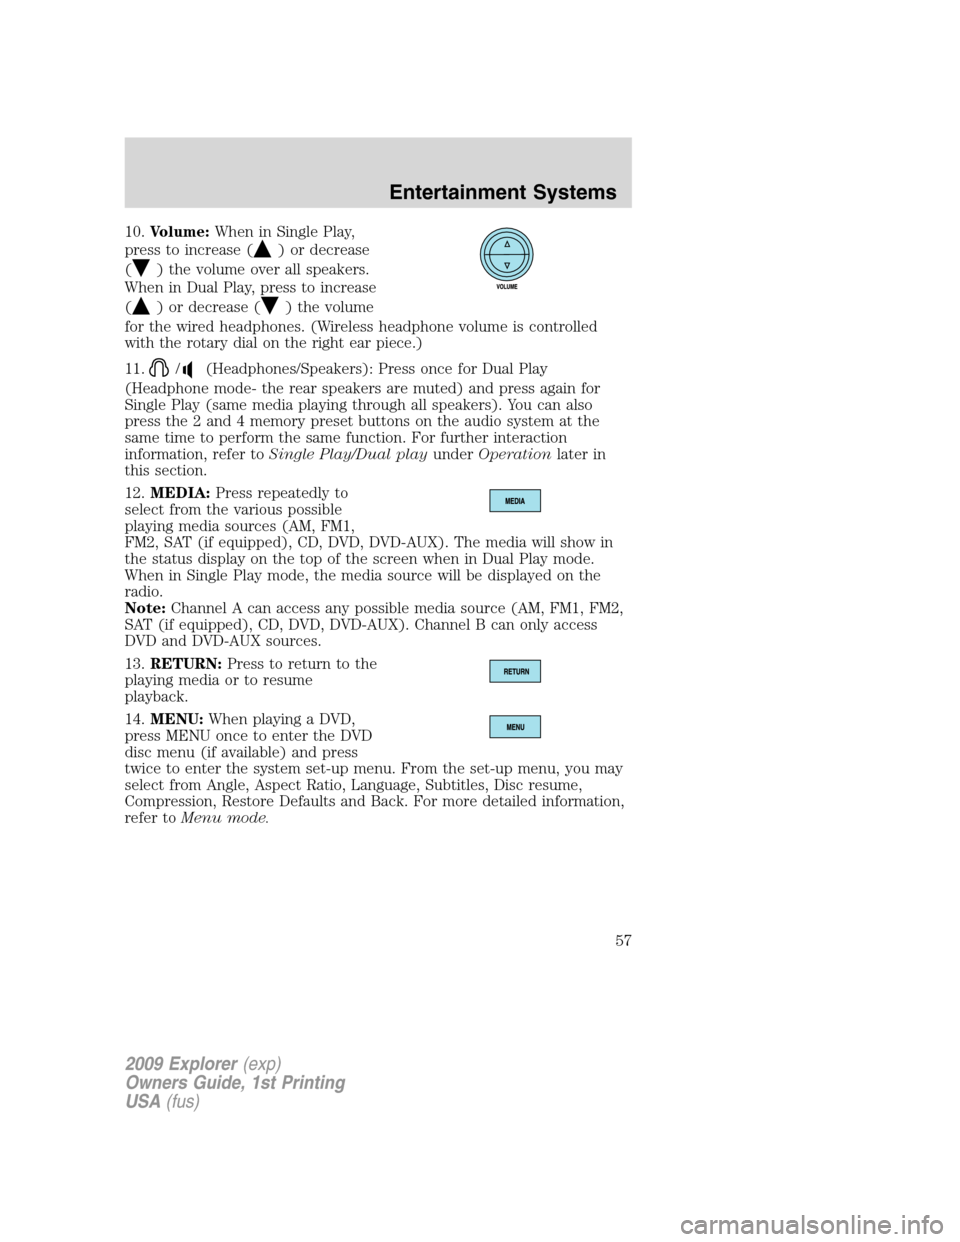
10.Volume:When in Single Play,
press to increase (
) or decrease
(
) the volume over all speakers.
When in Dual Play, press to increase
(
) or decrease () the volume
for the wired headphones. (Wireless headphone volume is controlled
with the rotary dial on the right ear piece.)
11.
/(Headphones/Speakers): Press once for Dual Play
(Headphone mode- the rear speakers are muted) and press again for
Single Play (same media playing through all speakers). You can also
press the 2 and 4 memory preset buttons on the audio system at the
same time to perform the same function. For further interaction
information, refer toSingle Play/Dual playunderOperationlater in
this section.
12.MEDIA:Press repeatedly to
select from the various possible
playing media sources (AM, FM1,
FM2, SAT (if equipped), CD, DVD, DVD-AUX). The media will show in
the status display on the top of the screen when in Dual Play mode.
When in Single Play mode, the media source will be displayed on the
radio.
Note:Channel A can access any possible media source (AM, FM1, FM2,
SAT (if equipped), CD, DVD, DVD-AUX). Channel B can only access
DVD and DVD-AUX sources.
13.RETURN:Press to return to the
playing media or to resume
playback.
14.MENU:When playing a DVD,
press MENU once to enter the DVD
disc menu (if available) and press
twice to enter the system set-up menu. From the set-up menu, you may
select from Angle, Aspect Ratio, Language, Subtitles, Disc resume,
Compression, Restore Defaults and Back. For more detailed information,
refer toMenu mode.
2009 Explorer(exp)
Owners Guide, 1st Printing
USA(fus)
Entertainment Systems
57
Page 60 of 407
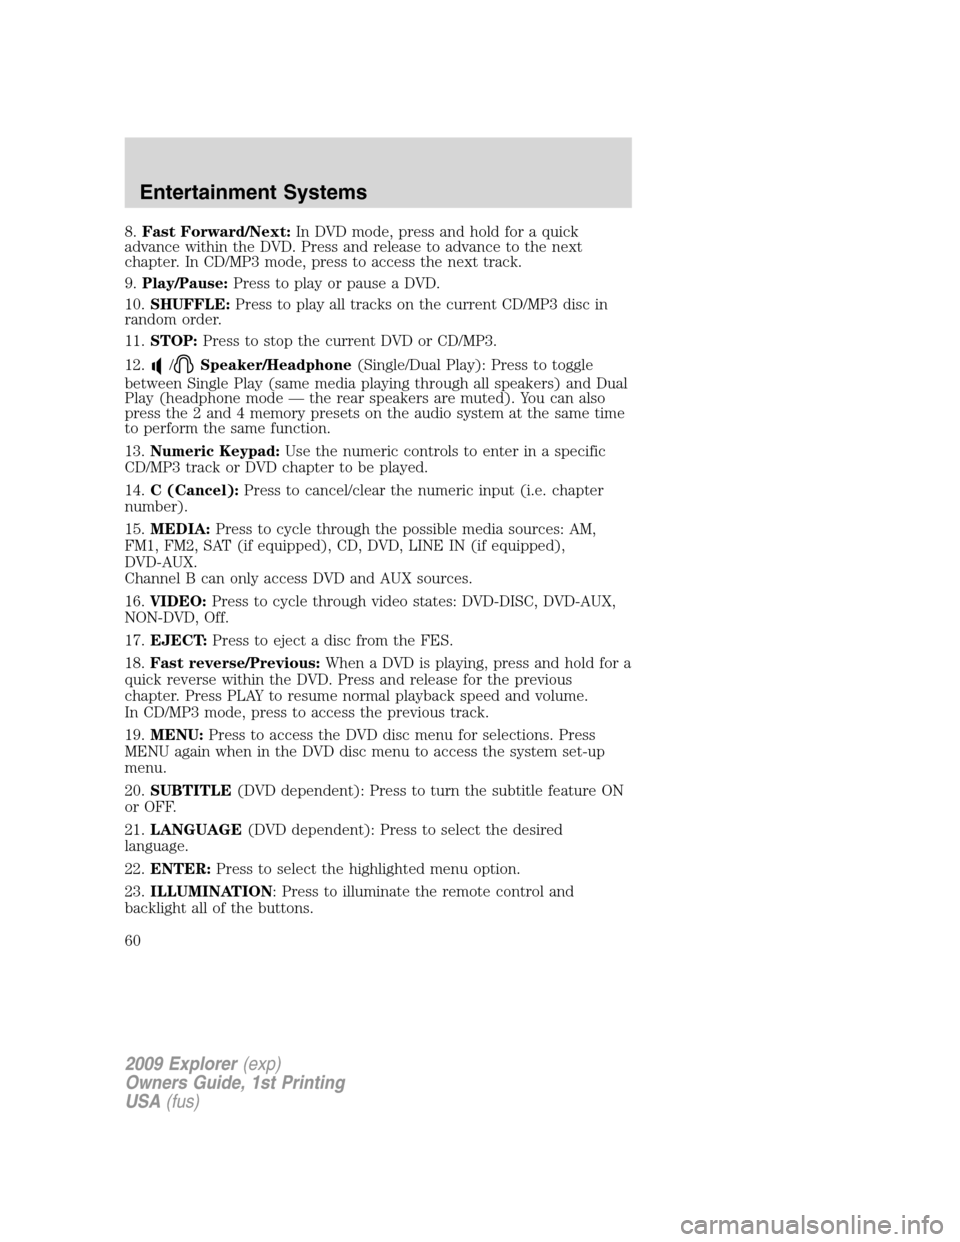
8.Fast Forward/Next:In DVD mode, press and hold for a quick
advance within the DVD. Press and release to advance to the next
chapter. In CD/MP3 mode, press to access the next track.
9.Play/Pause:Press to play or pause a DVD.
10.SHUFFLE:Press to play all tracks on the current CD/MP3 disc in
random order.
11.STOP:Press to stop the current DVD or CD/MP3.
12.
/Speaker/Headphone(Single/Dual Play): Press to toggle
between Single Play (same media playing through all speakers) and Dual
Play (headphone mode — the rear speakers are muted). You can also
press the 2 and 4 memory presets on the audio system at the same time
to perform the same function.
13.Numeric Keypad:Use the numeric controls to enter in a specific
CD/MP3 track or DVD chapter to be played.
14.C (Cancel):Press to cancel/clear the numeric input (i.e. chapter
number).
15.MEDIA:Press to cycle through the possible media sources: AM,
FM1, FM2, SAT (if equipped), CD, DVD, LINE IN (if equipped),
DVD-AUX.
Channel B can only access DVD and AUX sources.
16.VIDEO:Press to cycle through video states: DVD-DISC, DVD-AUX,
NON-DVD, Off.
17.EJECT:Press to eject a disc from the FES.
18.Fast reverse/Previous:When a DVD is playing, press and hold for a
quick reverse within the DVD. Press and release for the previous
chapter. Press PLAY to resume normal playback speed and volume.
In CD/MP3 mode, press to access the previous track.
19.MENU:Press to access the DVD disc menu for selections. Press
MENU again when in the DVD disc menu to access the system set-up
menu.
20.SUBTITLE(DVD dependent): Press to turn the subtitle feature ON
or OFF.
21.LANGUAGE(DVD dependent): Press to select the desired
language.
22.ENTER:Press to select the highlighted menu option.
23.ILLUMINATION: Press to illuminate the remote control and
backlight all of the buttons.
2009 Explorer(exp)
Owners Guide, 1st Printing
USA(fus)
Entertainment Systems
60
Page 69 of 407
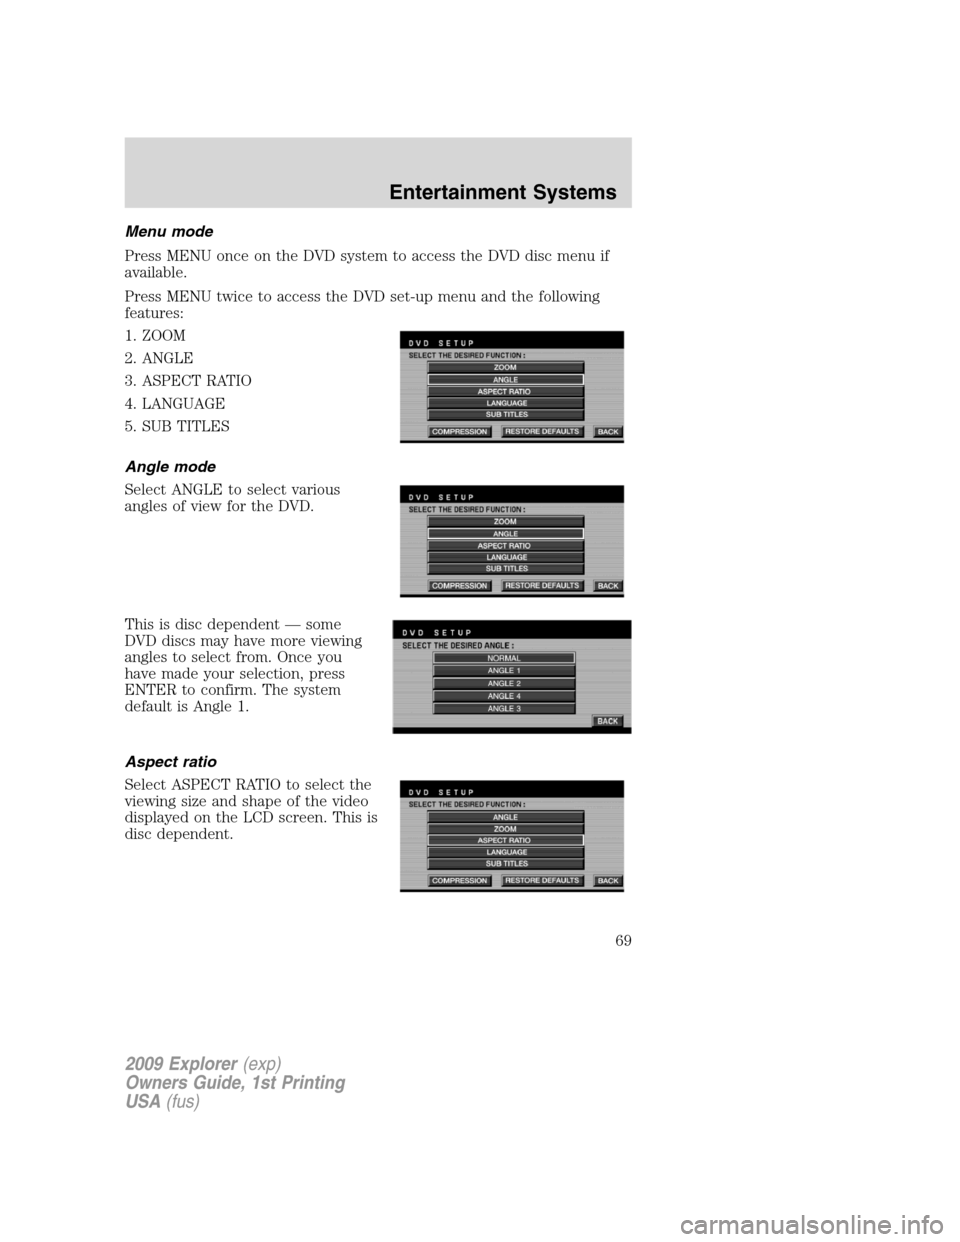
Menu mode
Press MENU once on the DVD system to access the DVD disc menu if
available.
Press MENU twice to access the DVD set-up menu and the following
features:
1. ZOOM
2. ANGLE
3. ASPECT RATIO
4. LANGUAGE
5. SUB TITLES
Angle mode
Select ANGLE to select various
angles of view for the DVD.
This is disc dependent — some
DVD discs may have more viewing
angles to select from. Once you
have made your selection, press
ENTER to confirm. The system
default is Angle 1.
Aspect ratio
Select ASPECT RATIO to select the
viewing size and shape of the video
displayed on the LCD screen. This is
disc dependent.
2009 Explorer(exp)
Owners Guide, 1st Printing
USA(fus)
Entertainment Systems
69
Page 70 of 407
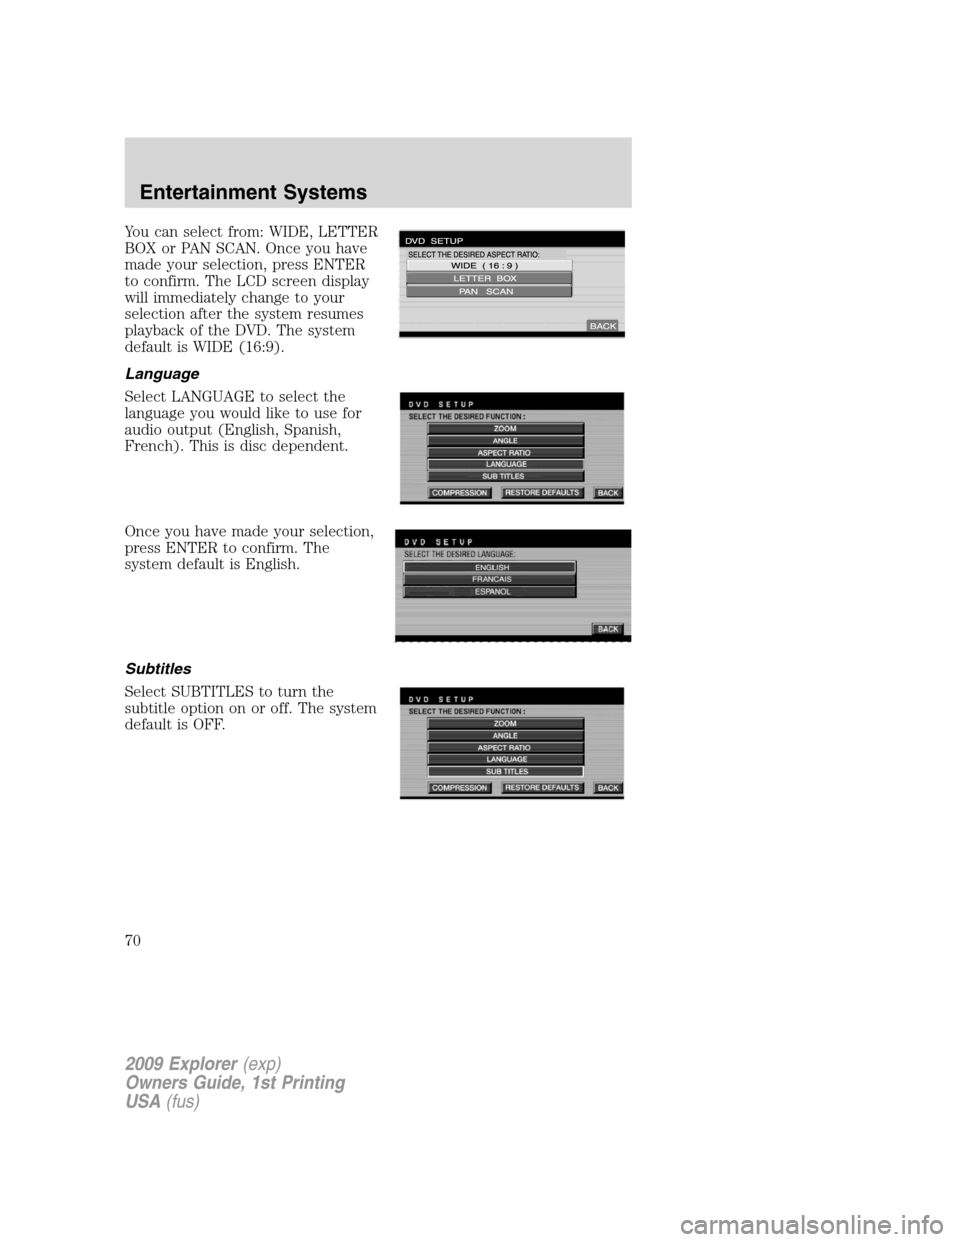
You can select from: WIDE, LETTER
BOX or PAN SCAN. Once you have
made your selection, press ENTER
to confirm. The LCD screen display
will immediately change to your
selection after the system resumes
playback of the DVD. The system
default is WIDE (16:9).
Language
Select LANGUAGE to select the
language you would like to use for
audio output (English, Spanish,
French). This is disc dependent.
Once you have made your selection,
press ENTER to confirm. The
system default is English.
Subtitles
Select SUBTITLES to turn the
subtitle option on or off. The system
default is OFF.
2009 Explorer(exp)
Owners Guide, 1st Printing
USA(fus)
Entertainment Systems
70
Page 124 of 407
DTE is calculated using a running average fuel economy, which is based
on your recent driving history of 500 miles (800 km). This value is not
the same as the average fuel economy display. The running average fuel
economy is reinitialized to a factory default value if the battery is
disconnected.
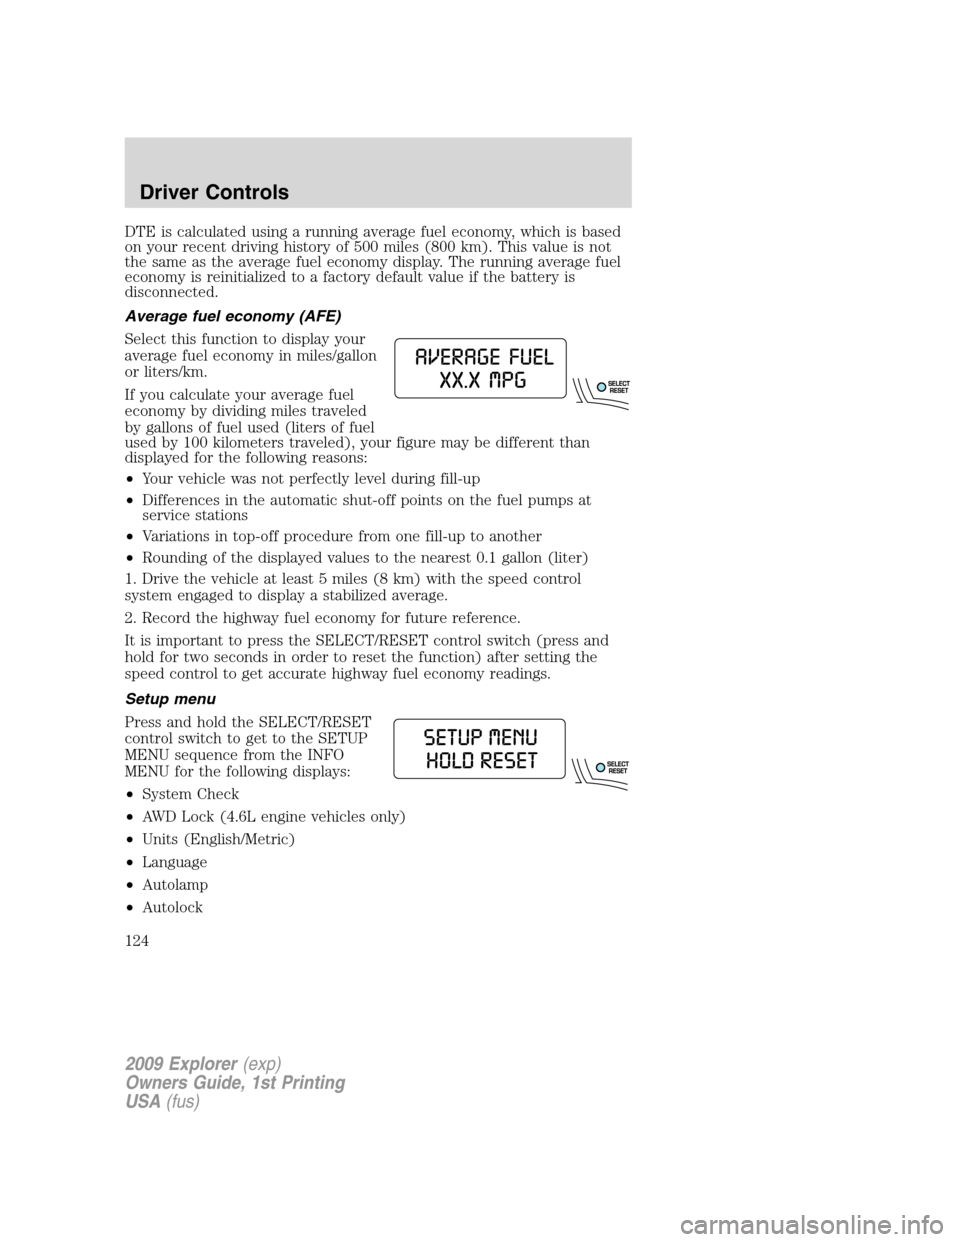
Average fuel economy (AFE)
Select this function to display your
average fuel economy in miles/gallon
or liters/km.
If you calculate your average fuel
economy by dividing miles traveled
by gallons of fuel used (liters of fuel
used by 100 kilometers traveled), your figure may be different than
displayed for the following reasons:
•Your vehicle was not perfectly level during fill-up
•Differences in the automatic shut-off points on the fuel pumps at
service stations
•Variations in top-off procedure from one fill-up to another
•Rounding of the displayed values to the nearest 0.1 gallon (liter)
1. Drive the vehicle at least 5 miles (8 km) with the speed control
system engaged to display a stabilized average.
2. Record the highway fuel economy for future reference.
It is important to press the SELECT/RESET control switch (press and
hold for two seconds in order to reset the function) after setting the
speed control to get accurate highway fuel economy readings.
Setup menu
Press and hold the SELECT/RESET
control switch to get to the SETUP
MENU sequence from the INFO
MENU for the following displays:
•System Check
•AWD Lock (4.6L engine vehicles only)
•Units (English/Metric)
•Language
•Autolamp
•Autolock
2009 Explorer(exp)
Owners Guide, 1st Printing
USA(fus)
Driver Controls
124
Page 126 of 407
The sequence of the system check report and how it appears in the
message center is as follows:
1. OIL LIFE
2. CHARGING SYSTEM
3. WASHER FLUID
4. DOOR AJAR
5. EXTERIOR LAMP
6. BRAKE FLUID LEVEL
7. PARK BRAKE
8. MILES TO EMPTY
9. FUEL LEVEL LOW (will only display if 50 miles [80 km] or less to
empty)
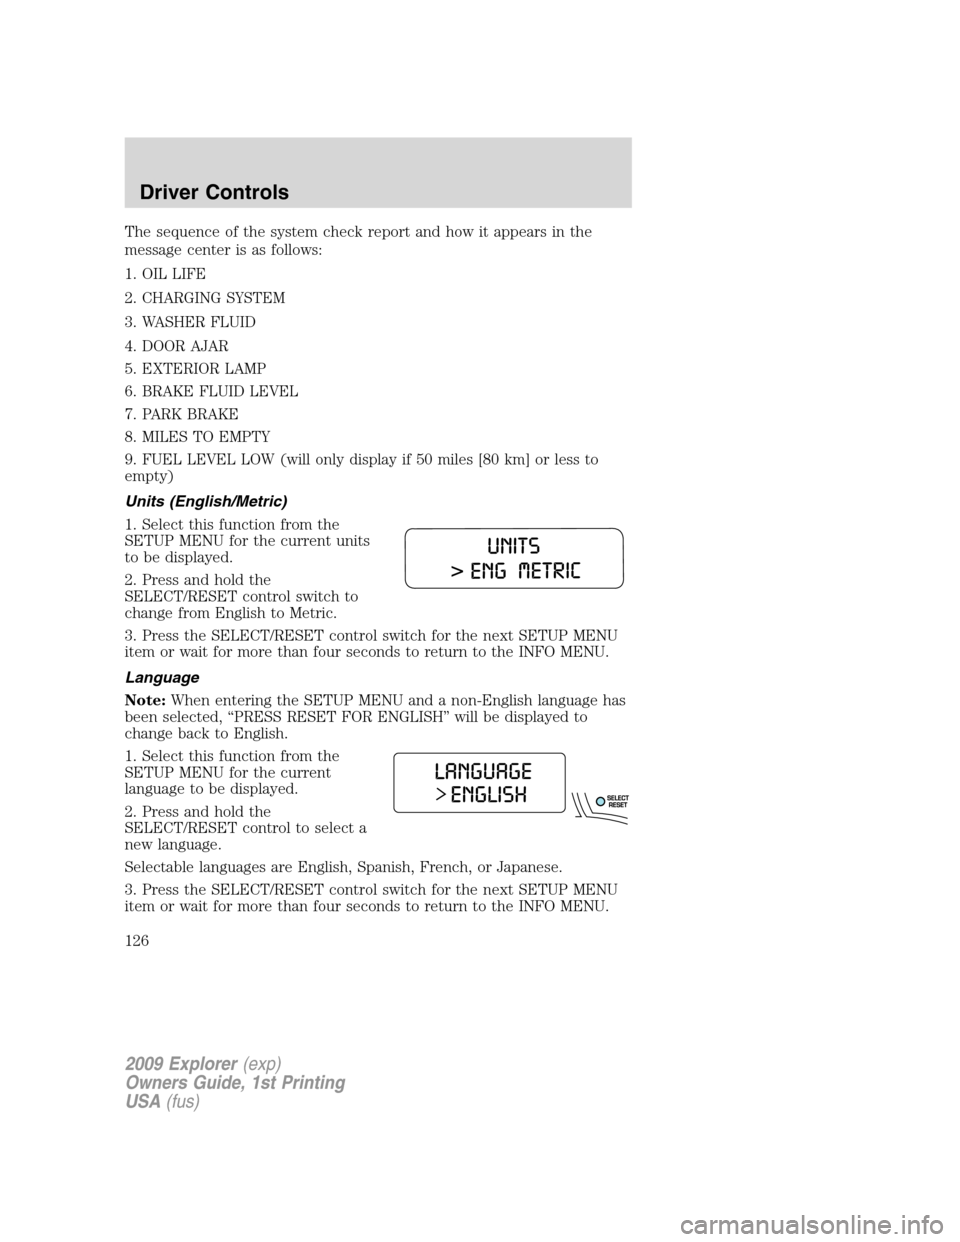
Units (English/Metric)
1. Select this function from the
SETUP MENU for the current units
to be displayed.
2. Press and hold the
SELECT/RESET control switch to
change from English to Metric.
3. Press the SELECT/RESET control switch for the next SETUP MENU
item or wait for more than four seconds to return to the INFO MENU.
Language
Note:When entering the SETUP MENU and a non-English language has
been selected, “PRESS RESET FOR ENGLISH” will be displayed to
change back to English.
1. Select this function from the
SETUP MENU for the current
language to be displayed.
2. Press and hold the
SELECT/RESET control to select a
new language.
Selectable languages are English, Spanish, French, or Japanese.
3. Press the SELECT/RESET control switch for the next SETUP MENU
item or wait for more than four seconds to return to the INFO MENU.
2009 Explorer(exp)
Owners Guide, 1st Printing
USA(fus)
Driver Controls
126
Page 138 of 407
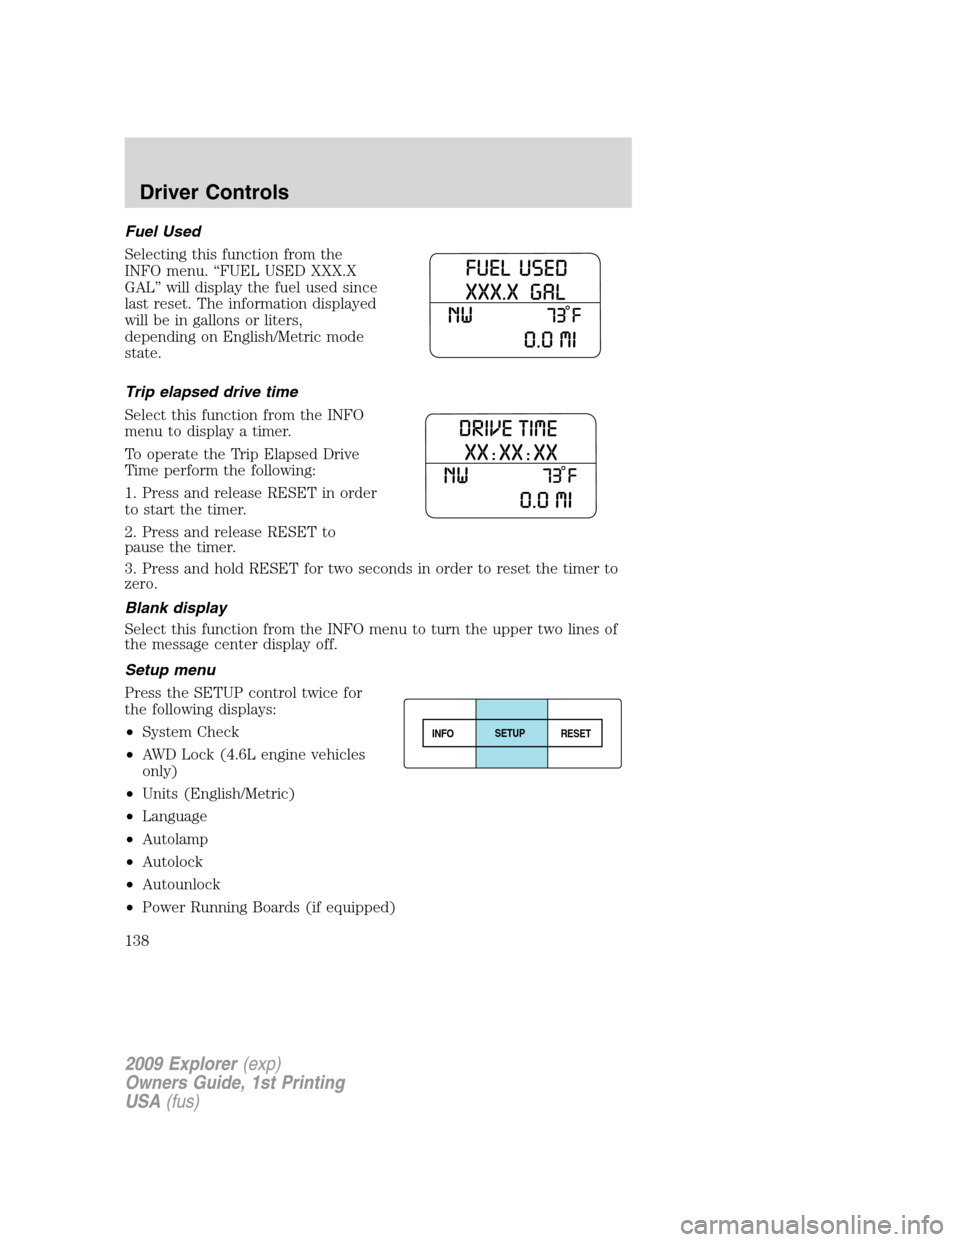
Fuel Used
Selecting this function from the
INFO menu. “FUEL USED XXX.X
GAL” will display the fuel used since
last reset. The information displayed
will be in gallons or liters,
depending on English/Metric mode
state.
Trip elapsed drive time
Select this function from the INFO
menu to display a timer.
To operate the Trip Elapsed Drive
Time perform the following:
1. Press and release RESET in order
to start the timer.
2. Press and release RESET to
pause the timer.
3. Press and hold RESET for two seconds in order to reset the timer to
zero.
Blank display
Select this function from the INFO menu to turn the upper two lines of
the message center display off.
Setup menu
Press the SETUP control twice for
the following displays:
•System Check
•AWD Lock (4.6L engine vehicles
only)
•Units (English/Metric)
•Language
•Autolamp
•Autolock
•Autounlock
•Power Running Boards (if equipped)
INFOSETUP
RESET
2009 Explorer(exp)
Owners Guide, 1st Printing
USA(fus)
Driver Controls
138
Page 140 of 407
3. WASHER FLUID
4. DOOR AJAR
5. EXTERIOR LAMP
6. BRAKE FLUID LEVEL
7. PARK BRAKE
8. FUEL LEVEL AND DISTANCE TO EMPTY
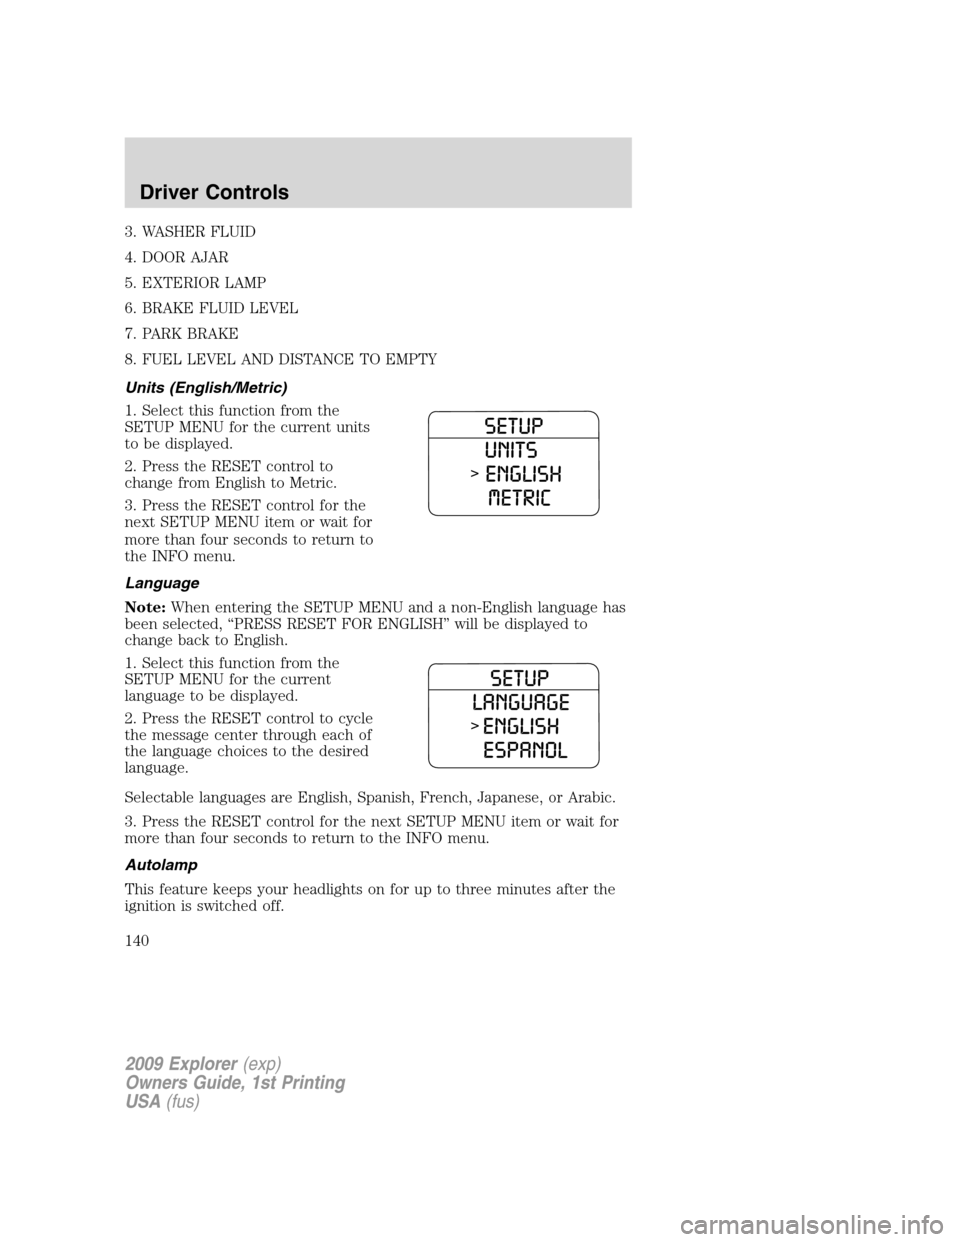
Units (English/Metric)
1. Select this function from the
SETUP MENU for the current units
to be displayed.
2. Press the RESET control to
change from English to Metric.
3. Press the RESET control for the
next SETUP MENU item or wait for
more than four seconds to return to
the INFO menu.
Language
Note:When entering the SETUP MENU and a non-English language has
been selected, “PRESS RESET FOR ENGLISH” will be displayed to
change back to English.
1. Select this function from the
SETUP MENU for the current
language to be displayed.
2. Press the RESET control to cycle
the message center through each of
the language choices to the desired
language.
Selectable languages are English, Spanish, French, Japanese, or Arabic.
3. Press the RESET control for the next SETUP MENU item or wait for
more than four seconds to return to the INFO menu.
Autolamp
This feature keeps your headlights on for up to three minutes after the
ignition is switched off.
2009 Explorer(exp)
Owners Guide, 1st Printing
USA(fus)
Driver Controls
140