warning lights FORD EXPLORER 2020 Owners Manual
[x] Cancel search | Manufacturer: FORD, Model Year: 2020, Model line: EXPLORER, Model: FORD EXPLORER 2020Pages: 555, PDF Size: 8.16 MB
Page 48 of 555

This system provides an improved overall
level of frontal crash protection to front
seat occupants and is designed to help
further reduce the risk of airbag-related
injuries. The system analyzes different
occupant conditions and crash severity
before activating the appropriate safety
devices to help better protect occupants
in a variety of frontal crash situations.
Your vehicle's Personal Safety System
consists of:
•
Driver and passenger dual-stage airbag
supplemental restraints.
• Front seat outermost seatbelts with
pretensioners, energy management
retractors and seatbelt usage sensors.
• Front passenger sensing system.
• Passenger airbag off and on indicators.
• Front crash severity sensors.
• Restraints control module with impact
and safing sensors.
• Restraint system warning light and
tone.
• The electrical wiring for the airbags,
crash sensors, seatbelt pretensioners,
front seatbelt usage sensors, front
passenger sensing system and
indicator lights.
How Does the Personal Safety
System Work?
The Personal Safety System can adapt the
deployment strategy of the safety devices
according to crash severity and occupant
conditions. A collection of crash and
occupant sensors provides information to
the restraints control module. During a
crash, the restraints control module may
deploy the seatbelt pretensioners, one or
both stages of the dual-stage airbags
based on crash severity and occupant
conditions.
45
Explorer (CTW) Canada/United States of America, enUSA, Edition date: 201902, Third-Printing- Personal Safety System
™
Page 102 of 555
You can switch this feature on and off
through the information display. See
General Information (page 112).
You can fold the mirrors on demand by
pressing the power-folding mirror control
on the door. The control lights and the
mirrors fold in toward the glass. Press the
control again to unfold the mirrors. The
control light turns off.
Note: If you use the power-folding control
to fold the mirrors on demand with the auto
fold feature on, you must use the control
again to unfold them.
Loose Mirror
If you manually fold your power-folding
mirrors, they may not work properly even
after you re-position them. You need to
reset them if:
• The mirrors vibrate when you drive.
• The mirrors feel loose.
• The mirrors do not stay in the folded or
unfolded position.
• One of the mirrors is not in its normal
driving position.
To reset the power-fold feature, use the
power-folding mirror control to fold and
unfold the mirrors. You may hear a loud
noise as you reset the power-folding
mirrors. This sound is normal. Repeat this
process as needed each time you manually
fold the mirrors.
Heated Exterior Mirrors
(If Equipped)
See
Heated Exterior Mirrors (page 142).
Memory Mirrors
(If Equipped)
You can save and recall the mirror
positions through the memory function.
See
Memory Function (page 150). Auto-dimming Feature
(If Equipped)
The driver exterior mirror dims when the
interior auto-dimming mirror turns on.
Direction Indicator Mirrors (If Equipped)
When the vehicle is running, the
forward-facing portion of the appropriate
mirror housing blinks when you switch on
the direction indicator.
Puddle Lamps
(If Equipped)
The lamps on the bottom part of the mirror
housing light when you use your
transmitter to unlock the doors or when
you open a door.
360-Degree Camera
(If Equipped)
See
360 Degree Camera (page 241).
Blind Spot Information System
See
Blind Spot Information System
(page 264).
EXTERIOR MIRRORS - ST
Power Exterior Mirrors WARNING:
Do not adjust the
mirrors when your vehicle is moving. This
could result in the loss of control of your
vehicle, serious personal injury or death.
99
Explorer (CTW) Canada/United States of America, enUSA, Edition date: 201902, Third-Printing- Windows and Mirrors
Page 160 of 555
WARNING: Do not place anything
on the seat that blocks the heat, for
example a seat cover or a cushion. This
could cause the seat to overheat. Failure
to follow this instruction could result in
personal injury.
Do not do the following:
• Place heavy objects on the seat.
• Operate the heated seat if water or any
other liquid spills on the seat. Allow the
seat to dry thoroughly.
Note: The engine must be running to use
this feature. Press the heated seat symbol to cycle
through the various heat settings and off.
More indicator lights indicate warmer
settings.
Note:
Based on your remote start settings,
the heated seats may remain on after you
remote start your vehicle. The heated seats
may also turn on when you start your vehicle
if they were on when you switched your
vehicle off. Second Row Heated Seats WARNING: Use caution when using
the heated seat if you are unable to feel
pain to your skin because of advanced
age, chronic illness, diabetes, spinal cord
injury, medication, alcohol use,
exhaustion or other physical conditions.
The heated seat could cause burns even
at low temperatures, especially if used
for long periods of time. Failure to follow
this instruction could result in personal
injury. WARNING:
Do not poke sharp
objects into the seat cushion or seat
backrest. This could damage the heated
seat element and cause it to overheat.
Failure to follow this instruction could
result in personal injury. WARNING:
Do not place anything
on the seat that blocks the heat, for
example a seat cover or a cushion. This
could cause the seat to overheat. Failure
to follow this instruction could result in
personal injury.
Do not do the following:
• Place heavy objects on the seat.
• Operate the seat heater if water or any
other liquid spills on the seat. Allow the
seat to dry thoroughly.
Note: The engine must be running to use
this feature. 157
Explorer (CTW) Canada/United States of America, enUSA, Edition date: 201902, Third-Printing- SeatsE146322 E146322
Page 161 of 555
Press the heated seat symbol to cycle
through the various heat settings and off.
More indicator lights indicate warmer
settings.
Note:
Based on your remote start settings,
the heated seats may remain on after you
remote start your vehicle. The heated seats
may also turn on when you start your vehicle
if they were on when you switched your
vehicle off.
CLIMATE CONTROLLED SEATS
(IF EQUIPPED)
Heated Seats WARNING: Use caution when using
the heated seat if you are unable to feel
pain to your skin because of advanced
age, chronic illness, diabetes, spinal cord
injury, medication, alcohol use,
exhaustion or other physical conditions.
The heated seat could cause burns even
at low temperatures, especially if used
for long periods of time. Failure to follow
this instruction could result in personal
injury. WARNING: Do not poke sharp
objects into the seat cushion or seat
backrest. This could damage the heated
seat element and cause it to overheat.
Failure to follow this instruction could
result in personal injury. WARNING:
Do not place anything
on the seat that blocks the heat, for
example a seat cover or a cushion. This
could cause the seat to overheat. Failure
to follow this instruction could result in
personal injury.
Note: The heated seats switch on during a
remote start if they are enabled. See
Remote Start
(page 142). Note:
The heated seats may also switch
on when you start your vehicle if they were
on when you previously switched your
vehicle off.
Note: Do not do the following:
• Place heavy objects on the seat.
• Operate the seat heater if water or any
other liquid spills on the seat. Allow the
seat to dry thoroughly. Press this symbol to cycle through the
various heat settings and off. More
indicator lights indicate warmer settings.
Automatic Climate Controlled
Seats
(If Equipped)
When you switch the auto setting on, the
climate controlled seats switch between
the heated seats and ventilated seats to
match your climate control setting.
Ventilated Seats
Note: The ventilated seats switch on during
a remote start if they are enabled. See
Remote Start
(page 142).
Note: The ventilated seats may also switch
on when you start your vehicle if they were
on when you previously switched your
vehicle off.
Note: Do not do the following:
158
Explorer (CTW) Canada/United States of America, enUSA, Edition date: 201902, Third-Printing- SeatsE146322
Page 220 of 555
Releasing the Electric Parking
Brake if the Vehicle Battery is
Running Out of Charge
Connect a booster battery to the vehicle
battery to release the electric parking brake
if the vehicle battery is running out of
charge. See Jump Starting the Vehicle
(page 301).
HILL START ASSIST WARNING:
The system does not
replace the parking brake. When you
leave your vehicle, always apply the
parking brake. WARNING:
You must remain in
your vehicle when the system turns on.
At all times, you are responsible for
controlling your vehicle, supervising the
system and intervening, if required.
Failure to take care may result in the loss
of control of your vehicle, serious
personal injury or death. WARNING:
The system will turn
off if a malfunction is apparent or if you
rev the engine excessively. Failure to take
care may result in the loss of control of
your vehicle, serious personal injury or
death.
The system makes it easier to pull away
when your vehicle is on a slope without the
need to use the parking brake.
When the system is active, your vehicle
remains stationary on the slope for two to
three seconds after you release the brake
pedal. This allows time to move your foot
from the brake to the accelerator pedal.
The system releases the brakes
automatically once the engine has developed sufficient torque to prevent your
vehicle from rolling down the slope. This
is an advantage when pulling away on a
slope, for example from a car park ramp,
traffic lights or when reversing uphill into
a parking space.
The system activates on any slope that
causes your vehicle to roll.
Note:
There is no warning light to indicate
the system is either on or off.
Using Hill Start Assist
1. Press the brake pedal to bring your vehicle to a complete standstill. Keep
the brake pedal pressed and shift into
first gear when facing uphill or reverse
(R) when facing downhill.
2. If the sensors detect that your vehicle is on a slope, the system activates
automatically.
3. When you remove your foot from the brake pedal, your vehicle remains on
the slope without rolling away for
about two to three seconds. This hold
time automatically extends if you are
in the process of driving off.
4. Drive off in the normal manner. The system releases the brakes
automatically.
Note: When you remove your foot from the
brake pedal and press the pedal again when
the system is active, you will experience
significantly reduced brake pedal travel. This
is normal.
Switching the System On and Off
Vehicles with Manual Transmission
You can switch this feature on or off in the
information display. The system
remembers the last setting when you start
your vehicle.
217
Explorer (CTW) Canada/United States of America, enUSA, Edition date: 201902, Third-Printing- Brakes
Page 227 of 555
PRINCIPLE OF OPERATION
The traction control system helps avoid
drive wheel spin and loss of traction.
If your vehicle begins to slide, the system
applies the brakes to individual wheels
and, when needed, reduces engine power
at the same time. If the wheels spin when
accelerating on slippery or loose surfaces,
the system reduces engine power in order
to increase traction.
USING TRACTION CONTROL
WARNING: The stability and
traction control light illuminates steadily
if the system detects a failure. Make sure
you did not manually disable the traction
control system using the information
display controls or the switch. If the
stability control and traction control light
is still illuminating steadily, have the
system serviced by an authorized dealer
immediately. Operating your vehicle with
the traction control disabled could lead
to an increased risk of loss of vehicle
control, vehicle rollover, personal injury
and death.
The system automatically turns on each
time you switch the ignition on.
If your vehicle is stuck in mud or snow,
switching traction control off may be
beneficial as this allows the wheels to spin.
Note: When you switch traction control off,
stability control remains fully active.
Switching the System Off
When you switch the system off or on, a
message appears in the information
display showing system status.
You can switch the system off by using the
switch. Using a Switch
(If Equipped)
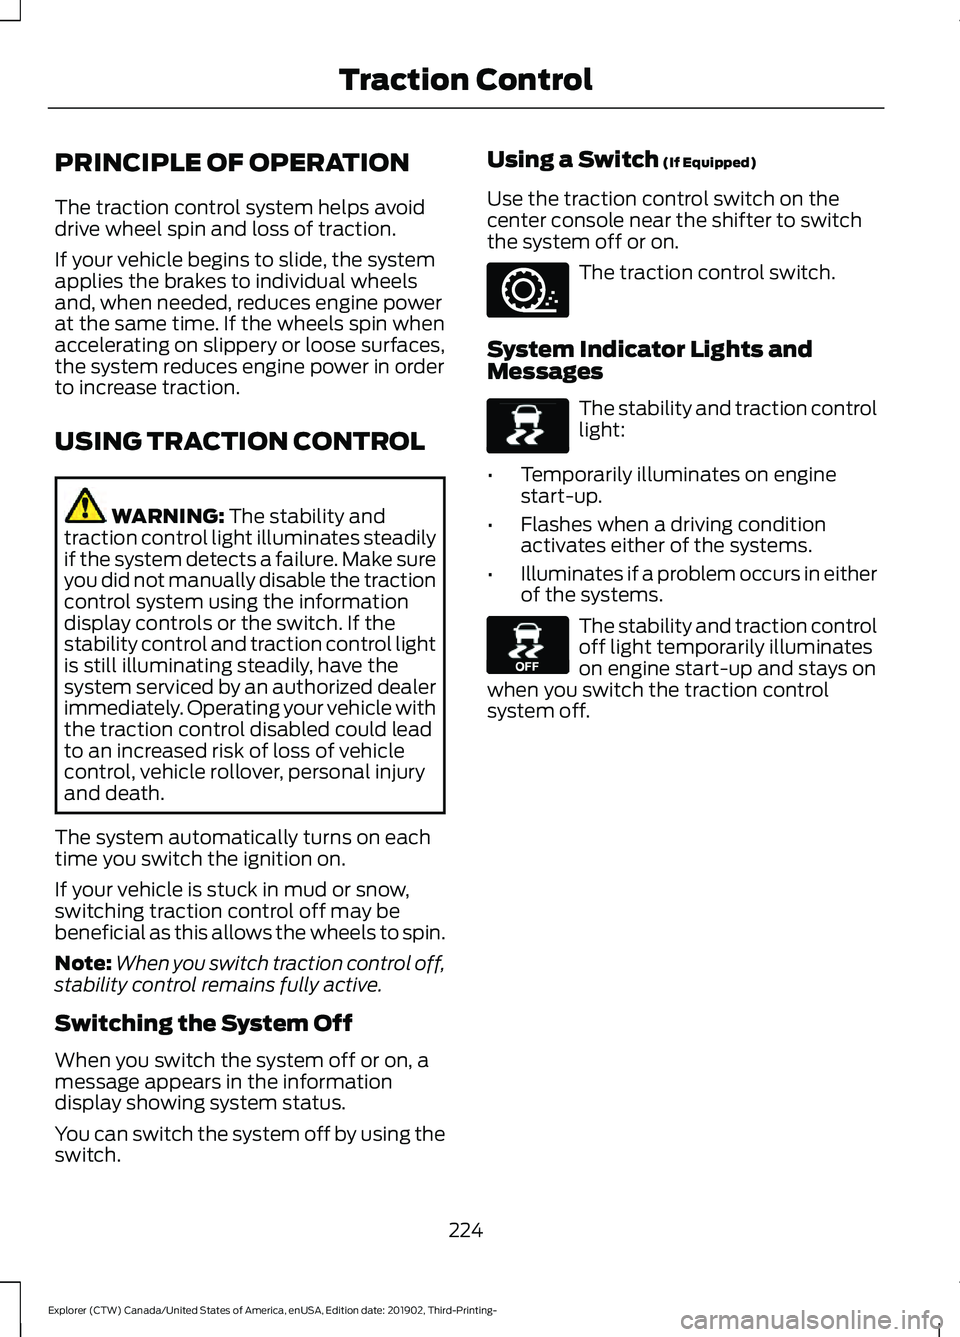
Use the traction control switch on the
center console near the shifter to switch
the system off or on. The traction control switch.
System Indicator Lights and
Messages The stability and traction control
light:
• Temporarily illuminates on engine
start-up.
• Flashes when a driving condition
activates either of the systems.
• Illuminates if a problem occurs in either
of the systems. The stability and traction control
off light temporarily illuminates
on engine start-up and stays on
when you switch the traction control
system off.
224
Explorer (CTW) Canada/United States of America, enUSA, Edition date: 201902, Third-Printing- Traction ControlE297971 E138639 E130458
Page 296 of 555
ESSENTIAL TOWING CHECKS
Follow these guidelines for safe towing:
•
Do not tow a trailer until you drive your
vehicle at least 1,000 mi (1,600 km).
• Consult your local motor vehicle laws
for towing a trailer.
• See the instructions included with
towing accessories for the proper
installation and adjustment
specifications.
• Service your vehicle more frequently if
you tow a trailer.
See Scheduled
Maintenance (page 487).
• If you use a rental trailer, follow the
instructions the rental agency gives
you.
You can find information on load
specification terms found on the tire label
and Safety Compliance label as well as
instructions on calculating your vehicle's
load in the Load Carrying chapter.
See
Load Limit (page 283).
Remember to account for the trailer
tongue weight as part of your vehicle load
when calculating the total vehicle weight.
Hitches
Do not use a hitch that either clamps onto
the bumper or attaches to the axle.
Distribute the trailer load so 10-15% of the
total trailer weight is on the tongue.
A weight distributing hitch is not required
for your vehicle.
Safety Chains
Note: Do not attach safety chains to the
bumper.
Always connect the safety chains to the
hook retainers of your vehicle hitch. To connect the trailer
’s safety chains, cross
them under the trailer tongue and allow
enough slack for turning tight corners. Do
not allow the chains to drag on the ground.
Trailer Brakes WARNING:
Do not connect a
trailer's hydraulic brake system directly
to your vehicle's brake system. Your
vehicle may not have enough braking
power and your chances of having a
collision greatly increase.
Electric brakes and manual, automatic or
surge-type trailer brakes are safe if you
install them properly and adjust them to
the manufacturer's specifications. The
trailer brakes must meet local and federal
regulations.
The rating for the tow vehicle's braking
system operation is at the gross vehicle
weight rating, not the gross combined
weight rating.
Safe control of towed vehicles requires
separate functioning brake systems for
vehicles and trailers weighing more than
1,500 lb (680 kg)
when loaded.
Trailer Lamps WARNING:
Never connect any
trailer lamp wiring to the vehicle's tail
lamp wiring; this may damage the
electrical system resulting in fire. Contact
your authorized dealer as soon as
possible for assistance in proper trailer
tow wiring installation. Additional
electrical equipment may be required.
Most towed vehicles require trailer lamps.
Make sure all running lights, brake lights,
direction indicators and hazard flashers
are working.
293
Explorer (CTW) Canada/United States of America, enUSA, Edition date: 201902, Third-Printing- Towing
Page 301 of 555
When driving through standing water, drive
very slowly and do not stop your vehicle.
Your brake performance and traction may
be limited. After driving through water and
as soon as it is safe to do so:
•
Lightly press the brake pedal to dry the
brakes and to check that they work.
• Check that the horn works.
• Check that the exterior lights work.
• Turn the steering wheel to check that
the steering power assist works.
FLOOR MATS WARNING: Use a floor mat
designed to fit the footwell of your
vehicle that does not obstruct the pedal
area. Failure to follow this instruction
could result in the loss of control of your
vehicle, personal injury or death. WARNING:
Pedals that cannot
move freely can cause loss of vehicle
control and increase the risk of serious
personal injury. WARNING:
Secure the floor mat
to both retention devices so that it
cannot slip out of position and interfere
with the pedals. Failure to follow this
instruction could result in the loss of
control of your vehicle, personal injury or
death. WARNING: Do not place additional
floor mats or any other covering on top
of the original floor mats. This could
result in the floor mat interfering with the
operation of the pedals. Failure to follow
this instruction could result in the loss of
control of your vehicle, personal injury or
death. WARNING:
Always make sure that
objects cannot fall into the driver foot
well while your vehicle is moving. Objects
that are loose can become trapped
under the pedals causing a loss of
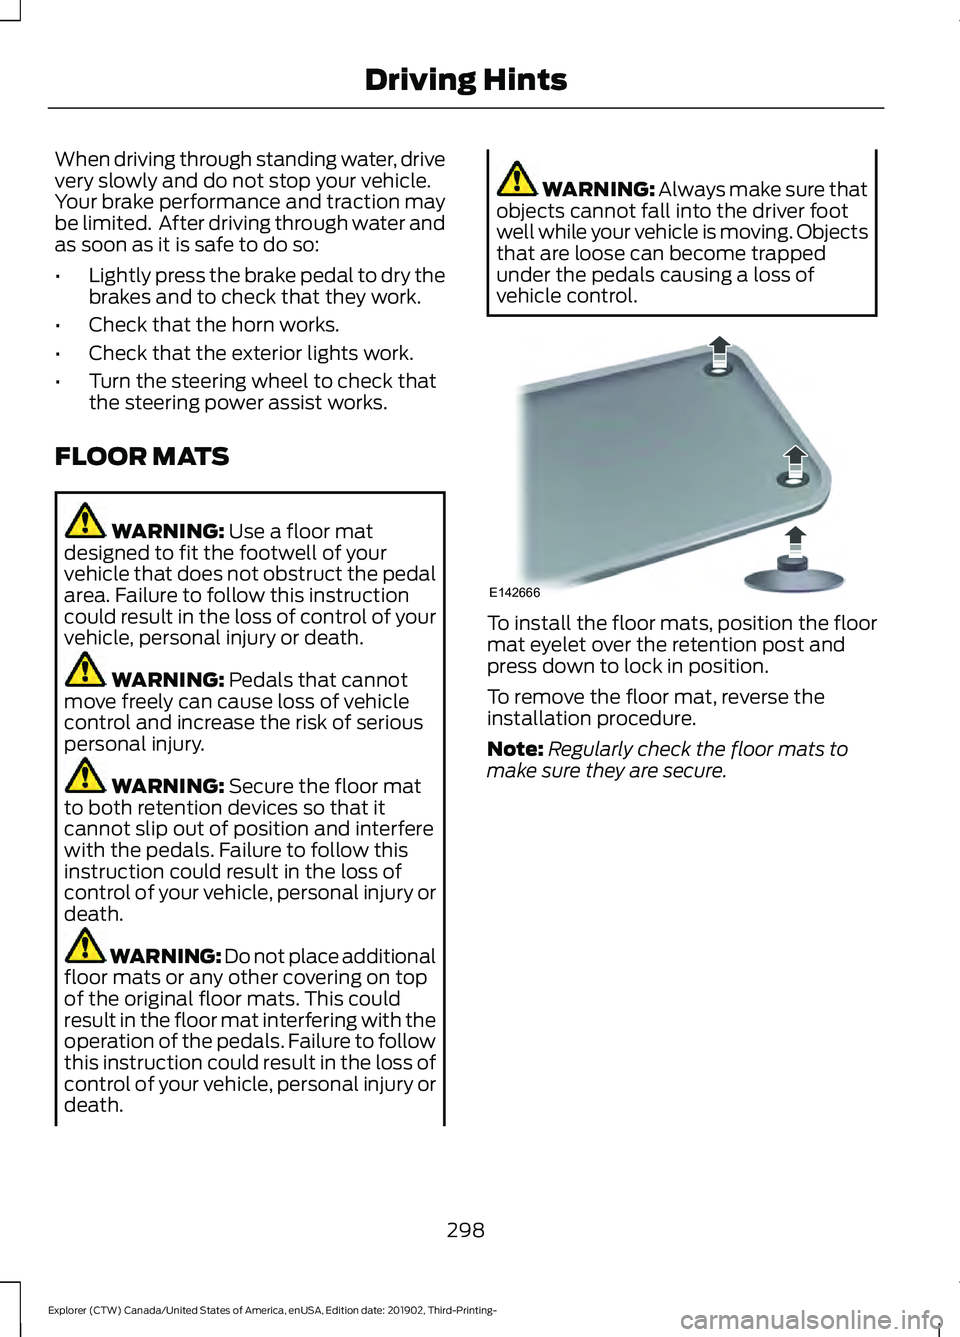
vehicle control. To install the floor mats, position the floor
mat eyelet over the retention post and
press down to lock in position.
To remove the floor mat, reverse the
installation procedure.
Note:
Regularly check the floor mats to
make sure they are secure.
298
Explorer (CTW) Canada/United States of America, enUSA, Edition date: 201902, Third-Printing- Driving HintsE142666
Page 492 of 555
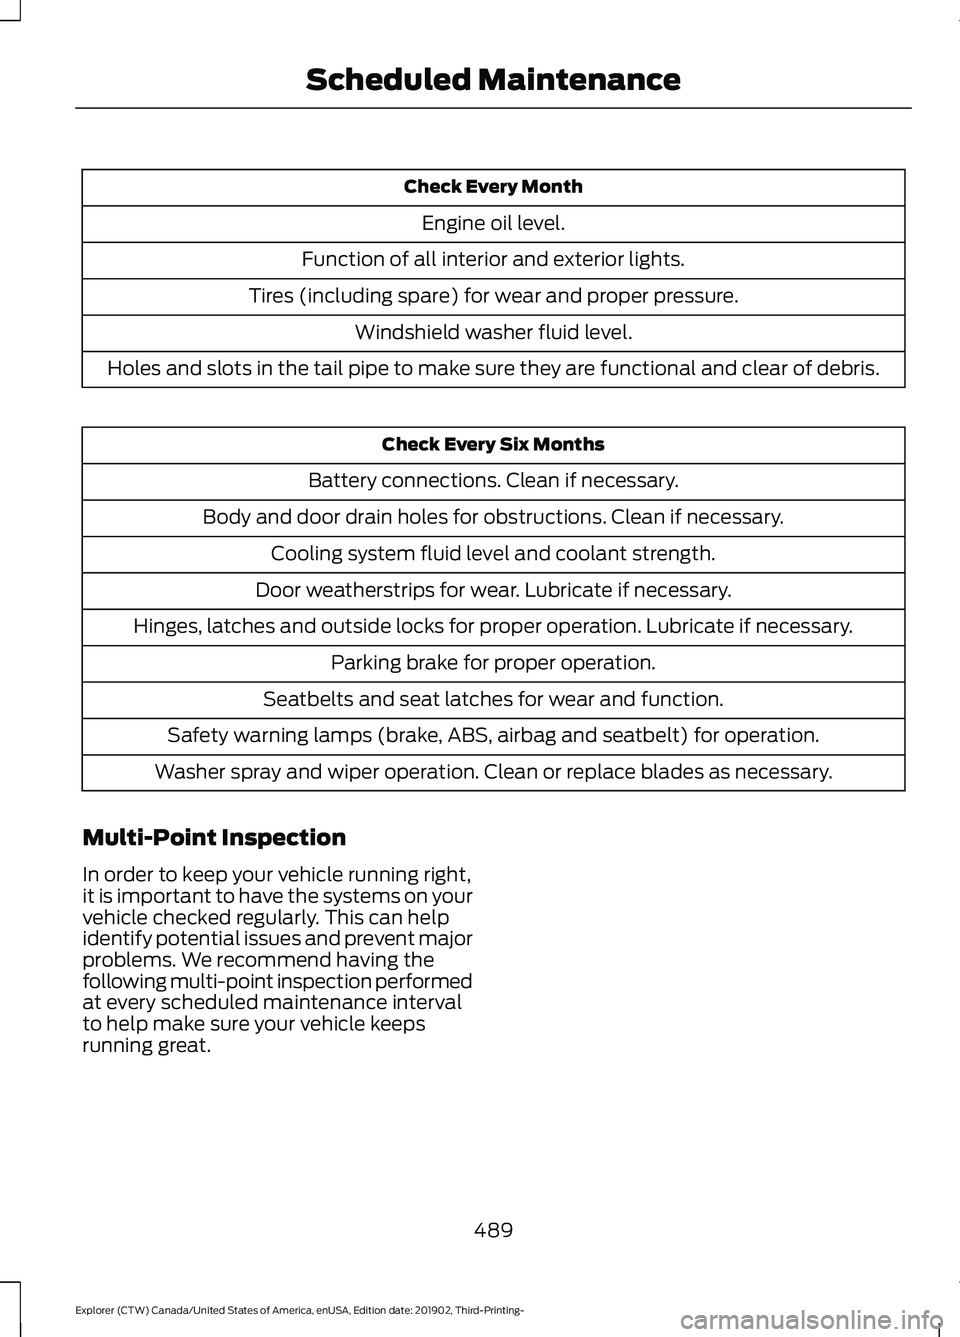
Check Every Month
Engine oil level.
Function of all interior and exterior lights.
Tires (including spare) for wear and proper pressure. Windshield washer fluid level.
Holes and slots in the tail pipe to make sure they are functional and clear of debris. Check Every Six Months
Battery connections. Clean if necessary.
Body and door drain holes for obstructions. Clean if necessary. Cooling system fluid level and coolant strength.
Door weatherstrips for wear. Lubricate if necessary.
Hinges, latches and outside locks for proper operation. Lubricate if necessary. Parking brake for proper operation.
Seatbelts and seat latches for wear and function.
Safety warning lamps (brake, ABS, airbag and seatbelt) for operation.
Washer spray and wiper operation. Clean or replace blades as necessary.
Multi-Point Inspection
In order to keep your vehicle running right,
it is important to have the systems on your
vehicle checked regularly. This can help
identify potential issues and prevent major
problems. We recommend having the
following multi-point inspection performed
at every scheduled maintenance interval
to help make sure your vehicle keeps
running great.
489
Explorer (CTW) Canada/United States of America, enUSA, Edition date: 201902, Third-Printing- Scheduled Maintenance
Page 554 of 555
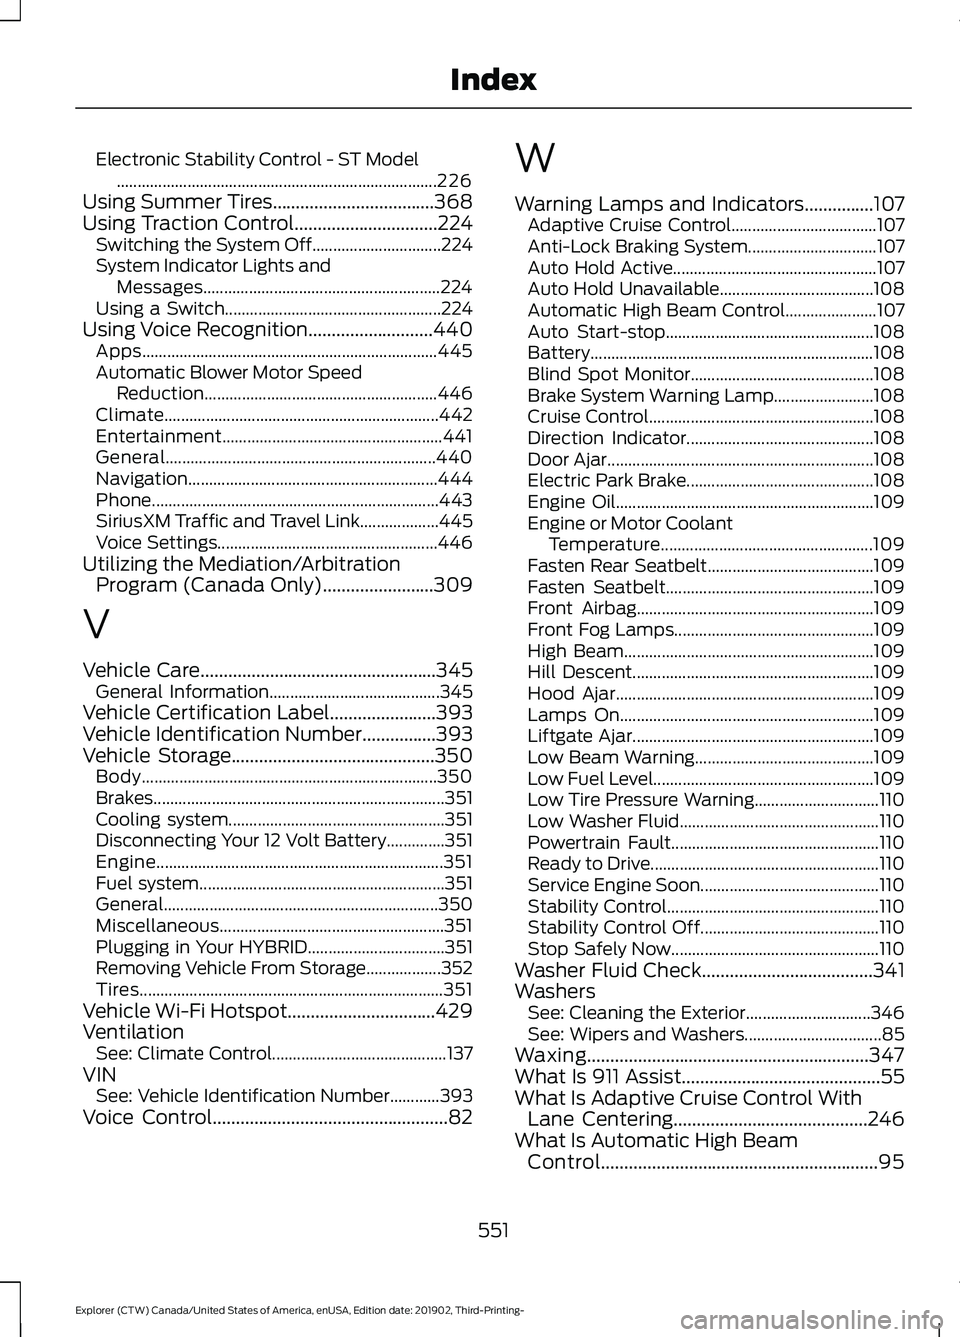
Electronic Stability Control - ST Model
........................................................................\
..... 226
Using Summer Tires...................................368
Using Traction Control...............................224 Switching the System Off............................... 224
System Indicator Lights and Messages......................................................... 224
Using a Switch.................................................... 224
Using Voice Recognition...........................440 Apps....................................................................... 445
Automatic Blower Motor Speed Reduction........................................................ 446
Climate.................................................................. 442
Entertainment..................................................... 441
General................................................................. 440
Navigation............................................................ 444
Phone..................................................................... 443
SiriusXM Traffic and Travel Link................... 445
Voice Settings..................................................... 446
Utilizing the Mediation/Arbitration Program (Canada Only)........................309
V
Vehicle Care...................................................345 General Information......................................... 345
Vehicle Certification Label
.......................393
Vehicle Identification Number................393
Vehicle Storage............................................350 Body....................................................................... 350
Brakes...................................................................... 351
Cooling system.................................................... 351
Disconnecting Your 12 Volt Battery..............351
Engine..................................................................... 351
Fuel system........................................................... 351
General.................................................................. 350
Miscellaneous...................................................... 351
Plugging in Your HYBRID................................. 351
Removing Vehicle From Storage.................. 352
Tires........................................................................\
. 351
Vehicle Wi-Fi Hotspot................................429
Ventilation See: Climate Control.......................................... 137
VIN See: Vehicle Identification Number............393
Voice Control
...................................................82 W
Warning Lamps and Indicators
...............107
Adaptive Cruise Control................................... 107
Anti-Lock Braking System............................... 107
Auto Hold Active................................................. 107
Auto Hold Unavailable..................................... 108
Automatic High Beam Control...................... 107
Auto Start-stop.................................................. 108
Battery.................................................................... 108
Blind Spot Monitor............................................ 108
Brake System Warning Lamp........................ 108
Cruise Control...................................................... 108
Direction Indicator............................................. 108
Door Ajar................................................................ 108
Electric Park Brake............................................. 108
Engine Oil.............................................................. 109
Engine or Motor Coolant Temperature................................................... 109
Fasten Rear Seatbelt........................................ 109
Fasten Seatbelt.................................................. 109
Front Airbag......................................................... 109
Front Fog Lamps................................................ 109
High Beam............................................................ 109
Hill Descent.......................................................... 109
Hood Ajar.............................................................. 109
Lamps On............................................................. 109
Liftgate Ajar.......................................................... 109
Low Beam Warning........................................... 109
Low Fuel Level..................................................... 109
Low Tire Pressure Warning.............................. 110
Low Washer Fluid................................................ 110
Powertrain Fault.................................................. 110
Ready to Drive....................................................... 110
Service Engine Soon........................................... 110
Stability Control................................................... 110
Stability Control Off........................................... 110
Stop Safely Now.................................................. 110
Washer Fluid Check
.....................................341
Washers See: Cleaning the Exterior.............................. 346
See: Wipers and Washers................................. 85
Waxing.............................................................347
What Is 911 Assist...........................................55
What Is Adaptive Cruise Control With Lane Centering..........................................246
What Is Automatic High Beam Control............................................................95
551
Explorer (CTW) Canada/United States of America, enUSA, Edition date: 201902, Third-Printing- Index