light FORD EXPLORER 2021 User Guide
[x] Cancel search | Manufacturer: FORD, Model Year: 2021, Model line: EXPLORER, Model: FORD EXPLORER 2021Pages: 577, PDF Size: 9.79 MB
Page 56 of 577
The restraints control module also
monitors the readiness of the above safety
devices plus the crash and occupant
sensors. The readiness of the safety
system is indicated by a warning indicator
light in the instrument cluster or by a
backup tone if the warning light is not
working. Routine maintenance of the
airbag is not required.
A difficulty with the system is indicated by
one or more of the following:
•
The readiness light will not illuminate
immediately after you switch the
ignition on.
• The readiness light either flashes or
stays lit.
• A series of five beeps is heard. The tone
pattern repeats periodically until the
problem, the light or both are repaired.
If any of these things happen, even
intermittently, have the supplemental
restraint system serviced at an authorized
dealer immediately. Unless serviced, the
system may not function properly in the
event of a crash.
The restraint system is designed to
activate when the vehicle sustains
conditions sufficient to cause the restraint
control module to deploy a safety device. The fact that not all the safety devices
activate for all occupants in a crash does
not mean something is wrong with the
system. Rather, it means the restraints
control module determined the accident
conditions (crash severity, type of crash,
belt usage) were not appropriate to
activate these safety devices.
•
The front airbags are designed to
activate only in frontal and near-frontal
crashes (not rollovers, side impacts or
rear impacts) unless the crash causes
sufficient frontal deceleration.
• The seatbelt pretensioners are
designed to activate in frontal,
near-frontal and side crashes, and in
rollovers.
• The knee airbag(s) may deploy based
on crash severity and occupant
conditions.
• The side airbags are designed to inflate
in certain side impact crashes or
rollover events. Side airbags may
activate in other types of crashes if your
vehicle experiences sufficient sideways
motion or deformation, or a certain
likelihood of rollover.
• The Safety Canopy is designed to
inflate in certain side impact crashes
or rollover events. The Safety Canopy
may activate in other types of crashes
if your vehicle experiences sufficient
sideways motion or deformation, or a
certain likelihood of rollover.
AIRBAG DISPOSAL
Contact your authorized dealer as soon as
possible. Airbags must be disposed of by
qualified personnel.
53
Explorer (CTW), enUSA, Edition date: 202007, Second-Printing Supplementary Restraints SystemE67017
Page 65 of 577
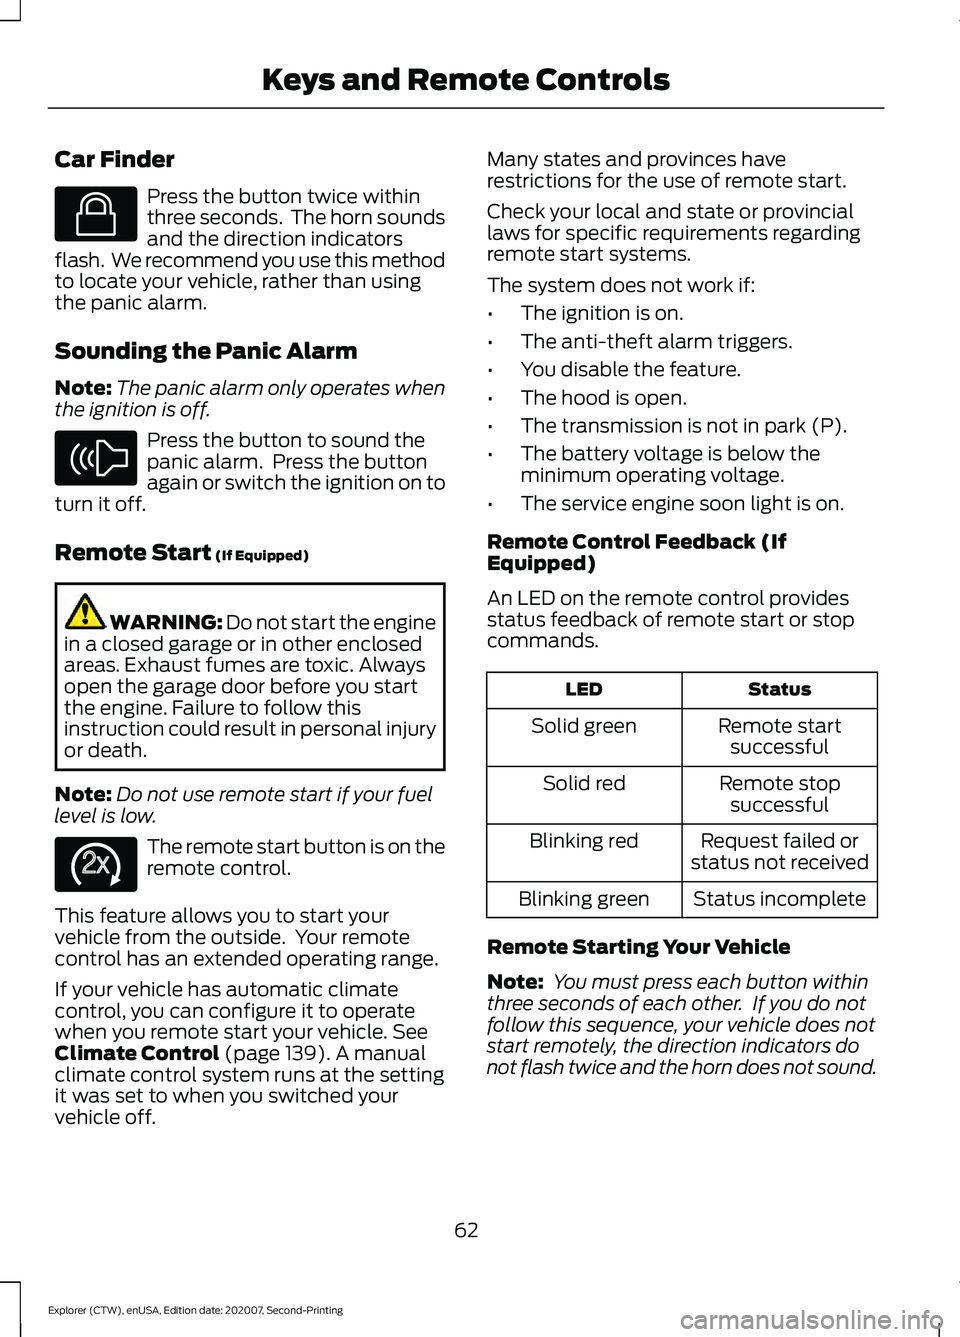
Car Finder
Press the button twice within
three seconds. The horn sounds
and the direction indicators
flash. We recommend you use this method
to locate your vehicle, rather than using
the panic alarm.
Sounding the Panic Alarm
Note: The panic alarm only operates when
the ignition is off. Press the button to sound the
panic alarm. Press the button
again or switch the ignition on to
turn it off.
Remote Start (If Equipped) WARNING: Do not start the engine
in a closed garage or in other enclosed
areas. Exhaust fumes are toxic. Always
open the garage door before you start
the engine. Failure to follow this
instruction could result in personal injury
or death.
Note: Do not use remote start if your fuel
level is low. The remote start button is on the
remote control.
This feature allows you to start your
vehicle from the outside. Your remote
control has an extended operating range.
If your vehicle has automatic climate
control, you can configure it to operate
when you remote start your vehicle.
See
Climate Control (page 139). A manual
climate control system runs at the setting
it was set to when you switched your
vehicle off. Many states and provinces have
restrictions for the use of remote start.
Check your local and state or provincial
laws for specific requirements regarding
remote start systems.
The system does not work if:
•
The ignition is on.
• The anti-theft alarm triggers.
• You disable the feature.
• The hood is open.
• The transmission is not in park (P).
• The battery voltage is below the
minimum operating voltage.
• The service engine soon light is on.
Remote Control Feedback (If
Equipped)
An LED on the remote control provides
status feedback of remote start or stop
commands. Status
LED
Remote startsuccessful
Solid green
Remote stopsuccessful
Solid red
Request failed or
status not received
Blinking red
Status incomplete
Blinking green
Remote Starting Your Vehicle
Note: You must press each button within
three seconds of each other. If you do not
follow this sequence, your vehicle does not
start remotely, the direction indicators do
not flash twice and the horn does not sound.
62
Explorer (CTW), enUSA, Edition date: 202007, Second-Printing Keys and Remote ControlsE138623 E138624 E138625
Page 74 of 577
Smart Unlocks for Intelligent
Access Keys (If Equipped)
This helps to prevent you from locking your
key inside the passenger compartment or
rear cargo area.
When you electronically lock your vehicle
with any door open, the transmission in
park (P) and the ignition off, the system
searches for an intelligent access key in
the passenger compartment after you
close the last door.
If the system finds a key, all the doors
immediately unlock and the horn sounds
twice, indicating that a key is inside.
You can override the smart unlock feature
and intentionally lock the intelligent access
key inside your vehicle.
To override smart unlock, lock your vehicle
after you have closed all doors by
• Using the keyless entry keypad.
• Pressing the lock button on another
intelligent access key.
• Touching the locking area on the front
of the door handle with another
intelligent access key in your hand.
When you open one of the front doors and
lock your vehicle using the power door lock
control, all doors lock then unlock if
• The ignition is on.
• The ignition is off and the transmission
is not in park (P).
Autolock
(If Equipped)
Autolock locks all the doors when
• All doors close.
• The ignition is on.
• You shift into any gear putting your
vehicle in motion.
• Your vehicle reaches a speed greater
than
12 mph (20 km/h) Autolock repeats when
•
You open then close any door while the
ignition is on and your vehicle speed is
9 mph (15 km/h)
or lower.
• Your vehicle reaches a speed greater
than
12 mph (20 km/h).
Autounlock
Autounlock unlocks all the doors when
• You stop your vehicle, place the gear
selector in park, and switch the ignition
off or to accessory position.
• You open the driver door within 10
minutes of switching the ignition off or
to accessory position.
Note: The doors do not autounlock if you
electronically lock your vehicle after you
switch the ignition off and before you open
the driver door.
Enabling or Disabling Autounlock
You can enable or disable the autounlock
feature in the information display or an
authorized dealer can do it for you. See
General Information
(page 117).
Illuminated Entry
The interior lamps and some exterior
lamps illuminate when you unlock the
doors with the remote control.
The lamps turn off if:
• The ignition is on.
• You press the remote control lock
button.
• 25 seconds have elapsed.
The lamps do not turn off if:
• You switch them on with the lighting
control.
• Any door is open.
71
Explorer (CTW), enUSA, Edition date: 202007, Second-Printing Doors and Locks
Page 90 of 577
GENERAL INFORMATION
Condensation in the Exterior Front
Lamps and Rear Lamps
Exterior front lamps and rear lamps have
vents to accommodate normal changes
in air pressure.
Condensation can be a natural by-product
of this design. When moist air enters the
lamp assembly through the vents, there is
a possibility that condensation can occur
when the temperature is cold. When
normal condensation occurs, a fine mist
can form on the interior of the lens. The
fine mist eventually clears and exits
through the vents during normal operation.
Clearing time may take as long as 48 hours
under dry weather conditions.
Examples of acceptable condensation are:
•
The presence of a fine mist (no streaks,
drip marks or large droplets).
• A fine mist covers less than 50% of the
lens.
Examples of unacceptable condensation
are:
• A water puddle inside the lamp.
• Streaks, drip marks or large droplets
present on the interior of the lens.
If you see any unacceptable condensation,
have your vehicle checked by an authorized
dealer.
LIGHTING CONTROL
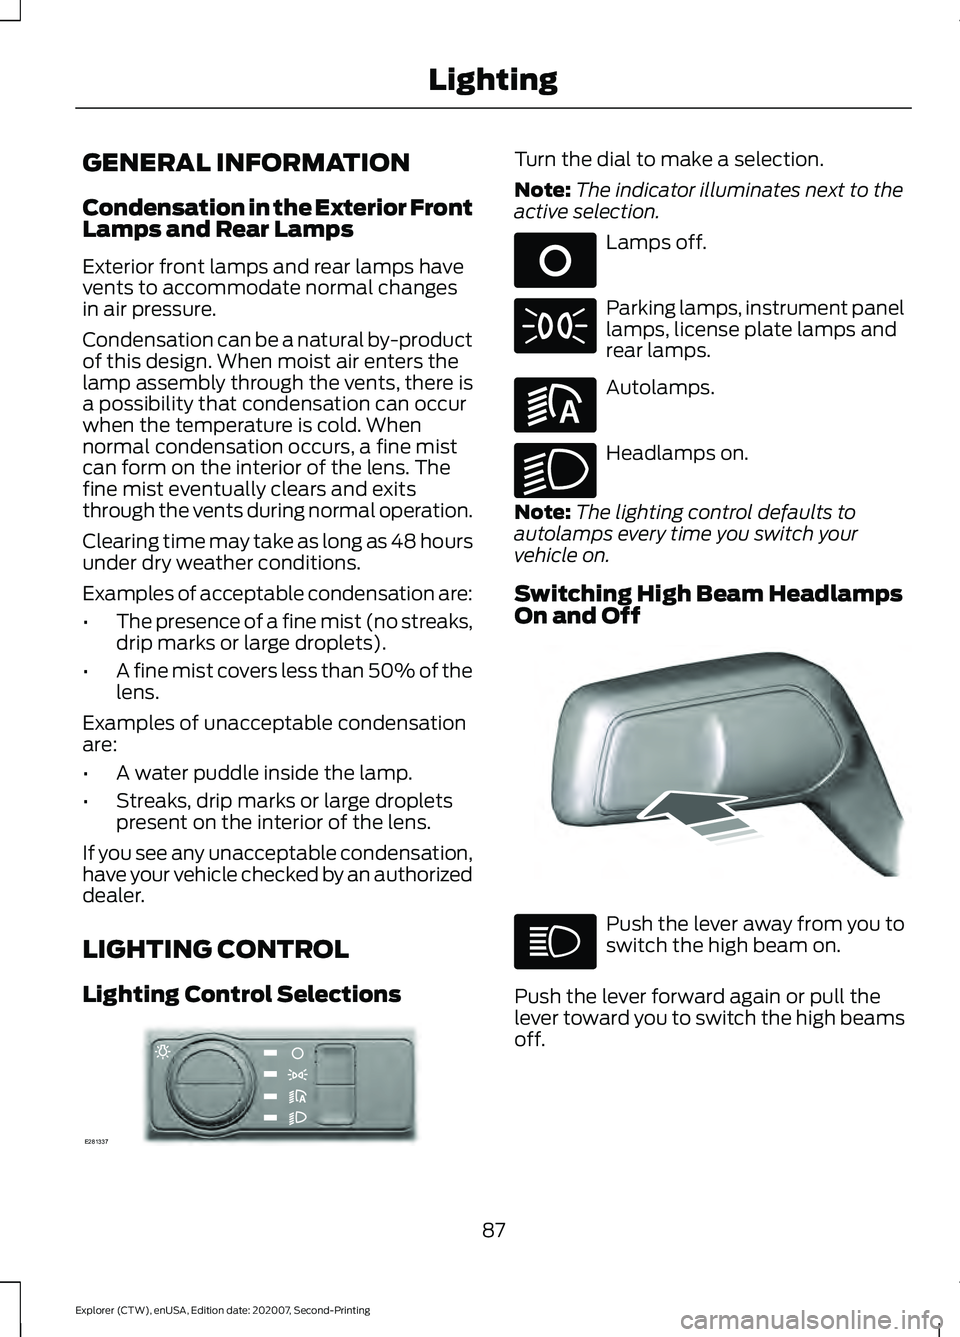
Lighting Control Selections Turn the dial to make a selection.
Note:
The indicator illuminates next to the
active selection. Lamps off.
Parking lamps, instrument panel
lamps, license plate lamps and
rear lamps.
Autolamps.
Headlamps on.
Note: The lighting control defaults to
autolamps every time you switch your
vehicle on.
Switching High Beam Headlamps
On and Off Push the lever away from you to
switch the high beam on.
Push the lever forward again or pull the
lever toward you to switch the high beams
off.
87
Explorer (CTW), enUSA, Edition date: 202007, Second-Printing LightingE281337 E265031 E281240 E270968 E248603
Page 91 of 577
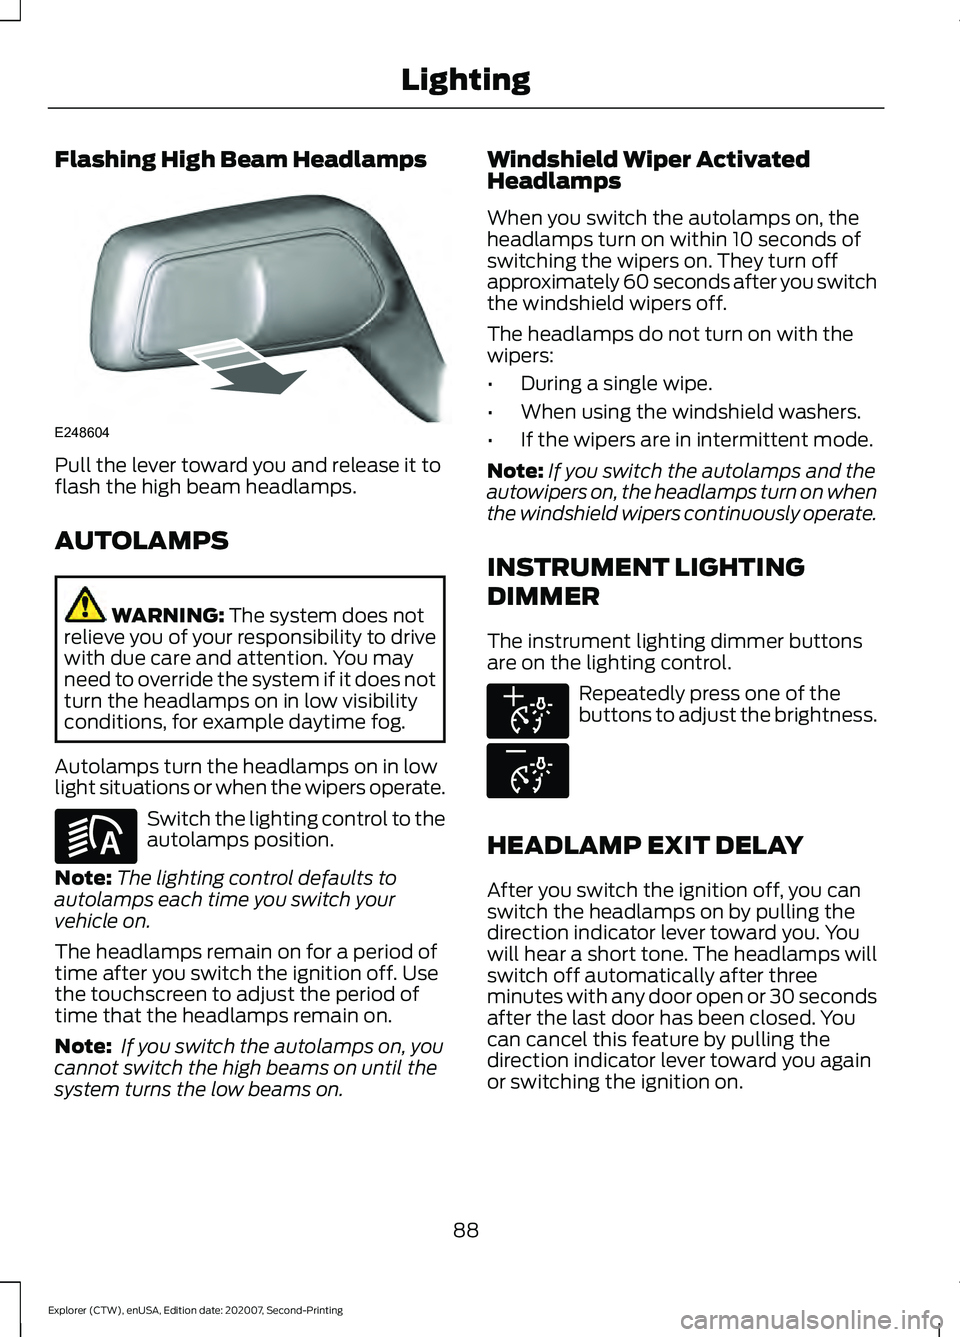
Flashing High Beam Headlamps
Pull the lever toward you and release it to
flash the high beam headlamps.
AUTOLAMPS
WARNING: The system does not
relieve you of your responsibility to drive
with due care and attention. You may
need to override the system if it does not
turn the headlamps on in low visibility
conditions, for example daytime fog.
Autolamps turn the headlamps on in low
light situations or when the wipers operate. Switch the lighting control to the
autolamps position.
Note: The lighting control defaults to
autolamps each time you switch your
vehicle on.
The headlamps remain on for a period of
time after you switch the ignition off. Use
the touchscreen to adjust the period of
time that the headlamps remain on.
Note: If you switch the autolamps on, you
cannot switch the high beams on until the
system turns the low beams on. Windshield Wiper Activated
Headlamps
When you switch the autolamps on, the
headlamps turn on within 10 seconds of
switching the wipers on. They turn off
approximately 60 seconds after you switch
the windshield wipers off.
The headlamps do not turn on with the
wipers:
•
During a single wipe.
• When using the windshield washers.
• If the wipers are in intermittent mode.
Note: If you switch the autolamps and the
autowipers on, the headlamps turn on when
the windshield wipers continuously operate.
INSTRUMENT LIGHTING
DIMMER
The instrument lighting dimmer buttons
are on the lighting control. Repeatedly press one of the
buttons to adjust the brightness.
HEADLAMP EXIT DELAY
After you switch the ignition off, you can
switch the headlamps on by pulling the
direction indicator lever toward you. You
will hear a short tone. The headlamps will
switch off automatically after three
minutes with any door open or 30 seconds
after the last door has been closed. You
can cancel this feature by pulling the
direction indicator lever toward you again
or switching the ignition on.
88
Explorer (CTW), enUSA, Edition date: 202007, Second-Printing LightingE248604 E281240 E291299 E296433
Page 92 of 577
DAYTIME RUNNING LAMPS -
VEHICLES WITH:
CONFIGURABLE DAYTIME
RUNNING LAMPS
WARNING: The daytime running
lamps system does not activate the rear
lamps and may not provide adequate
lighting during low visibility driving
conditions. Make sure you switch the
headlamps on, as appropriate, during all
low visibility conditions. Failure to do so
may result in a crash.
Switch the daytime running lamps on or
off using the touchscreen:
1. Select
Settings. See Settings (page
464).
2. Select
Vehicle.
3. Select
Lighting.
The daytime running lamps turn on when:
1. The lamps are on in the information display.
2. You switch the ignition on.
3. The transmission is not in park (P) for vehicles with automatic transmissions
or you release the parking brake for
vehicles with manual transmissions.
4. The lighting control is in the autolamps
position.
5. The headlamps are off.
The other lighting control switch positions
do not turn on the daytime running lamps.
If the daytime running lamps are off in the
information display, the lamps stay off in
all switch positions. DAYTIME RUNNING LAMPS -
VEHICLES WITH: DAYTIME
RUNNING LAMPS (DRL) WARNING:
The daytime running
lamps system does not activate the rear
lamps and may not provide adequate
lighting during low visibility driving
conditions. Make sure you switch the
headlamps on, as appropriate, during all
low visibility conditions. Failure to do so
may result in a crash.
The system turns the lamps on in daylight
conditions.
To switch the system on, switch the
lighting control to any position except
headlamps.
FRONT FOG LAMPS
(IF EQUIPPED)
Switching the Front Fog Lamps On
or Off
Only switch the front fog lamps on during
reduced visibility.
You can switch the front fog lamps on if
any of the following occur:
• You set the lighting control to the
parking lamps position.
• You set the lighting control to the
headlamps position.
• You set the lighting control to the
autolamps position and the headlamps
are on.
The front fog lamp button is on the lighting
control. Press the button to switch the
front fog lamps on or off.
89
Explorer (CTW), enUSA, Edition date: 202007, Second-Printing Lighting
Page 93 of 577
Note:
The brightness of the daytime running
lamps may decrease when the front fog
lamps are switched on.
Front Fog Lamp Indicator It illuminates when you switch
the front fog lamps on.
ADAPTIVE HEADLAMPS (IF
EQUIPPED)
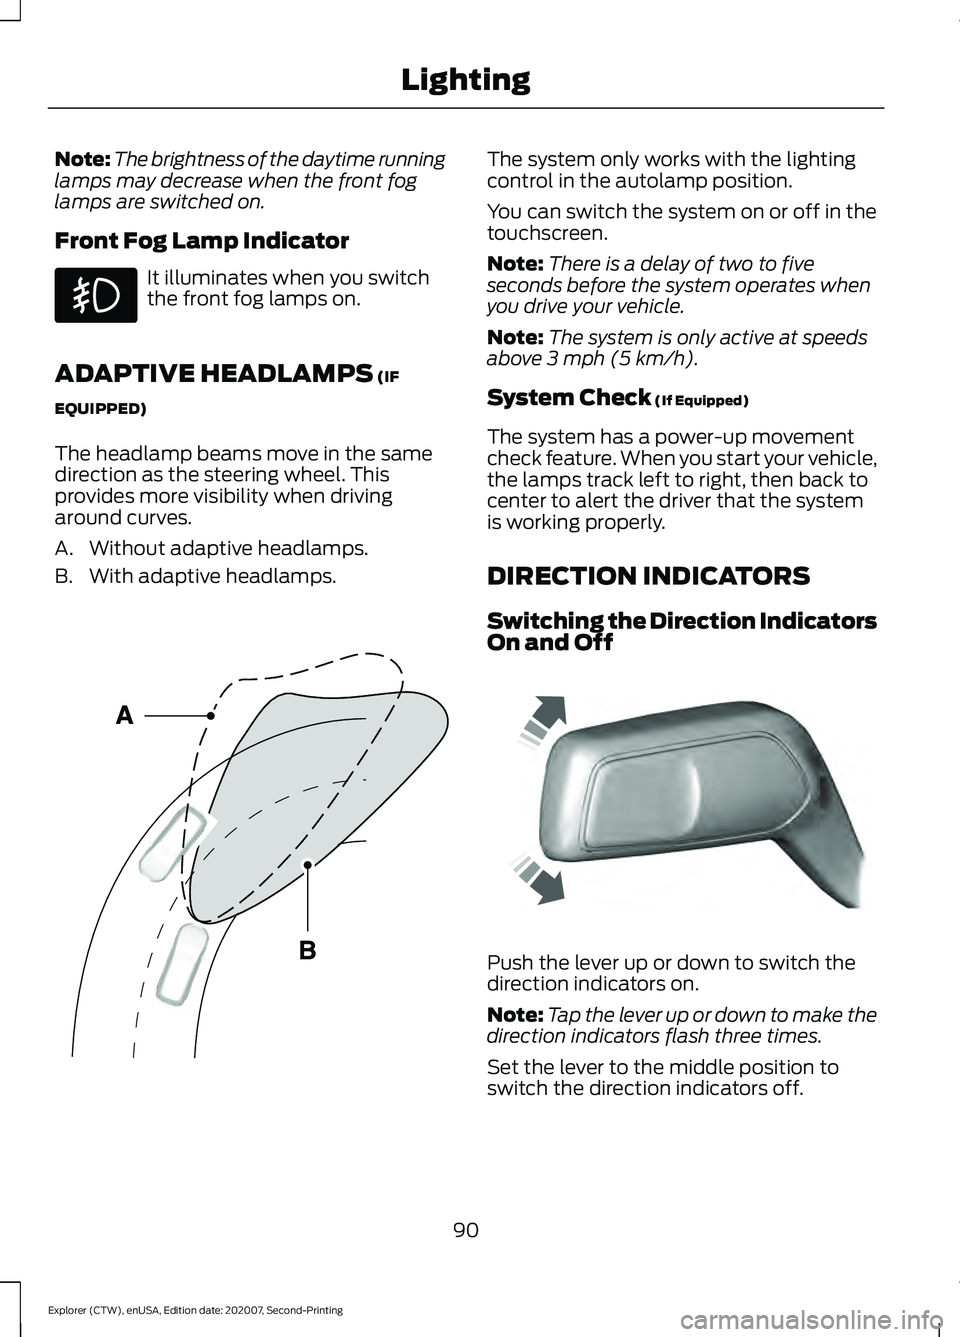
The headlamp beams move in the same
direction as the steering wheel. This
provides more visibility when driving
around curves.
A. Without adaptive headlamps.
B. With adaptive headlamps. The system only works with the lighting
control in the autolamp position.
You can switch the system on or off in the
touchscreen.
Note:
There is a delay of two to five
seconds before the system operates when
you drive your vehicle.
Note: The system is only active at speeds
above 3 mph (5 km/h).
System Check
(If Equipped)
The system has a power-up movement
check feature. When you start your vehicle,
the lamps track left to right, then back to
center to alert the driver that the system
is working properly.
DIRECTION INDICATORS
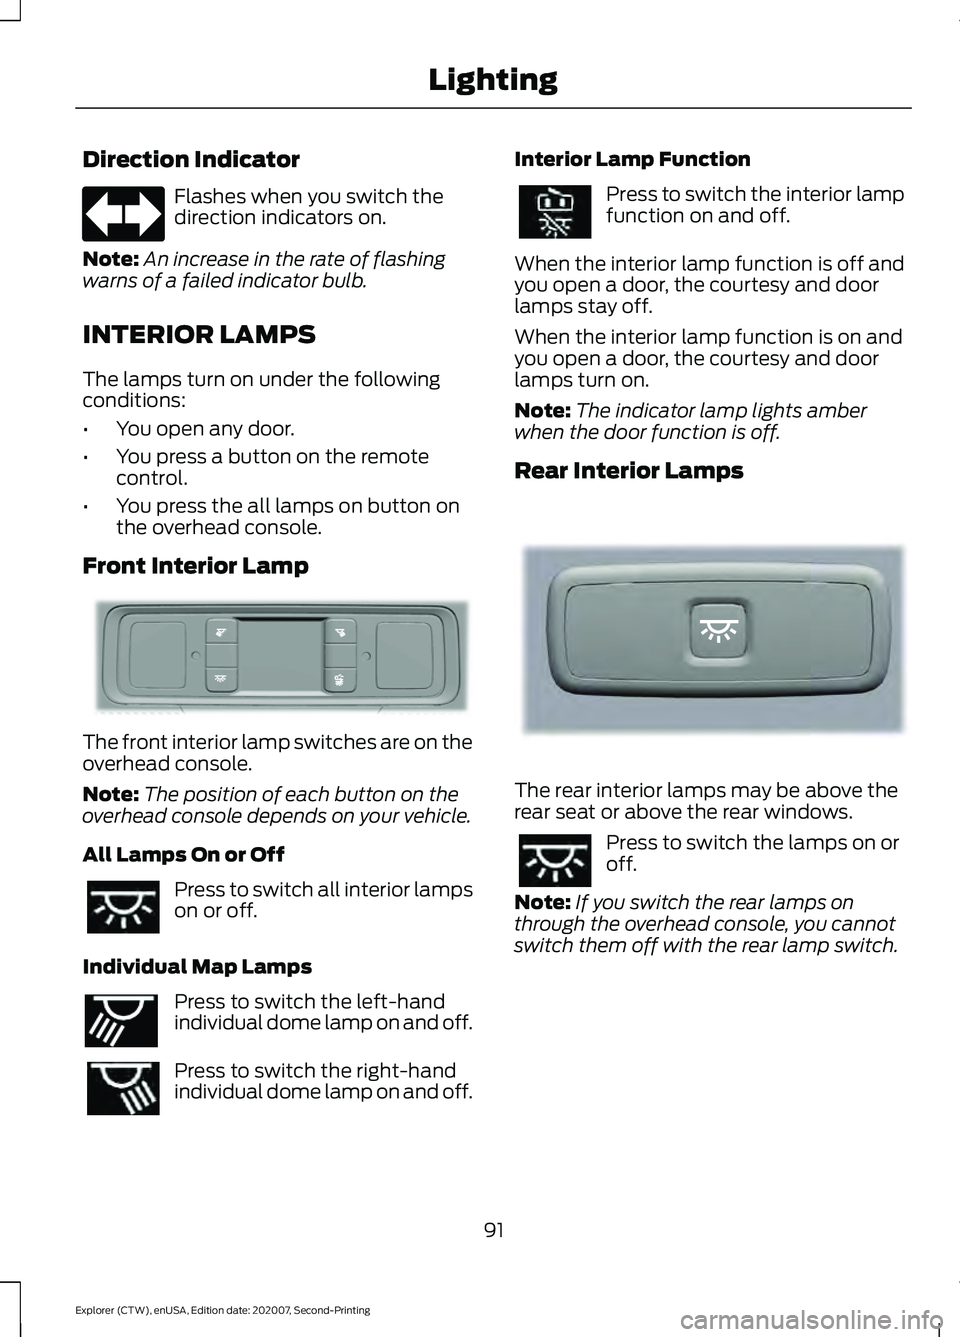
Switching the Direction Indicators
On and Off Push the lever up or down to switch the
direction indicators on.
Note:
Tap the lever up or down to make the
direction indicators flash three times.
Set the lever to the middle position to
switch the direction indicators off.
90
Explorer (CTW), enUSA, Edition date: 202007, Second-Printing Lighting E161714 E242676
Page 94 of 577
Direction Indicator
Flashes when you switch the
direction indicators on.
Note: An increase in the rate of flashing
warns of a failed indicator bulb.
INTERIOR LAMPS
The lamps turn on under the following
conditions:
• You open any door.
• You press a button on the remote
control.
• You press the all lamps on button on
the overhead console.
Front Interior Lamp The front interior lamp switches are on the
overhead console.
Note:
The position of each button on the
overhead console depends on your vehicle.
All Lamps On or Off Press to switch all interior lamps
on or off.
Individual Map Lamps Press to switch the left-hand
individual dome lamp on and off.
Press to switch the right-hand
individual dome lamp on and off. Interior Lamp Function Press to switch the interior lamp
function on and off.
When the interior lamp function is off and
you open a door, the courtesy and door
lamps stay off.
When the interior lamp function is on and
you open a door, the courtesy and door
lamps turn on.
Note: The indicator lamp lights amber
when the door function is off.
Rear Interior Lamps The rear interior lamps may be above the
rear seat or above the rear windows.
Press to switch the lamps on or
off.
Note: If you switch the rear lamps on
through the overhead console, you cannot
switch them off with the rear lamp switch.
91
Explorer (CTW), enUSA, Edition date: 202007, Second-Printing Lighting E281230 E262193 E281231
Page 95 of 577
AMBIENT LIGHTING -
VEHICLES WITH: 8 INCH
INFORMATION AND
ENTERTAINMENT DISPLAY
SCREEN
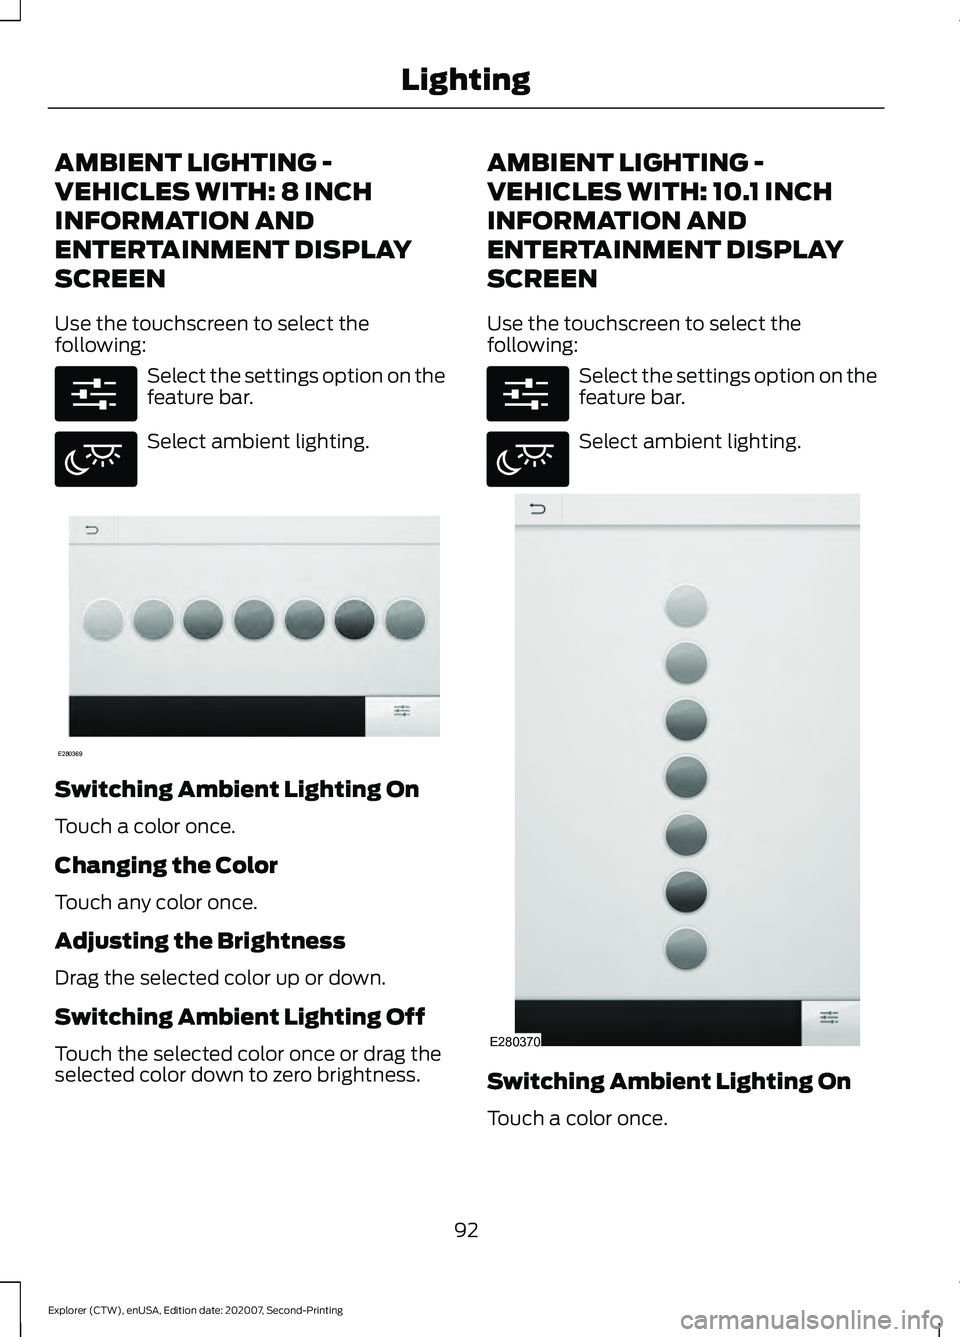
Use the touchscreen to select the
following:
Select the settings option on the
feature bar.
Select ambient lighting.
Switching Ambient Lighting On
Touch a color once.
Changing the Color
Touch any color once.
Adjusting the Brightness
Drag the selected color up or down.
Switching Ambient Lighting Off
Touch the selected color once or drag the
selected color down to zero brightness. AMBIENT LIGHTING -
VEHICLES WITH: 10.1 INCH
INFORMATION AND
ENTERTAINMENT DISPLAY
SCREEN
Use the touchscreen to select the
following:
Select the settings option on the
feature bar.
Select ambient lighting.
Switching Ambient Lighting On
Touch a color once.
92
Explorer (CTW), enUSA, Edition date: 202007, Second-Printing LightingE280315 E280617 E280369 E280315 E280617 E280370
Page 96 of 577
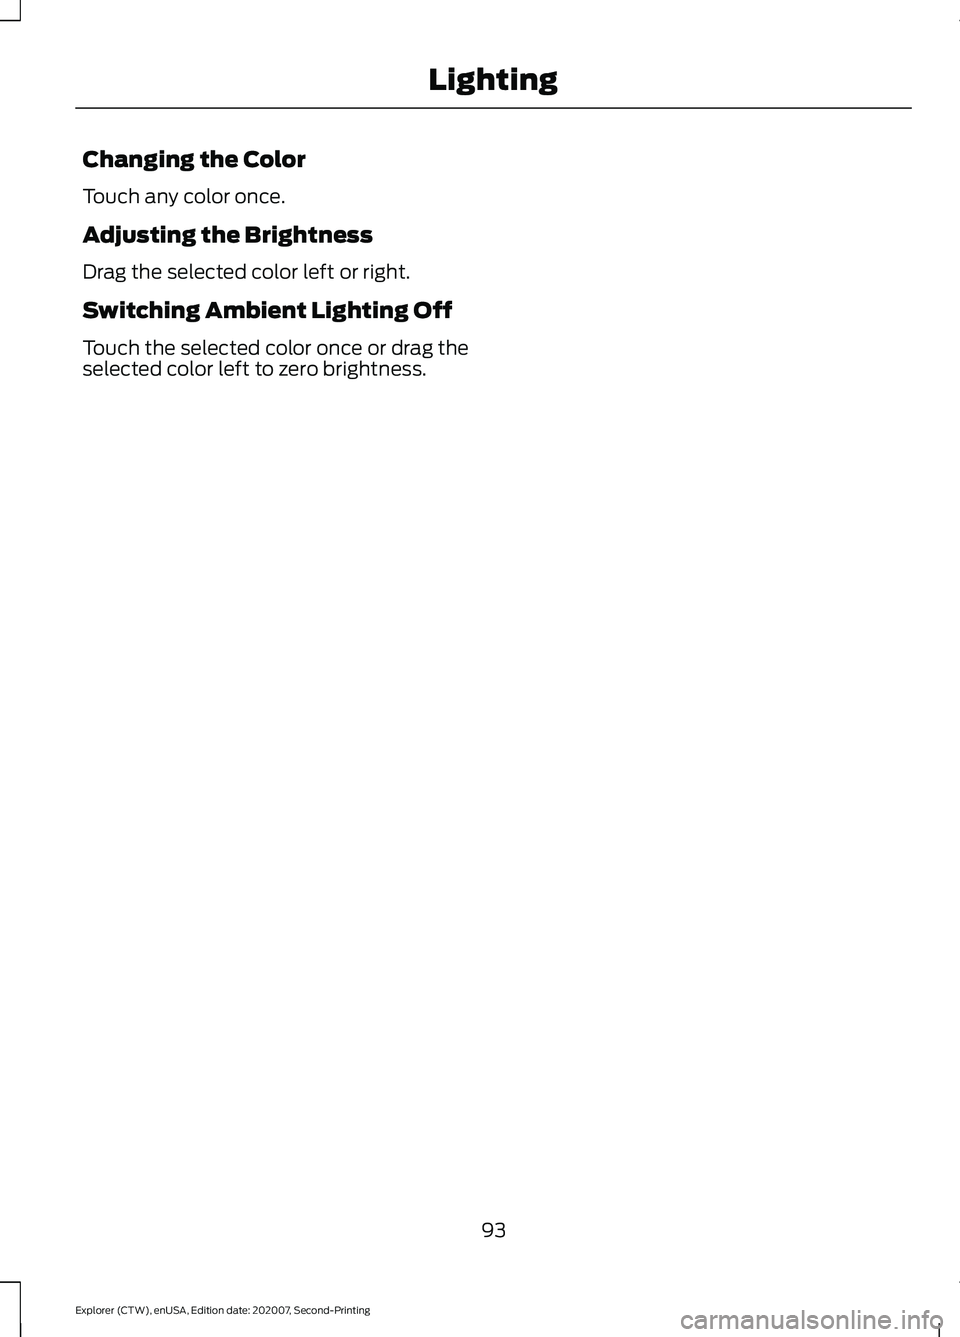
Changing the Color
Touch any color once.
Adjusting the Brightness
Drag the selected color left or right.
Switching Ambient Lighting Off
Touch the selected color once or drag the
selected color left to zero brightness.
93
Explorer (CTW), enUSA, Edition date: 202007, Second-Printing Lighting