audio FORD EXPLORER SPORT 2001 1.G Owners Manual
[x] Cancel search | Manufacturer: FORD, Model Year: 2001, Model line: EXPLORER SPORT, Model: FORD EXPLORER SPORT 2001 1.GPages: 256, PDF Size: 2.12 MB
Page 9 of 256
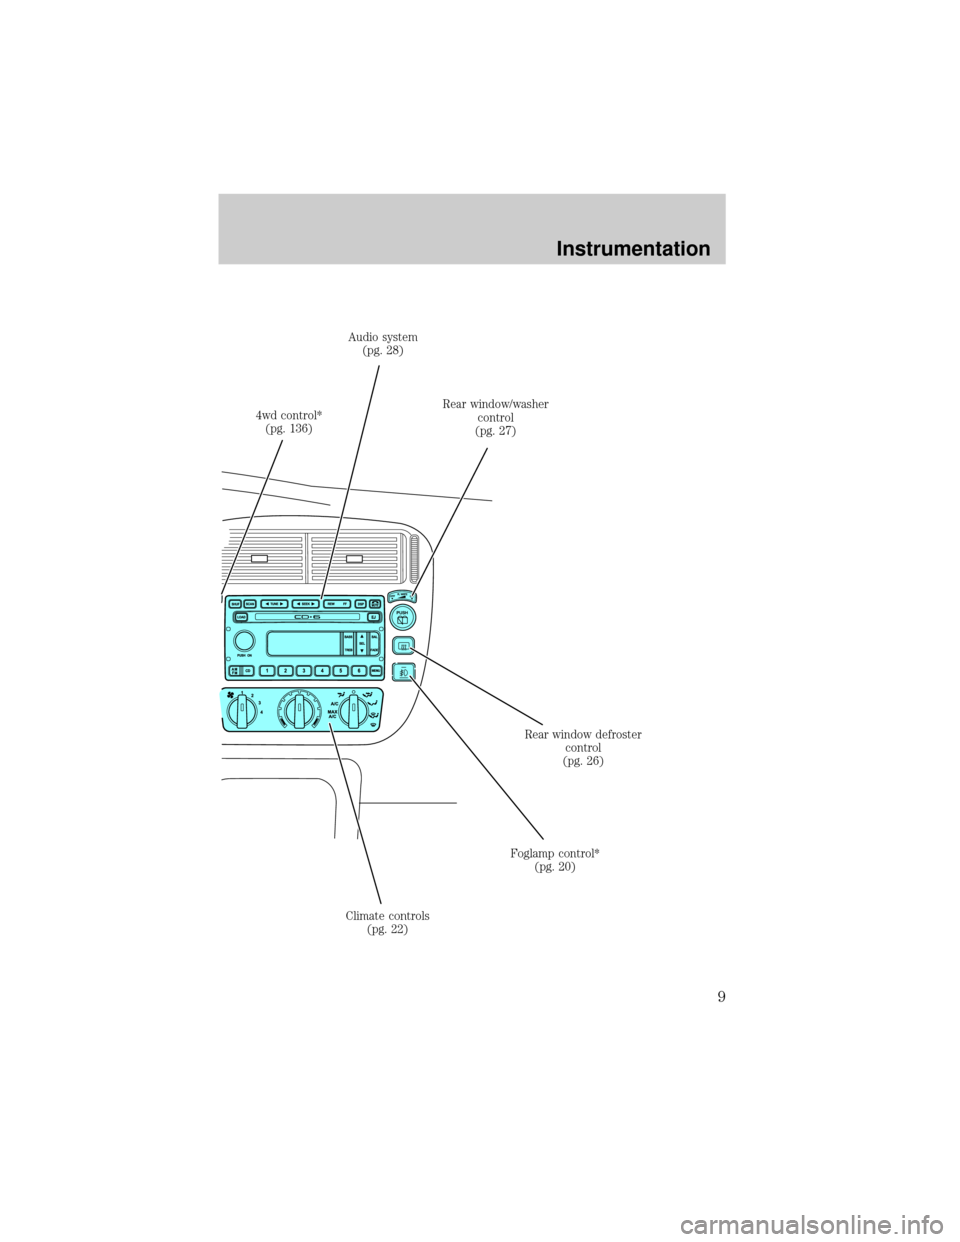
4wd control*
(pg. 136)Audio system
(pg. 28)
Rear window/washer
control
(pg. 27)
Rear window defroster
control
(pg. 26)
Foglamp control*
(pg. 20)
Climate controls
(pg. 22)
Instrumentation
9
Page 25 of 256
To aid in side defogging/demisting in cold weather.
1. Select
2. Set the temperature control to full heat
3. Set the fan speed to HI
4. Direct the outer panel vents towards to side windows
To increase airflow to the outer panel vents, close the central panel
vents.
Do not place objects on top of the instrument panel, as these
objects may become projectiles in a collision or sudden stop.
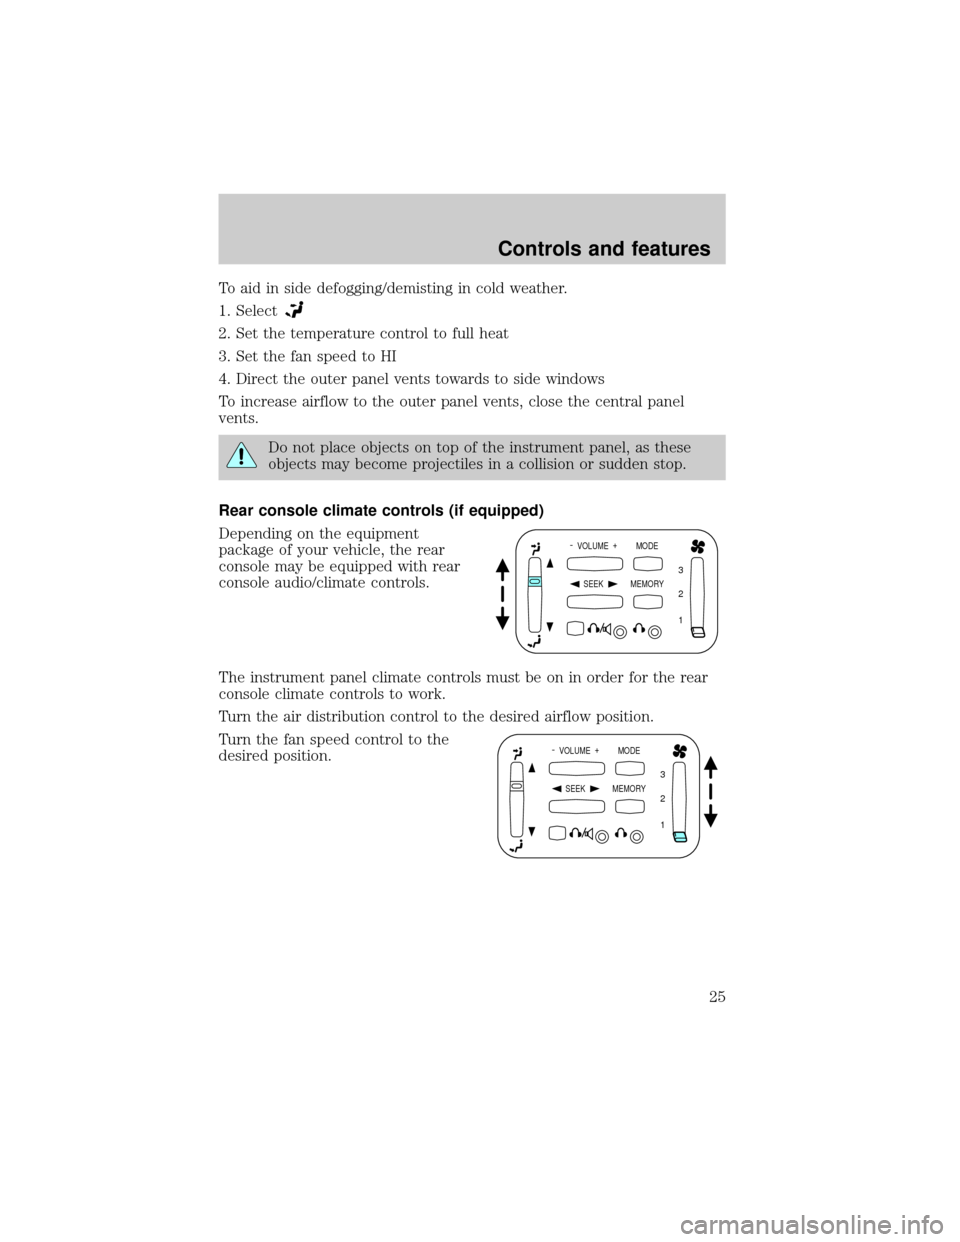
Rear console climate controls (if equipped)
Depending on the equipment
package of your vehicle, the rear
console may be equipped with rear
console audio/climate controls.
The instrument panel climate controls must be on in order for the rear
console climate controls to work.
Turn the air distribution control to the desired airflow position.
Turn the fan speed control to the
desired position.
- VOLUME +
MODE
SEEK MEMORY
1 2 3
- VOLUME +
MODE
SEEK MEMORY
1 2 3
Controls and features
25
Page 28 of 256
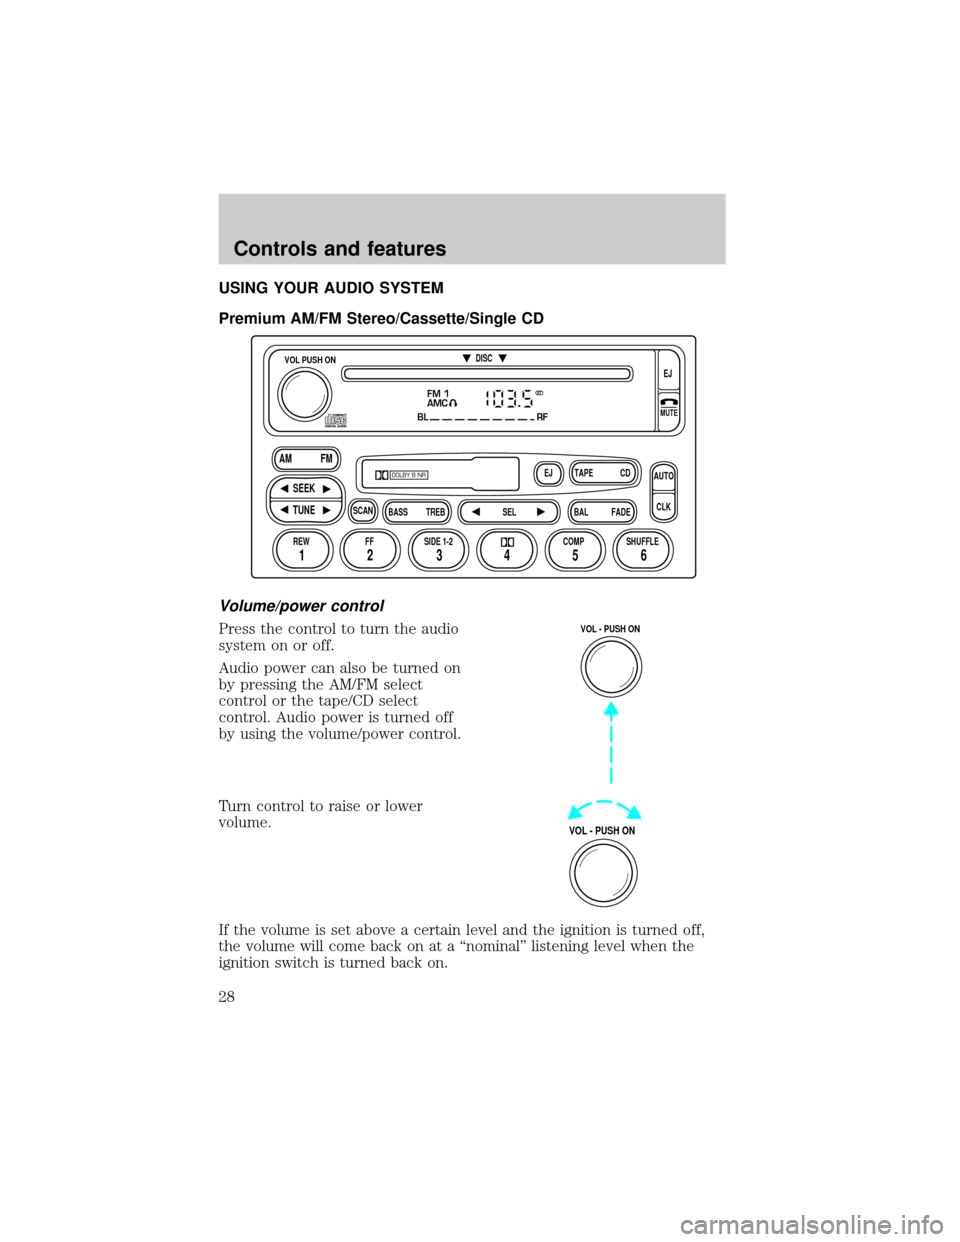
USING YOUR AUDIO SYSTEM
Premium AM/FM Stereo/Cassette/Single CD
Volume/power control
Press the control to turn the audio
system on or off.
Audio power can also be turned on
by pressing the AM/FM select
control or the tape/CD select
control. Audio power is turned off
by using the volume/power control.
Turn control to raise or lower
volume.
If the volume is set above a certain level and the ignition is turned off,
the volume will come back on at a ªnominalº listening level when the
ignition switch is turned back on.
FM 1
AMC
BL RF
REW FFSCAN
BASS TREB SEL BALTAPE DISC
EJ CD
FADEAUTO
CLK
SIDE 1-2 COMP SHUFFLEEJ
MUTE
VOL PUSH ON
SEEK
TUNE AM FM
12 3456
DOLBY B NR
ST
VOL - PUSH ON
VOL - PUSH ON
Controls and features
28
Page 31 of 256
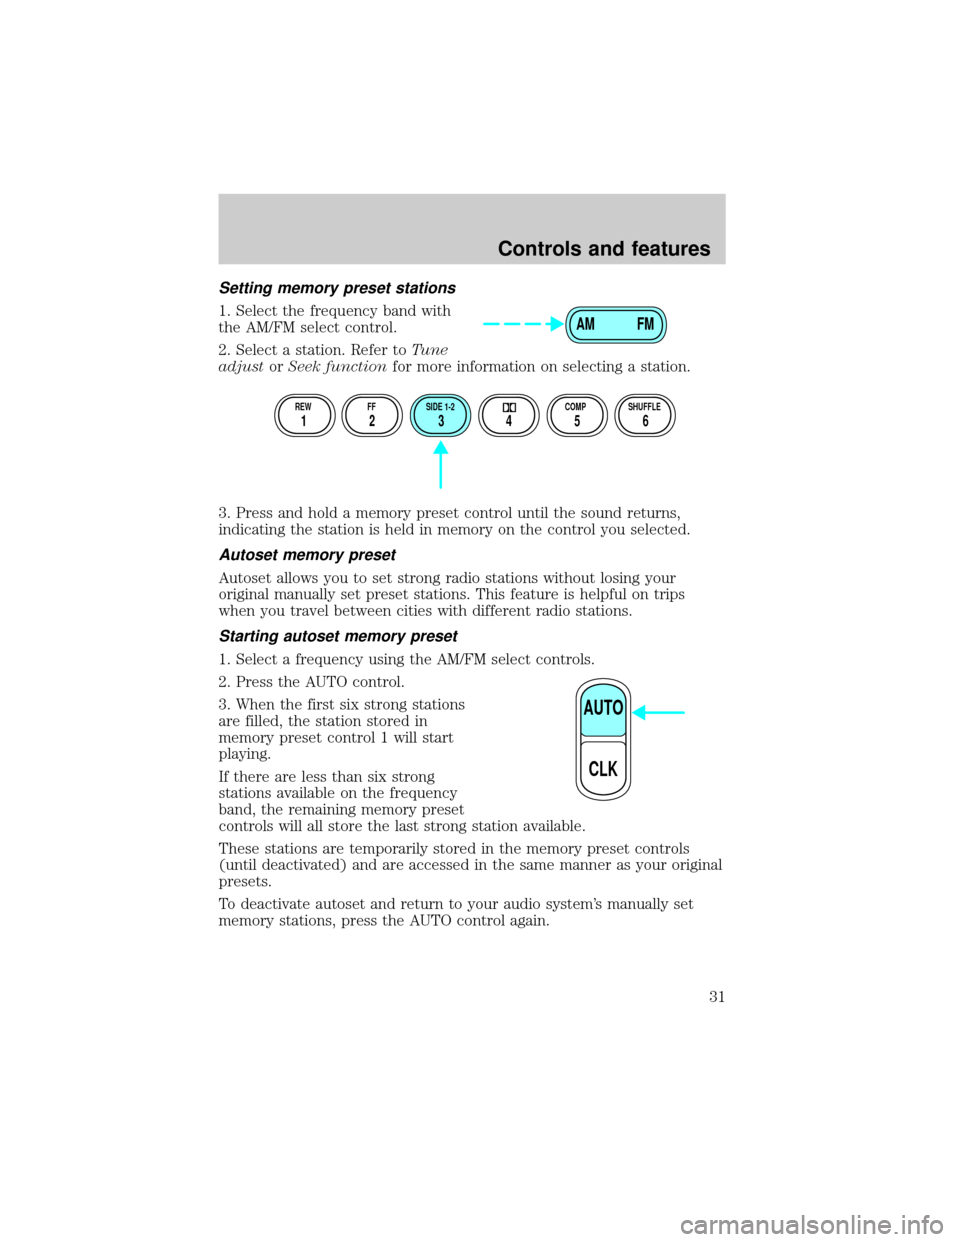
Setting memory preset stations
1. Select the frequency band with
the AM/FM select control.
2. Select a station. Refer toTune
adjustorSeek functionfor more information on selecting a station.
3. Press and hold a memory preset control until the sound returns,
indicating the station is held in memory on the control you selected.
Autoset memory preset
Autoset allows you to set strong radio stations without losing your
original manually set preset stations. This feature is helpful on trips
when you travel between cities with different radio stations.
Starting autoset memory preset
1. Select a frequency using the AM/FM select controls.
2. Press the AUTO control.
3. When the first six strong stations
are filled, the station stored in
memory preset control 1 will start
playing.
If there are less than six strong
stations available on the frequency
band, the remaining memory preset
controls will all store the last strong station available.
These stations are temporarily stored in the memory preset controls
(until deactivated) and are accessed in the same manner as your original
presets.
To deactivate autoset and return to your audio system's manually set
memory stations, press the AUTO control again.
AM FM
REW FF SIDE 1-2 COMP SHUFFLE
12 3456
AUTO
CLK
Controls and features
31
Page 32 of 256
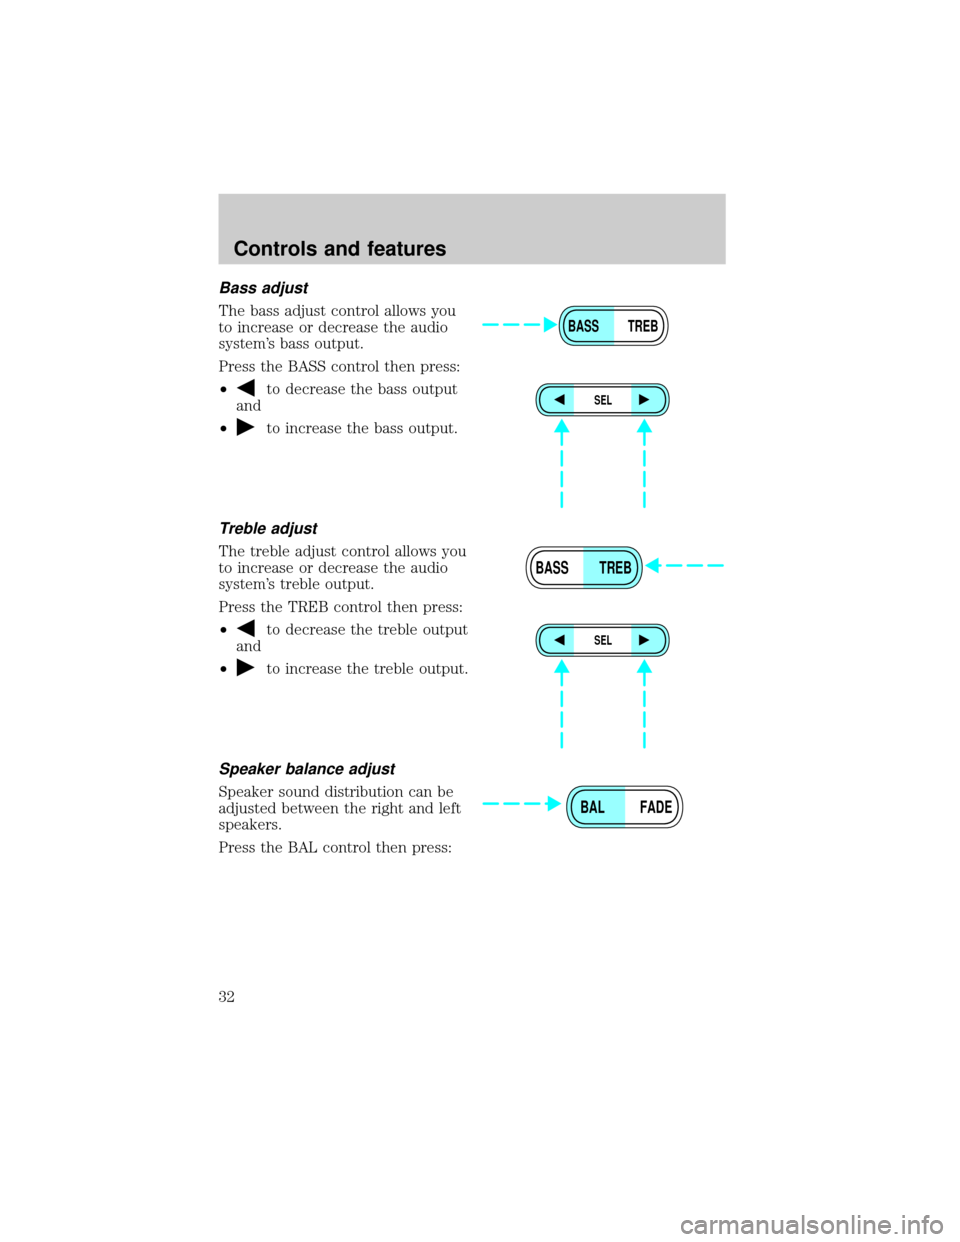
Bass adjust
The bass adjust control allows you
to increase or decrease the audio
system's bass output.
Press the BASS control then press:
²
to decrease the bass output
and
²
to increase the bass output.
Treble adjust
The treble adjust control allows you
to increase or decrease the audio
system's treble output.
Press the TREB control then press:
²
to decrease the treble output
and
²
to increase the treble output.
Speaker balance adjust
Speaker sound distribution can be
adjusted between the right and left
speakers.
Press the BAL control then press:
BASS TREB
SEL
BASS TREB
SEL
BAL FADE
Controls and features
32
Page 33 of 256
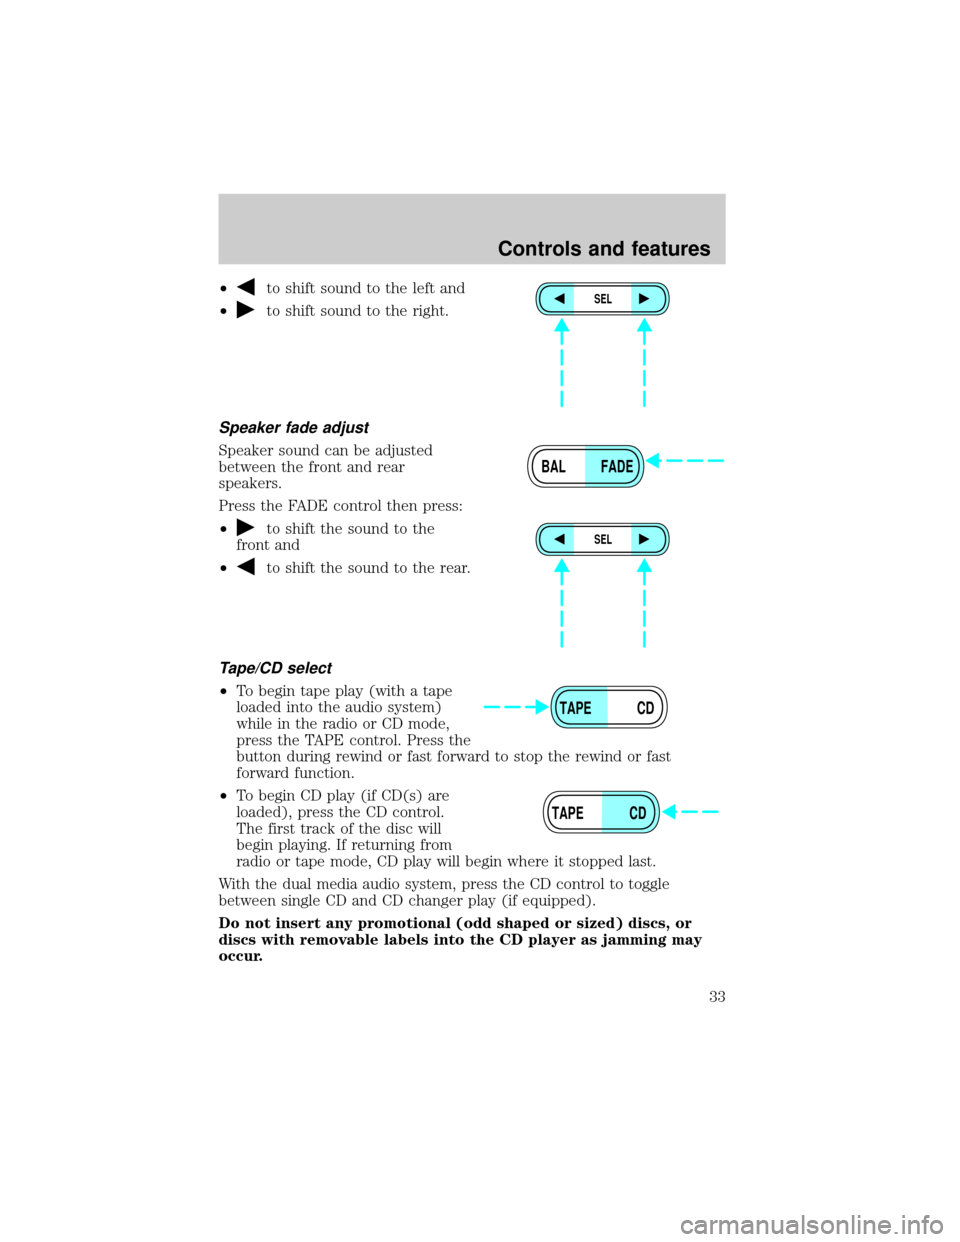
²to shift sound to the left and
²
to shift sound to the right.
Speaker fade adjust
Speaker sound can be adjusted
between the front and rear
speakers.
Press the FADE control then press:
²
to shift the sound to the
front and
²
to shift the sound to the rear.
Tape/CD select
²To begin tape play (with a tape
loaded into the audio system)
while in the radio or CD mode,
press the TAPE control. Press the
button during rewind or fast forward to stop the rewind or fast
forward function.
²To begin CD play (if CD(s) are
loaded), press the CD control.
The first track of the disc will
begin playing. If returning from
radio or tape mode, CD play will begin where it stopped last.
With the dual media audio system, press the CD control to toggle
between single CD and CD changer play (if equipped).
Do not insert any promotional (odd shaped or sized) discs, or
discs with removable labels into the CD player as jamming may
occur.
SEL
BAL FADE
SEL
TAPE CD
TAPE CD
Controls and features
33
Page 37 of 256
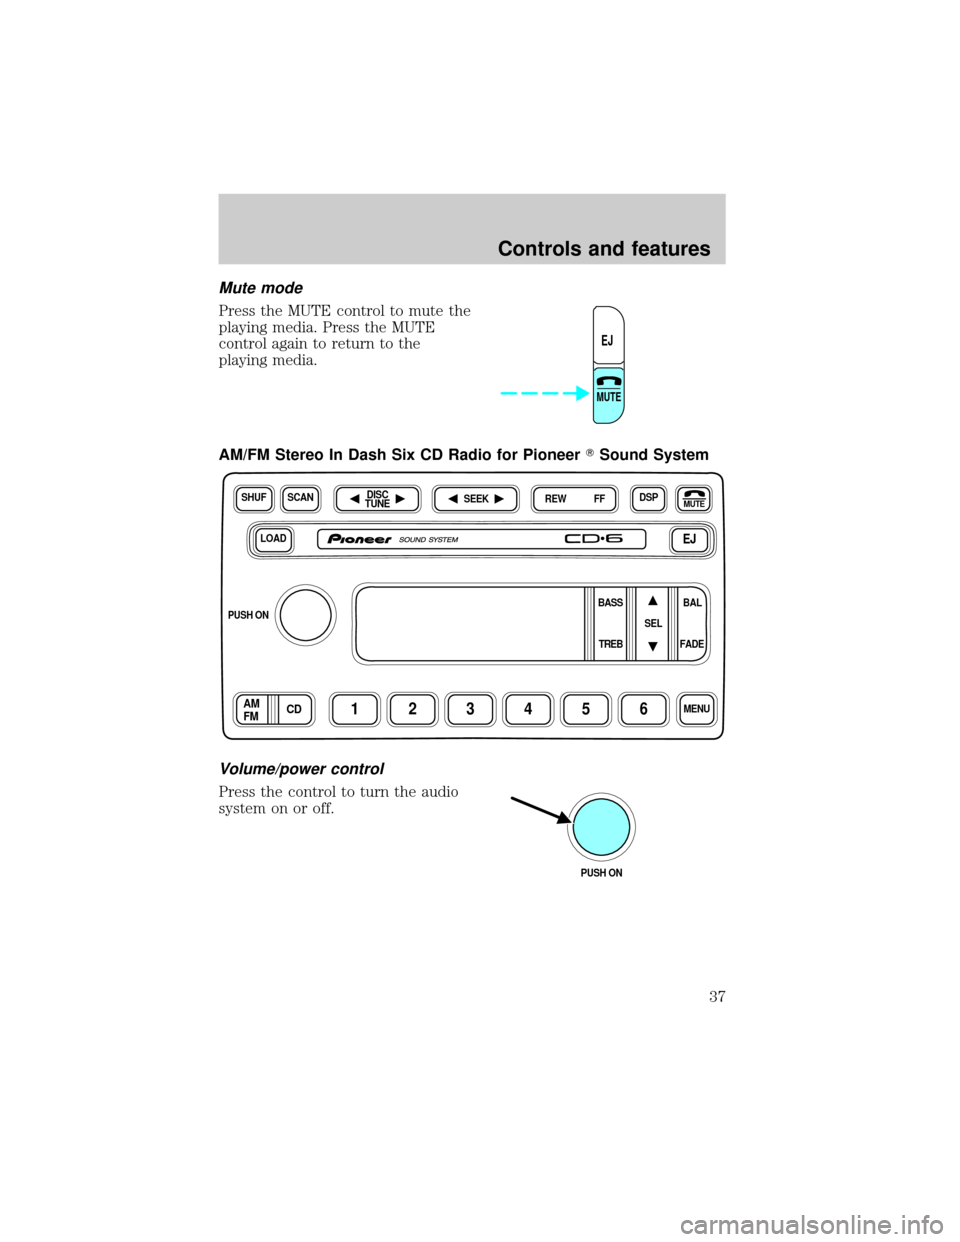
Mute mode
Press the MUTE control to mute the
playing media. Press the MUTE
control again to return to the
playing media.
AM/FM Stereo In Dash Six CD Radio for PioneerTSound System
Volume/power control
Press the control to turn the audio
system on or off.
EJ
MUTE
LOADEJ
SHUFDSPMUTE
SELBAL BASS
FADE TREB
SCAN
PUSH ON
CD123456MENUAM
FM
SEEKREW FFDISC
TUNE
PUSH ON
Controls and features
37
Page 41 of 256
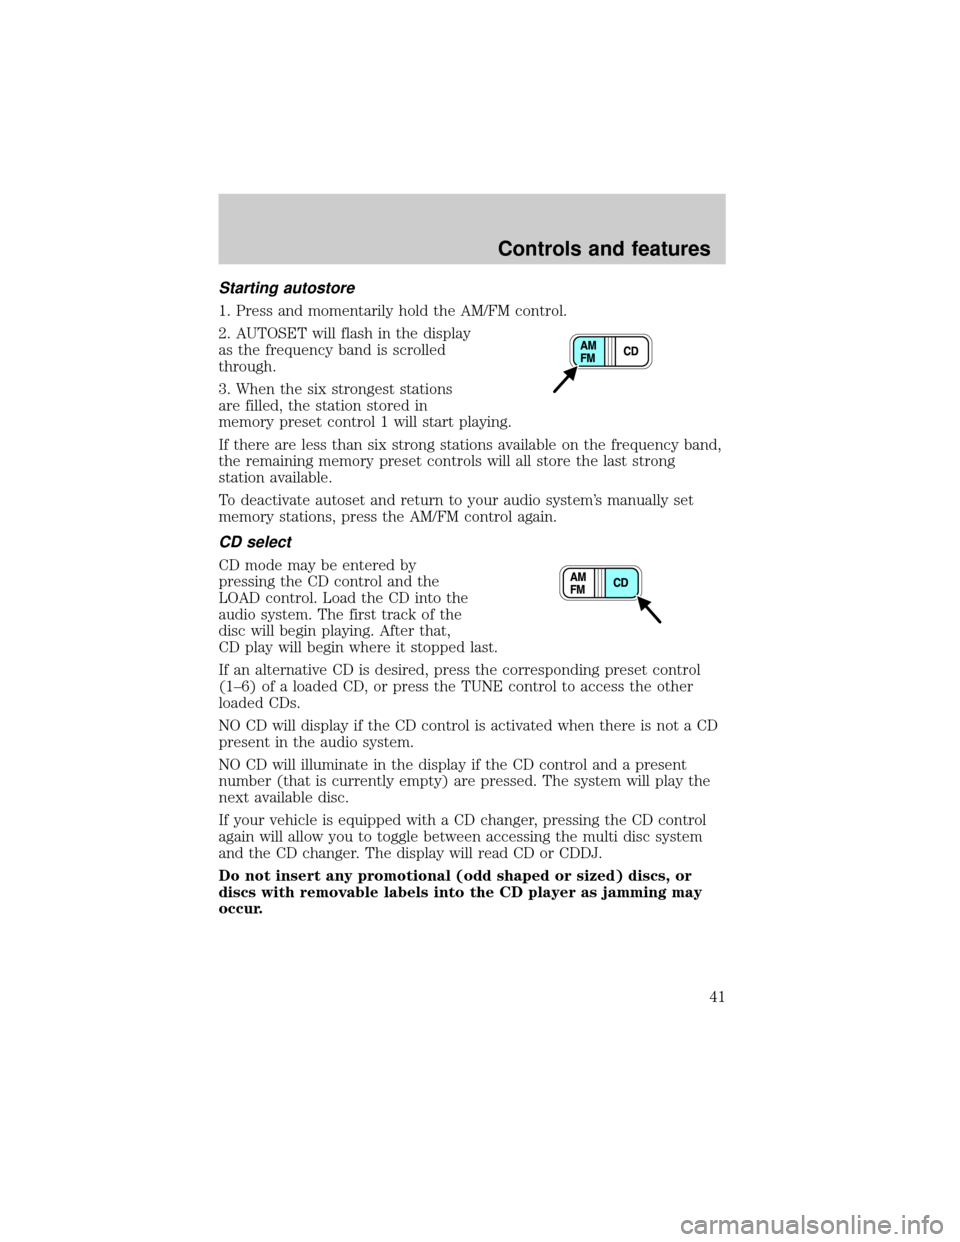
Starting autostore
1. Press and momentarily hold the AM/FM control.
2. AUTOSET will flash in the display
as the frequency band is scrolled
through.
3. When the six strongest stations
are filled, the station stored in
memory preset control 1 will start playing.
If there are less than six strong stations available on the frequency band,
the remaining memory preset controls will all store the last strong
station available.
To deactivate autoset and return to your audio system's manually set
memory stations, press the AM/FM control again.
CD select
CD mode may be entered by
pressing the CD control and the
LOAD control. Load the CD into the
audio system. The first track of the
disc will begin playing. After that,
CD play will begin where it stopped last.
If an alternative CD is desired, press the corresponding preset control
(1±6) of a loaded CD, or press the TUNE control to access the other
loaded CDs.
NO CD will display if the CD control is activated when there is not a CD
present in the audio system.
NO CD will illuminate in the display if the CD control and a present
number (that is currently empty) are pressed. The system will play the
next available disc.
If your vehicle is equipped with a CD changer, pressing the CD control
again will allow you to toggle between accessing the multi disc system
and the CD changer. The display will read CD or CDDJ.
Do not insert any promotional (odd shaped or sized) discs, or
discs with removable labels into the CD player as jamming may
occur.
Controls and features
41
Page 42 of 256
Display description
Six circles are always lit in the digital display. These signify the six CD
slots in the audio system. When a disc is loaded into a particular slot
(1±6), the number inside that specific circle lights. If the circle is empty,
there is no CD in that particular slot.
Load
The load feature allows you to load
single CDs into the player internal
to the radio.
This six disc CD player is equipped with a CD door. Compact
discs should only be inserted into the player after the door has
been opened by the player. Do not attempt to force the door
open. Compact discs should only be loaded by pressing the LOAD
control.
Press the LOAD control. (You can choose which slot will be loaded by
pressing the desired preset number. If you do not choose a slot, the
system will choose the next available one.) Wait until the CD door opens.
Load the CD into the player. LOADING CD# is displayed. When the CD
has been loaded, the door will close and the CD will begin to play. For
example, to load a CD into slot 2, press the LOAD control and then press
preset 2.
Auto load
This feature allows you to autoload
up to 6 discs into the multi disc CD
player internal to the radio.
Press and hold the LOAD control until AUTOLOAD # is displayed. The
CD door will open. Load the desired disc, one at a time. The CD is
loaded into position and the audio system will display CD#. Each time
the CD door opens, INSERT CD# is displayed. The door will close and
the player will move to the next slot after each disc has been loaded.
The process is repeated until all 6 slots are full. The audio system plays
the last CD loaded and the display is updated. If some slots are already
full and autoload is activated, the system will fill all empty slots.
Controls and features
42
Page 43 of 256
Eject
Press the EJ control to stop and
eject a CD. You can choose which
CD will be ejected by pressing the
EJ control and the desired preset
number (1±6). For example, to eject CD 2, press the EJ control and then
press the preset 2 control. If you do not choose a specific CD, the player
will eject the current CD.
If a CD is ejected and not removed from the door of the CD player, the
player will automatically reload the CD. This feature may be used when
the ignition is ON or OFF.
Auto eject
Press and momentarily hold the EJ
control to engage auto eject. All CDs
which are present in the player will
be ejected one at a time. If a CD is
ejected and not removed from the door of the CD player, the player will
automatically reload the CD. This feature may be used when the ignition
is ON or OFF.
Rewind
The rewind control works in CD
modes.
Press and hold the REW control
until the desired selection is
reached. If the beginning of the disc is reached, the CD will begin play at
the first track. Release the control to disengage rewind mode.
When in rewind mode, your audio system will automatically lower the
volume level of the playing media.
Controls and features
43