instrument panel FORD EXPLORER SPORT TRAC 2003 Owners Manual
[x] Cancel search | Manufacturer: FORD, Model Year: 2003, Model line: EXPLORER SPORT TRAC, Model: FORD EXPLORER SPORT TRAC 2003Pages: 216, PDF Size: 1.75 MB
Page 29 of 216
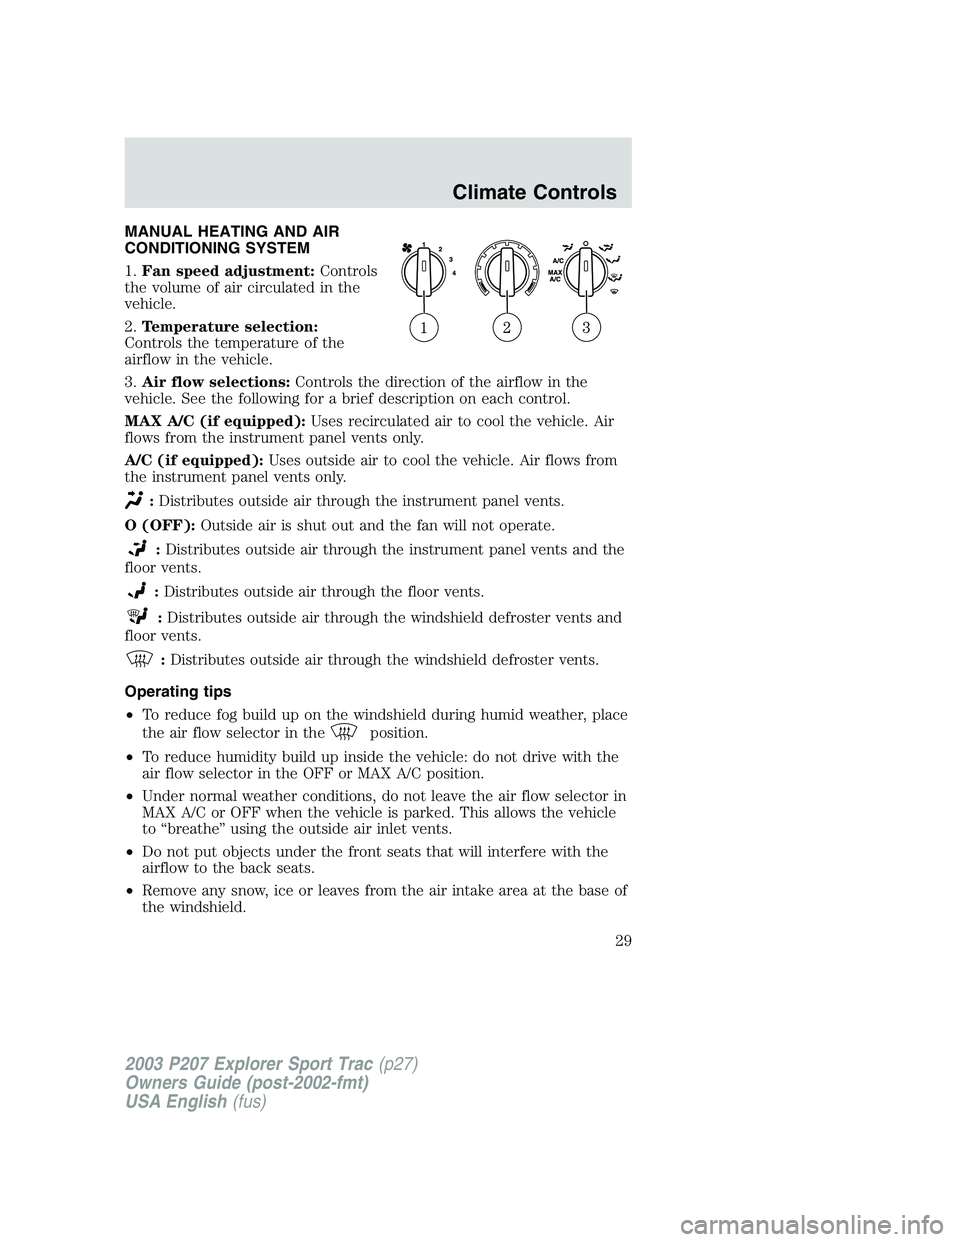
MANUAL HEATING AND AIR
CONDITIONING SYSTEM
1.Fan speed adjustment:Controls
the volume of air circulated in the
vehicle.
2.Temperature selection:
Controls the temperature of the
airflow in the vehicle.
3.Air flow selections:Controls the direction of the airflow in the
vehicle. See the following for a brief description on each control.
MAX A/C (if equipped):Uses recirculated air to cool the vehicle. Air
flows from the instrument panel vents only.
A/C (if equipped):Uses outside air to cool the vehicle. Air flows from
the instrument panel vents only.
:Distributes outside air through the instrument panel vents.
O (OFF):Outside air is shut out and the fan will not operate.
:Distributes outside air through the instrument panel vents and the
floor vents.
:Distributes outside air through the floor vents.
:Distributes outside air through the windshield defroster vents and
floor vents.
:Distributes outside air through the windshield defroster vents.
Operating tips
•To reduce fog build up on the windshield during humid weather, place
the air flow selector in the
position.
•To reduce humidity build up inside the vehicle: do not drive with the
air flow selector in the OFF or MAX A/C position.
•Under normal weather conditions, do not leave the air flow selector in
MAX A/C or OFF when the vehicle is parked. This allows the vehicle
to “breathe” using the outside air inlet vents.
•Do not put objects under the front seats that will interfere with the
airflow to the back seats.
•Remove any snow, ice or leaves from the air intake area at the base of
the windshield.
2003 P207 Explorer Sport Trac(p27)
Owners Guide (post-2002-fmt)
USA English(fus)
Climate Controls
Climate Controls
29
Page 30 of 216
To aid in side window defogging/demisting in cold weather:
1. Select A/C
2. Modulate the temperature control to maintain comfort.
3. Set the fan speed to HI
4. Direct the outer instrument panel vents towards the side windows
To increase airflow to the outer instrument panel vents, close the vents
located in the middle of the instrument panel.
Do not place objects on top of the instrument panel as these
objects may become projectiles in a collision or sudden stop.
Rear console climate controls (if equipped)
The front climate controls must be on in order for the rear console
climate controls to work.
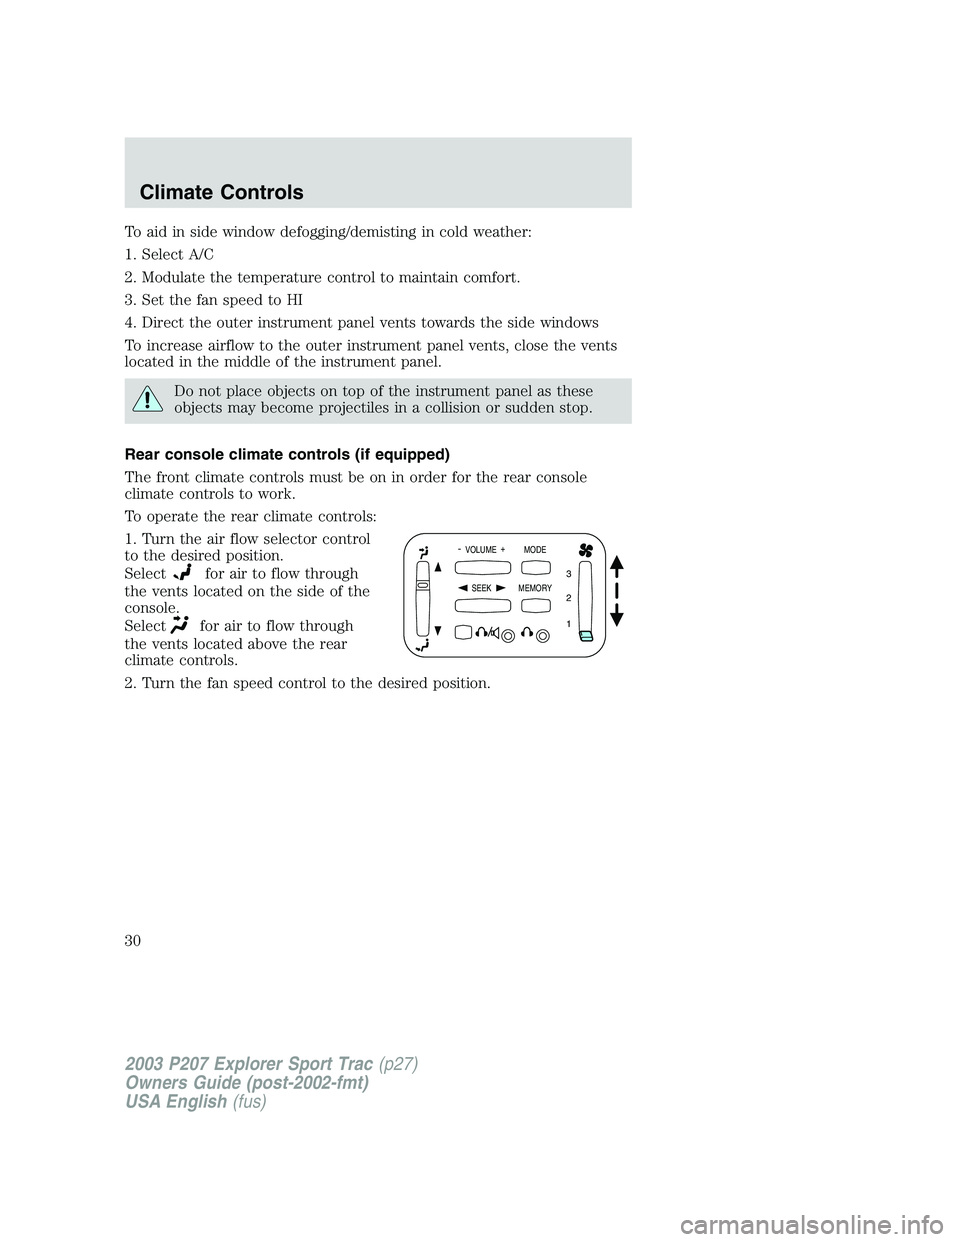
To operate the rear climate controls:
1. Turn the air flow selector control
to the desired position.
Select
for air to flow through
the vents located on the side of the
console.
Select
for air to flow through
the vents located above the rear
climate controls.
2. Turn the fan speed control to the desired position.
- VOLUME +
MODE
SEEK MEMORY
1 2 3
2003 P207 Explorer Sport Trac(p27)
Owners Guide (post-2002-fmt)
USA English(fus)
Climate Controls
30
Page 31 of 216
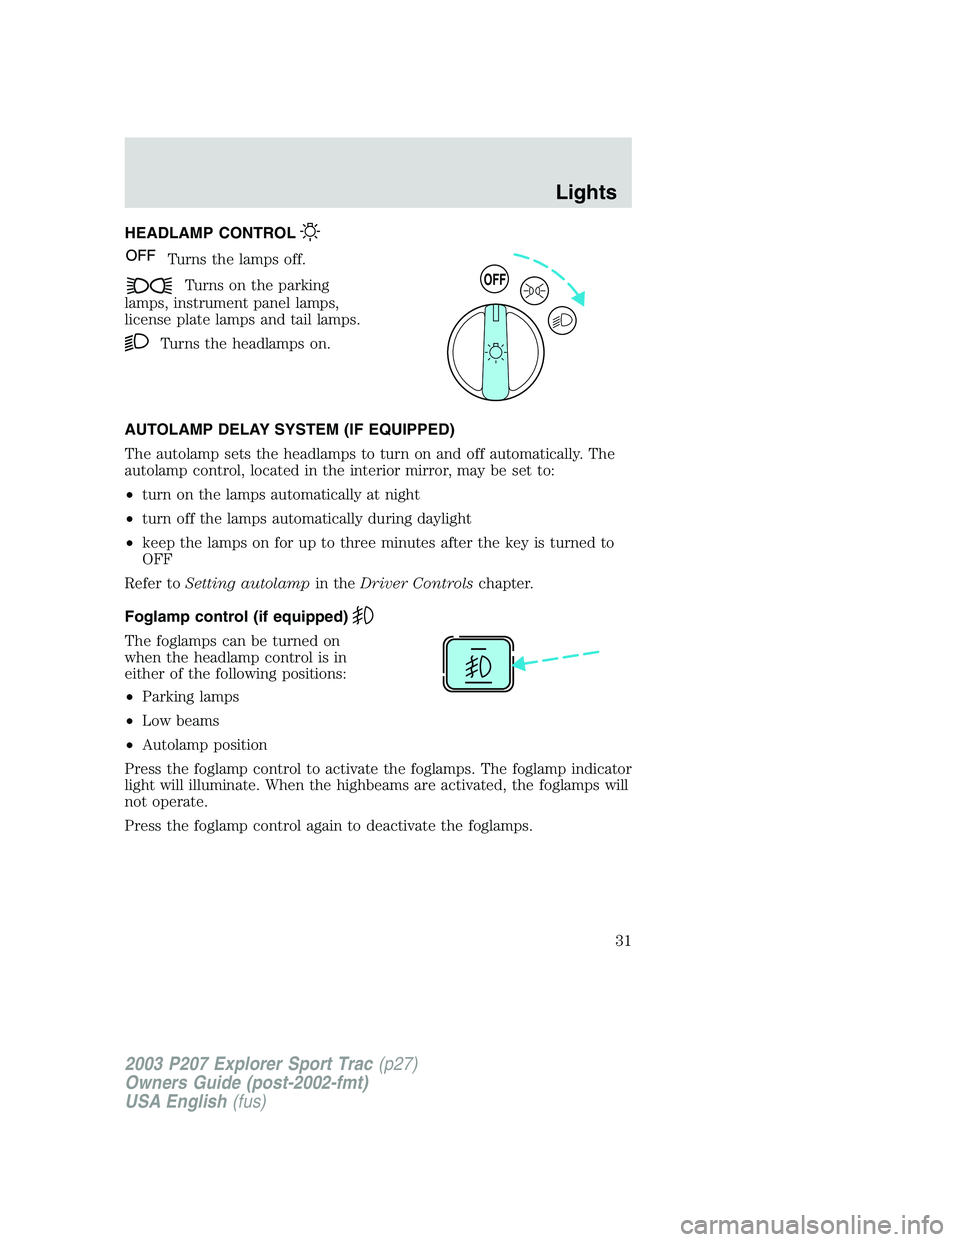
HEADLAMP CONTROL
Turns the lamps off.
Turns on the parking
lamps, instrument panel lamps,
license plate lamps and tail lamps.
Turns the headlamps on.
AUTOLAMP DELAY SYSTEM (IF EQUIPPED)
The autolamp sets the headlamps to turn on and off automatically. The
autolamp control, located in the interior mirror, may be set to:
•turn on the lamps automatically at night
•turn off the lamps automatically during daylight
•keep the lamps on for up to three minutes after the key is turned to
OFF
Refer toSetting autolampin theDriver Controlschapter.
Foglamp control (if equipped)
The foglamps can be turned on
when the headlamp control is in
either of the following positions:
•Parking lamps
•Low beams
•Autolamp position
Press the foglamp control to activate the foglamps. The foglamp indicator
light will illuminate. When the highbeams are activated, the foglamps will
not operate.
Press the foglamp control again to deactivate the foglamps.
OFF
2003 P207 Explorer Sport Trac(p27)
Owners Guide (post-2002-fmt)
USA English(fus)
Lights
Lights
31
Page 32 of 216
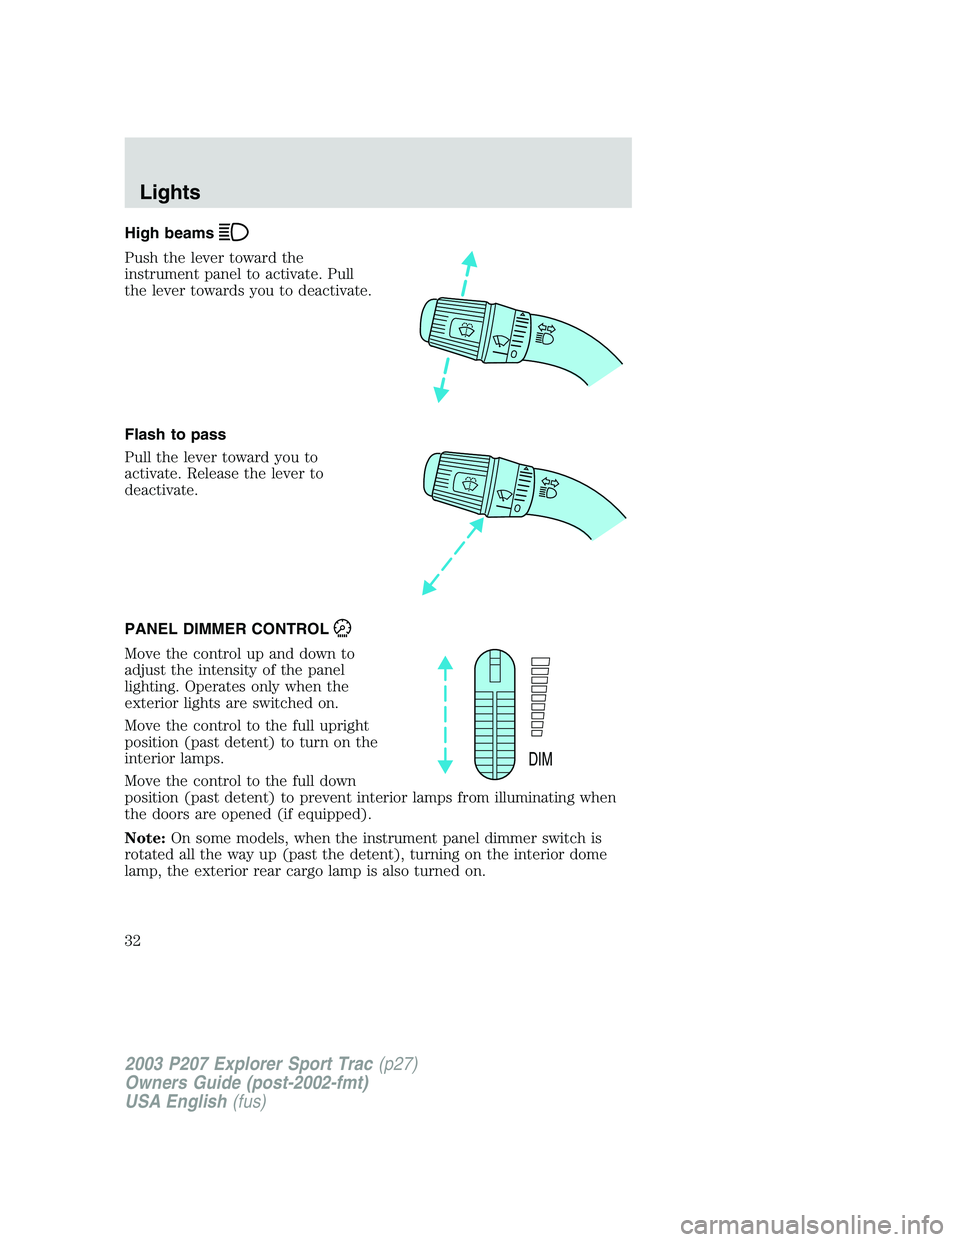
High beams
Push the lever toward the
instrument panel to activate. Pull
the lever towards you to deactivate.
Flash to pass
Pull the lever toward you to
activate. Release the lever to
deactivate.
PANEL DIMMER CONTROL
Move the control up and down to
adjust the intensity of the panel
lighting. Operates only when the
exterior lights are switched on.
Move the control to the full upright
position (past detent) to turn on the
interior lamps.
Move the control to the full down
position (past detent) to prevent interior lamps from illuminating when
the doors are opened (if equipped).
Note:On some models, when the instrument panel dimmer switch is
rotated all the way up (past the detent), turning on the interior dome
lamp, the exterior rear cargo lamp is also turned on.
DIM
2003 P207 Explorer Sport Trac(p27)
Owners Guide (post-2002-fmt)
USA English(fus)
Lights
32
Page 34 of 216
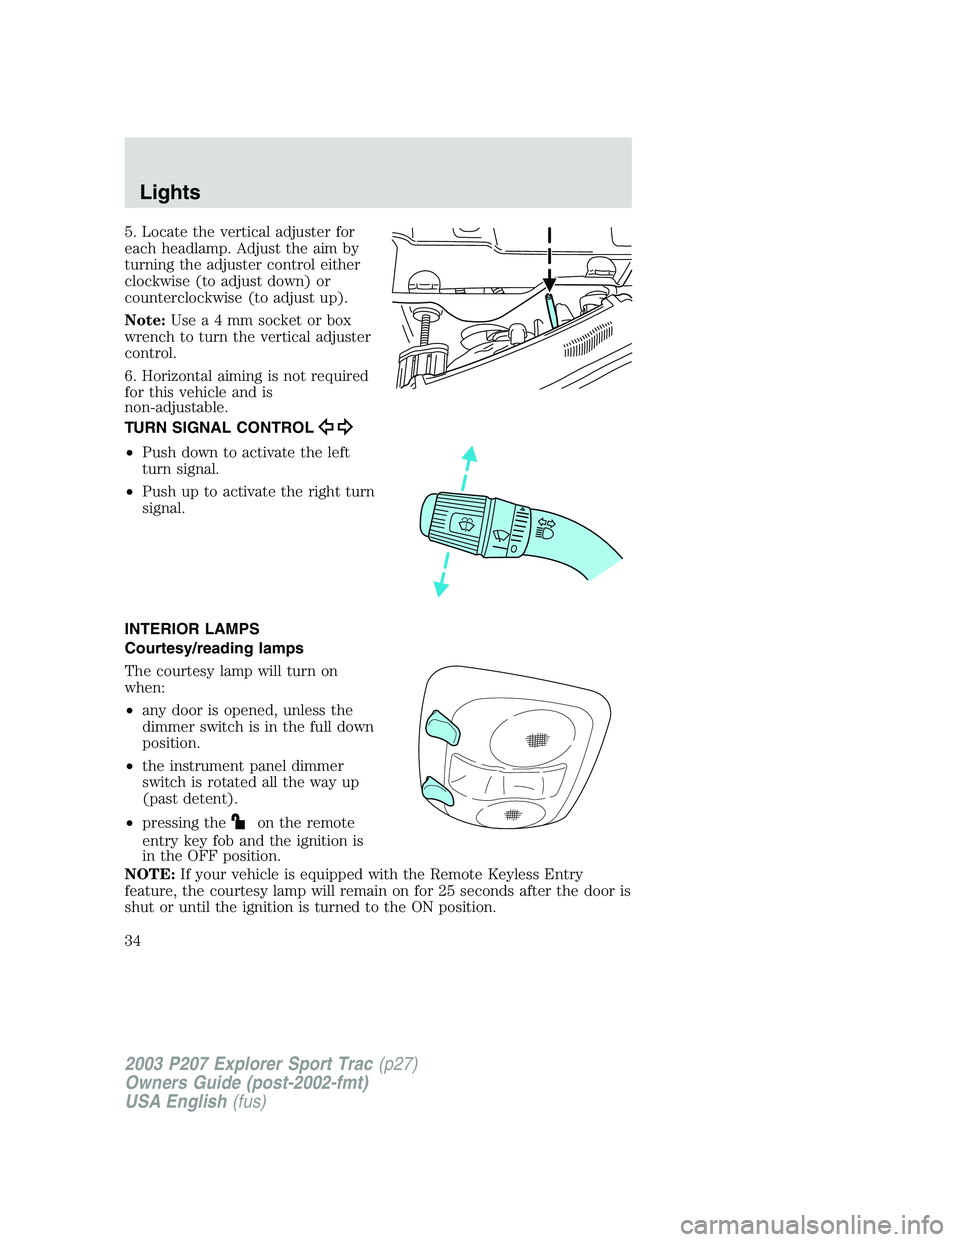
5. Locate the vertical adjuster for
each headlamp. Adjust the aim by
turning the adjuster control either
clockwise (to adjust down) or
counterclockwise (to adjust up).
Note:Usea4mmsocket or box
wrench to turn the vertical adjuster
control.
6. Horizontal aiming is not required
for this vehicle and is
non-adjustable.
TURN SIGNAL CONTROL
•Push down to activate the left
turn signal.
•Push up to activate the right turn
signal.
INTERIOR LAMPS
Courtesy/reading lamps
The courtesy lamp will turn on
when:
•any door is opened, unless the
dimmer switch is in the full down
position.
•the instrument panel dimmer
switch is rotated all the way up
(past detent).
•pressing the
on the remote
entry key fob and the ignition is
in the OFF position.
NOTE:If your vehicle is equipped with the Remote Keyless Entry
feature, the courtesy lamp will remain on for 25 seconds after the door is
shut or until the ignition is turned to the ON position.
2003 P207 Explorer Sport Trac(p27)
Owners Guide (post-2002-fmt)
USA English(fus)
Lights
34
Page 39 of 216
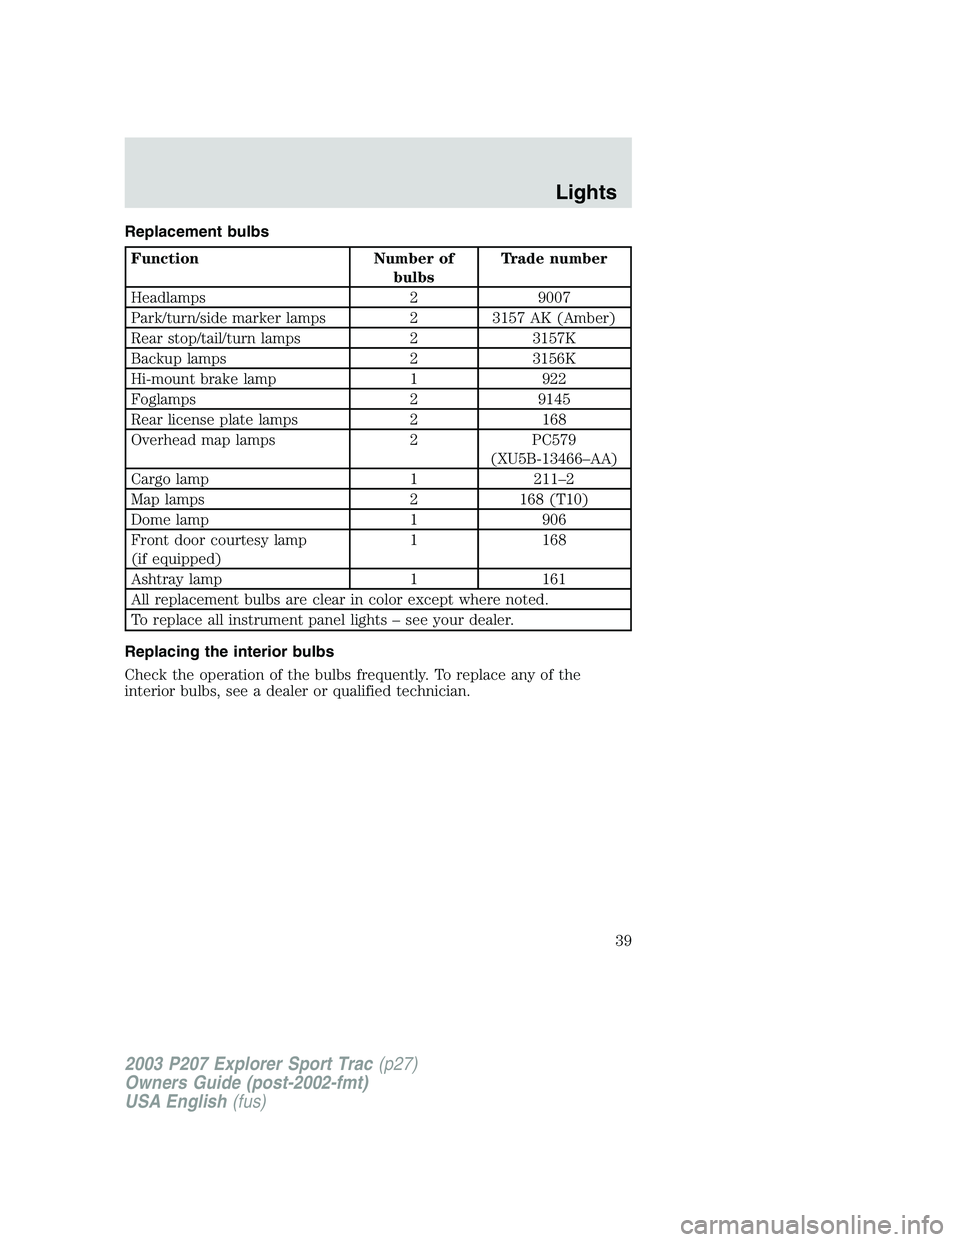
Replacement bulbs
Function Number of
bulbsTrade number
Headlamps 2 9007
Park/turn/side marker lamps 2 3157 AK (Amber)
Rear stop/tail/turn lamps 2 3157K
Backup lamps 2 3156K
Hi-mount brake lamp 1 922
Foglamps 2 9145
Rear license plate lamps 2 168
Overhead map lamps 2 PC579
(XU5B-13466–AA)
Cargo lamp 1 211–2
Map lamps 2 168 (T10)
Dome lamp 1 906
Front door courtesy lamp
(if equipped)1 168
Ashtray lamp 1 161
All replacement bulbs are clear in color except where noted.
To replace all instrument panel lights – see your dealer.
Replacing the interior bulbs
Check the operation of the bulbs frequently. To replace any of the
interior bulbs, see a dealer or qualified technician.
2003 P207 Explorer Sport Trac(p27)
Owners Guide (post-2002-fmt)
USA English(fus)
Lights
39
Page 138 of 216
Standard fuse amperage rating and color
COLOR
Fuse
ratingMini
fusesStandard
fusesMaxi
fusesCartridge
maxi
fusesFuse link
cartridge
2A Grey Grey — — —
3A Violet Violet — — —
4A Pink Pink — — —
5A Tan Tan — — —
7.5A Brown Brown — — —
10A Red Red — — —
15A Blue Blue — — —
20A Yellow Yellow Yellow Blue Blue
25A Natural Natural — — —
30A Green Green Green Pink Pink
40A — — Orange Green Green
50A — — Red Red Red
60A — — Blue — Yellow
70A — — Tan — Brown
80A — — Natural — Black
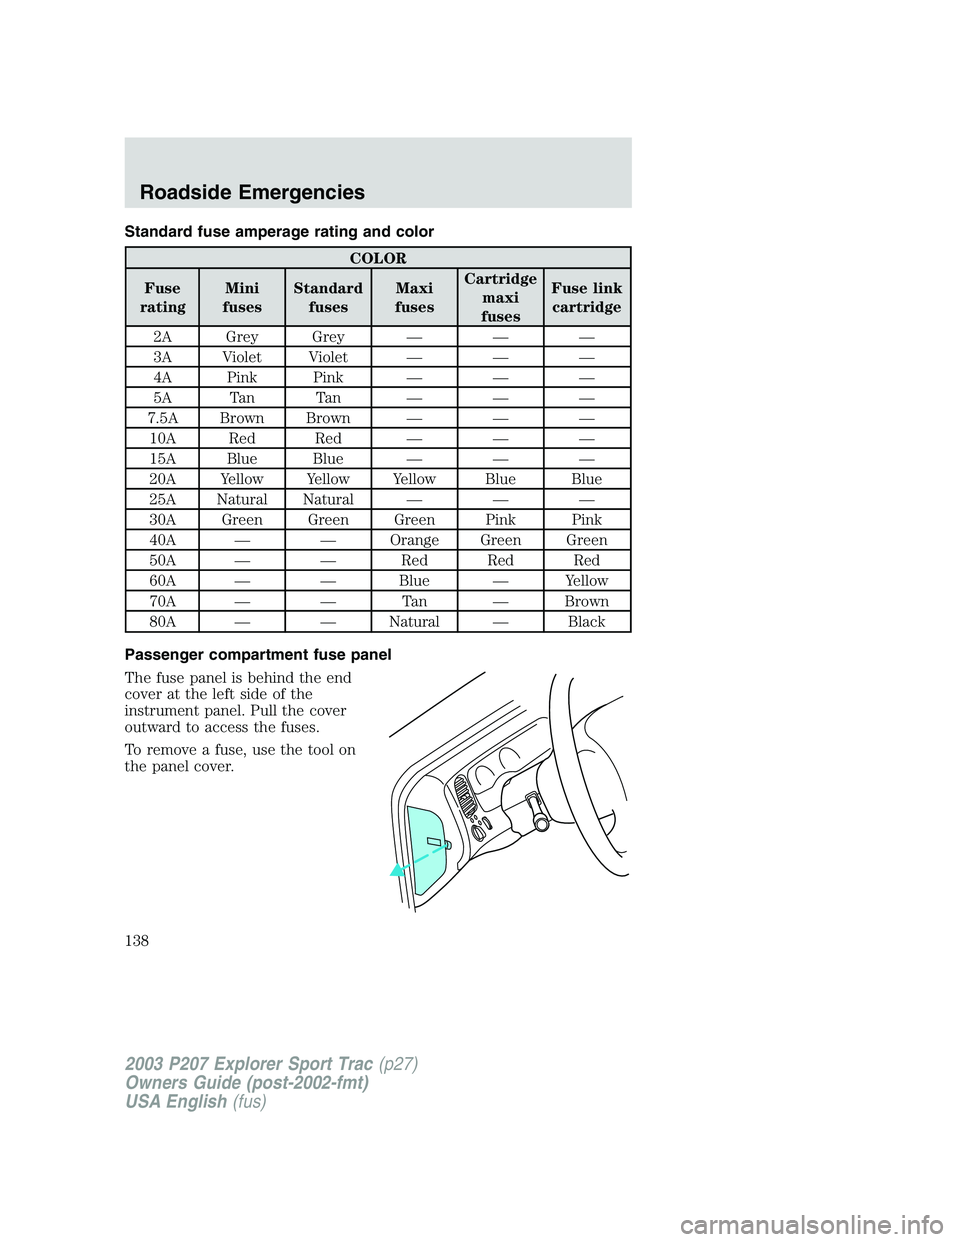
Passenger compartment fuse panel
The fuse panel is behind the end
cover at the left side of the
instrument panel. Pull the cover
outward to access the fuses.
To remove a fuse, use the tool on
the panel cover.
2003 P207 Explorer Sport Trac(p27)
Owners Guide (post-2002-fmt)
USA English(fus)
Roadside Emergencies
138
Page 141 of 216
Fuse/Relay
LocationFuse Amp
RatingPassenger Compartment Fuse
Panel Description
30 25A Seats
31 5A Instrument panel dimming
(XLS)/Rear audio control (XLT)
32 5A Auxiliary CHMSL
33 15A Highbeam headlamps
34 5A Rear audio
35 5A ABS module
36 — Not used
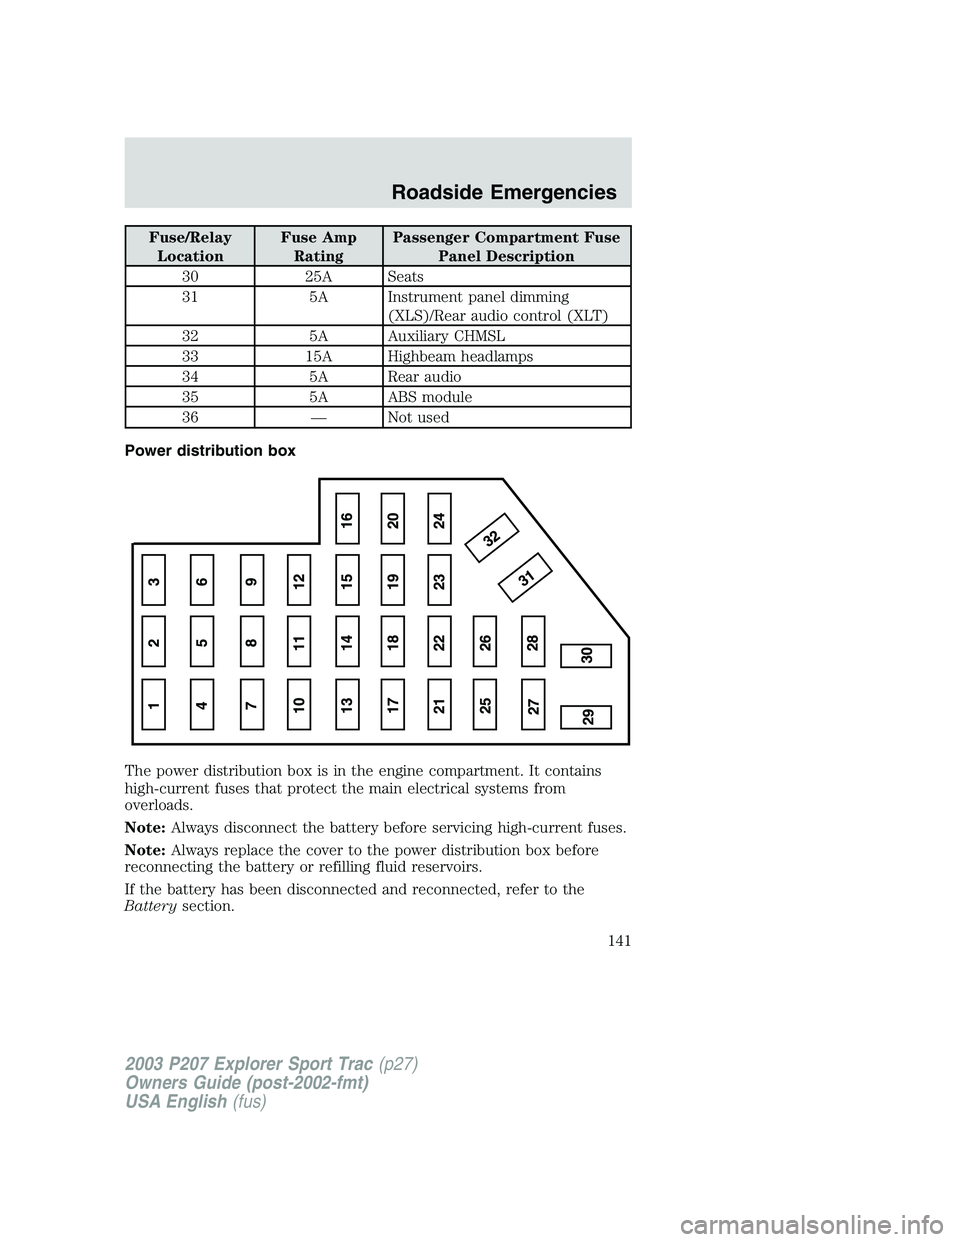
Power distribution box
The power distribution box is in the engine compartment. It contains
high-current fuses that protect the main electrical systems from
overloads.
Note:Always disconnect the battery before servicing high-current fuses.
Note:Always replace the cover to the power distribution box before
reconnecting the battery or refilling fluid reservoirs.
If the battery has been disconnected and reconnected, refer to the
Batterysection.
2003 P207 Explorer Sport Trac(p27)
Owners Guide (post-2002-fmt)
USA English(fus)
Roadside Emergencies
141
Page 171 of 216
INSTRUMENT PANEL AND CLUSTER LENS
Clean the instrument panel with a damp cloth, then dry with a dry cloth.
•Avoid cleaners or polish that increase the gloss of the upper portion of
the instrument panel. The dull finish in this area helps protect the
driver from undesirable windshield reflection.
Do not use chemical solvents or strong detergents when cleaning
the steering wheel or instrument panel to avoid contamination of
the air bag system.
•Be certain to wash or wipe your hands clean if you have been in
contact with certain products such as insect repellent and suntan
lotion in order to avoid possible damage to the interior painted
surfaces.
INTERIOR TRIM
•Clean the interior trim areas with a damp cloth, then dry by wiping
with a dry, soft, clean cloth.
•Do not use household or glass cleaners as these may damage the
finish.
INTERIOR
For fabric, carpets, cloth seats and safety belts:
•Remove dust and loose dirt with a vacuum cleaner.
•Remove light stains and soil with Ford Extra Strength Upholstery
Cleaner (E8AZ-19523–AA).
•If grease or tar is present on the material, spot-clean the area first
with Motorcraft Spot and Stain Remover (ZC-14).
•Never saturate the seat covers with cleaning solution.
•Do not use household cleaning products or glass cleaners, which can
stain and discolor the fabric and affect the flame retardant abilities of
the seat materials.
Do not use cleaning solvents, bleach or dye on the vehicle’s
seatbelts, as these actions may weaken the belt webbing.
LEATHER SEATS (IF EQUIPPED)
Your leather seating surfaces have a clear, protective coating over the
leather.
2003 P207 Explorer Sport Trac(p27)
Owners Guide (post-2002-fmt)
USA English(fus)
Cleaning
171
Page 191 of 216
•Loss of engine power
•Illumination of the charging system, temperature, or “Check Engine”
light in the instrument panel.
Exhaust leaks may result in harmful and potentially lethal fumes
entering the passenger compartment.
It is unlawful to intentionally remove an emission control device or
prevent it from working. Information about your vehicle’s emission
system is on the Vehicle Emission Control Information decal located on
or near the engine.
On board diagnostics (OBD-II)
Your vehicle is equipped with a computer that monitors the engine’s
emission control system. This system is commonly known as the On
Board Diagnostics System (OBD-II). This OBD-II system protects the
environment by ensuring that your vehicle continues to meet
government emission standards. The OBD-II system also assists the
service technician in properly servicing your vehicle. When theCheck
Engine/Service Engine Soonlight illuminates, the OBD-II system has
detected a malfunction. Temporary malfunctions may cause yourCheck
Engine/Service Engine Soonlight to illuminate. Examples are:
1. The vehicle has run out of fuel. (The engine may misfire or run
poorly.)
2. Poor fuel quality or water in the fuel.
3. The fuel cap may not have been securely tightened.
These temporary malfunctions can be corrected by filling the fuel tank
with good quality fuel and/or properly tightening the fuel cap. After three
driving cycles without these or any other temporary malfunctions
present, theCheck Engine/Service Engine Soonlight should turn off.
(A driving cycle consists of a cold engine startup followed by mixed
city/highway driving.) No additional vehicle service is required.
If theCheck Engine/Service Engine Soonlight remains on, have your
vehicle serviced at the first available opportunity.
Readiness for Inspection/Maintenance (I/M) testing
It may be a legal requirement in your area to pass an I/M test of the
on-board diagnostics system. If the system or battery has just been
serviced, the on-board diagnostic system is reset to a “not ready for I/M
test” condition. To ready the system, allow the vehicle to sit for at least
eight hours without starting. Then, start the engine and complete the
following driving cycle:
2003 P207 Explorer Sport Trac(p27)
Owners Guide (post-2002-fmt)
USA English(fus)
Maintenance and Specifications
191