change time FORD F-150 2018 Owners Manual
[x] Cancel search | Manufacturer: FORD, Model Year: 2018, Model line: F-150, Model: FORD F-150 2018Pages: 641, PDF Size: 8.37 MB
Page 2 of 641

The information contained in this publication was correct at the time of going to print. In the interest of
continuous development, we reserve the right to change specifications, design or equipment at any time
without notice or obligation. No part of this publication may be reproduced, transmitted, stored in a
retrieval system or translated into any language in any form by any means without our written permission.
Errors and omissions excepted.
© Ford Motor Company 2018
All rights reserved.
Part Number: 201709 20180730153305
California Proposition 65
WARNING: Operating, servicing and
maintaining a passenger vehicle or off-highway
motor vehicle can expose you to chemicals
including engine exhaust, carbon monoxide,
phthalates, and lead, which are known to the
State of California to cause cancer and birth
defects or other reproductive harm. To minimize
exposure, avoid breathing exhaust, do not idle the
engine except as necessary, service your vehicle
in a well-ventilated area and wear gloves or wash
your hands frequently when servicing your vehicle.
For more information go to
www.P65Warnings.ca.gov/passenger-vehicle. WARNING:
Battery posts, terminals and
related accessories contain lead and lead
compounds, chemicals known to the State of
California to cause cancer and reproductive harm.
Wash your hands after handling
.
Page 47 of 641
3. For the seating position you are
switching off, buckle then unbuckle the
seatbelt three times at a moderate
speed, ending in the unbuckled state.
After Step 3, the seatbelt warning light
turns on.
4. While the seatbelt warning light is on, buckle then unbuckle the seatbelt.
After Step 4, the seatbelt warning light
flashes for confirmation.
• This switches the feature off for that
seating position if it is currently on.
• This switches the feature on for that
seating position if it is currently off.
CHILD RESTRAINT AND
SEATBELT MAINTENANCE
Inspect the vehicle seatbelts and child
safety seat systems periodically to make
sure they work properly and are not
damaged. Inspect the vehicle and child
restraint seatbelts to make sure there are
no nicks, tears or cuts. Replace if
necessary. All vehicle seatbelt assemblies,
including retractors, buckles, front seatbelt
buckle assemblies, buckle support
assemblies (slide bar-if equipped),
shoulder belt height adjusters (if
equipped), shoulder belt guide on seat
backrest (if equipped), child safety seat
LATCH and tether anchors, and attaching
hardware, should be inspected after a
crash. Read the child restraint
manufacturer's instructions for additional
inspection and maintenance information
specific to the child restraint. We recommend that all seatbelt
assemblies in use in vehicles involved in a
crash be replaced. However, if the crash
was minor and an authorized dealer finds
that the belts do not show damage and
continue to operate properly, they do not
need to be replaced. Seatbelt assemblies
not in use during a crash should also be
inspected and replaced if either damage
or improper operation is noted.
Properly care for seatbelts. See Vehicle
Care (page 373).
SEATBELT EXTENSION WARNING:
Persons who fit into
the vehicle's seatbelt should not use an
extension. Unnecessary use could result
in serious personal injury in the event of
a crash. WARNING:
Only use extensions
provided free of charge by Ford Motor
Company dealers. The dealer will provide
an extension designed specifically for
this vehicle, model year and seating
position. The use of an extension
intended for another vehicle, model year
or seating position may not offer you the
full protection of your vehicle ’s seatbelt
restraint system. WARNING:
Never use seatbelt
extensions to install child restraints. WARNING:
Do not use a seatbelt
extension with an inflatable seatbelt. WARNING:
Do not use extensions
to change the fit of the belt across the
torso, over the lap or to make the
seatbelt buckle easier to reach.
44
F-150 (TFC) Canada/United States of America, enUSA, Edition date: 201709, Fifth-Printing Seatbelts
Page 66 of 641
PRINCIPLE OF OPERATION
MyKey allows you to program keys with
restricted driving modes to promote good
driving habits. All but one of the keys
programmed to the vehicle can be
activated with these restricted modes.
Any keys that have not been programmed
are referred to as administrator keys or
admin keys. They can be used to:
•
Create a MyKey.
• Program configurable MyKey settings.
• Clear all MyKey features.
When you have programmed a MyKey, you
can access the following information using
the information display:
• How many admin keys and MyKeys are
programmed to your vehicle.
• The total distance your vehicle has
traveled using a MyKey.
Note: All MyKeys are programmed to the
same settings. You cannot program them
individually.
Note: For vehicles equipped with a
push-button start switch: When both a
MyKey and an admin key are present when
you start your vehicle, the system recognizes
the admin key only.
Non-configurable Settings
The following settings cannot be changed
by an admin key user:
• Belt-Minder or safety belt reminder.
You cannot disable this feature. The
audio system will mute when the front
seat occupants’ safety belts are not
fastened.
• Early low fuel. The low fuel warning is
activated earlier, giving the MyKey user
more time to refuel. •
Driver assist features, if equipped on
your vehicle, are forced on: parking aid,
blind spot information system (BLIS),
cross traffic alert, lane departure
warning and forward collision warning
system.
• Satellite radio adult content
restrictions (available only in some
markets).
Note: When you switch lane departure
warning off temporarily, it turns on at the
next ignition cycle.
Configurable Settings
With an admin key, you can configure
certain MyKey settings when you first
create a MyKey and before you recycle the
key or restart the vehicle. You can also
change the settings afterward with an
admin key:
• A vehicle speed limit can be set.
Warnings will be shown in the display,
followed by an audible tone when your
vehicle reaches the set speed. You
cannot override the set speed by fully
depressing the accelerator pedal or by
setting cruise control. WARNING: Do not set MyKey
maximum speed limit to a limit that will
prevent the driver from maintaining a
safe speed considering posted speed
limits and prevailing road conditions. The
driver is always responsible to drive in
accordance with local laws and
prevailing conditions. Failure to do so
could result in accident or injury.
63
F-150 (TFC) Canada/United States of America, enUSA, Edition date: 201709, Fifth-Printing MyKey
™
(If Equipped)
Page 67 of 641
•
Various vehicle speed reminders so you
know when your vehicle approaches
the limits. Warnings appear in the
information display and an audible
warning sounds when you exceed the
limit.
• Audio system maximum volume of
45%. A message will be shown in the
display when you attempt to exceed
the limited volume. Also, the
speed-sensitive or compensated
automatic volume control will be
disabled.
• Always on setting. When this is
selected, you will not be able to turn
off Advance Trac or traction control,
911 Assist or Emergency Assistance, or
Do Not Disturb (if your vehicle is
equipped with these features).
CREATING A MYKEY
Use the information display to create a
MyKey.
To create a MyKey:
1. Place your key into the ignition or, if your vehicle is equipped with keyless
start, place your transmitter into the
backup position. Details on the backup
position's location are in another
chapter. See Passive Anti-Theft
System (page 78).
2. Switch the ignition on.
3. Access the main menu using your left-hand-side steering wheel controls.
4. Depending on your display options, select either
Settings or Advanced
Settings, then MyKey and finally
Create MyKey.
5. When the menu reads
Hold OK to
Create MyKey, press and hold the OK
button to program a MyKey.
6. The display then prompts you to program the Configurable settings. You can program the configurable features
now or at any time. You can advance
through the settings without programming
them by pressing the
OK button. MyKey
then keeps all of the default settings.
When you finish programming your MyKey,
the Type 3 information display adds a
confirmation screen, New MyKey Has
Been Created
. The programmed
restrictions apply when you key off, open
and close the driver door and restart your
vehicle with the programmed key or
transmitter.
Programming/Changing
Configurable Settings
Use the information display to program or
change your configurable MyKey settings.
1. Place your admin key into the ignition or, if your vehicle is equipped with
keyless start, place your admin
transmitter into the backup position.
Details on the backup position's
location are in another chapter. See
Passive Anti-Theft System
(page
78).
2. Depending on your display options, select either
Settings or Advanced
Settings, then MyKey and finally to
various configurable features.
3. Scroll down through the choices, and then highlight the feature you want to
configure.
Note: You can clear or change your MyKey
settings at any time during the same key
cycle as you created the MyKey. Once you
have switched the engine off, however, you
will need an admin key to change or clear
your MyKey settings.
The programmed restrictions apply when
you key off, open and close the driver door
and restart your vehicle with the
programmed key or transmitter.
64
F-150 (TFC) Canada/United States of America, enUSA, Edition date: 201709, Fifth-Printing MyKey
™
(If Equipped)
Page 71 of 641
LOCKING AND UNLOCKING
You can use the power door lock control
or the remote control to lock and unlock
your doors and tailgate. See Tailgate
(page 73).
Power Door Locks
(If Equipped)
The power door lock control is on the driver
and front passenger door panels. Unlock.
A
Lock.
B
Remote Control
(If Equipped)
You can use the remote control at any time
your vehicle is not running.
Unlocking the Vehicle (Two-Stage
Unlock) Press the button to unlock the
driver door. Press the button
again within three seconds to
unlock all doors. The direction indicators
flash. The direction indicators flash twice
to confirm the change. The unlocking
mode applies to the remote control,
keyless entry keypad and intelligent
access. Press and hold both the lock and unlock
buttons on the remote control for four
seconds to disable or enable two-stage
unlocking. Disabling two-stage unlocking
allows your entire vehicle to unlock with
one press of the button.
Intelligent access at the driver door unlocks
your entire vehicle when you disable
two-stage unlocking.
Locking the Vehicle
Press the button to lock all
doors. The direction indicators
flash.
Press the button again within three
seconds to confirm that all the doors are
closed. The doors lock again, the horn
sounds and the direction indicators flash
if all the doors are closed.
Mislock
If any door is open, or if the hood is open
on vehicles with an anti-theft alarm or
remote start, the horn sounds twice and
the direction indicators do not flash.
Activating Intelligent Access
(If
Equipped)
General Information
You can unlock and lock the vehicle
without taking the keys out of your pocket
or purse when your intelligent access key
is within
3 ft (1 m) of your vehicle.
Intelligent access uses a sensor on the
back of the door handle for unlocking and
a separate sensor on the face of each door
handle for locking.
The system does not function if:
• Your vehicle battery has no charge.
• The key battery has no charge.
• The key frequencies are jammed.
68
F-150 (TFC) Canada/United States of America, enUSA, Edition date: 201709, Fifth-Printing Doors and LocksE138628 E138629 E138623
Page 94 of 641
GENERAL INFORMATION
Condensation in the Exterior Front
Lamps and Rear Lamps
Exterior front lamps and rear lamps have
vents to accommodate normal changes
in air pressure.
Condensation can be a natural by-product
of this design. When moist air enters the
lamp assembly through the vents, there is
a possibility that condensation can occur
when the temperature is cold. When
normal condensation occurs, a fine mist
can form on the interior of the lens. The
fine mist eventually clears and exits
through the vents during normal operation.
Clearing time may take as long as 48 hours
under dry weather conditions.
Examples of acceptable condensation are:
•
The presence of a fine mist (no streaks,
drip marks or large droplets).
• A fine mist covers less than 50% of the
lens.
Examples of unacceptable condensation
are:
• A water puddle inside the lamp.
• Streaks, drip marks or large droplets
present on the interior of the lens.
If you see any unacceptable condensation,
have your vehicle checked by an authorized
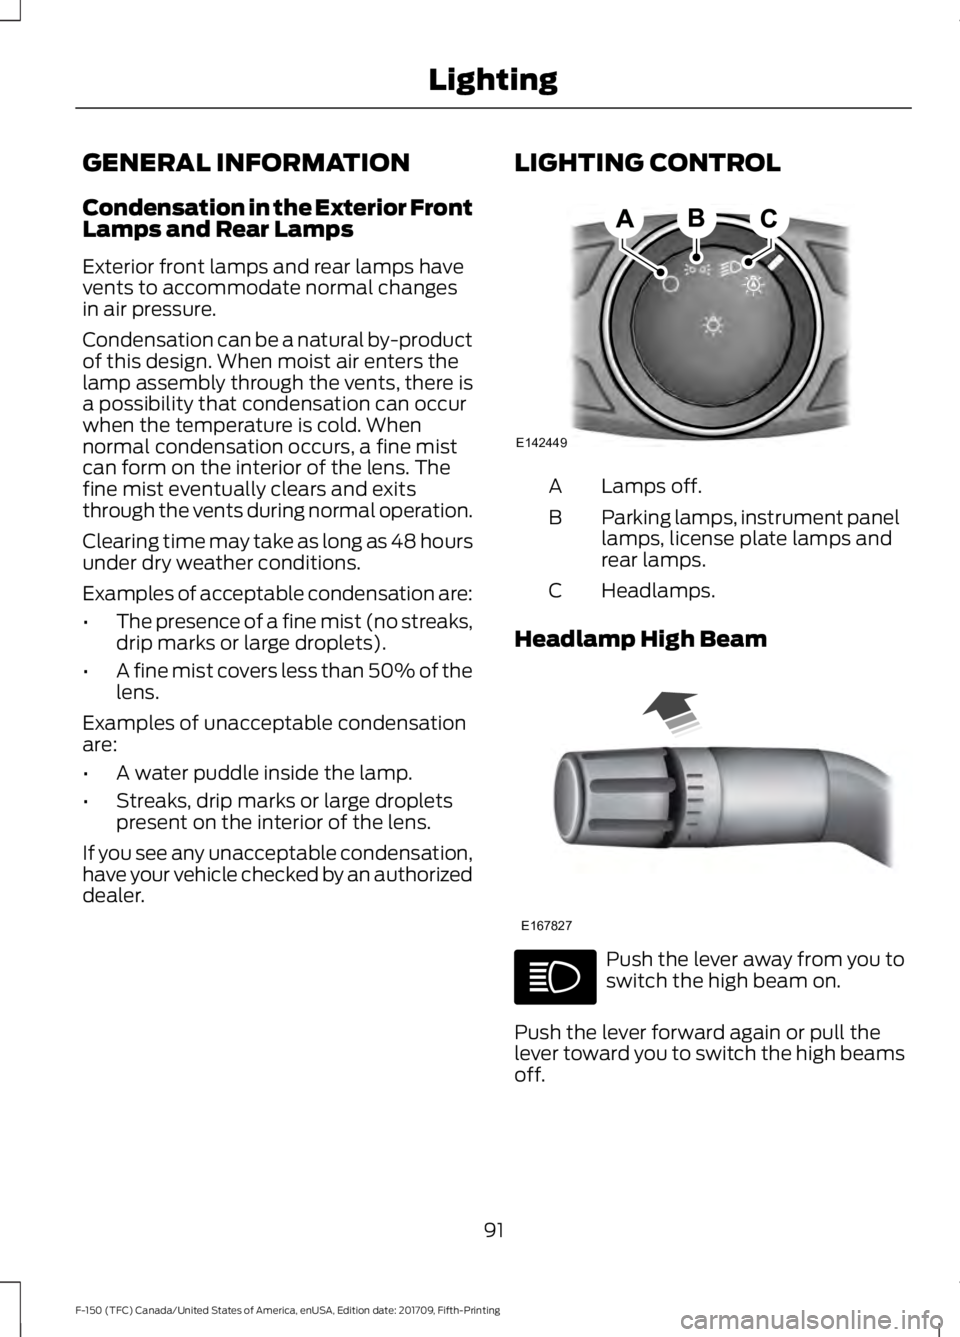
dealer. LIGHTING CONTROL Lamps off.
A
Parking lamps, instrument panel
lamps, license plate lamps and
rear lamps.
B
Headlamps.
C
Headlamp High Beam Push the lever away from you to
switch the high beam on.
Push the lever forward again or pull the
lever toward you to switch the high beams
off.
91
F-150 (TFC) Canada/United States of America, enUSA, Edition date: 201709, Fifth-Printing LightingE142449 E167827
Page 167 of 641
3.
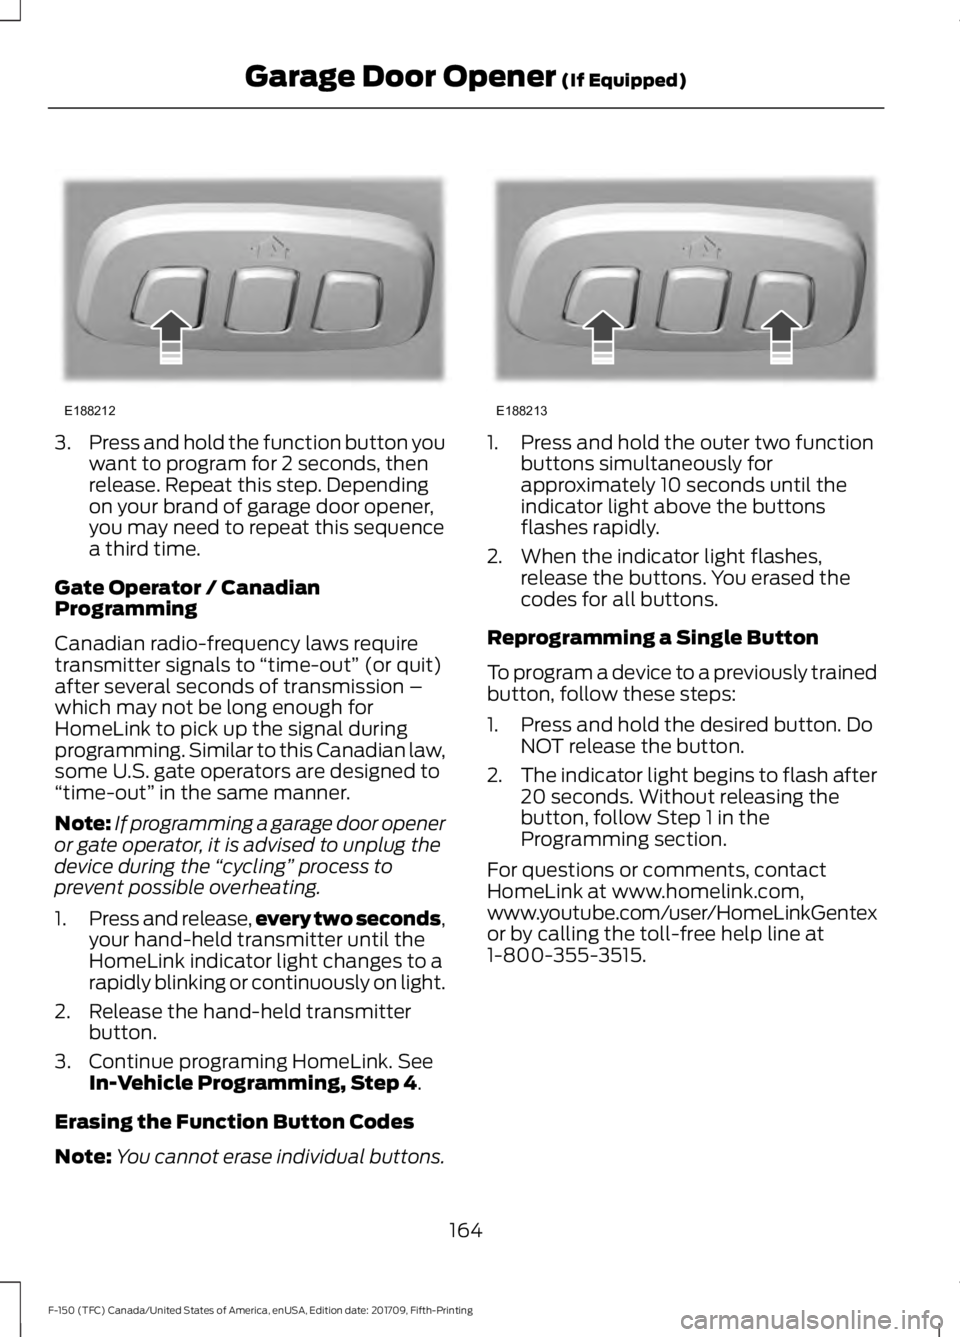
Press and hold the function button you
want to program for 2 seconds, then
release. Repeat this step. Depending
on your brand of garage door opener,
you may need to repeat this sequence
a third time.
Gate Operator / Canadian
Programming
Canadian radio-frequency laws require
transmitter signals to “time-out” (or quit)
after several seconds of transmission –
which may not be long enough for
HomeLink to pick up the signal during
programming. Similar to this Canadian law,
some U.S. gate operators are designed to
“time-out” in the same manner.
Note: If programming a garage door opener
or gate operator, it is advised to unplug the
device during the “cycling” process to
prevent possible overheating.
1. Press and release, every two seconds,
your hand-held transmitter until the
HomeLink indicator light changes to a
rapidly blinking or continuously on light.
2. Release the hand-held transmitter button.
3. Continue programing HomeLink. See In-Vehicle Programming, Step 4.
Erasing the Function Button Codes
Note: You cannot erase individual buttons. 1. Press and hold the outer two function
buttons simultaneously for
approximately 10 seconds until the
indicator light above the buttons
flashes rapidly.
2. When the indicator light flashes, release the buttons. You erased the
codes for all buttons.
Reprogramming a Single Button
To program a device to a previously trained
button, follow these steps:
1. Press and hold the desired button. Do NOT release the button.
2. The indicator light begins to flash after
20 seconds. Without releasing the
button, follow Step 1 in the
Programming section.
For questions or comments, contact
HomeLink at www.homelink.com,
www.youtube.com/user/HomeLinkGentex
or by calling the toll-free help line at
1-800-355-3515.
164
F-150 (TFC) Canada/United States of America, enUSA, Edition date: 201709, Fifth-Printing Garage Door Opener
(If Equipped)E188212 E188213
Page 181 of 641
WARNING: To reduce the risk of
vehicle damage and personal burn
injuries, do not start your engine with the
air cleaner removed and do not remove
it while the engine is running.
In order to operate the engine in
temperatures of 32°F (0°C) or lower, read
the following instructions:
• Make sure that the batteries are of
sufficient size and are fully charged.
Check other electrical components to
make sure they are in optimum
condition.
• Use the proper coolant solution at the
concentration recommended
protecting the engine against damage
from freezing.
• Try to keep the fuel tank full as much
as possible at the end of operation to
prevent condensation in the fuel
system.
• Make sure you use proper cold weather
engine oil and that it is at its proper
level. Also, if necessary, make sure to
follow the engine oil and filter change
schedule found under the Special
operating conditions section listed in
the scheduled maintenance
information.
• At temperatures of
-9°F (-23°C) or
below, it is recommended that you use
an engine block heater to improve cold
engine starting.
• If operating in arctic temperatures of
-20°F (-29°C)
or lower, consult your
truck dealer for information about
special cold weather equipment and
precautions. The following cold weather idling
guidelines are recommended:
•
You can use Motorcraft® cetane
improvers or non-alcohol-based
cetane improvers from a reputable
manufacturer as needed.
• Maintain the engine cooling system
properly.
• Avoid shutting the engine down after
an extensive idling period. Drive your
vehicle for several miles with the
engine at normal operating
temperatures under a moderate load.
• Consider using an engine block heater.
• For extended idle times use an
approved idle speed increase device.
Winter Operating Tips for Arctic
Operation -20°F (-29°C) and Below
The following information is a guideline
only and is not to be the only source of
possible solutions in resolving extreme
cold temperature issues.
Starting Aids WARNING:
Do not use starting
fluid, for example ether, in the air intake
system. Such fluid could cause
immediate explosive damage to the
engine and possible personal injury.
The use of the factory engine block heater
assists in engine starting in extreme cold
ambient temperatures
See Engine Block
Heater (page 179).
178
F-150 (TFC) Canada/United States of America, enUSA, Edition date: 201709, Fifth-Printing Starting and Stopping the Engine
Page 185 of 641
•
Trail control is not active.
• You have not selected Tow haul, Sport,
Sand, Mud/Rut or Baja modes. (if
equipped).
Note: Note when in Sport mode it can be
enabled by pressing the Auto-Start-Stop
button. The green Auto-Start-Stop
indicator light on the instrument
cluster will illuminate to indicate
when the automatic engine stop occurs. If the instrument cluster is
equipped with a grey
Auto-Start-Stop indicator light,
it illuminates when automatic engine stop
is not available due to one of the above
noted conditions not being met.
Automatic Engine Restart
Any of the following conditions will result
in an automatic restart of the engine:
• You have removed your foot from the
brake pedal.
• You press the accelerator pedal.
• You press the accelerator and the
brake pedal at the same time.
• The driver safety belt becomes
unfastened or the driver door is ajar.
• Your vehicle is moving.
• The interior compartment does not
meet customer comfort when air
conditioning or heat is on.
• Fogging of the windows could occur
and the air conditioning is on.
• The battery is not within optimal
operating conditions.
• You have exceeded the maximum
engine off time. •
When you press the Auto-Start-Stop
button with the engine automatically
stopped.
• The front defroster is turned to the Max
setting.
Any of the following conditions may result
in an automatic restart of the engine:
• You have increased the blower fan
speed or changed the climate control
temperature.
• You have an electrical accessory
turned on or plugged in.
Note: You may notice that the climate seat
fan fluctuates during an automatic restart.
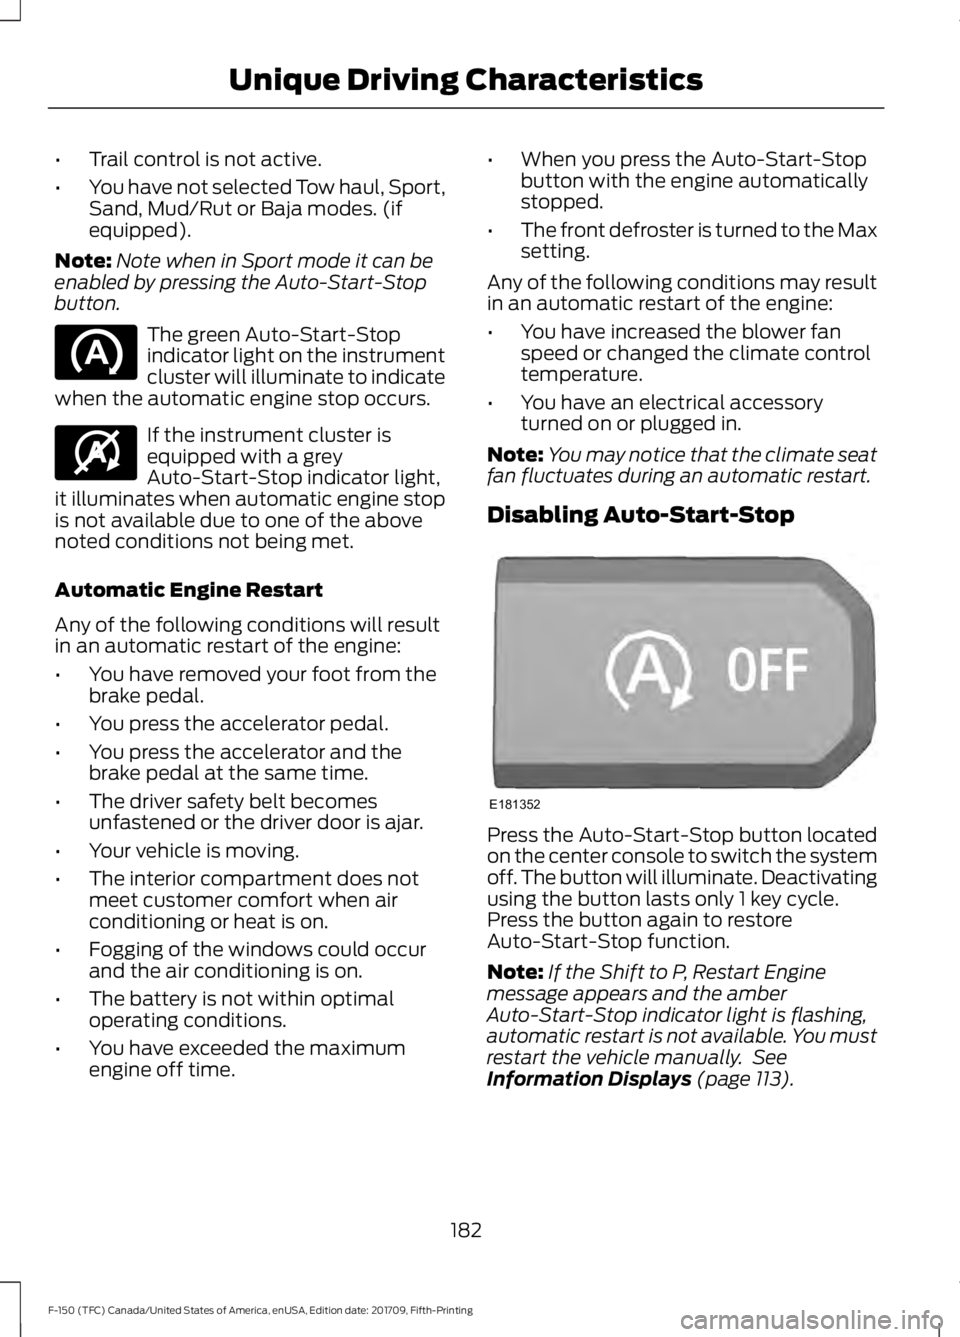
Disabling Auto-Start-Stop Press the Auto-Start-Stop button located
on the center console to switch the system
off. The button will illuminate. Deactivating
using the button lasts only 1 key cycle.
Press the button again to restore
Auto-Start-Stop function.
Note:
If the Shift to P, Restart Engine
message appears and the amber
Auto-Start-Stop indicator light is flashing,
automatic restart is not available. You must
restart the vehicle manually. See
Information Displays (page 113).
182
F-150 (TFC) Canada/United States of America, enUSA, Edition date: 201709, Fifth-Printing Unique Driving Characteristics E146361 E181352
Page 191 of 641
•
Fuels containing the octane booster
additive, methylcyclopentadienyl
manganese tricarbonyl (MMT).
• Leaded fuel, using leaded fuel is
prohibited by law.
The use of fuels with metallic compounds
such as methylcyclopentadienyl
manganese tricarbonyl (commonly known
as MMT), which is a manganese-based
fuel additive, will impair engine
performance and affect the emission
control system.
Switching Between E85 and
Gasoline
We do not recommend repeatedly
alternating between E85 and gasoline. If
you switch from using E85 to gasoline, or
from gasoline to E85, add as much fuel as
possible, at least half a tank. Drive your
vehicle immediately for a minimum of 5 mi
(8 km) to allow it to adapt to the change
in ethanol concentration. If you use E85
exclusively, we recommend that you fill
the fuel tank with regular unleaded
gasoline at each scheduled oil change.
FUEL QUALITY - GASOLINE
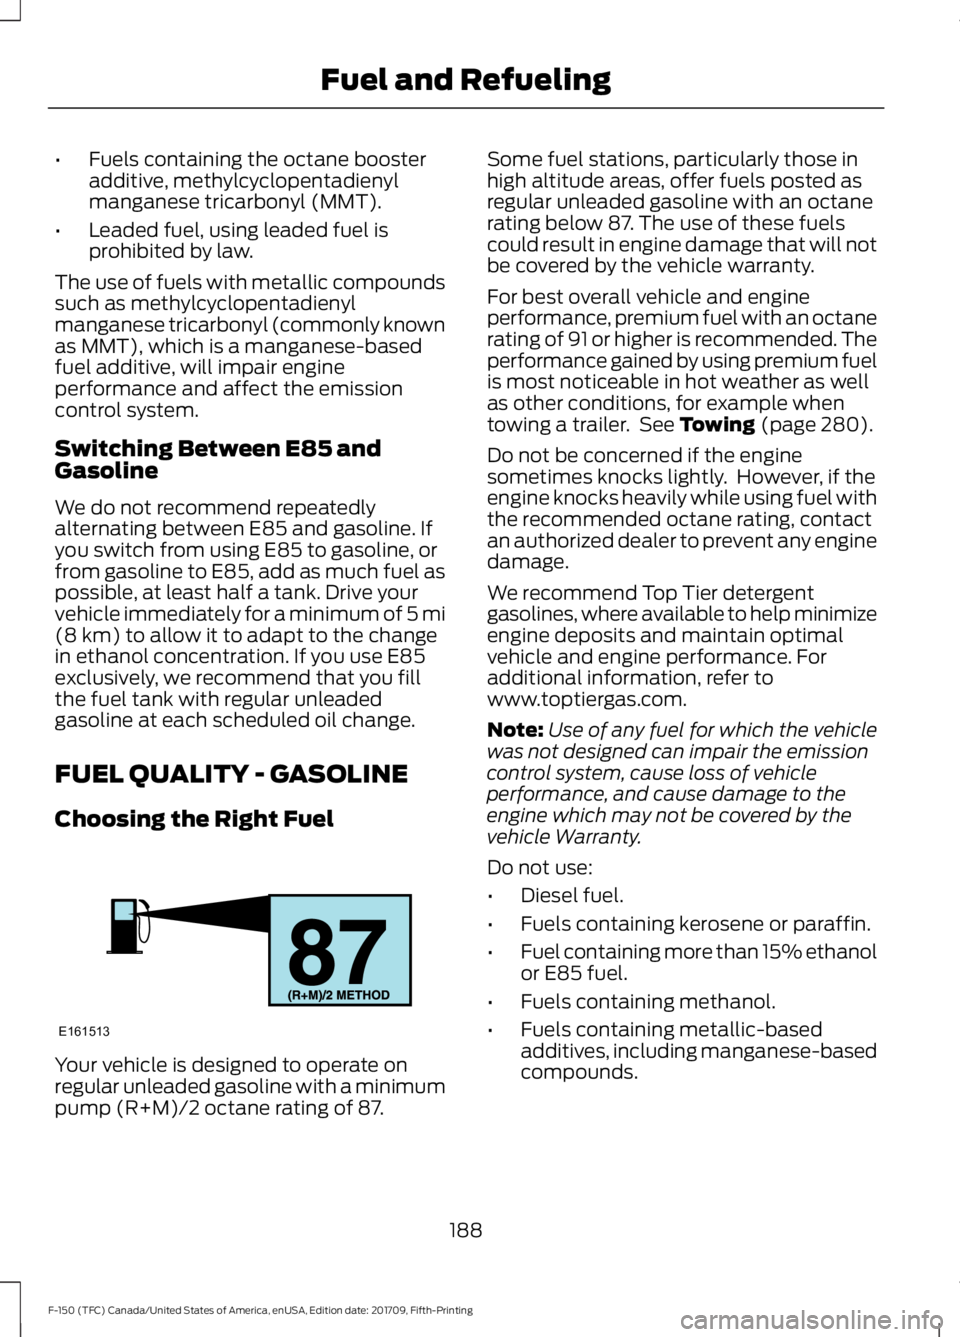
Choosing the Right Fuel Your vehicle is designed to operate on
regular unleaded gasoline with a minimum
pump (R+M)/2 octane rating of 87. Some fuel stations, particularly those in
high altitude areas, offer fuels posted as
regular unleaded gasoline with an octane
rating below 87. The use of these fuels
could result in engine damage that will not
be covered by the vehicle warranty.
For best overall vehicle and engine
performance, premium fuel with an octane
rating of 91 or higher is recommended. The
performance gained by using premium fuel
is most noticeable in hot weather as well
as other conditions, for example when
towing a trailer. See
Towing (page 280).
Do not be concerned if the engine
sometimes knocks lightly. However, if the
engine knocks heavily while using fuel with
the recommended octane rating, contact
an authorized dealer to prevent any engine
damage.
We recommend Top Tier detergent
gasolines, where available to help minimize
engine deposits and maintain optimal
vehicle and engine performance. For
additional information, refer to
www.toptiergas.com.
Note: Use of any fuel for which the vehicle
was not designed can impair the emission
control system, cause loss of vehicle
performance, and cause damage to the
engine which may not be covered by the
vehicle Warranty.
Do not use:
• Diesel fuel.
• Fuels containing kerosene or paraffin.
• Fuel containing more than 15% ethanol
or E85 fuel.
• Fuels containing methanol.
• Fuels containing metallic-based
additives, including manganese-based
compounds.
188
F-150 (TFC) Canada/United States of America, enUSA, Edition date: 201709, Fifth-Printing Fuel and RefuelingE161513