wheel size FORD F-450 2020 Owner's Manual
[x] Cancel search | Manufacturer: FORD, Model Year: 2020, Model line: F-450, Model: FORD F-450 2020Pages: 631, PDF Size: 9.62 MB
Page 421 of 631

When driving with the full-size dissimilar
spare wheel and tire assembly, it is
recommended that you do not:
•
Exceed 50 mph (80 km/h) in 4WD.
• Engage 4WD unless the vehicle is
stationary.
• Use 4WD on dry pavement.
The usage of a full-size dissimilar spare
wheel and tire assembly can lead to
impairment of the following:
• Handling, stability and braking
performance.
• Comfort and noise.
• Ground clearance and parking at curbs.
• Winter weather driving capability. •
Wet weather driving capability.
• Four-wheel drive capability.
When driving with the full-size dissimilar
spare wheel and tire assembly additional
caution should be given to:
• Towing a trailer.
• Driving vehicles equipped with a
camper body.
• Driving vehicles with a load on the
cargo rack.
Drive cautiously when using a full-size
dissimilar spare wheel and tire assembly
and seek service as soon as possible.
Location of the Spare Tire and
Tools
See the following table for their locations: Location
Item
Under the vehicle, just forward of the rearbumper.
Spare tire - pick-up trucks only
Fastened to the floor pan behind the rear-most seat on the passenger side.
Jack
Regular Cab: Fastened to floor behind thedriver seat.
Jack handle, lug wrench, lug wrench exten-
sion - only provided on dual rear wheel vehicles. Super Cab and Crew Cab: Fastened to the
floor under the rear seat on the driver's side.
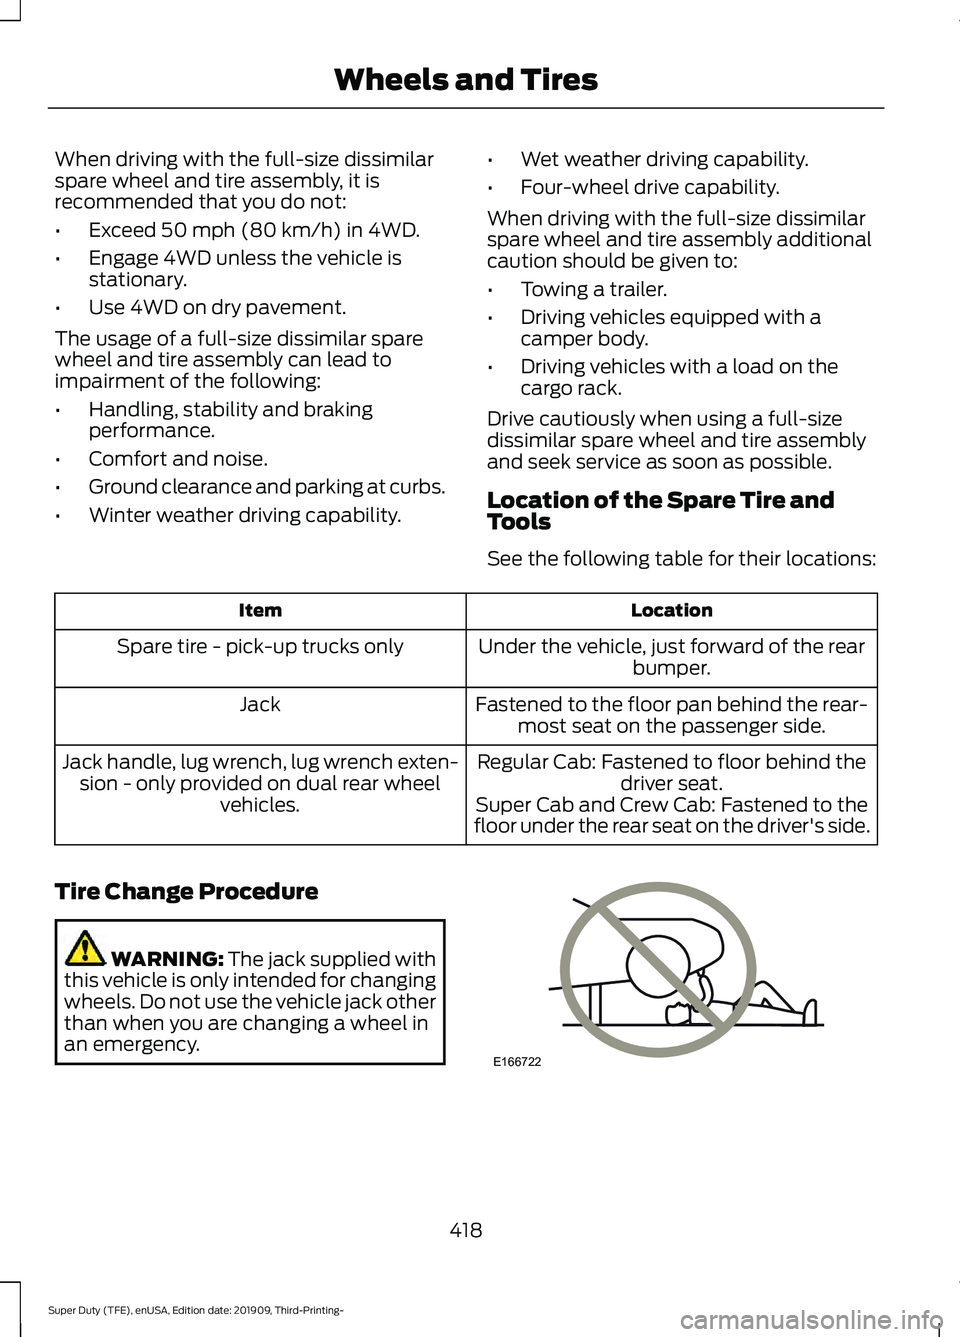
Tire Change Procedure WARNING:
The jack supplied with
this vehicle is only intended for changing
wheels. Do not use the vehicle jack other
than when you are changing a wheel in
an emergency. 418
Super Duty (TFE), enUSA, Edition date: 201909, Third-Printing- Wheels and TiresE166722
Page 422 of 631

WARNING: To help prevent your
vehicle from moving when changing a
wheel, shift the transmission into park
(P), set the parking brake and use an
appropriate block or wheel chock to
secure the wheel diagonally opposite to
the wheel being changed. For example,
when changing the front left wheel,
place an appropriate block or wheel
chock on the right rear wheel. WARNING:
Always use the jack
provided as original equipment with your
vehicle. If using a jack other than the one
provided, make sure the jack capacity is
adequate for the vehicle weight,
including any vehicle cargo or
modifications. If you are unsure if the jack
capacity is adequate, contact the
authorized dealer. WARNING:
Failure to follow these
guidelines could result in an increased
risk of loss of vehicle control, injury or
death. WARNING:
Never place anything
between the vehicle jack and your
vehicle. WARNING:
Never place anything
between the vehicle jack and the ground. WARNING:
Park your vehicle so
that you do not obstruct the flow of
traffic or place yourself in any danger and
set up a warning triangle. WARNING:
Do not work on your
vehicle when the jack is the only support
as your vehicle could slip off the jack.
Failure to follow this instruction could
result in personal injury or death. WARNING:
Do not get under a
vehicle that is only supported by a
vehicle jack. WARNING:
Do not attempt to
change a tire on the side of the vehicle
close to moving traffic. Pull far enough
off the road to avoid the danger of being
hit when operating the jack or changing
the wheel. WARNING:
Only use the spare
wheel carrier to stow the wheel provided
with your vehicle. Other wheel sizes
could cause the spare wheel carrier to
fail if it does not fit securely or is too
heavy.
Note: Do not use impact tools or power
tools operating at over 200 RPM on the
spare wheel carrier winch, which may cause
it to malfunction and prevent a secure fit.
Override the winch at least three times
(there is an audible click each time) to make
sure the wheel and tire fit securely.
Note: Passengers should not remain in the
vehicle when the vehicle is being jacked.
1. Park the vehicle on a level firm ground and activate the hazard flashers.
2. Apply the parking brake, place the transmission in park (P), switch the
engine off.
3. Block the wheel diagonally opposite the flat tire. For example, if the left
front tire is flat, block the right rear
wheel.
419
Super Duty (TFE), enUSA, Edition date: 201909, Third-Printing- Wheels and Tires
Page 431 of 631

TECHNICAL SPECIFICATIONS
Wheel Lug Nut Torque Specifications
WARNING: When you install a wheel, always remove any corrosion, dirt or foreign
materials present on the mounting surfaces of the wheel or the surface of the wheel
hub, brake drum or brake disc that contacts the wheel. Make sure to secure any fasteners
that attach the rotor to the hub so they do not interfere with the mounting surfaces of
the wheel. Installing wheels without correct metal-to-metal contact at the wheel
mounting surfaces can cause the wheel nuts to loosen and the wheel to come off while
your vehicle is in motion, resulting in loss of vehicle control, personal injury or death. lb.ft (Nm)
1
Bolt size
150 lb.ft (204 Nm)
M14 x 1.5
1 Torque specifications are for nut and bolt threads free of dirt and rust. Use only Ford
recommended replacement fasteners.
On vehicles equipped with single rear wheels, retighten the lug nuts to the specified torque
at 100 mi (160 km) after any wheel disturbance, such as tire rotation, changing a flat tire,
or wheel removal.
On vehicles equipped with dual rear wheels, retighten the wheel lug nuts to the specified
torque at
100 mi (160 km), and again at 500 mi (800 km) of new vehicle operation and
after any wheel disturbance, such as tire rotation, changing a flat tire, or wheel removal.
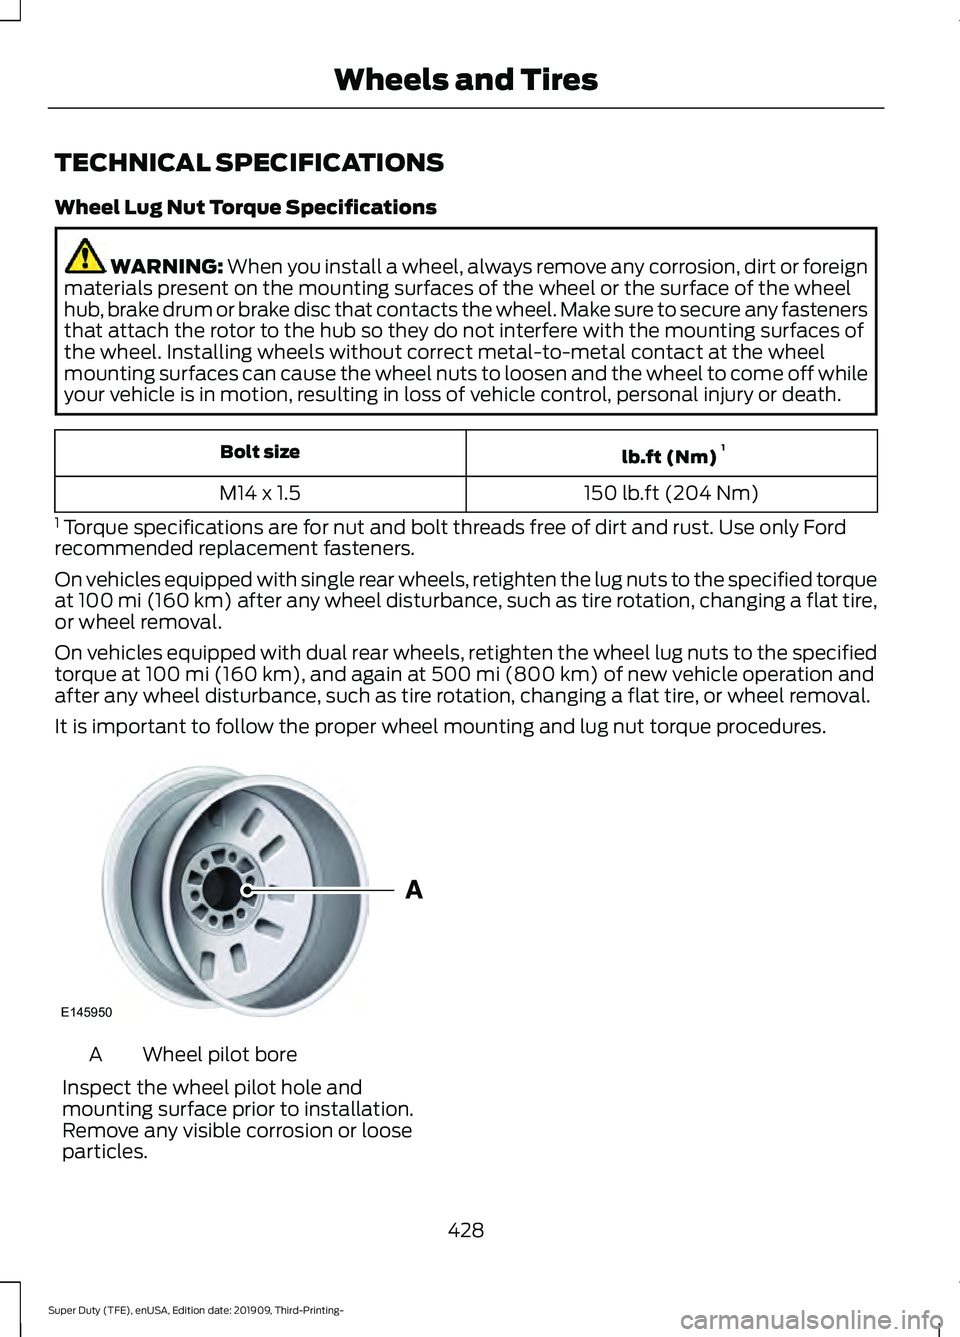
It is important to follow the proper wheel mounting and lug nut torque procedures. Wheel pilot bore
A
Inspect the wheel pilot hole and
mounting surface prior to installation.
Remove any visible corrosion or loose
particles.
428
Super Duty (TFE), enUSA, Edition date: 201909, Third-Printing- Wheels and TiresE145950