headlamp FORD F-450 2020 Owners Manual
[x] Cancel search | Manufacturer: FORD, Model Year: 2020, Model line: F-450, Model: FORD F-450 2020Pages: 631, PDF Size: 9.62 MB
Page 8 of 631
Utilizing the Mediation/Arbitration
Program (Canada Only) ......................325
Getting Assistance Outside the U.S. and Canada .......................................................
325
Ordering Additional Owner's Literature ........................................................................\
.
327
Reporting Safety Defects (U.S. Only) ........................................................................\
.
327
Reporting Safety Defects (Canada Only) ........................................................................\
.
327
Fuses
Fuse Specification Chart .........................
329
Changing a Fuse ..........................................
335
Maintenance
General Information ...................................
337
Opening and Closing the Hood .............
337
Under Hood Overview - 6.2L ..................
338
Under Hood Overview - 6.7L Diesel ......
339
Under Hood Overview - 7.3L ..................
340
Engine Oil Dipstick - 6.2L ..........................
341
Engine Oil Dipstick - 6.7L Diesel .............
341
Engine Oil Dipstick - 7.3L ...........................
341
Engine Oil Check - 6.2L .............................
341
Engine Oil Check - 6.7L Diesel ...............
343
Engine Oil Check - 7.3L .............................
344
Changing the Engine Oil and Oil Filter ........................................................................\
345
Oil Change Indicator Reset .....................
345
Changing the Engine Air Filter - 6.2L ........................................................................\
346
Changing the Engine Air Filter - 6.7L Diesel ...........................................................
347
Changing the Engine Air Filter - 7.3L ....
349
Draining the Fuel Filter Water Trap - 6.7L Diesel ..........................................................
350
Engine Coolant Check - 6.2L ..................
353
Engine Coolant Check - 6.7L Diesel ......
357
Engine Coolant Check - 7.3L ..................
360
Automatic Transmission Fluid Check ........................................................................\
365 Transfer Case Fluid Check
......................
366
Brake Fluid Check .......................................
366
Power Steering Fluid Check ....................
367
Changing the 12V Battery ........................
368
Adjusting the Headlamps ........................
370
Washer Fluid Check .....................................
371
Fuel Filter - 6.2L/7.3L ..................................
371
Checking the Wiper Blades ......................
371
Changing the Wiper Blades .....................
371
Changing a Bulb ..........................................
372
Changing the Engine-Mounted and Diesel Fuel Conditioner Module Fuel
Filters - 6.7L Diesel .................................
375
Spring U-Bolt Check - F-600 .................
378
Vehicle Care
General Information ..................................
380
Cleaning Products .....................................
380
Cleaning the Exterior ..................................
381
Waxing ............................................................
382
Cleaning the Engine ...................................
382
Cleaning the Exhaust - 6.7L Diesel ......
382
Cleaning the Windows and Wiper Blades ........................................................................\
383
Cleaning the Interior ..................................
383
Cleaning the Instrument Panel and Instrument Cluster Lens ......................
385
Cleaning Leather Seats ............................
385
Repairing Minor Paint Damage ..............
387
Cleaning the Wheels .................................
387
Vehicle Storage ............................................
387
Wheels and Tires
General Information ..................................
390
Tire Care .........................................................
392
Using Snow Chains ...................................
408
Tire Pressure Monitoring System .........
409
Changing a Road Wheel ............................
417
Technical Specifications ..........................
428
5
Super Duty (TFE), enUSA, Edition date: 201909, Third-Printing- Table of Contents
Page 13 of 631
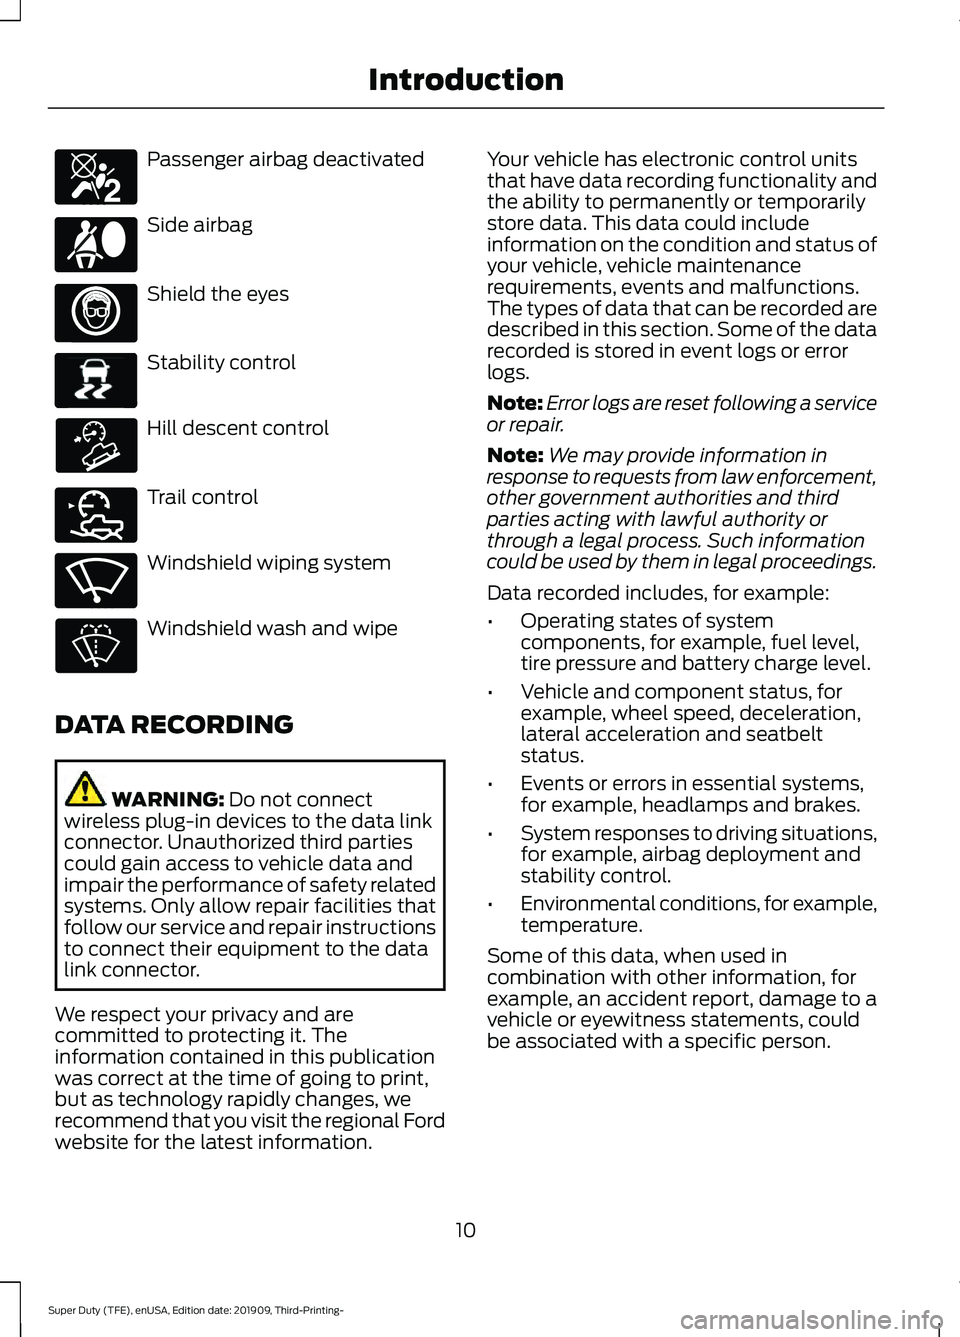
Passenger airbag deactivated
Side airbag
Shield the eyes
Stability control
Hill descent control
Trail control
Windshield wiping system
Windshield wash and wipe
DATA RECORDING WARNING: Do not connect
wireless plug-in devices to the data link
connector. Unauthorized third parties
could gain access to vehicle data and
impair the performance of safety related
systems. Only allow repair facilities that
follow our service and repair instructions
to connect their equipment to the data
link connector.
We respect your privacy and are
committed to protecting it. The
information contained in this publication
was correct at the time of going to print,
but as technology rapidly changes, we
recommend that you visit the regional Ford
website for the latest information. Your vehicle has electronic control units
that have data recording functionality and
the ability to permanently or temporarily
store data. This data could include
information on the condition and status of
your vehicle, vehicle maintenance
requirements, events and malfunctions.
The types of data that can be recorded are
described in this section. Some of the data
recorded is stored in event logs or error
logs.
Note:
Error logs are reset following a service
or repair.
Note: We may provide information in
response to requests from law enforcement,
other government authorities and third
parties acting with lawful authority or
through a legal process. Such information
could be used by them in legal proceedings.
Data recorded includes, for example:
• Operating states of system
components, for example, fuel level,
tire pressure and battery charge level.
• Vehicle and component status, for
example, wheel speed, deceleration,
lateral acceleration and seatbelt
status.
• Events or errors in essential systems,
for example, headlamps and brakes.
• System responses to driving situations,
for example, airbag deployment and
stability control.
• Environmental conditions, for example,
temperature.
Some of this data, when used in
combination with other information, for
example, an accident report, damage to a
vehicle or eyewitness statements, could
be associated with a specific person.
10
Super Duty (TFE), enUSA, Edition date: 201909, Third-Printing- IntroductionE270850 E167012 E138639 E163957 E272858 E270969
Page 89 of 631
GENERAL INFORMATION
Condensation in the Exterior Front
Lamps and Rear Lamps
Exterior front lamps and rear lamps have
vents to accommodate normal changes
in air pressure.
Condensation can be a natural by-product
of this design. When moist air enters the
lamp assembly through the vents, there is
a possibility that condensation can occur
when the temperature is cold. When
normal condensation occurs, a fine mist
can form on the interior of the lens. The
fine mist eventually clears and exits
through the vents during normal operation.
Clearing time may take as long as 48 hours
under dry weather conditions.
Examples of acceptable condensation are:
•
The presence of a fine mist (no streaks,
drip marks or large droplets).
• A fine mist covers less than 50% of the
lens.
Examples of unacceptable condensation
are:
• A water puddle inside the lamp.
• Streaks, drip marks or large droplets
present on the interior of the lens.
If you see any unacceptable condensation,
have your vehicle checked by an authorized
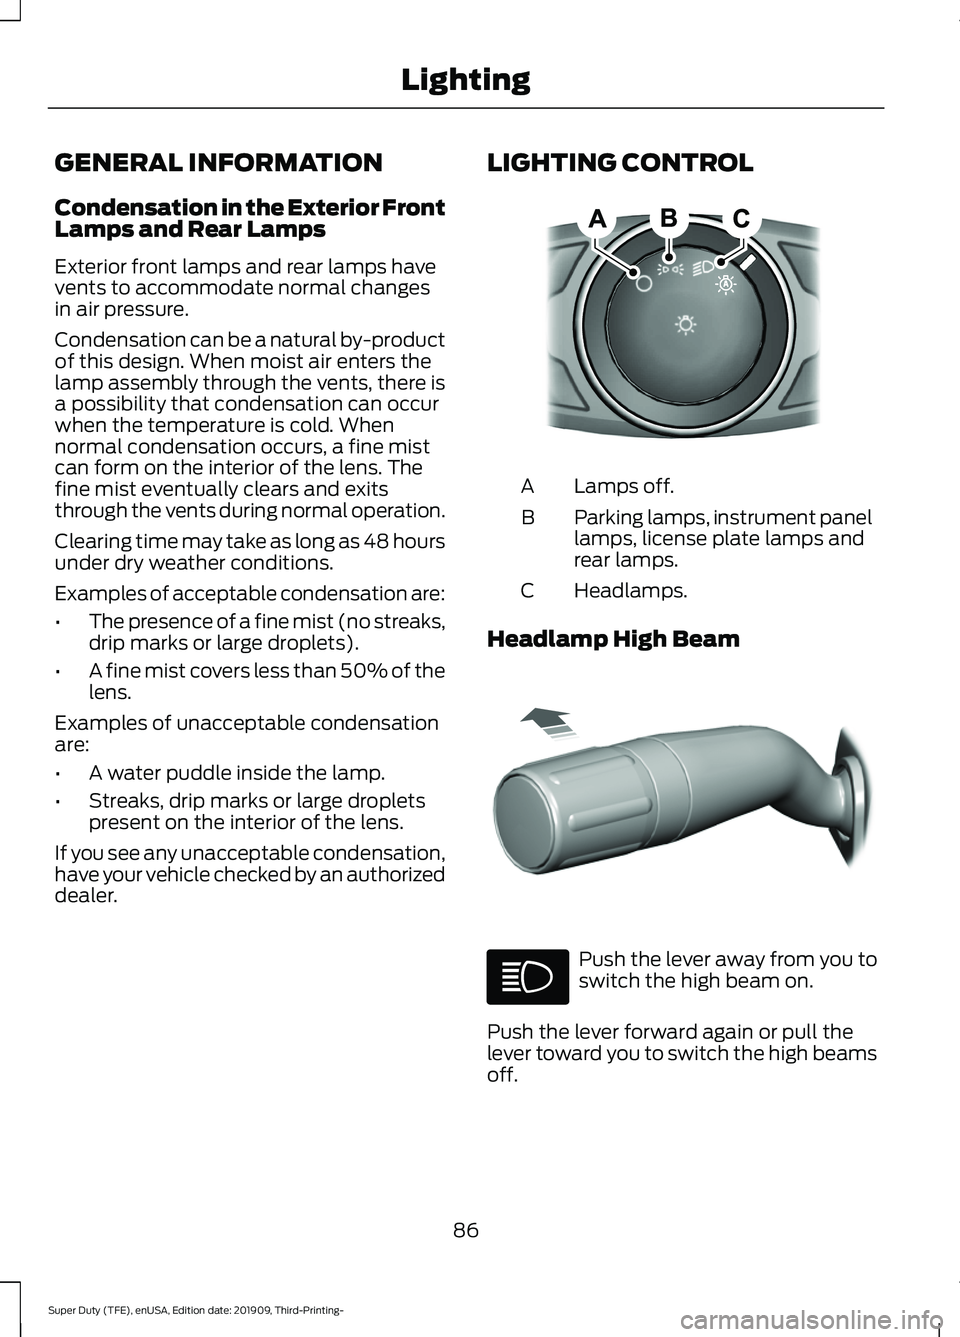
dealer. LIGHTING CONTROL Lamps off.
A
Parking lamps, instrument panel
lamps, license plate lamps and
rear lamps.
B
Headlamps.
C
Headlamp High Beam Push the lever away from you to
switch the high beam on.
Push the lever forward again or pull the
lever toward you to switch the high beams
off.
86
Super Duty (TFE), enUSA, Edition date: 201909, Third-Printing- LightingE142449 E308790
Page 90 of 631
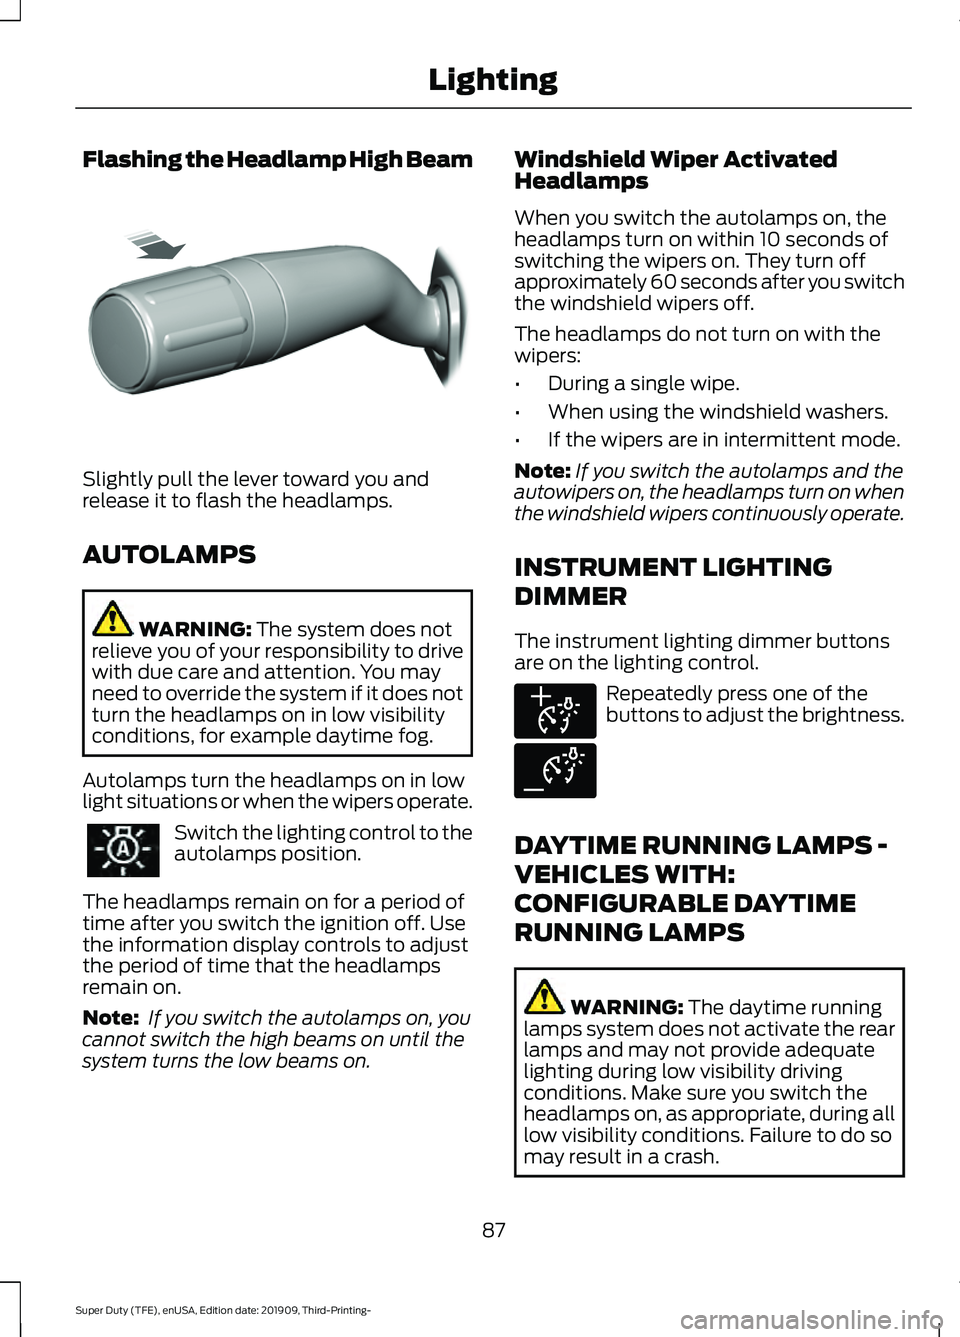
Flashing the Headlamp High Beam
Slightly pull the lever toward you and
release it to flash the headlamps.
AUTOLAMPS
WARNING: The system does not
relieve you of your responsibility to drive
with due care and attention. You may
need to override the system if it does not
turn the headlamps on in low visibility
conditions, for example daytime fog.
Autolamps turn the headlamps on in low
light situations or when the wipers operate. Switch the lighting control to the
autolamps position.
The headlamps remain on for a period of
time after you switch the ignition off. Use
the information display controls to adjust
the period of time that the headlamps
remain on.
Note: If you switch the autolamps on, you
cannot switch the high beams on until the
system turns the low beams on. Windshield Wiper Activated
Headlamps
When you switch the autolamps on, the
headlamps turn on within 10 seconds of
switching the wipers on. They turn off
approximately 60 seconds after you switch
the windshield wipers off.
The headlamps do not turn on with the
wipers:
•
During a single wipe.
• When using the windshield washers.
• If the wipers are in intermittent mode.
Note: If you switch the autolamps and the
autowipers on, the headlamps turn on when
the windshield wipers continuously operate.
INSTRUMENT LIGHTING
DIMMER
The instrument lighting dimmer buttons
are on the lighting control. Repeatedly press one of the
buttons to adjust the brightness.
DAYTIME RUNNING LAMPS -
VEHICLES WITH:
CONFIGURABLE DAYTIME
RUNNING LAMPS WARNING:
The daytime running
lamps system does not activate the rear
lamps and may not provide adequate
lighting during low visibility driving
conditions. Make sure you switch the
headlamps on, as appropriate, during all
low visibility conditions. Failure to do so
may result in a crash.
87
Super Duty (TFE), enUSA, Edition date: 201909, Third-Printing- LightingE311233 E291299 E291298
Page 91 of 631
Switch the daytime running lamps on or
off using the information display. See
General Information (page 109).
The daytime running lamps turn on when:
1. The lamps are on in the information display.
2. You switch the ignition on.
3. The transmission is not in park (P) for vehicles with automatic transmissions
or you release the parking brake for
vehicles with manual transmissions.
4. The lighting control is in the autolamps
position.
5. The headlamps are off.
The other lighting control switch positions
do not turn on the daytime running lamps.
If the daytime running lamps are off in the
information display, the lamps stay off in
all switch positions.
DAYTIME RUNNING LAMPS -
VEHICLES WITH: DAYTIME
RUNNING LAMPS (DRL) WARNING:
The daytime running
lamps system does not activate the rear
lamps and may not provide adequate
lighting during low visibility driving
conditions. Make sure you switch the
headlamps on, as appropriate, during all
low visibility conditions. Failure to do so
may result in a crash.
The system turns the lamps on in daylight
conditions.
To switch the system on, switch the
lighting control to any position except
headlamps. FRONT FOG LAMPS
(IF EQUIPPED)
Switching the Front Fog Lamps On
or Off
Only switch the front fog lamps on during
reduced visibility.
You can switch the front fog lamps on if
any of the following occur:
• You set the lighting control to the
parking lamps position.
• You set the lighting control to the
headlamps position.
• You set the lighting control to the
autolamps position and the headlamps
are on.
The front fog lamp button is on the lighting
control. Press the button to switch the
front fog lamps on or off.
Note: The brightness of the daytime running
lamps may decrease when the front fog
lamps are switched on.
Front Fog Lamp Indicator It illuminates when you switch
the front fog lamps on.
88
Super Duty (TFE), enUSA, Edition date: 201909, Third-Printing- Lighting
Page 95 of 631
WHAT IS AUTOMATIC HIGH
BEAM CONTROL
The system turns on high beams if it is dark
enough and no other traffic is present. If it
detects an approaching vehicle
’s
headlamps or tail lamps, or street lighting
ahead, the system turns the high beams
off. Low beams remain on.
A camera sensor, centrally mounted
behind the windshield of your vehicle,
continuously monitors conditions to turn
the high beams on and off.
SWITCHING AUTOMATIC HIGH
BEAM CONTROL ON AND OFF
Switch the system on or off using the
information display. See General
Information (page 109).
Activating the Automatic High
Beam Control Switch the lighting control to the
autolamps position to activate.
See
Autolamps (page 87).
Note: Automatic high beams are not
available when autolamps are not turned
on.
When active, the high beams turn on if:
• The ambient light level is low enough.
• There is no traffic in front of your
vehicle.
• The vehicle speed is greater than
approximately
32 mph (52 km/h).
When active, the high beams turn off if:
• The ambient light level is high enough
that high beams are not required.
• The system detects an approaching
vehicle's headlamps or tail lamps.
• The system detects severe rain, snow
or fog. •
The camera is blocked.
• The vehicle speed falls below
approximately
27 mph (44 km/h).
Note: The deactivation speed is lower on
curves.
Note: High beam reactivation may be
delayed in certain curvy road situations.
Note: The system may not operate properly
if the sensor is blocked. Keep the windshield
free from obstruction or damage.
Note: The system may not operate properly
in cold or inclement conditions. You can
switch on the high beams by overriding the
system.
Note: If the system detects a blockage, for
example bird droppings, bug splatter, snow
or ice, the system goes into low beam mode
until you clear the blockage. A message may
appear in the information display if the
camera is blocked.
Note: Using much larger tires or equipping
vehicle accessories such as snowplows can
modify your vehicle's ride height and
degrade automatic high beam control
performance.
AUTOMATIC HIGH BEAM
CONTROL INDICATORS The indicator illuminates to
confirm when the system is
ready to assist.
OVERRIDING AUTOMATIC
HIGH BEAM CONTROL WARNING:
The system does not
relieve you of your responsibility to drive
with due care and attention. You may
need to override the system if it does not
turn the high beams on or off.
92
Super Duty (TFE), enUSA, Edition date: 201909, Third-Printing- Automatic High Beam Control
(If Equipped)
Page 100 of 631
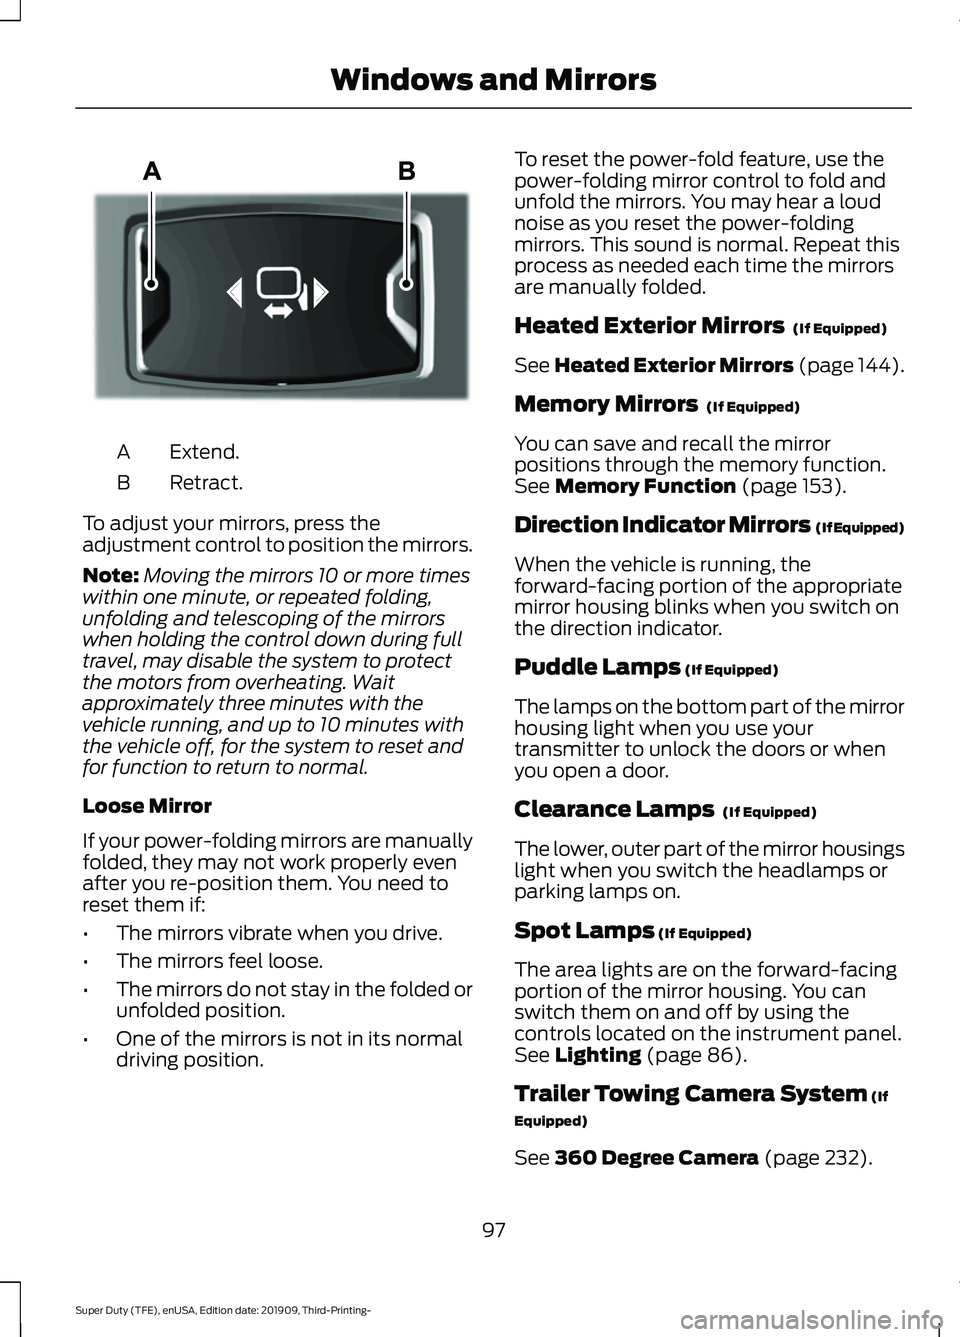
Extend.
A
Retract.
B
To adjust your mirrors, press the
adjustment control to position the mirrors.
Note: Moving the mirrors 10 or more times
within one minute, or repeated folding,
unfolding and telescoping of the mirrors
when holding the control down during full
travel, may disable the system to protect
the motors from overheating. Wait
approximately three minutes with the
vehicle running, and up to 10 minutes with
the vehicle off, for the system to reset and
for function to return to normal.
Loose Mirror
If your power-folding mirrors are manually
folded, they may not work properly even
after you re-position them. You need to
reset them if:
• The mirrors vibrate when you drive.
• The mirrors feel loose.
• The mirrors do not stay in the folded or
unfolded position.
• One of the mirrors is not in its normal
driving position. To reset the power-fold feature, use the
power-folding mirror control to fold and
unfold the mirrors. You may hear a loud
noise as you reset the power-folding
mirrors. This sound is normal. Repeat this
process as needed each time the mirrors
are manually folded.
Heated Exterior Mirrors (If Equipped)
See
Heated Exterior Mirrors (page 144).
Memory Mirrors
(If Equipped)
You can save and recall the mirror
positions through the memory function.
See
Memory Function (page 153).
Direction Indicator Mirrors (If Equipped)
When the vehicle is running, the
forward-facing portion of the appropriate
mirror housing blinks when you switch on
the direction indicator.
Puddle Lamps
(If Equipped)
The lamps on the bottom part of the mirror
housing light when you use your
transmitter to unlock the doors or when
you open a door.
Clearance Lamps
(If Equipped)
The lower, outer part of the mirror housings
light when you switch the headlamps or
parking lamps on.
Spot Lamps
(If Equipped)
The area lights are on the forward-facing
portion of the mirror housing. You can
switch them on and off by using the
controls located on the instrument panel.
See
Lighting (page 86).
Trailer Towing Camera System
(If
Equipped)
See
360 Degree Camera (page 232).
97
Super Duty (TFE), enUSA, Edition date: 201909, Third-Printing- Windows and MirrorsE218902
Page 109 of 631
Direction Indicator
Illuminates when you switch on
the left or right direction
indicator or the hazard warning
flasher. If the indicators stay on or flash
faster, check for a burned out bulb.
Door Ajar Displays when the ignition is on
and any door is not completely
closed.
Electronic Locking Differential (If
Equipped) Illuminates when using the
electronic locking differential.
Engine Coolant Temperature Illuminates when the engine
coolant temperature is high.
Stop your vehicle as soon as
possible, switch off the engine and let it
cool.
Engine Oil If it illuminates with the engine
running or when you are driving,
this indicates a malfunction.
Stop your vehicle as soon as it is safe to
do so and switch the engine off. Check the
engine oil level.
See
Engine Oil Check (page 341).
Note: Do not resume your journey if it
illuminates despite the level being correct.
Have the system checked immediately.
Fasten Seatbelt Illuminates and a tone sounds
to remind you to fasten your
seatbelt. Front Airbag If it fails to illuminate when you
start your vehicle, continues to
flash or remains on, it indicates
a malfunction. Have the system checked
as soon as possible.
Front Fog Lamps
(If Equipped) Illuminates when you switch the
front fog lamps on.
High Beam Illuminates when you switch the
high beam headlamps on. It
flashes when you use the
headlamp flasher.
Hill Descent
(If Equipped) Illuminates when hill descent is
switched on.
Low Fuel Level Illuminates when the fuel level
is low or the fuel tank is nearly
empty. Refuel as soon as
possible.
Low Tire Pressure Warning Illuminates when the tire
pressure in one or more tires is
below the correct tire pressure.
It also illuminates momentarily when you
switch the ignition on to confirm the lamp
is functional. If it does not illuminate when
you switch the ignition on, or begins to
flash at any time, have the system checked
as soon as possible.
106
Super Duty (TFE), enUSA, Edition date: 201909, Third-Printing- Instrument Cluster E163170 E71880 E67017 E163171
Page 111 of 631
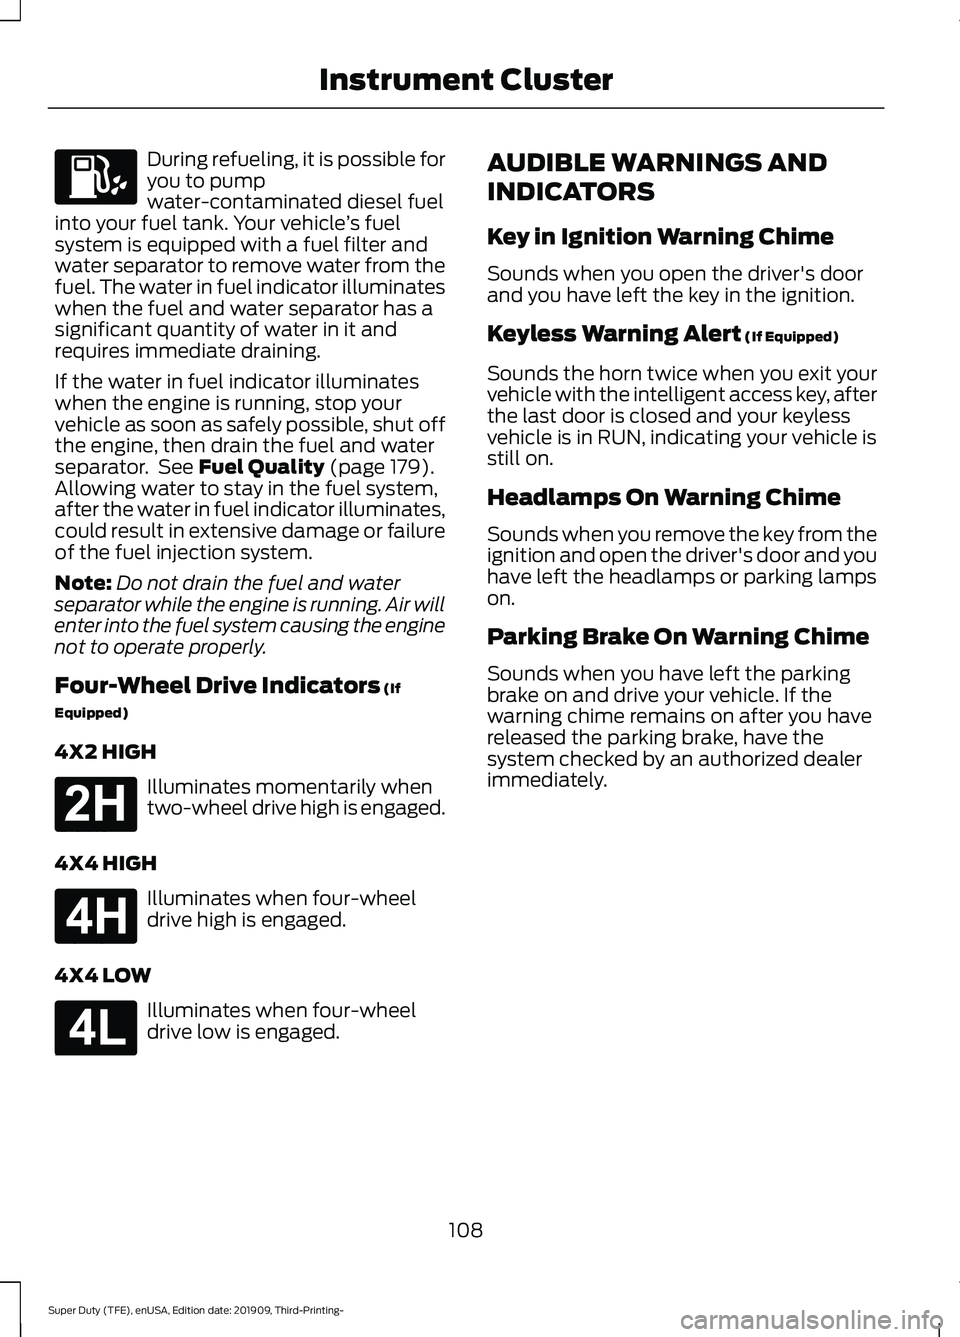
During refueling, it is possible for
you to pump
water-contaminated diesel fuel
into your fuel tank. Your vehicle ’s fuel
system is equipped with a fuel filter and
water separator to remove water from the
fuel. The water in fuel indicator illuminates
when the fuel and water separator has a
significant quantity of water in it and
requires immediate draining.
If the water in fuel indicator illuminates
when the engine is running, stop your
vehicle as soon as safely possible, shut off
the engine, then drain the fuel and water
separator. See Fuel Quality (page 179).
Allowing water to stay in the fuel system,
after the water in fuel indicator illuminates,
could result in extensive damage or failure
of the fuel injection system.
Note: Do not drain the fuel and water
separator while the engine is running. Air will
enter into the fuel system causing the engine
not to operate properly.
Four-Wheel Drive Indicators
(If
Equipped)
4X2 HIGH Illuminates momentarily when
two-wheel drive high is engaged.
4X4 HIGH Illuminates when four-wheel
drive high is engaged.
4X4 LOW Illuminates when four-wheel
drive low is engaged. AUDIBLE WARNINGS AND
INDICATORS
Key in Ignition Warning Chime
Sounds when you open the driver's door
and you have left the key in the ignition.
Keyless Warning Alert
(If Equipped)
Sounds the horn twice when you exit your
vehicle with the intelligent access key, after
the last door is closed and your keyless
vehicle is in RUN, indicating your vehicle is
still on.
Headlamps On Warning Chime
Sounds when you remove the key from the
ignition and open the driver's door and you
have left the headlamps or parking lamps
on.
Parking Brake On Warning Chime
Sounds when you have left the parking
brake on and drive your vehicle. If the
warning chime remains on after you have
released the parking brake, have the
system checked by an authorized dealer
immediately.
108
Super Duty (TFE), enUSA, Edition date: 201909, Third-Printing- Instrument Cluster E181778 E181779 E181780
Page 172 of 631
III (start) - Cranks the engine.
KEYLESS STARTING
(IF EQUIPPED)
Note: The keyless starting system may not
function if the key is close to metal objects
or electronic devices such as cellular
phones.
Note: A valid key must be located inside
your vehicle to switch the ignition on and
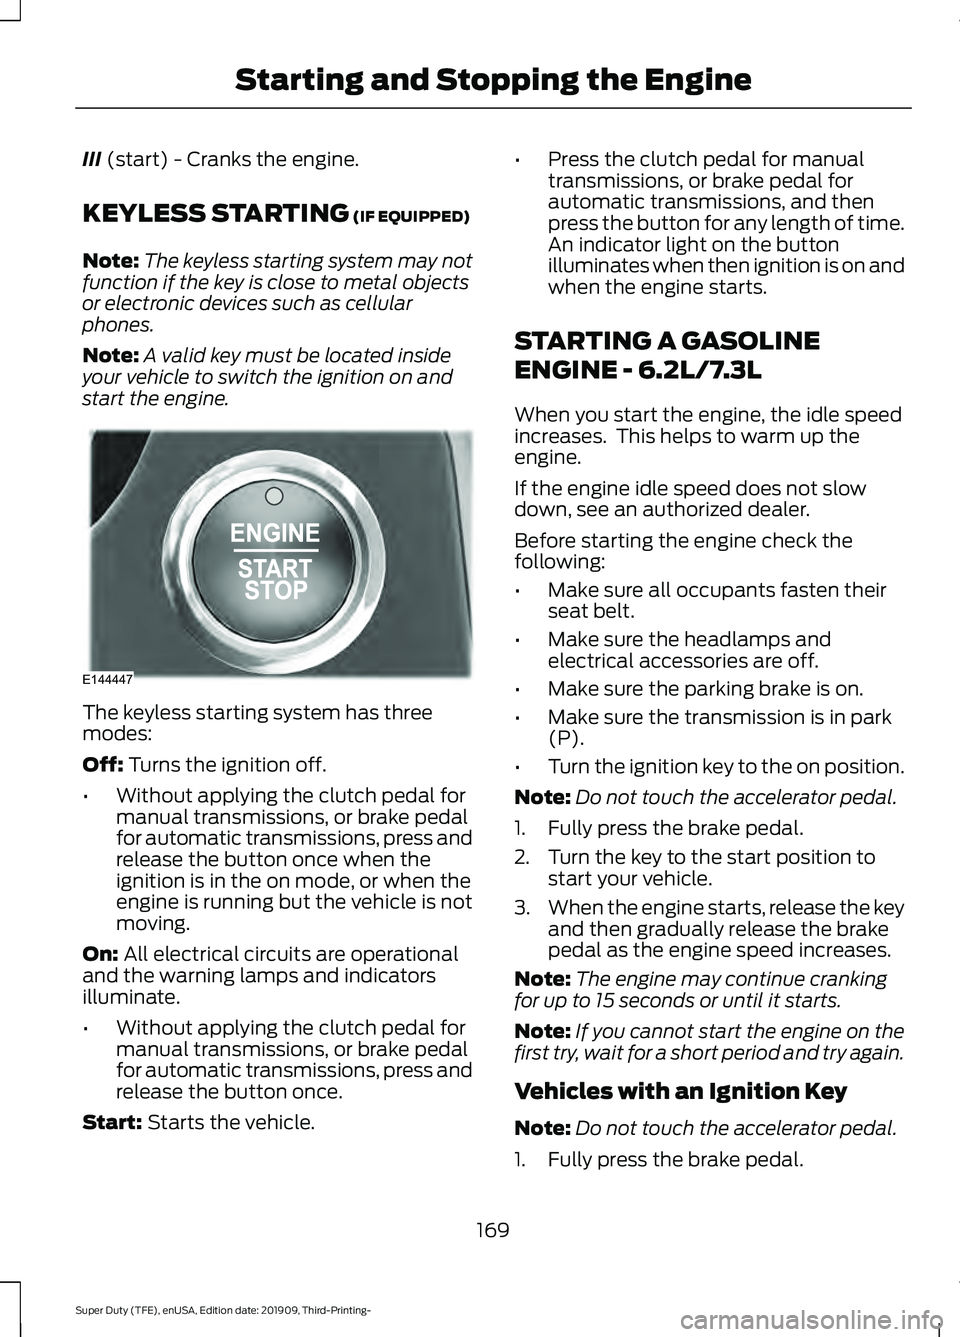
start the engine. The keyless starting system has three
modes:
Off:
Turns the ignition off.
• Without applying the clutch pedal for
manual transmissions, or brake pedal
for automatic transmissions, press and
release the button once when the
ignition is in the on mode, or when the
engine is running but the vehicle is not
moving.
On:
All electrical circuits are operational
and the warning lamps and indicators
illuminate.
• Without applying the clutch pedal for
manual transmissions, or brake pedal
for automatic transmissions, press and
release the button once.
Start:
Starts the vehicle. •
Press the clutch pedal for manual
transmissions, or brake pedal for
automatic transmissions, and then
press the button for any length of time.
An indicator light on the button
illuminates when then ignition is on and
when the engine starts.
STARTING A GASOLINE
ENGINE - 6.2L/7.3L
When you start the engine, the idle speed
increases. This helps to warm up the
engine.
If the engine idle speed does not slow
down, see an authorized dealer.
Before starting the engine check the
following:
• Make sure all occupants fasten their
seat belt.
• Make sure the headlamps and
electrical accessories are off.
• Make sure the parking brake is on.
• Make sure the transmission is in park
(P).
• Turn the ignition key to the on position.
Note: Do not touch the accelerator pedal.
1. Fully press the brake pedal.
2. Turn the key to the start position to start your vehicle.
3. When the engine starts, release the key
and then gradually release the brake
pedal as the engine speed increases.
Note: The engine may continue cranking
for up to 15 seconds or until it starts.
Note: If you cannot start the engine on the
first try, wait for a short period and try again.
Vehicles with an Ignition Key
Note: Do not touch the accelerator pedal.
1. Fully press the brake pedal.
169
Super Duty (TFE), enUSA, Edition date: 201909, Third-Printing- Starting and Stopping the EngineE144447