FORD F-53 2019 Service Manual
Manufacturer: FORD, Model Year: 2019, Model line: F-53, Model: FORD F-53 2019Pages: 176, PDF Size: 9.98 MB
Page 41 of 176
AUTOMATIC TRANSMISSION
WARNING: Always set the parkingbrake fully and make sure you shift thegearshift lever to first gear. Switch theignition off and remove the key wheneveryou leave your vehicle.
WARNING: Do not apply the brakepedal and accelerator pedalsimultaneously. Applying both pedalssimultaneously for more than a fewseconds will limit engine performance,which may result in difficulty maintainingspeed in traffic and could lead to seriousinjury.
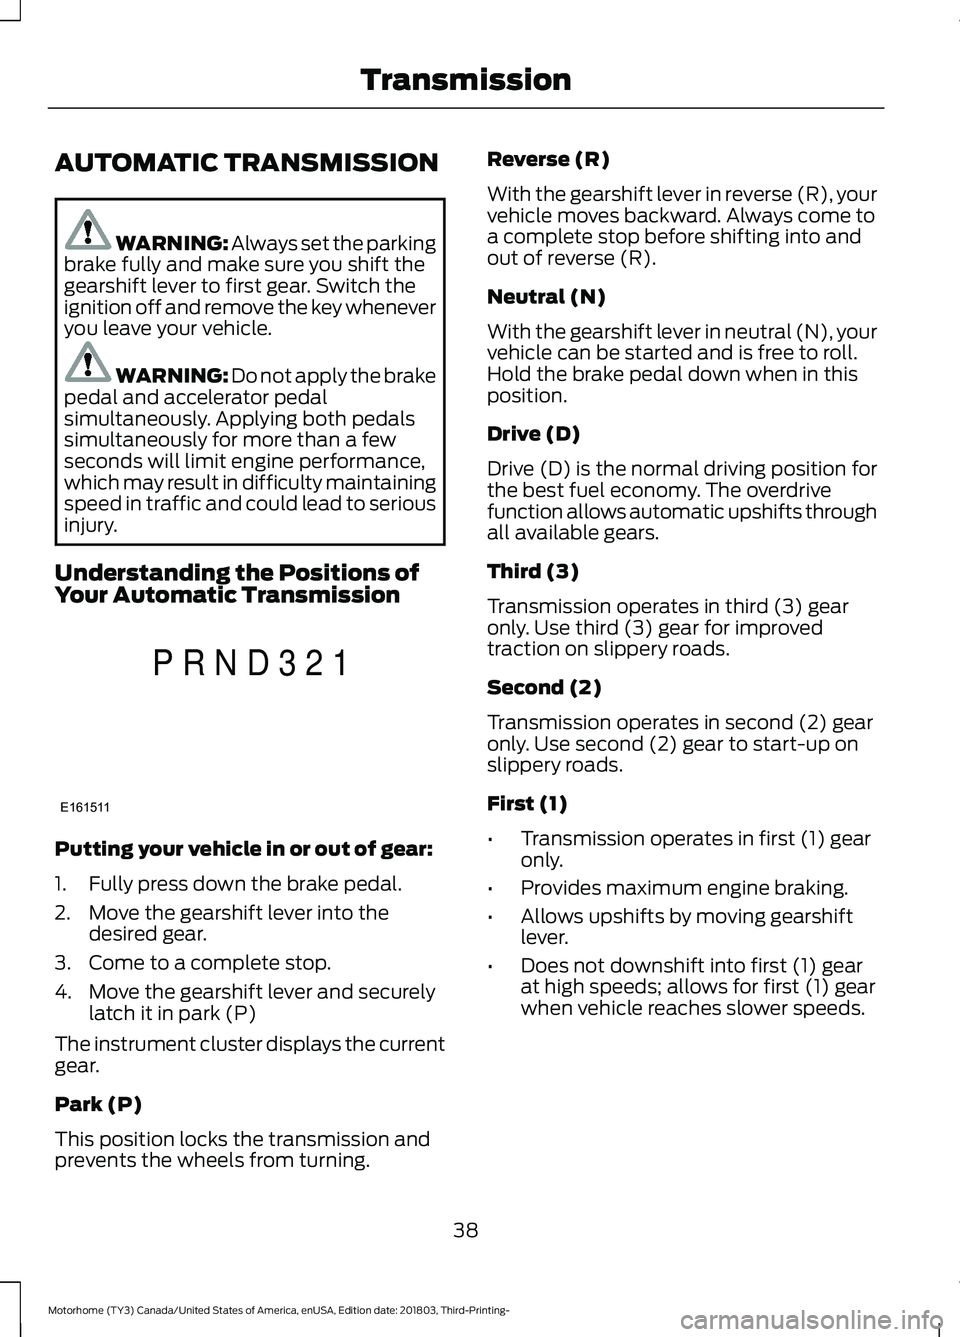
Understanding the Positions ofYour Automatic Transmission
Putting your vehicle in or out of gear:
1.Fully press down the brake pedal.
2.Move the gearshift lever into thedesired gear.
3.Come to a complete stop.
4.Move the gearshift lever and securelylatch it in park (P)
The instrument cluster displays the currentgear.
Park (P)
This position locks the transmission andprevents the wheels from turning.
Reverse (R)
With the gearshift lever in reverse (R), yourvehicle moves backward. Always come toa complete stop before shifting into andout of reverse (R).
Neutral (N)
With the gearshift lever in neutral (N), yourvehicle can be started and is free to roll.Hold the brake pedal down when in thisposition.
Drive (D)
Drive (D) is the normal driving position forthe best fuel economy. The overdrivefunction allows automatic upshifts throughall available gears.
Third (3)
Transmission operates in third (3) gearonly. Use third (3) gear for improvedtraction on slippery roads.
Second (2)
Transmission operates in second (2) gearonly. Use second (2) gear to start-up onslippery roads.
First (1)
•Transmission operates in first (1) gearonly.
•Provides maximum engine braking.
•Allows upshifts by moving gearshiftlever.
•Does not downshift into first (1) gearat high speeds; allows for first (1) gearwhen vehicle reaches slower speeds.
38
Motorhome (TY3) Canada/United States of America, enUSA, Edition date: 201803, Third-Printing-TransmissionE161511PRND321
Page 42 of 176
Tow/Haul Mode
WARNING: Do not use tow/haulwhen the road surface is slippery. Failureto follow this instruction could result inthe loss of control of your vehicle.
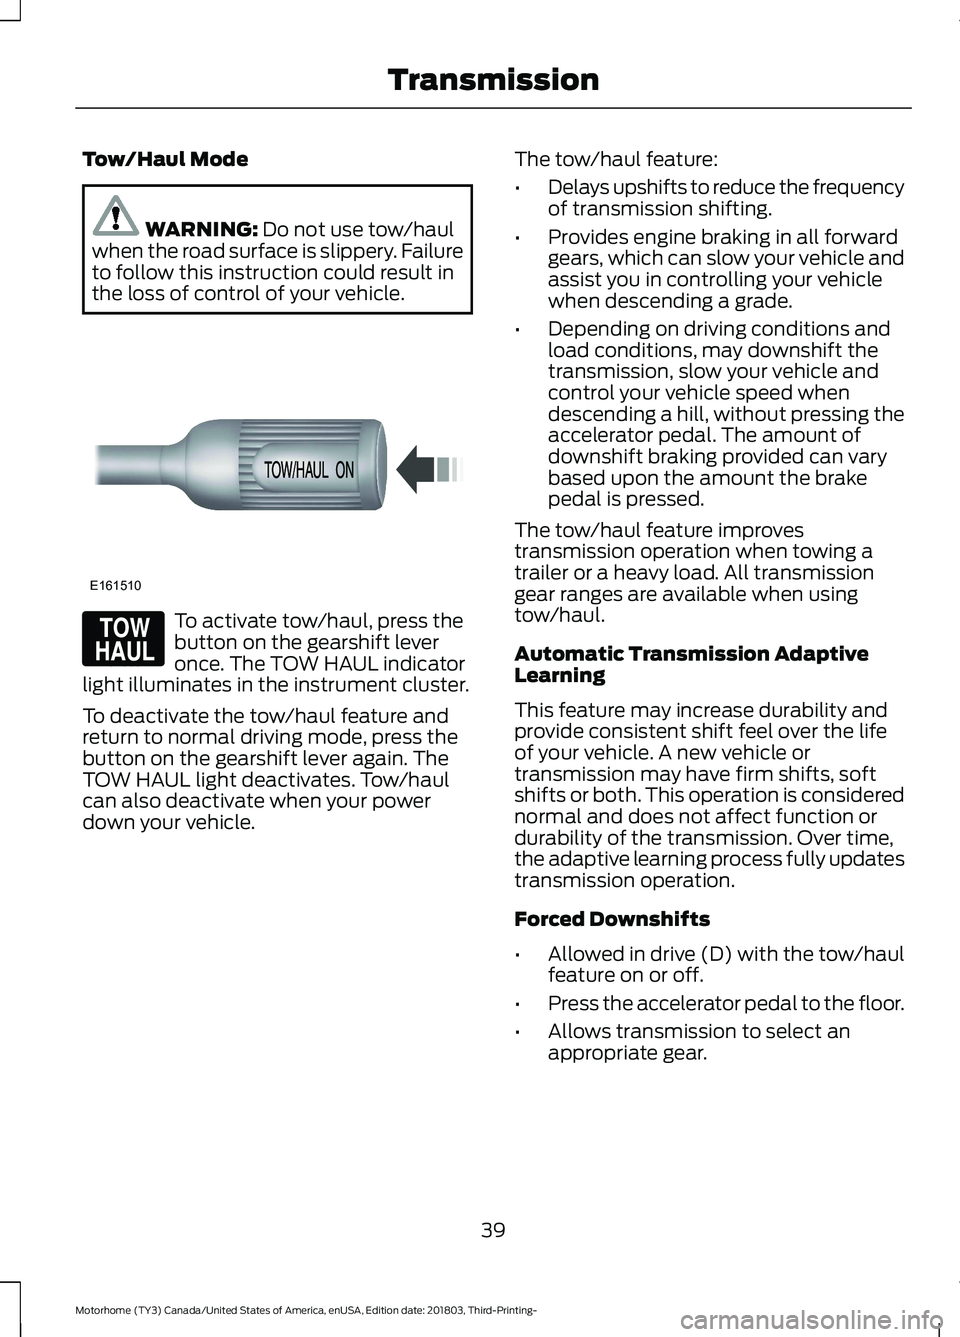
To activate tow/haul, press thebutton on the gearshift leveronce. The TOW HAUL indicatorlight illuminates in the instrument cluster.
To deactivate the tow/haul feature andreturn to normal driving mode, press thebutton on the gearshift lever again. TheTOW HAUL light deactivates. Tow/haulcan also deactivate when your powerdown your vehicle.
The tow/haul feature:
•Delays upshifts to reduce the frequencyof transmission shifting.
•Provides engine braking in all forwardgears, which can slow your vehicle andassist you in controlling your vehiclewhen descending a grade.
•Depending on driving conditions andload conditions, may downshift thetransmission, slow your vehicle andcontrol your vehicle speed whendescending a hill, without pressing theaccelerator pedal. The amount ofdownshift braking provided can varybased upon the amount the brakepedal is pressed.
The tow/haul feature improvestransmission operation when towing atrailer or a heavy load. All transmissiongear ranges are available when usingtow/haul.
Automatic Transmission AdaptiveLearning
This feature may increase durability andprovide consistent shift feel over the lifeof your vehicle. A new vehicle ortransmission may have firm shifts, softshifts or both. This operation is considerednormal and does not affect function ordurability of the transmission. Over time,the adaptive learning process fully updatestransmission operation.
Forced Downshifts
•Allowed in drive (D) with the tow/haulfeature on or off.
•Press the accelerator pedal to the floor.
•Allows transmission to select anappropriate gear.
39
Motorhome (TY3) Canada/United States of America, enUSA, Edition date: 201803, Third-Printing-TransmissionE161510 E161509
Page 43 of 176
Brake-Shift Interlock
WARNING: Do not drive yourvehicle until you verify that thestoplamps are working.
WARNING: When doing thisprocedure, you need to take thetransmission out of park (P) whichmeans your vehicle can roll freely. Toavoid unwanted vehicle movement,always fully apply the parking brake priorto doing this procedure. Use wheelschocks if appropriate.
WARNING: If the parking brake isfully released, but the brake warninglamp remains illuminated, the brakesmay not be working properly. Have yourvehicle checked as soon as possible.
Your vehicle is equipped with a brake-shiftinterlock feature that prevents moving thegearshift lever from park (P) when theignition is in the on position and the brakepedal is not pressed.
If you cannot move the gearshift lever outof park (P) position with the ignition in theon position and the brake pedal pressed,a malfunction may have occurred. It ispossible that a fuse has blown or yourvehicle’s brake lamps are not operatingproperly. See Fuse Specification Chart(page 71).
If the fuse is not blown and the brakelamps are working properly, the followingprocedure can allow you to move thegearshift lever from park (P):
1.Apply the parking brake. Turn key tothe lock position, and then remove thekey.
2.Disconnect the negative black batterycable from the battery.
3.Insert the key and turn to the offposition. Shift the transmission toneutral (N).
4.Reconnect the negative black batterycable to the battery.
5.Start the vehicle.
Note:See your authorized dealer as soonas possible if this procedure is used.
If Your Vehicle Gets Stuck In Mudor Snow
Note:Do not rock your vehicle if the engineis not at normal operating temperature ordamage to the transmission may occur.
Note:Do not rock your vehicle for morethan a minute or damage to thetransmission and tires may occur, or theengine may overheat.
If your vehicle gets stuck in mud or snow,you may rock it out by shifting betweenforward and reverse gears, stoppingbetween shifts in a steady pattern. Presslightly on the accelerator in each gear.
40
Motorhome (TY3) Canada/United States of America, enUSA, Edition date: 201803, Third-Printing-Transmission
Page 44 of 176
GENERAL INFORMATION
Note: Occasional brake noise is normal. Ifa metal-to-metal, continuous grinding orcontinuous squeal sound is present, thebrake linings may be worn-out and shouldbe inspected by an authorized dealer. If thevehicle has continuous vibration or shudderin the steering wheel while braking, thevehicle should be inspected by anauthorized dealer.
Note:Brake dust may accumulate on thewheels, even under normal drivingconditions. Some dust is inevitable as thebrakes wear and does not contribute tobrake noise. See Cleaning the Wheels(page 110).
Note:Indicators vary depending on region.
See Warning Lamps andIndicators (page 18).
Wet brakes result in reduced brakingefficiency. Gently press the brake pedal afew times when driving from a car wash orstanding water to dry the brakes.
Brake Over Accelerator
In the event the accelerator pedalbecomes stuck or entrapped, apply steadyand firm pressure to the brake pedal toslow the vehicle and reduce engine power.If you experience this condition, apply thebrakes and bring your vehicle to a safestop. Switch the engine off, shift thetransmission into park (P), apply theparking brake, and then inspect theaccelerator pedal for any interferences. Ifnone are found and the condition persists,have your vehicle towed to the nearestauthorized dealer.
Hydraulic brake booster system(Hydroboost or Hydromax)
The Hydroboost and Hydromax systemsreceive fluid pressure from the powersteering pump to provide power assistduring braking.
The Hydromax booster receives backuppressure from the reserve system electricpump whenever the fluid in the powersteering system is not flowing. When theengine is off, the pump turns on if you applythe brake pedal, or if you switch the ignitionto the on position.
The sound of the pump operating may beheard by the driver. This is a normalcharacteristic of the system.
The reserve system provides reducedbraking power, so the vehicle should beoperated under these conditions withcaution, and only to seek service repair andremoval of the vehicle from the roadway.
Note:For vehicles with the Hydromaxsystem operating under normal conditions,the noise of the fluid flowing through thebooster may be heard whenever you applythe brake. This condition is normal. Vehicleservice is not required.
If braking performance or pedal responsebecomes very poor, even when youstrongly press the pedal, it may indicatethe presence of air in the hydraulic systemor leakage of fluid. Stop the vehicle safelyas soon as possible and seek serviceimmediately.
HINTS ON DRIVING WITH
ANTI-LOCK BRAKES
The anti-lock braking system does noteliminate the risks when:
•You drive too closely to the vehicle infront of you.
•Your vehicle is hydroplaning.
41
Motorhome (TY3) Canada/United States of America, enUSA, Edition date: 201803, Third-Printing-BrakesE144522
Page 45 of 176
•You take corners too fast.
•The road surface is poor.
Note: If the system activates, the brakepedal may pulse and may travel further.Maintain pressure on the brake pedal. Youmay also hear a noise from the system. Thisis normal.
PARKING BRAKE
WARNING: Always fully apply theparking brake. Make sure you shift intopark (P) for vehicles with an automatictransmission. Switch the ignition off andremove the key whenever you leave yourvehicle.
Apply the parking brake whenever you parkyour vehicle.
•For vehicles with a foot operatedparking brake, press the pedal down.
•For vehicles with a hand operatedparking brake, pull the parking brakelever up.
It illuminates when you switchthe ignition on and apply theparking brake. It also illuminatesmomentarily when you switchthe ignition on to confirm thelamp is functional. if is does notilluminate when you switch the ignition onor begins to flash at any time, have thesystem checked by an authorized dealer.
If it illuminates when your vehicle ismoving, make sure you disengage theparking brake.
If the parking brake is disengaged, thisindicates a low brake fluid level or a brakesystem fault. Have your vehicle checkedas soon as possible.
To release the parking brake:
•For vehicles with a foot operatedparking brake, pull the parking brakerelease lever.
•For vehicles with a hand operatedparking brake, push the parking brakelever down.
42
Motorhome (TY3) Canada/United States of America, enUSA, Edition date: 201803, Third-Printing-BrakesE144522
Page 46 of 176
PRINCIPLE OF OPERATION
Cruise control lets you maintain a setspeed without keeping your foot on theaccelerator pedal. You can use cruisecontrol when your vehicle speed is greaterthan 20 mph (30 km/h).
USING CRUISE CONTROL
WARNING: Do not use cruisecontrol on winding roads, in heavy trafficor when the road surface is slippery. Thiscould result in loss of vehicle control,serious injury or death.
WARNING: When you are goingdownhill, your vehicle speed couldincrease above the set speed. Thesystem does not apply the brakes.
To help the system to maintain the setspeed when going downhill, downshift toa lower gear.
The cruise controls are on the steeringwheel. See Using Cruise Control (page43).
Switching Cruise Control On
Press and release the button.
The indicator displays in theinstrument cluster.
Setting the Cruise Speed
Drive to your preferred speed.
Press and release to set thecurrent speed.
Take your foot off the accelerator pedal.
Note:The indicator will change color.
Changing the Set Speed
Press the accelerator or brake pedal untilyou reach your preferred speed.
Press and release to set thespeed.
Press and release to increase theset speed in small increments.
Press and hold the button to increase theset speed. Release the button when youreach your preferred speed.
Press and release to decreasethe set speed in smallincrements.
Press and hold the button to decrease theset speed. Release the button when youreach your preferred speed.
Note:If you accelerate by pressing only theaccelerator pedal, the set speed does notchange. When you release the acceleratorpedal, your vehicle returns to the speed thatyou previously set.
43
Motorhome (TY3) Canada/United States of America, enUSA, Edition date: 201803, Third-Printing-Cruise ControlE266056 E265296 E71340 E265306 E265306 E266055 E266054
Page 47 of 176
Canceling the Set Speed
Tap the brake pedal to cancel the setspeed.
Note:The system remembers the setspeed.
Resuming the Set Speed
Press and release to resume theset speed.
Switching Cruise Control Off
Press and release when thesystem is in standby mode, orswitch the ignition off.
Note:You erase the set speed when youswitch the system off.
44
Motorhome (TY3) Canada/United States of America, enUSA, Edition date: 201803, Third-Printing-Cruise Control E265297
Page 48 of 176
LOAD LIMIT
Vehicle Loading - with andwithout a Trailer
This section guides you in theproper loading of your vehicle,trailer, or both. Keep your loadedvehicle weight within its designrating capability, with or withouta trailer. Properly loading yourvehicle provides maximum returnof vehicle design performance.Before you load your vehicle,become familiar with thefollowing terms for determiningyour vehicle’s weight rating, withor without a trailer, from thevehicle’s Tire and LoadingInformation label or SafetyCompliance Certification label.
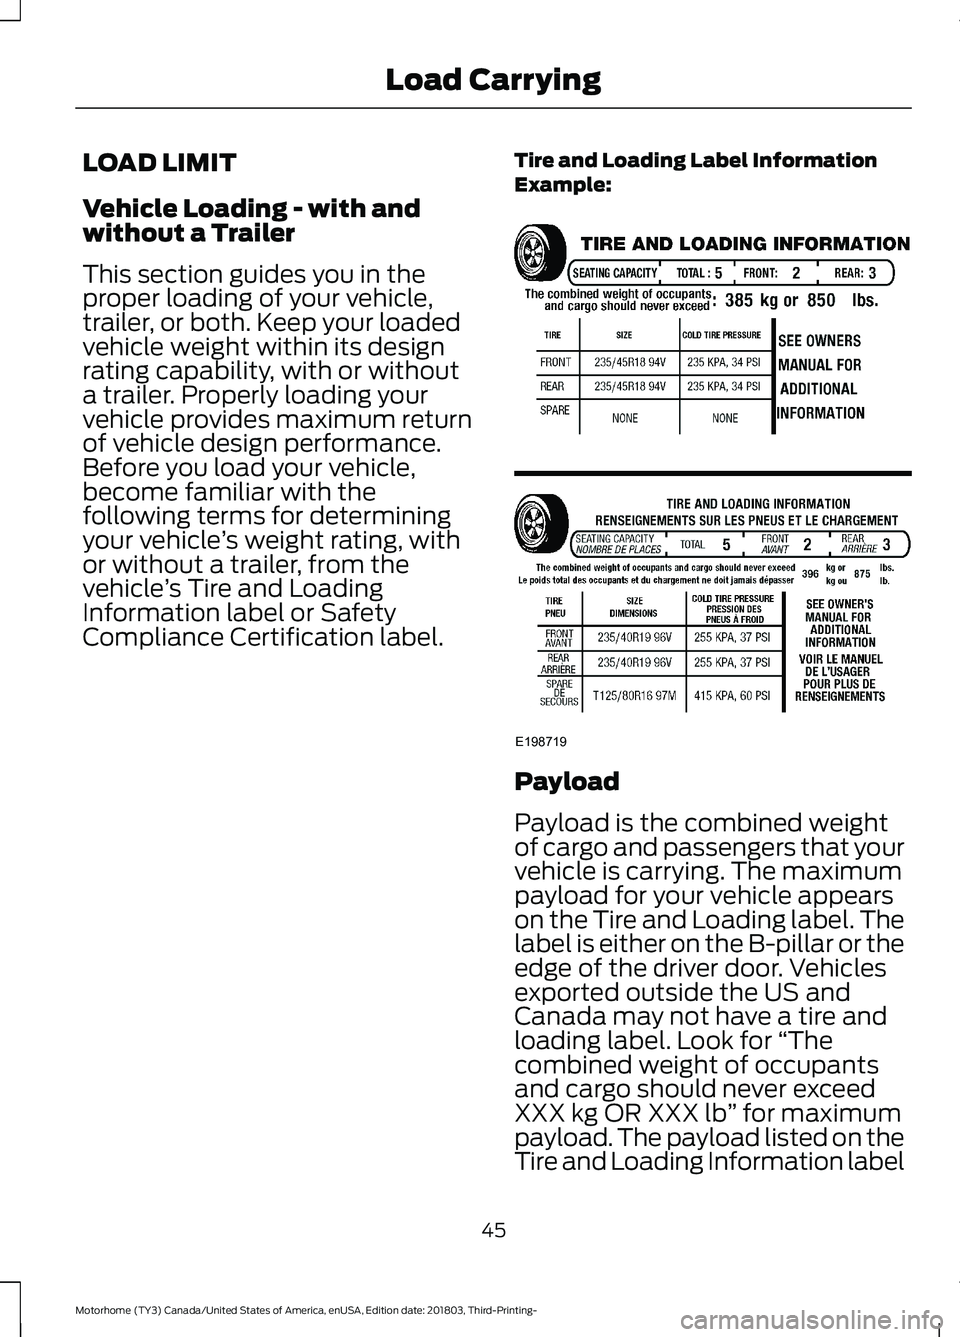
Tire and Loading Label InformationExample:
Payload
Payload is the combined weightof cargo and passengers that yourvehicle is carrying. The maximumpayload for your vehicle appearson the Tire and Loading label. Thelabel is either on the B-pillar or theedge of the driver door. Vehiclesexported outside the US andCanada may not have a tire andloading label. Look for “Thecombined weight of occupantsand cargo should never exceedXXX kg OR XXX lb” for maximumpayload. The payload listed on theTire and Loading Information label
45
Motorhome (TY3) Canada/United States of America, enUSA, Edition date: 201803, Third-Printing-Load CarryingE198719
Page 49 of 176
is the maximum payload for yourvehicle as built by the assemblyplant. If you install any additionalequipment on your vehicle, youmust determine the new payload.Subtract the weight of theequipment from the payload listedon the Tire and Loading label.When towing, trailer tongueweight or king pin weight is alsopart of payload.
WARNING: Theappropriate loading capacity ofyour vehicle can be limited eitherby volume capacity (how muchspace is available) or by payloadcapacity (how much weight thevehicle should carry). Once youhave reached the maximumpayload of your vehicle, do notadd more cargo, even if there isspace available. Overloading orimproperly loading your vehiclecan contribute to loss of vehiclecontrol and vehicle rollover.
GAWR (Gross Axle WeightRating)
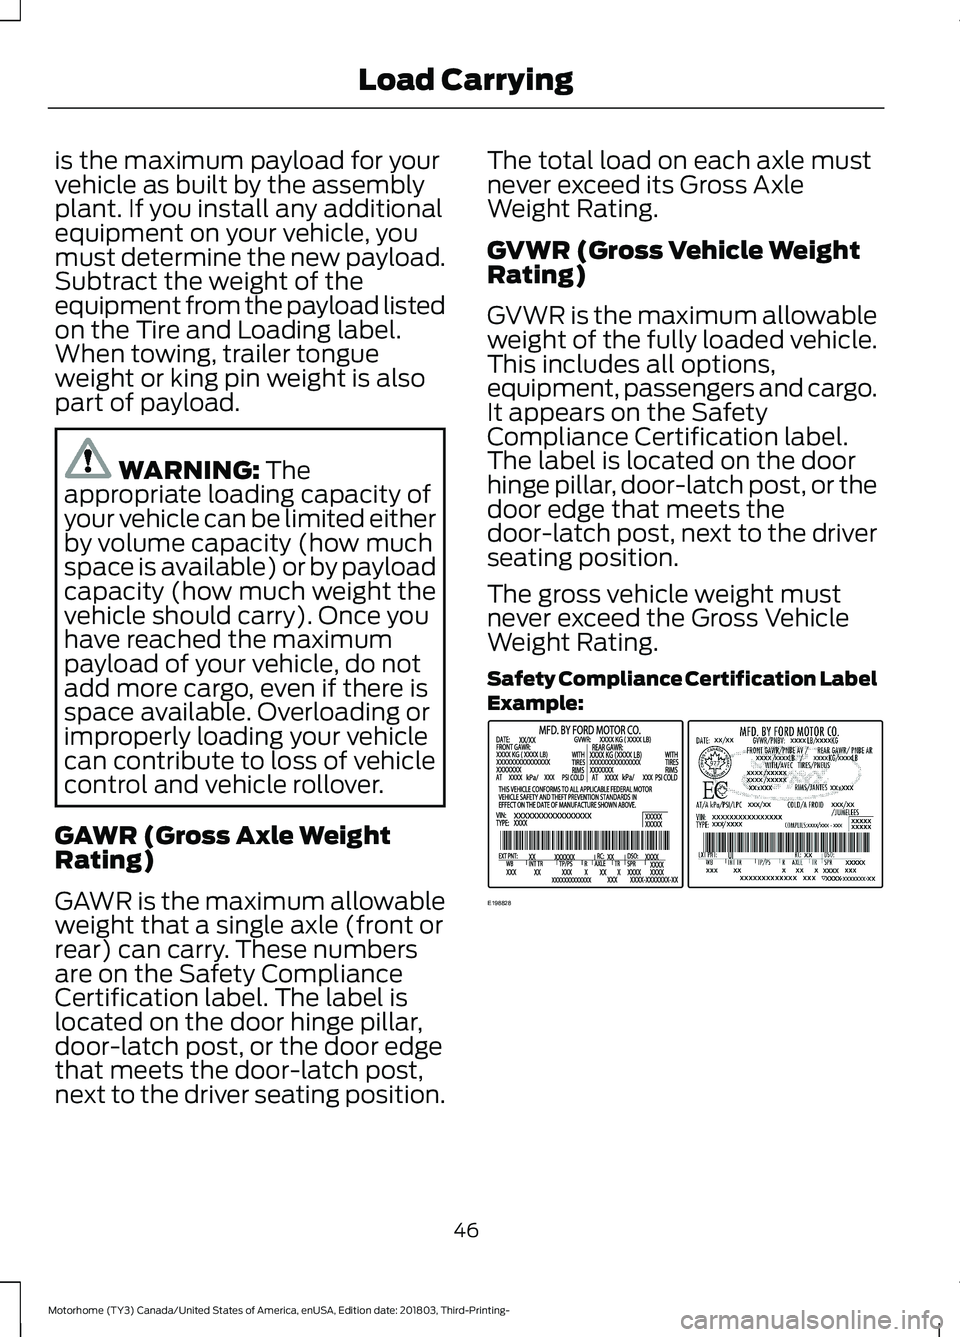
GAWR is the maximum allowableweight that a single axle (front orrear) can carry. These numbersare on the Safety ComplianceCertification label. The label islocated on the door hinge pillar,door-latch post, or the door edgethat meets the door-latch post,next to the driver seating position.
The total load on each axle mustnever exceed its Gross AxleWeight Rating.
GVWR (Gross Vehicle WeightRating)
GVWR is the maximum allowableweight of the fully loaded vehicle.This includes all options,equipment, passengers and cargo.It appears on the SafetyCompliance Certification label.The label is located on the doorhinge pillar, door-latch post, or thedoor edge that meets thedoor-latch post, next to the driverseating position.
The gross vehicle weight mustnever exceed the Gross VehicleWeight Rating.
Safety Compliance Certification LabelExample:
46
Motorhome (TY3) Canada/United States of America, enUSA, Edition date: 201803, Third-Printing-Load CarryingE198828
Page 50 of 176
WARNING: Exceeding theSafety Compliance Certificationlabel vehicle weight limits canadversely affect theperformance and handling ofyour vehicle, cause vehicledamage and can result in theloss of control of your vehicle,serious personal injury or death.
Maximum Loaded TrailerWeight
Maximum loaded trailer weight isthe highest possible weight of afully loaded trailer the vehicle cantow. Consult an authorized dealer(or the RV and Trailer TowingGuide available at an authorizeddealer) for more detailed
information.
GCWR (Gross CombinedWeight Rating)
GCWR is the maximum allowableweight of the vehicle and theloaded trailer, including all cargoand passengers, that the vehiclecan handle without riskingdamage. (Important: The towingvehicle’s braking system is ratedfor operation at Gross Vehicle
Weight Rating, not at GrossCombined Weight Rating.)Separate functional brakes shouldbe used for safe control of towedvehicles and for trailers where theGross Combined Weight of thetowing vehicle plus the trailerexceed the Gross Vehicle WeightRating of the towing vehicle.
The gross combined weight mustnever exceed the Gross CombinedWeight Rating.
Note: For trailer towinginformation refer to the RV andTrailer Towing Guide available atan authorized dealer.
WARNING: Do not exceedthe GVWR or the GAWRspecified on the certificationlabel.
WARNING: Do not usereplacement tires with lowerload carrying capacities than theoriginal tires because they maylower your vehicle's GVWR andGAWR limitations. Replacementtires with a higher limit than the
original tires do not increase theGVWR and GAWR limitations.
WARNING: Exceeding anyvehicle weight rating canadversely affect theperformance and handling ofyour vehicle, cause vehicledamage and can result in theloss of control of your vehicle,serious personal injury or death.
Steps for determining thecorrect load limit:
1.Locate the statement "Thecombined weight of occupantsand cargo should never exceedXXX kg or XXX lb." on yourvehicle’s placard.
47
Motorhome (TY3) Canada/United States of America, enUSA, Edition date: 201803, Third-Printing-Load Carrying