load capacity FORD F-650/750 2022 Owners Manual
[x] Cancel search | Manufacturer: FORD, Model Year: 2022, Model line: F-650/750, Model: FORD F-650/750 2022Pages: 379, PDF Size: 5.29 MB
Page 98 of 379

12 Volt DC Power Point
WARNING: Do not plug optional
electrical accessories into the cigar
lighter socket. Incorrect use of the cigar
lighter can cause damage not covered
by the vehicle warranty, and can result
in fire or serious injury.
Note: When you switch the ignition on, you
can use the socket to power 12 volt
appliances with a maximum current rating
of 15 amps.
If the power supply does not work after you
switch the ignition off, switch the ignition
on.
Note: Do not hang any accessory from the
accessory plug.
Note: Do not use the power point over the
vehicle capacity of 12 volt DC 180 watts or
a fuse may blow.
Note: Always keep the power point caps
closed when not in use.
Do not insert objects other than an
accessory plug into the power point. This
damages the power point and may blow
the fuse.
Run the vehicle for full capacity use of the
power point.
To prevent the battery from running out of
charge:
• Do not use the power point longer than
necessary when the vehicle is not
running.
• Do not leave devices plugged in
overnight or when you park your vehicle
for extended periods. Locations
Power points may be in the following
locations:
•
On the instrument panel (two
locations).
• Inside the front under-seat storage
compartment.
• Inside the rear under-seat storage
compartment.
110 Volt AC Power Point
(If Equipped) WARNING:
Do not keep electrical
devices plugged in the power point
whenever the device is not in use. Do not
use any extension cord with the 110 volt
AC power point, since it will defeat the
safety protection design. Doing so may
cause the power point to overload due
to powering multiple devices that can
reach beyond the 150 watt load limit and
could result in fire or serious injury.
Note: The power point turns off when you
switch the ignition off, or when the battery
voltage drops below 11 volts.
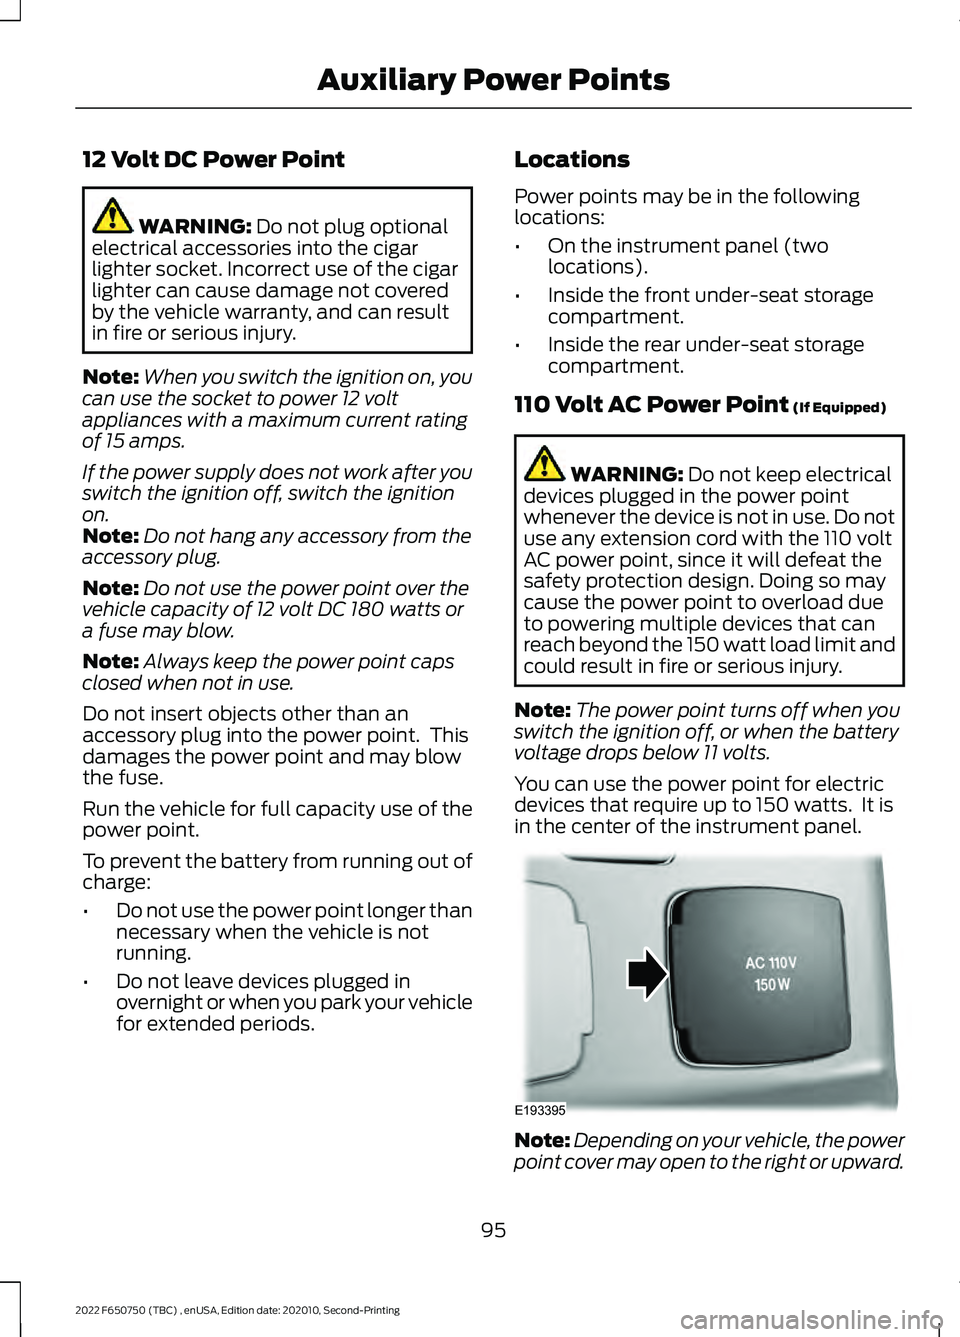
You can use the power point for electric
devices that require up to 150 watts. It is
in the center of the instrument panel. Note:
Depending on your vehicle, the power
point cover may open to the right or upward.
95
2022 F650750 (TBC) , enUSA, Edition date: 202010, Second-Printing Auxiliary Power PointsE193395
Page 180 of 379

TOWING A TRAILER
WARNING: Do not exceed
the GVWR or the GAWR
specified on the certification
label. WARNING:
Towing trailers
beyond the maximum
recommended gross trailer
weight exceeds the limit of the
vehicle and could result in engine
damage, transmission damage,
structural damage, loss of
vehicle control, vehicle rollover
and personal injury.
Your vehicle may have electrical
items, such as fuses or relays,
related to towing. See
Fuses
(page 199).
Your vehicle's load capacity
designation is by weight, not by
volume, so you cannot necessarily
use all available space when
loading a vehicle.
Towing a trailer places an extra
load on your vehicle's engine,
transmission, axle, brakes, tires
and suspension. Inspect these
components periodically during,
and after, any towing operation. Load Placement
To help minimize how trailer
movement affects your vehicle
when driving:
•
Load the heaviest items closest
to the trailer floor.
• Load the heaviest items
centered between the left and
right side trailer tires.
• Load the heaviest items above
the trailer axles or just slightly
forward toward the trailer
tongue. Do not allow the final
trailer tongue weight to go
above or below 10-15% of the
loaded trailer weight.
When driving with a trailer or
payload, a slight takeoff vibration
or shudder may be present due to
the increased payload weight.
Additional information regarding
proper trailer loading and setting
your vehicle up for towing is
located in another chapter of this
manual. See
Load Limit (page
174).
You can also find information in
the
RV & Trailer Towing Guide
available at your authorized
dealer, or online. RV & Trailer Towing Guide Online
http://www.fleet.ford.com/towing-guides/
Website
177
2022 F650750 (TBC) , enUSA, Edition date: 202010, Second-Printing Towing
Page 262 of 379

•
For proper suspension alignment.
Maintain proper alignment at all times.
• U-bolts. After the chassis has been
operating under load for 1,000 mi
(1,600 km) or six months (whichever
comes first), the U-bolt nuts must be
re-torqued. Re-torque the U-bolt nuts
every
37,000 mi (60,000 km)
thereafter. Clean and lubricate the
U-bolt and nut threads and seats to
make sure a like new condition when
re-torqueing. See
Spring U-Bolt
Check (page 259).
FRAME AND TOW HOOK
INSPECTION
Your vehicle's chassis is manufactured
with frame rails of either HSLA steel or
heat-treated steel. Handle each in a
specific manner to make sure maximum
service life. Consult the service manual or
an authorized dealer before attempting
frame repair or modification.
It is important, particularly on vehicles that
use tow hooks frequently, to inspect the
front and rear tow hooks for damage or a
loose mounting.
REAR AXLE FLUID CHECK
Your rear axle may have an optional
synthetic lubricant that allows the use of
extended service intervals. A tag on the
filler plug identifies the use of the synthetic
lubricant.
Only use a lubricant that meets
manufacturer specifications. Use of a
non-approved rear axle lubricant may
cause internal axle component damage.
See
Rear Axle Fluid Capacity and
Specification (page 303).
Checking the Fluid Level
1. Park your vehicle on level ground. 2. Set the parking brake and shift into
position neutral (N) or park (P). Turn
the engine off.
3. Clean any dirt from around the axle filler plug.
4. Remove the filler plug and inspect the lubricant level. It should be at the
bottom of the filler plug opening.
5. Add lubricant, if necessary, through the
filler plug opening.
6. Clean and install the filler plug securely.
Changing the Fluid
Note: Drain the rear axle while the lubricant
is warm.
1. Park your vehicle on level ground.
2. Set the parking brake and shift into position neutral (N) or park (P). Turn
the engine off.
3. Clean any dirt from around the axle filler and drain plugs.
4. Remove the filler and drain plugs. Drain
the lubricant into a suitable container.
Dispose of all used automotive fluids
in a responsible manner following your
local authorized standards.
5. Clean and install the drain plug securely.
6. Add lubricant through the filler plug opening.
7. Clean and install the filler plug securely.
SPRING U-BOLT CHECK
Check and tighten the U-bolt nuts after
your vehicle has been operated under load
for
1,000 mi (1,600 km) or six months,
whichever occurs first.
Check and tighten the U-bolt nuts every
37,000 mi (60,000 km)
.
Check and tighten the U-bolt nuts with
your vehicle at curb height and unloaded.
259
2022 F650750 (TBC) , enUSA, Edition date: 202010, Second-Printing Maintenance
Page 377 of 379

Installing Child Restraints...........................26
Instrument Cluster.........................................63
Instrument Lighting Dimmer.....................55
Instrument Panel
............................................23
Interior Lamps.................................................58
Interior Mirror...................................................62
Introduction.........................................................7
J
Jump Starting the Vehicle.........................189
K
Keys and Remote Controls.........................45
L
Lane Keeping System.................................163
Lighting Control
..............................................54
Lighting..............................................................54
General Information............................................ 54
Load Carrying
..................................................174
Load Limit........................................................174
Locating the USB Ports................................97
Locking and Unlocking
................................48
Lug Nuts See: Changing a Road Wheel....................... 283
M
Maintenance..................................................218 General Information.......................................... 218
Manual Climate Control..............................85
Manual Seats..................................................90
Message Center See: Information Displays................................. 70
Mirrors See: Windows and Mirrors................................ 59
Mobile Communications Equipment......19
Motorcraft Parts - 6.7L Diesel.................288
Motorcraft Parts - 7.3L...............................289
N
Noise Pollution Control.................................21
Normal Scheduled Maintenance
...........325 O
Oil Change Indicator Reset
......................226
Oil Check See: Engine Oil Check - 6.7L Diesel.............223
See: Engine Oil Check - 7.3L........................... 224
Opening and Closing the Hood...............219
Ordering Additional Owner's Literature.......................................................197
Overhead Console
.........................................99
P
Parking Brake..................................................137
Passive Anti-Theft System
........................50
PATS See: Passive Anti-Theft System.....................50
Perchlorate.........................................................17
Playing Media From a USB Device.........314
Playing Media Using the USB Port...........97
Power Door Locks See: Locking and Unlocking............................. 48
Power Seats......................................................91
Power Steering Fluid Check
.....................244
Power Take-Off.............................................133
Power Windows..............................................59
Pre-Collision Assist - Vehicles With: Air Brakes.............................................................167
Pre-Collision Assist - Vehicles With: Hydraulic Brakes
........................................169
Protecting the Environment........................21
Puncture See: Changing a Road Wheel....................... 283
R
Radio Frequency Certification Labels...........................................................340
Cruise Control Module..................................... 340
Rear Axle Fluid Capacity and Specification - Diesel..............................302
Rear Axle Fluid Capacity and Specification - Gasoline
........................303
Rear Axle Fluid Check................................259
Rear Axle
..........................................................134
General Information.......................................... 134
Rear Seat Armrest.........................................94
Rear Seats.........................................................93
374
2022 F650750 (TBC) , enUSA, Edition date: 202010, Second-Printing Index