FORD F SERIES MOTORHOME AND COMMERCIAL CHASSIS 2001 10.G User Guide
Manufacturer: FORD, Model Year: 2001, Model line: F SERIES MOTORHOME AND COMMERCIAL CHASSIS, Model: FORD F SERIES MOTORHOME AND COMMERCIAL CHASSIS 2001 10.GPages: 104, PDF Size: 1.32 MB
Page 11 of 104
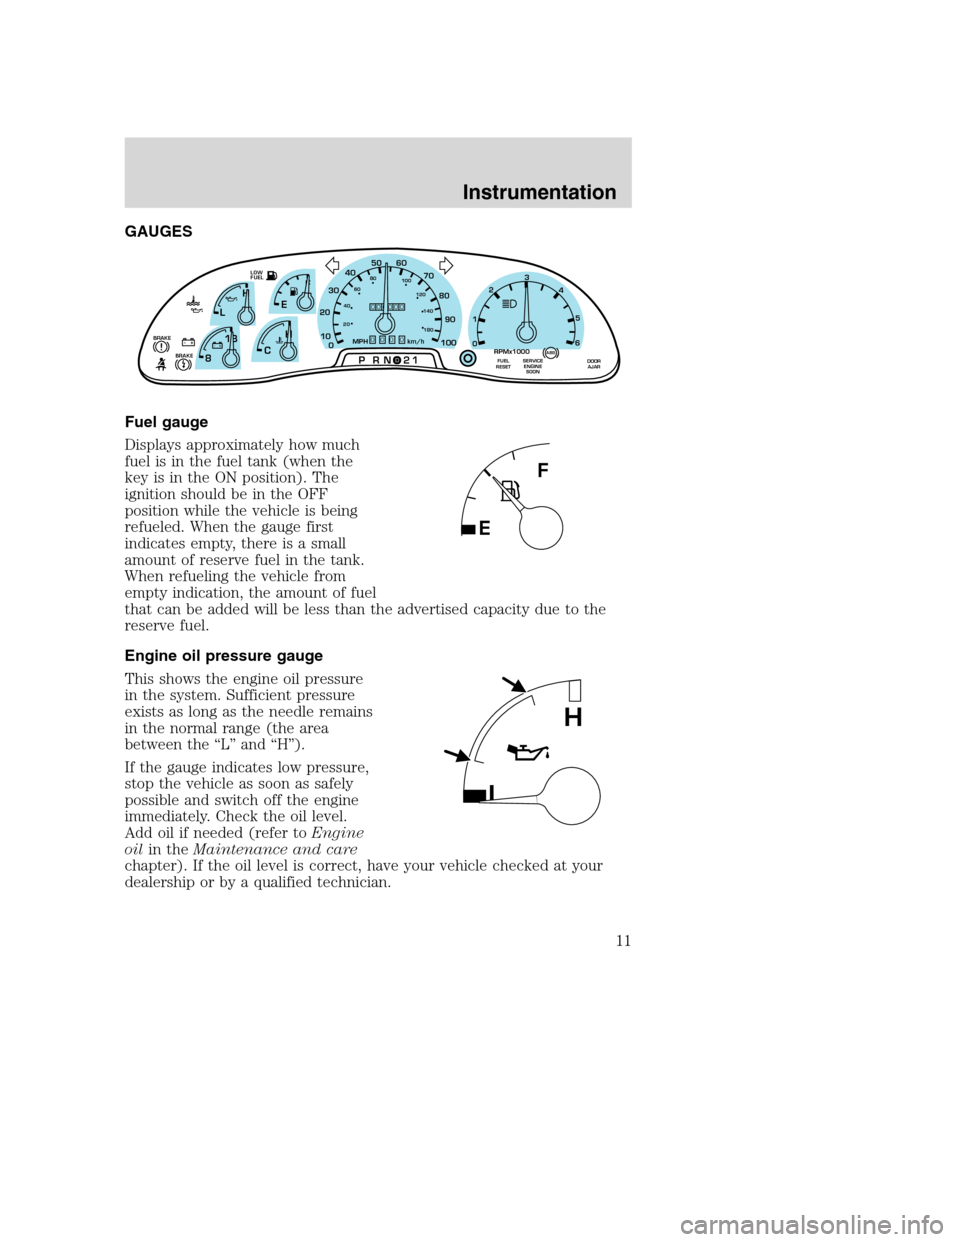
GAUGES
Fuel gauge
Displays approximately how much
fuel is in the fuel tank (when the
key is in the ON position). The
ignition should be in the OFF
position while the vehicle is being
refueled. When the gauge first
indicates empty, there is a small
amount of reserve fuel in the tank.
When refueling the vehicle from
empty indication, the amount of fuel
that can be added will be less than the advertised capacity due to the
reserve fuel.
Engine oil pressure gauge
This shows the engine oil pressure
in the system. Sufficient pressure
exists as long as the needle remains
in the normal range (the area
between the “L” and “H”).
If the gauge indicates low pressure,
stop the vehicle as soon as safely
possible and switch off the engine
immediately. Check the oil level.
Add oil if needed (refer toEngine
oilin theMaintenance and care
chapter). If the oil level is correct, have your vehicle checked at your
dealership or by a qualified technician.
F
E
CH H
L
18
8
PRN 21LOW
FUEL
+ -+ -000000000
0
50
60
70
20
10
0 3040
80
90
100
20406080
100
120
140
180
MPH km/hBRAKE!
1
02
RPMx1000
3
4
5
6
SERVICE
ENGINE
SOONABSFUEL
RESETDOOR
AJARBRAKE
L
H
Instrumentation
11
Page 12 of 104
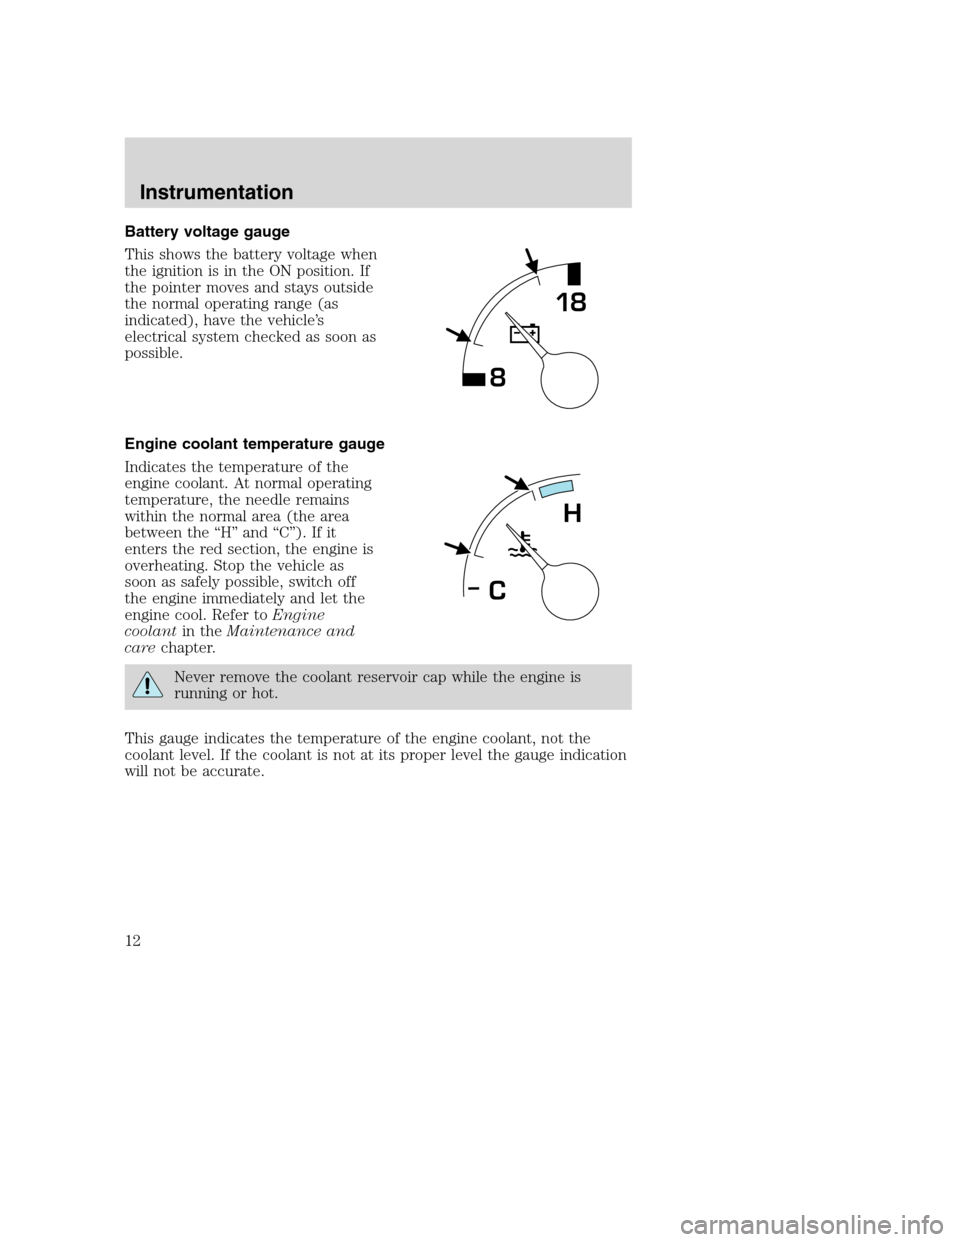
Battery voltage gauge
This shows the battery voltage when
the ignition is in the ON position. If
the pointer moves and stays outside
the normal operating range (as
indicated), have the vehicle’s
electrical system checked as soon as
possible.
Engine coolant temperature gauge
Indicates the temperature of the
engine coolant. At normal operating
temperature, the needle remains
within the normal area (the area
between the “H” and “C”). If it
enters the red section, the engine is
overheating. Stop the vehicle as
soon as safely possible, switch off
the engine immediately and let the
engine cool. Refer toEngine
coolantin theMaintenance and
carechapter.
Never remove the coolant reservoir cap while the engine is
running or hot.
This gauge indicates the temperature of the engine coolant, not the
coolant level. If the coolant is not at its proper level the gauge indication
will not be accurate.
818
H
C
Instrumentation
12
Page 13 of 104
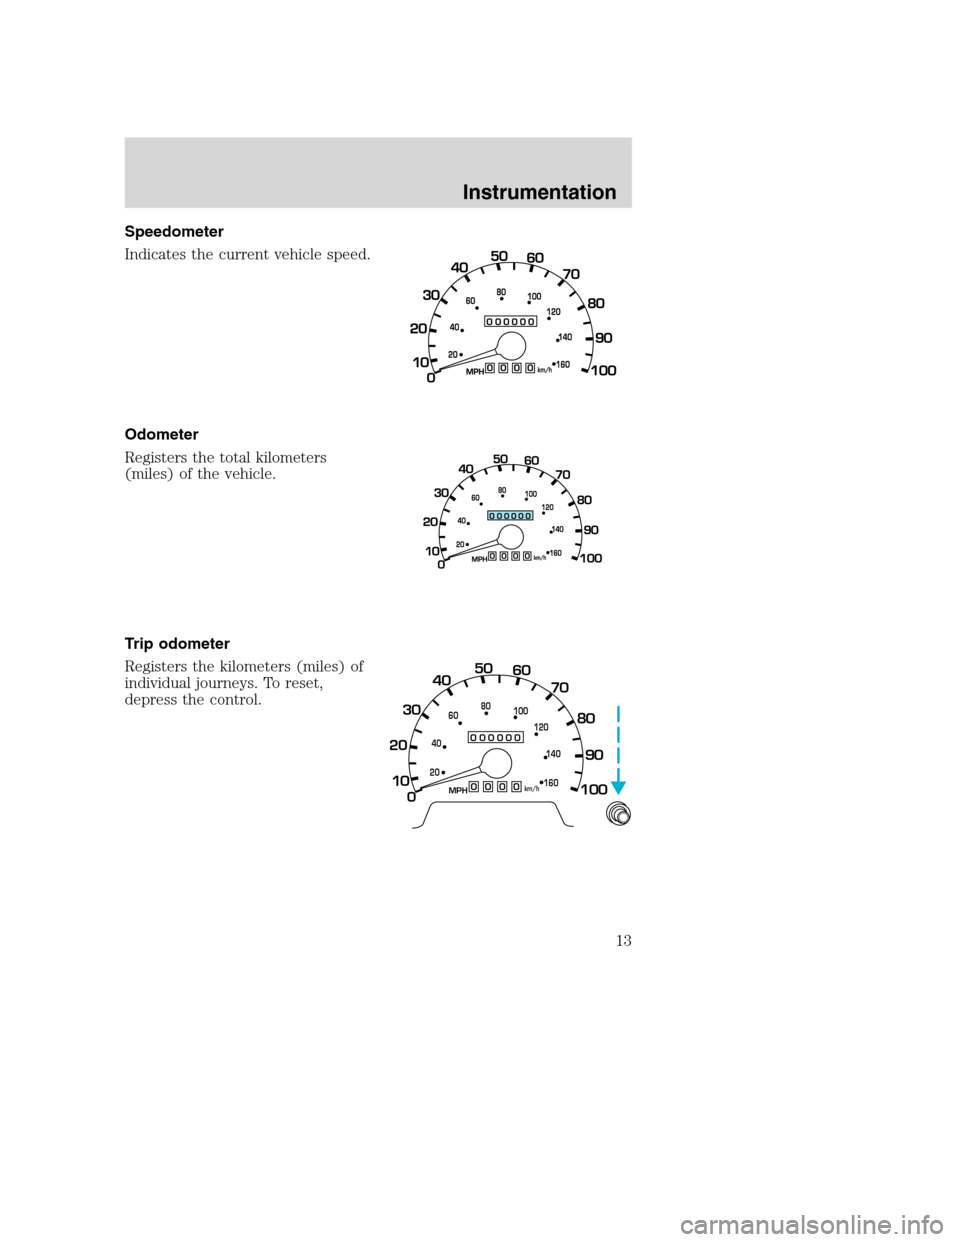
Speedometer
Indicates the current vehicle speed.
Odometer
Registers the total kilometers
(miles) of the vehicle.
Trip odometer
Registers the kilometers (miles) of
individual journeys. To reset,
depress the control.
0
000000000
MPH
20km/h
406080
100
120
140
160
0
10 20304050
60
70
80
90
100
Instrumentation
13
Page 14 of 104
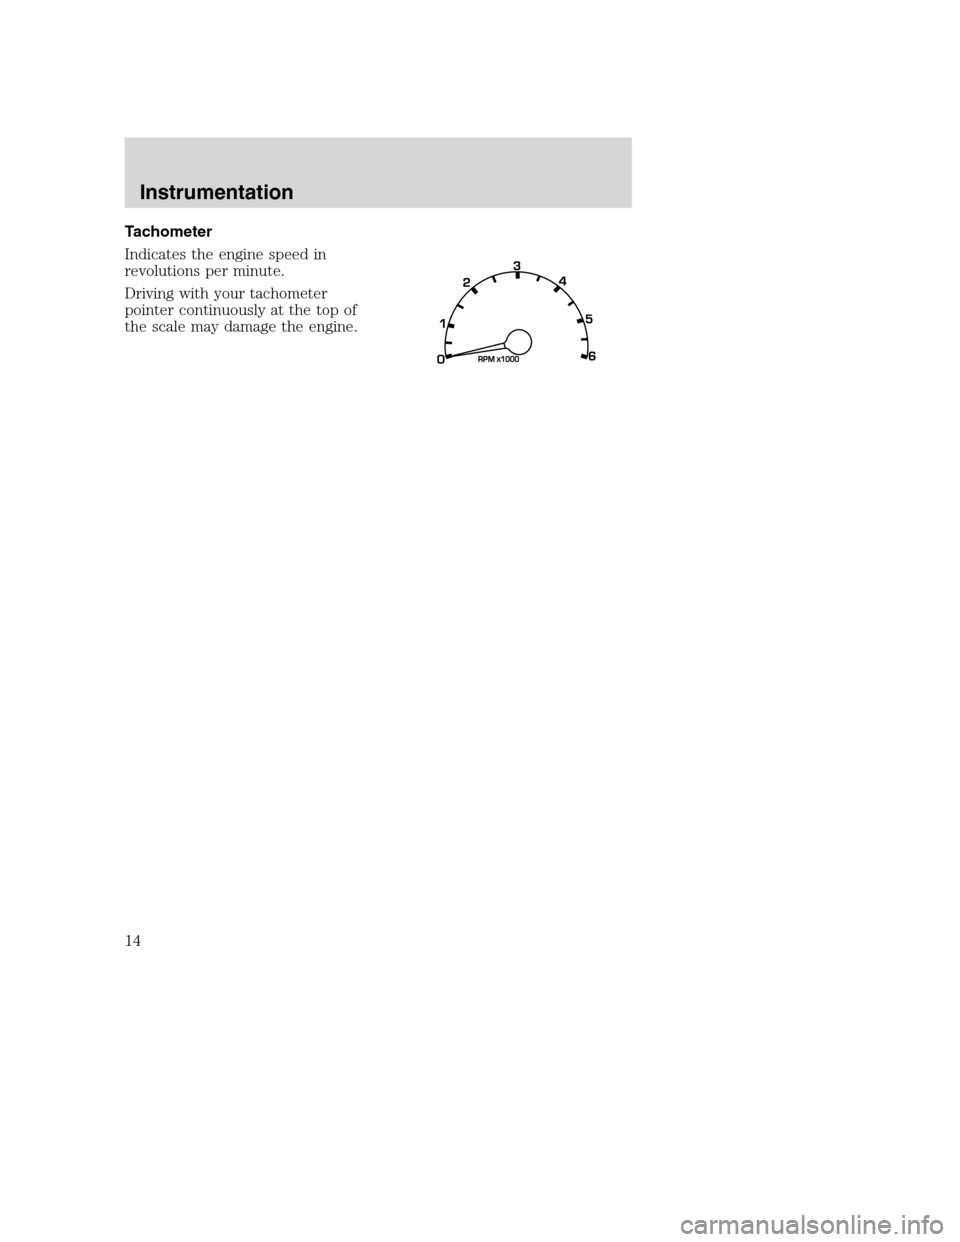
Tachometer
Indicates the engine speed in
revolutions per minute.
Driving with your tachometer
pointer continuously at the top of
the scale may damage the engine.
Instrumentation
14
Page 15 of 104
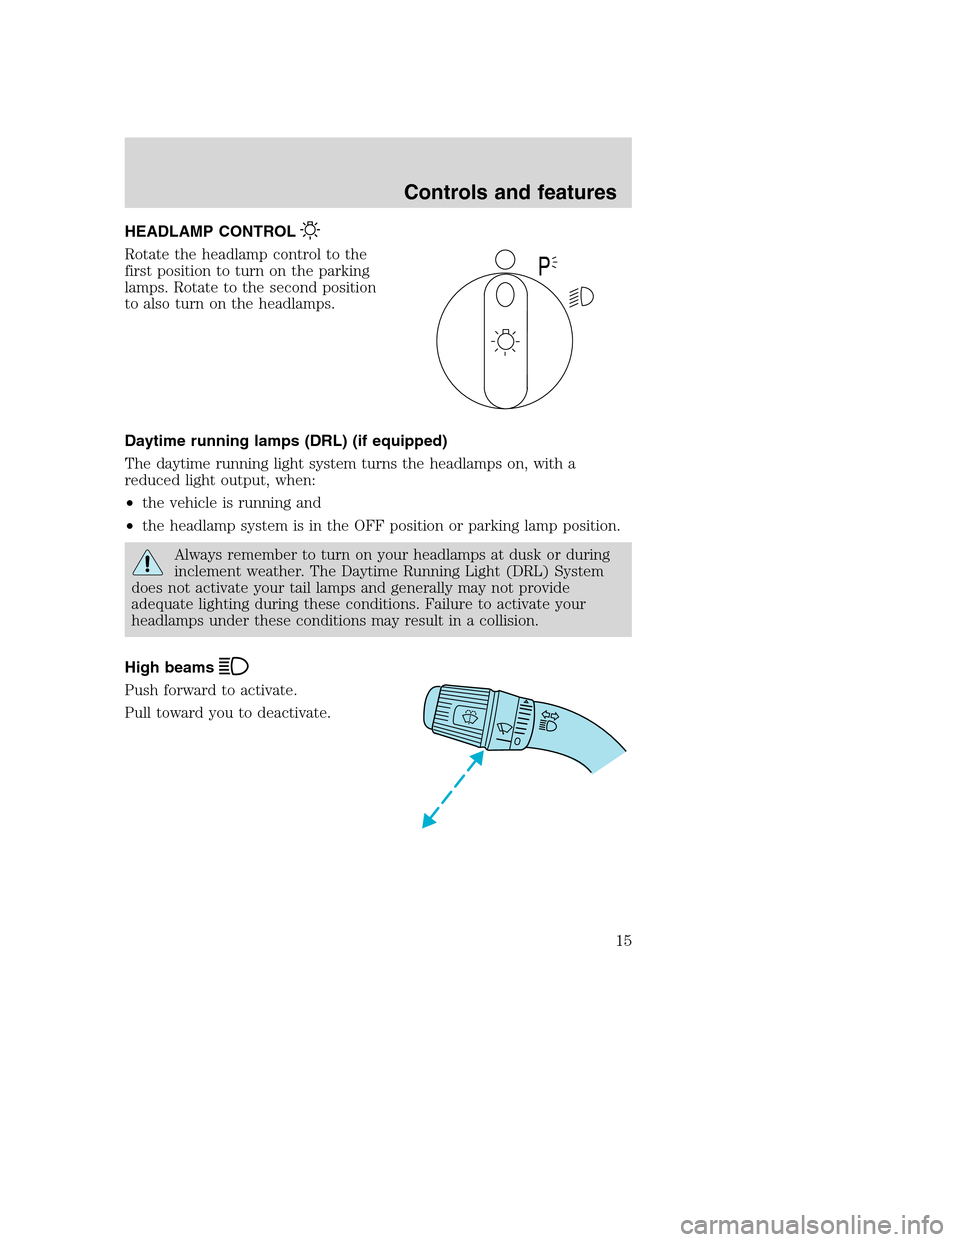
HEADLAMP CONTROL
Rotate the headlamp control to the
first position to turn on the parking
lamps. Rotate to the second position
to also turn on the headlamps.
Daytime running lamps (DRL) (if equipped)
The daytime running light system turns the headlamps on, with a
reduced light output, when:
•the vehicle is running and
•the headlamp system is in the OFF position or parking lamp position.
Always remember to turn on your headlamps at dusk or during
inclement weather. The Daytime Running Light (DRL) System
does not activate your tail lamps and generally may not provide
adequate lighting during these conditions. Failure to activate your
headlamps under these conditions may result in a collision.
High beams
Push forward to activate.
Pull toward you to deactivate.
P
Controls and features
15
Page 16 of 104
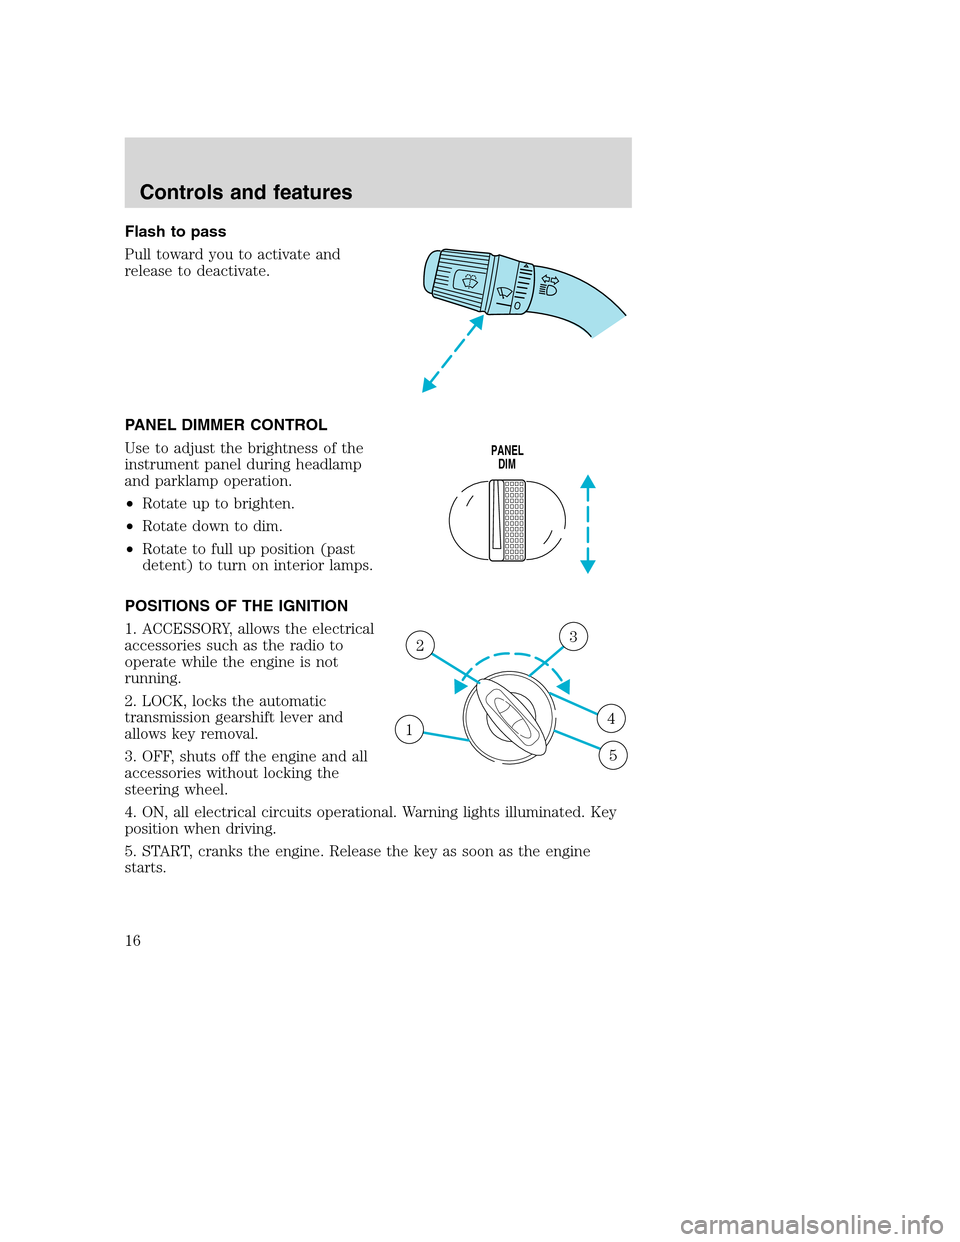
Flash to pass
Pull toward you to activate and
release to deactivate.
PANEL DIMMER CONTROL
Use to adjust the brightness of the
instrument panel during headlamp
and parklamp operation.
•Rotate up to brighten.
•Rotate down to dim.
•Rotate to full up position (past
detent) to turn on interior lamps.
POSITIONS OF THE IGNITION
1. ACCESSORY, allows the electrical
accessories such as the radio to
operate while the engine is not
running.
2. LOCK, locks the automatic
transmission gearshift lever and
allows key removal.
3. OFF, shuts off the engine and all
accessories without locking the
steering wheel.
4. ON, all electrical circuits operational. Warning lights illuminated. Key
position when driving.
5. START, cranks the engine. Release the key as soon as the engine
starts.
PANEL
DIM
1
23
4
5
Controls and features
16
Page 17 of 104
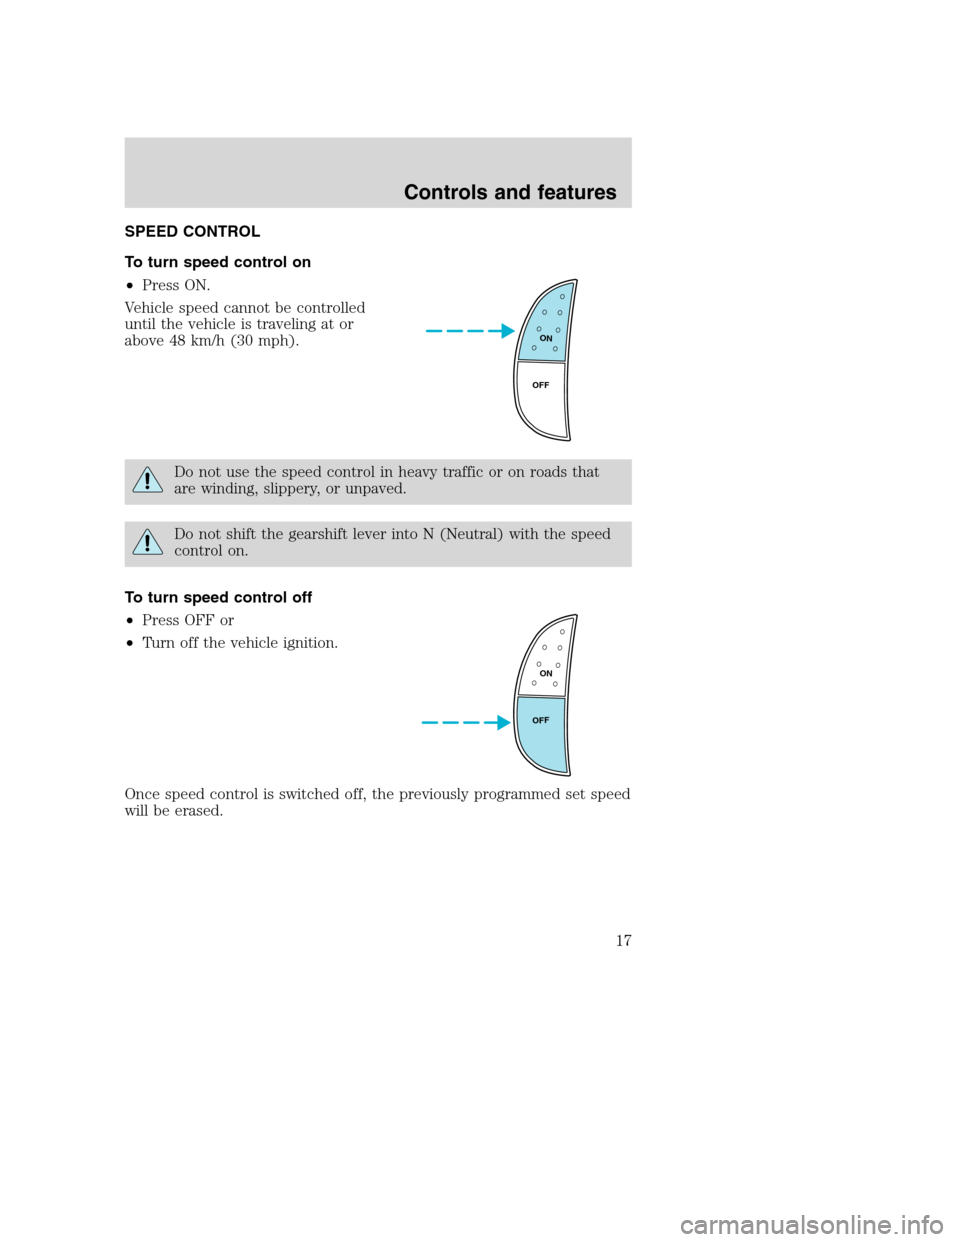
SPEED CONTROL
To turn speed control on
•Press ON.
Vehicle speed cannot be controlled
until the vehicle is traveling at or
above 48 km/h (30 mph).
Do not use the speed control in heavy traffic or on roads that
are winding, slippery, or unpaved.
Do not shift the gearshift lever into N (Neutral) with the speed
control on.
To turn speed control off
•Press OFF or
•Turn off the vehicle ignition.
Once speed control is switched off, the previously programmed set speed
will be erased.
ON
OFF
ON
OFF
Controls and features
17
Page 18 of 104
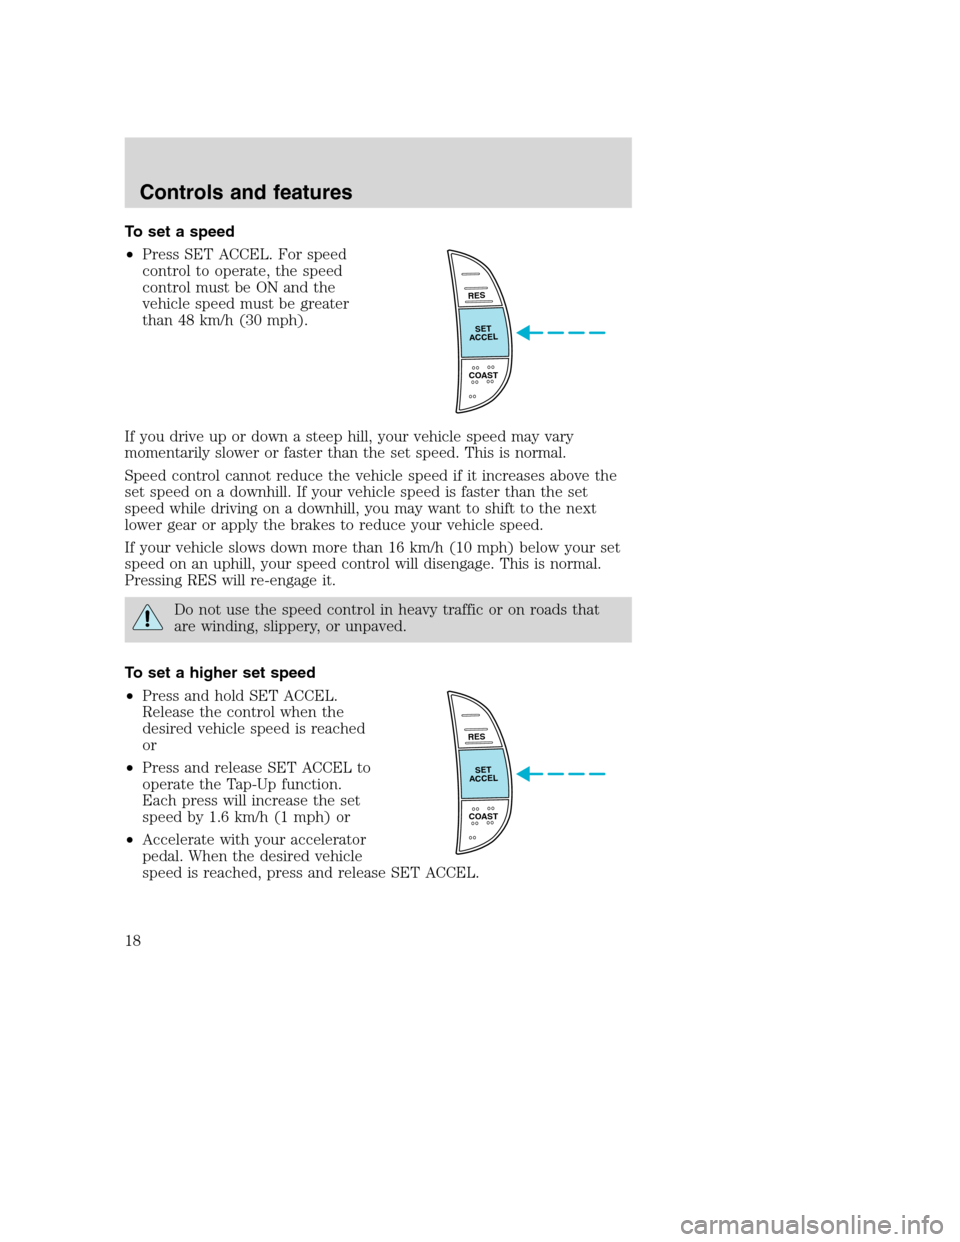
To set a speed
•Press SET ACCEL. For speed
control to operate, the speed
control must be ON and the
vehicle speed must be greater
than 48 km/h (30 mph).
If you drive up or down a steep hill, your vehicle speed may vary
momentarily slower or faster than the set speed. This is normal.
Speed control cannot reduce the vehicle speed if it increases above the
set speed on a downhill. If your vehicle speed is faster than the set
speed while driving on a downhill, you may want to shift to the next
lower gear or apply the brakes to reduce your vehicle speed.
If your vehicle slows down more than 16 km/h (10 mph) below your set
speed on an uphill, your speed control will disengage. This is normal.
Pressing RES will re-engage it.
Do not use the speed control in heavy traffic or on roads that
are winding, slippery, or unpaved.
To set a higher set speed
•Press and hold SET ACCEL.
Release the control when the
desired vehicle speed is reached
or
•Press and release SET ACCEL to
operate the Tap-Up function.
Each press will increase the set
speed by 1.6 km/h (1 mph) or
•Accelerate with your accelerator
pedal. When the desired vehicle
speed is reached, press and release SET ACCEL.
RES
SET
ACCEL
COAST
RES
SET
ACCEL
COAST
Controls and features
18
Page 19 of 104
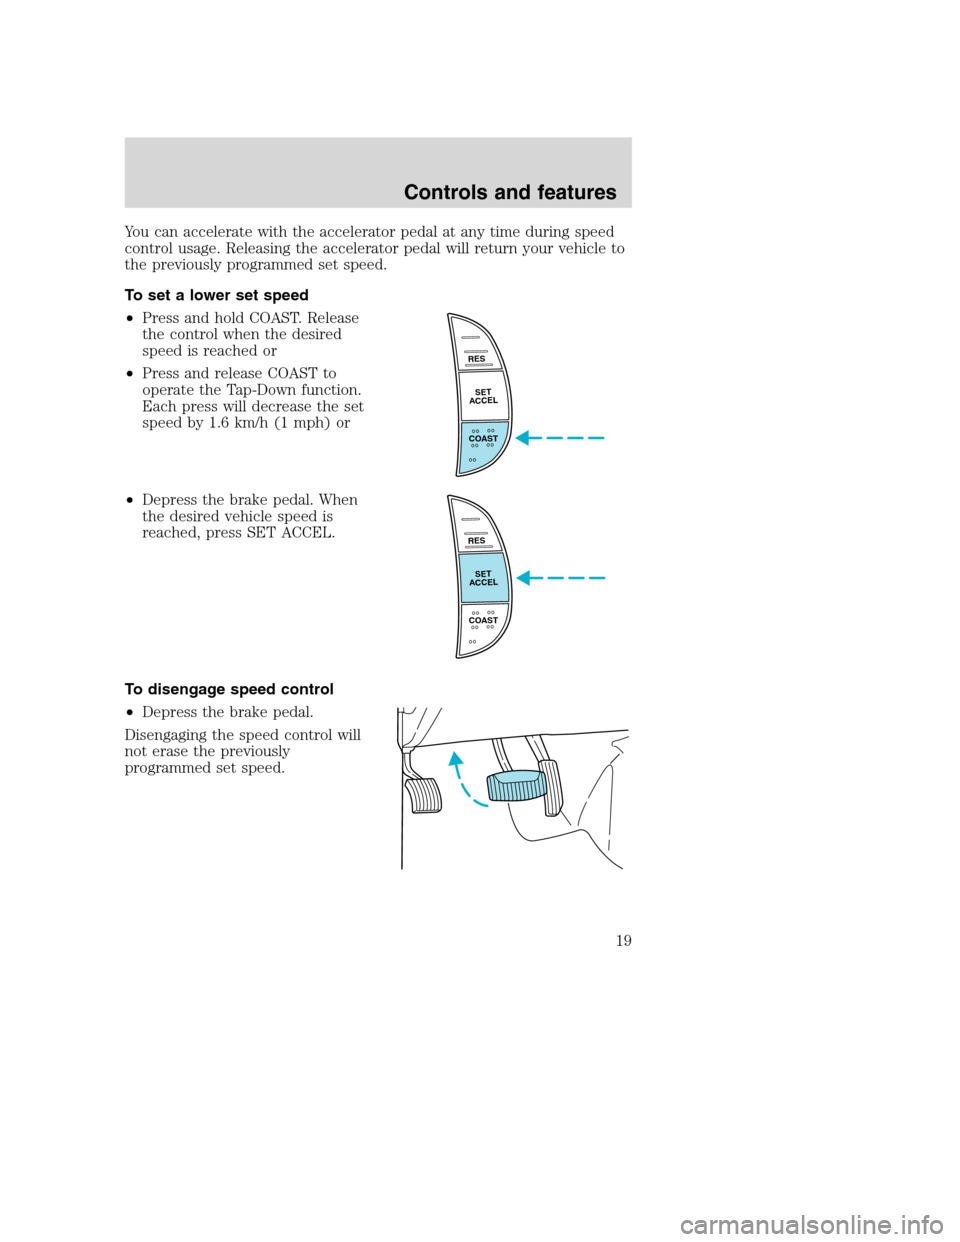
You can accelerate with the accelerator pedal at any time during speed
control usage. Releasing the accelerator pedal will return your vehicle to
the previously programmed set speed.
To set a lower set speed
•Press and hold COAST. Release
the control when the desired
speed is reached or
•Press and release COAST to
operate the Tap-Down function.
Each press will decrease the set
speed by 1.6 km/h (1 mph) or
•Depress the brake pedal. When
the desired vehicle speed is
reached, press SET ACCEL.
To disengage speed control
•Depress the brake pedal.
Disengaging the speed control will
not erase the previously
programmed set speed.
RES
SET
ACCEL
COAST
RES
SET
ACCEL
COAST
Controls and features
19
Page 20 of 104
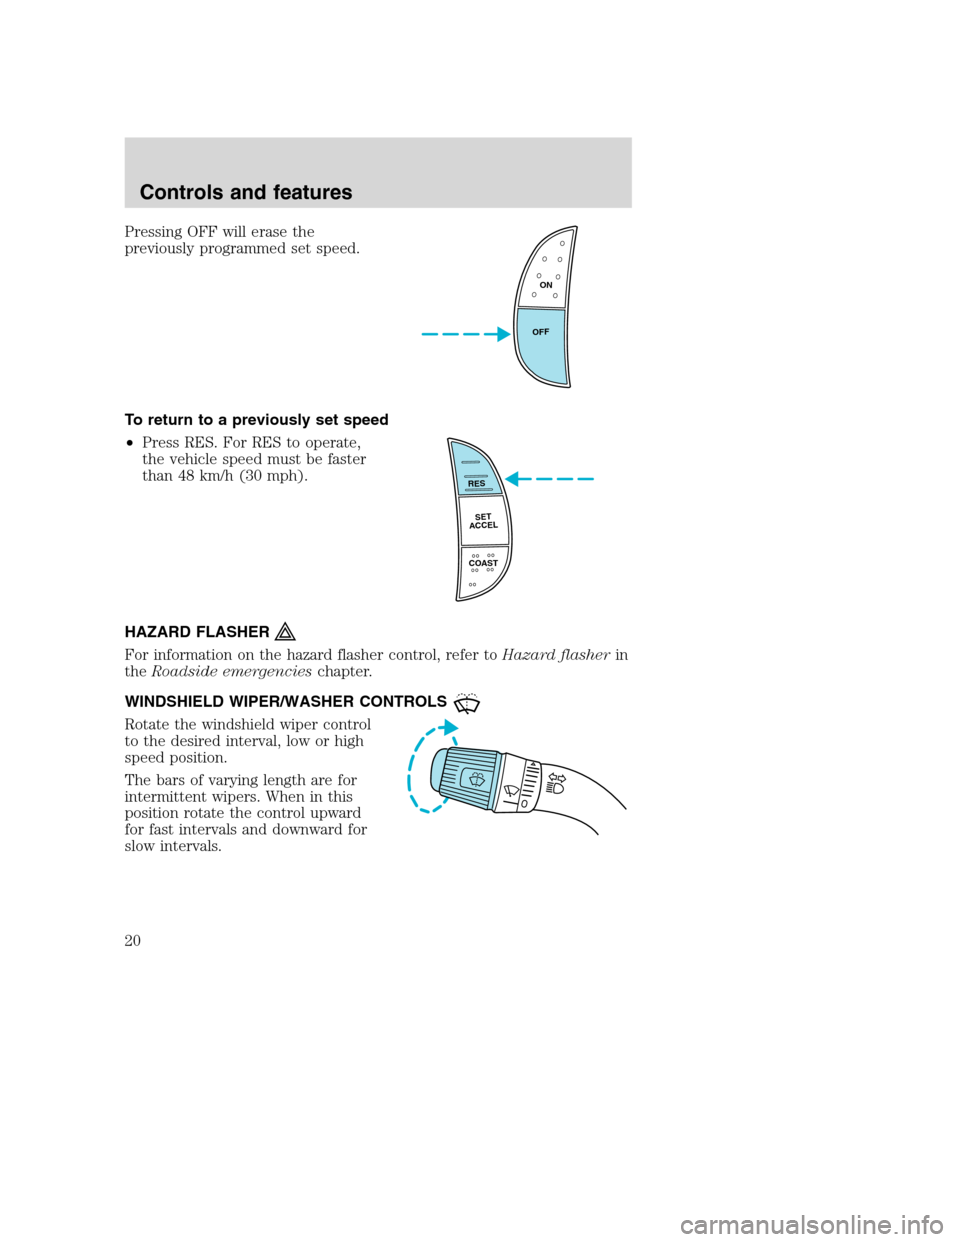
Pressing OFF will erase the
previously programmed set speed.
To return to a previously set speed
•Press RES. For RES to operate,
the vehicle speed must be faster
than 48 km/h (30 mph).
HAZARD FLASHER
For information on the hazard flasher control, refer toHazard flasherin
theRoadside emergencieschapter.
WINDSHIELD WIPER/WASHER CONTROLS
Rotate the windshield wiper control
to the desired interval, low or high
speed position.
The bars of varying length are for
intermittent wipers. When in this
position rotate the control upward
for fast intervals and downward for
slow intervals.
ON
OFF
RES
SET
ACCEL
COAST
Controls and features
20