key FORD F SERIES MOTORHOME AND COMMERCIAL CHASSIS 2009 12.G Owners Manual
[x] Cancel search | Manufacturer: FORD, Model Year: 2009, Model line: F SERIES MOTORHOME AND COMMERCIAL CHASSIS, Model: FORD F SERIES MOTORHOME AND COMMERCIAL CHASSIS 2009 12.GPages: 136, PDF Size: 1.14 MB
Page 54 of 136
STARTING
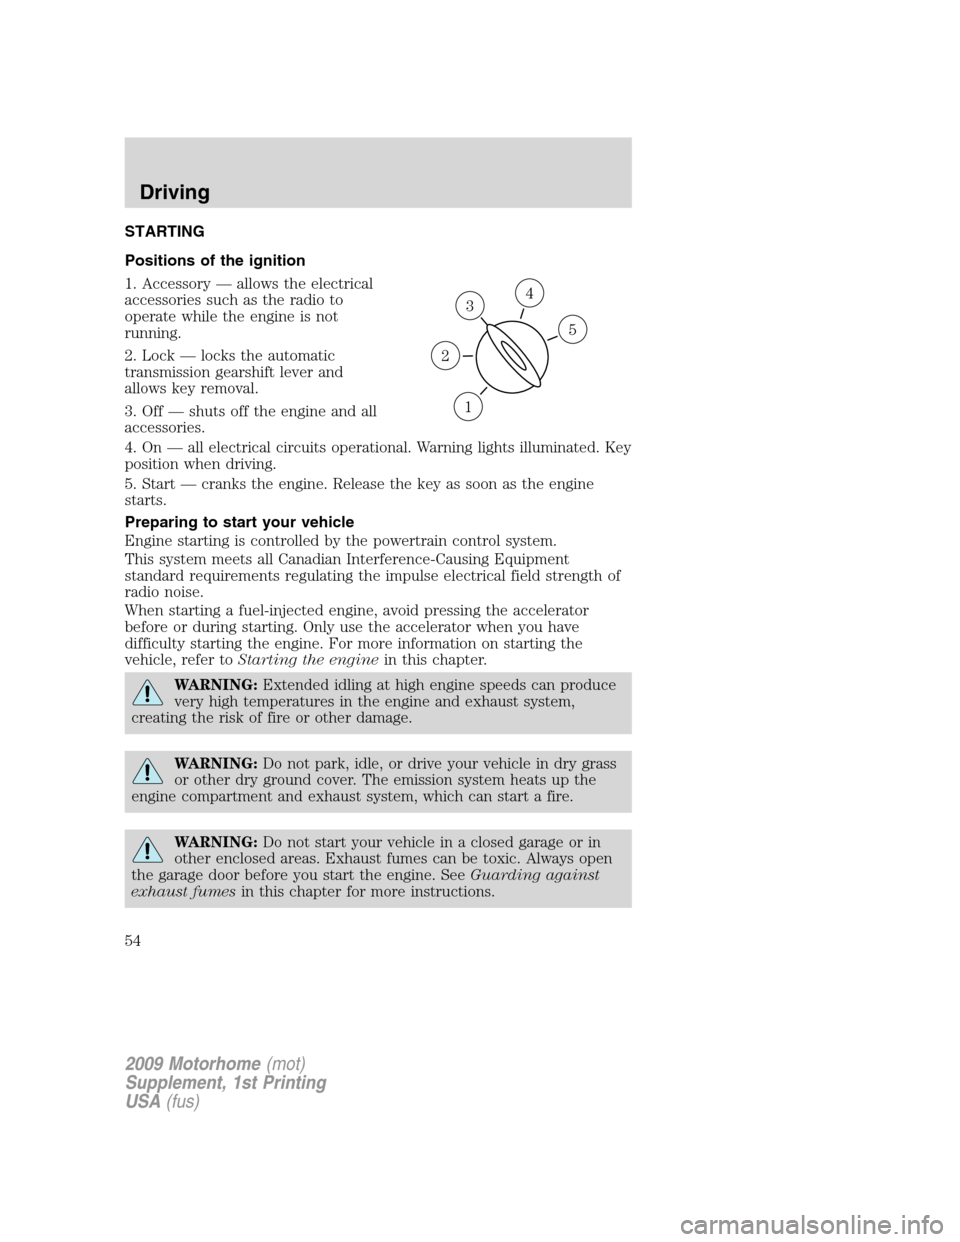
Positions of the ignition
1. Accessory — allows the electrical
accessories such as the radio to
operate while the engine is not
running.
2. Lock — locks the automatic
transmission gearshift lever and
allows key removal.
3. Off — shuts off the engine and all
accessories.
4. On — all electrical circuits operational. Warning lights illuminated. Key
position when driving.
5. Start — cranks the engine. Release the key as soon as the engine
starts.
Preparing to start your vehicle
Engine starting is controlled by the powertrain control system.
This system meets all Canadian Interference-Causing Equipment
standard requirements regulating the impulse electrical field strength of
radio noise.
When starting a fuel-injected engine, avoid pressing the accelerator
before or during starting. Only use the accelerator when you have
difficulty starting the engine. For more information on starting the
vehicle, refer toStarting the enginein this chapter.
WARNING:Extended idling at high engine speeds can produce
very high temperatures in the engine and exhaust system,
creating the risk of fire or other damage.
WARNING:Do not park, idle, or drive your vehicle in dry grass
or other dry ground cover. The emission system heats up the
engine compartment and exhaust system, which can start a fire.
WARNING:Do not start your vehicle in a closed garage or in
other enclosed areas. Exhaust fumes can be toxic. Always open
the garage door before you start the engine. SeeGuarding against
exhaust fumesin this chapter for more instructions.
3
1
2
5
4
2009 Motorhome(mot)
Supplement, 1st Printing
USA(fus)
Driving
54
Page 56 of 136
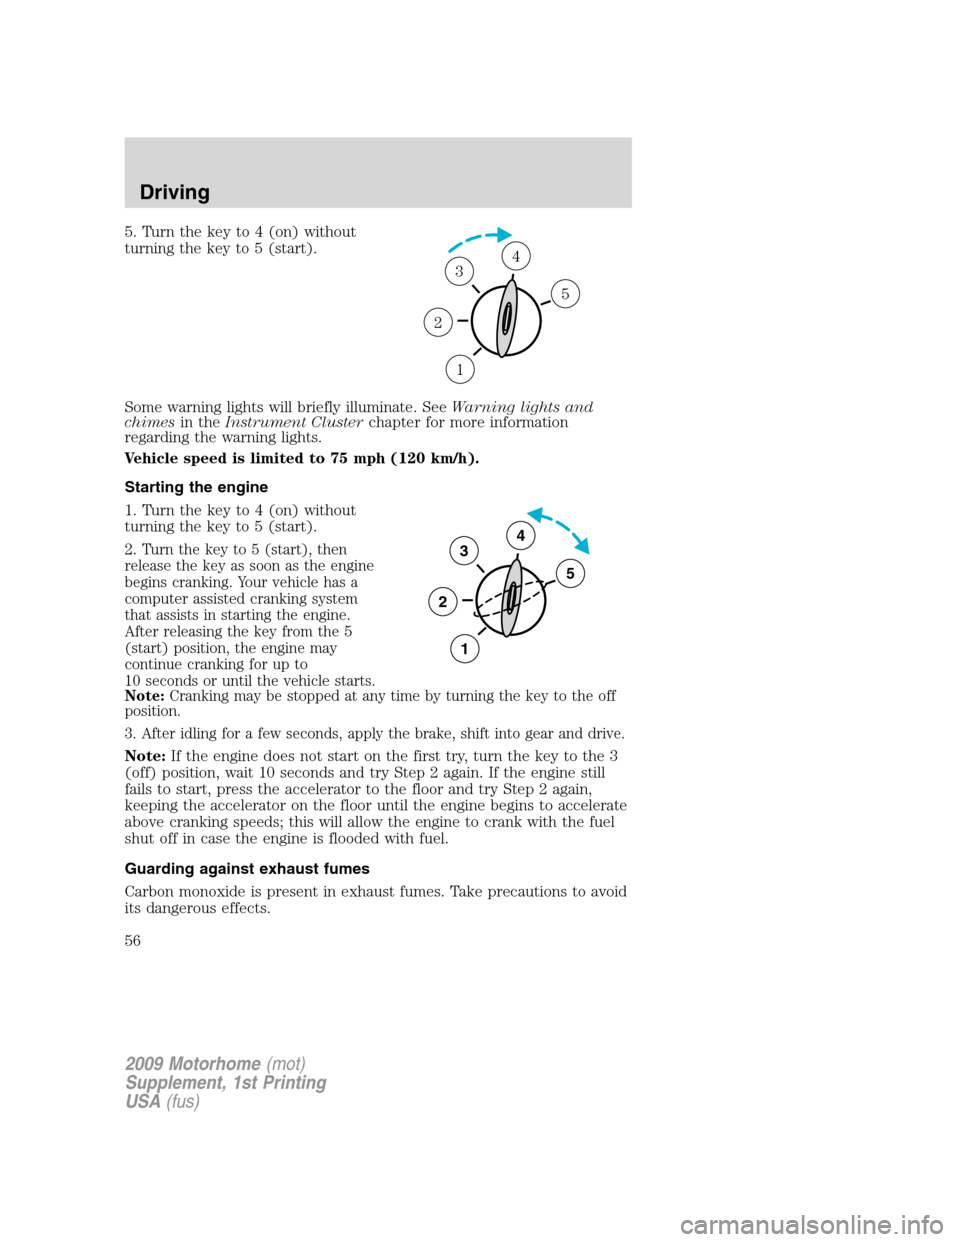
5. Turn the key to 4 (on) without
turning the key to 5 (start).
Some warning lights will briefly illuminate. SeeWarning lights and
chimesin theInstrument Clusterchapter for more information
regarding the warning lights.
Vehicle speed is limited to 75 mph (120 km/h).
Starting the engine
1. Turn the key to 4 (on) without
turning the key to 5 (start).
2.
Turn the key to 5 (start), then
release the key as soon as the engine
begins cranking. Your vehicle has a
computer assisted cranking system
that assists in starting the engine.
After releasing the key from the 5
(start) position, the engine may
continue cranking for up to
10 seconds or until the vehicle starts.
Note:Cranking may be stopped at any time by turning the key to the off
position.
3. After idling for a few seconds, apply the brake, shift into gear and drive.
Note:If the engine does not start on the first try, turn the key to the 3
(off) position, wait 10 seconds and try Step 2 again. If the engine still
fails to start, press the accelerator to the floor and try Step 2 again,
keeping the accelerator on the floor until the engine begins to accelerate
above cranking speeds; this will allow the engine to crank with the fuel
shut off in case the engine is flooded with fuel.
Guarding against exhaust fumes
Carbon monoxide is present in exhaust fumes. Take precautions to avoid
its dangerous effects.
1
2
34
5
3
2
1
5
4
2009 Motorhome(mot)
Supplement, 1st Printing
USA(fus)
Driving
56
Page 60 of 136
Parking brake
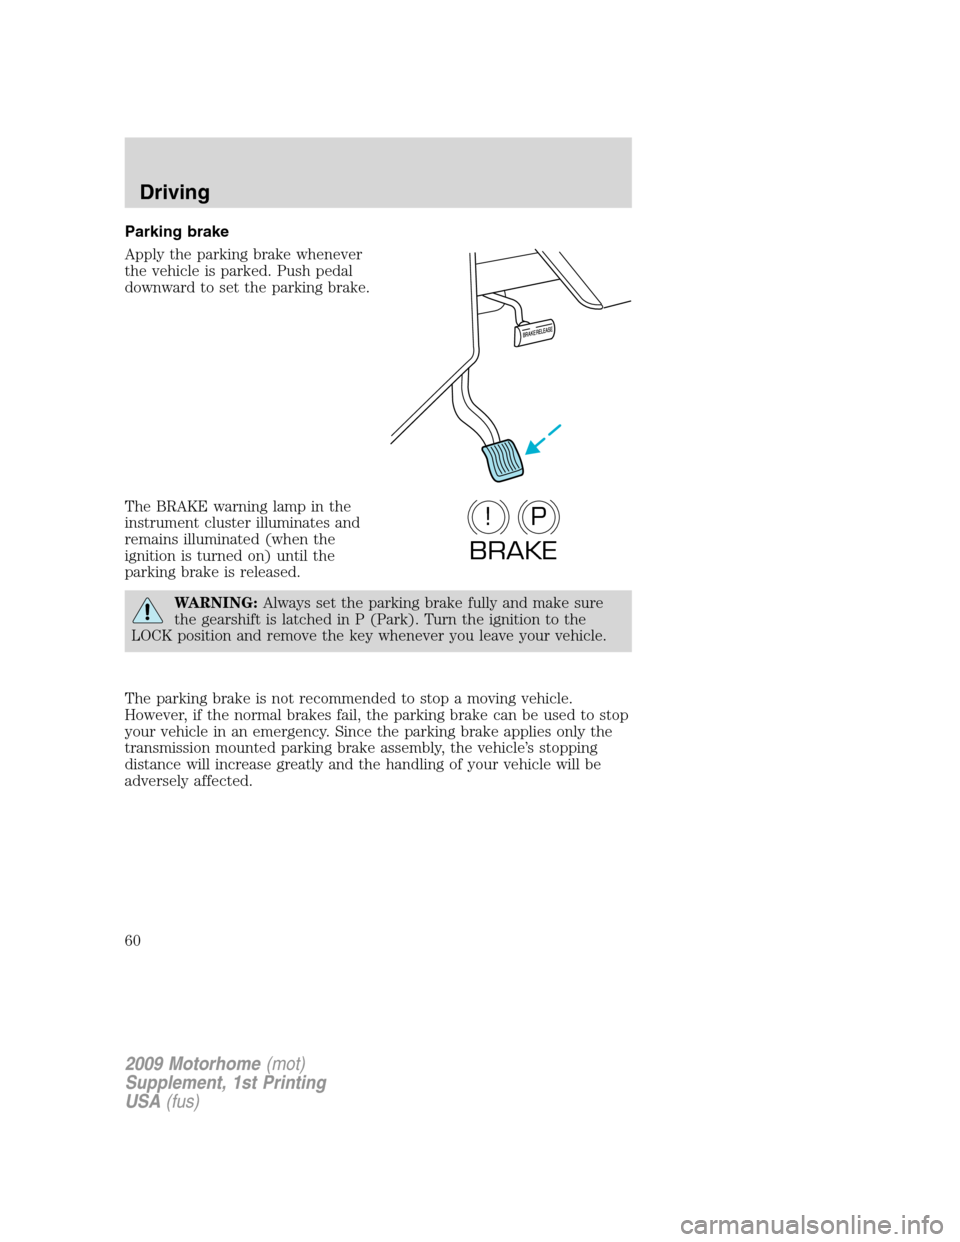
Apply the parking brake whenever
the vehicle is parked. Push pedal
downward to set the parking brake.
The BRAKE warning lamp in the
instrument cluster illuminates and
remains illuminated (when the
ignition is turned on) until the
parking brake is released.
WARNING:Always set the parking brake fully and make sure
the gearshift is latched in P (Park). Turn the ignition to the
LOCK position and remove the key whenever you leave your vehicle.
The parking brake is not recommended to stop a moving vehicle.
However, if the normal brakes fail, the parking brake can be used to stop
your vehicle in an emergency. Since the parking brake applies only the
transmission mounted parking brake assembly, the vehicle’s stopping
distance will increase greatly and the handling of your vehicle will be
adversely affected.
P!
BRAKE
2009 Motorhome(mot)
Supplement, 1st Printing
USA(fus)
Driving
60
Page 61 of 136
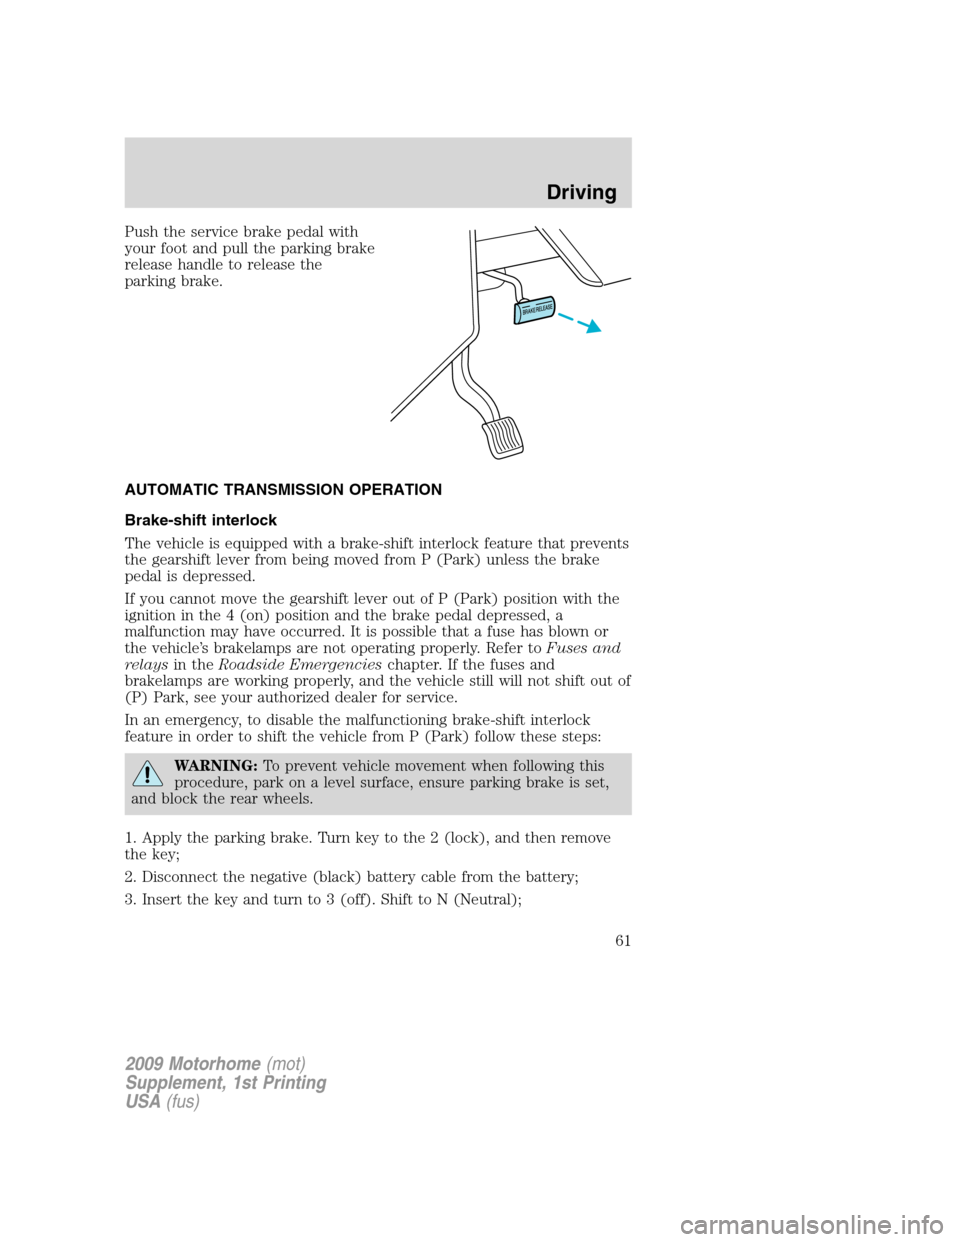
Push the service brake pedal with
your foot and pull the parking brake
release handle to release the
parking brake.
AUTOMATIC TRANSMISSION OPERATION
Brake-shift interlock
The vehicle is equipped with a brake-shift interlock feature that prevents
the gearshift lever from being moved from P (Park) unless the brake
pedal is depressed.
If you cannot move the gearshift lever out of P (Park) position with the
ignition in the 4 (on) position and the brake pedal depressed, a
malfunction may have occurred. It is possible that a fuse has blown or
the vehicle’s brakelamps are not operating properly. Refer toFuses and
relaysin theRoadside Emergencieschapter. If the fuses and
brakelamps are working properly, and the vehicle still will not shift out of
(P) Park, see your authorized dealer for service.
In an emergency, to disable the malfunctioning brake-shift interlock
feature in order to shift the vehicle from P (Park) follow these steps:
WARNING:To prevent vehicle movement when following this
procedure, park on a level surface, ensure parking brake is set,
and block the rear wheels.
1. Apply the parking brake. Turn key to the 2 (lock), and then remove
the key;
2. Disconnect the negative (black) battery cable from the battery;
3. Insert the key and turn to 3 (off). Shift to N (Neutral);
2009 Motorhome(mot)
Supplement, 1st Printing
USA(fus)
Driving
61
Page 62 of 136
4. Reconnect the negative (black) battery cable to the battery;
5. Start the vehicle.
See your authorized dealer for service immediately.
WARNING:If your brake lamps are not working properly or if
you have disconnected the vehicle battery cables, the vehicle
brake lamps and hazard flashers may not properly warn traffic of a
vehicle breakdown or approaching danger, which can increase the risk
of serious injury or death. To minimize the risk of serious injury or
death, be aware of your surroundings, use other hazard signaling
devices if available, and move the vehicle to a safe location away from
traffic as soon as possible.
WARNING:Do not drive your vehicle until you verify that the
brakelamps are working.
WARNING:Always set the parking brake fully and make sure
the gearshift is latched in P (Park). Turn the ignition to the lock
position and remove the key whenever you leave your vehicle.
WARNING:If the parking brake is fully released, but the brake
warning lamp remains illuminated, the brakes may not be
working properly. See your authorized dealer.
2009 Motorhome(mot)
Supplement, 1st Printing
USA(fus)
Driving
62
Page 63 of 136
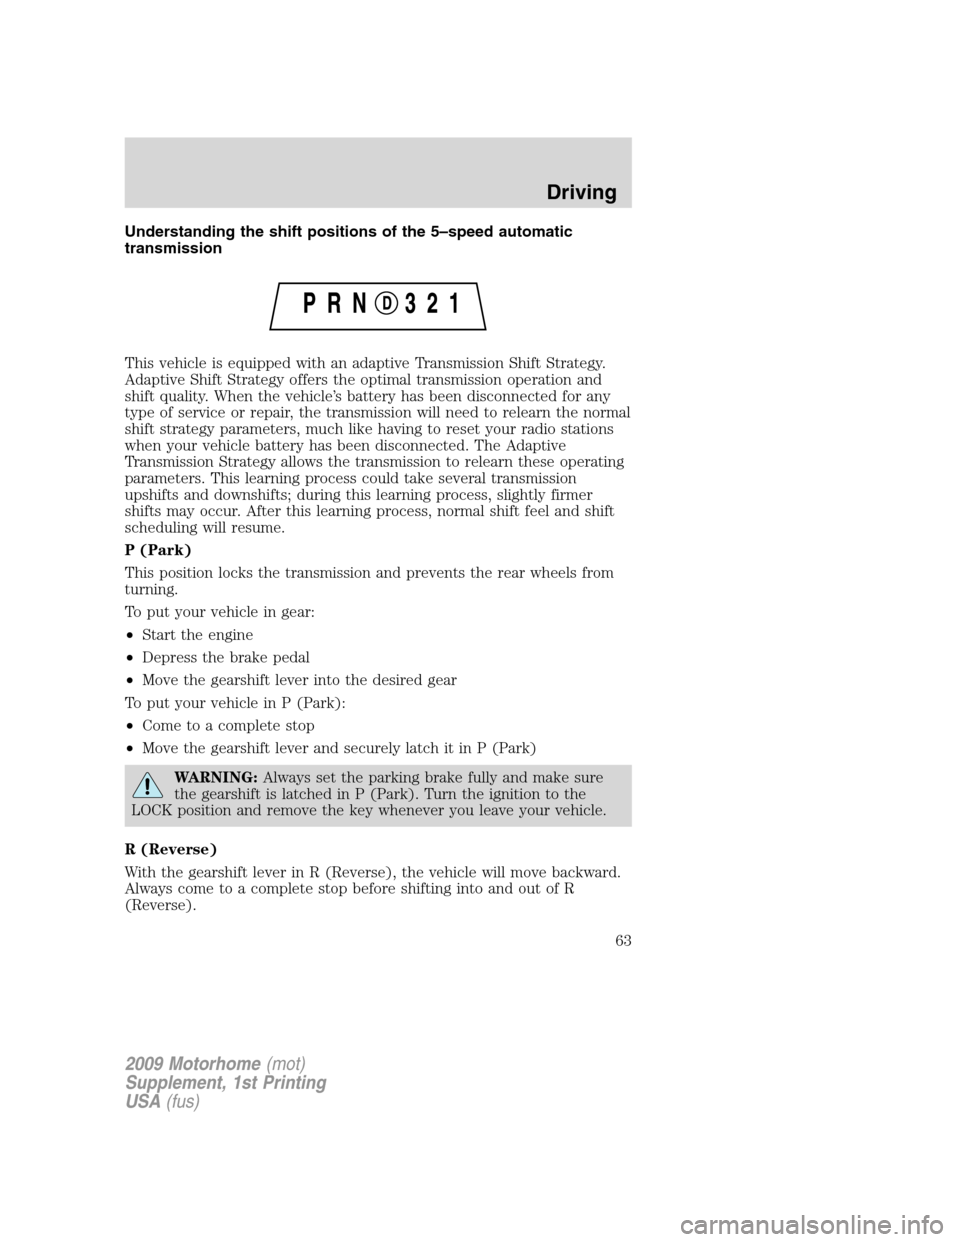
Understanding the shift positions of the 5–speed automatic
transmission
This vehicle is equipped with an adaptive Transmission Shift Strategy.
Adaptive Shift Strategy offers the optimal transmission operation and
shift quality. When the vehicle’s battery has been disconnected for any
type of service or repair, the transmission will need to relearn the normal
shift strategy parameters, much like having to reset your radio stations
when your vehicle battery has been disconnected. The Adaptive
Transmission Strategy allows the transmission to relearn these operating
parameters. This learning process could take several transmission
upshifts and downshifts; during this learning process, slightly firmer
shifts may occur. After this learning process, normal shift feel and shift
scheduling will resume.
P (Park)
This position locks the transmission and prevents the rear wheels from
turning.
To put your vehicle in gear:
•Start the engine
•Depress the brake pedal
•Move the gearshift lever into the desired gear
To put your vehicle in P (Park):
•Come to a complete stop
•Move the gearshift lever and securely latch it in P (Park)
WARNING:Always set the parking brake fully and make sure
the gearshift is latched in P (Park). Turn the ignition to the
LOCK position and remove the key whenever you leave your vehicle.
R (Reverse)
With the gearshift lever in R (Reverse), the vehicle will move backward.
Always come to a complete stop before shifting into and out of R
(Reverse).
2009 Motorhome(mot)
Supplement, 1st Printing
USA(fus)
Driving
63
Page 67 of 136
ROADSIDE ASSISTANCE
Getting roadside assistance
To fully assist you should you have a vehicle concern, Ford Motor
Company offers a complimentary roadside assistance program. This
program is separate from the New Vehicle Limited Warranty. The service
is available:
•24–hours, seven days a week
•for the coverage period listed on the Roadside Assistance Card
included in your Owner Guide portfolio.
Roadside assistance will cover:
•a flat tire change with a good spare (except vehicles that have been
supplied with a tire inflation kit)
•battery jump start
•lock-out assistance (key replacement cost is the customer’s
responsibility)
•fuel delivery – Independent Service Contractors, if not prohibited by
state, local or municipal law shall deliver 5 gallons (18.9L) of fuel to a
disabled vehicle. Fuel delivery service is limited to two no-charge
occurrences within a 12-month period.
•towing – Ford/Mercury/Lincoln eligible vehicle towed to an authorized
dealer within 35 miles (56.3 km) of the disablement location or to the
nearest authorized dealer. If a member requests to be towed to an
authorized dealer more than 35 miles (56.3 km) from the disablement
location, the member shall be responsible for any mileage costs in
excess of 35 miles (56.3 km).
Trailers shall be covered up to $200 if the disabled eligible vehicle
requires service at the nearest authorized dealer. If the trailer is disabled,
but the towing vehicle is operational, the trailer does not qualify for any
roadside services.
Canadian customers refer to your Customer Information Guide
for information on:
•coverage period
•exact fuel amounts
•towing of your disabled vehicle
2009 Motorhome(mot)
Supplement, 1st Printing
USA(fus)
Roadside Emergencies
67
Page 96 of 136
SERVICE RECOMMENDATIONS
To help you service your vehicle, we providescheduled maintenance
informationwhich makes tracking routine service easy.
If your vehicle requires professional service, your authorized dealer can
provide the necessary parts and service. Check yourWarranty
Guide/Customer Information Guideto find out which parts and
services are covered.
Use only recommended fuels, lubricants, fluids and service parts
conforming to specifications. Motorcraft parts are designed and built to
provide the best performance in your vehicle.
PRECAUTIONS WHEN SERVICING YOUR VEHICLE
•Do not work on a hot engine.
•Make sure that nothing gets caught in moving parts.
•Do not work on a vehicle with the engine running in an enclosed
space, unless you are sure you have enough ventilation.
•Keep all open flames and other lit material away from the battery and
all fuel related parts.
Working with the engine off
1. Set the parking brake and shift to P (Park).
2. Turn off the engine and remove the key.
3. Block the wheels.
Working with the engine on
1. Set the parking brake and shift to P (Park).
2. Block the wheels.
WARNING:To reduce the risk of vehicle damage and/or
personal burn injuries, do not start your engine with the air
cleaner removed and do not remove it while the engine is running.
2009 Motorhome(mot)
Supplement, 1st Printing
USA(fus)
Maintenance and Specifications
96
Page 117 of 136
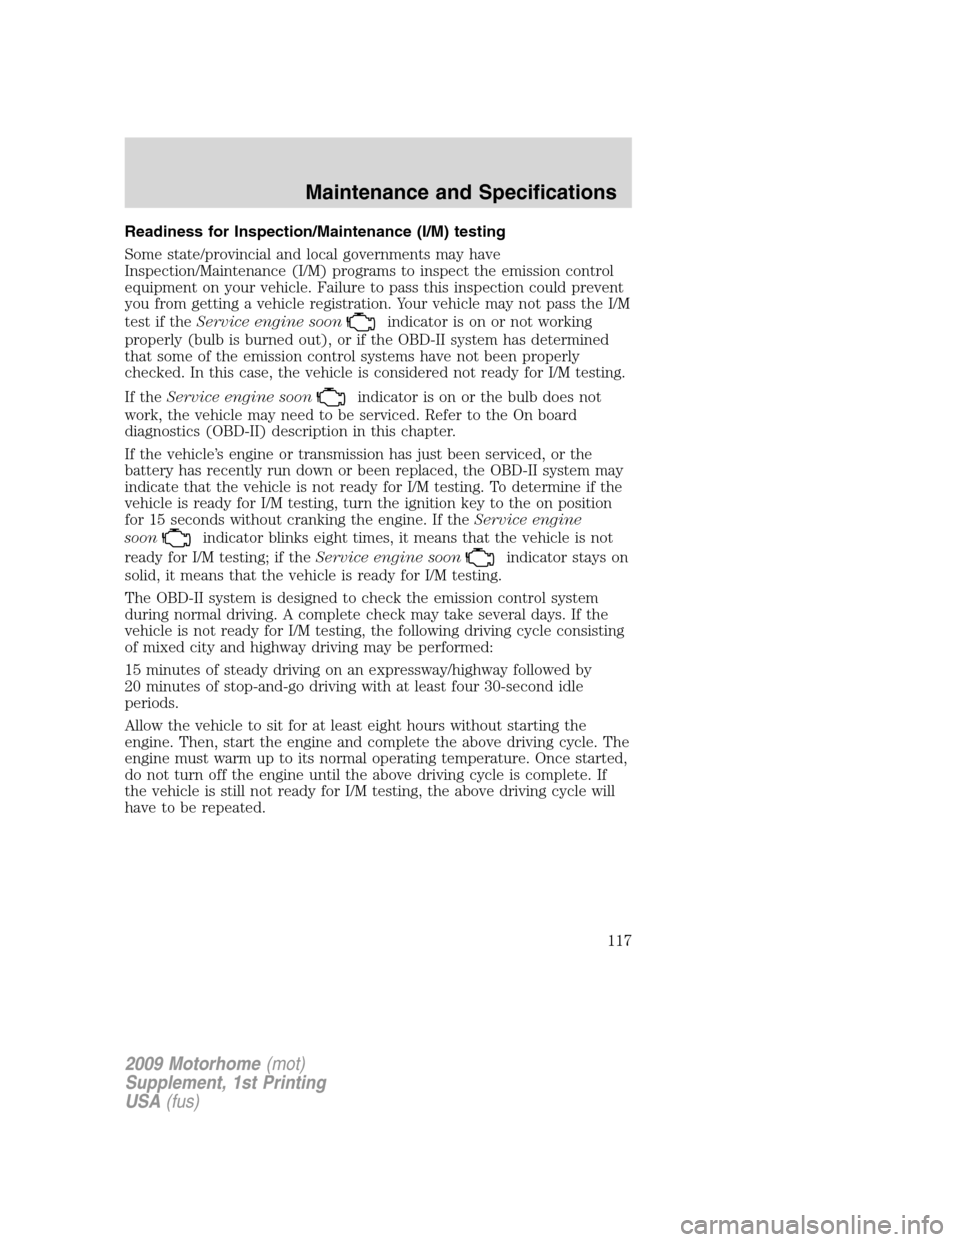
Readiness for Inspection/Maintenance (I/M) testing
Some state/provincial and local governments may have
Inspection/Maintenance (I/M) programs to inspect the emission control
equipment on your vehicle. Failure to pass this inspection could prevent
you from getting a vehicle registration. Your vehicle may not pass the I/M
test if theService engine soon
indicator is on or not working
properly (bulb is burned out), or if the OBD-II system has determined
that some of the emission control systems have not been properly
checked. In this case, the vehicle is considered not ready for I/M testing.
If theService engine soon
indicator is on or the bulb does not
work, the vehicle may need to be serviced. Refer to the On board
diagnostics (OBD-II) description in this chapter.
If the vehicle’s engine or transmission has just been serviced, or the
battery has recently run down or been replaced, the OBD-II system may
indicate that the vehicle is not ready for I/M testing. To determine if the
vehicle is ready for I/M testing, turn the ignition key to the on position
for 15 seconds without cranking the engine. If theService engine
soon
indicator blinks eight times, it means that the vehicle is not
ready for I/M testing; if theService engine soon
indicator stays on
solid, it means that the vehicle is ready for I/M testing.
The OBD-II system is designed to check the emission control system
during normal driving. A complete check may take several days. If the
vehicle is not ready for I/M testing, the following driving cycle consisting
of mixed city and highway driving may be performed:
15 minutes of steady driving on an expressway/highway followed by
20 minutes of stop-and-go driving with at least four 30-second idle
periods.
Allow the vehicle to sit for at least eight hours without starting the
engine. Then, start the engine and complete the above driving cycle. The
engine must warm up to its normal operating temperature. Once started,
do not turn off the engine until the above driving cycle is complete. If
the vehicle is still not ready for I/M testing, the above driving cycle will
have to be repeated.
2009 Motorhome(mot)
Supplement, 1st Printing
USA(fus)
Maintenance and Specifications
117
Page 134 of 136
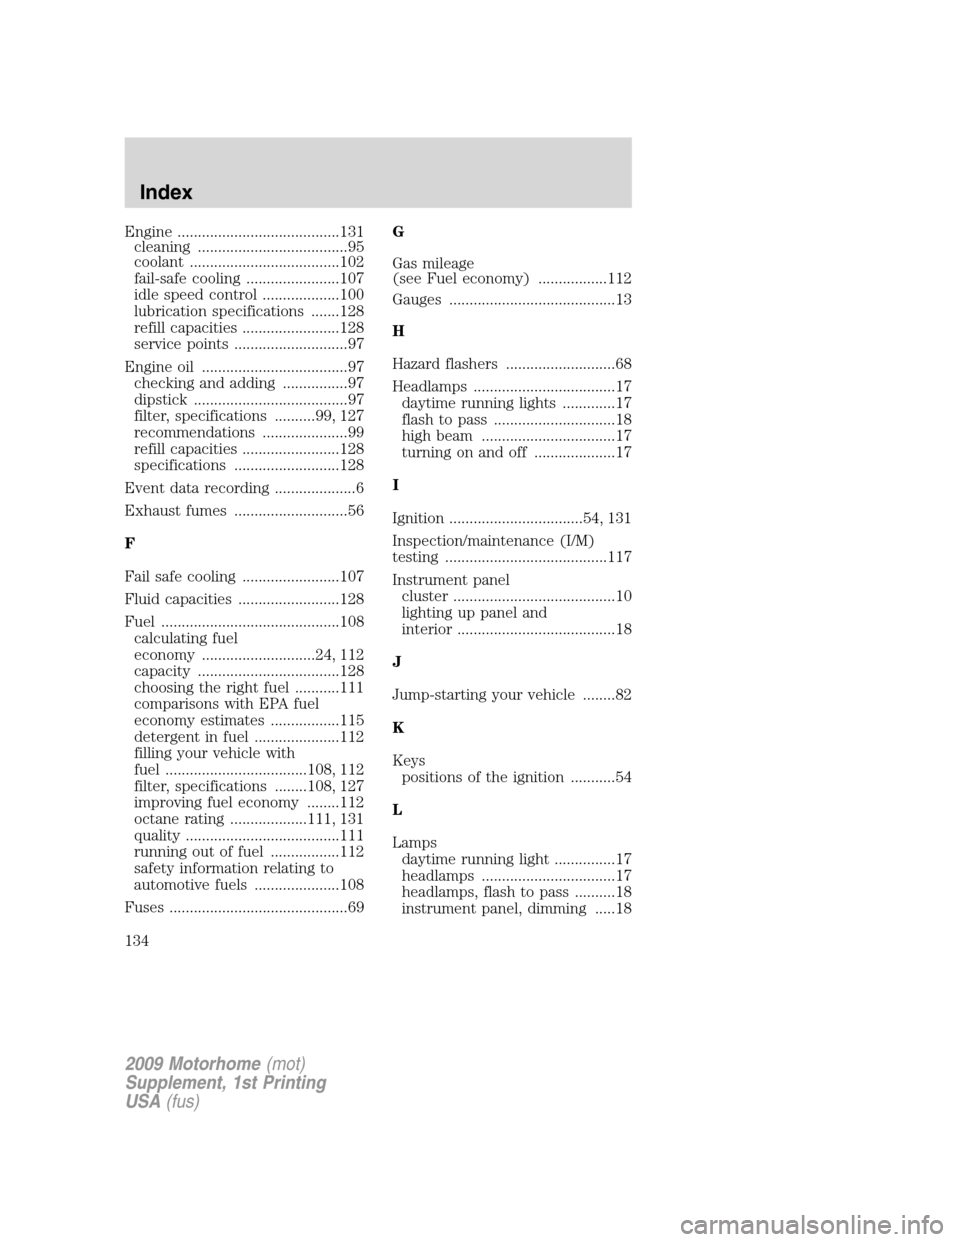
Engine ........................................131
cleaning .....................................95
coolant .....................................102
fail-safe cooling .......................107
idle speed control ...................100
lubrication specifications .......128
refill capacities ........................128
service points ............................97
Engine oil ....................................97
checking and adding ................97
dipstick ......................................97
filter, specifications ..........99, 127
recommendations .....................99
refill capacities ........................128
specifications ..........................128
Event data recording ....................6
Exhaust fumes ............................56
F
Fail safe cooling ........................107
Fluid capacities .........................128
Fuel ............................................108
calculating fuel
economy ............................24, 112
capacity ...................................128
choosing the right fuel ...........111
comparisons with EPA fuel
economy estimates .................115
detergent in fuel .....................112
filling your vehicle with
fuel ...................................108, 112
filter, specifications ........108, 127
improving fuel economy ........112
octane rating ...................111, 131
quality ......................................111
running out of fuel .................112
safety information relating to
automotive fuels .....................108
Fuses ............................................69G
Gas mileage
(see Fuel economy) .................112
Gauges .........................................13
H
Hazard flashers ...........................68
Headlamps ...................................17
daytime running lights .............17
flash to pass ..............................18
high beam .................................17
turning on and off ....................17
I
Ignition .................................54, 131
Inspection/maintenance (I/M)
testing ........................................117
Instrument panel
cluster ........................................10
lighting up panel and
interior .......................................18
J
Jump-starting your vehicle ........82
K
Keys
positions of the ignition ...........54
L
Lamps
daytime running light ...............17
headlamps .................................17
headlamps, flash to pass ..........18
instrument panel, dimming .....18
2009 Motorhome(mot)
Supplement, 1st Printing
USA(fus)
Index
134