display FORD F150 2001 10.G Rear Seat Entertainment System Manual
[x] Cancel search | Manufacturer: FORD, Model Year: 2001, Model line: F150, Model: FORD F150 2001 10.GPages: 24, PDF Size: 0.19 MB
Page 14 of 24
GENERAL OPERATION
²When the engine is not running, use the system sparingly otherwise it
will run the battery down.
²
When the ignition is turned to OFF, the Rear Seat Entertainment System
(RSES) is also turned OFF. When the ignition is turned ON, the RSES
returns to SINGLE PLAY mode and the last media position. To play a
video tape, toggle the MEDIA control on the RSEM to VCP mode.
²Do not leave the videocassette in the videocassette player (VCP)
overnight or for long periods of time.
²To listen through the vehicle's speaker system, press the speaker
button (
/) on the Rear Seat Entertainment Module (RSEM).
When the ignition is turned ON, audio is through the headphones at
LOW volume. Press the (+) control to increase volume.
²
To enable or disable the RSES, simultaneously press the 3 and 5 memory
presets on the radio face. When the RSEM controls are enabled,
will
appear in the radio display. Press the presets again to disable the RSES.
Inserting/removing cassette
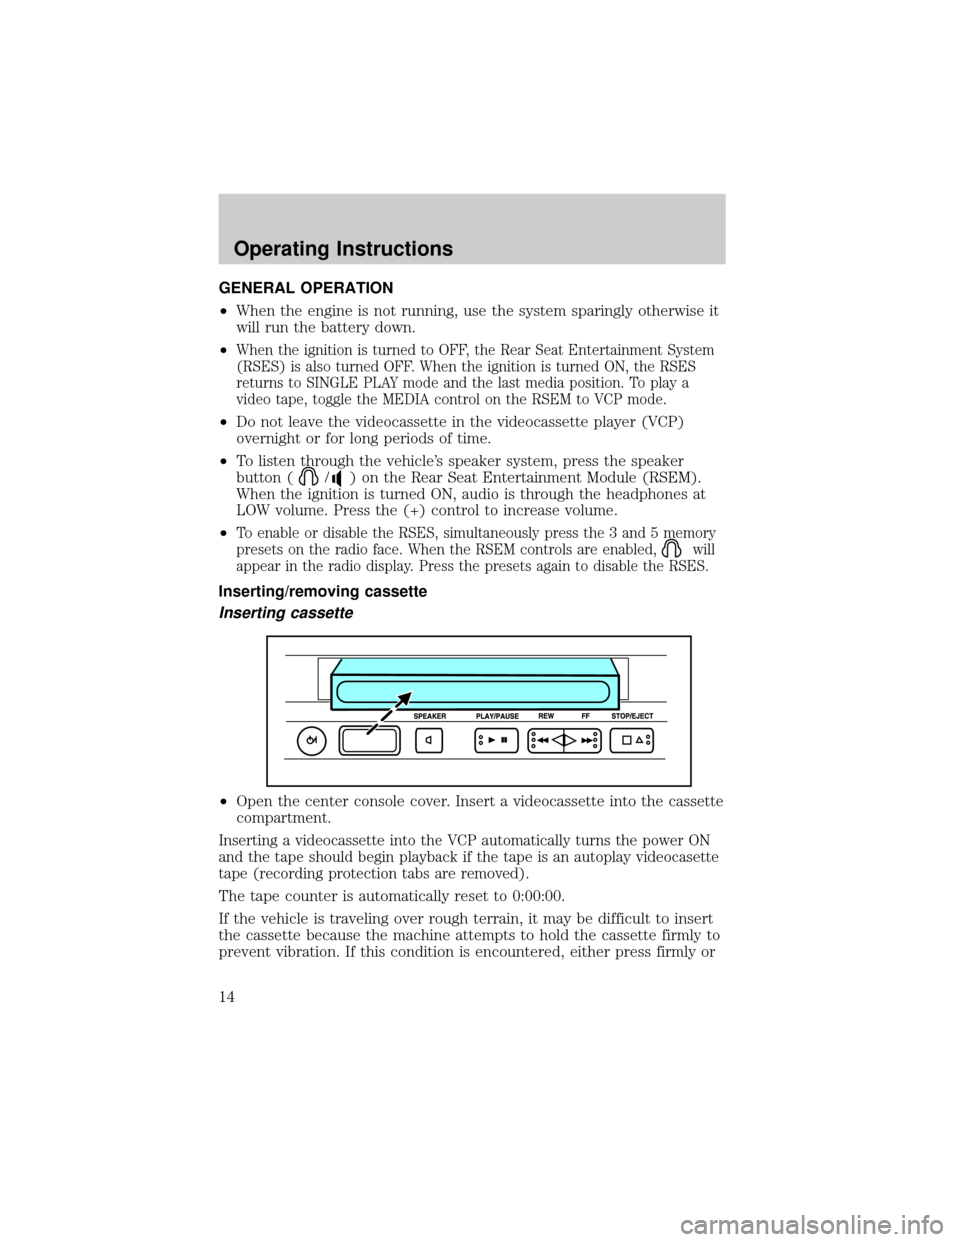
Inserting cassette
²Open the center console cover. Insert a videocassette into the cassette
compartment.
Inserting a videocassette into the VCP automatically turns the power ON
and the tape should begin playback if the tape is an autoplay videocasette
tape (recording protection tabs are removed).
The tape counter is automatically reset to 0:00:00.
If the vehicle is traveling over rough terrain, it may be difficult to insert
the cassette because the machine attempts to hold the cassette firmly to
prevent vibration. If this condition is encountered, either press firmly or
Operating Instructions
14
Page 16 of 24
1. TAPE SPEED
²SP (standard play) or EP (extended play)
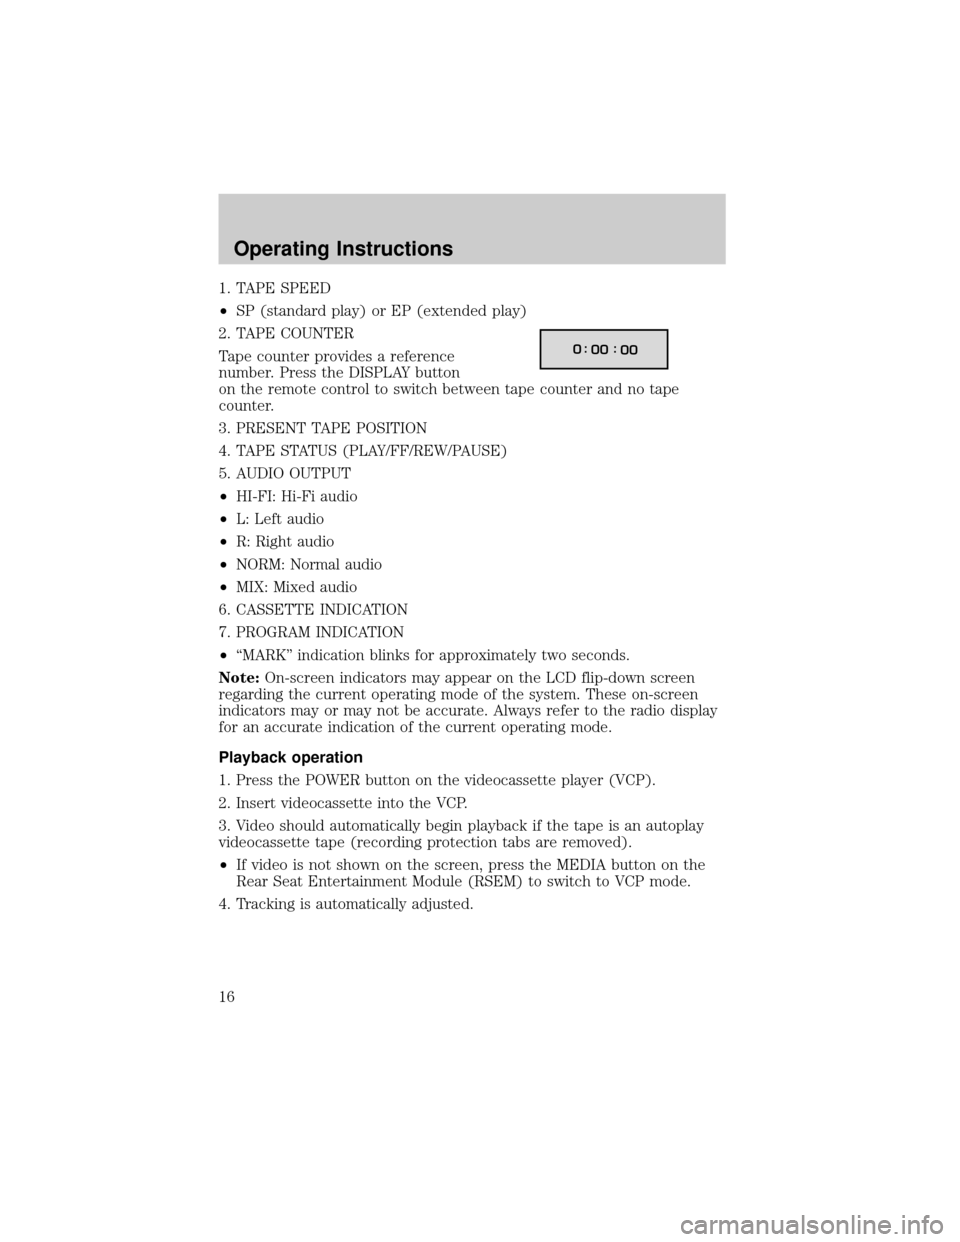
2. TAPE COUNTER
Tape counter provides a reference
number. Press the DISPLAY button
on the remote control to switch between tape counter and no tape
counter.
3. PRESENT TAPE POSITION
4. TAPE STATUS (PLAY/FF/REW/PAUSE)
5. AUDIO OUTPUT
²HI-FI: Hi-Fi audio
²L: Left audio
²R: Right audio
²NORM: Normal audio
²MIX: Mixed audio
6. CASSETTE INDICATION
7. PROGRAM INDICATION
²ªMARKº indication blinks for approximately two seconds.
Note:On-screen indicators may appear on the LCD flip-down screen
regarding the current operating mode of the system. These on-screen
indicators may or may not be accurate. Always refer to the radio display
for an accurate indication of the current operating mode.
Playback operation
1. Press the POWER button on the videocassette player (VCP).
2. Insert videocassette into the VCP.
3. Video should automatically begin playback if the tape is an autoplay
videocassette tape (recording protection tabs are removed).
²If video is not shown on the screen, press the MEDIA button on the
Rear Seat Entertainment Module (RSEM) to switch to VCP mode.
4. Tracking is automatically adjusted.
0:
00 :
00
Operating Instructions
16
Page 17 of 24
²If excessive video ªnoiseº (picture fluctuates up and down) occurs,
press the AUTO button on the remote control to switch OFF
automatic tracking. Manually adjust tape tracking with the TRACKING
(+) (þ) buttons.
5. Press the STOP button to discontinue playback, or press EJECT to
remove the cassette.
Single play/ Dual play modes
Your Rear Seat Entertainment System (RSES) system is equipped with
single play and dual play modes. This unique feature allows front and
rear seat passengers to simultaneously listen to different media sources.
However, the front and rear seat passengers cannot listen to two
different radio stations simultaneously.
Note:Always refer to the radio display to determine whether the system
is in single play or dual play mode. The liquid crystal display (LCD) has
on-screen indicators that may or may not accurately indicate the current
mode.
Single play
In single play mode, only one media source is selected at a time. The
audio is played through all four speakers for all passengers to hear.
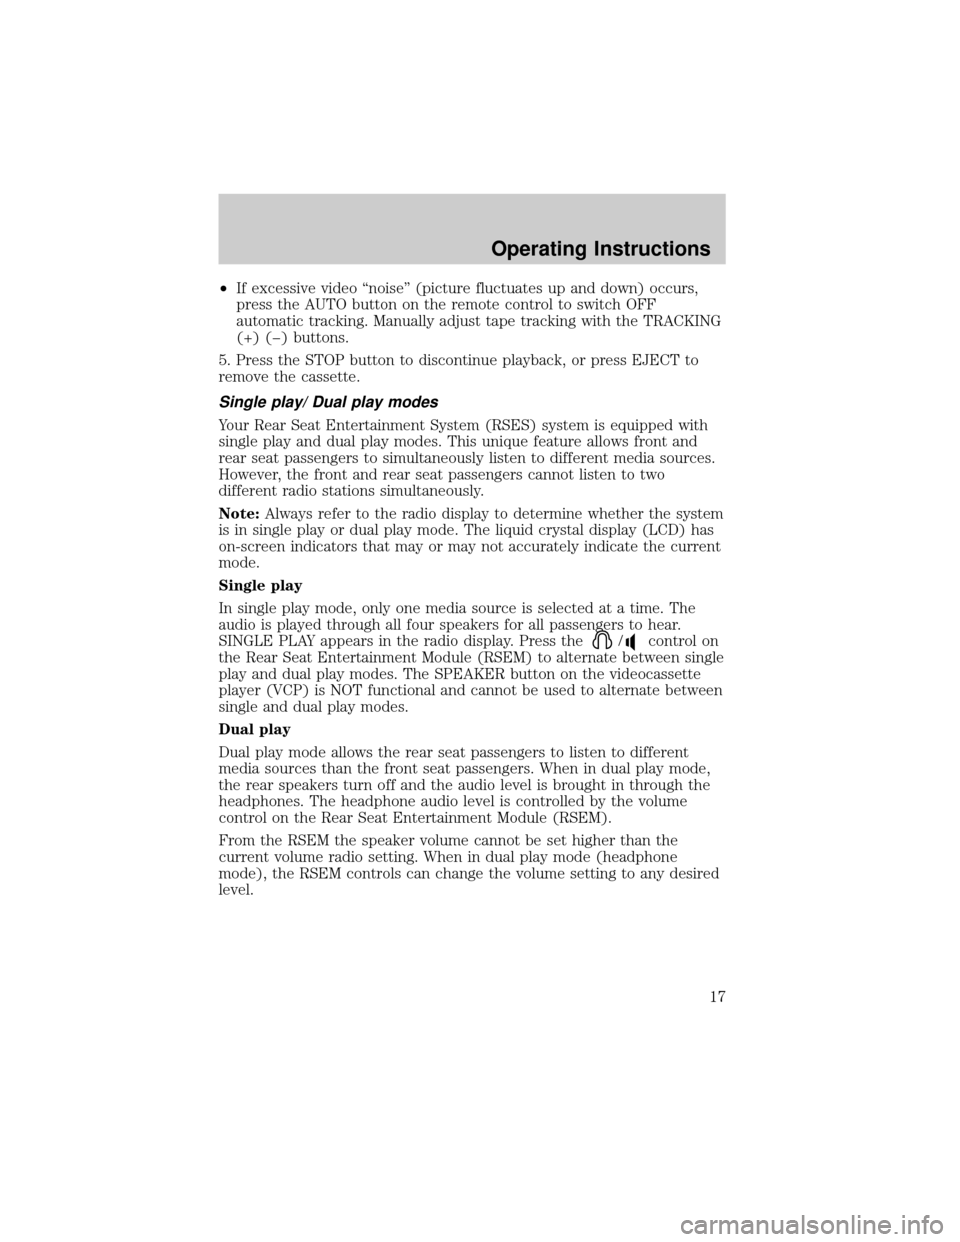
SINGLE PLAY appears in the radio display. Press the
/control on
the Rear Seat Entertainment Module (RSEM) to alternate between single
play and dual play modes. The SPEAKER button on the videocassette
player (VCP) is NOT functional and cannot be used to alternate between
single and dual play modes.
Dual play
Dual play mode allows the rear seat passengers to listen to different
media sources than the front seat passengers. When in dual play mode,
the rear speakers turn off and the audio level is brought in through the
headphones. The headphone audio level is controlled by the volume
control on the Rear Seat Entertainment Module (RSEM).
From the RSEM the speaker volume cannot be set higher than the
current volume radio setting. When in dual play mode (headphone
mode), the RSEM controls can change the volume setting to any desired
level.
Operating Instructions
17
Page 18 of 24
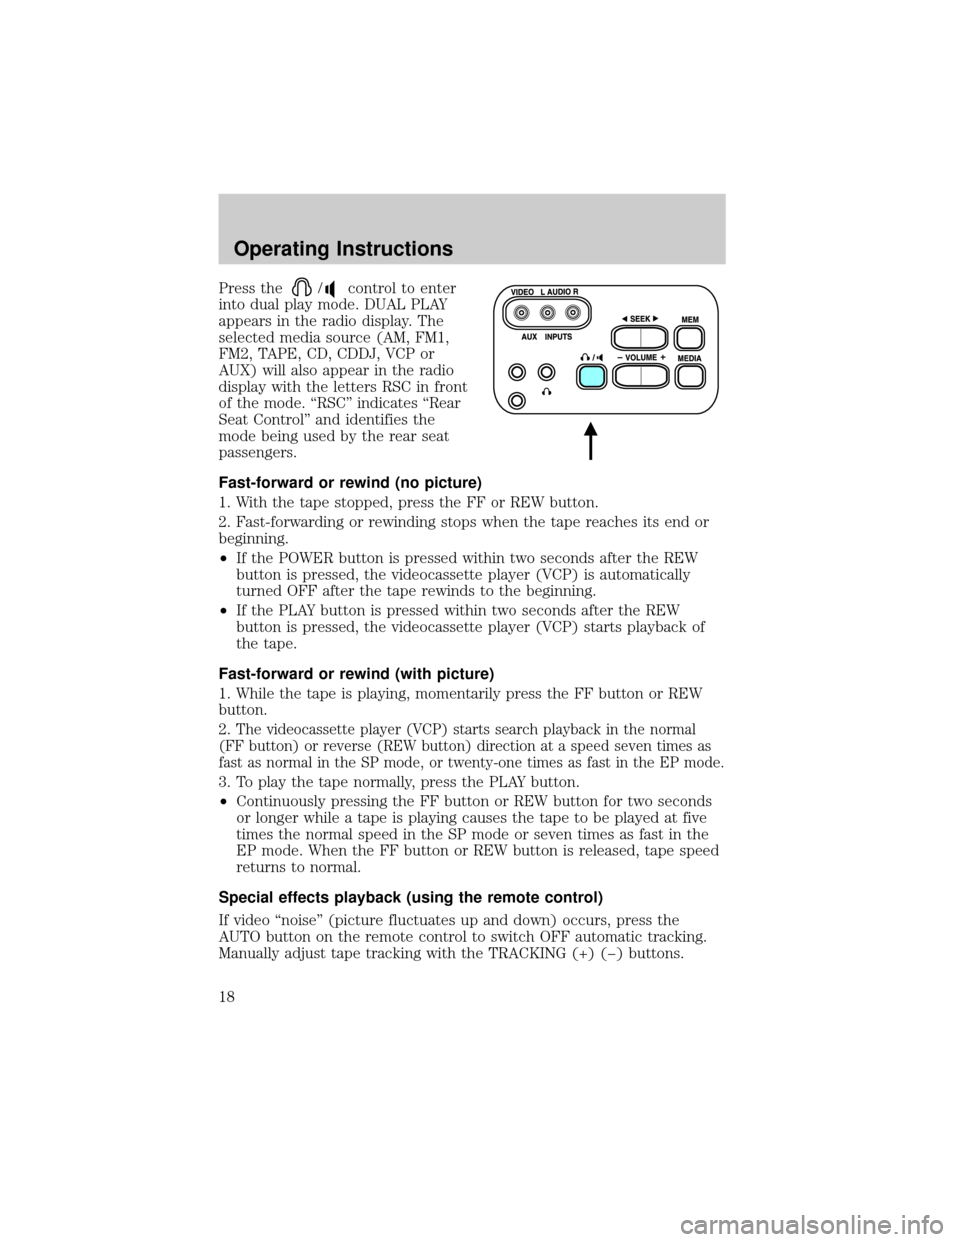
Press the/control to enter
into dual play mode. DUAL PLAY
appears in the radio display. The
selected media source (AM, FM1,
FM2, TAPE, CD, CDDJ, VCP or
AUX) will also appear in the radio
display with the letters RSC in front
of the mode. ªRSCº indicates ªRear
Seat Controlº and identifies the
mode being used by the rear seat
passengers.
Fast-forward or rewind (no picture)
1. With the tape stopped, press the FF or REW button.
2. Fast-forwarding or rewinding stops when the tape reaches its end or
beginning.
²If the POWER button is pressed within two seconds after the REW
button is pressed, the videocassette player (VCP) is automatically
turned OFF after the tape rewinds to the beginning.
²If the PLAY button is pressed within two seconds after the REW
button is pressed, the videocassette player (VCP) starts playback of
the tape.
Fast-forward or rewind (with picture)
1. While the tape is playing, momentarily press the FF button or REW
button.
2.
The videocassette player (VCP) starts search playback in the normal
(FF button) or reverse (REW button) direction at a speed seven times as
fast as normal in the SP mode, or twenty-one times as fast in the EP mode.
3. To play the tape normally, press the PLAY button.
²Continuously pressing the FF button or REW button for two seconds
or longer while a tape is playing causes the tape to be played at five
times the normal speed in the SP mode or seven times as fast in the
EP mode. When the FF button or REW button is released, tape speed
returns to normal.
Special effects playback (using the remote control)
If video ªnoiseº (picture fluctuates up and down) occurs, press the
AUTO button on the remote control to switch OFF automatic tracking.
Manually adjust tape tracking with the TRACKING (+) (þ) buttons.
Operating Instructions
18
Page 20 of 24
2. Choose a desired address (index) with the INDEX button on the
remote control.
3. Search a desired address (index) for automatic playback of a program.
4. Each time the right button is pressed, the index number increases.
Pressing the left button decreases the index number.
5. A maximum of nine programs can be chosen at a time.
6. To discontinue search playback, press the STOP button.
Use the INDEX controls to search in a forward or reverse direction.
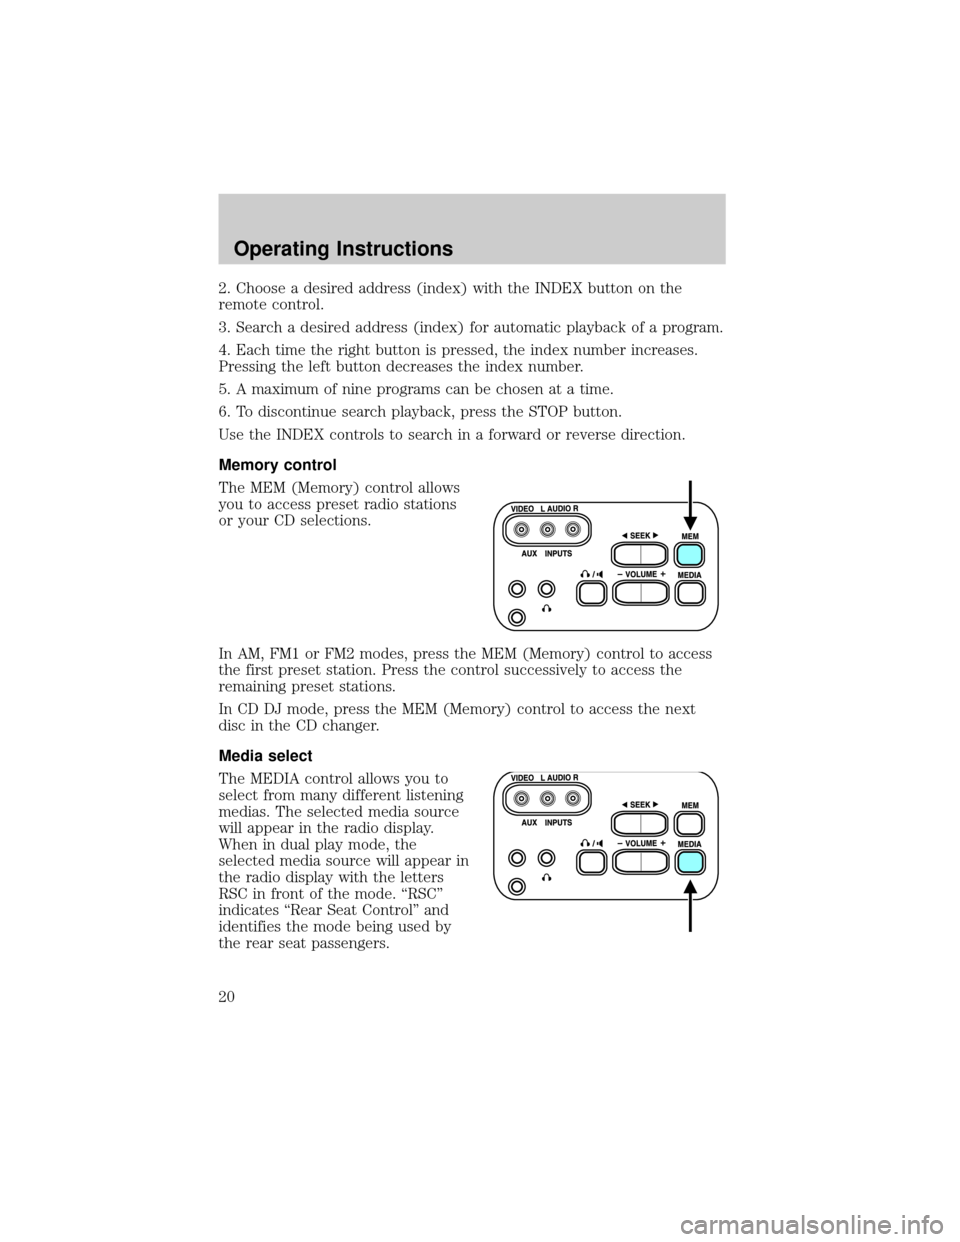
Memory control
The MEM (Memory) control allows
you to access preset radio stations
or your CD selections.
In AM, FM1 or FM2 modes, press the MEM (Memory) control to access
the first preset station. Press the control successively to access the
remaining preset stations.
In CD DJ mode, press the MEM (Memory) control to access the next
disc in the CD changer.
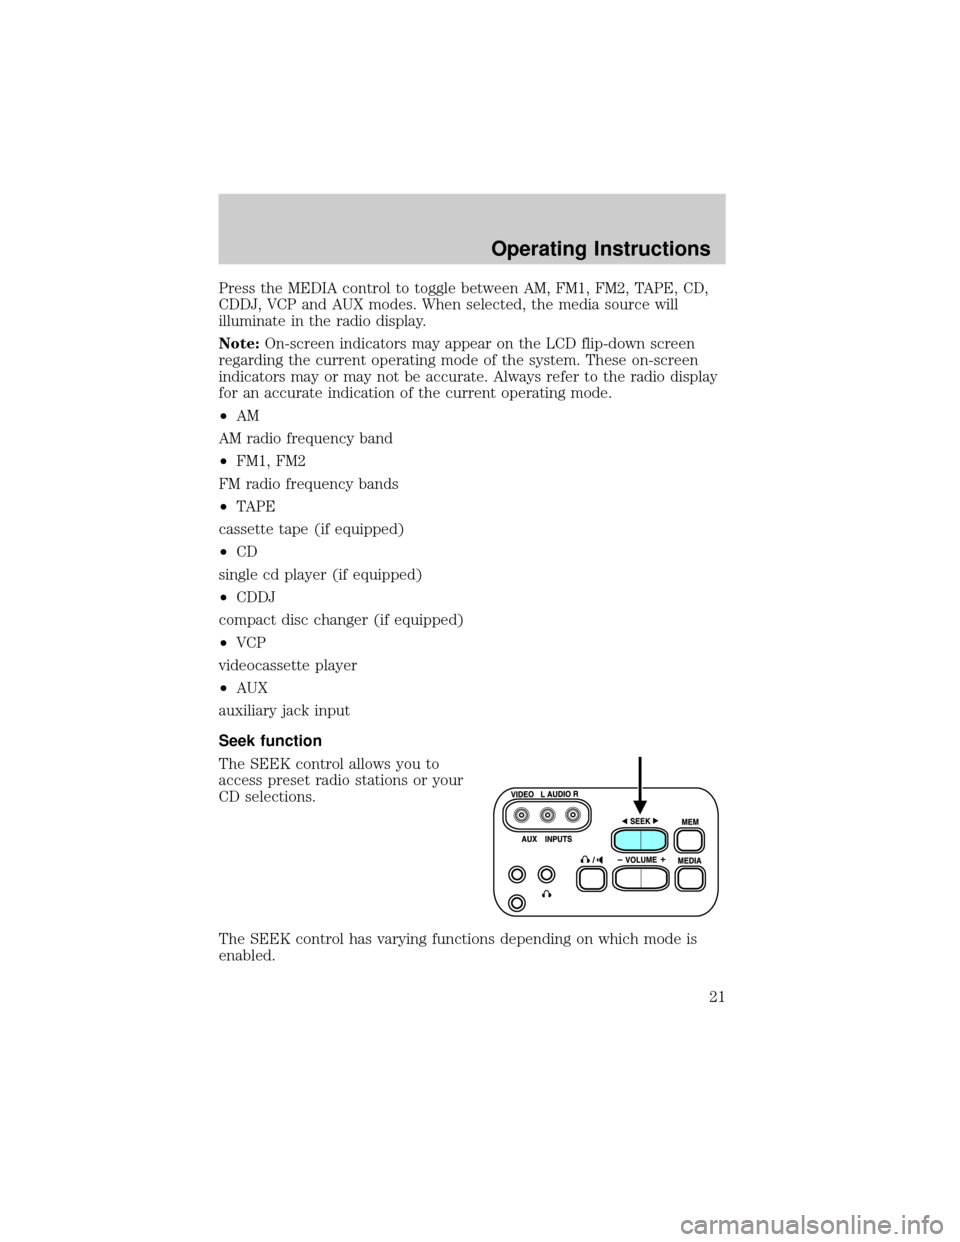
Media select
The MEDIA control allows you to
select from many different listening
medias. The selected media source
will appear in the radio display.
When in dual play mode, the
selected media source will appear in
the radio display with the letters
RSC in front of the mode. ªRSCº
indicates ªRear Seat Controlº and
identifies the mode being used by
the rear seat passengers.
Operating Instructions
20
Page 21 of 24
Press the MEDIA control to toggle between AM, FM1, FM2, TAPE, CD,
CDDJ, VCP and AUX modes. When selected, the media source will
illuminate in the radio display.
Note:On-screen indicators may appear on the LCD flip-down screen
regarding the current operating mode of the system. These on-screen
indicators may or may not be accurate. Always refer to the radio display
for an accurate indication of the current operating mode.
²AM
AM radio frequency band
²FM1, FM2
FM radio frequency bands
²TAPE
cassette tape (if equipped)
²CD
single cd player (if equipped)
²CDDJ
compact disc changer (if equipped)
²VCP
videocassette player
²AUX
auxiliary jack input
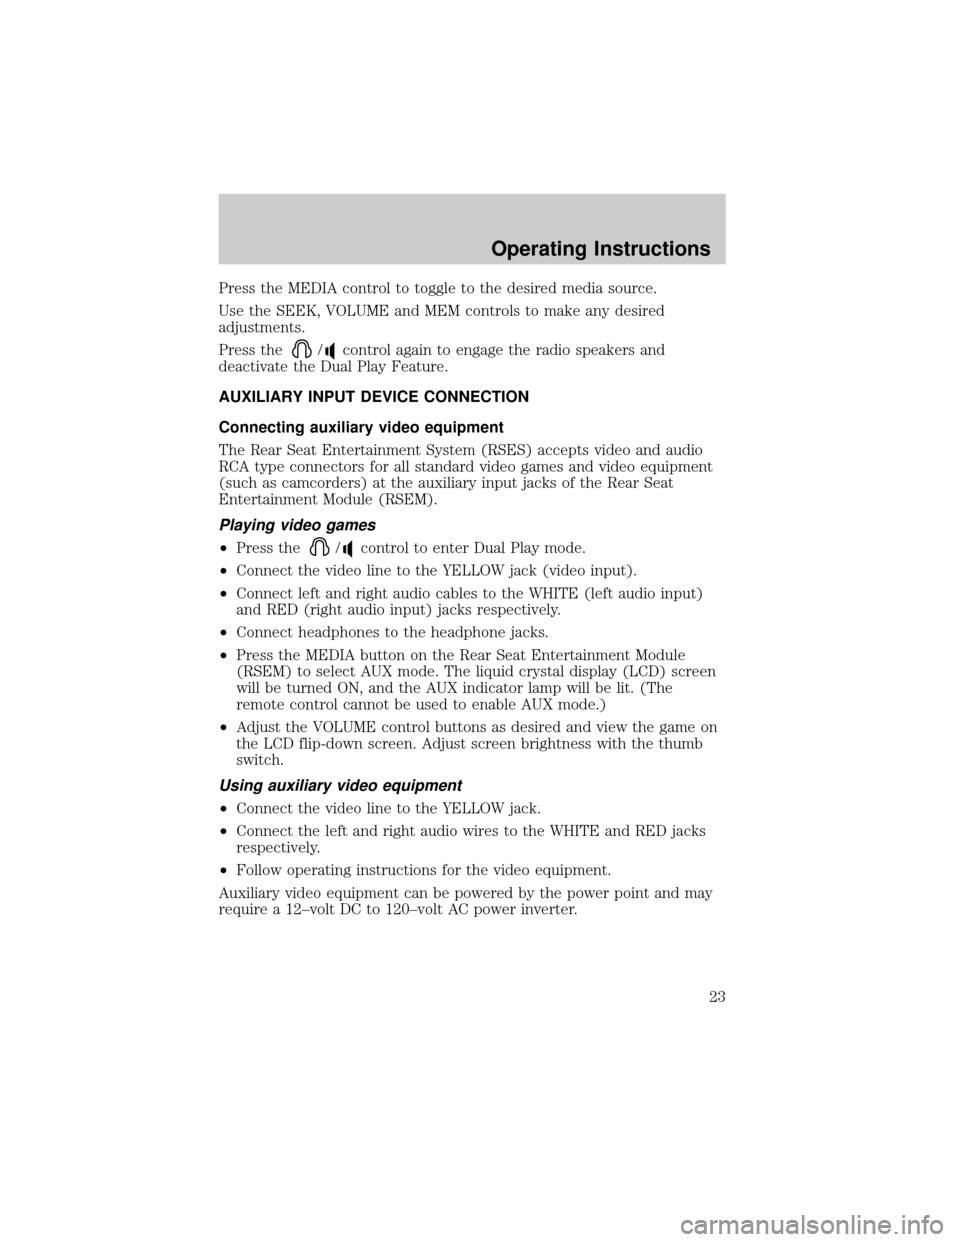
Seek function
The SEEK control allows you to
access preset radio stations or your
CD selections.
The SEEK control has varying functions depending on which mode is
enabled.
Operating Instructions
21
Page 23 of 24
Press the MEDIA control to toggle to the desired media source.
Use the SEEK, VOLUME and MEM controls to make any desired
adjustments.
Press the
/control again to engage the radio speakers and
deactivate the Dual Play Feature.
AUXILIARY INPUT DEVICE CONNECTION
Connecting auxiliary video equipment
The Rear Seat Entertainment System (RSES) accepts video and audio
RCA type connectors for all standard video games and video equipment
(such as camcorders) at the auxiliary input jacks of the Rear Seat
Entertainment Module (RSEM).
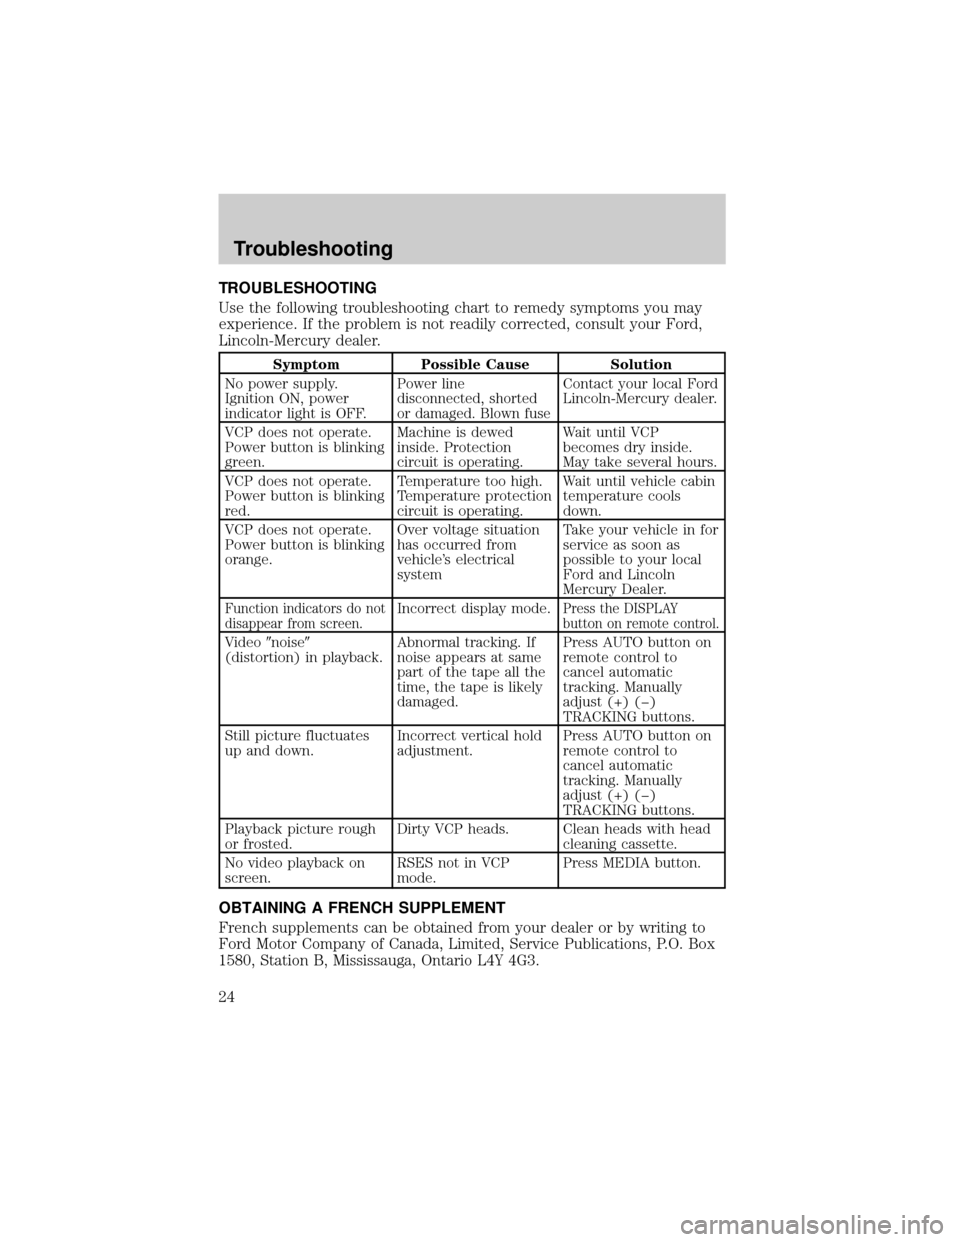
Playing video games
²Press the/control to enter Dual Play mode.
²Connect the video line to the YELLOW jack (video input).
²Connect left and right audio cables to the WHITE (left audio input)
and RED (right audio input) jacks respectively.
²Connect headphones to the headphone jacks.
²Press the MEDIA button on the Rear Seat Entertainment Module
(RSEM) to select AUX mode. The liquid crystal display (LCD) screen
will be turned ON, and the AUX indicator lamp will be lit. (The
remote control cannot be used to enable AUX mode.)
²Adjust the VOLUME control buttons as desired and view the game on
the LCD flip-down screen. Adjust screen brightness with the thumb
switch.
Using auxiliary video equipment
²Connect the video line to the YELLOW jack.
²Connect the left and right audio wires to the WHITE and RED jacks
respectively.
²Follow operating instructions for the video equipment.
Auxiliary video equipment can be powered by the power point and may
require a 12±volt DC to 120±volt AC power inverter.
Operating Instructions
23
Page 24 of 24
TROUBLESHOOTING
Use the following troubleshooting chart to remedy symptoms you may
experience. If the problem is not readily corrected, consult your Ford,
Lincoln-Mercury dealer.
Symptom Possible Cause Solution
No power supply.
Ignition ON, power
indicator light is OFF.
Power line
disconnected, shorted
or damaged. Blown fuseContact your local Ford
Lincoln-Mercury dealer.
VCP does not operate.
Power button is blinking
green.Machine is dewed
inside. Protection
circuit is operating.Wait until VCP
becomes dry inside.
May take several hours.
VCP does not operate.
Power button is blinking
red.Temperature too high.
Temperature protection
circuit is operating.Wait until vehicle cabin
temperature cools
down.
VCP does not operate.
Power button is blinking
orange.Over voltage situation
has occurred from
vehicle's electrical
systemTake your vehicle in for
service as soon as
possible to your local
Ford and Lincoln
Mercury Dealer.
Function indicators do not
disappear from screen.Incorrect display mode.Press the DISPLAY
button on remote control.
Video9noise9
(distortion) in playback.Abnormal tracking. If
noise appears at same
part of the tape all the
time, the tape is likely
damaged.Press AUTO button on
remote control to
cancel automatic
tracking. Manually
adjust (+) (þ)
TRACKING buttons.
Still picture fluctuates
up and down.Incorrect vertical hold
adjustment.Press AUTO button on
remote control to
cancel automatic
tracking. Manually
adjust (+) (þ)
TRACKING buttons.
Playback picture rough
or frosted.Dirty VCP heads. Clean heads with head
cleaning cassette.
No video playback on
screen.RSES not in VCP
mode.Press MEDIA button.
OBTAINING A FRENCH SUPPLEMENT
French supplements can be obtained from your dealer or by writing to
Ford Motor Company of Canada, Limited, Service Publications, P.O. Box
1580, Station B, Mississauga, Ontario L4Y 4G3.
Troubleshooting
24