jacking FORD F150 2009 12.G Owners Manual
[x] Cancel search | Manufacturer: FORD, Model Year: 2009, Model line: F150, Model: FORD F150 2009 12.GPages: 405, PDF Size: 2.82 MB
Page 80 of 405
Note:Do not use the running boards, front and rear hinge assemblies,
running board motors, or the running board under body mounts to lift
the vehicle when jacking. Please utilize proper jacking points. Refer to
Changing the tiresin theRoadside Emergencieschapter.
WARNING:In extreme climates, excessive ice buildup may
occur, causing the running boards not to deploy. Be sure that the
running boards have deployed, and have finished moving before
attempting to step on them. Note: The running boards will resume
normal function once the blockage is cleared.
WARNING:Turn off the running boards before jacking or
placing any object under the vehicle. Never place your hand
between the extended running board and the vehicle. A moving
running board may cause injury.
SPEED CONTROL (IF EQUIPPED)
With speed control set, you can maintain a set speed without keeping
your foot on the accelerator pedal.
WARNING:Do not use the speed control in heavy traffic or on
roads that are winding, slippery or unpaved.
Setting speed control
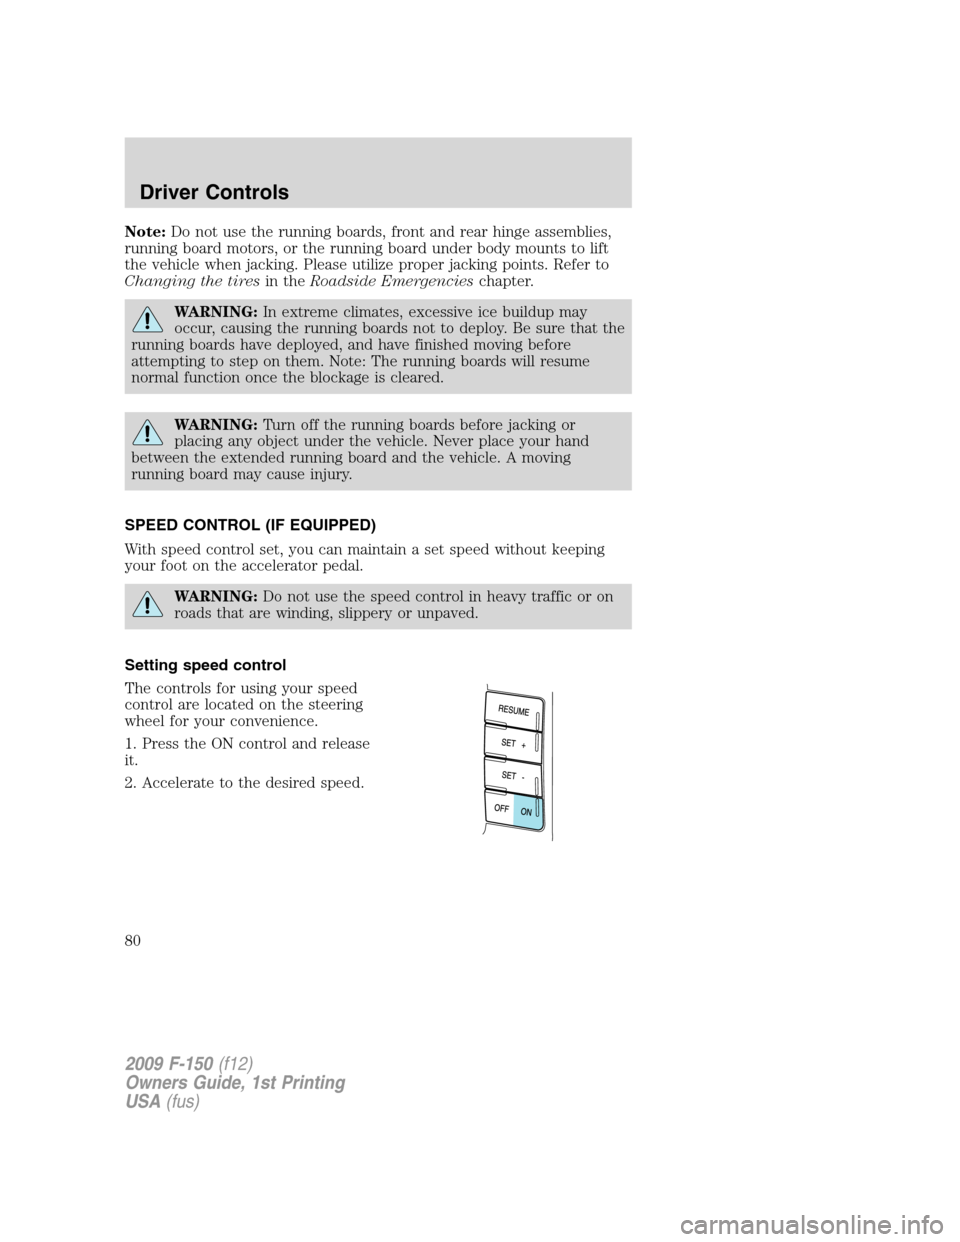
The controls for using your speed
control are located on the steering
wheel for your convenience.
1. Press the ON control and release
it.
2. Accelerate to the desired speed.
2009 F-150(f12)
Owners Guide, 1st Printing
USA(fus)
Driver Controls
80
Page 116 of 405
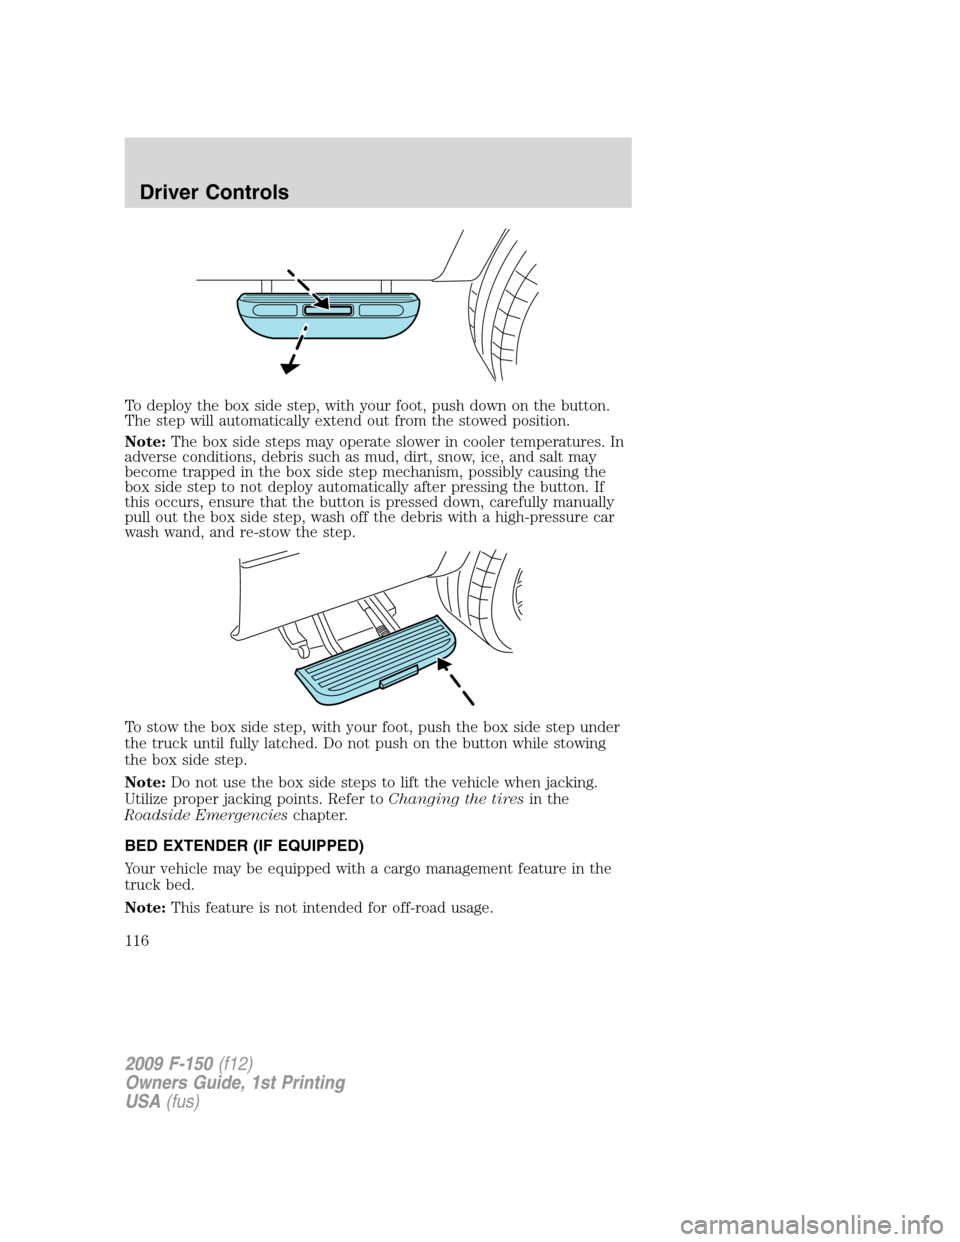
To deploy the box side step, with your foot, push down on the button.
The step will automatically extend out from the stowed position.
Note:The box side steps may operate slower in cooler temperatures. In
adverse conditions, debris such as mud, dirt, snow, ice, and salt may
become trapped in the box side step mechanism, possibly causing the
box side step to not deploy automatically after pressing the button. If
this occurs, ensure that the button is pressed down, carefully manually
pull out the box side step, wash off the debris with a high-pressure car
wash wand, and re-stow the step.
To stow the box side step, with your foot, push the box side step under
the truck until fully latched. Do not push on the button while stowing
the box side step.
Note:Do not use the box side steps to lift the vehicle when jacking.
Utilize proper jacking points. Refer toChanging the tiresin the
Roadside Emergencieschapter.
BED EXTENDER (IF EQUIPPED)
Your vehicle may be equipped with a cargo management feature in the
truck bed.
Note:This feature is not intended for off-road usage.
2009 F-150(f12)
Owners Guide, 1st Printing
USA(fus)
Driver Controls
116
Page 324 of 405
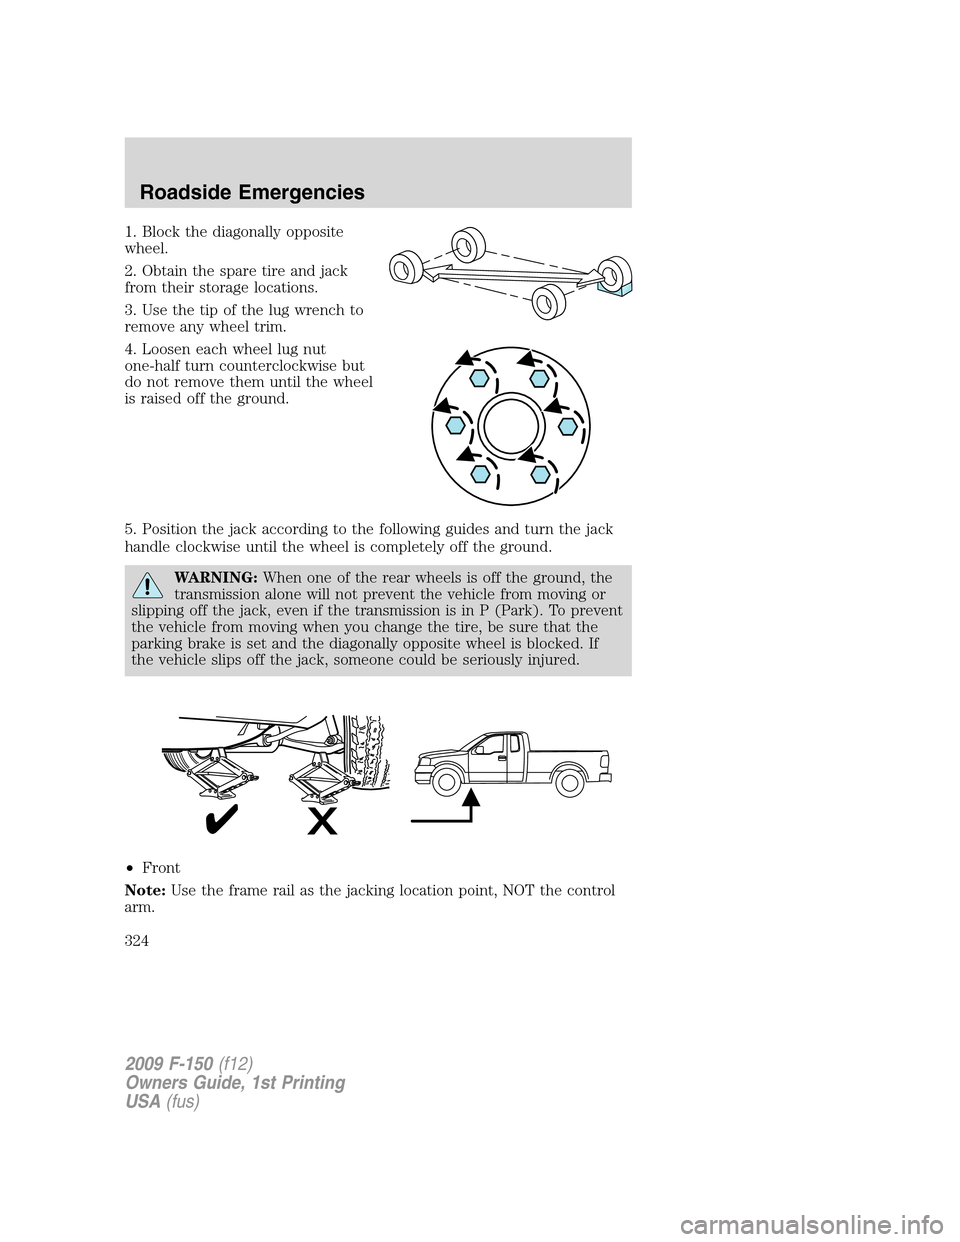
1. Block the diagonally opposite
wheel.
2. Obtain the spare tire and jack
from their storage locations.
3. Use the tip of the lug wrench to
remove any wheel trim.
4. Loosen each wheel lug nut
one-half turn counterclockwise but
do not remove them until the wheel
is raised off the ground.
5. Position the jack according to the following guides and turn the jack
handle clockwise until the wheel is completely off the ground.
WARNING:When one of the rear wheels is off the ground, the
transmission alone will not prevent the vehicle from moving or
slipping off the jack, even if the transmission is in P (Park). To prevent
the vehicle from moving when you change the tire, be sure that the
parking brake is set and the diagonally opposite wheel is blocked. If
the vehicle slips off the jack, someone could be seriously injured.
•Front
Note:Use the frame rail as the jacking location point, NOT the control
arm.
2009 F-150(f12)
Owners Guide, 1st Printing
USA(fus)
Roadside Emergencies
324
Page 325 of 405
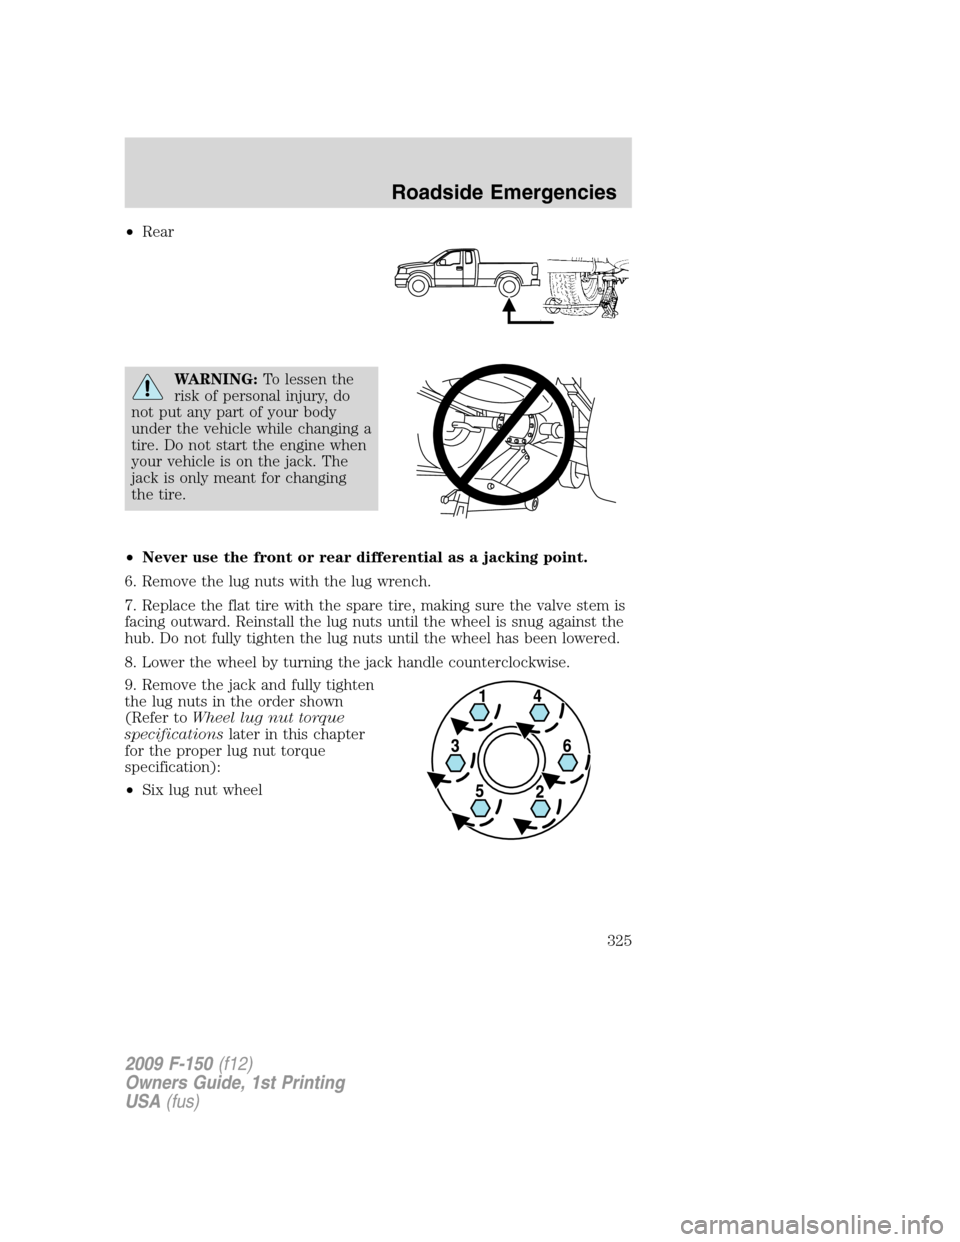
•Rear
WARNING:To lessen the
risk of personal injury, do
not put any part of your body
under the vehicle while changing a
tire. Do not start the engine when
your vehicle is on the jack. The
jack is only meant for changing
the tire.
•Never use the front or rear differential as a jacking point.
6. Remove the lug nuts with the lug wrench.
7. Replace the flat tire with the spare tire, making sure the valve stem is
facing outward. Reinstall the lug nuts until the wheel is snug against the
hub. Do not fully tighten the lug nuts until the wheel has been lowered.
8. Lower the wheel by turning the jack handle counterclockwise.
9. Remove the jack and fully tighten
the lug nuts in the order shown
(Refer toWheel lug nut torque
specificationslater in this chapter
for the proper lug nut torque
specification):
•Six lug nut wheel
2009 F-150(f12)
Owners Guide, 1st Printing
USA(fus)
Roadside Emergencies
325
Page 352 of 405
SERVICE RECOMMENDATIONS
To help you service your vehicle, we providescheduled maintenance
informationwhich makes tracking routine service easy.
If your vehicle requires professional service, your authorized dealer can
provide the necessary parts and service. Check yourWarranty
Guide/Customer Information Guideto find out which parts and
services are covered.
Use only recommended fuels, lubricants, fluids and service parts
conforming to specifications. Motorcraft parts are designed and built to
provide the best performance in your vehicle.
PRECAUTIONS WHEN SERVICING YOUR VEHICLE
•Do not work on a hot engine.
•Make sure that nothing gets caught in moving parts.
•Do not work on a vehicle with the engine running in an enclosed
space, unless you are sure you have enough ventilation.
•Keep all open flames and other lit material away from the battery and
all fuel related parts.
WARNING:Turn off the power running boards, if equipped,
before working under the vehicle, jacking or placing any object
under the vehicle. Never place your hand between the extended
running board and the vehicle. A moving running board may cause
injury.
Working with the engine off
1. Set the parking brake and ensure the gearshift is securely latched in P
(Park).
2. Turn off the engine and remove the key.
3. Block the wheels to prevent the vehicle from moving unexpectedly.
Working with the engine on
1. Set the parking brake and shift to P (Park).
2. Block the wheels.
WARNING:To reduce the risk of vehicle damage and/or
personal burn injuries, do not start your engine with the air
cleaner removed and do not remove it while the engine is running.
2009 F-150(f12)
Owners Guide, 1st Printing
USA(fus)
Maintenance and Specifications
352