headlamp FORD F250 1999 User Guide
[x] Cancel search | Manufacturer: FORD, Model Year: 1999, Model line: F250, Model: FORD F250 1999Pages: 248, PDF Size: 1.72 MB
Page 204 of 248
•Tail lamps
•Back-up lamps
Do not remove lamp bulbs unless they can be replaced immediately with
new ones. If a bulb is removed for an extended period of time,
contaminants may enter the lamp housings and affect lamp performance.
Replacing headlamp bulbs (aerodynamic)
Handle a halogen headlamp bulb carefully and keep out of
children’s reach. Grasp the bulb only by its plastic base and do
not touch the glass. The oil from your hand could cause the bulb to
break the next time the headlamps are operated.
1. Make sure that the headlamp control is in the OFF position.
2. Open the hood.
3. Release clip and disconnect the electrical connector from the bulb.
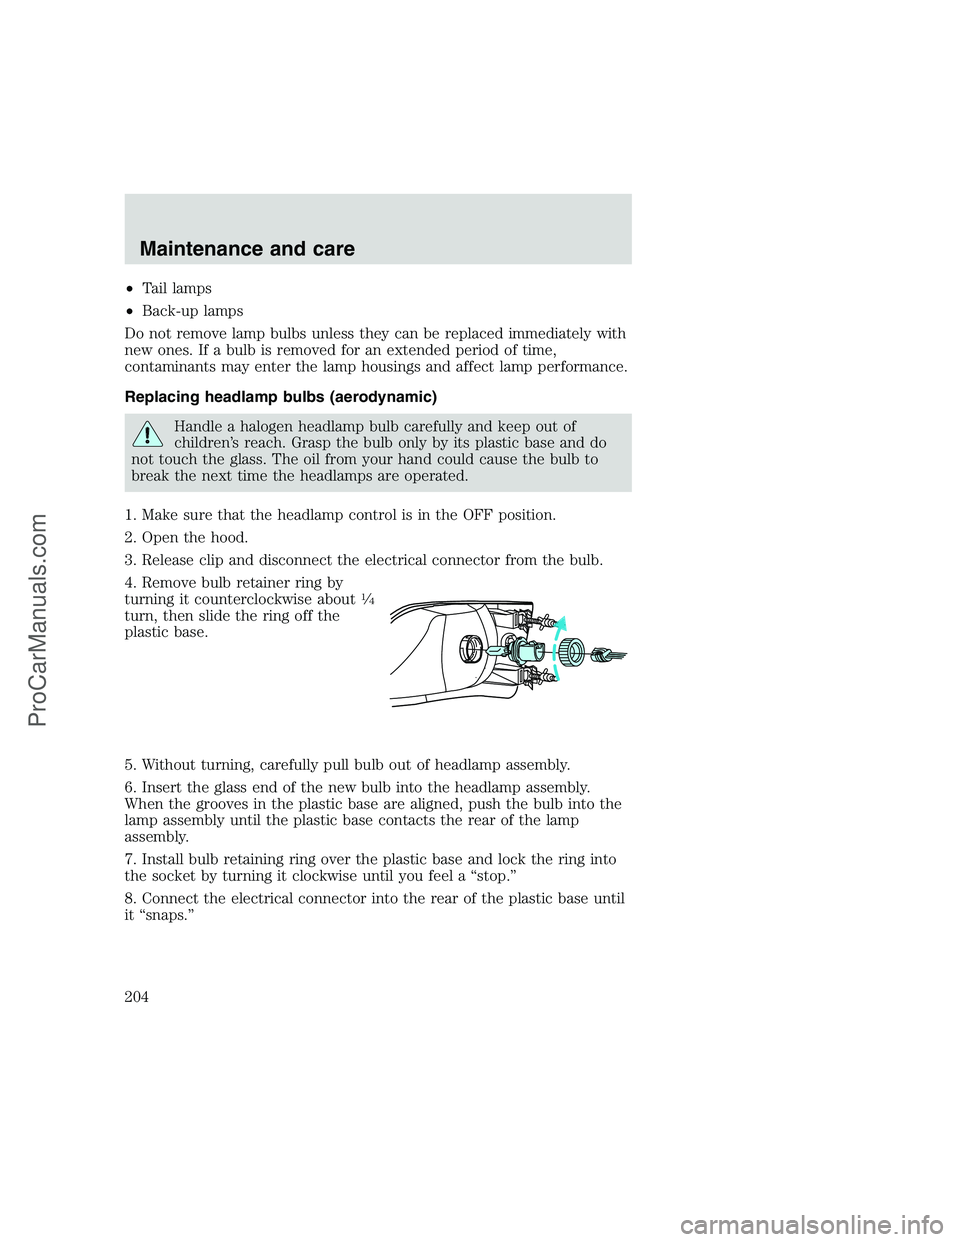
4. Remove bulb retainer ring by
turning it counterclockwise about
1�4
turn, then slide the ring off the
plastic base.
5. Without turning, carefully pull bulb out of headlamp assembly.
6. Insert the glass end of the new bulb into the headlamp assembly.
When the grooves in the plastic base are aligned, push the bulb into the
lamp assembly until the plastic base contacts the rear of the lamp
assembly.
7. Install bulb retaining ring over the plastic base and lock the ring into
the socket by turning it clockwise until you feel a “stop.”
8. Connect the electrical connector into the rear of the plastic base until
it “snaps.”
Maintenance and care
204
ProCarManuals.com
Page 205 of 248
Replacing headlamp bulbs (sealed beam)
To remove the headlamp bulb:
1. Make sure headlamp switch is in OFF position.
2. Open the hood.
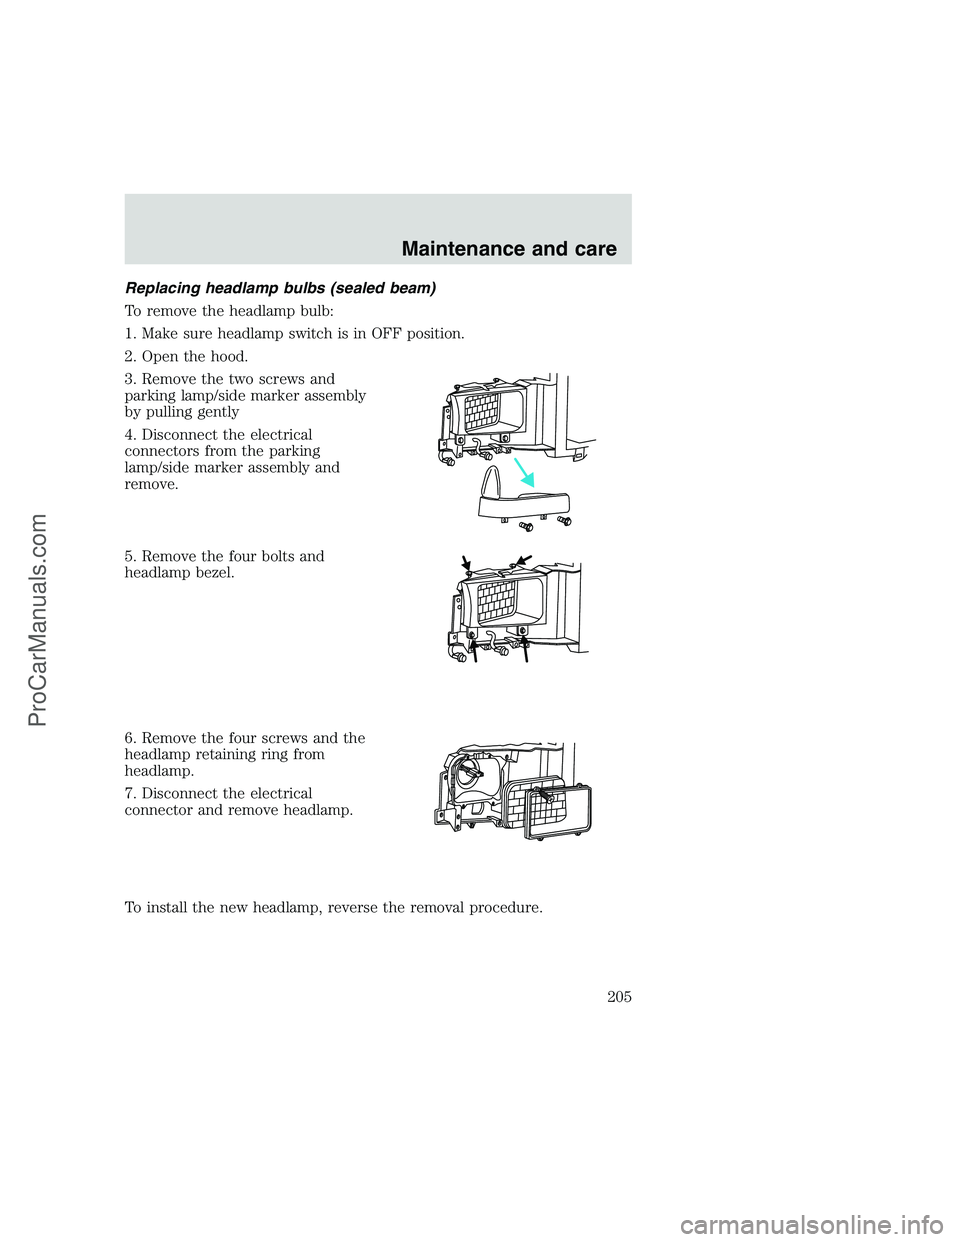
3. Remove the two screws and
parking lamp/side marker assembly
by pulling gently
4. Disconnect the electrical
connectors from the parking
lamp/side marker assembly and
remove.
5. Remove the four bolts and
headlamp bezel.
6. Remove the four screws and the
headlamp retaining ring from
headlamp.
7. Disconnect the electrical
connector and remove headlamp.
To install the new headlamp, reverse the removal procedure.
Maintenance and care
205
ProCarManuals.com
Page 207 of 248
To install the brakelamp assembly:
1. Install the bulb into the lamp assembly and rotate clockwise.
2. Install the lamp assembly on the vehicle with two screws.
Replacing license plate lamp bulbs
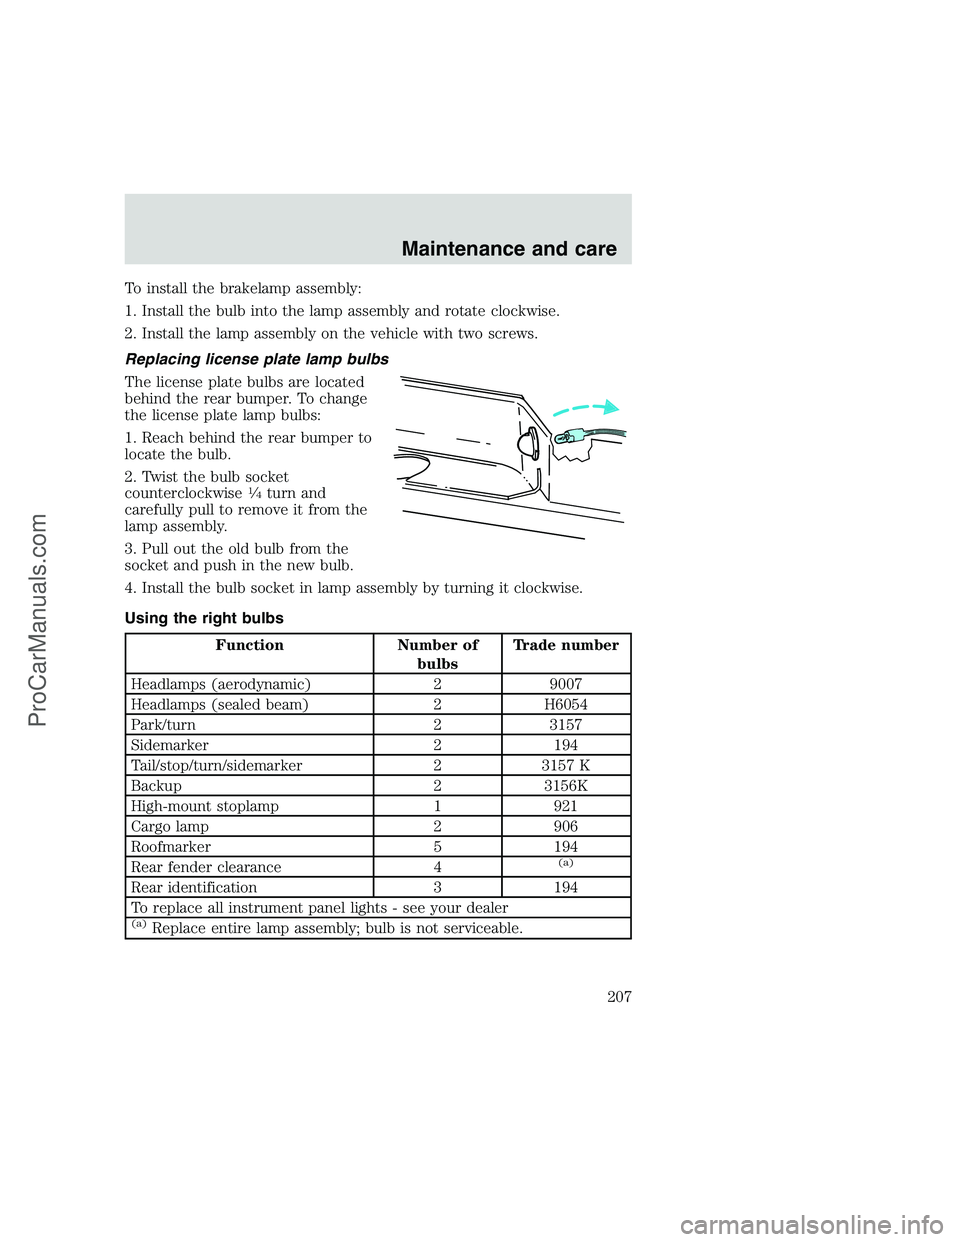
The license plate bulbs are located
behind the rear bumper. To change
the license plate lamp bulbs:
1. Reach behind the rear bumper to
locate the bulb.
2. Twist the bulb socket
counterclockwise
1�4turn and
carefully pull to remove it from the
lamp assembly.
3. Pull out the old bulb from the
socket and push in the new bulb.
4. Install the bulb socket in lamp assembly by turning it clockwise.
Using the right bulbs
Function Number of
bulbsTrade number
Headlamps (aerodynamic) 2 9007
Headlamps (sealed beam) 2 H6054
Park/turn 2 3157
Sidemarker 2 194
Tail/stop/turn/sidemarker 2 3157 K
Backup 2 3156K
High-mount stoplamp 1 921
Cargo lamp 2 906
Roofmarker 5 194
Rear fender clearance 4
(a)
Rear identification 3 194
To replace all instrument panel lights - see your dealer
(a)Replace entire lamp assembly; bulb is not serviceable.
Maintenance and care
207
ProCarManuals.com
Page 208 of 248
AIMING THE HEADLAMPS
The alignment of your headlamps should be checked by a qualified
service technician if:
•Oncoming motorists frequently signal you to deactivate your high
beams, and your high beams are not activated.
•The headlamps do not seem to provide enough light for clear night
vision.
•The headlamp beams are pointed substantially away from a slightly
down and to the right position.
CLEANING AND CARING FOR YOUR VEHICLE
Refer to the Customer Assistance chapter for a list of Ford-approved
cleaners, polishes and waxes.
Washing your vehicle
Wash your vehicle regularly with
cold or lukewarm water. Never use
strong detergents or soap. If your
vehicle is particularly dirty, use a
quality car wash detergent. Always
use a clean sponge, washing glove
or similar device and plenty of water
for best results. To avoid spots,
avoid washing when the hood is still
warm, immediately after or during
exposure to strong sunlight.
During winter months, it is especially important to wash the vehicle on a
regular basis. Large quantities of dirt and road salt are difficult to
remove and also cause damage to the vehicle.
Remove any exterior accessories (such as antennas) and fold in the side
view mirrors before entering a car wash. If you have wax applied to the
vehicle at a commercial car wash, it is recommended that you clean the
wiper blades and windshield as described inCleaning the wiper blades
and windshield.
After washing, apply the brakes several times to dry them.
Maintenance and care
208
ProCarManuals.com
Page 238 of 248
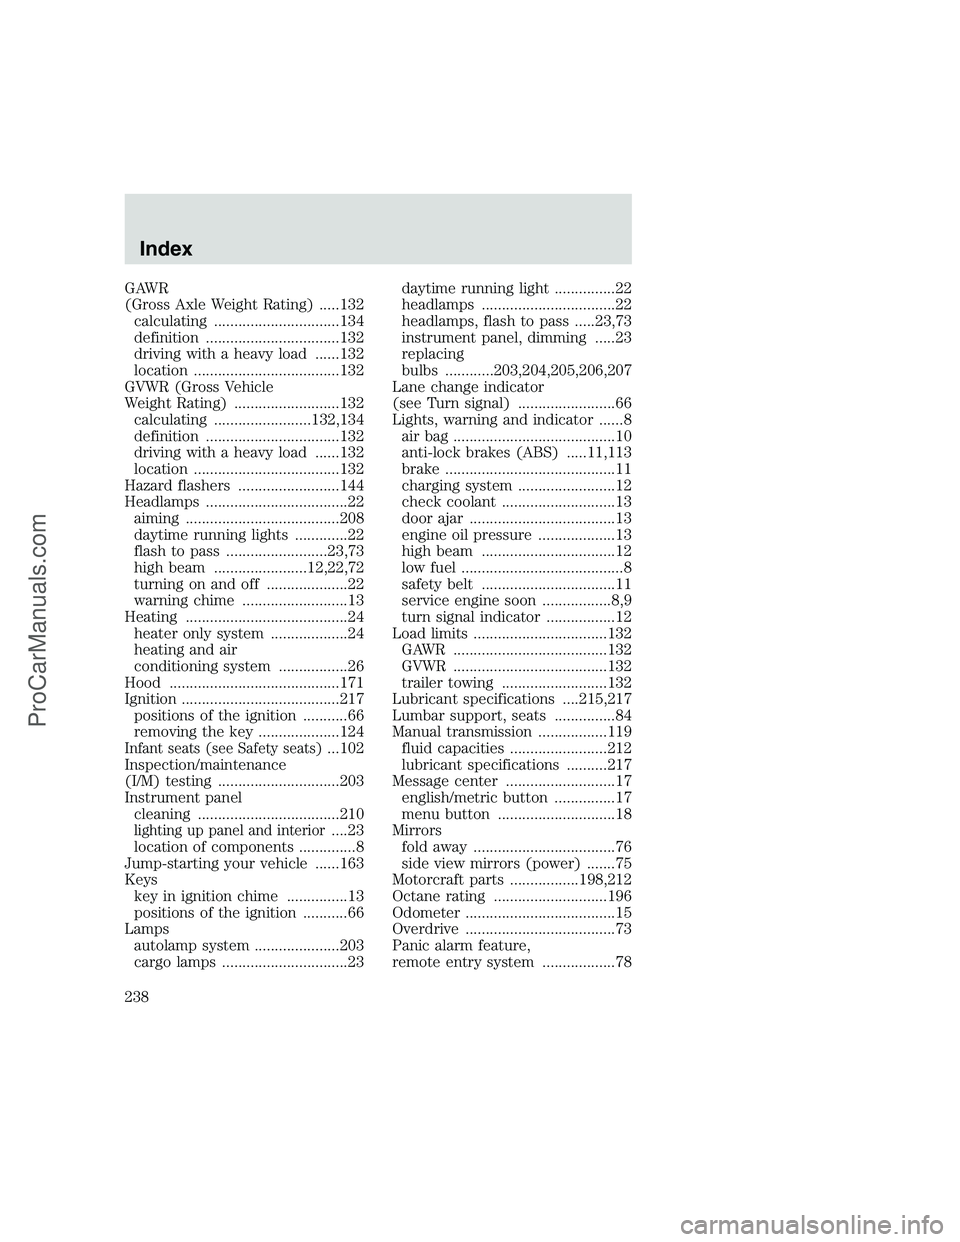
GAWR
(Gross Axle Weight Rating) .....132
calculating ...............................134
definition .................................132
driving with a heavy load ......132
location ....................................132
GVWR (Gross Vehicle
Weight Rating) ..........................132
calculating ........................132,134
definition .................................132
driving with a heavy load ......132
location ....................................132
Hazard flashers .........................144
Headlamps ...................................22
aiming ......................................208
daytime running lights .............22
flash to pass .........................23,73
high beam .......................12,22,72
turning on and off ....................22
warning chime ..........................13
Heating ........................................24
heater only system ...................24
heating and air
conditioning system .................26
Hood ..........................................171
Ignition .......................................217
positions of the ignition ...........66
removing the key ....................124
Infant seats (see Safety seats)...102
Inspection/maintenance
(I/M) testing ..............................203
Instrument panel
cleaning ...................................210
lighting up panel and interior....23
location of components ..............8
Jump-starting your vehicle ......163
Keys
key in ignition chime ...............13
positions of the ignition ...........66
Lamps
autolamp system .....................203
cargo lamps ...............................23daytime running light ...............22
headlamps .................................22
headlamps, flash to pass .....23,73
instrument panel, dimming .....23
replacing
bulbs ............203,204,205,206,207
Lane change indicator
(see Turn signal) ........................66
Lights, warning and indicator ......8
air bag ........................................10
anti-lock brakes (ABS) .....11,113
brake ..........................................11
charging system ........................12
check coolant ............................13
door ajar ....................................13
engine oil pressure ...................13
high beam .................................12
low fuel ........................................8
safety belt .................................11
service engine soon .................8,9
turn signal indicator .................12
Load limits .................................132
GAWR ......................................132
GVWR ......................................132
trailer towing ..........................132
Lubricant specifications ....215,217
Lumbar support, seats ...............84
Manual transmission .................119
fluid capacities ........................212
lubricant specifications ..........217
Message center ...........................17
english/metric button ...............17
menu button .............................18
Mirrors
fold away ...................................76
side view mirrors (power) .......75
Motorcraft parts .................198,212
Octane rating ............................196
Odometer .....................................15
Overdrive .....................................73
Panic alarm feature,
remote entry system ..................78
Index
238
ProCarManuals.com