reset FORD F250 2001 User Guide
[x] Cancel search | Manufacturer: FORD, Model Year: 2001, Model line: F250, Model: FORD F250 2001Pages: 288, PDF Size: 2.07 MB
Page 49 of 288
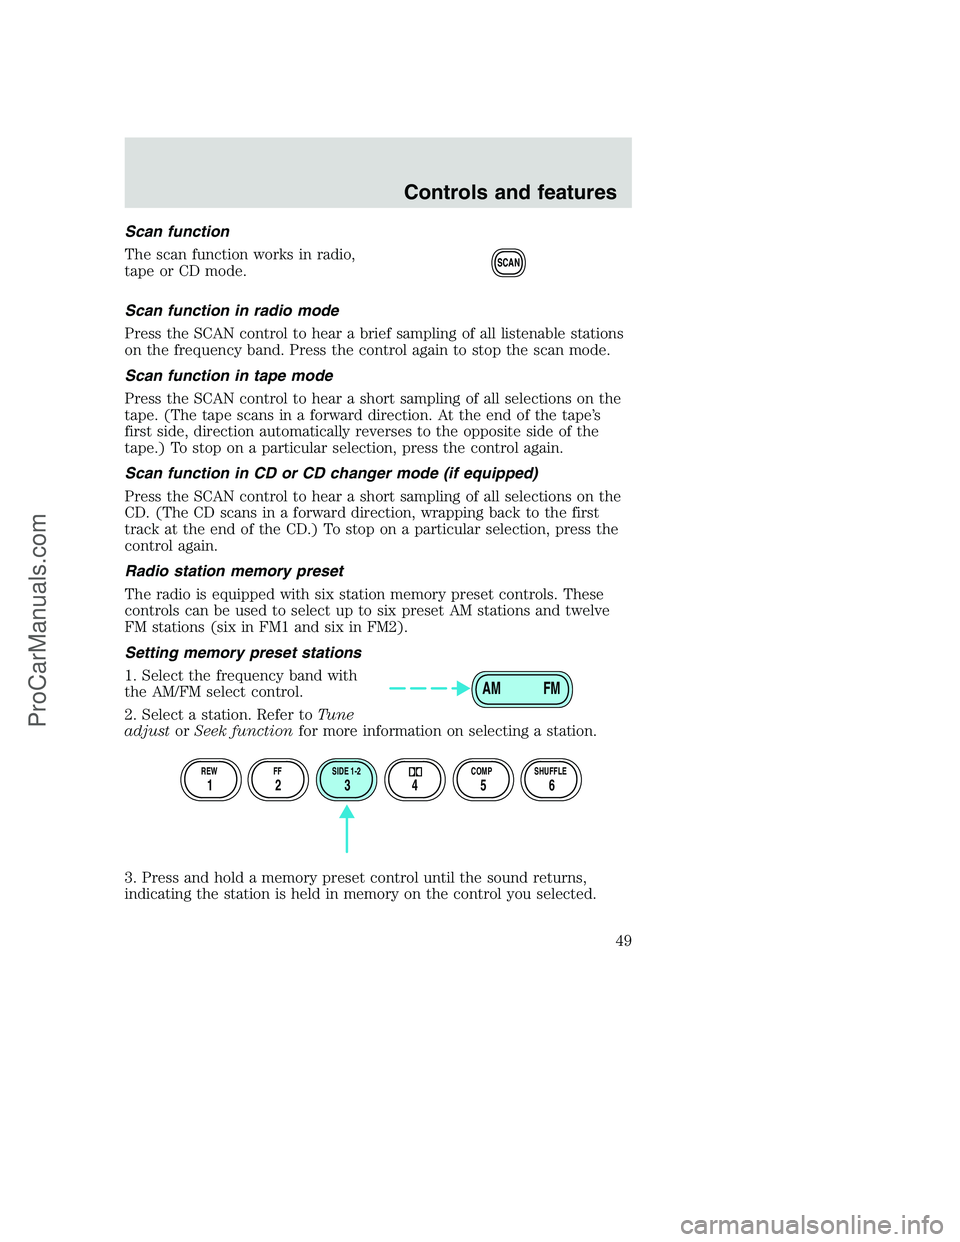
Scan function
The scan function works in radio,
tape or CD mode.
Scan function in radio mode
Press the SCAN control to hear a brief sampling of all listenable stations
on the frequency band. Press the control again to stop the scan mode.
Scan function in tape mode
Press the SCAN control to hear a short sampling of all selections on the
tape. (The tape scans in a forward direction. At the end of the tape’s
first side, direction automatically reverses to the opposite side of the
tape.) To stop on a particular selection, press the control again.
Scan function in CD or CD changer mode (if equipped)
Press the SCAN control to hear a short sampling of all selections on the
CD. (The CD scans in a forward direction, wrapping back to the first
track at the end of the CD.) To stop on a particular selection, press the
control again.
Radio station memory preset
The radio is equipped with six station memory preset controls. These
controls can be used to select up to six preset AM stations and twelve
FM stations (six in FM1 and six in FM2).
Setting memory preset stations
1. Select the frequency band with
the AM/FM select control.
2. Select a station. Refer toTune
adjustorSeek functionfor more information on selecting a station.
3. Press and hold a memory preset control until the sound returns,
indicating the station is held in memory on the control you selected.
SCAN
AM FM
REW FF SIDE 1-2 COMP SHUFFLE
12 3456
Controls and features
49
ProCarManuals.com
Page 50 of 288
Autoset memory preset
Autoset allows you to set strong radio stations without losing your
original manually set preset stations. This feature is helpful on trips
when you travel between cities with different radio stations.
Starting autoset memory preset
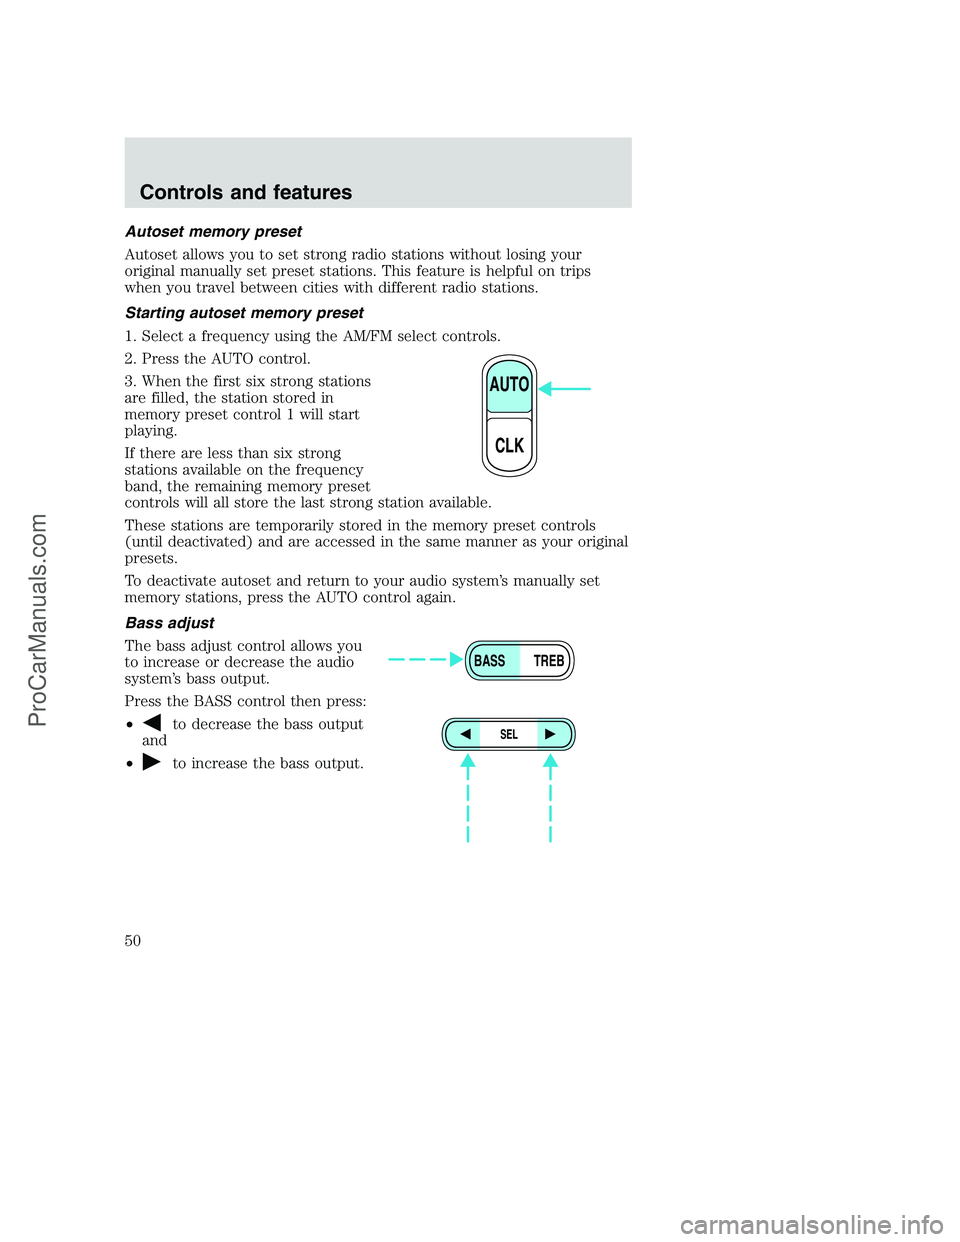
1. Select a frequency using the AM/FM select controls.
2. Press the AUTO control.
3. When the first six strong stations
are filled, the station stored in
memory preset control 1 will start
playing.
If there are less than six strong
stations available on the frequency
band, the remaining memory preset
controls will all store the last strong station available.
These stations are temporarily stored in the memory preset controls
(until deactivated) and are accessed in the same manner as your original
presets.
To deactivate autoset and return to your audio system’s manually set
memory stations, press the AUTO control again.
Bass adjust
The bass adjust control allows you
to increase or decrease the audio
system’s bass output.
Press the BASS control then press:
•
to decrease the bass output
and
•
to increase the bass output.
AUTO
CLK
BASS TREB
SEL
Controls and features
50
ProCarManuals.com
Page 57 of 288
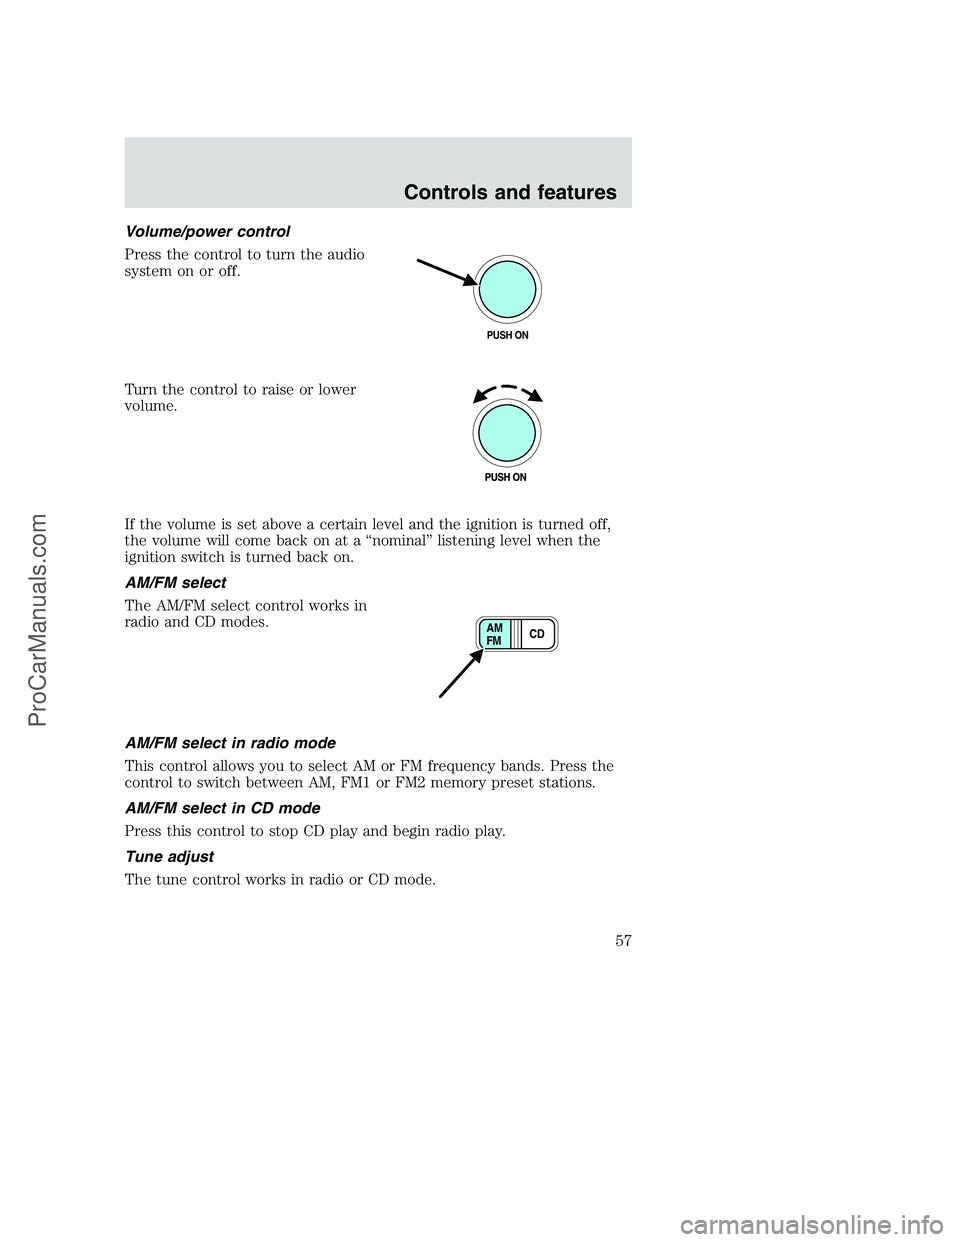
Volume/power control
Press the control to turn the audio
system on or off.
Turn the control to raise or lower
volume.
If the volume is set above a certain level and the ignition is turned off,
the volume will come back on at a “nominal” listening level when the
ignition switch is turned back on.
AM/FM select
The AM/FM select control works in
radio and CD modes.
AM/FM select in radio mode
This control allows you to select AM or FM frequency bands. Press the
control to switch between AM, FM1 or FM2 memory preset stations.
AM/FM select in CD mode
Press this control to stop CD play and begin radio play.
Tune adjust
The tune control works in radio or CD mode.
PUSH ON
CD AM
FM
Controls and features
57
ProCarManuals.com
Page 59 of 288
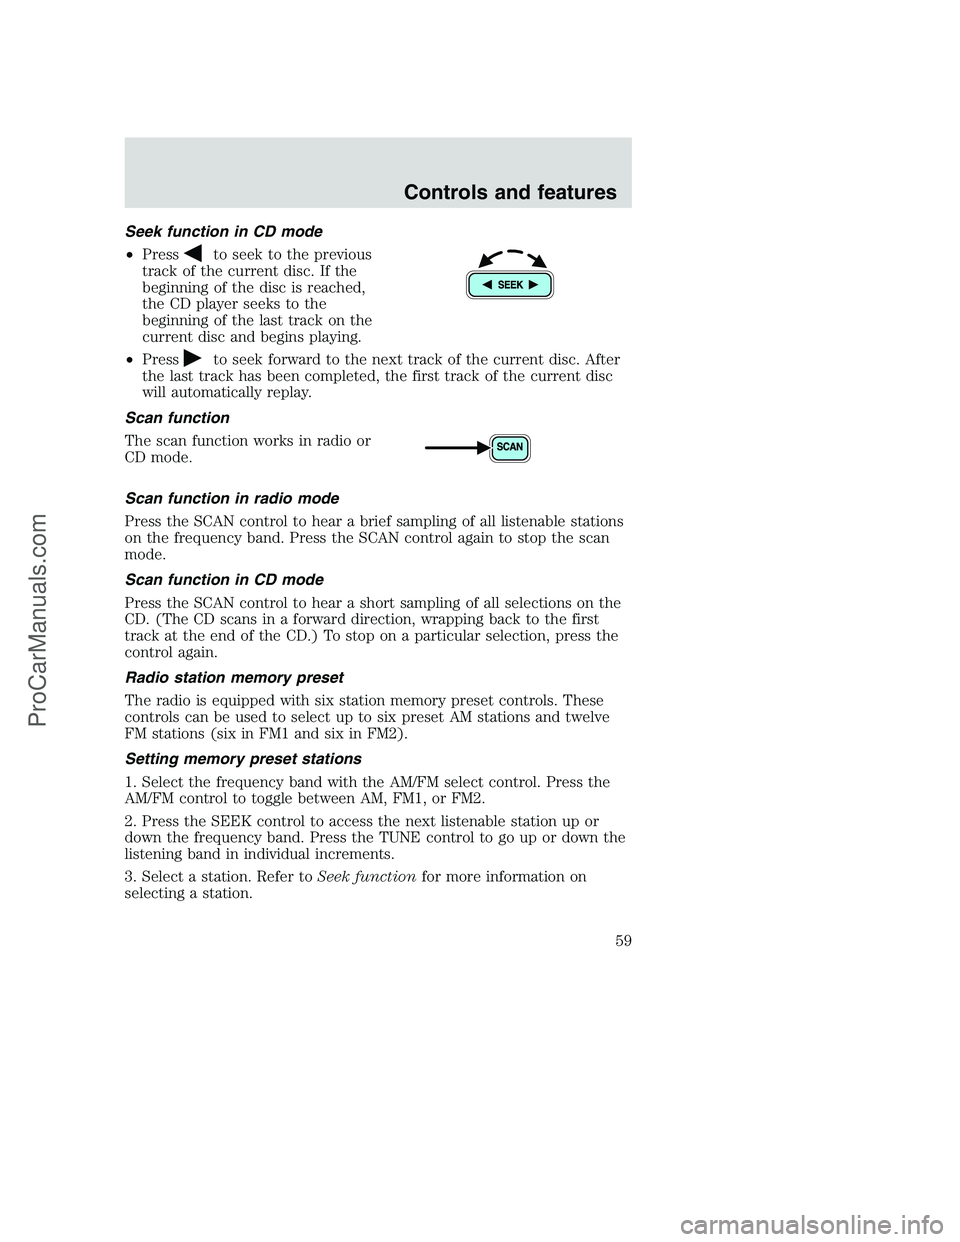
Seek function in CD mode
•Press
to seek to the previous
track of the current disc. If the
beginning of the disc is reached,
the CD player seeks to the
beginning of the last track on the
current disc and begins playing.
•Press
to seek forward to the next track of the current disc. After
the last track has been completed, the first track of the current disc
will automatically replay.
Scan function
The scan function works in radio or
CD mode.
Scan function in radio mode
Press the SCAN control to hear a brief sampling of all listenable stations
on the frequency band. Press the SCAN control again to stop the scan
mode.
Scan function in CD mode
Press the SCAN control to hear a short sampling of all selections on the
CD. (The CD scans in a forward direction, wrapping back to the first
track at the end of the CD.) To stop on a particular selection, press the
control again.
Radio station memory preset
The radio is equipped with six station memory preset controls. These
controls can be used to select up to six preset AM stations and twelve
FM stations (six in FM1 and six in FM2).
Setting memory preset stations
1. Select the frequency band with the AM/FM select control. Press the
AM/FM control to toggle between AM, FM1, or FM2.
2. Press the SEEK control to access the next listenable station up or
down the frequency band. Press the TUNE control to go up or down the
listening band in individual increments.
3. Select a station. Refer toSeek functionfor more information on
selecting a station.
Controls and features
59
ProCarManuals.com
Page 60 of 288
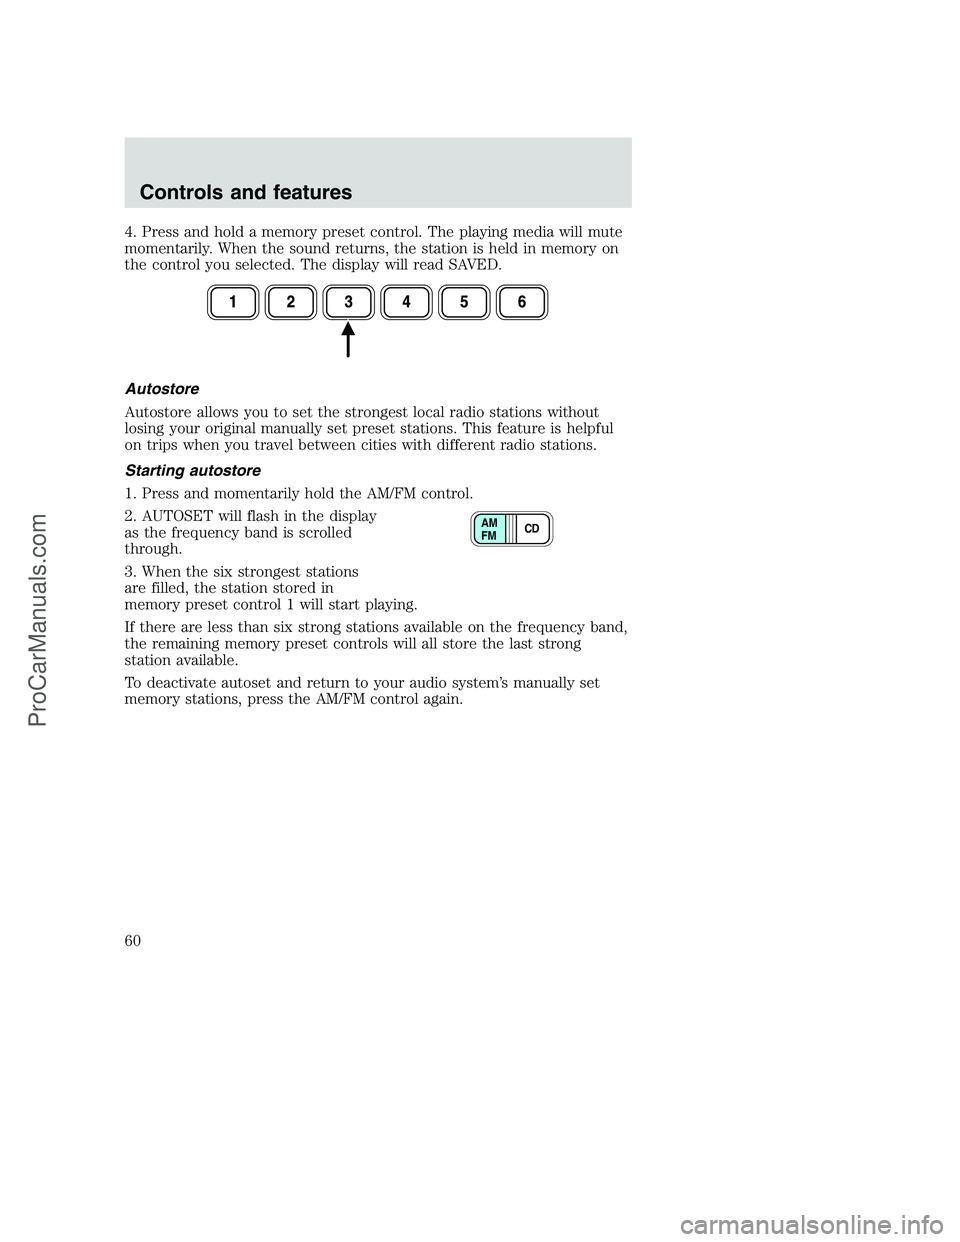
4. Press and hold a memory preset control. The playing media will mute
momentarily. When the sound returns, the station is held in memory on
the control you selected. The display will read SAVED.
Autostore
Autostore allows you to set the strongest local radio stations without
losing your original manually set preset stations. This feature is helpful
on trips when you travel between cities with different radio stations.
Starting autostore
1. Press and momentarily hold the AM/FM control.
2. AUTOSET will flash in the display
as the frequency band is scrolled
through.
3. When the six strongest stations
are filled, the station stored in
memory preset control 1 will start playing.
If there are less than six strong stations available on the frequency band,
the remaining memory preset controls will all store the last strong
station available.
To deactivate autoset and return to your audio system’s manually set
memory stations, press the AM/FM control again.
CD AM
FM
Controls and features
60
ProCarManuals.com
Page 61 of 288
CD select
CD mode may be entered by
pressing the CD control and the
LOAD control. Load the CD into the
audio system. The first track of the
disc will begin playing. After that,
CD play will begin where it stopped last.
If an alternative CD is desired, press the corresponding preset control
(1–6) of a loaded CD, or press the TUNE control to access the other
loaded CDs.
NO CD will display if the CD control is activated when there is not a CD
present in the audio system.
NO CD will illuminate in the display if the CD control and a present
number (that is currently empty) are pressed. The system will play the
next available disc.
If your vehicle is equipped with a CD changer, pressing the CD control
again will allow you to toggle between accessing the multi disc system
and the CD changer. The display will read CD or CDDJ.
Do not insert any promotional (odd shaped or sized) discs, or
discs with removable labels into the CD player as jamming may
occur.
Display description
Six circles are always lit in the digital display. These signify the six CD
slots in the audio system. When a disc is loaded into a particular slot
(1–6), the number inside that specific circle lights. If the circle is empty,
there is no CD in that particular slot.
Load
The load feature allows you to load
single CDs into the player internal
to the radio.
This six disc CD player is equipped with a CD door. Compact
discs should only be inserted into the player after the door has
been opened by the player. Do not attempt to force the door
open. Compact discs should only be loaded by pressing the LOAD
control.
Controls and features
61
ProCarManuals.com
Page 62 of 288
Press the LOAD control. (You can choose which slot will be loaded by
pressing the desired preset number. If you do not choose a slot, the
system will choose the next available one.) Wait until the CD door opens.
Load the CD into the player. LOADING CD# is displayed. When the CD
has been loaded, the door will close and the CD will begin to play. For
example, to load a CD into slot 2, press the LOAD control and then press
preset 2.
Auto load
This feature allows you to autoload
up to 6 discs into the multi disc CD
player internal to the radio.
Press and hold the LOAD control until AUTOLOAD # is displayed. The
CD door will open. Load the desired disc, one at a time. The CD is
loaded into position and the audio system will display CD#. Each time
the CD door opens, INSERT CD# is displayed. The door will close and
the player will move to the next slot after each disc has been loaded.
The process is repeated until all 6 slots are full. The audio system plays
the last CD loaded and the display is updated. If some slots are already
full and autoload is activated, the system will fill all empty slots.
Eject
Press the EJ control to stop and
eject a CD. You can choose which
CD will be ejected by pressing the
EJ control and the desired preset
number (1–6). For example, to eject CD 2, press the EJ control and then
press the preset 2 control. If you do not choose a specific CD, the player
will eject the current CD.
If a CD is ejected and not removed from the door of the CD player, the
player will automatically reload the CD. This feature may be used when
the ignition is ON or OFF.
Auto eject
Press and momentarily hold the EJ
control to engage auto eject. All CDs
which are present in the player will
be ejected one at a time. If a CD is
ejected and not removed from the door of the CD player, the player will
automatically reload the CD. This feature may be used when the ignition
is ON or OFF.
Controls and features
62
ProCarManuals.com
Page 69 of 288
Phone mode
This feature allows you to control
the factory-installed cellular phone
(if equipped) through the radio
controls.
•Press the phone/mute control to enter phone mode. The playing media
will mute.
•Use SEEK, TUNE or radio presets 1 through 6 to select a phone
number previously programmed in the phone.
•Press the phone/mute control again to send and end calls.
This control will mute the playing media even if your vehicle is not
equipped with a factory-installed cellular phone.
Press the control again to return to the playing media.
Setting the clock
Press the MENU control until
SELECT HOUR or SELECT
MINUTE is displayed.
Use the SEL control to manually set
the time.
•Press
to increase
hours/minutes.
•Press
to decrease
hours/minutes.
Cleaning compact discs
Inspect all discs for contamination before playing. If necessary, clean
discs only with an approved CD cleaner and wipe from the center out to
the edge. Do not use circular motion.
CD and CD changer care
•Handle discs by their edges only. Never touch the playing surface.
•Do not expose discs to direct sunlight or heat sources for extended
periods of time.
•Do not insert more than one disc into each slot of the CD changer
magazine.
SEL
Controls and features
69
ProCarManuals.com
Page 153 of 288
If the transmission, transfer case or front axle are submerged in water,
their fluids should be checked and changed, if necessary.
Water intrusion into the transmission may damage the
transmission.
If the front or rear axle is submerged in water, the axle lubricant should
be replaced.
Driving on hilly or sloping terrain
When driving on a hill, avoid driving crosswise or turning on steep
slopes. You could lose traction and slip sideways. Drive straight up,
straight down or avoid the hill completely. Know the conditions on the
other side of a hill before driving over the crest.
When climbing a steep hill, start in a lower gear rather than downshifting
to a lower gear from a higher gear once the ascent has started. This
reduces strain on the engine and the possibility of stalling.
When descending a steep hill, avoid sudden braking. Shift to a lower gear
when added engine braking is desired.
When speed control is on and you are driving uphill, your vehicle speed
may drop considerably, especially if you are carrying a heavy load.
If vehicle speed drops more than 16 km/h (10 mph), the speed control
will cancel automatically. Resume speed with accelerator pedal.
If speed control cancels after climbing the hill, reset speed by pressing
and holding the SET ACCEL button (to resume speeds over 50 km/h
[30 mph]).
Automatic transmissions may shift frequently while driving up steep
grades. Eliminate frequent shifting by shifting out of
(Overdrive) into
a lower gear.
Driving on snow and ice
A 4WD vehicle has advantages over 2WD vehicles in snow and ice but
can skid like any other vehicle.
Avoid sudden applications of power and quick changes of direction on
snow and ice. Apply the accelerator slowly and steadily when starting
from a full stop.
If your vehicle is equipped with a Rear Anti-lock Brake System (RABS),
you should be careful when braking. Front brake lock-up, on any surface,
causes loss of steering control.
Driving
153
ProCarManuals.com
Page 164 of 288
•The Front Axle Accessory Reserve Capacity and the Total Accessory
Reserve Capacity listed on the bottom right of the Safety Compliance
Certification Label will determine whether or not the addition of a
snowplow will overload your vehicle.
•The weight of the snowplow and supporting components distributed to
the front axle must not exceed the front accessory reserve capacity.
•The total weight of the snowplow and aftermarket equipment must
not exceed the Total Accessory Reserve Capacity.
•The weight of the installed snowplow and aftermarket equipment must
not load the vehicle beyond the GAWR (front/rear) and GVWR listed
on the Safety Compliance Certification Label.
•The total weight of the snowplow and aftermarket equipment must be
considered part of the payload and must not exceed the Gross
Combined Weight Rating (GCWR) for towing.
•Federal and most local regulations require additional exterior lamps
for snowplow-equipped vehicles. Consult your dealer for additional
information.
•After installing a snowplow to the vehicle, ensure the vehicle’s front
toe alignment and front ride height are within specification (reset if
required). These specifications are located in the vehicle’s Workshop
Manual. Adherence to the toe, tire pressures and ride height
specification is important for proper tire wear, ride, handling and
headlight aim. Also, maintain the engine oil and transmission fluid
change intervals following the severe duty schedule.
Do not exceed the GVWR or the GAWR specified on the
certification label.
Removing snowplow
Read the following instructions before removing a snowplow:
•After removing a snowplow from the vehicle, ensure the vehicle’s front
toe alignment and front ride height are within specification (reset if
required). These specifications are located in the vehicle’s Workshop
Manual. Adherence to the toe and ride height specification is
important for proper tire wear, ride, handling and headlight aim.
Driving
164
ProCarManuals.com