fuel FORD F250 2006 Owner's Manual
[x] Cancel search | Manufacturer: FORD, Model Year: 2006, Model line: F250, Model: FORD F250 2006Pages: 312, PDF Size: 3.19 MB
Page 171 of 312
Starting the engine
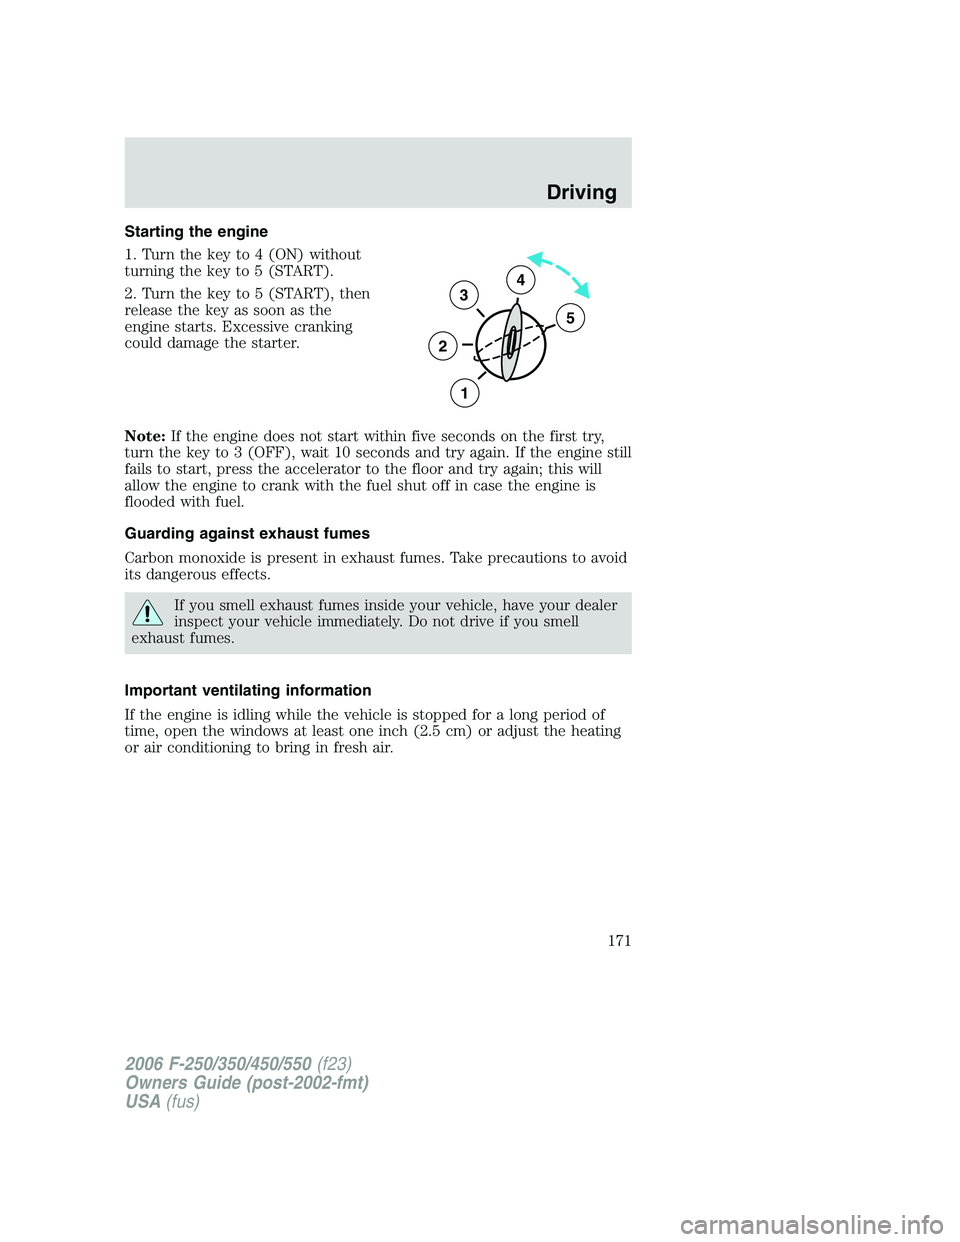
1. Turn the key to 4 (ON) without
turning the key to 5 (START).
2. Turn the key to 5 (START), then
release the key as soon as the
engine starts. Excessive cranking
could damage the starter.
Note:If the engine does not start within five seconds on the first try,
turn the key to 3 (OFF), wait 10 seconds and try again. If the engine still
fails to start, press the accelerator to the floor and try again; this will
allow the engine to crank with the fuel shut off in case the engine is
flooded with fuel.
Guarding against exhaust fumes
Carbon monoxide is present in exhaust fumes. Take precautions to avoid
its dangerous effects.
If you smell exhaust fumes inside your vehicle, have your dealer
inspect your vehicle immediately. Do not drive if you smell
exhaust fumes.
Important ventilating information
If the engine is idling while the vehicle is stopped for a long period of
time, open the windows at least one inch (2.5 cm) or adjust the heating
or air conditioning to bring in fresh air.
3
2
1
5
4
2006 F-250/350/450/550(f23)
Owners Guide (post-2002-fmt)
USA(fus)
Driving
171
Page 178 of 312
To put your vehicle in P (Park):
•Come to a complete stop
•Move the gearshift lever and securely latch it in P (Park)
Always set the parking brake fully and make sure the gearshift is
latched in P (Park). Turn the ignition to the LOCK position and
remove the key whenever you leave your vehicle.
R (Reverse)
With the gearshift lever in R (Reverse), the vehicle will move backward.
Always come to a complete stop before shifting into and out of R (Reverse).
N (Neutral)
With the gearshift lever in N (Neutral), the vehicle can be started and is
free to roll. Hold the brake pedal down while in this position.
D (Overdrive) with Tow/Haul OFF
D (Overdrive) with Tow/Haul OFF is the normal driving position for the
best fuel economy. The overdrive function allows automatic upshifts and
downshifts through gears one through five.
D (Overdrive) with Tow/Haul ON
The Tow/Haul feature improves transmission operation when towing a
trailer or a heavy load. All transmission gear ranges are available when
using Tow/Haul.
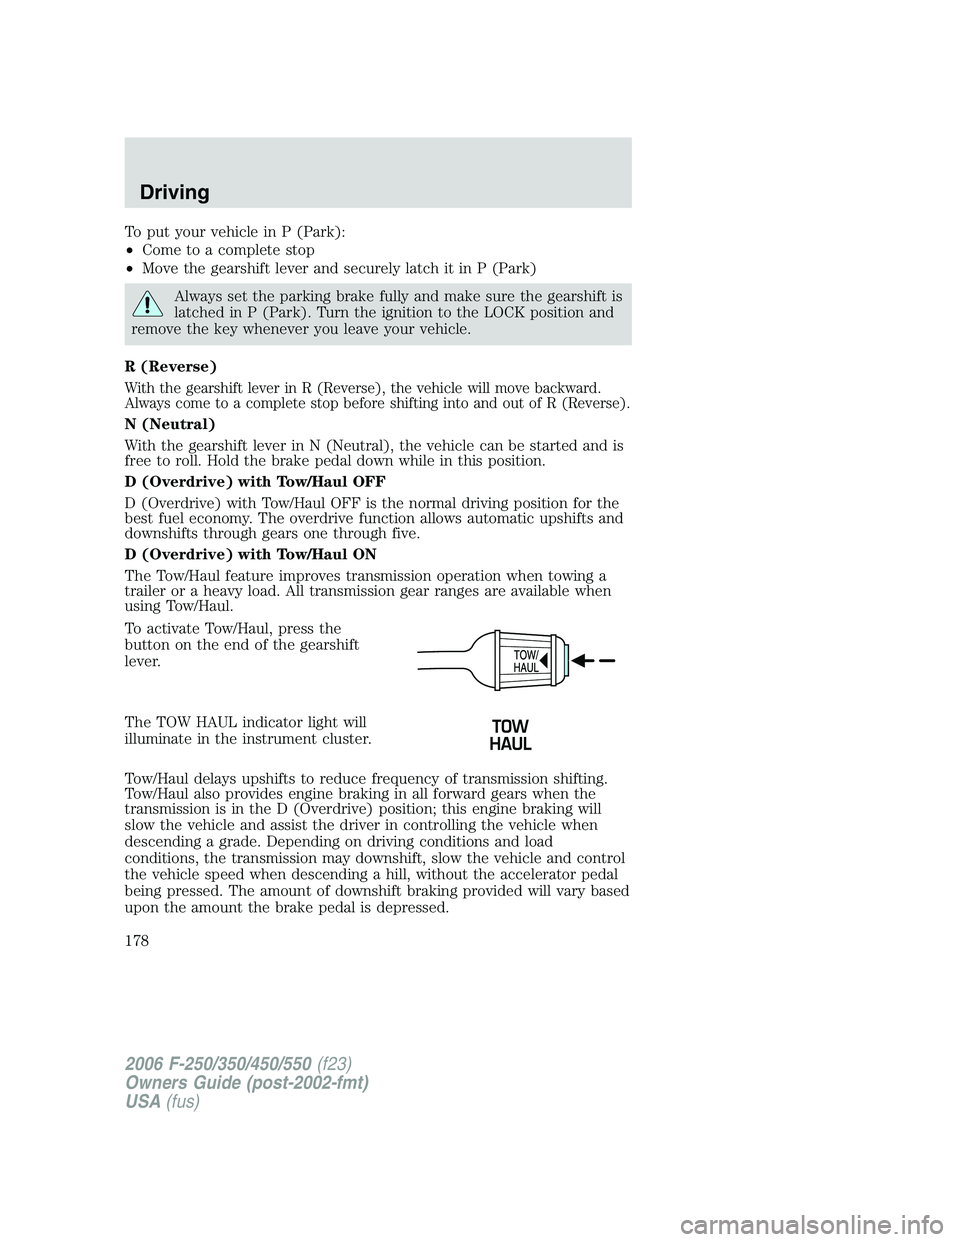
To activate Tow/Haul, press the
button on the end of the gearshift
lever.
The TOW HAUL indicator light will
illuminate in the instrument cluster.
Tow/Haul delays upshifts to reduce frequency of transmission shifting.
Tow/Haul also provides engine braking in all forward gears when the
transmission is in the D (Overdrive) position; this engine braking will
slow the vehicle and assist the driver in controlling the vehicle when
descending a grade. Depending on driving conditions and load
conditions, the transmission may downshift, slow the vehicle and control
the vehicle speed when descending a hill, without the accelerator pedal
being pressed. The amount of downshift braking provided will vary based
upon the amount the brake pedal is depressed.
2006 F-250/350/450/550(f23)
Owners Guide (post-2002-fmt)
USA(fus)
Driving
178
Page 181 of 312
Shift according to the following shift speed charts:
Upshifts when accelerating (recommended for best fuel economy)
6-speed transmission
Shift from: Transfer case position1(if equipped)
2H or 4H 4L
LO-1 5 mph (8 km/h) 2 mph (3 km/h)
1-2 15 mph (24 km/h) 6 mph (10 km/h)
2-3 22 mph (35 km/h) 9 mph (14 km/h)
3-4 30 mph (48 km/h) 12 mph (19 km/h)
4
-
D(Overdrive)40 mph (64 km/h) 15 mph (24 km/h)
Maximum downshift speeds1
6-speed transmission
Shift from: Transfer case position (if equipped)2
2H or 4H 4L
D(Overdrive) -
445 mph (72 km/h) 16 mph (26 km/h)
4-3 35 mph (56 km/h) 12 mph (19 km/h)
3-2 20 mph (32 km/h) 8 mph (13 km/h)
2-1 5 mph (8 km/h) 2 mph (3 km/h)
1-LO Only shift to LO when at a stop.
1Use 2H or 4H for 4WD equipped vehicles.2Downshift at lower speeds when driving on slippery surfaces.
Reverse
1. Make sure that your vehicle is at a complete stop before you shift into
R (Reverse). Failure to do so may damage the transmission.
2. Move the gearshift lever into the neutral position and wait at least
three seconds before shifting into R (Reverse).
•The gearshift lever can only be moved into R (Reverse) by moving it
from left of 3 (Third) and 4 (Fourth) before shifting into R (Reverse).
This is a lockout feature that protects the transmission from
accidentally being shifted into R (Reverse) from
(Overdrive).
2006 F-250/350/450/550(f23)
Owners Guide (post-2002-fmt)
USA(fus)
Driving
181
Page 184 of 312
The RSS automatically turns on
when the gearshift lever is placed in
R (Reverse) and the ignition is on.
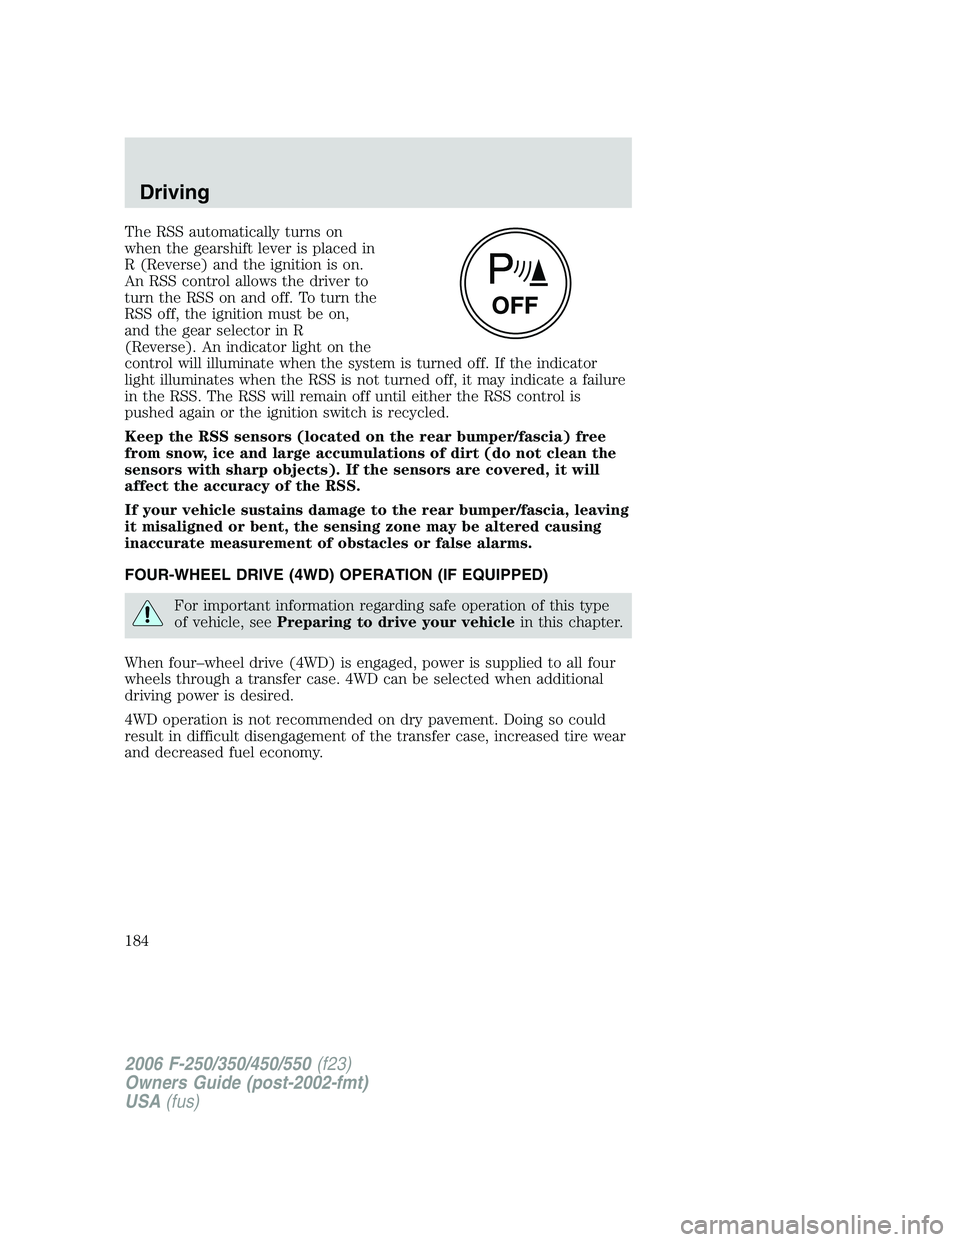
An RSS control allows the driver to
turn the RSS on and off. To turn the
RSS off, the ignition must be on,
and the gear selector in R
(Reverse). An indicator light on the
control will illuminate when the system is turned off. If the indicator
light illuminates when the RSS is not turned off, it may indicate a failure
in the RSS. The RSS will remain off until either the RSS control is
pushed again or the ignition switch is recycled.
Keep the RSS sensors (located on the rear bumper/fascia) free
from snow, ice and large accumulations of dirt (do not clean the
sensors with sharp objects). If the sensors are covered, it will
affect the accuracy of the RSS.
If your vehicle sustains damage to the rear bumper/fascia, leaving
it misaligned or bent, the sensing zone may be altered causing
inaccurate measurement of obstacles or false alarms.
FOUR-WHEEL DRIVE (4WD) OPERATION (IF EQUIPPED)
For important information regarding safe operation of this type
of vehicle, seePreparing to drive your vehiclein this chapter.
When four–wheel drive (4WD) is engaged, power is supplied to all four
wheels through a transfer case. 4WD can be selected when additional
driving power is desired.
4WD operation is not recommended on dry pavement. Doing so could
result in difficult disengagement of the transfer case, increased tire wear
and decreased fuel economy.
2006 F-250/350/450/550(f23)
Owners Guide (post-2002-fmt)
USA(fus)
Driving
184
Page 185 of 312
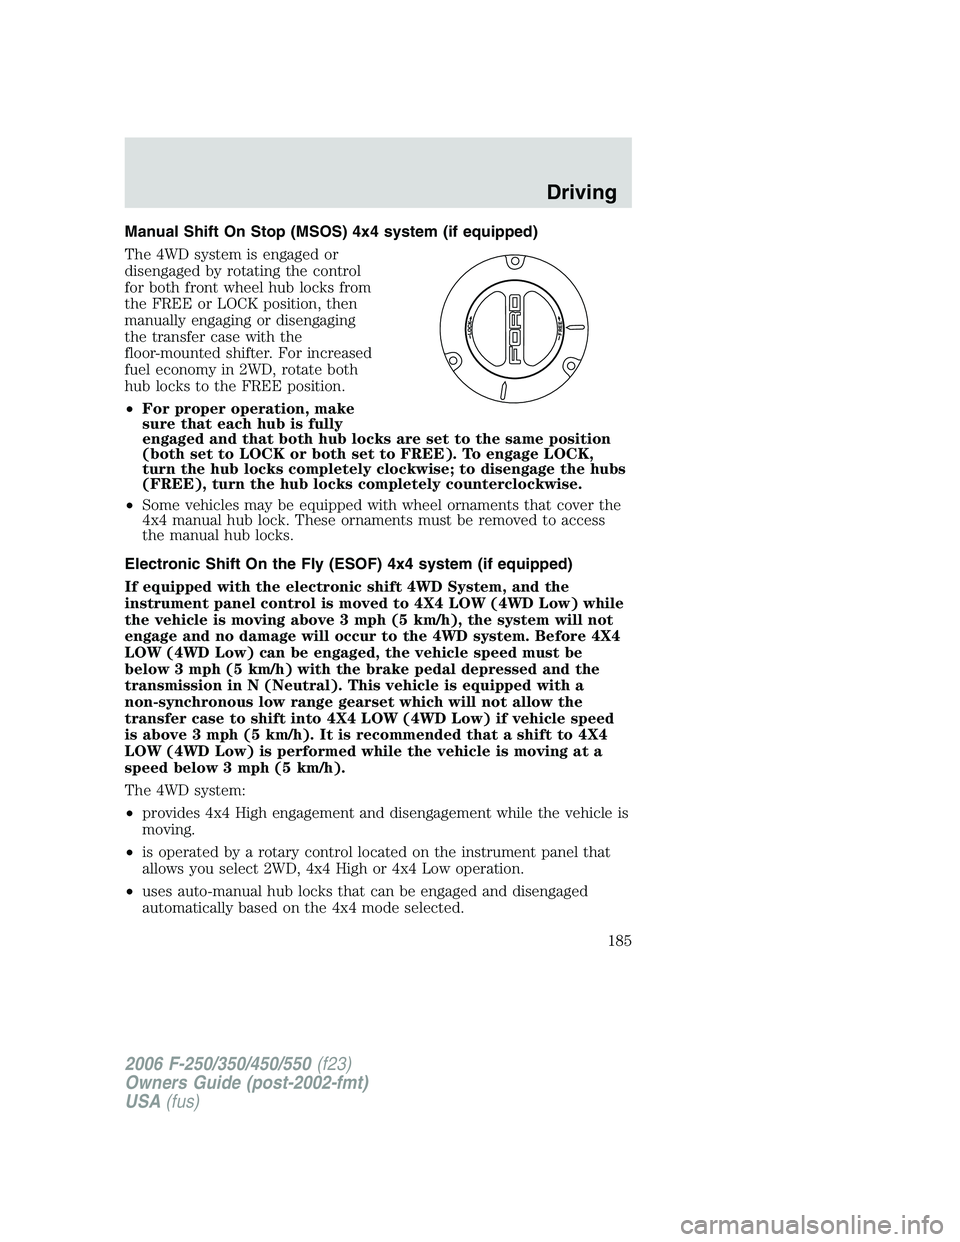
Manual Shift On Stop (MSOS) 4x4 system (if equipped)
The 4WD system is engaged or
disengaged by rotating the control
for both front wheel hub locks from
the FREE or LOCK position, then
manually engaging or disengaging
the transfer case with the
floor-mounted shifter. For increased
fuel economy in 2WD, rotate both
hub locks to the FREE position.
•For proper operation, make
sure that each hub is fully
engaged and that both hub locks are set to the same position
(both set to LOCK or both set to FREE). To engage LOCK,
turn the hub locks completely clockwise; to disengage the hubs
(FREE), turn the hub locks completely counterclockwise.
•Some vehicles may be equipped with wheel ornaments that cover the
4x4 manual hub lock. These ornaments must be removed to access
the manual hub locks.
Electronic Shift On the Fly (ESOF) 4x4 system (if equipped)
If equipped with the electronic shift 4WD System, and the
instrument panel control is moved to 4X4 LOW (4WD Low) while
the vehicle is moving above 3 mph (5 km/h), the system will not
engage and no damage will occur to the 4WD system. Before 4X4
LOW (4WD Low) can be engaged, the vehicle speed must be
below 3 mph (5 km/h) with the brake pedal depressed and the
transmission in N (Neutral). This vehicle is equipped with a
non-synchronous low range gearset which will not allow the
transfer case to shift into 4X4 LOW (4WD Low) if vehicle speed
is above 3 mph (5 km/h). It is recommended that a shift to 4X4
LOW (4WD Low) is performed while the vehicle is moving at a
speed below 3 mph (5 km/h).
The 4WD system:
•provides 4x4 High engagement and disengagement while the vehicle is
moving.
•is operated by a rotary control located on the instrument panel that
allows you select 2WD, 4x4 High or 4x4 Low operation.
•uses auto-manual hub locks that can be engaged and disengaged
automatically based on the 4x4 mode selected.
2006 F-250/350/450/550(f23)
Owners Guide (post-2002-fmt)
USA(fus)
Driving
185
Page 186 of 312
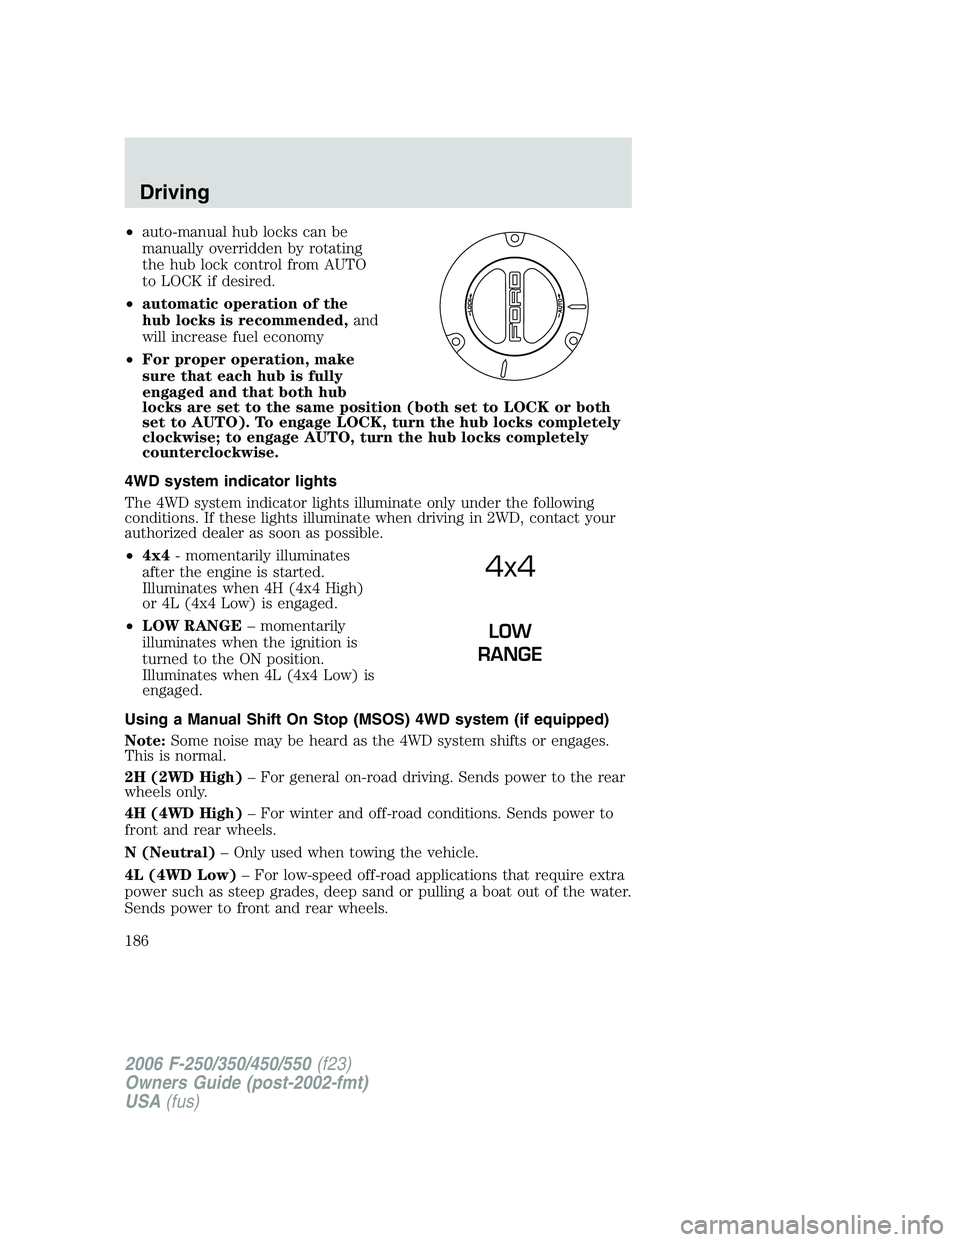
•auto-manual hub locks can be
manually overridden by rotating
the hub lock control from AUTO
to LOCK if desired.
•automatic operation of the
hub locks is recommended,and
will increase fuel economy
•For proper operation, make
sure that each hub is fully
engaged and that both hub
locks are set to the same position (both set to LOCK or both
set to AUTO). To engage LOCK, turn the hub locks completely
clockwise; to engage AUTO, turn the hub locks completely
counterclockwise.
4WD system indicator lights
The 4WD system indicator lights illuminate only under the following
conditions. If these lights illuminate when driving in 2WD, contact your
authorized dealer as soon as possible.
•4x4- momentarily illuminates
after the engine is started.
Illuminates when 4H (4x4 High)
or 4L (4x4 Low) is engaged.
•LOW RANGE– momentarily
illuminates when the ignition is
turned to the ON position.
Illuminates when 4L (4x4 Low) is
engaged.
Using a Manual Shift On Stop (MSOS) 4WD system (if equipped)
Note:Some noise may be heard as the 4WD system shifts or engages.
This is normal.
2H (2WD High)– For general on-road driving. Sends power to the rear
wheels only.
4H (4WD High)– For winter and off-road conditions. Sends power to
front and rear wheels.
N (Neutral)– Only used when towing the vehicle.
4L (4WD Low)– For low-speed off-road applications that require extra
power such as steep grades, deep sand or pulling a boat out of the water.
Sends power to front and rear wheels.
4x4
LOW
RANGE
2006 F-250/350/450/550(f23)
Owners Guide (post-2002-fmt)
USA(fus)
Driving
186
Page 198 of 312
VEHICLE USED AS A STATIONARY POWER SOURCE
Auxiliary equipment called power take-off, or PTO, is often added to the
engine or transmission to operate utility equipment. Examples include a
wheel-lift for tow trucks, tools for construction and cranes. PTO
applications draw auxiliary horsepower from the powertrain, often while
the vehicle is stationary. In this condition, there is limited cooling air
flow through the radiator and around the vehicle that normally occurs
when a vehicle is moving. Depending on the level and duration of
auxiliary horsepower draw, vehicle conditions and surrounding
environmental conditions and other factors, this can contribute to
elevated transmission fluid temperatures and result in accelerated fluid
deterioration, fuel vapor over-pressurization, and other concerns. Ford
trucks are fully qualified for stationary PTO operation for 10 minutes or
less of continuous operation. For stationary PTO operation of extended
duration (beyond 10 minutes), diesel engine is recommended. Further
consult your aftermarket PTO installer, since the duration of operation
limit for the aftermarket PTO may be less than 10 minutes.
A more complete description of PTO operation is discussed in the Ford
Truck Body Builders Layout Book, found at
www.fleet.ford.com/truckbbas.
DRIVING THROUGH WATER
If driving through deep or standing water is unavoidable, proceed very
slowly especially when the depth is not known. Never drive through
water that is higher than the bottom of the hubs (for trucks) or the
bottom of the wheel rims (for cars). When driving through water,
traction or brake capability may be limited. Also, water may enter your
engine’s air intake and severely damage your engine or your vehicle may
stall.Driving through deep water where the transmission vent
tube is submerged may allow water into the transmission and
cause internal transmission damage.
Once through the water, always dry the brakes by moving your
vehicle slowly while applying light pressure on the brake pedal.
Wet brakes do not stop the vehicle as quickly as dry brakes.
2006 F-250/350/450/550(f23)
Owners Guide (post-2002-fmt)
USA(fus)
Driving
198
Page 202 of 312
ROADSIDE ASSISTANCE
Getting roadside assistance
To fully assist you should you have a vehicle concern, Ford Motor
Company offers a complimentary roadside assistance program. This
program is separate from the New Vehicle Limited Warranty. The service
is available:
•24–hours, seven days a week
•for the New Vehicle Limited Warranty period of three years or
36,000 miles (60,000 km), whichever occurs first on Ford and Mercury
vehicles, and four years or 50,000 miles (80,000 km) on Lincoln
vehicles.
Roadside assistance will cover:
•a flat tire change with a good spare (except Ford GT which has a tire
inflation kit)
•battery jump start
•lock-out assistance (key replacement cost is the customer’s
responsibility)
•fuel delivery – Independent Service Contractors, if not prohibited by
state, local or municipal law shall deliver up to 2.0 gallons (7.5L) of
gasoline or 5 gallons (18.9L) of diesel fuel to a disabled vehicle.
•winch out – available within 100 feet (30.5 meters) of a paved or
county maintained road, no recoveries.
•towing – Ford/Mercury/Lincoln eligible vehicle towed to an authorized
dealer within 35 miles (56.3 km) of the disablement location or to the
nearest authorized dealer. If a member requests to be towed to an
authorized dealer more than 35 miles (56.3 km) from the disablement
location, the member shall be responsible for any mileage costs in
excess of 35 miles (56.3 km).
Trailers shall be covered up to $100 if the disabled eligible vehicle
requires service at the nearest authorized dealer. If the trailer is disabled,
but the towing vehicle is operational, the trailer does not qualify for any
roadside services.
2006 F-250/350/450/550(f23)
Owners Guide (post-2002-fmt)
USA(fus)
Roadside Emergencies
202
Page 203 of 312
Canadian customers refer to your Owner Information Guide for
information on:
•coverage period
•exact fuel amounts
•towing of your disabled vehicle
•emergency travel expense reimbursement
•travel planning benefits
Using roadside assistance
Complete the roadside assistance identification card and place it in your
wallet for quick reference. In the United States, this card is found in the
Owner Guide portfolio in the glove compartment. In Canada, the card is
found in theOwner Information Guidein the glove compartment.
U.S. Ford or Mercury vehicle customers who require roadside assistance,
call 1–800–241–3673; Lincoln vehicle customers call 1–800–521–4140.
Canadian customers who require roadside assistance, call
1–800–665–2006.
If you need to arrange roadside assistance for yourself, Ford Motor
Company will reimburse a reasonable amount. To obtain reimbursement
information, U.S. Ford or Mercury vehicles customers call
1-800-241-3673; Lincoln vehicle customers call 1–800–521–4140.
Canadian customers who need to obtain reimbursement information, call
1–800–665–2006.
Roadside coverage beyond basic warranty
In the United States, you may purchase additional roadside assistance
coverage beyond this period through the Ford Auto Club by contacting
your authorized dealer.
Similarly in Canada, for uninterrupted Roadside Assistance coverage, you
may purchase extended coverage prior to your Basic Warranty’s Roadside
Assistance expiring. For more information and enrollment, contact
1–877–294–2582 or visit our website at www.ford.ca.
2006 F-250/350/450/550(f23)
Owners Guide (post-2002-fmt)
USA(fus)
Roadside Emergencies
203
Page 204 of 312
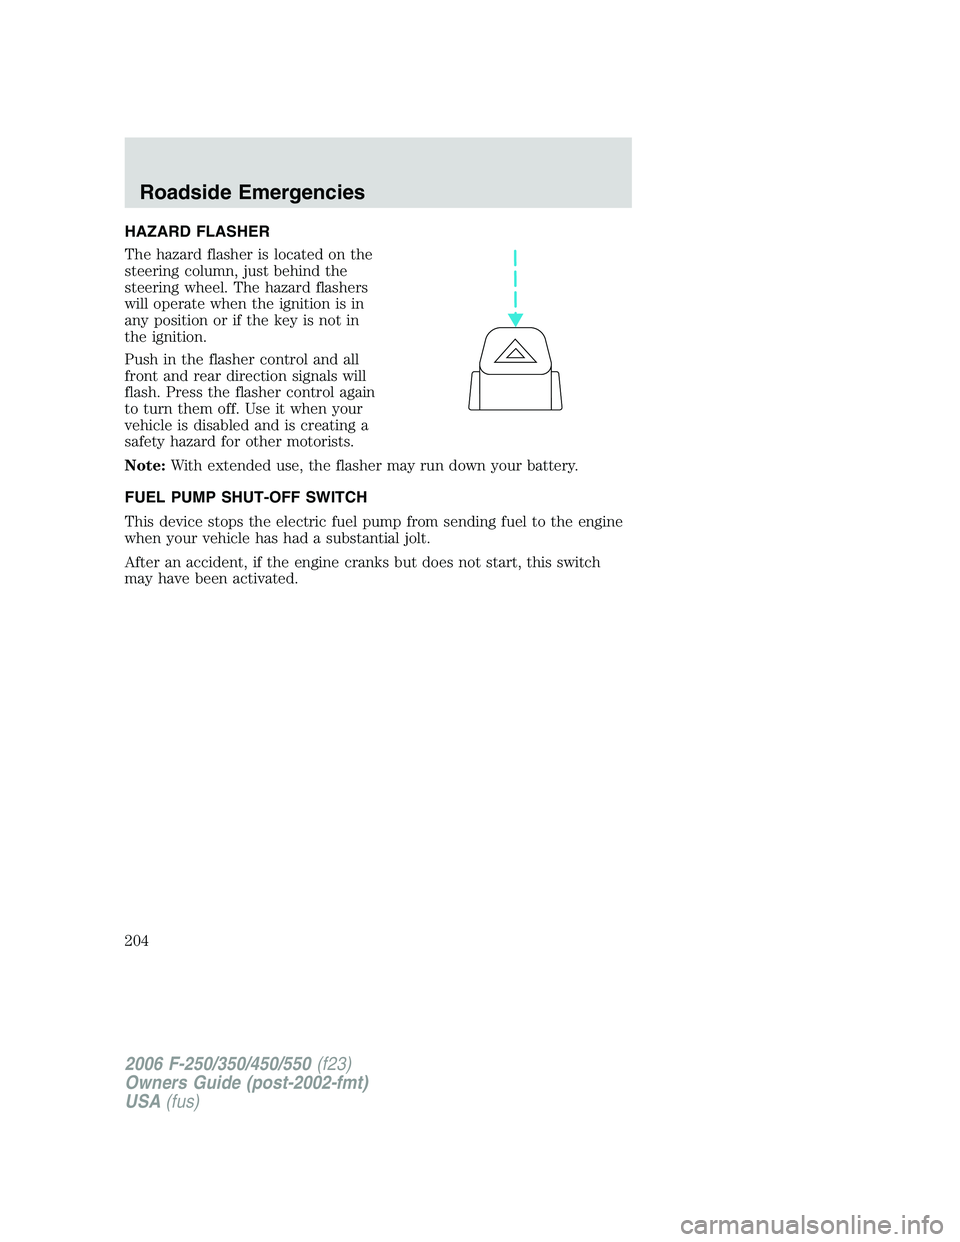
HAZARD FLASHER
The hazard flasher is located on the
steering column, just behind the
steering wheel. The hazard flashers
will operate when the ignition is in
any position or if the key is not in
the ignition.
Push in the flasher control and all
front and rear direction signals will
flash. Press the flasher control again
to turn them off. Use it when your
vehicle is disabled and is creating a
safety hazard for other motorists.
Note:With extended use, the flasher may run down your battery.
FUEL PUMP SHUT-OFF SWITCH
This device stops the electric fuel pump from sending fuel to the engine
when your vehicle has had a substantial jolt.
After an accident, if the engine cranks but does not start, this switch
may have been activated.
2006 F-250/350/450/550(f23)
Owners Guide (post-2002-fmt)
USA(fus)
Roadside Emergencies
204