key FORD F350 2002 Owners Manual
[x] Cancel search | Manufacturer: FORD, Model Year: 2002, Model line: F350, Model: FORD F350 2002Pages: 264, PDF Size: 2.37 MB
Page 1 of 264
Introduction 3
Instrument Cluster 10
Warning and control lights 10
Gauges 13
Entertainment Systems 17
AM/FM stereo cassette with CD 17
AM/FM stereo with CD 26
CD changer 28
Climate Controls 33
Heater only 33
Manual heating and air conditioning 34
Lights 36
Headlamps 36
Turn signal control 38
Bulb replacement 39
Driver Controls 45
Windshield wiper/washer control 45
Power windows 48
Mirrors 49
Speed control 50
Message center 53
Locks and Security 58
Keys 58
Locks 58
Anti-theft system 60
Seating and Safety Restraints 65
Seating 65
Safety restraints 70
Air bags 82
Child restraints 90
Table of Contents
1
ProCarManuals.com
Page 12 of 264
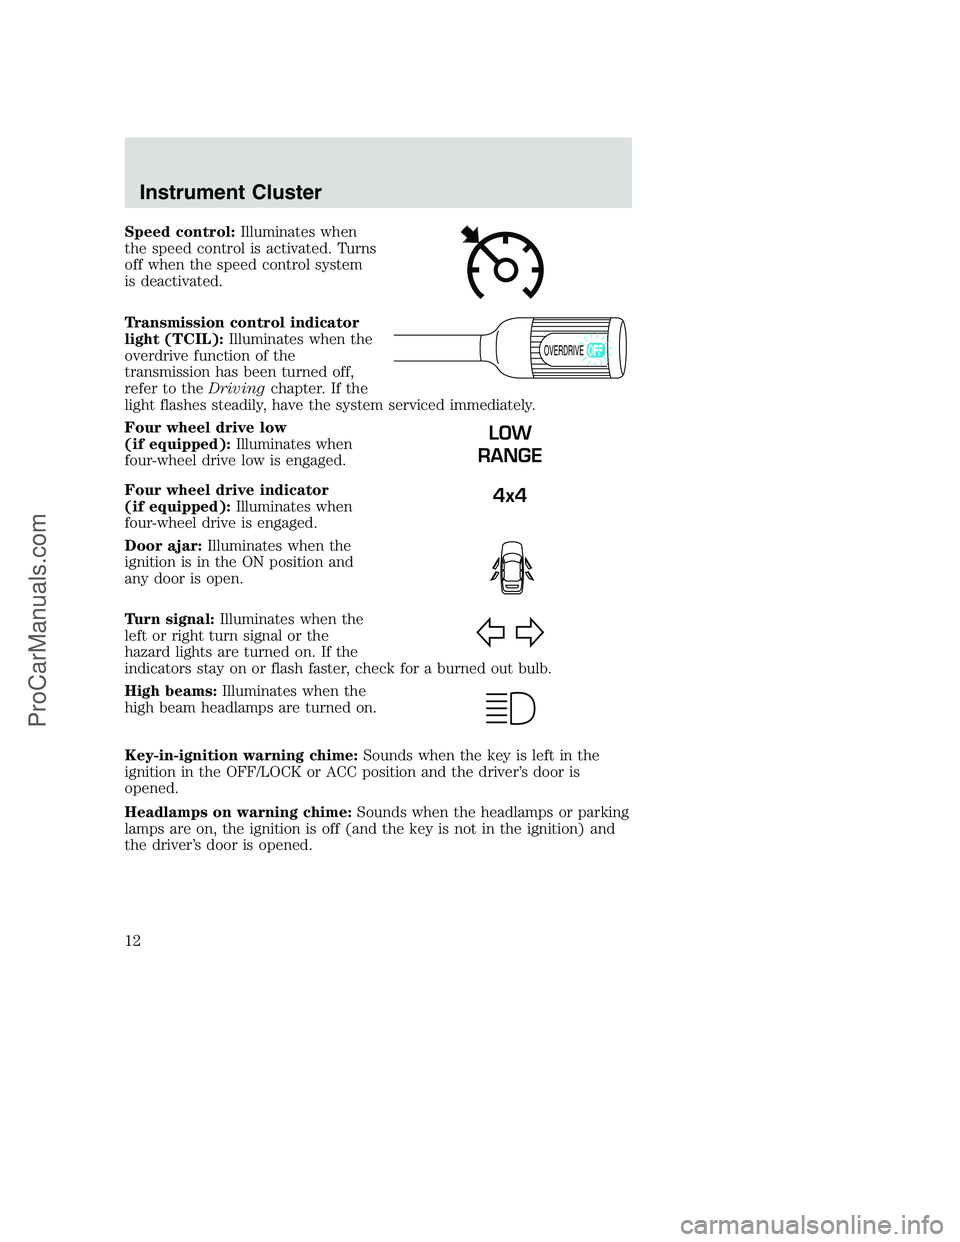
Speed control:Illuminates when
the speed control is activated. Turns
off when the speed control system
is deactivated.
Transmission control indicator
light (TCIL):Illuminates when the
overdrive function of the
transmission has been turned off,
refer to theDrivingchapter. If the
light flashes steadily, have the system serviced immediately.
Four wheel drive low
(if equipped):Illuminates when
four-wheel drive low is engaged.
Four wheel drive indicator
(if equipped):Illuminates when
four-wheel drive is engaged.
Door ajar:Illuminates when the
ignition is in the ON position and
any door is open.
Turn signal:Illuminates when the
left or right turn signal or the
hazard lights are turned on. If the
indicators stay on or flash faster, check for a burned out bulb.
High beams:Illuminates when the
high beam headlamps are turned on.
Key-in-ignition warning chime:Sounds when the key is left in the
ignition in the OFF/LOCK or ACC position and the driver’s door is
opened.
Headlamps on warning chime:Sounds when the headlamps or parking
lamps are on, the ignition is off (and the key is not in the ignition) and
the driver’s door is opened.
OVERDRIVE
LOW
RANGE
4x4
Instrument Cluster
12
ProCarManuals.com
Page 57 of 264
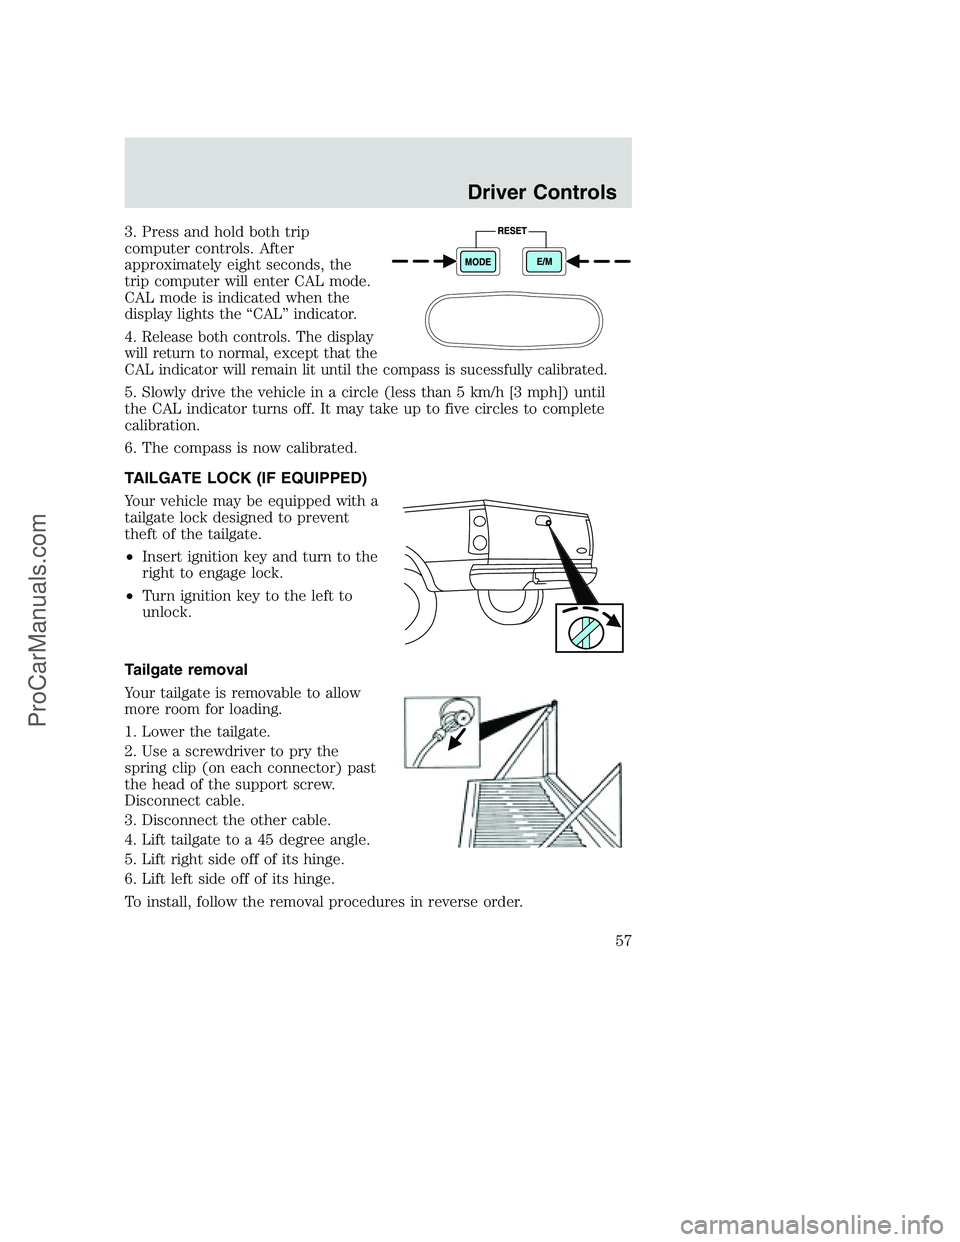
3. Press and hold both trip
computer controls. After
approximately eight seconds, the
trip computer will enter CAL mode.
CAL mode is indicated when the
display lights the “CAL” indicator.
4.
Release both controls. The display
will return to normal, except that the
CAL indicator will remain lit until the compass is sucessfully calibrated.
5. Slowly drive the vehicle in a circle (less than 5 km/h [3 mph]) until
the CAL indicator turns off. It may take up to five circles to complete
calibration.
6. The compass is now calibrated.
TAILGATE LOCK (IF EQUIPPED)
Your vehicle may be equipped with a
tailgate lock designed to prevent
theft of the tailgate.
•Insert ignition key and turn to the
right to engage lock.
•Turn ignition key to the left to
unlock.
Tailgate removal
Your tailgate is removable to allow
more room for loading.
1. Lower the tailgate.
2. Use a screwdriver to pry the
spring clip (on each connector) past
the head of the support screw.
Disconnect cable.
3. Disconnect the other cable.
4. Lift tailgate to a 45 degree angle.
5. Lift right side off of its hinge.
6. Lift left side off of its hinge.
To install, follow the removal procedures in reverse order.
Driver Controls
57
ProCarManuals.com
Page 58 of 264
KEYS
The key operates all locks on your vehicle. In case of loss, replacement
keys are available from your dealer.
You should always carry a second key with you in a safe place in case
you require it in an emergency.
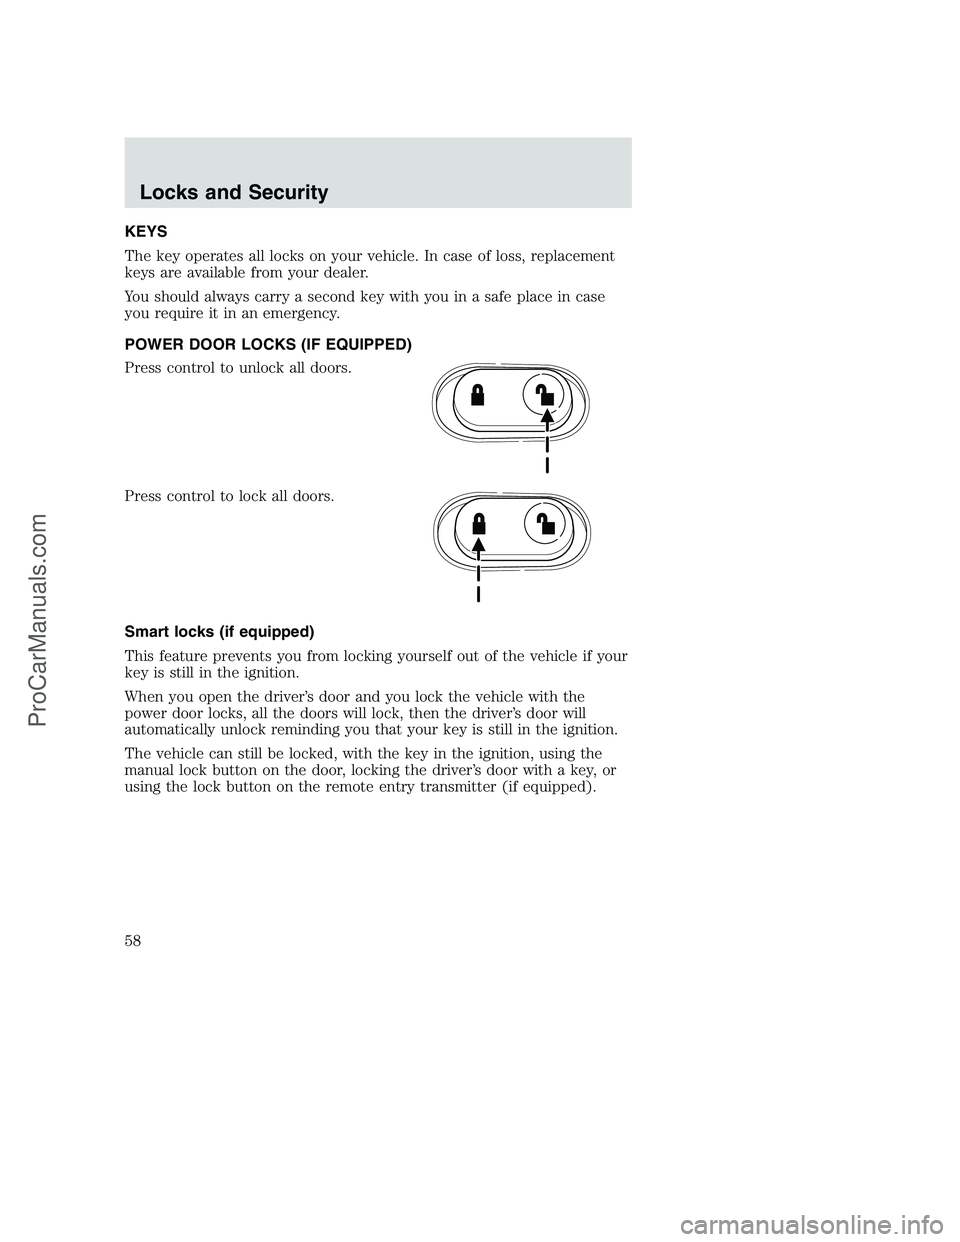
POWER DOOR LOCKS (IF EQUIPPED)
Press control to unlock all doors.
Press control to lock all doors.
Smart locks (if equipped)
This feature prevents you from locking yourself out of the vehicle if your
key is still in the ignition.
When you open the driver’s door and you lock the vehicle with the
power door locks, all the doors will lock, then the driver’s door will
automatically unlock reminding you that your key is still in the ignition.
The vehicle can still be locked, with the key in the ignition, using the
manual lock button on the door, locking the driver’s door with a key, or
using the lock button on the remote entry transmitter (if equipped).
Locks and Security
58
ProCarManuals.com
Page 60 of 264
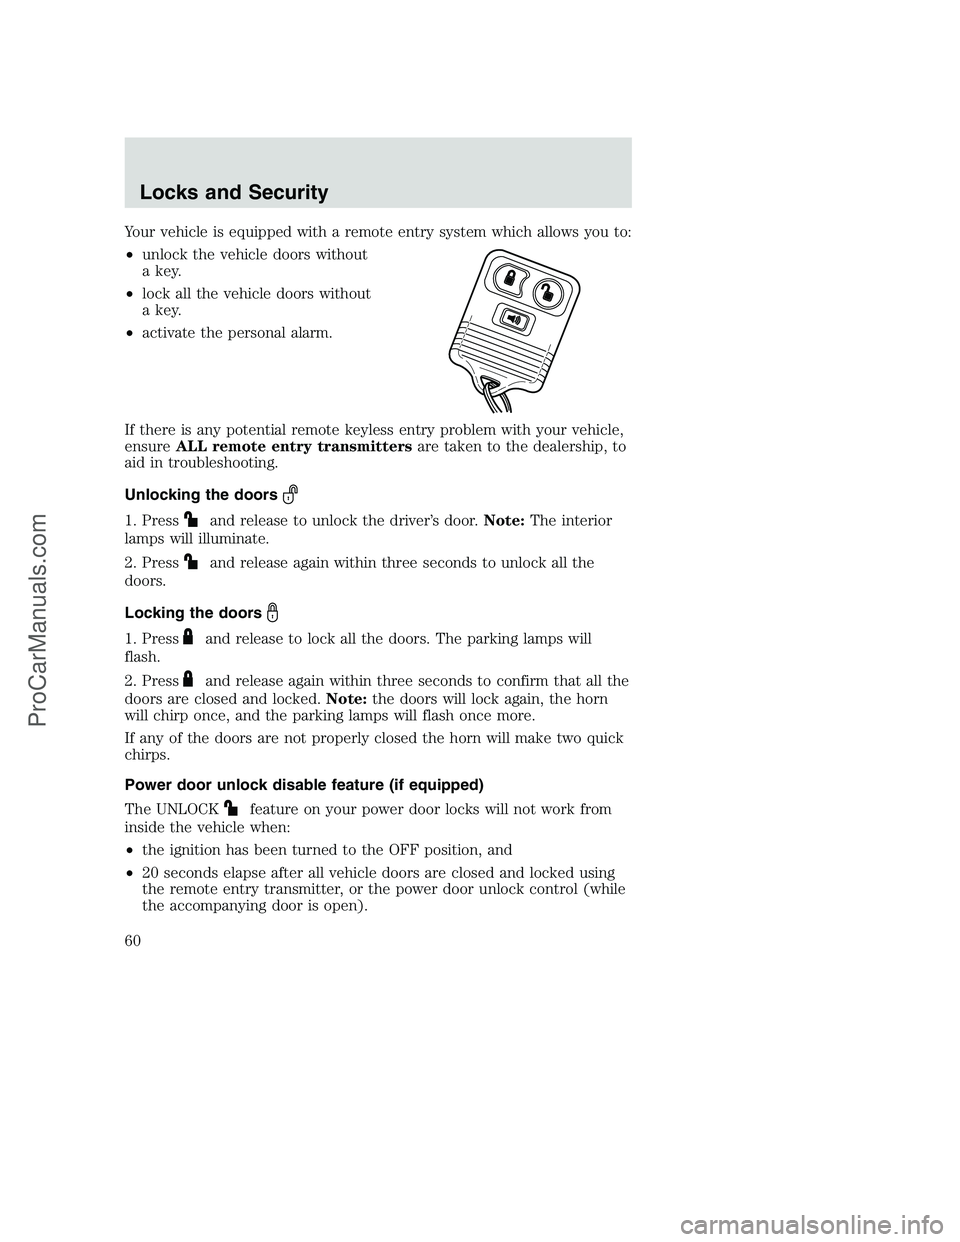
Your vehicle is equipped with a remote entry system which allows you to:
•unlock the vehicle doors without
a key.
•lock all the vehicle doors without
a key.
•activate the personal alarm.
If there is any potential remote keyless entry problem with your vehicle,
ensureALL remote entry transmittersare taken to the dealership, to
aid in troubleshooting.
Unlocking the doors
1. Pressand release to unlock the driver’s door.Note:The interior
lamps will illuminate.
2. Press
and release again within three seconds to unlock all the
doors.
Locking the doors
1. Pressand release to lock all the doors. The parking lamps will
flash.
2. Press
and release again within three seconds to confirm that all the
doors are closed and locked.Note:the doors will lock again, the horn
will chirp once, and the parking lamps will flash once more.
If any of the doors are not properly closed the horn will make two quick
chirps.
Power door unlock disable feature (if equipped)
The UNLOCK
feature on your power door locks will not work from
inside the vehicle when:
•the ignition has been turned to the OFF position, and
•20 seconds elapse after all vehicle doors are closed and locked using
the remote entry transmitter, or the power door unlock control (while
the accompanying door is open).
Locks and Security
60
ProCarManuals.com
Page 61 of 264

The UNLOCKfeature will work again after:
•a door has become ajar,
•the ignition is turned to the ON position, or
•using the UNLOCK
control on your remote entry transmitter.
Power door unlock disable feature — activation/deactivation
Please see your dealer in order to activate/deactivate this feature.
Sounding a panic alarm
Press
to activate the alarm. Press again or turn the ignition to ACC
or ON to deactivate.
Note:The panic alarm will only operate when the ignition is in the OFF
position.
Replacing the battery
The remote entry transmitter uses one coin type three-volt lithium
battery CR2032 or equivalent. The typical operating range for your
remote entry transmitter is approximately 10 meters (33 feet). A
decrease in the operating range could be caused by:
•weather conditions,
•nearby radio towers,
•structures around the vehicle and
•other vehicles parked next to the vehicle.
To replace the battery:
1. Twist a thin coin between the two
halves of the remote entry
transmitter near the key ring. DO
NOT TAKE THE FRONT PART OF
THE REMOTE ENTRY
TRANSMITTER APART.
2. Remove the old battery.
3. Insert the new battery. Refer to
the diagram inside the remote entry
transmitter for the correct orientation of the battery.
4. Snap the two halves back together.
Note:Replacement of the battery willnotcause the remote transmitter
to become deprogrammed from your vehicle. The remote transmitter
should operate normally after battery replacement.
Locks and Security
61
ProCarManuals.com
Page 62 of 264
Replacing lost remote entry transmitters
If you would like to have your remote entry transmitter reprogrammed
because you lost one, or would like to buy additional remote entry
transmitters, you can either reprogram them yourself, or takeall
remote entry transmittersto your authorized dealer for
reprogramming.
How to reprogram your remote entry transmitters
You must haveall remote entry transmitters(maximum of four)
available before beginning this procedure.
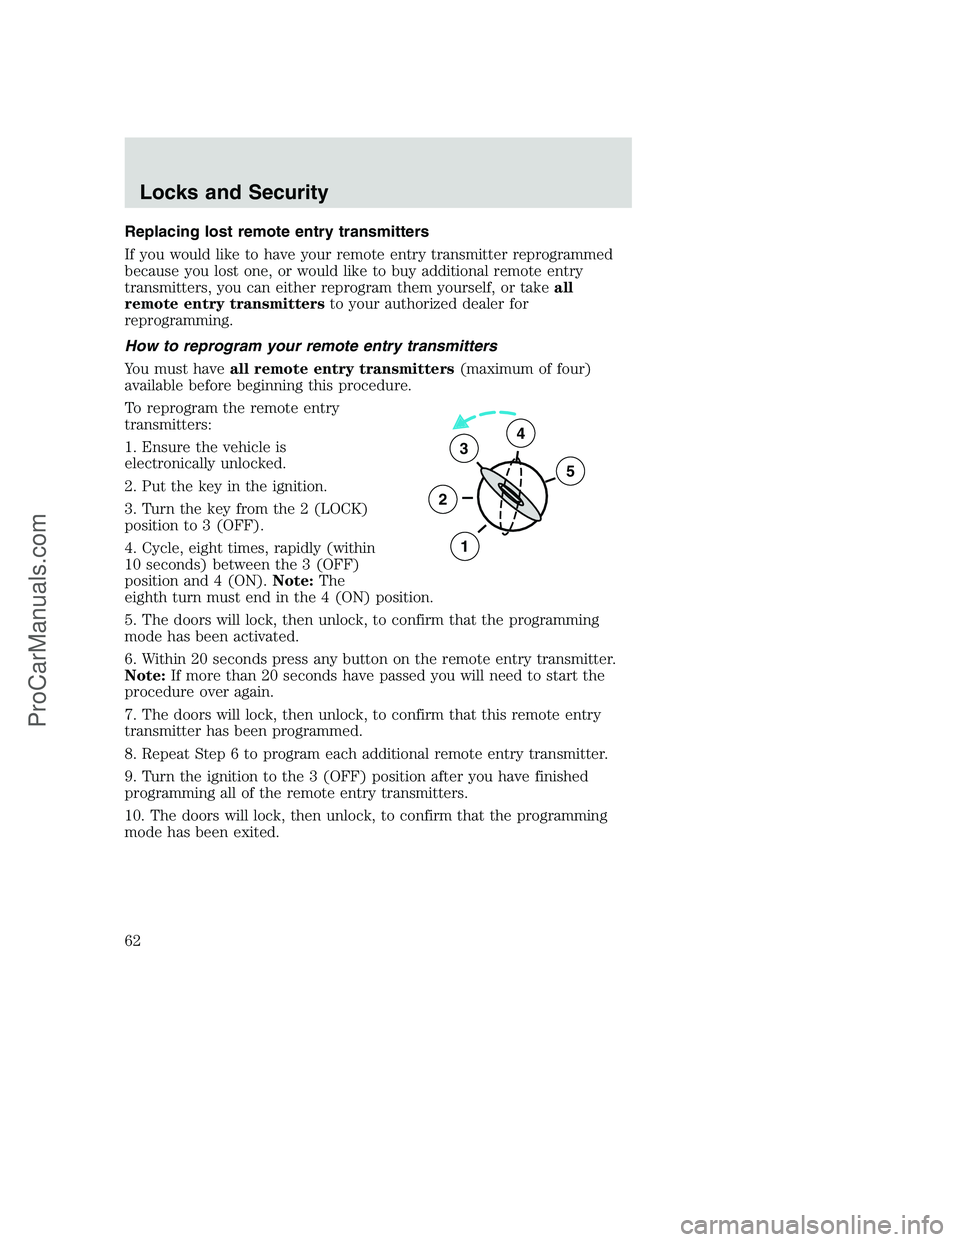
To reprogram the remote entry
transmitters:
1. Ensure the vehicle is
electronically unlocked.
2. Put the key in the ignition.
3. Turn the key from the 2 (LOCK)
position to 3 (OFF).
4. Cycle, eight times, rapidly (within
10 seconds) between the 3 (OFF)
position and 4 (ON).Note:The
eighth turn must end in the 4 (ON) position.
5. The doors will lock, then unlock, to confirm that the programming
mode has been activated.
6. Within 20 seconds press any button on the remote entry transmitter.
Note:If more than 20 seconds have passed you will need to start the
procedure over again.
7. The doors will lock, then unlock, to confirm that this remote entry
transmitter has been programmed.
8. Repeat Step 6 to program each additional remote entry transmitter.
9. Turn the ignition to the 3 (OFF) position after you have finished
programming all of the remote entry transmitters.
10. The doors will lock, then unlock, to confirm that the programming
mode has been exited.
3
2
1
5
4
Locks and Security
62
ProCarManuals.com
Page 64 of 264
Deactivating/activating the autolock feature
Before following the procedure, make sure that the ignition is OFF and
all vehicle doors are closed.
You must complete steps 1-7 within 30 seconds or the procedure will
have to be repeated. If the procedure needs to be repeated, you must
wait 30 seconds.
1. Turn the ignition key to ON.
2. Press the power door unlock control three times.
3. Turn the ignition key from ON to OFF.
4. Press the power door unlock control three times.
5. Turn the ignition back to ON. The horn will chirp.
6. Press the unlock control, then press the lock control. The horn will
chirp once if autolock was deactivated or twice (one short and one long
chirp) if autolock was activated.
7. Turn the ignition to OFF. The horn will chirp once to confirm the
procedure is complete.
Locks and Security
64
ProCarManuals.com
Page 86 of 264
If any of these things happen, even intermittently, have the SRS serviced
at your dealership or by a qualified technician immediately. Unless
serviced, the system may not function properly in the event of a
collision.
Disposal of air bags and air bag equipped vehicles
(including pretensioners)
See your local dealership or qualified technician. Air bags MUST BE
disposed of by qualified personnel.
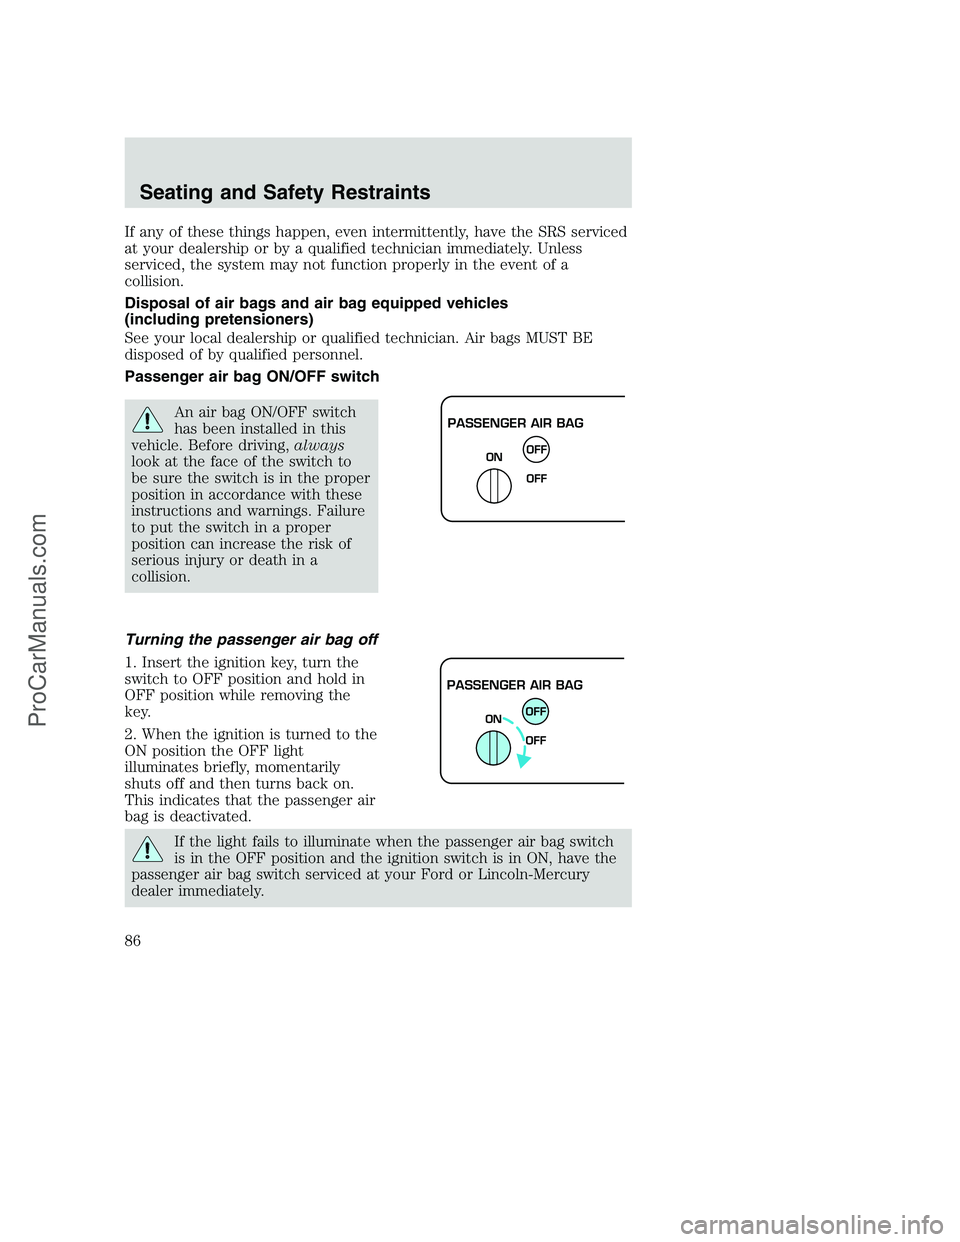
Passenger air bag ON/OFF switch
An air bag ON/OFF switch
has been installed in this
vehicle. Before driving,always
look at the face of the switch to
be sure the switch is in the proper
position in accordance with these
instructions and warnings. Failure
to put the switch in a proper
position can increase the risk of
serious injury or death in a
collision.
Turning the passenger air bag off
1. Insert the ignition key, turn the
switch to OFF position and hold in
OFF position while removing the
key.
2. When the ignition is turned to the
ON position the OFF light
illuminates briefly, momentarily
shuts off and then turns back on.
This indicates that the passenger air
bag is deactivated.
If the light fails to illuminate when the passenger air bag switch
is in the OFF position and the ignition switch is in ON, have the
passenger air bag switch serviced at your Ford or Lincoln-Mercury
dealer immediately.
PASSENGER AIR BAG
OFF
OFF ON
PASSENGER AIR BAG
OFF
OFF ON
Seating and Safety Restraints
86
ProCarManuals.com
Page 87 of 264
In order to avoid inadvertent activation of the switch, always
remove the ignition key from the passenger air bag ON/OFF
switch.
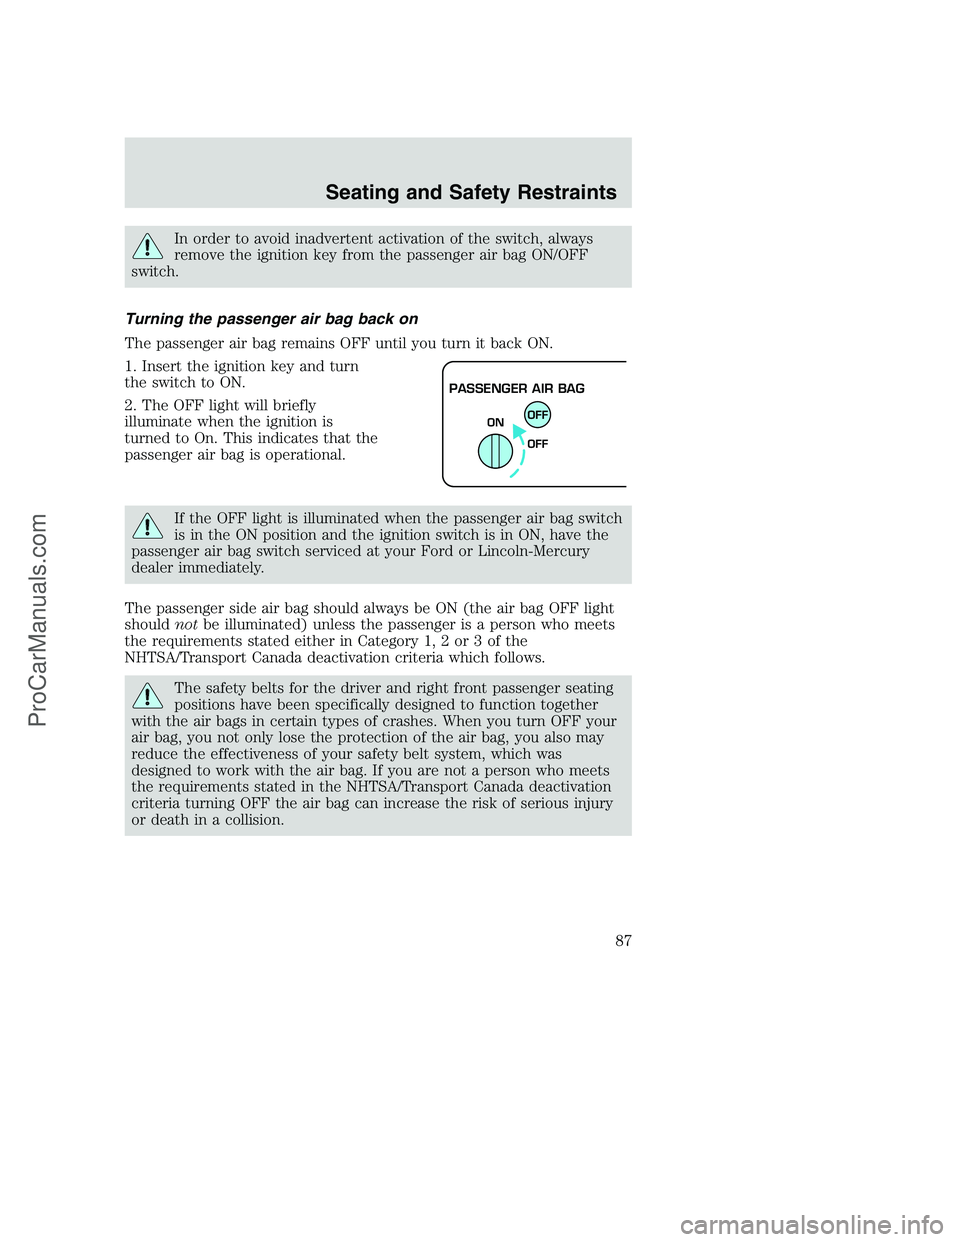
Turning the passenger air bag back on
The passenger air bag remains OFF until you turn it back ON.
1. Insert the ignition key and turn
the switch to ON.
2. The OFF light will briefly
illuminate when the ignition is
turned to On. This indicates that the
passenger air bag is operational.
If the OFF light is illuminated when the passenger air bag switch
is in the ON position and the ignition switch is in ON, have the
passenger air bag switch serviced at your Ford or Lincoln-Mercury
dealer immediately.
The passenger side air bag should always be ON (the air bag OFF light
shouldnotbe illuminated) unless the passenger is a person who meets
the requirements stated either in Category 1, 2 or 3 of the
NHTSA/Transport Canada deactivation criteria which follows.
The safety belts for the driver and right front passenger seating
positions have been specifically designed to function together
with the air bags in certain types of crashes. When you turn OFF your
air bag, you not only lose the protection of the air bag, you also may
reduce the effectiveness of your safety belt system, which was
designed to work with the air bag. If you are not a person who meets
the requirements stated in the NHTSA/Transport Canada deactivation
criteria turning OFF the air bag can increase the risk of serious injury
or death in a collision.
PASSENGER AIR BAG
OFF
OFF ON
Seating and Safety Restraints
87
ProCarManuals.com