stop start FORD F53 2017 Owners Manual
[x] Cancel search | Manufacturer: FORD, Model Year: 2017, Model line: F53, Model: FORD F53 2017Pages: 164, PDF Size: 2.57 MB
Page 4 of 164
Introduction
About This Manual...........................................3
Symbols Glossary.............................................3
California Proposition 65
...............................5
Perchlorate..........................................................5
Ford Credit...........................................................5
Replacement Parts Recommendation........................................6
Special Notices
.................................................6
Mobile Communications Equipment.......................................................7
Export Unique Options
...................................7
Environment
Protecting the Environment
.........................9
Steering Wheel
Adjusting the Steering Wheel
....................10
Cruise Control
...................................................10
Wipers and Washers
Windshield Wipers...........................................11
Windshield Washers
.......................................11
Lighting
Lighting Control................................................12
Instrument Lighting Dimmer.......................12
Daytime Running Lamps
..............................13
Direction Indicators.........................................13
Instrument Cluster
Gauges................................................................14
Warning Lamps and Indicators..................16
Audible Warnings and Indicators
..............18
Information Displays
General Information
.......................................19
Information Messages
.................................20 Starting and Stopping the
Engine
General Information
......................................23
Ignition Switch
.................................................23
Starting a Gasoline Engine.........................23
Engine Block Heater......................................25
Fuel and Refueling
Safety Precautions........................................26
Fuel Quality
.......................................................27
Running Out of Fuel.......................................27
Refueling............................................................27
Fuel Consumption
.........................................29
Emission Control System
...........................30
Transmission
Automatic Transmission.............................33
Brakes
General Information
......................................36
Hints on Driving With Anti-Lock Brakes.............................................................36
Parking Brake
...................................................37
Cruise Control
Principle of Operation..................................38
Using Cruise Control.....................................38
Load Carrying
Load Limit.........................................................39
Towing
Towing a Trailer...............................................45
Recommended Towing Weights
..............46
Essential Towing Checks............................48
Towing the Vehicle on Four Wheels.......50
Driving Hints
Breaking-In........................................................51
1
Motorhome (TY3) Canada/United States of America, enUSA, First Printing Table of Contents
Page 18 of 164
Engine Oil Pressure Gauge
Indicates engine oil pressure. The needle
should stay in the normal operating range
(between L and H). If the needle falls
below the normal range, stop the vehicle,
turn off the engine and check the engine
oil level. Add oil if needed. If the oil level is
correct, have your vehicle checked by your
authorized dealer.
Speedometer
Indicates vehicle speed. Vehicle speed is
limited to either 65 mph (105 km/h) or 75
mph (120 km/h).
Transmission Fluid Temperature
Gauge
Normal area
The transmission fluid is within the normal
operating temperature (between H and
C).
Yellow area
The transmission fluid is higher than
normal operating temperature. This can
be caused by special operation conditions
(i.e. snowplowing, towing or off-road use).
Operating the transmission for extended
periods of time with the gauge in the
yellow area may cause internal
transmission damage. Altering the severity
of the driving conditions is recommended
to lower the transmission temperature into
the normal range.
Red area
The transmission fluid is overheating. Stop
the vehicle to allow the temperature to
return to normal range.
If the gauge is operating in the yellow or
red area, stop the vehicle and verify the
airflow is not restricted such as snow or
debris blocking airflow through the grill. If
the gauge continues to show high
temperatures, see your authorized dealer.
Engine Coolant Temperature
Gauge WARNING
Never remove the coolant reservoir
cap while the engine is running or hot.
At normal operating temperature, the
needle will remain in the center section.
Note:
Do not restart the engine until the
cause of overheating has been resolved.
If the needle enters the red section, the
engine is overheating. Stop the engine,
switch the ignition off and determine the
cause once the engine has cooled down.
Fuel Gauge
Note: The fuel gauge may vary slightly
when your vehicle is moving or on a slope.
Switch the ignition on. The fuel gauge
indicates approximately how much fuel
you have left in the fuel tank. The arrow
adjacent to the fuel pump symbol
indicates on which side of your vehicle the
fuel filler door is located.
The needle should move toward F when
you refuel your vehicle. If the needle points
to E after adding fuel, have an authorized
dealer check the system soon.
After refueling, some variability in the
position of the needle is normal:
15
Motorhome (TY3) Canada/United States of America, enUSA, First Printing Instrument Cluster
Page 20 of 164
Brake System
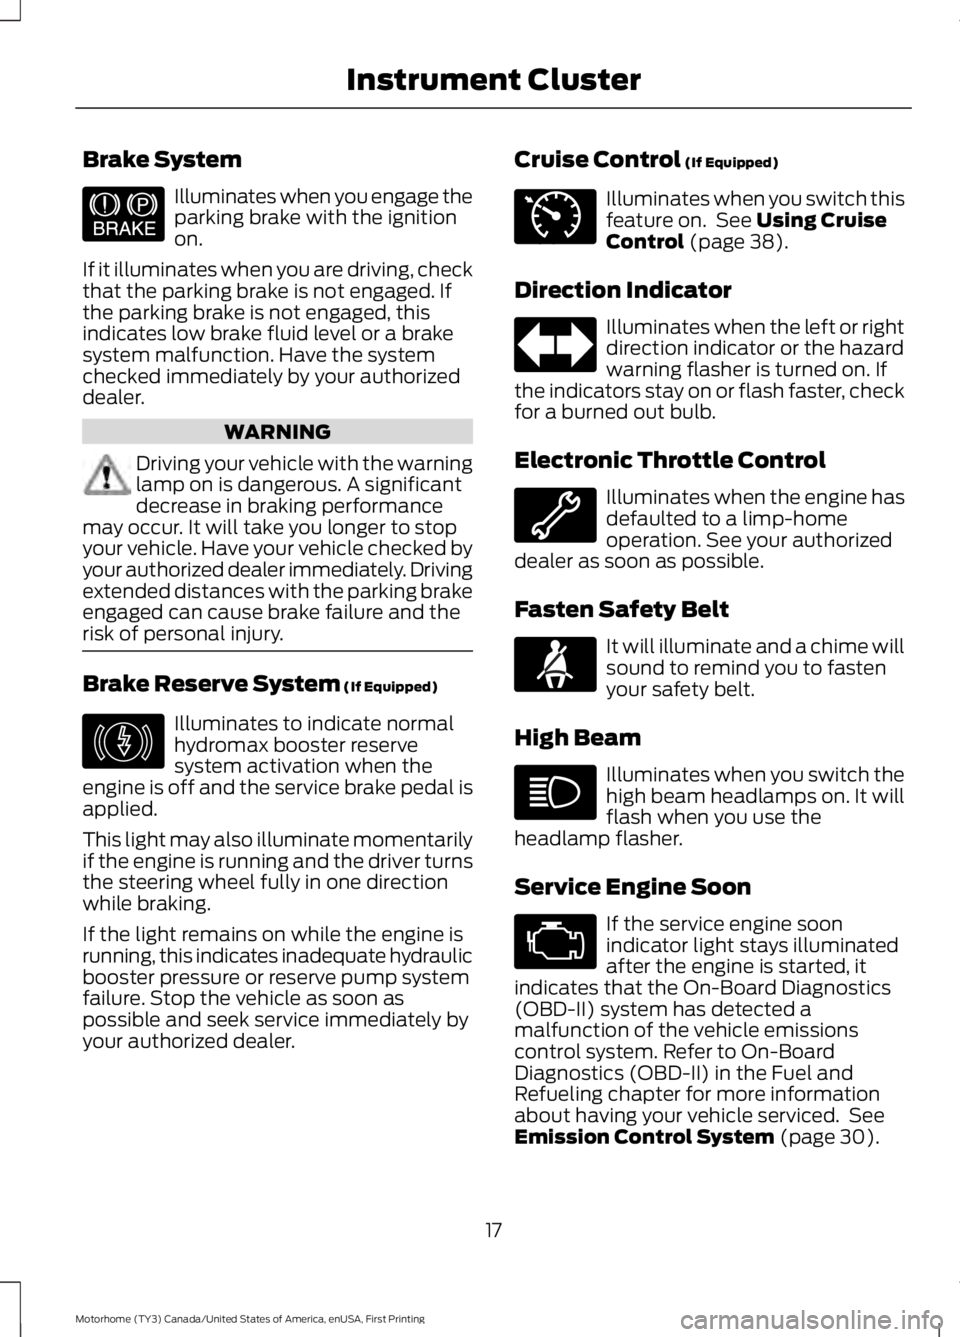
Illuminates when you engage the
parking brake with the ignition
on.
If it illuminates when you are driving, check
that the parking brake is not engaged. If
the parking brake is not engaged, this
indicates low brake fluid level or a brake
system malfunction. Have the system
checked immediately by your authorized
dealer. WARNING
Driving your vehicle with the warning
lamp on is dangerous. A significant
decrease in braking performance
may occur. It will take you longer to stop
your vehicle. Have your vehicle checked by
your authorized dealer immediately. Driving
extended distances with the parking brake
engaged can cause brake failure and the
risk of personal injury. Brake Reserve System (If Equipped)
Illuminates to indicate normal
hydromax booster reserve
system activation when the
engine is off and the service brake pedal is
applied.
This light may also illuminate momentarily
if the engine is running and the driver turns
the steering wheel fully in one direction
while braking.
If the light remains on while the engine is
running, this indicates inadequate hydraulic
booster pressure or reserve pump system
failure. Stop the vehicle as soon as
possible and seek service immediately by
your authorized dealer. Cruise Control
(If Equipped) Illuminates when you switch this
feature on. See
Using Cruise
Control (page 38).
Direction Indicator Illuminates when the left or right
direction indicator or the hazard
warning flasher is turned on. If
the indicators stay on or flash faster, check
for a burned out bulb.
Electronic Throttle Control Illuminates when the engine has
defaulted to a limp-home
operation. See your authorized
dealer as soon as possible.
Fasten Safety Belt It will illuminate and a chime will
sound to remind you to fasten
your safety belt.
High Beam Illuminates when you switch the
high beam headlamps on. It will
flash when you use the
headlamp flasher.
Service Engine Soon If the service engine soon
indicator light stays illuminated
after the engine is started, it
indicates that the On-Board Diagnostics
(OBD-II) system has detected a
malfunction of the vehicle emissions
control system. Refer to On-Board
Diagnostics (OBD-II) in the Fuel and
Refueling chapter for more information
about having your vehicle serviced. See
Emission Control System
(page 30).
17
Motorhome (TY3) Canada/United States of America, enUSA, First Printing Instrument ClusterE144522 E146190 E71340
Page 26 of 164
GENERAL INFORMATION
WARNINGS
Extended idling at high engine
speeds can produce very high
temperatures in the engine and
exhaust system, creating the risk of fire or
other damage. Do not park, idle or drive your vehicle
on dry grass or other dry ground
cover. The emission system heats up
the engine compartment and exhaust
system, creating the risk of fire. Do not start the engine in a closed
garage or in other enclosed areas.
Exhaust fumes can be toxic. Always
open the garage door before you start the
engine. If you smell exhaust fumes inside
your vehicle, have your vehicle
checked by an authorized dealer
immediately. Do not drive your vehicle if
you smell exhaust fumes. If you disconnect the battery, your vehicle
may exhibit some unusual driving
characteristics for approximately 5 miles
(8 kilometers) after you reconnect it. This
is because the engine management system
must realign itself with the engine. You can
disregard any unusual driving
characteristics during this period.
The powertrain control system meets all
Canadian interference-causing equipment
standard requirements regulating the
impulse electrical field or radio noise.
When you start the engine, avoid pressing
the accelerator pedal before and during
operation. Only use the accelerator pedal
when you have difficulty starting the
engine. IGNITION SWITCH
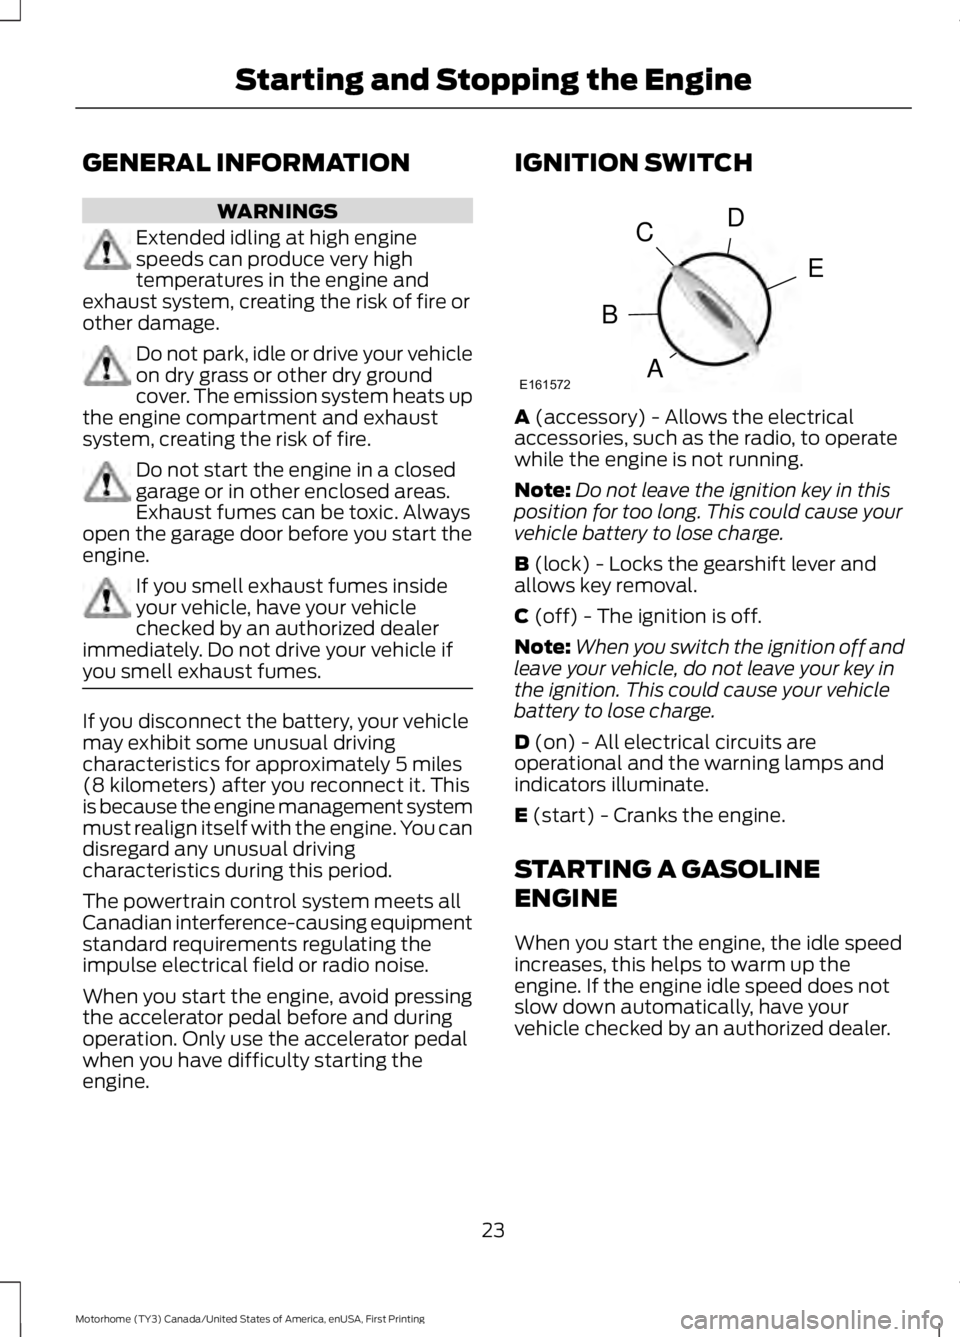
A (accessory) - Allows the electrical
accessories, such as the radio, to operate
while the engine is not running.
Note: Do not leave the ignition key in this
position for too long. This could cause your
vehicle battery to lose charge.
B
(lock) - Locks the gearshift lever and
allows key removal.
C
(off) - The ignition is off.
Note: When you switch the ignition off and
leave your vehicle, do not leave your key in
the ignition. This could cause your vehicle
battery to lose charge.
D
(on) - All electrical circuits are
operational and the warning lamps and
indicators illuminate.
E
(start) - Cranks the engine.
STARTING A GASOLINE
ENGINE
When you start the engine, the idle speed
increases, this helps to warm up the
engine. If the engine idle speed does not
slow down automatically, have your
vehicle checked by an authorized dealer.
23
Motorhome (TY3) Canada/United States of America, enUSA, First Printing Starting and Stopping the EngineE161572
D
E
C
B
A
Page 27 of 164
Before starting the engine check the
following:
•
Make sure all occupants have fastened
their safety belts.
• Make sure the headlamps and
electrical accessories are off.
• Make sure the parking brake is on.
• Make sure the transmission is in park
(P) or neutral (N).
• Turn the ignition key to the on position.
Note: Do not touch the accelerator pedal.
1. Fully press the brake pedal.
2. Turn the key to the start position to start the engine. Release the key when
the engine starts.
Note: The engine may continue cranking
for up to 15 seconds or until it starts.
Note: If you cannot start the engine on the
first try, wait for a short period and try again.
Failure to Start
If you cannot start the engine after three
attempts, wait 10 seconds and follow this
procedure:
1. Fully press the brake pedal.
2. Fully press the accelerator pedal and hold it there.
3. Start the engine.
Stopping the Engine When Your
Vehicle is Stationary
1. Shift into park (P) or neutral (N).
2. Turn the key to the off position.
3. Apply the parking brake. Stopping the Engine When Your
Vehicle is Moving WARNING
Switching off the engine when the
vehicle is still moving will result in a
loss of brake and steering assistance.
The steering will not lock, but higher effort
will be required. When the ignition is
switched off, some electrical circuits,
including air bags, warning lamps and
indicators may also be off. If the ignition
was turned off accidentally, you can shift
into neutral (N) and re-start the engine. 1. Put the transmission into neutral (N)
and use the brakes to bring your vehicle
to a safe stop.
2. When your vehicle has stopped, shift into park (P) or neutral (N) and switch
the ignition off.
3. Apply the parking brake.
Guarding Against Exhaust Fumes WARNING
If you smell exhaust fumes inside
your vehicle, have your vehicle
checked by your authorized dealer
immediately. Do not drive your vehicle if
you smell exhaust fumes. Carbon
monoxide is present in exhaust fumes.
Take precautions to avoid its dangerous
effects. Important Ventilating Information
If you stop your vehicle and then leave the
engine idling for long periods of time, we
recommend that you do one of the
following:
•
Open the windows at least 1 in (3 cm).
• Set your climate control to outside air.
24
Motorhome (TY3) Canada/United States of America, enUSA, First Printing Starting and Stopping the Engine
Page 28 of 164
ENGINE BLOCK HEATER (If
Equipped) WARNINGS
Failure to follow engine block heater
instructions could result in property
damage or serious personal injury.
Do not use your heater with
ungrounded electrical systems or
two-pronged adapters. There is a risk
of electrical shock. Do not fully close the hood, or allow
it to drop under its own weight when
using the engine block heater. This
could damage the power cable and may
cause an electrical short resulting in fire,
injury and property damage. Note:
The heater is most effective when
outdoor temperatures are below 0°F
(-18°C).
The heater acts as a starting aid by
warming the engine coolant. This allows
the climate control system to respond
quickly. The equipment includes a heater
element (installed in the engine block) and
a wire harness. You can connect the
system to a grounded 120-volt AC
electrical source.
We recommend that you do the following
for a safe and correct operation:
• Use a 16-gauge outdoor extension cord
that is product certified by
Underwriter ’s Laboratory (UL) or
Canadian Standards Association
(CSA). This extension cord must be
suitable for use outdoors, in cold temperatures, and be clearly marked
Suitable for Use with Outdoor
Appliances. Do not use an indoor
extension cord outdoors. This could
result in an electric shock or become a
fire hazard.
• Use as short an extension cord as
possible.
• Do not use multiple extension cords.
• Make sure that when in operation, the
extension cord plug and heater cord
plug connections are free and clear of
water. This could cause an electric
shock or fire.
• Make sure your vehicle is parked in a
clean area, clear of combustibles.
• Make sure the heater, heater cord and
extension cord are firmly connected.
• Check for heat anywhere in the
electrical hookup once the system has
been operating for approximately 30
minutes.
• Make sure the system is unplugged and
properly stowed before starting and
driving your vehicle. Make sure the
protective cover seals the prongs of the
block heater cord plug when not in use.
• Make sure the heater system is
checked for proper operation before
winter.
Using the Engine Block Heater
Make sure the receptacle terminals are
clean and dry prior to use. Clean them with
a dry cloth if necessary.
The heater uses 0.4 to 1.0 kilowatt-hours
of energy per hour of use. The system does
not have a thermostat. It achieves
maximum temperature after
approximately three hours of operation.
Using the heater longer than three hours
does not improve system performance and
unnecessarily uses electricity.
25
Motorhome (TY3) Canada/United States of America, enUSA, First Printing Starting and Stopping the Engine
Page 31 of 164
WARNINGS
Read and follow all the instructions
on the pump island.
Turn off your engine when you are
refueling.
Do not smoke if you are near fuel or
refueling your vehicle.
Keep sparks, flames and smoking
materials away from fuel.
Stay outside your vehicle and do not
leave the fuel pump unattended
when refueling your vehicle. This is
against the law in some places. Keep children away from the fuel
pump; never let children pump fuel.
Do not use personal electronic
devices while refueling.
Wait at least 10 seconds before
removing the fuel pump nozzle to
allow any residual fuel to drain into
the fuel tank. Stop refueling after the fuel pump
nozzle automatically shuts off for the
second time. Failure to follow this
will fill the expansion space in the fuel tank
and could lead to fuel overflowing. Do not remove the fuel pump nozzle
from its fully inserted position when
refueling.
Use the following guidelines to avoid
electrostatic charge build-up when filling
an ungrounded fuel container:
•
Place approved fuel container on the
ground.
• Do not fill a fuel container while it is in
the vehicle (including the cargo area).
• Keep the fuel pump nozzle in contact
with the fuel container while filling.
• Do not use a device that would hold
the fuel pump handle in the fill position. Fuel Filler Cap WARNINGS
The fuel system may be under
pressure. If you hear a hissing sound
near the fuel filler door, do not refuel
until the sound stops. Otherwise, fuel may
spray out, which could cause serious
personal injury. If you do not use the proper fuel filler
cap, excessive pressure or vacuum
in the fuel tank may damage the fuel
system or cause the fuel cap to disengage
in a collision, which may result in possible
personal injury. Note:
If you must replace the fuel filler cap,
replace it with a fuel filler cap that is
designed for your vehicle. The customer
warranty may be void for any damage to the
fuel tank or fuel system if the correct
genuine Ford, Motorcraft or other certified
fuel filler cap is not used.
Your fuel tank filler cap has an indexed
design with a 1/4th turn on and off feature.
When fueling your vehicle:
1. Put your vehicle in park (P).
2. Switch the engine off.
3. Carefully turn the filler cap counterclockwise until it spins off.
4. Pull to remove the cap from the fuel filler pipe.
5. To install the cap, align the tabs on the
cap with the notches on the filler pipe.
6. Turn the filler cap clockwise 1/4 of a turn clockwise until it clicks at least
once.
If the Check Fuel Cap light or a Check Fuel
Cap message appears in the instrument
cluster and stays on after you start the
engine, you may not have installed the fuel
filler properly.
28
Motorhome (TY3) Canada/United States of America, enUSA, First Printing Fuel and Refueling
Page 35 of 164
position for 15 seconds without cranking
the engine. If the service engine soon
indicator blinks eight times, it means that
the vehicle is not ready for I/M testing; if
the service engine soon indicator stays on
solid, it means that your vehicle is ready
for I/M testing.
The OBD-II system checks the emission
control system during normal driving. A
complete check may take several days.
If the vehicle is not ready for I/M testing,
you can perform the following driving cycle
consisting of mixed city and highway
driving:
1. 15 minutes of steady driving on an
expressway or highway followed by 20
minutes of stop-and-go driving with at
least four 30-second idle periods.
2. Allow your vehicle to sit for at least eight hours with the ignition off. Then,
start the vehicle and complete the
above driving cycle. The vehicle must
warm up to its normal operating
temperature. Once started, do not turn
off the vehicle until the above driving
cycle is complete.
If the vehicle is still not ready for I/M
testing, you need to repeat the above
driving cycle.
32
Motorhome (TY3) Canada/United States of America, enUSA, First Printing Fuel and Refueling
Page 36 of 164
AUTOMATIC TRANSMISSION
WARNINGS
Always set the parking brake fully
and latch the gearshift in park (P).
Turn the ignition to the off position
and remove the key whenever you leave
your vehicle. Do not apply the brake pedal and
accelerator pedal simultaneously.
Applying both pedals simultaneously
for more than three seconds will limit
engine rpm, which may result in difficulty
maintaining speed in traffic and could lead
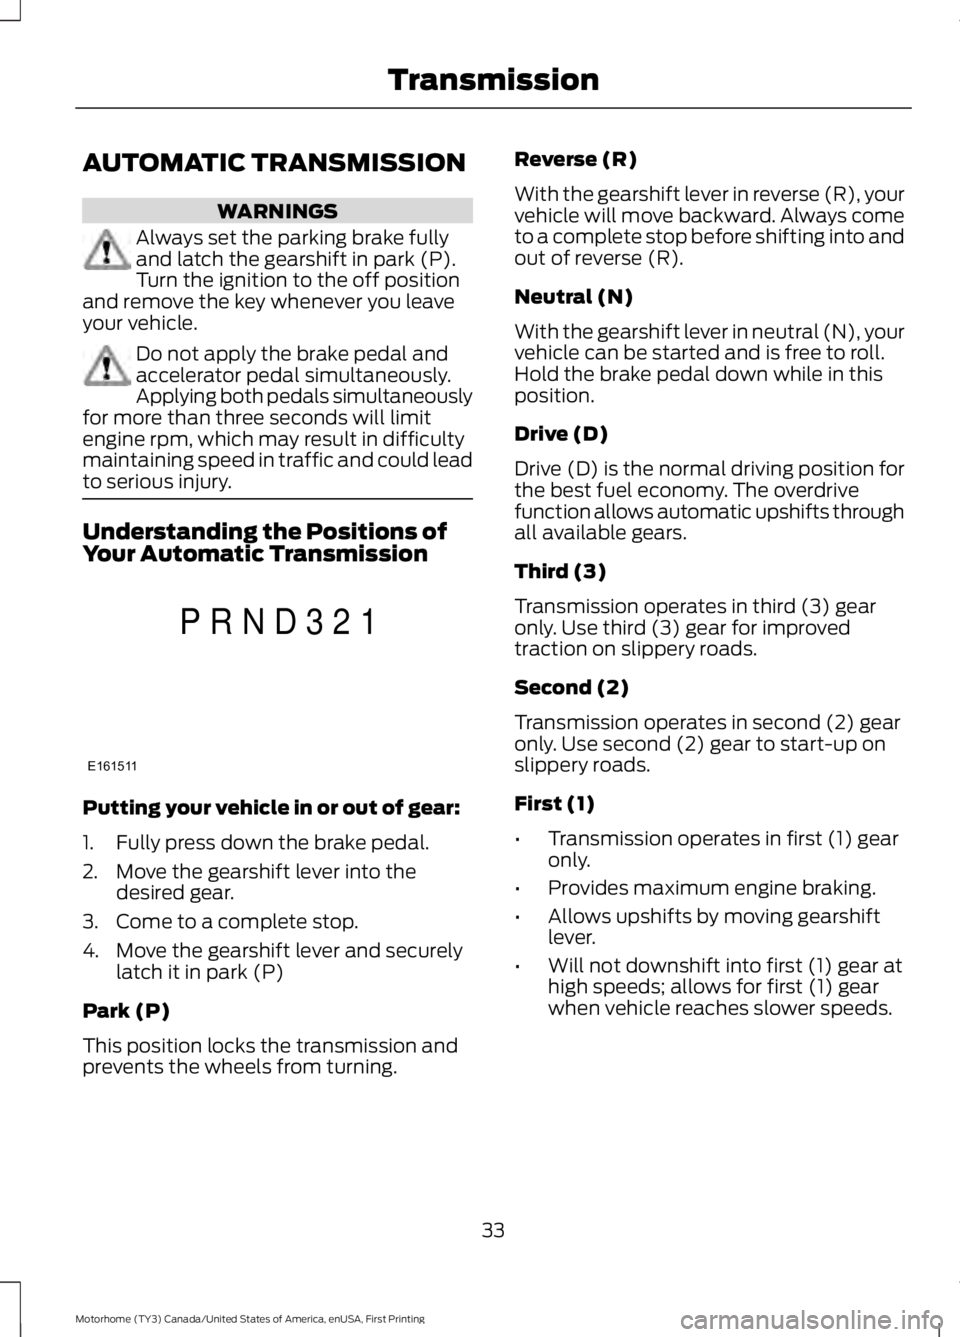
to serious injury. Understanding the Positions of
Your Automatic Transmission
Putting your vehicle in or out of gear:
1. Fully press down the brake pedal.
2. Move the gearshift lever into the
desired gear.
3. Come to a complete stop.
4. Move the gearshift lever and securely latch it in park (P)
Park (P)
This position locks the transmission and
prevents the wheels from turning. Reverse (R)
With the gearshift lever in reverse (R), your
vehicle will move backward. Always come
to a complete stop before shifting into and
out of reverse (R).
Neutral (N)
With the gearshift lever in neutral (N), your
vehicle can be started and is free to roll.
Hold the brake pedal down while in this
position.
Drive (D)
Drive (D) is the normal driving position for
the best fuel economy. The overdrive
function allows automatic upshifts through
all available gears.
Third (3)
Transmission operates in third (3) gear
only. Use third (3) gear for improved
traction on slippery roads.
Second (2)
Transmission operates in second (2) gear
only. Use second (2) gear to start-up on
slippery roads.
First (1)
•
Transmission operates in first (1) gear
only.
• Provides maximum engine braking.
• Allows upshifts by moving gearshift
lever.
• Will not downshift into first (1) gear at
high speeds; allows for first (1) gear
when vehicle reaches slower speeds.
33
Motorhome (TY3) Canada/United States of America, enUSA, First Printing TransmissionE161511
P R N D 3 2 1
Page 38 of 164
Brake-Shift Interlock
WARNINGS
Do not drive your vehicle until you
verify that the brake lamps are
working.
If your brake lamps are not working
properly or if you have disconnected
the vehicle battery cables, the
vehicle brake lamps and hazard flashers
may not properly warn traffic of a vehicle
breakdown or approaching danger, which
can increase the risk of serious injury or
death. To minimize the risk of serious injury
or death, be aware of your surroundings,
use other hazard signaling devices if
available, and move the vehicle to a safe
location away from traffic as soon as
possible. When doing this procedure, you will
be taking the vehicle out of park
which means the vehicle can roll
freely. To avoid unwanted vehicle
movement, always fully set the parking
brake prior to doing this procedure. Use
wheel chocks if appropriate. If the parking brake is fully released,
but the brake warning lamp remains
illuminated, the brakes may not be
working properly. See your authorized
dealer. Your vehicle is equipped with a brake-shift
interlock feature that prevents moving the
gearshift lever from park (P) when the
ignition is in the on position and the brake
pedal is not pressed.
If you cannot move the gearshift lever out
of park (P) position with the ignition in the
on position and the brake pedal pressed,
a malfunction may have occurred. It is
possible that a fuse has blown or your
vehicle
’s brake lamps are not operating
properly. See Fuse Specification Chart
(page 65). If the fuse is not blown and the brake
lamps are working properly, the following
procedure will allow you to move the
gearshift lever from park (P):
1. Apply the parking brake. Turn key to
the lock position, and then remove the
key.
2. Disconnect the negative (black) battery cable from the battery.
3. Insert the key and turn to the off position. Shift the transmission to
neutral (N).
4. Reconnect the negative (black) battery
cable to the battery.
5. Start the vehicle.
Note: See your authorized dealer as soon
as possible if this procedure is used.
If Your Vehicle Gets Stuck In Mud
or Snow
Note: Do not rock your vehicle if the engine
is not at normal operating temperature or
damage to the transmission may occur.
Note: Do not rock your vehicle for more
than a minute or damage to the
transmission and tires may occur, or the
engine may overheat.
If your vehicle gets stuck in mud or snow,
you may rock it out by shifting between
forward and reverse gears, stopping
between shifts in a steady pattern. Press
lightly on the accelerator in each gear.
35
Motorhome (TY3) Canada/United States of America, enUSA, First Printing Transmission