engine FORD F550 2011 Workshop Manual
[x] Cancel search | Manufacturer: FORD, Model Year: 2011, Model line: F550, Model: FORD F550 2011Pages: 449, PDF Size: 5.82 MB
Page 240 of 449
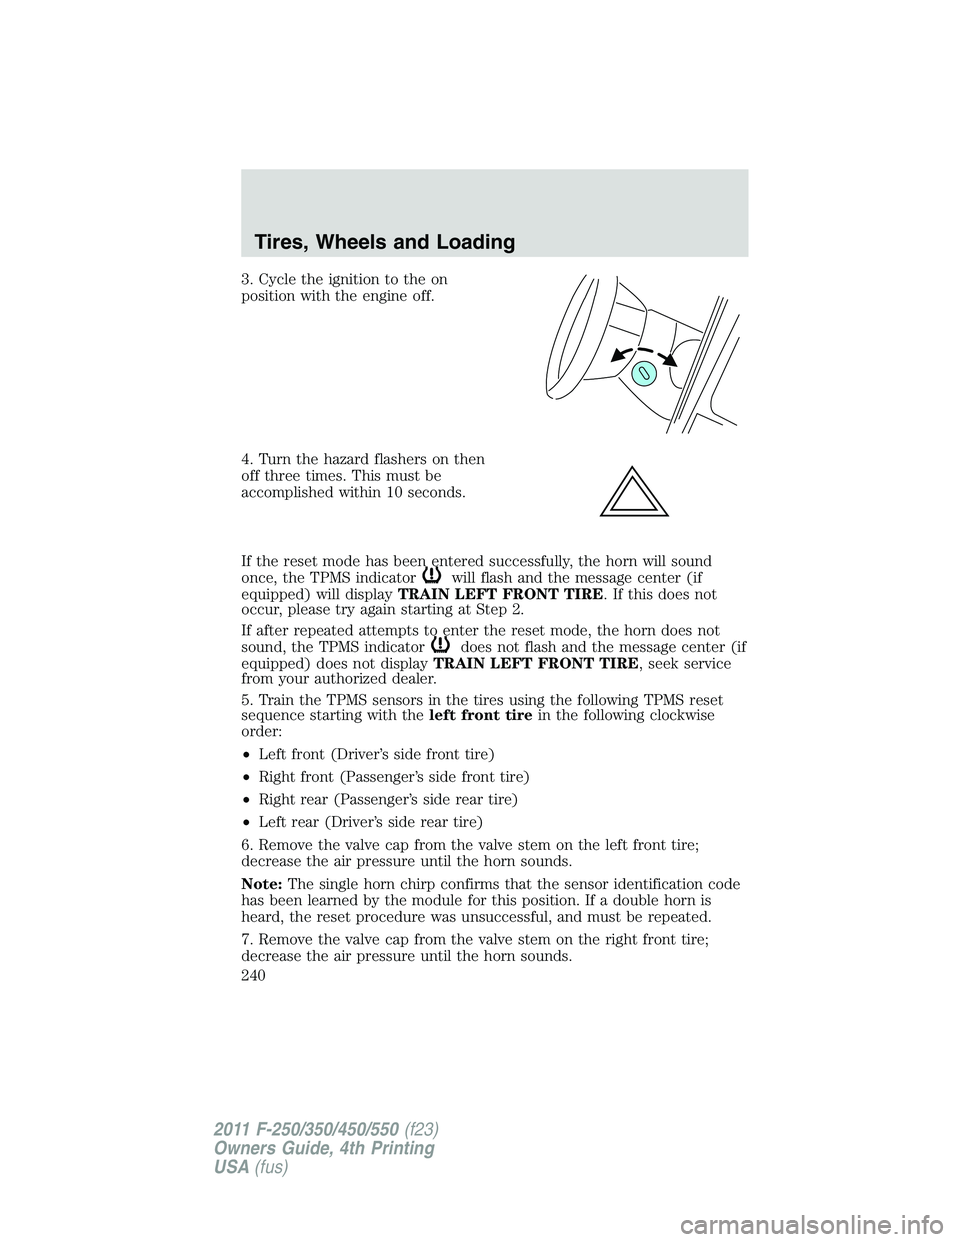
3. Cycle the ignition to the on
position with the engine off.
4. Turn the hazard flashers on then
off three times. This must be
accomplished within 10 seconds.
If the reset mode has been entered successfully, the horn will sound
once, the TPMS indicator will flash and the message center (if
equipped) will display TRAIN LEFT FRONT TIRE . If this does not
occur, please try again starting at Step 2.
If after repeated attempts to enter the reset mode, the horn does not
sound, the TPMS indicator does not flash and the message center (if
equipped) does not display TRAIN LEFT FRONT TIRE , seek service
from your authorized dealer.
5. Train the TPMS sensors in the tires using the following TPMS reset
sequence starting with the left front tire in the following clockwise
order:
• Left front (Driver’s side front tire)
• Right front (Passenger’s side front tire)
• Right rear (Passenger’s side rear tire)
• Left rear (Driver’s side rear tire)
6. Remove the valve cap from the valve stem on the left front tire;
decrease the air pressure until the horn sounds.
Note: The single horn chirp confirms that the sensor identification code
has been learned by the module for this position. If a double horn is
heard, the reset procedure was unsuccessful, and must be repeated.
7. Remove the valve cap from the valve stem on the right front tire;
decrease the air pressure until the horn sounds.Tires, Wheels and Loading
240
2011 F-250/350/450/550 (f23)
Owners Guide, 4th Printing
USA (fus)
Page 246 of 449
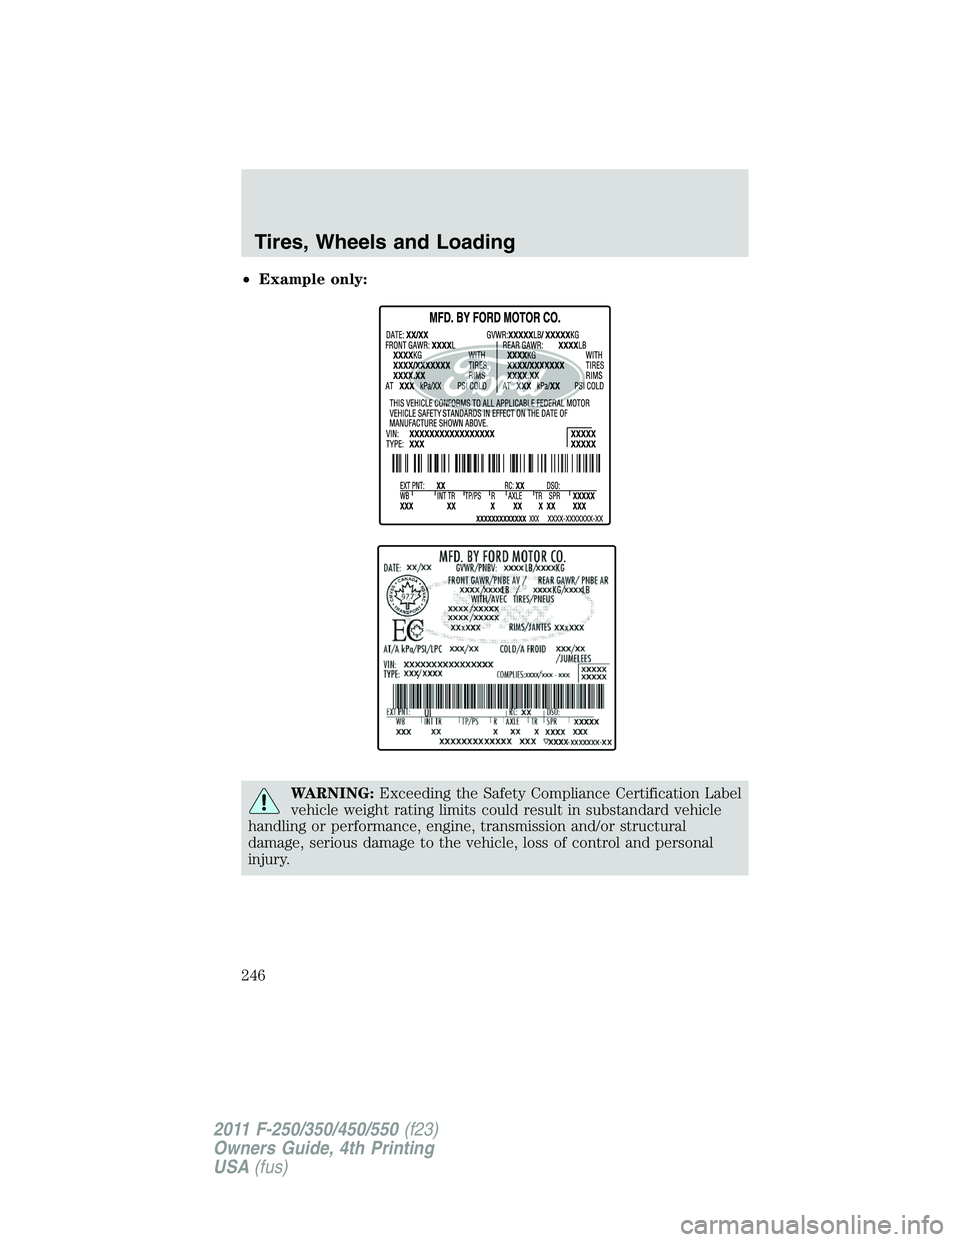
• Example only:
WARNING: Exceeding the Safety Compliance Certification Label
vehicle weight rating limits could result in substandard vehicle
handling or performance, engine, transmission and/or structural
damage, serious damage to the vehicle, loss of control and personal
injury.Tires, Wheels and Loading
246
2011 F-250/350/450/550 (f23)
Owners Guide, 4th Printing
USA (fus)
Page 249 of 449
to transport the cement to your home? If you and your friend each
weigh 220 lb. (99 kg), the calculation would be: 1400 - (2 x 220) - (12
x 100) = 1400 - 440 - 1200 = - 240 lb. No, you do not have enough
cargo capacity to carry that much weight. In metric units, the
calculation would be: 635 kg - (2 x 99 kg) - (12 x 45 kg) = 635 - 198 -
540 = -103 kg. You will need to reduce the load weight by at least
240 lb. (104 kg). If you remove 3-100 lb. (45 kg) cement bags, then
the load calculation would be:
1400 - (2 x 220) - (9 x 100) = 1400 - 440 - 900 = 60 lb. Now you have
the load capacity to transport the cement and your friend home. In
metric units, the calculation would be: 635 kg - (2 x 99 kg) - (9 x
45 kg) = 635 - 198 - 405 = 32 kg.
The above calculations also assume that the loads are positioned in your
vehicle in a manner that does not overload the Front or the Rear Gross
Axle Weight Rating specified for your vehicle on the Safety Compliance
Certification Label found on the edge of the driver’s door.
Special loading instructions for owners of pick-up trucks and
utility-type vehicles
WARNING: For important information regarding safe operation
of this type of vehicle, see the Preparing to drive your vehicle
section in the Driving chapter of this owner’s guide.
WARNING: Loaded vehicles may handle differently than
unloaded vehicles. Extra precautions, such as slower speeds and
increased stopping distance, should be taken when driving a heavily
loaded vehicle.
Your vehicle can haul more cargo and people than most passenger cars.
Depending upon the type and placement of the load, hauling cargo and
people may raise the center of gravity of the vehicle.
TRAILER TOWING
Note: The trailer towing chart in this section applies to vehicles
equipped with a gasoline engine; for vehicles equipped with a diesel
engine, refer to your diesel supplement.
Your vehicle may tow a Conventional/Class IV trailer or fifth-wheel trailer
provided the maximum trailer weight is less than or equal to the
maximum trailer weight for your engine and rear axle ratio. Tires, Wheels and Loading
249
2011 F-250/350/450/550 (f23)
Owners Guide, 4th Printing
USA (fus)
Page 250 of 449
Towing a trailer places an additional load on your vehicle’s engine,
transmission, axle, brakes, tires and suspension. Inspect these
components carefully prior to and after any towing operation. Refer to
Transmission fluid temperature gauge in the Instrument Cluster
chapter for the transmission fluid temperature information.
To find the maximum trailer weight allowed for your vehicle, consult
your authorized dealer (or the RV and Trailer Towing Guide provided
by your authorized dealer).
To calculate your maximum trailer weight on your own:
1. Pick-up trucks: Take curb weight, hitch hardware and the driver’s
weight, then subtract them from the GCWR listed for your vehicle
series and drive axle ratio listed on the following table.
2. Chassis cabs and pick-up trucks with aftermarket equipment:
Weigh your vehicle at a certified scale and subtract this actual curb
weight, hitch hardware and the driver’s weight from the GCWR listed
for your vehicle series and drive axle ratio listed on the following
table.
The weight of all additional cargo and passengers must be subtracted
from the maximum trailer weight calculated above.
Further trailer/hitch restrictions and limitations exist depending on the
type of trailer and hitch used. This information follows the table listing
the maximum GCWRs.
For load specification terms found on the label and instructions on
calculating your vehicle’s load, refer to Vehicle loading - with and
without a trailer in this chapter when figuring the total weight of your
vehicle.
Note: Do not exceed the tire ratings specified on the Tire Label or
Safety Compliance Certification Label.
WARNING: Do not exceed the GVWR or the GAWR specified on
the certification label.
WARNING: Towing trailers beyond the maximum recommended
gross trailer weight exceeds the limit of the vehicle and could
result in engine damage, transmission damage, structural damage, loss
of vehicle control, vehicle rollover and personal injury.Tires, Wheels and Loading
250
2011 F-250/350/450/550 (f23)
Owners Guide, 4th Printing
USA (fus)
Page 262 of 449
STARTING
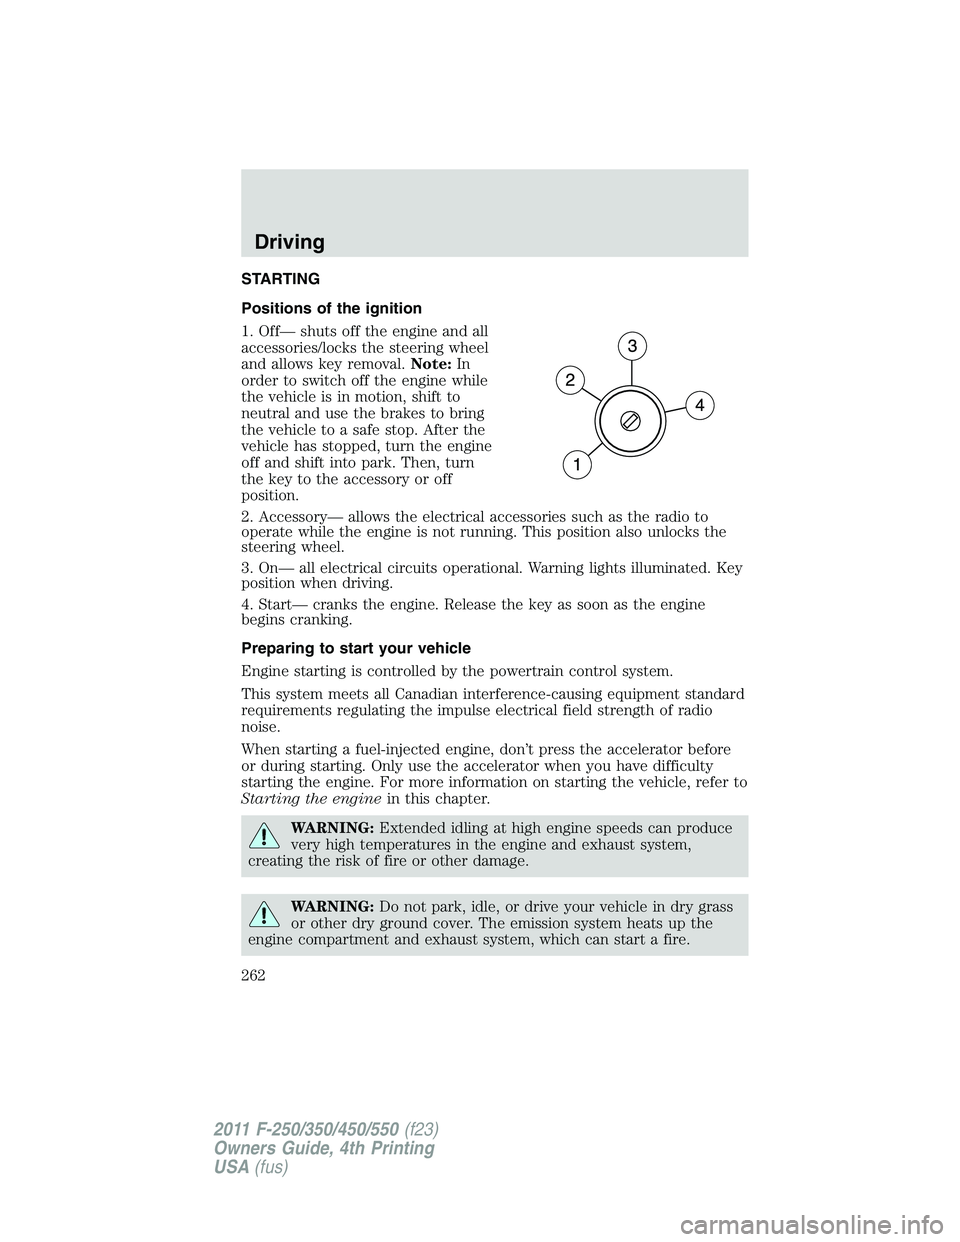
Positions of the ignition
1. Off— shuts off the engine and all
accessories/locks the steering wheel
and allows key removal. Note: In
order to switch off the engine while
the vehicle is in motion, shift to
neutral and use the brakes to bring
the vehicle to a safe stop. After the
vehicle has stopped, turn the engine
off and shift into park. Then, turn
the key to the accessory or off
position.
2. Accessory— allows the electrical accessories such as the radio to
operate while the engine is not running. This position also unlocks the
steering wheel.
3. On— all electrical circuits operational. Warning lights illuminated. Key
position when driving.
4. Start— cranks the engine. Release the key as soon as the engine
begins cranking.
Preparing to start your vehicle
Engine starting is controlled by the powertrain control system.
This system meets all Canadian interference-causing equipment standard
requirements regulating the impulse electrical field strength of radio
noise.
When starting a fuel-injected engine, don’t press the accelerator before
or during starting. Only use the accelerator when you have difficulty
starting the engine. For more information on starting the vehicle, refer to
Starting the engine in this chapter.
WARNING: Extended idling at high engine speeds can produce
very high temperatures in the engine and exhaust system,
creating the risk of fire or other damage.
WARNING: Do not park, idle, or drive your vehicle in dry grass
or other dry ground cover. The emission system heats up the
engine compartment and exhaust system, which can start a fire.Driving
262
2011 F-250/350/450/550 (f23)
Owners Guide, 4th Printing
USA (fus)
Page 263 of 449
WARNING: Do not start your vehicle in a closed garage or in
other enclosed areas. Exhaust fumes can be toxic. Always open
the garage door before you start the engine. See Guarding against
exhaust fumes in this chapter for more instructions.
WARNING: If you smell exhaust fumes inside your vehicle, have
your dealer inspect your vehicle immediately. Do not drive if you
smell exhaust fumes.
Important safety precautions
When the engine starts, the idle RPM runs faster to warm the engine. If
the engine idle speed does not slow down automatically, have the vehicle
checked. If your vehicle is operated in a heavy snow storm or blowing
snow conditions, the engine air induction may become partially clogged
with snow and/or ice. If this occurs, the engine may experience a
significant reduction in power output. At the earliest opportunity, clear
all the snow and/or ice away from the air induction inlet. The following
starting instructions are for vehicles equipped with a gasoline engine; if
your vehicle is equipped with a diesel engine, refer to Starting the
engine in your diesel supplement.
Before starting the vehicle:
1. Make sure all occupants buckle their safety belts. For more
information on safety belts and their proper usage, refer to the Seating
and Safety Restraints chapter.
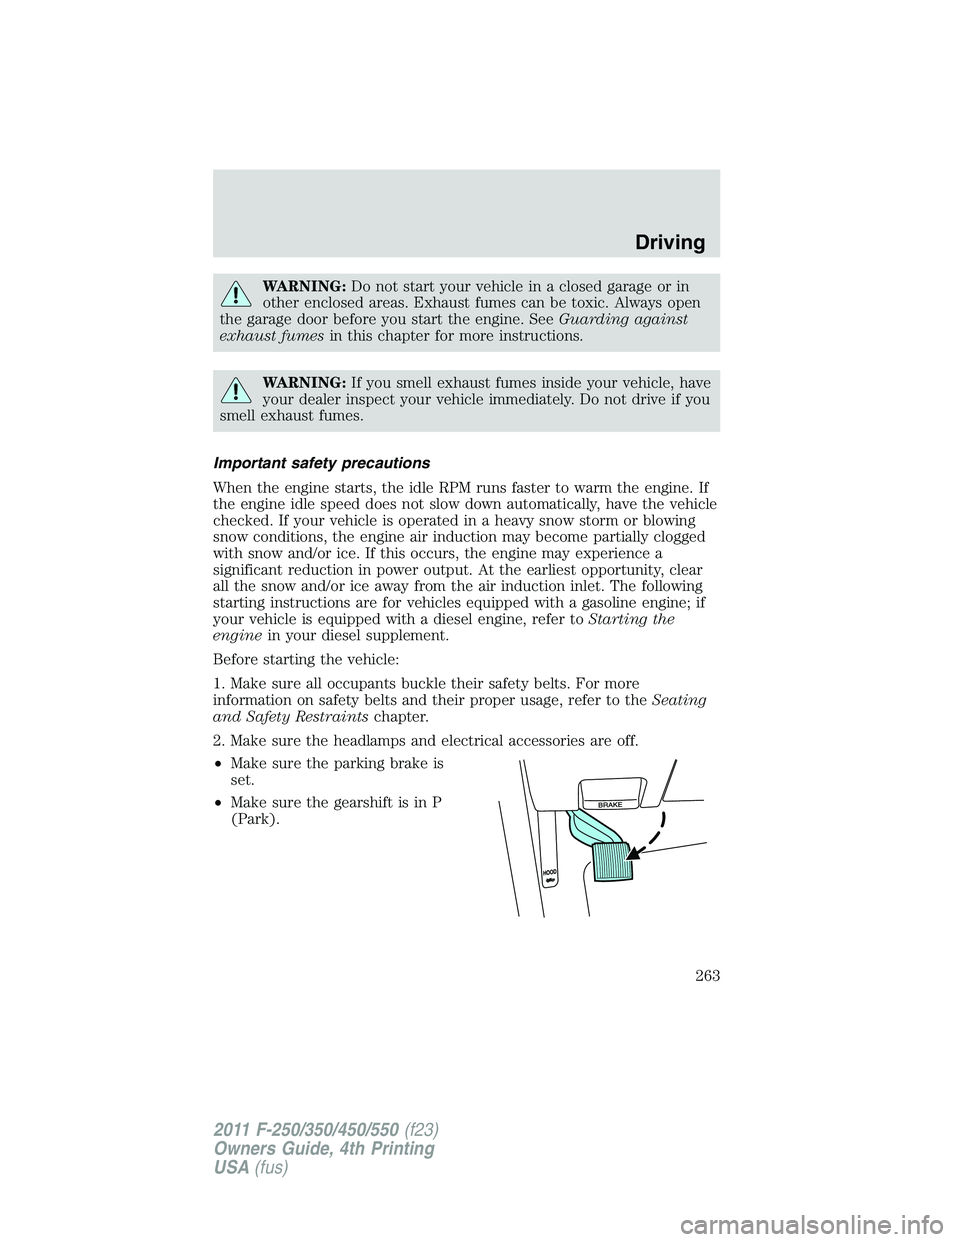
2. Make sure the headlamps and electrical accessories are off.
• Make sure the parking brake is
set.
• Make sure the gearshift is in P
(Park). Driving
263
2011 F-250/350/450/550 (f23)
Owners Guide, 4th Printing
USA (fus)
Page 264 of 449
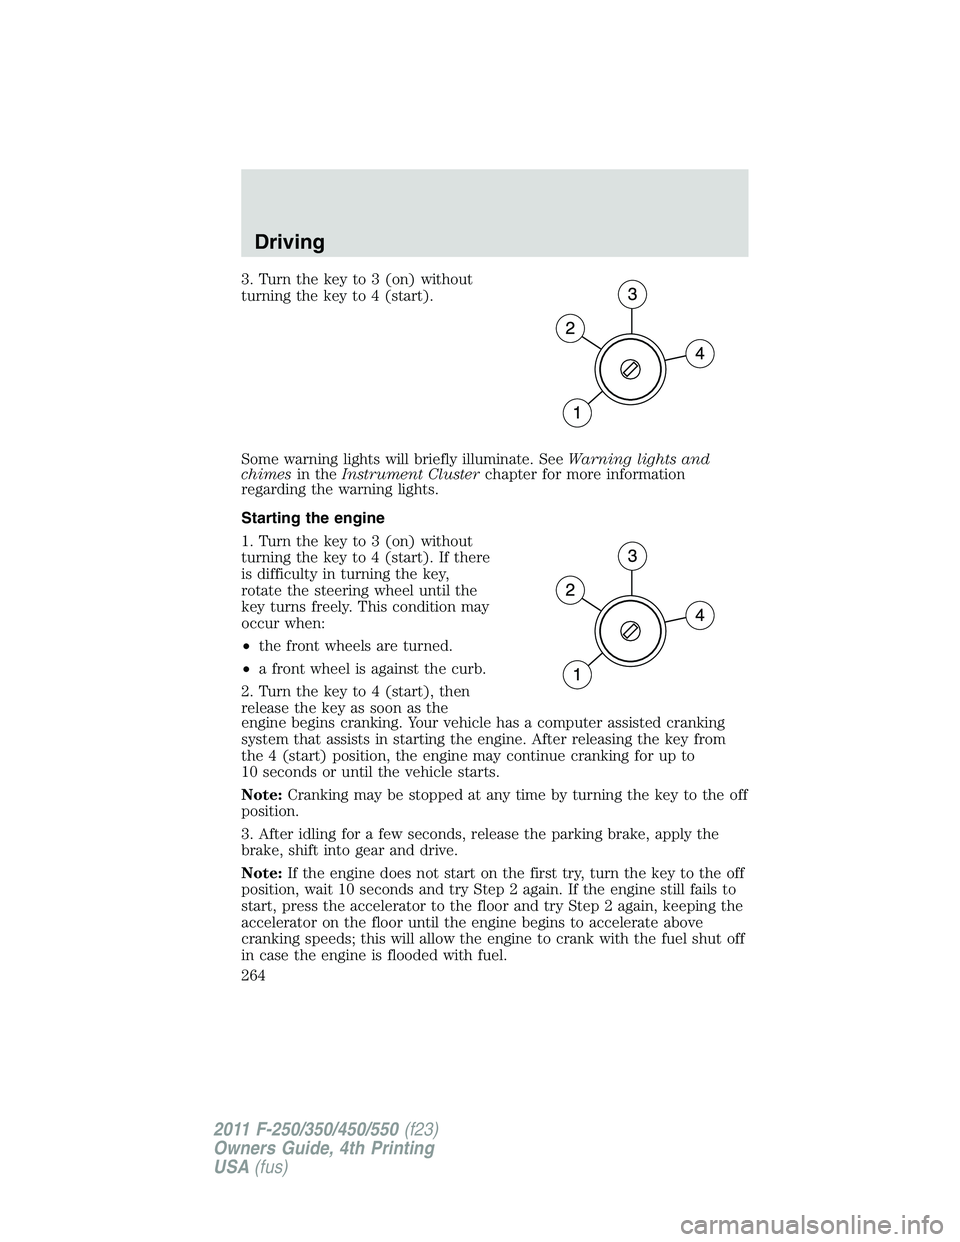
3. Turn the key to 3 (on) without
turning the key to 4 (start).
Some warning lights will briefly illuminate. See Warning lights and
chimes in the Instrument Cluster chapter for more information
regarding the warning lights.
Starting the engine
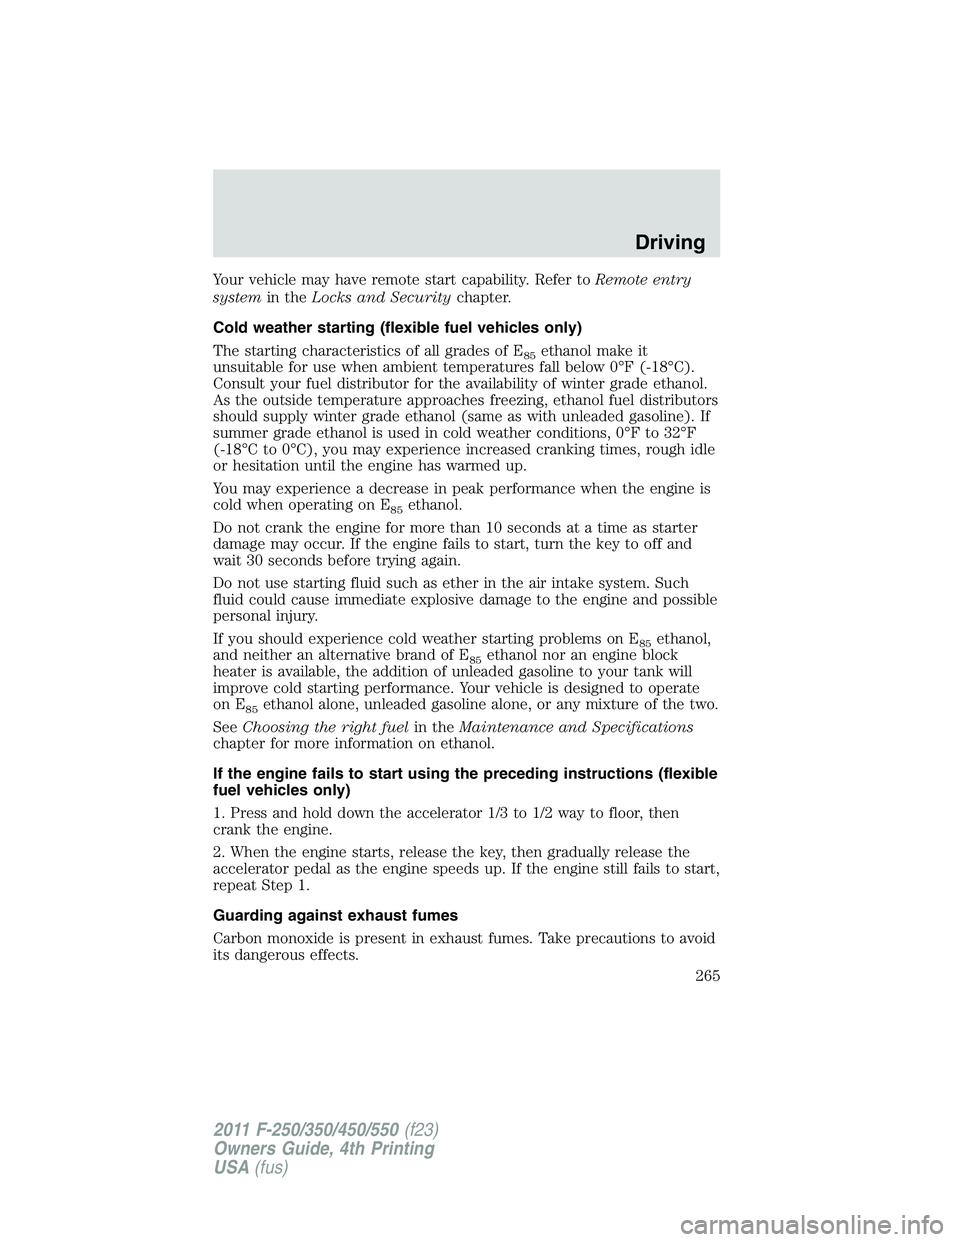
1. Turn the key to 3 (on) without
turning the key to 4 (start). If there
is difficulty in turning the key,
rotate the steering wheel until the
key turns freely. This condition may
occur when:
• the front wheels are turned.
• a front wheel is against the curb.
2. Turn the key to 4 (start), then
release the key as soon as the
engine begins cranking. Your vehicle has a computer assisted cranking
system that assists in starting the engine. After releasing the key from
the 4 (start) position, the engine may continue cranking for up to
10 seconds or until the vehicle starts.
Note: Cranking may be stopped at any time by turning the key to the off
position.
3. After idling for a few seconds, release the parking brake, apply the
brake, shift into gear and drive.
Note: If the engine does not start on the first try, turn the key to the off
position, wait 10 seconds and try Step 2 again. If the engine still fails to
start, press the accelerator to the floor and try Step 2 again, keeping the
accelerator on the floor until the engine begins to accelerate above
cranking speeds; this will allow the engine to crank with the fuel shut off
in case the engine is flooded with fuel.Driving
264
2011 F-250/350/450/550 (f23)
Owners Guide, 4th Printing
USA (fus)
Page 265 of 449
Your vehicle may have remote start capability. Refer to Remote entry
system in the Locks and Security chapter.
Cold weather starting (flexible fuel vehicles only)
The starting characteristics of all grades of E 85
ethanol make it
unsuitable for use when ambient temperatures fall below 0°F (-18°C).
Consult your fuel distributor for the availability of winter grade ethanol.
As the outside temperature approaches freezing, ethanol fuel distributors
should supply winter grade ethanol (same as with unleaded gasoline). If
summer grade ethanol is used in cold weather conditions, 0°F to 32°F
(-18°C to 0°C), you may experience increased cranking times, rough idle
or hesitation until the engine has warmed up.
You may experience a decrease in peak performance when the engine is
cold when operating on E 85
ethanol.
Do not crank the engine for more than 10 seconds at a time as starter
damage may occur. If the engine fails to start, turn the key to off and
wait 30 seconds before trying again.
Do not use starting fluid such as ether in the air intake system. Such
fluid could cause immediate explosive damage to the engine and possible
personal injury.
If you should experience cold weather starting problems on E 85
ethanol,
and neither an alternative brand of E 85
ethanol nor an engine block
heater is available, the addition of unleaded gasoline to your tank will
improve cold starting performance. Your vehicle is designed to operate
on E 85
ethanol alone, unleaded gasoline alone, or any mixture of the two.
See Choosing the right fuel in the Maintenance and Specifications
chapter for more information on ethanol.
If the engine fails to start using the preceding instructions (flexible
fuel vehicles only)
1. Press and hold down the accelerator 1/3 to 1/2 way to floor, then
crank the engine.
2. When the engine starts, release the key, then gradually release the
accelerator pedal as the engine speeds up. If the engine still fails to start,
repeat Step 1.
Guarding against exhaust fumes
Carbon monoxide is present in exhaust fumes. Take precautions to avoid
its dangerous effects. Driving
265
2011 F-250/350/450/550 (f23)
Owners Guide, 4th Printing
USA (fus)
Page 266 of 449
WARNING: If you smell exhaust fumes inside your vehicle, have
your dealer inspect your vehicle immediately. Do not drive if you
smell exhaust fumes.
Important ventilating information
If the engine is idling while the vehicle is stopped for a long period of
time, open the windows at least 1 inch (2.5 cm) or adjust the heating or
air conditioning to bring in fresh air.
ENGINE BLOCK HEATER (IF EQUIPPED)
An engine block heater warms the engine coolant which aids in starting
and allows the heater/defroster system to respond quickly. If your vehicle
is equipped with this system, your equipment includes a heater element
which is installed in your engine block and a wire harness which allows
the user to connect the system to a grounded 120 volt A/C electrical
source. The block heater system is most effective when outdoor
temperatures reach below 0°F (-18°C).
For flexible fuel vehicles, if operating with E85 ethanol, an engine block
heater must be used if ambient temperature is below 0°F (-18°C).
See Cold weather starting earlier in this chapter for more information
on starting with ethanol.
WARNING: Failure to follow engine block heater instructions
could result in property damage or physical injury.
WARNING: To reduce the risk of electrical shock, do not use
your heater with ungrounded electrical systems or two-pronged
(cheater) adapters.
Prior to using the engine block heater, follow these recommendations for
proper and safe operation:
• For your safety, use an outdoor extension cord that is product
certified by Underwriter’s Laboratory (UL) or Canadian Standards
Association (CSA). Use only an extension cord that can be used
outdoors, in cold temperatures, and is clearly marked “Suitable for Use
with Outdoor Appliances.” Never use an indoor extension cord
outdoors; it could result in an electric shock or fire hazard.
• Use a 16 gauge outdoor extension cord, minimum.Driving
266
2011 F-250/350/450/550 (f23)
Owners Guide, 4th Printing
USA (fus)
Page 267 of 449
• Use as short an extension cord as possible.
• Do not use multiple extension cords. Instead, use one extension cord
which is long enough to reach from the engine block heater cord to
the outlet without stretching.
• Make certain that the extension cord is in excellent condition (not
patched or spliced). Store your extension cord indoors at
temperatures above 32°F (0°C). Outdoor conditions can deteriorate
extension cords over a period of time.
• To reduce the risk of electrical shock, do not use your heater with
ungrounded electrical systems or two pronged (cheater) adapters.
Also ensure that the block heater, especially the cord, is in good
condition before use.
• Make sure that when in operation, the extension cord plug /engine
block heater cord plug connection is free and clear of water in order
to prevent possible shock or fire.
• Be sure that areas where the vehicle is parked are clean and clear of
all combustibles such as petroleum products, dust, rags, paper and
similar items.
• Be sure that the engine block heater, heater cord and extension cord
are solidly connected. A poor connection can cause the cord to
become very hot and may result in an electrical shock or fire. Be sure
to check for heat anywhere in the electrical hookup once the system
has been operating for approximately a half hour.
• Finally, have the engine block heater system checked during your fall
tune-up to be sure it’s in good working order.
How to use the engine block heater
Ensure the receptacle terminals are clean and dry prior to use. To clean
them, use a dry cloth.
Depending on the type of factory installed equipment, your engine block
heater system may consume anywhere between 400 watts or 1000 watts
of power per hour. Your factory installed block heater system does not
have a thermostat; however, maximum temperature is attained after
approximately three hours of operation. Block heater operation longer
than three hours will not improve system performance and will
unnecessarily use additional electricity.
Make sure system is unplugged and properly stowed before driving the
vehicle. While not in use, make sure the protective cover seals the
prongs of the engine block heater cord plug. Driving
267
2011 F-250/350/450/550 (f23)
Owners Guide, 4th Printing
USA (fus)