key FORD F650 2002 10.G Owners Manual
[x] Cancel search | Manufacturer: FORD, Model Year: 2002, Model line: F650, Model: FORD F650 2002 10.GPages: 256, PDF Size: 1.75 MB
Page 1 of 256
Introduction 3
Congratulations 3
Safety and environment protection 4
Symbol glossary 6
Instrument Cluster 9
Gauges 16
Entertainment Systems 20
AM/FM stereo 20
AM/FM stereo cassette 20
AM/FM stereo cassette with CD 31
AM/FM stereo with CD 39
Climate Controls 56
Heater only 56
Manual heating and air conditioning 57
Lights 61
Headlamps 61
Driver Controls 68
Windshield wiper/washer control 68
Steering wheel adjustment 69
Power windows 74
Mirrors 75
Locks and Security 84
Keys 84
Locks 84
Anti-theft system 84
Seating and Safety Restraints 88
Seating 88
Safety restraints 93
Child restraints 102
Table of Contents
1
Page 14 of 256
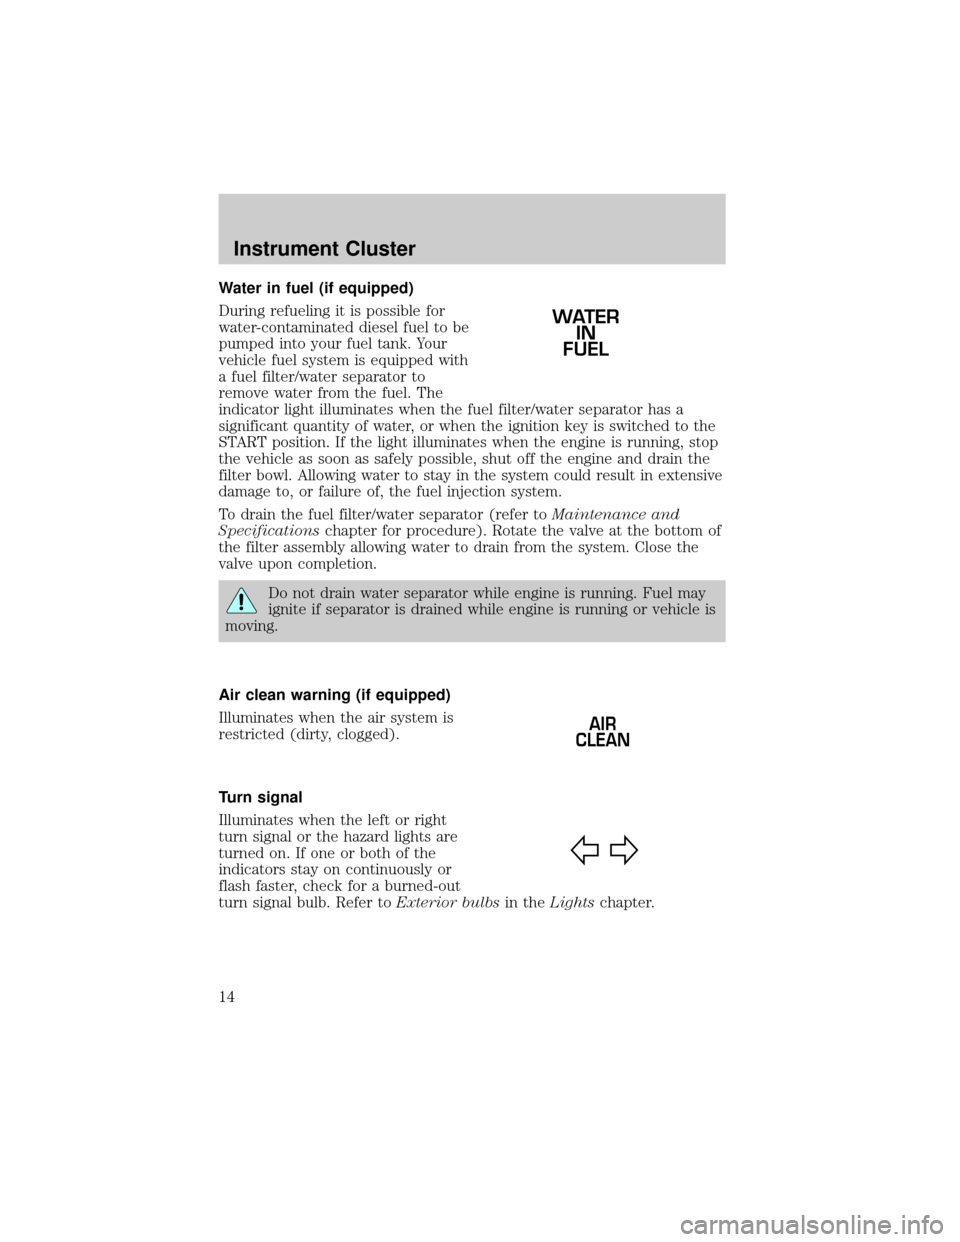
Water in fuel (if equipped)
During refueling it is possible for
water-contaminated diesel fuel to be
pumped into your fuel tank. Your
vehicle fuel system is equipped with
a fuel filter/water separator to
remove water from the fuel. The
indicator light illuminates when the fuel filter/water separator has a
significant quantity of water, or when the ignition key is switched to the
START position. If the light illuminates when the engine is running, stop
the vehicle as soon as safely possible, shut off the engine and drain the
filter bowl. Allowing water to stay in the system could result in extensive
damage to, or failure of, the fuel injection system.
To drain the fuel filter/water separator (refer toMaintenance and
Specificationschapter for procedure). Rotate the valve at the bottom of
the filter assembly allowing water to drain from the system. Close the
valve upon completion.
Do not drain water separator while engine is running. Fuel may
ignite if separator is drained while engine is running or vehicle is
moving.
Air clean warning (if equipped)
Illuminates when the air system is
restricted (dirty, clogged).
Turn signal
Illuminates when the left or right
turn signal or the hazard lights are
turned on. If one or both of the
indicators stay on continuously or
flash faster, check for a burned-out
turn signal bulb. Refer toExterior bulbsin theLightschapter.
WATER
IN
FUEL
AIR
CLEAN
Instrument Cluster
14
Page 15 of 256

High beams
Illuminates when the high beam
headlamps are turned on.
Safety belt warning chime
Sounds to remind you to fasten your safety belts.
BeltMinder chime
Sounds intermittently to remind you to fasten your safety belts.
Headlamps on warning chime
Sounds when the headlamps or parking lamps are on, the key is removed
from the ignition and the driver's door is opened.
Key-in-ignition warning chime
Sounds when the key is left in the ignition and the driver's door is
opened.
Parking brake warning chime Ð F650 SuperCrewzer
Sounds when the parking brake knob is pulled and the parking brake is
not functioning properly.
For information on the parking brake warning chime, refer to the
Parking brake (SuperCrewzer and Allison automatic transmission
with Park in Park)in theHydraulic brakessection in theDriving
chapter.
Instrument Cluster
15
Page 84 of 256
KEYS
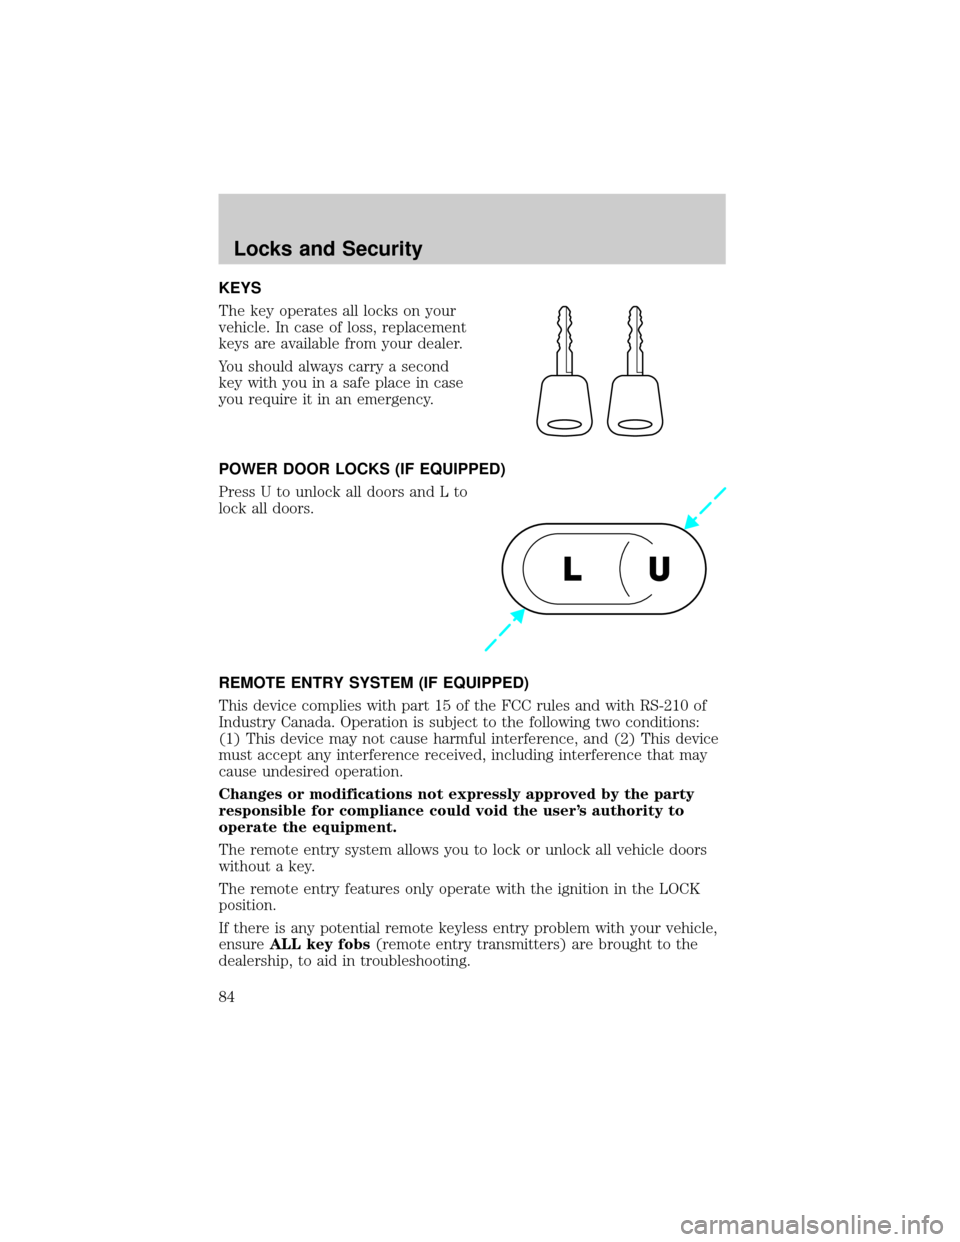
The key operates all locks on your
vehicle. In case of loss, replacement
keys are available from your dealer.
You should always carry a second
key with you in a safe place in case
you require it in an emergency.
POWER DOOR LOCKS (IF EQUIPPED)
Press U to unlock all doors and L to
lock all doors.
REMOTE ENTRY SYSTEM (IF EQUIPPED)
This device complies with part 15 of the FCC rules and with RS-210 of
Industry Canada. Operation is subject to the following two conditions:
(1) This device may not cause harmful interference, and (2) This device
must accept any interference received, including interference that may
cause undesired operation.
Changes or modifications not expressly approved by the party
responsible for compliance could void the user's authority to
operate the equipment.
The remote entry system allows you to lock or unlock all vehicle doors
without a key.
The remote entry features only operate with the ignition in the LOCK
position.
If there is any potential remote keyless entry problem with your vehicle,
ensureALL key fobs(remote entry transmitters) are brought to the
dealership, to aid in troubleshooting.
U L
Locks and Security
84
Page 86 of 256
Replacing the battery
The remote transmitter is powered by one coin type three-volt lithium
battery CR2032 or equivalent. Typical operating range will allow you to
be up to 10 meters (33 feet) away from your vehicle. A decrease in
operating range can be caused by:
²weather conditions
²nearby radio towers
²structures around the vehicle
²other vehicles parked next to the vehicle
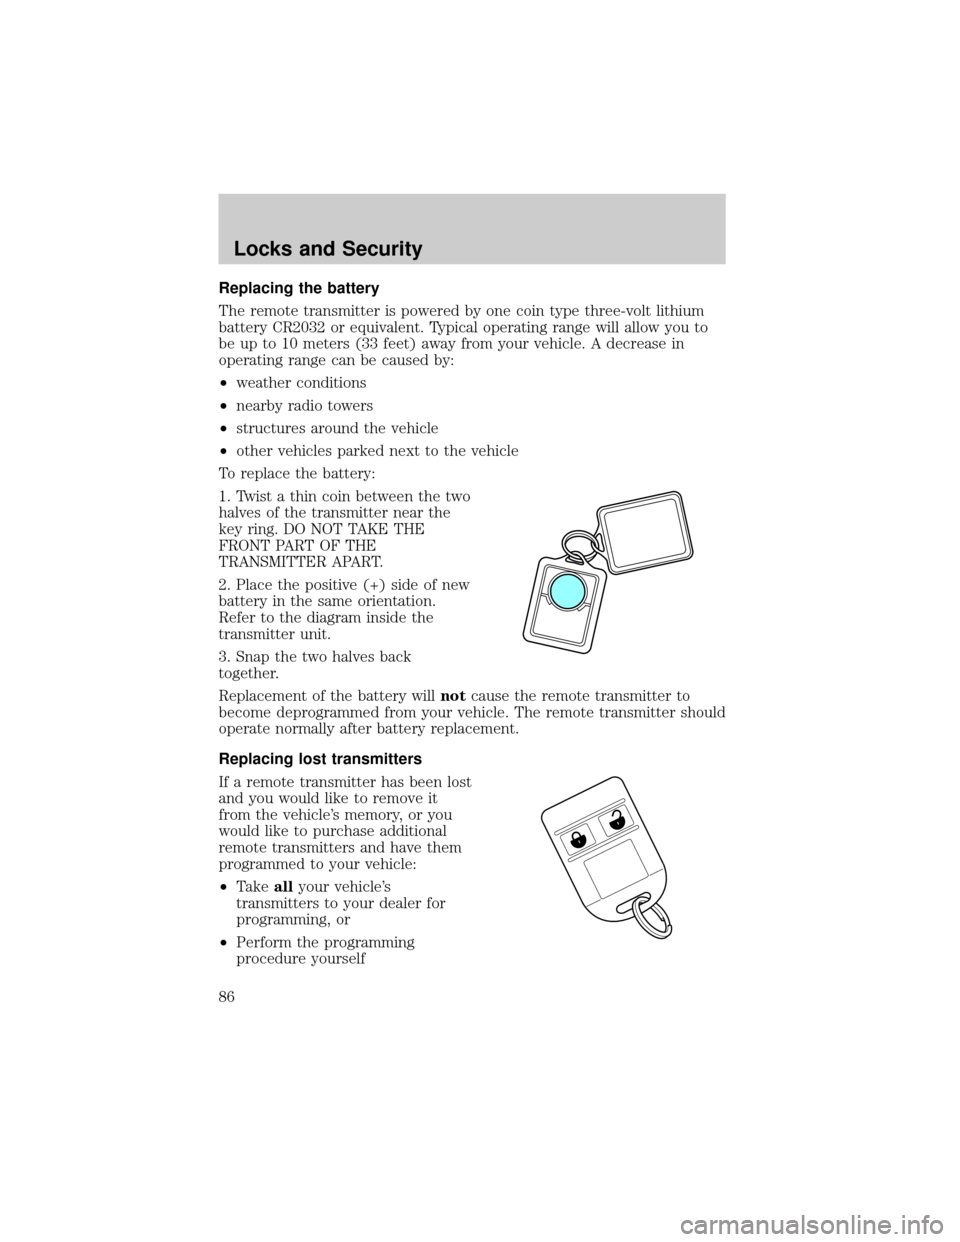
To replace the battery:
1. Twist a thin coin between the two
halves of the transmitter near the
key ring. DO NOT TAKE THE
FRONT PART OF THE
TRANSMITTER APART.
2. Place the positive (+) side of new
battery in the same orientation.
Refer to the diagram inside the
transmitter unit.
3. Snap the two halves back
together.
Replacement of the battery willnotcause the remote transmitter to
become deprogrammed from your vehicle. The remote transmitter should
operate normally after battery replacement.
Replacing lost transmitters
If a remote transmitter has been lost
and you would like to remove it
from the vehicle's memory, or you
would like to purchase additional
remote transmitters and have them
programmed to your vehicle:
²Takeallyour vehicle's
transmitters to your dealer for
programming, or
²Perform the programming
procedure yourself
Locks and Security
86
Page 87 of 256
Programming remote transmitters
It is necessary to haveall(maximum of four Ð original and/or new) of
your remote transmitters available prior to beginning this procedure.
To program the transmitters yourself:
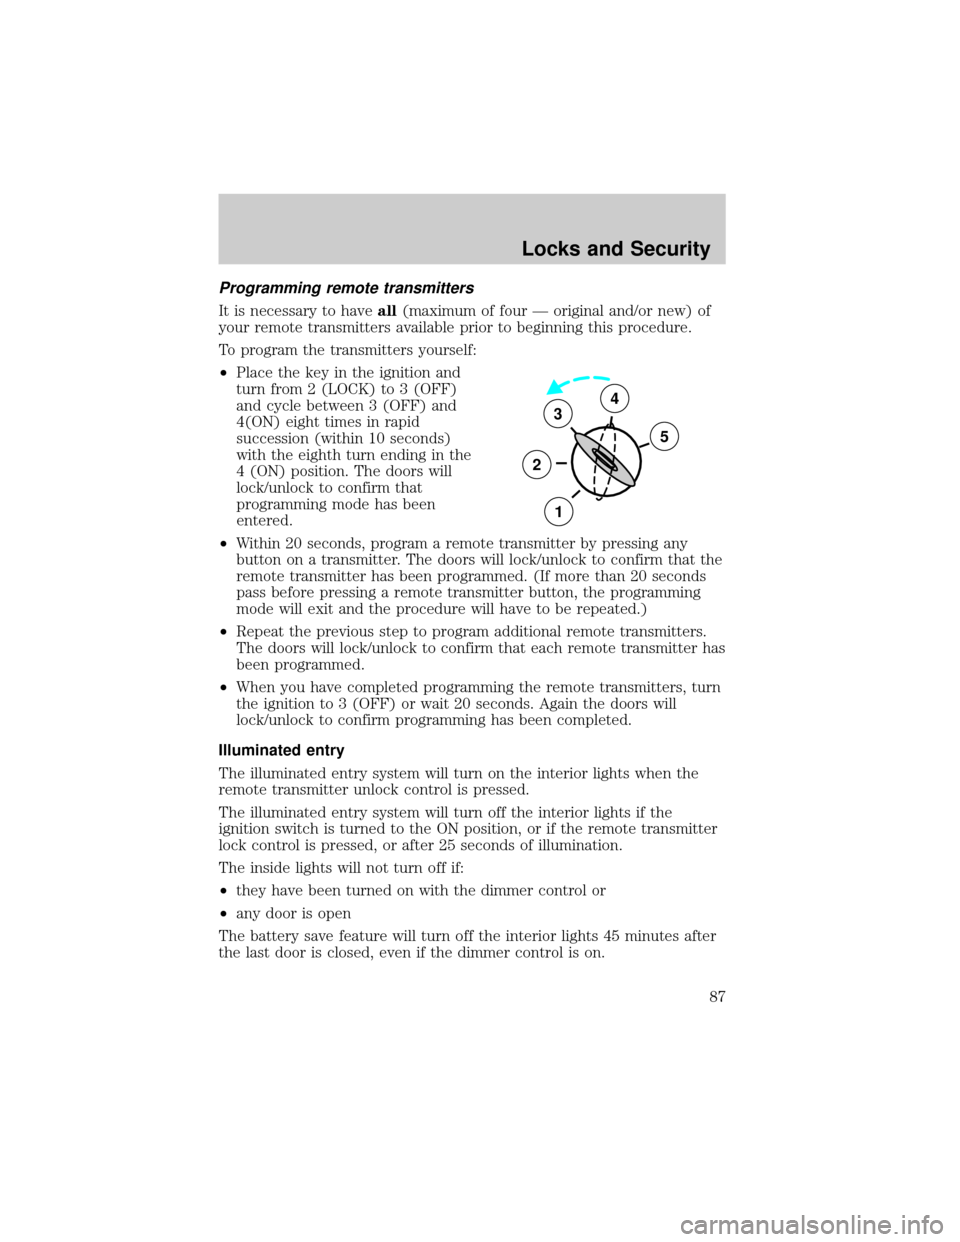
²Place the key in the ignition and
turn from 2 (LOCK) to 3 (OFF)
and cycle between 3 (OFF) and
4(ON) eight times in rapid
succession (within 10 seconds)
with the eighth turn ending in the
4 (ON) position. The doors will
lock/unlock to confirm that
programming mode has been
entered.
²Within 20 seconds, program a remote transmitter by pressing any
button on a transmitter. The doors will lock/unlock to confirm that the
remote transmitter has been programmed. (If more than 20 seconds
pass before pressing a remote transmitter button, the programming
mode will exit and the procedure will have to be repeated.)
²Repeat the previous step to program additional remote transmitters.
The doors will lock/unlock to confirm that each remote transmitter has
been programmed.
²When you have completed programming the remote transmitters, turn
the ignition to 3 (OFF) or wait 20 seconds. Again the doors will
lock/unlock to confirm programming has been completed.
Illuminated entry
The illuminated entry system will turn on the interior lights when the
remote transmitter unlock control is pressed.
The illuminated entry system will turn off the interior lights if the
ignition switch is turned to the ON position, or if the remote transmitter
lock control is pressed, or after 25 seconds of illumination.
The inside lights will not turn off if:
²they have been turned on with the dimmer control or
²any door is open
The battery save feature will turn off the interior lights 45 minutes after
the last door is closed, even if the dimmer control is on.
3
2
1
5
4
Locks and Security
87
Page 132 of 256
Air suspension dump valve
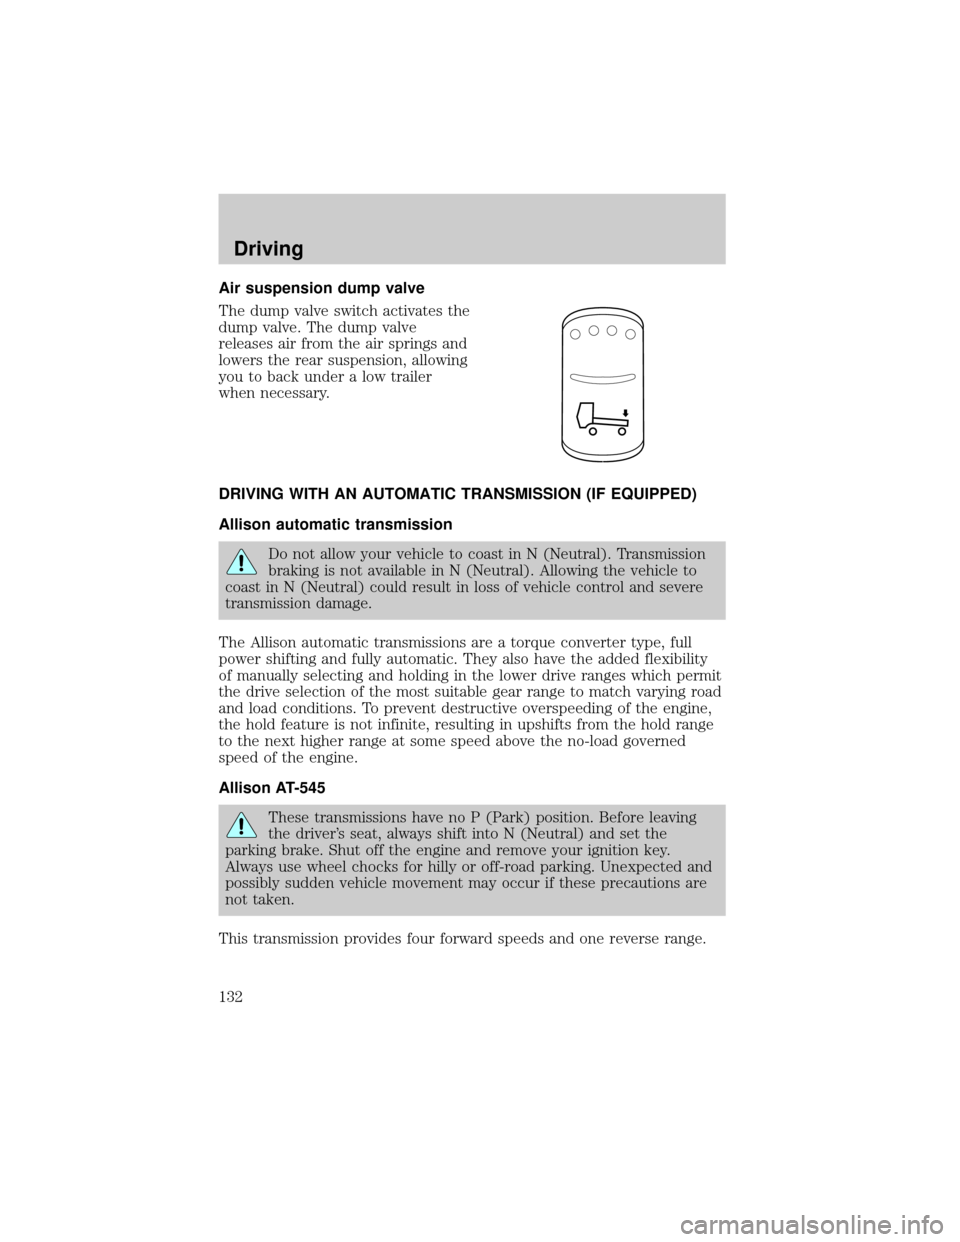
The dump valve switch activates the
dump valve. The dump valve
releases air from the air springs and
lowers the rear suspension, allowing
you to back under a low trailer
when necessary.
DRIVING WITH AN AUTOMATIC TRANSMISSION (IF EQUIPPED)
Allison automatic transmission
Do not allow your vehicle to coast in N (Neutral). Transmission
braking is not available in N (Neutral). Allowing the vehicle to
coast in N (Neutral) could result in loss of vehicle control and severe
transmission damage.
The Allison automatic transmissions are a torque converter type, full
power shifting and fully automatic. They also have the added flexibility
of manually selecting and holding in the lower drive ranges which permit
the drive selection of the most suitable gear range to match varying road
and load conditions. To prevent destructive overspeeding of the engine,
the hold feature is not infinite, resulting in upshifts from the hold range
to the next higher range at some speed above the no-load governed
speed of the engine.
Allison AT-545
These transmissions have no P (Park) position. Before leaving
the driver's seat, always shift into N (Neutral) and set the
parking brake. Shut off the engine and remove your ignition key.
Always use wheel chocks for hilly or off-road parking. Unexpected and
possibly sudden vehicle movement may occur if these precautions are
not taken.
This transmission provides four forward speeds and one reverse range.
Driving
132
Page 133 of 256
R (Reverse)
Use this position to back the vehicle. Completely stop the vehicle before
shifting from R (Reverse) to any forward gear (1, 2, 3 or D). The reverse
warning signal will sound when the selector is in R (Reverse). Reverse
has only one gear and provides the greatest gear reduction.
N (Neutral)
Place the selector in N (Neutral) before starting the engine. Shift to N
(Neutral) and set the parking brake any time the engine is to be running
while the operator is not at the controls. The engine should be at idle
speed when any shift from N (Neutral) to a drive range is made.
D (Drive-Normal driving position)
The transmission starts in first gear and automatically shifts through
second, third and fourth depending on load and speed demands. This
range is used for highway driving under normal conditions.
3 and 2 (Third and Second)
Use these ranges when road, load or traffic conditions require a lower
gear. These ranges provide greater engine braking than D (Drive). When
conditions are improved that no longer require these lower gears, shift
back to D (Drive).
1 (First)
The transmission has to be manually shifted into 1 (First) and will not
shift into a higher gear. This range is used for extra heavy loads or where
maximum reduction is required.
Allison MD Series transmissions
These transmissions have no P (Park) position. Before leaving
the driver's seat, always shift into N (Neutral) and set the
parking brake. Shut off the engine and remove your ignition key.
Always use wheel chocks for hilly or off-road parking. Unexpected and
possibly sudden vehicle movement may occur if these precautions are
not taken.
These transmissions are electronically controlled and have a push button
shifter. MD transmissions are available in five- or six-speed driving
ranges.
Driving
133
Page 136 of 256
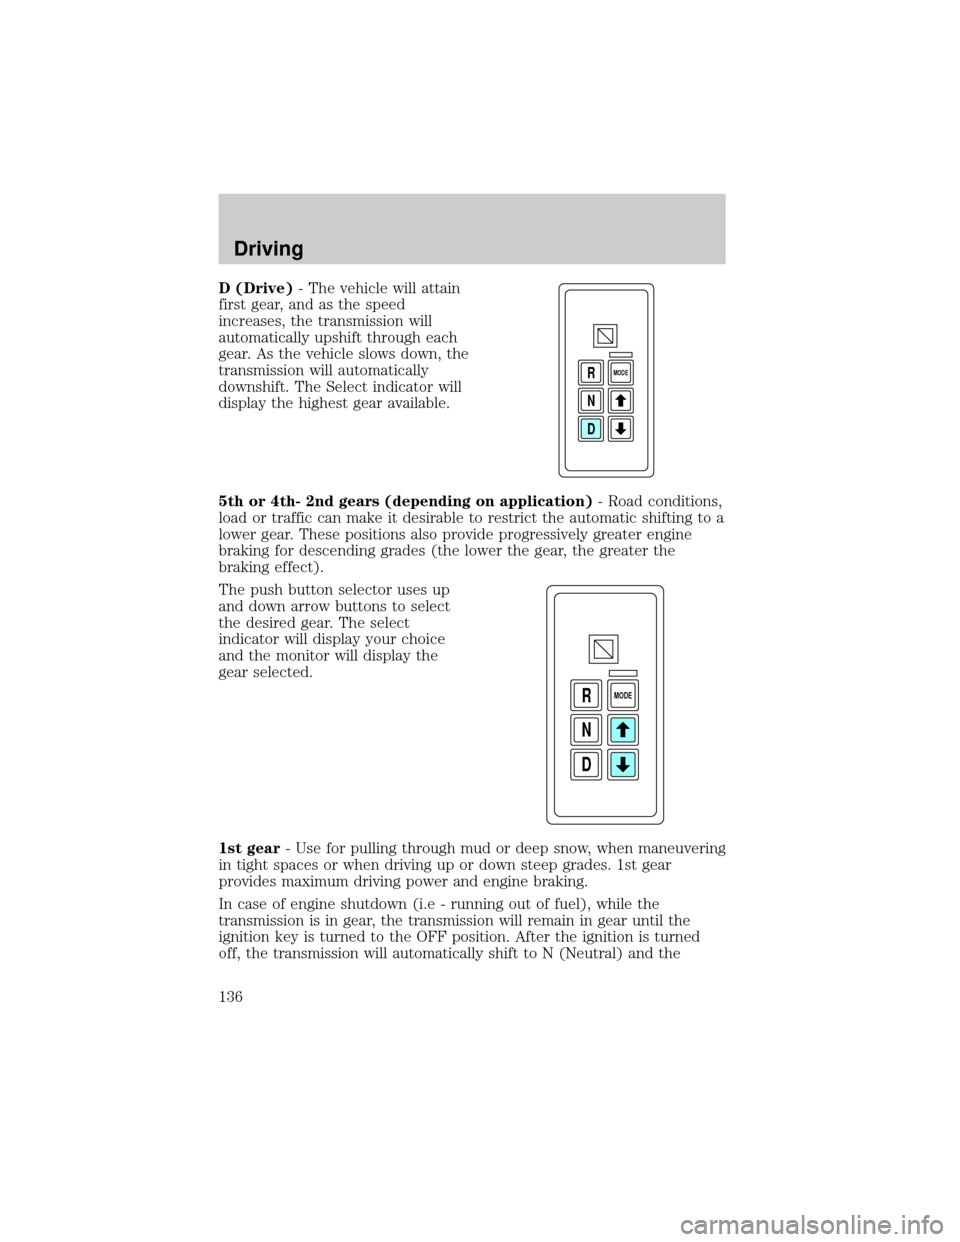
D (Drive)- The vehicle will attain
first gear, and as the speed
increases, the transmission will
automatically upshift through each
gear. As the vehicle slows down, the
transmission will automatically
downshift. The Select indicator will
display the highest gear available.
5th or 4th- 2nd gears (depending on application)- Road conditions,
load or traffic can make it desirable to restrict the automatic shifting to a
lower gear. These positions also provide progressively greater engine
braking for descending grades (the lower the gear, the greater the
braking effect).
The push button selector uses up
and down arrow buttons to select
the desired gear. The select
indicator will display your choice
and the monitor will display the
gear selected.
1st gear- Use for pulling through mud or deep snow, when maneuvering
in tight spaces or when driving up or down steep grades. 1st gear
provides maximum driving power and engine braking.
In case of engine shutdown (i.e - running out of fuel), while the
transmission is in gear, the transmission will remain in gear until the
ignition key is turned to the OFF position. After the ignition is turned
off, the transmission will automatically shift to N (Neutral) and the
D N R
MODE
D N R
MODE
Driving
136
Page 137 of 256
monitor on the shift pad will display N (Neutral) when the ignition key is
turned to the ON position.
Allison 2000 series
These transmissions have no P (Park) position. Before leaving
the driver's seat, always shift into N (Neutral) and set the
parking brake. Shut off the engine and remove your ignition key.
Always use wheel chocks for hilly or off-road parking. Unexpected and
possibly sudden vehicle movement may occur if these precautions are
not taken.
This transmission provides five forward speeds in four ranges and one
reverse range.
R (Reverse)
Use this position to back the vehicle. Completely stop the vehicle before
shifting from R (Reverse) to any forward gear (1, 2, 4 or D). The reverse
warning signal will sound when the selector is in R (Reverse). Reverse
has only one gear and provides the greatest gear reduction.
N (Neutral)
Place the selector in N (Neutral) before starting the engine. Shift to N
(Neutral) and set the parking brake any time the engine is to be running
while the operator is not at the controls. The engine should be at idle
speed when any shift from N (Neutral) to a drive range is made.
Do not allow your vehicle to coast in N (Neutral). Engine
braking is not available in N (Neutral). Allowing your vehicle to
coast in N (Neutral) may result in loss of vehicle control and severe
internal transmission damage.
D (Drive-Normal driving position)
In this position, the transmission starts in first gear and automatically
shifts through second, third, fourth and fifth depending on load and
speed demands. When the vehicle is slowing down, the transmission will
automatically downshift. This range is used for highway driving under
normal conditions.
Driving
137