automatic transmission FORD F650 2004 11.G Owners Manual
[x] Cancel search | Manufacturer: FORD, Model Year: 2004, Model line: F650, Model: FORD F650 2004 11.GPages: 264, PDF Size: 1.47 MB
Page 10 of 264
Engine compartment (with engine stopped)
Any leaks:Check for signs of fluid puddles, dripping fluid
on the ground under the engine or the
underside of the engine.
HVAC air inlet:Check for debris, leaves, etc. that may have
collected on the HVAC air inlet grille or inside
the exterior module as this may cause reduced
system performance.
HVAC fresh air filter
(if equipped):Periodically check the HVAC fresh air filter for
cleanliness.
Exercise great caution when working on vehicle equipped with
an automatic fan clutch. The fan starts in motion only after the
engine coolant reaches a predetermined temperature or the refrigerant
pressure (if equipped with air conditioning) reaches a predetermined
setting. The fan will start at these point with no advance warning.
Never reach near, or permit objects to protrude into, the fan blade
radius while the engine is running as this could result in vehicle
damage, personal injury or death.
Engine starting (with parking brake applied)
Safety/Emergency
equipment:Prior to entering the cab, verify that the
vehicle is equipped with spare electrical fuses
(if used), three red reflective triangles, a
properly charged and rated fire extinguisher
and wheel chocks. Walk around the vehicle
and check that all steps and grab handles,
inside and out as well as behind, are tight and
clean. Use extreme caution and a three-point
stance at all times. Check door latches for
positive closing, latching and locking.
Clutch/Gearshift:Depress the clutch (if equipped with a manual
transmission) and verify the transmission is in
neutral before turning on the starter. Keep the
pedal depressed until the engine reaches idling
speed.
Oil pressure builds:Make sure engine oil pressure is building to
normal operating range.
2004 F650/750(f67)
Supplement
USA English(fus)
Vehicle inspection guide
10
Page 12 of 264
Engine starting (with parking brake applied)
Air brake check:Check the air brakes in the following manner
(Chock the wheels, if necessary. Push in the
parking brake and on tractors, also push in the
tractor protection valve knob):
1. Check the air compressor or governor
cut-out pressure (approximately 305 kPa [120
psi]).
2. Cut-off the engine and turn the key back to
ON, without starting the engine.
3. Without the brake pedal applied, note the
air pressure drop for one minute. It should be
less than 5 kPa (2 psi) for single vehicle and 8
kPa (3 psi) for combination vehicles.
4. Depress and hold the brake pedal with 621
kPa (90 psi) or more and make sure there is
no more than a 8 kPa (3 psi) per minute leak.
For combination vehicles, no more than 10
kPa (4 psi) per minute.
5. Step on and off the brake pedal and check
for the warning light and chime to activate
between 163-193 kPa (64–76 psi).
6. Step on and off the brake pedal and make
sure the tractor protection and parking brake
knobs pop out between 138–310 kPa (20–45
psi)
7. Restart the engine, shift to a lower gear and
gently pull against the service and parking
brakes separately to make sure they hold.
Automatic
transmission fluid:With the engine idling (at normal operating
temperature) and the parking brake applied,
check the automatic transmission fluid. If fluid
needs to be added, place the transmission in
the appropriate gear as specified in the
transmission operator’s manual and refer to
Transmission fluidin theMaintenance and
specificationschapter.
2004 F650/750(f67)
Supplement
USA English(fus)
Vehicle inspection guide
12
Page 19 of 264
TRANSMISSION
If your vehicle is equipped with an automatic transmission, have a
qualified technician regularly check the transmission’s neutral start
switch.
If the unit starts in gear and/or the neutral start switch is
defective, the vehicle may inadvertently move which could result
in property damage, personal injury or death.
Check the transmission fluid level and shift linkage for proper operation.
2004 F650/750(f67)
Supplement
USA English(fus)
Vehicle inspection guide
19
Page 22 of 264
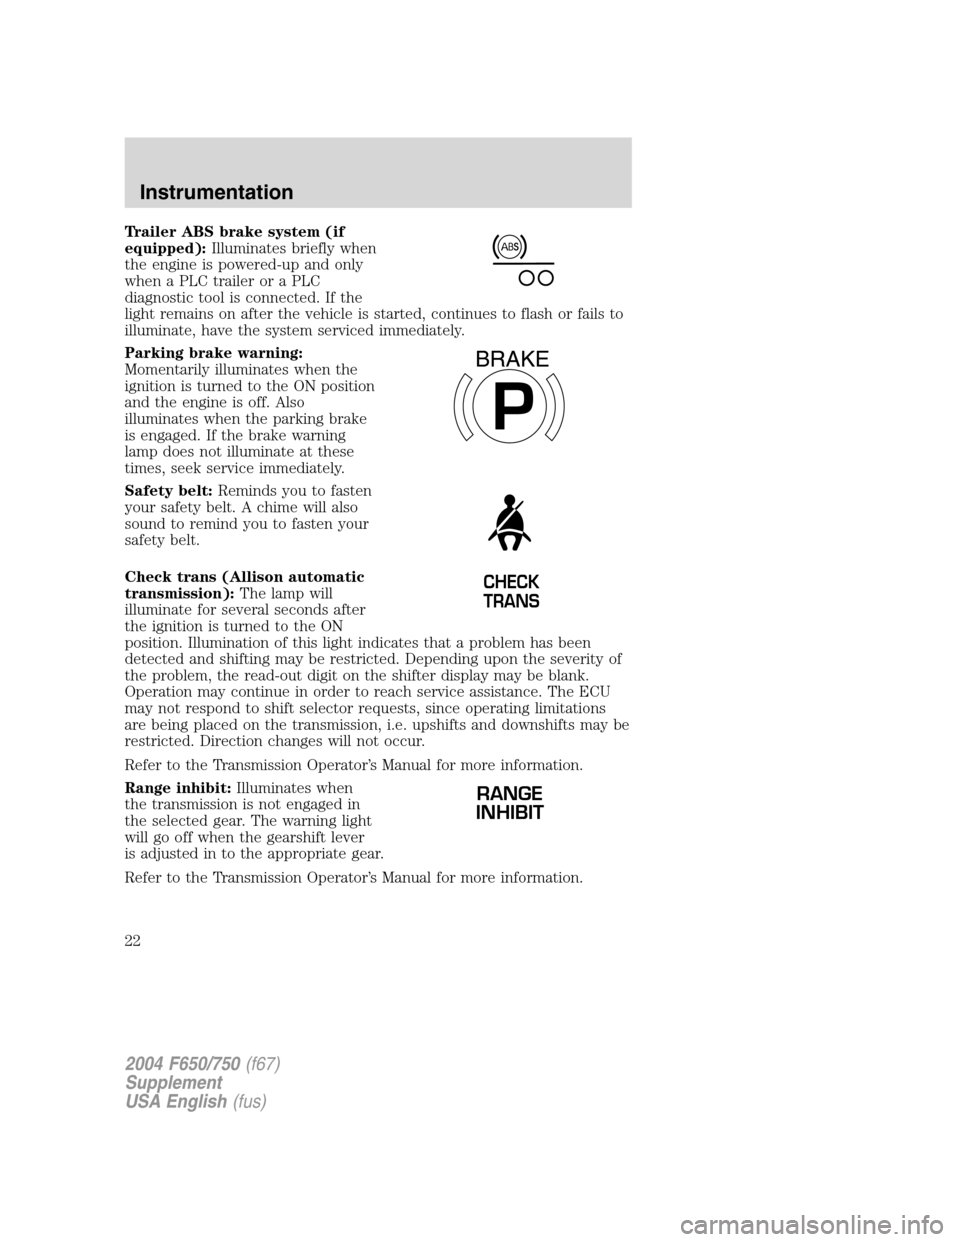
Trailer ABS brake system (if
equipped):Illuminates briefly when
the engine is powered-up and only
when a PLC trailer or a PLC
diagnostic tool is connected. If the
light remains on after the vehicle is started, continues to flash or fails to
illuminate, have the system serviced immediately.
Parking brake warning:
Momentarily illuminates when the
ignition is turned to the ON position
and the engine is off. Also
illuminates when the parking brake
is engaged. If the brake warning
lamp does not illuminate at these
times, seek service immediately.
Safety belt:Reminds you to fasten
your safety belt. A chime will also
sound to remind you to fasten your
safety belt.
Check trans (Allison automatic
transmission):The lamp will
illuminate for several seconds after
the ignition is turned to the ON
position. Illumination of this light indicates that a problem has been
detected and shifting may be restricted. Depending upon the severity of
the problem, the read-out digit on the shifter display may be blank.
Operation may continue in order to reach service assistance. The ECU
may not respond to shift selector requests, since operating limitations
are being placed on the transmission, i.e. upshifts and downshifts may be
restricted. Direction changes will not occur.
Refer to the Transmission Operator’s Manual for more information.
Range inhibit:Illuminates when
the transmission is not engaged in
the selected gear. The warning light
will go off when the gearshift lever
is adjusted in to the appropriate gear.
Refer to the Transmission Operator’s Manual for more information.
P
BRAKE
CHECK
TRANS
RANGE
INHIBIT
2004 F650/750(f67)
Supplement
USA English(fus)
Instrumentation
22
Page 75 of 264
Reasons given... Consider...
“The people I’m with don’t
wear belts”Set the example, teen deaths occur 4
times more often in vehicles with
TWO or MORE people. Children and
younger brothers/sisters imitate
behavior they see.
“I have an air bag”Air bags offer greater protection when
used with safety belts. Frontal air
bags are not designed to inflate in
rear and side crashes or rollovers.
“I’d rather be thrown clear”Not a good idea.Peoplewho are
ejected are 40 times more likely
to DIE.Safety belts help prevent
ejection, WE CAN’T“PICK OUR
CRASH”.
Do not sit on top of a buckled safety belt to avoid the Belt
Minder chime. Sitting on the safety belt will increase the risk of
injury in an accident. To disable (one-time) or deactivate the Belt
Minder feature please follow the directions stated below.
One-time disable
Any time the safety belt is buckled and then unbuckled during an
ignition ON cycle, BeltMinder will be disabled for that ignition cycle only.
Deactivating/Activating the BeltMinder feature
Read steps1-9thoroughly before proceeding with the
deactivation/activation programming procedure.
The BeltMinder feature can be deactivated/activated by performing the
following procedure:
Before following the procedure, make sure that:
•The parking brake is set.
•The gearshift is in P (Park) (automatic transmission) or the neutral
position (manual transmission).
•The ignition switch is in the OFF position.
•All vehicle doors are closed.
•The driver’s safety belt is unbuckled.
2004 F650/750(f67)
Supplement
USA English(fus)
Seating and safety restraints
75
Page 93 of 264
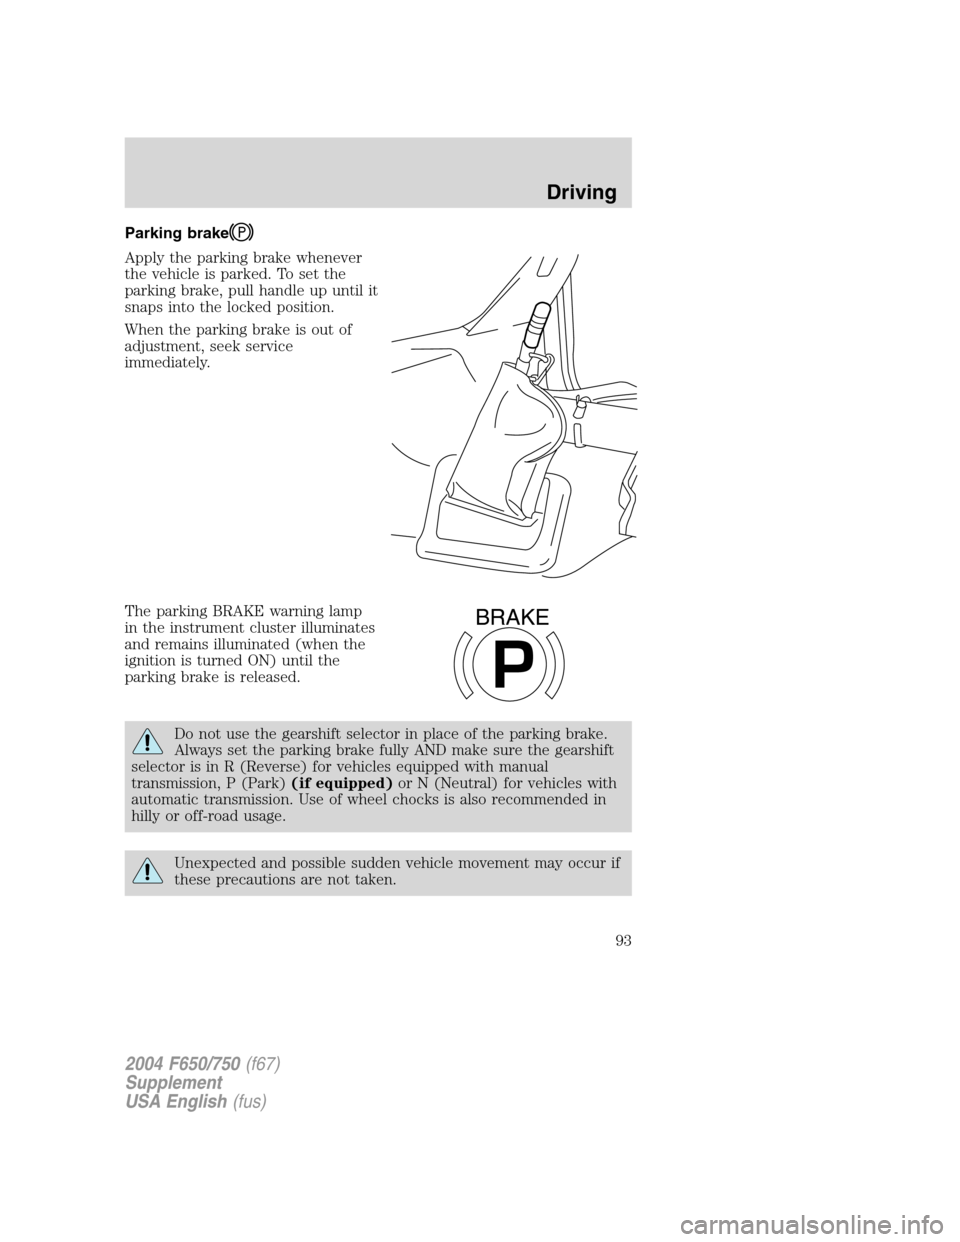
Parking brake
Apply the parking brake whenever
the vehicle is parked. To set the
parking brake, pull handle up until it
snaps into the locked position.
When the parking brake is out of
adjustment, seek service
immediately.
The parking BRAKE warning lamp
in the instrument cluster illuminates
and remains illuminated (when the
ignition is turned ON) until the
parking brake is released.
Do not use the gearshift selector in place of the parking brake.
Always set the parking brake fully AND make sure the gearshift
selector is in R (Reverse) for vehicles equipped with manual
transmission, P (Park)(if equipped)or N (Neutral) for vehicles with
automatic transmission. Use of wheel chocks is also recommended in
hilly or off-road usage.
Unexpected and possible sudden vehicle movement may occur if
these precautions are not taken.
P
BRAKE
2004 F650/750(f67)
Supplement
USA English(fus)
Driving
93
Page 95 of 264
POWER PARK (AIR-OPERATED PARKING BRAKE) OPTION
(IF EQUIPPED)
This feature uses a brake chamber mounted on the chassis to power a
spring-applied, air-released driveline parking brake. It is controlled by a
yellow, dash-mounted parking brake knob.
Applying the parking brake
To apply the parking brake, pull the yellow, dash-mounted parking brake
knob. A red light on the dash panel should illuminate indicating that the
parking brake has been activated.
Note:If the park brake indicator light blinks and a warning chime
sounds when the control knob is pulled, the parking brake is not
functioning properly. Refer to theParking Brake Warning System
section.
Releasing the parking brake
Note:Read and understand the following steps and perform them
whenever you prepare to drive the vehicle.
Note:The parking brake will not disengage unless sufficient system air
pressure is available.
For vehicles with automatic transmissions - dash-mounted push
button (Allison MD) and steering column-mounted (Allison 2000
and 2400) gear selection:
1. With the engine running, depress and hold the service brake pedal.
2. Wait until system air pressure is above 100 psi.
3. Select the appropriate drive gear.
4. Push the yellow, dash-mounted parking brake knob.
For vehicles with manual transmissions - (TTC 7–speed,
Eaton/Fuller 5–speed, 6–speed and 10–speed):
1. With the engine running, depress and hold the service brake pedal.
2. Wait until system air pressure is above 100 psi.
3. Depress and hold the clutch pedal.
4. Select the appropriate drive gear.
5. Push the yellow, dash-mounted parking brake knob.
2004 F650/750(f67)
Supplement
USA English(fus)
Driving
95
Page 100 of 264
Air brake inspection and adjustment should be performed by a qualified
service technician in accordance with the instructions in the service
manual.
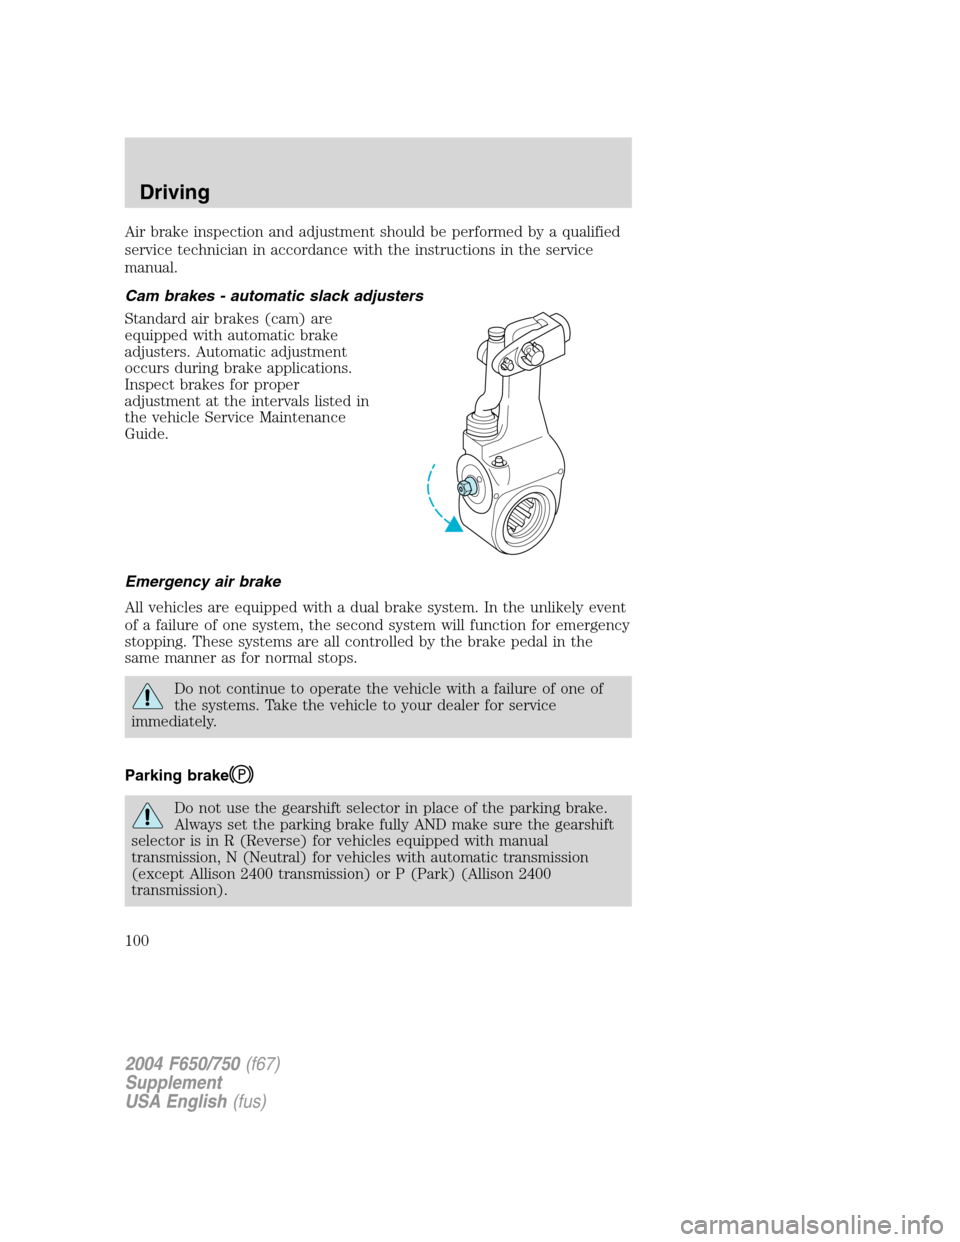
Cam brakes - automatic slack adjusters
Standard air brakes (cam) are
equipped with automatic brake
adjusters. Automatic adjustment
occurs during brake applications.
Inspect brakes for proper
adjustment at the intervals listed in
the vehicle Service Maintenance
Guide.
Emergency air brake
All vehicles are equipped with a dual brake system. In the unlikely event
of a failure of one system, the second system will function for emergency
stopping. These systems are all controlled by the brake pedal in the
same manner as for normal stops.
Do not continue to operate the vehicle with a failure of one of
the systems. Take the vehicle to your dealer for service
immediately.
Parking brake
Do not use the gearshift selector in place of the parking brake.
Always set the parking brake fully AND make sure the gearshift
selector is in R (Reverse) for vehicles equipped with manual
transmission, N (Neutral) for vehicles with automatic transmission
(except Allison 2400 transmission) or P (Park) (Allison 2400
transmission).
2004 F650/750(f67)
Supplement
USA English(fus)
Driving
100
Page 101 of 264
Unexpected and possible sudden vehicle movement may occur if
these precautions are not taken.
If the service brakes should fail to operate while the vehicle is in motion,
you can make an emergency stop with the parking brake. The stopping
distance, however, will be much greater than normal. Repairs should be
made immediately to an inoperative air brake system circuit.
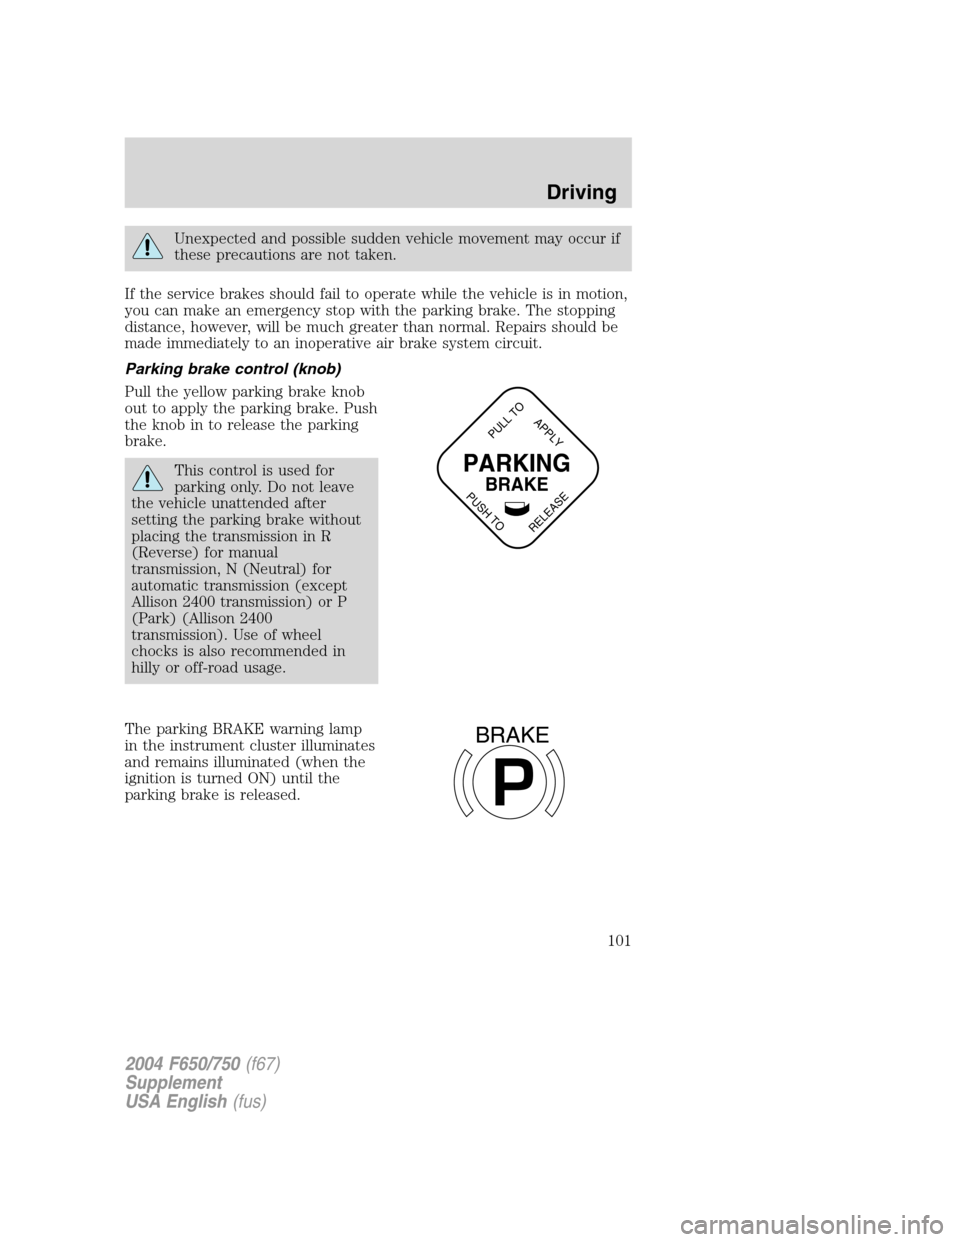
Parking brake control (knob)
Pull the yellow parking brake knob
out to apply the parking brake. Push
the knob in to release the parking
brake.
This control is used for
parking only. Do not leave
the vehicle unattended after
setting the parking brake without
placing the transmission in R
(Reverse) for manual
transmission, N (Neutral) for
automatic transmission (except
Allison 2400 transmission) or P
(Park) (Allison 2400
transmission). Use of wheel
chocks is also recommended in
hilly or off-road usage.
The parking BRAKE warning lamp
in the instrument cluster illuminates
and remains illuminated (when the
ignition is turned ON) until the
parking brake is released.PARKING
BRAKE
PULL TO
RELEASE
APPLY
PUSH TO
P
BRAKE
2004 F650/750(f67)
Supplement
USA English(fus)
Driving
101
Page 115 of 264
9. Charge the trailer brake system. Set the trailer brakes, either with the
hand valve or tractor protection valve. Pull against the trailer for an
additional check of proper hook-up. Do not pull hard enough to damage
or strain the equipment.
10. Set the tractor parking brakes and fully raise the trailer landing gear.
Refer toBrakesin this chapter for proper operation of the parking brake
and trailer brakes.
11. Check the operation of all trailer lights and correct any lights that
may be faulty.
Un-hook
1. Try to keep the tractor and trailer in a straight line.
2. Apply the parking brakes.
3. Lower the trailer landing gear, making sure it is on solid, level ground.
The weight of the trailer is to be on the landing gear.
4. Block the trailer wheels.
5. Disconnect the brake hoses and light cords. Be sure hoses and cords
are clear.
6. Pull coupler release lever to disengage the fifth wheel jaws.
7. Release the tractor parking brakes.
8. Pull out from the trailer slowly, allowing the landing gear to take the
load gradually.
AUTOMATIC TRANSMISSION OPERATION (IF EQUIPPED)
Main transmission, auxiliary transmission, transfer case and power
take-off (PTO) control shift patterns can be found on a placard or decal
on the driver’s sun visor, on the instrument panel or on the shift control
itself.
The main transmission control is used to select the various gear ratios or
speeds of the transmission. Selecting D (Direct Drive), does not change
the transmission gear ratio, but is used where the gear ratios in the main
transmission are adequate to handle the vehicle operation.
Hold the brake pedal down while you move the gearshift lever
between positions. If you don’t hold the brake pedal down, your
vehicle may move unexpectedly and cause property damage, personal
injury or death.
Allison 2000 automatic transmission
This transmission is available with a column-mounted gearshift lever. The
gear positions are displayed on the RNDL in the instrument cluster.
2004 F650/750(f67)
Supplement
USA English(fus)
Driving
115