display FORD F650 2004 11.G Owners Manual
[x] Cancel search | Manufacturer: FORD, Model Year: 2004, Model line: F650, Model: FORD F650 2004 11.GPages: 264, PDF Size: 1.47 MB
Page 22 of 264
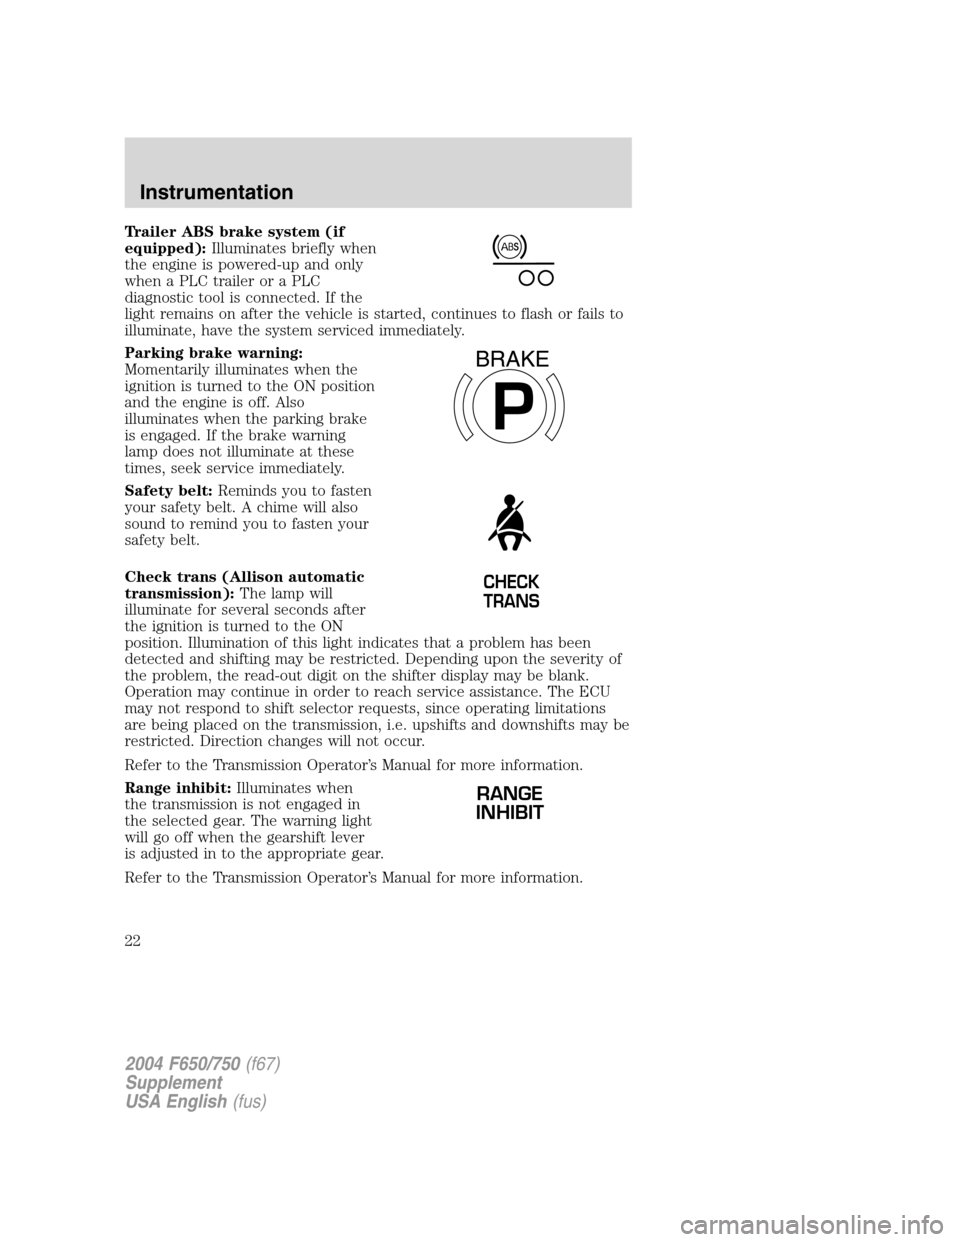
Trailer ABS brake system (if
equipped):Illuminates briefly when
the engine is powered-up and only
when a PLC trailer or a PLC
diagnostic tool is connected. If the
light remains on after the vehicle is started, continues to flash or fails to
illuminate, have the system serviced immediately.
Parking brake warning:
Momentarily illuminates when the
ignition is turned to the ON position
and the engine is off. Also
illuminates when the parking brake
is engaged. If the brake warning
lamp does not illuminate at these
times, seek service immediately.
Safety belt:Reminds you to fasten
your safety belt. A chime will also
sound to remind you to fasten your
safety belt.
Check trans (Allison automatic
transmission):The lamp will
illuminate for several seconds after
the ignition is turned to the ON
position. Illumination of this light indicates that a problem has been
detected and shifting may be restricted. Depending upon the severity of
the problem, the read-out digit on the shifter display may be blank.
Operation may continue in order to reach service assistance. The ECU
may not respond to shift selector requests, since operating limitations
are being placed on the transmission, i.e. upshifts and downshifts may be
restricted. Direction changes will not occur.
Refer to the Transmission Operator’s Manual for more information.
Range inhibit:Illuminates when
the transmission is not engaged in
the selected gear. The warning light
will go off when the gearshift lever
is adjusted in to the appropriate gear.
Refer to the Transmission Operator’s Manual for more information.
P
BRAKE
CHECK
TRANS
RANGE
INHIBIT
2004 F650/750(f67)
Supplement
USA English(fus)
Instrumentation
22
Page 29 of 264
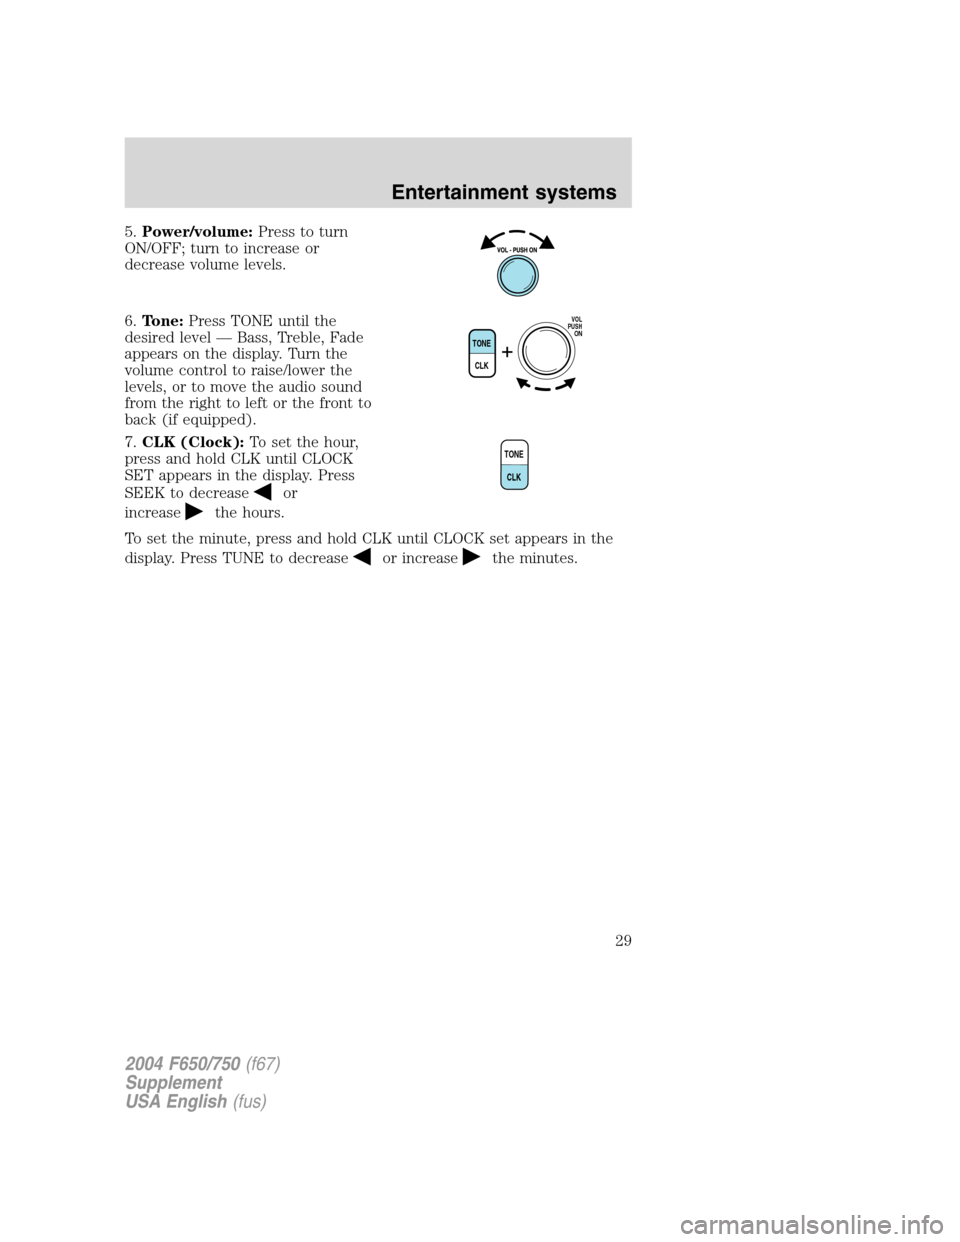
5.Power/volume:Press to turn
ON/OFF; turn to increase or
decrease volume levels.
6.Tone:Press TONE until the
desired level—Bass, Treble, Fade
appears on the display. Turn the
volume control to raise/lower the
levels, or to move the audio sound
from the right to left or the front to
back (if equipped).
7.CLK (Clock):To set the hour,
press and hold CLK until CLOCK
SET appears in the display. Press
SEEK to decrease
or
increase
the hours.
To set the minute, press and hold CLK until CLOCK set appears in the
display. Press TUNE to decrease
or increasethe minutes.
TONE
CLK
VOL
PUSH
ON
TONE
CLK
2004 F650/750(f67)
Supplement
USA English(fus)
Entertainment systems
29
Page 37 of 264
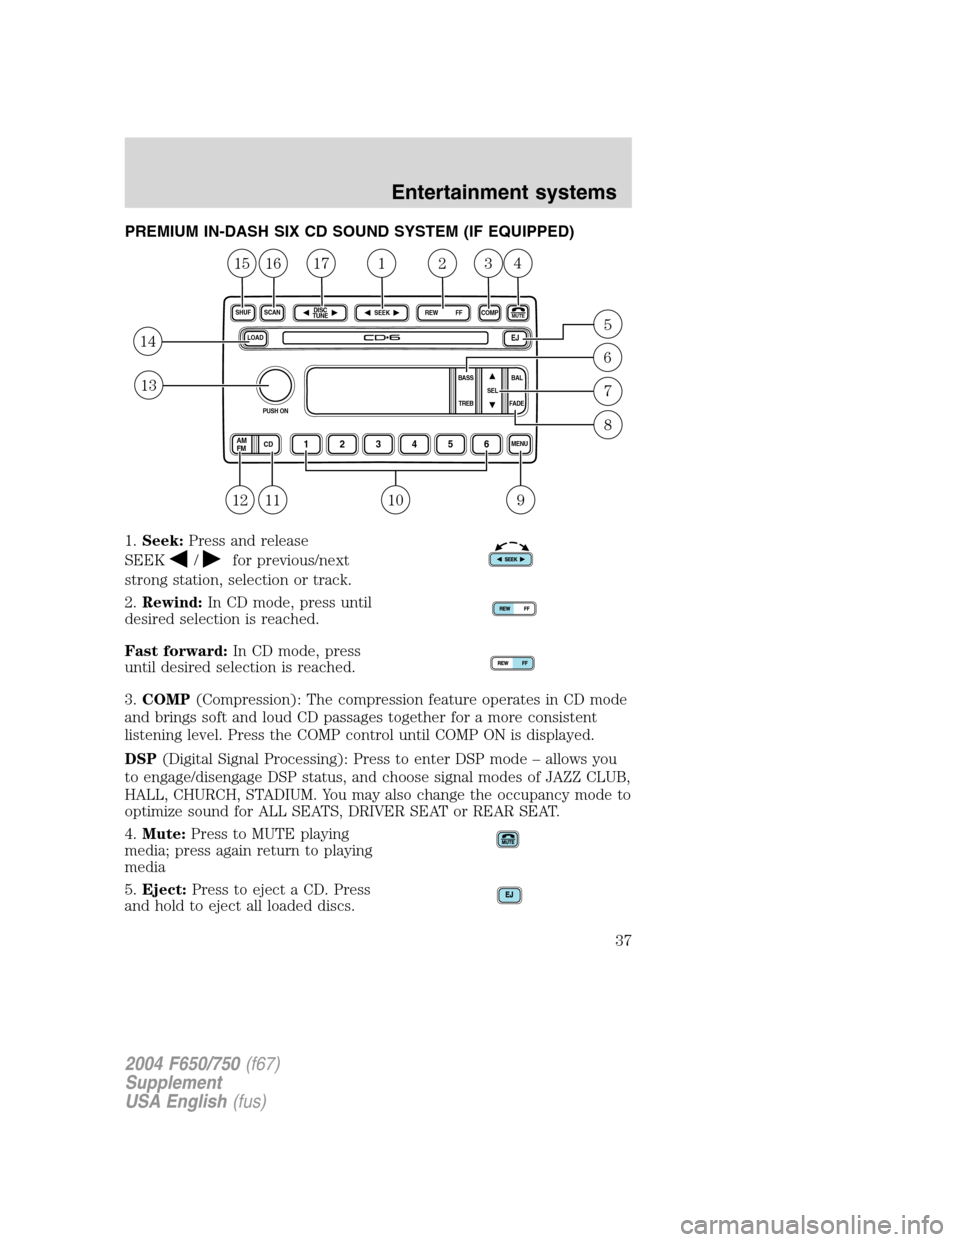
PREMIUM IN-DASH SIX CD SOUND SYSTEM (IF EQUIPPED)
1.Seek:Press and release
SEEK
/for previous/next
strong station, selection or track.
2.Rewind:In CD mode, press until
desired selection is reached.
Fast forward:In CD mode, press
until desired selection is reached.
3.COMP(Compression): The compression feature operates in CD mode
and brings soft and loud CD passages together for a more consistent
listening level. Press the COMP control until COMP ON is displayed.
DSP(Digital Signal Processing): Press to enter DSP mode–allows you
to engage/disengage DSP status, and choose signal modes of JAZZ CLUB,
HALL, CHURCH, STADIUM. You may also change the occupancy mode to
optimize sound for ALL SEATS, DRIVER SEAT or REAR SEAT.
4.Mute:Press to MUTE playing
media; press again return to playing
media
5.Eject:Press to eject a CD. Press
and hold to eject all loaded discs.
LOADEJ
SHUFMUTE
SELBAL BASS
FADE TREB
SCAN
PUSH ON
CD123456MENUAM
FM
SEEKREW FFDISC
TUNE
234171615
14
13
1211109
5
6
7
8
1
COMP
2004 F650/750(f67)
Supplement
USA English(fus)
Entertainment systems
37
Page 38 of 264
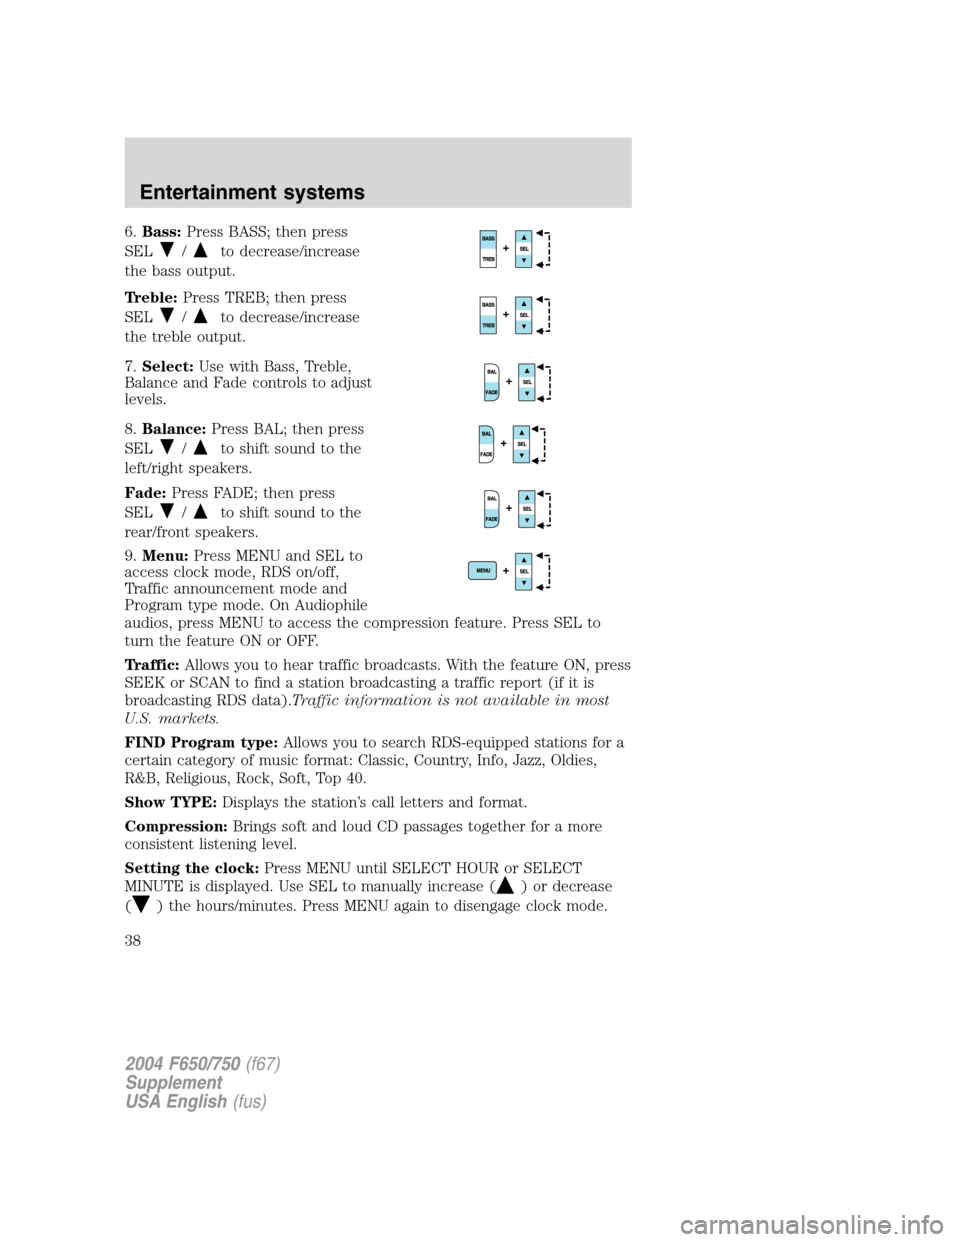
6.Bass:Press BASS; then press
SEL
/to decrease/increase
the bass output.
Treble:Press TREB; then press
SEL
/to decrease/increase
the treble output.
7.Select:Use with Bass, Treble,
Balance and Fade controls to adjust
levels.
8.Balance:Press BAL; then press
SEL
/to shift sound to the
left/right speakers.
Fade:Press FADE; then press
SEL
/to shift sound to the
rear/front speakers.
9.Menu:Press MENU and SEL to
access clock mode, RDS on/off,
Traffic announcement mode and
Program type mode. On Audiophile
audios, press MENU to access the compression feature. Press SEL to
turn the feature ON or OFF.
Traffic:Allows you to hear traffic broadcasts. With the feature ON, press
SEEK or SCAN to find a station broadcasting a traffic report (if it is
broadcasting RDS data).Traffic information is not available in most
U.S. markets.
FIND Program type:Allows you to search RDS-equipped stations for a
certain category of music format: Classic, Country, Info, Jazz, Oldies,
R&B, Religious, Rock, Soft, Top 40.
Show TYPE:Displays the station’s call letters and format.
Compression:Brings soft and loud CD passages together for a more
consistent listening level.
Setting the clock:Press MENU until SELECT HOUR or SELECT
MINUTE is displayed. Use SEL to manually increase (
) or decrease
(
) the hours/minutes. Press MENU again to disengage clock mode.
2004 F650/750(f67)
Supplement
USA English(fus)
Entertainment systems
38
Page 39 of 264
10.Memory presets:To set a
station: Select frequency band
AM/FM; tune to a station, press and
hold a preset button until sound
returns.
11.CD:Press to select CD mode.
12.AM/FM:Press to select AM/FM
frequency band.
Autostore:Allows you to set the
strongest local radio stations without losing your original manually set
preset stations for AM/FM1/FM2 . Press and momentarily hold AM/FM.
AUTOSTORE will flash on the display. When the six strongest stations
are filled, the station stored in preset 1 will begin playing. If there are
less than six strong stations, the system will store the last one in the
remaining presets. Press again to disengage.
13.Power/volume:Press to turn
ON/OFF; turn to increase or
decrease volume levels.
Automatic Volume Control(if equipped): Changes the volume
automatically and slightly with vehicle speed to compensate for road and
wind noise. The recommended level is 1–3. Level 0 turns the speed
sensitive volume off and level 7 is the maximum setting.
Press and hold the volume control for five seconds. Then, press the SEL
control to increase or decrease volume levels. The selected level will
appear in the display.
14.Load:Press to load a CD. Press
and hold to load up to six discs.
15.Shuffle:Press to play tracks in
random order.
16.Scan:Press for a brief sampling
of radio stations or CD tracks. Press
again to stop.
2004 F650/750(f67)
Supplement
USA English(fus)
Entertainment systems
39
Page 40 of 264
17.Disc tune:Radio: Press
orto manually tune down or up
the radio frequency band.
CD:Press
to select the previous track orto select the next track
on the CD.
RADIO FREQUENCIES
AM and FM frequencies are established by the Federal Communications
Commission (FCC) and the Canadian Radio and Telecommunications
Commission (CRTC). Those frequencies are:
AM - 530, 540–1700, 1710 kHz
FM- 87.7, 87.9–107.7, 107.9 MHz
RADIO RECEPTION FACTORS
There are three factors that can effect radio reception:
•Distance/strength: The further you travel from an FM station, the
weaker the signal and the weaker the reception.
•Terrain: Hills, mountains, tall buildings, power lines, electric fences,
traffic lights and thunderstorms can interfere with your reception.
•Station overload: When you pass a broadcast tower, a stronger signal
may overtake a weaker one and play while the weak station frequency
is displayed.
CASSETTE/PLAYER CARE
Do:
•Use only cassettes that are 90 minutes long or less.
•Tighten very loose tapes by inserting a finger or pencil into the hole
and turning the hub.
•Remove loose labels before inserting tapes.
•Allow tapes which have been subjected to extreme heat, humidity or
cold to reach a moderate temperature before playing.
•Clean the cassette player head with a cassette cleaning cartridge after
10–12 hours of play to maintain good sound/operation.
Don’t:
•Expose tapes to direct sunlight, extreme humidity, heat or cold.
•Leave tapes in the cassette player for a long time when not being
played.
2004 F650/750(f67)
Supplement
USA English(fus)
Entertainment systems
40
Page 115 of 264
9. Charge the trailer brake system. Set the trailer brakes, either with the
hand valve or tractor protection valve. Pull against the trailer for an
additional check of proper hook-up. Do not pull hard enough to damage
or strain the equipment.
10. Set the tractor parking brakes and fully raise the trailer landing gear.
Refer toBrakesin this chapter for proper operation of the parking brake
and trailer brakes.
11. Check the operation of all trailer lights and correct any lights that
may be faulty.
Un-hook
1. Try to keep the tractor and trailer in a straight line.
2. Apply the parking brakes.
3. Lower the trailer landing gear, making sure it is on solid, level ground.
The weight of the trailer is to be on the landing gear.
4. Block the trailer wheels.
5. Disconnect the brake hoses and light cords. Be sure hoses and cords
are clear.
6. Pull coupler release lever to disengage the fifth wheel jaws.
7. Release the tractor parking brakes.
8. Pull out from the trailer slowly, allowing the landing gear to take the
load gradually.
AUTOMATIC TRANSMISSION OPERATION (IF EQUIPPED)
Main transmission, auxiliary transmission, transfer case and power
take-off (PTO) control shift patterns can be found on a placard or decal
on the driver’s sun visor, on the instrument panel or on the shift control
itself.
The main transmission control is used to select the various gear ratios or
speeds of the transmission. Selecting D (Direct Drive), does not change
the transmission gear ratio, but is used where the gear ratios in the main
transmission are adequate to handle the vehicle operation.
Hold the brake pedal down while you move the gearshift lever
between positions. If you don’t hold the brake pedal down, your
vehicle may move unexpectedly and cause property damage, personal
injury or death.
Allison 2000 automatic transmission
This transmission is available with a column-mounted gearshift lever. The
gear positions are displayed on the RNDL in the instrument cluster.
2004 F650/750(f67)
Supplement
USA English(fus)
Driving
115
Page 121 of 264
MANUAL TRANSMISSION OPERATION (IF EQUIPPED)
Continued use of a damaged or worn clutch, prolonged clutch
slippage or downshifting at excessive speeds can result in a
failure of the engine, transmission or clutch components.
To avoid premature clutch wear and failure, do not drive with
your foot resting on the clutch pedal or use it to hold the vehicle
at a standstill on an upgrade as when waiting for a traffic light.
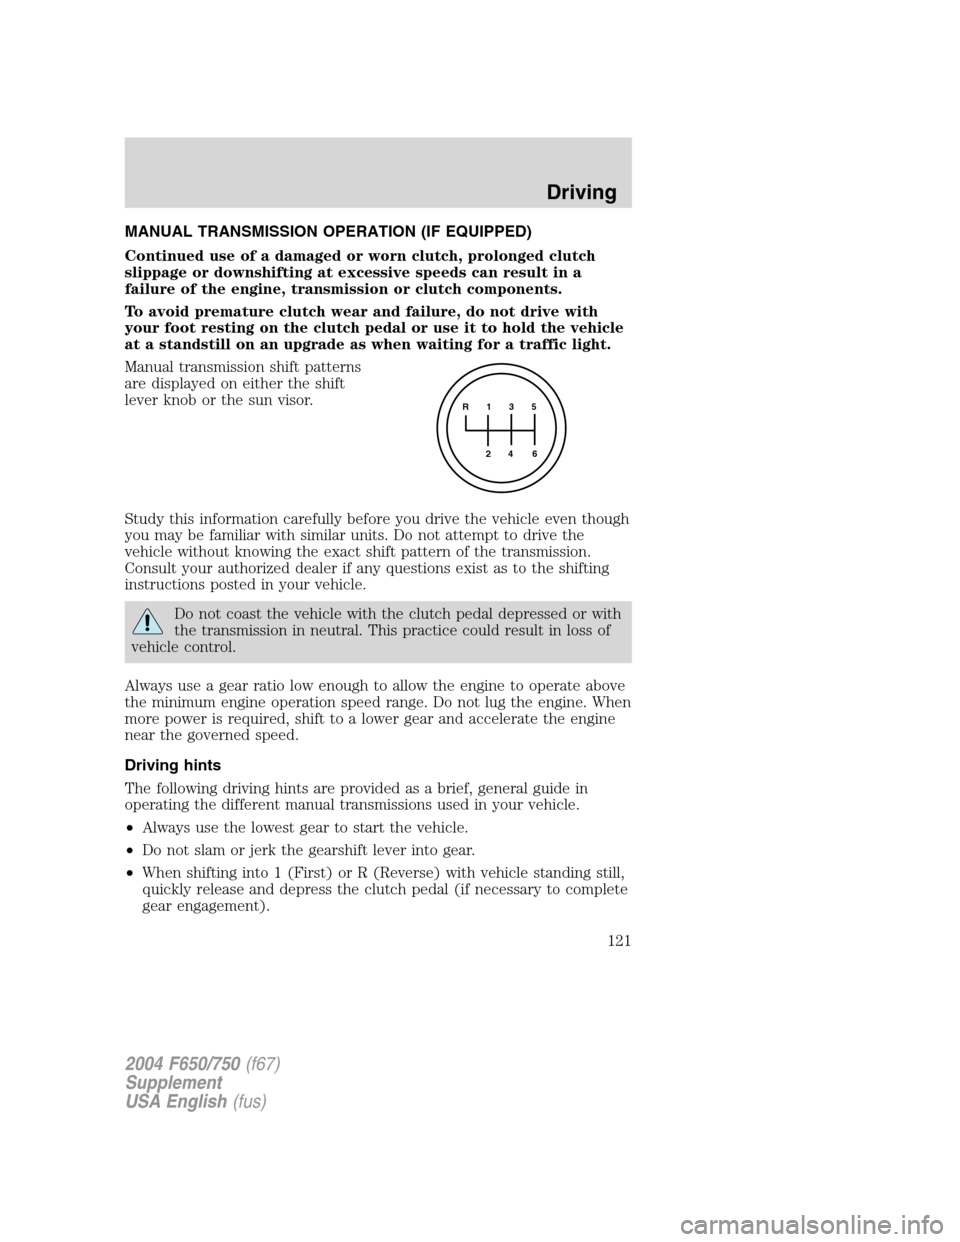
Manual transmission shift patterns
are displayed on either the shift
lever knob or the sun visor.
Study this information carefully before you drive the vehicle even though
you may be familiar with similar units. Do not attempt to drive the
vehicle without knowing the exact shift pattern of the transmission.
Consult your authorized dealer if any questions exist as to the shifting
instructions posted in your vehicle.
Do not coast the vehicle with the clutch pedal depressed or with
the transmission in neutral. This practice could result in loss of
vehicle control.
Always use a gear ratio low enough to allow the engine to operate above
the minimum engine operation speed range. Do not lug the engine. When
more power is required, shift to a lower gear and accelerate the engine
near the governed speed.
Driving hints
The following driving hints are provided as a brief, general guide in
operating the different manual transmissions used in your vehicle.
•Always use the lowest gear to start the vehicle.
•Do not slam or jerk the gearshift lever into gear.
•When shifting into 1 (First) or R (Reverse) with vehicle standing still,
quickly release and depress the clutch pedal (if necessary to complete
gear engagement).
R 1 3 5
4
6 2
2004 F650/750(f67)
Supplement
USA English(fus)
Driving
121