brake FORD F650 2007 11.G User Guide
[x] Cancel search | Manufacturer: FORD, Model Year: 2007, Model line: F650, Model: FORD F650 2007 11.GPages: 280, PDF Size: 1.93 MB
Page 19 of 280

Rear of vehicle
Lights, reflectors:Make sure all lights illuminate and are clean.
Make sure headlights function on both high
and low beams. Make sure reflectors are clean
and unbroken and of proper color (red on
rear, amber elsewhere). Make sure the running
lights are also clean and unbroken. Rear
running lights must be checked separately
from signal, flasher and brake lights.
Tractor - coupling system
Mounting bolts:Check for loose or missing mounting brackets,
clamps, bolts or nuts. Both fifth wheel and
slide mounting must be solidly attached.
Platform:Check for cracks or breaks in the platform
structure.
Safety latch:Make sure safety latch is engaged.
Release arm:Make sure safety latch is in the engaged
position and that any safety latch is in place.
Kingpin/Apron:Make sure kingpin is not bent or worn. Also
make sure that the apron lies flat on the fifth
wheel skid plate and that the visible part of
the apron is not bent, worn, cracked or
broken.
Rear springs
Springs:Check for broken or shifted leaves or leaves
that are in contact, or nearly contacting a tire,
rim, brake drum, frame or body components.
Check for missing or broken leaves in the leaf
spring.
Spring mounts:Check for cracked or broken spring hangers,
broken, missing or loose bolts, missing or
damaged bushings, broken, loose or missing
axle mounting parts.
2007 F-650/750(f67)
Supplement
USA(fus)
Vehicle Inspection Guide
19
Page 20 of 280
Rear springs
Torsion, shocks:Make sure torsion arm is not cracked, broken
or missing. Check the shock absorber for
cracks or leaks; there should be no missing or
broken mounting bolts or worn bushings.
Rear brakes
Hoses:Checked for cracked, worn or frayed hoses.
Make sure all couplings are secured.
Chambers:Make sure brake chambers are not cracked or
dented and that they are securely mounted.
Slack adjuster:Check for broken, loose or missing parts; the
angle between the push rod and adjuster arm
should be approximately 90° when the brakes
are applied. When pulled by hand, the push
rod should not move more than approximately
one inch (2.5 cm).
Drum:Make sure there are no cracks, dents or holes
and no loose or missing bolts. Make sure brake
linings are not worn or dangerously thin or
contaminated by lubricant.
Rear wheels
Spacers:Make sure dual wheels are evenly separated
and that tires are not touching one another.
Rims:Check for damaged or bent rims. Rims should
not have welding repairs and no rust trails that
indicate it is loose on the wheel.
Lug nuts:Make sure all lug nuts are present and not
loose (look for rust trails around the lug nuts).
There should be no cracks radiating from the
lug bolt holes or distortion of the bolt holes.
2007 F-650/750(f67)
Supplement
USA(fus)
Vehicle Inspection Guide
20
Page 21 of 280
Trailer
If you are pulling a trailer, an inspection of the trailer similar to that of
the tractor should be done. Such an inspection should follow trailer
manufacturer recommendation and should include at a minimum: general
condition, landing gear, doors, sides, lights, reflectors, suspension,
brakes, tires, wheels, cargo placement, stability and tie-downs.
Transmission
If your vehicle is equipped with an automatic transmission, regularly
check the transmission’s neutral start switch. The engine should only
start in the N (Neutral) or P (Park) positions.
If the unit starts in gear and/or the neutral start switch is not
functioning correctly, the vehicle may inadvertently move which
could result in property damage, personal injury or death.
Check the transmission fluid level and shift linkage for proper operation.
2007 F-650/750(f67)
Supplement
USA(fus)
Vehicle Inspection Guide
21
Page 23 of 280
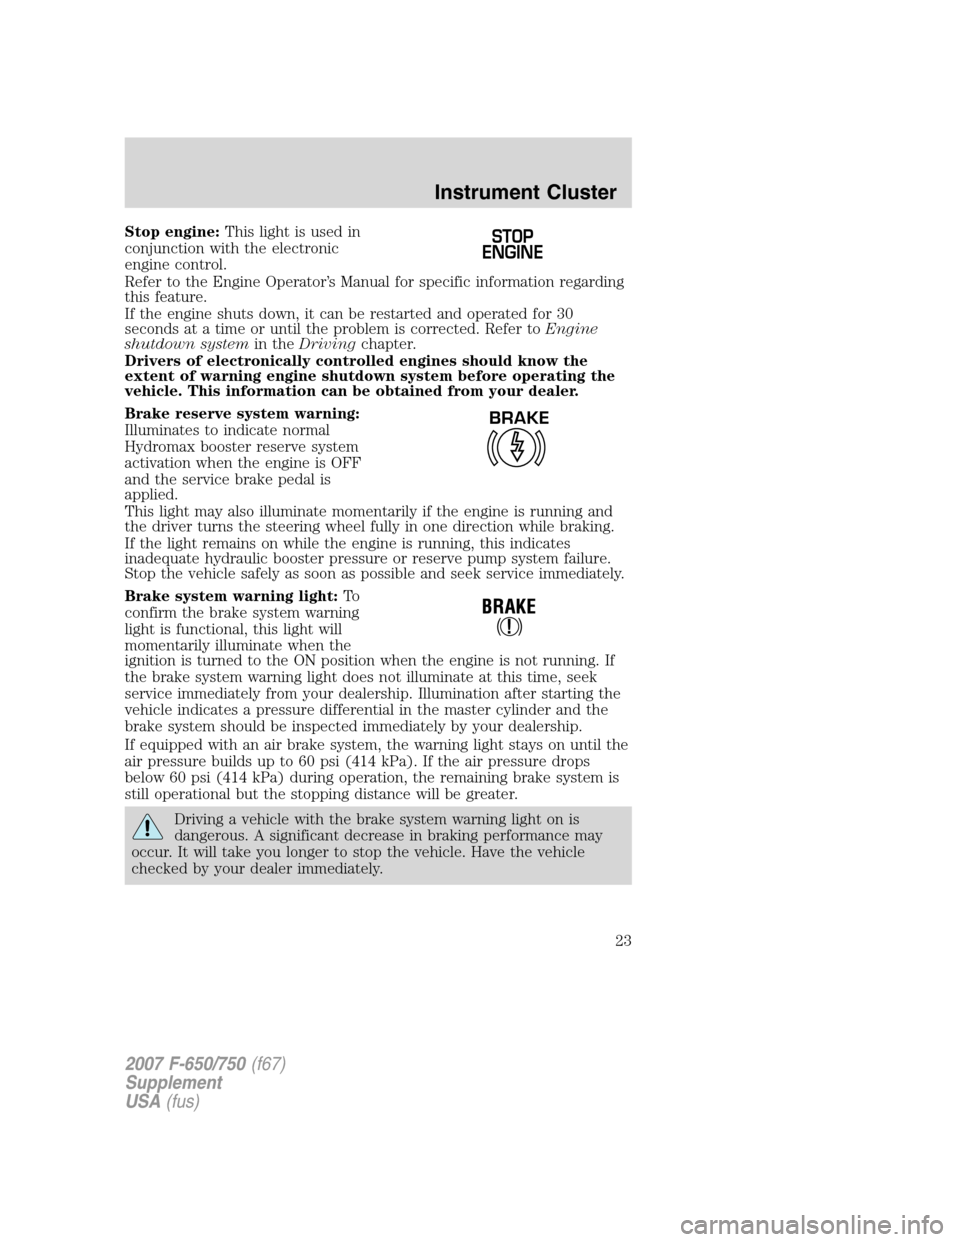
Stop engine:This light is used in
conjunction with the electronic
engine control.
Refer to the Engine Operator’s Manual for specific information regarding
this feature.
If the engine shuts down, it can be restarted and operated for 30
seconds at a time or until the problem is corrected. Refer toEngine
shutdown systemin theDrivingchapter.
Drivers of electronically controlled engines should know the
extent of warning engine shutdown system before operating the
vehicle. This information can be obtained from your dealer.
Brake reserve system warning:
Illuminates to indicate normal
Hydromax booster reserve system
activation when the engine is OFF
and the service brake pedal is
applied.
This light may also illuminate momentarily if the engine is running and
the driver turns the steering wheel fully in one direction while braking.
If the light remains on while the engine is running, this indicates
inadequate hydraulic booster pressure or reserve pump system failure.
Stop the vehicle safely as soon as possible and seek service immediately.
Brake system warning light:To
confirm the brake system warning
light is functional, this light will
momentarily illuminate when the
ignition is turned to the ON position when the engine is not running. If
the brake system warning light does not illuminate at this time, seek
service immediately from your dealership. Illumination after starting the
vehicle indicates a pressure differential in the master cylinder and the
brake system should be inspected immediately by your dealership.
If equipped with an air brake system, the warning light stays on until the
air pressure builds up to 60 psi (414 kPa). If the air pressure drops
below 60 psi (414 kPa) during operation, the remaining brake system is
still operational but the stopping distance will be greater.
Driving a vehicle with the brake system warning light on is
dangerous. A significant decrease in braking performance may
occur. It will take you longer to stop the vehicle. Have the vehicle
checked by your dealer immediately.
STOP
ENGINE
BRAKE
2007 F-650/750(f67)
Supplement
USA(fus)
Instrument Cluster
23
Page 25 of 280
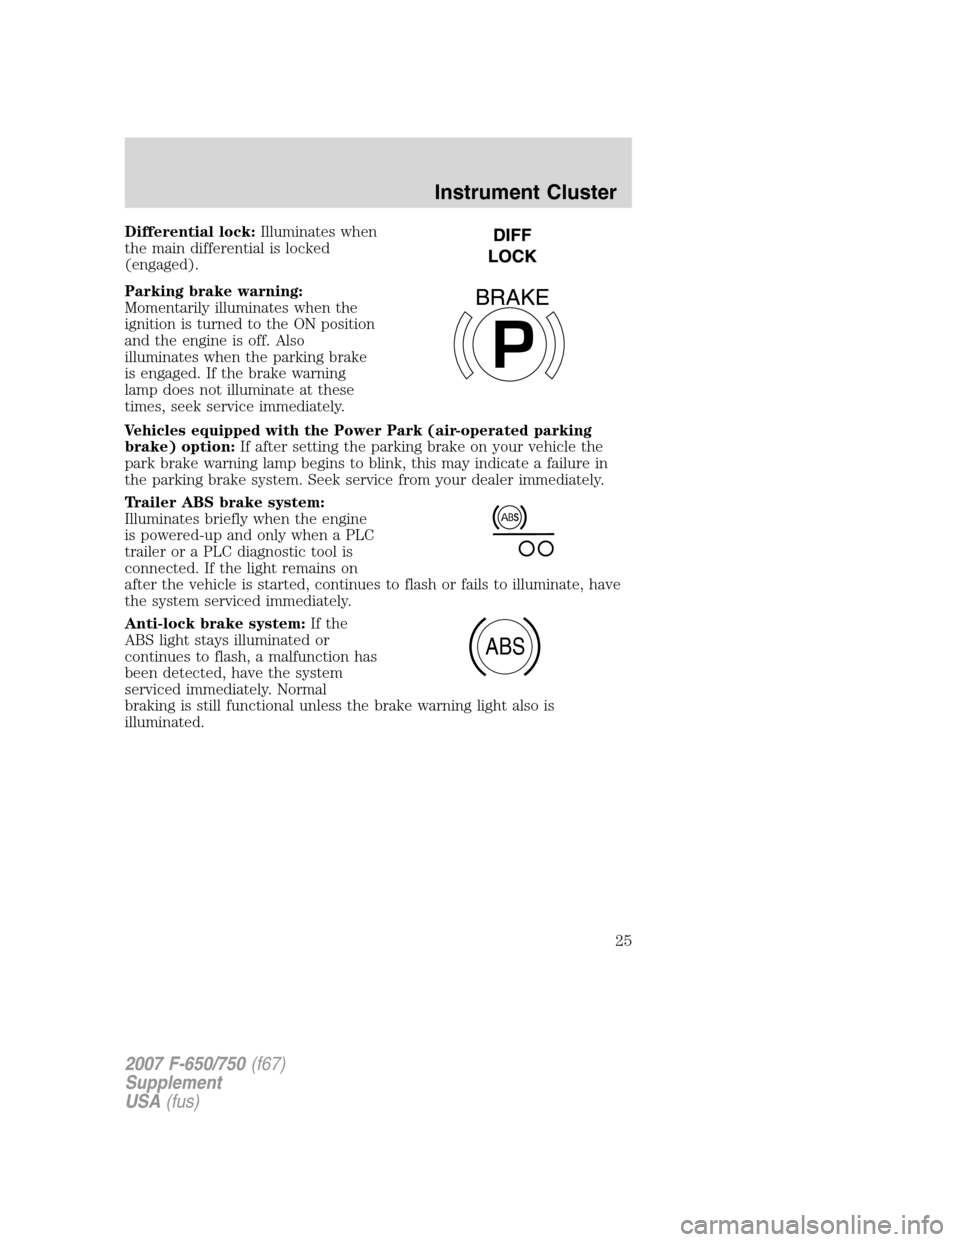
Differential lock:Illuminates when
the main differential is locked
(engaged).
Parking brake warning:
Momentarily illuminates when the
ignition is turned to the ON position
and the engine is off. Also
illuminates when the parking brake
is engaged. If the brake warning
lamp does not illuminate at these
times, seek service immediately.
Vehicles equipped with the Power Park (air-operated parking
brake) option:If after setting the parking brake on your vehicle the
park brake warning lamp begins to blink, this may indicate a failure in
the parking brake system. Seek service from your dealer immediately.
Trailer ABS brake system:
Illuminates briefly when the engine
is powered-up and only when a PLC
trailer or a PLC diagnostic tool is
connected. If the light remains on
after the vehicle is started, continues to flash or fails to illuminate, have
the system serviced immediately.
Anti-lock brake system:If the
ABS light stays illuminated or
continues to flash, a malfunction has
been detected, have the system
serviced immediately. Normal
braking is still functional unless the brake warning light also is
illuminated.
P
BRAKE
ABS
2007 F-650/750(f67)
Supplement
USA(fus)
Instrument Cluster
25
Page 31 of 280
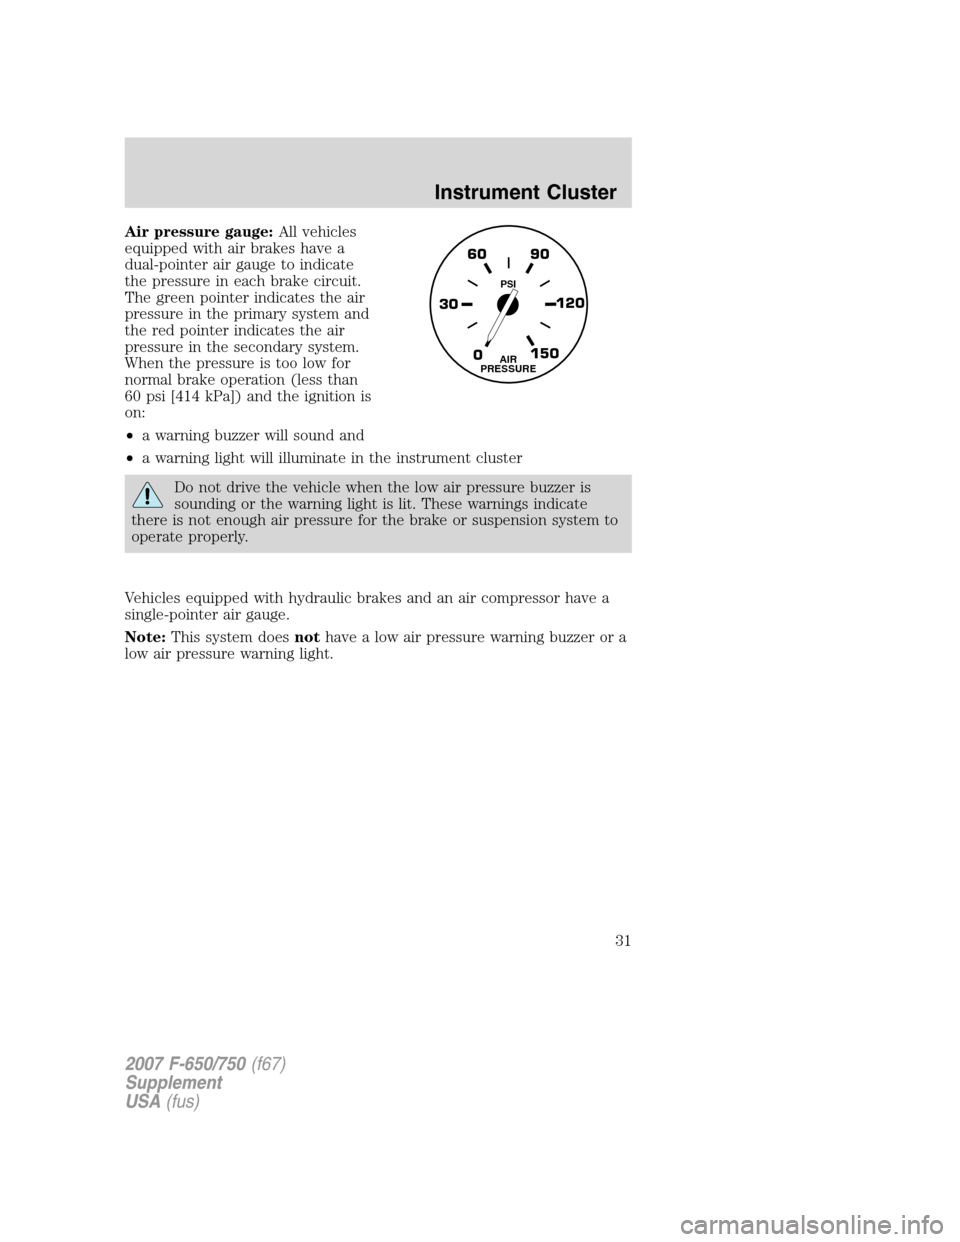
Air pressure gauge:All vehicles
equipped with air brakes have a
dual-pointer air gauge to indicate
the pressure in each brake circuit.
The green pointer indicates the air
pressure in the primary system and
the red pointer indicates the air
pressure in the secondary system.
When the pressure is too low for
normal brake operation (less than
60 psi [414 kPa]) and the ignition is
on:
•a warning buzzer will sound and
•a warning light will illuminate in the instrument cluster
Do not drive the vehicle when the low air pressure buzzer is
sounding or the warning light is lit. These warnings indicate
there is not enough air pressure for the brake or suspension system to
operate properly.
Vehicles equipped with hydraulic brakes and an air compressor have a
single-pointer air gauge.
Note:This system doesnothave a low air pressure warning buzzer or a
low air pressure warning light.
0 30120 90 60
150AIR
PRESSURE
PSI
2007 F-650/750(f67)
Supplement
USA(fus)
Instrument Cluster
31
Page 54 of 280
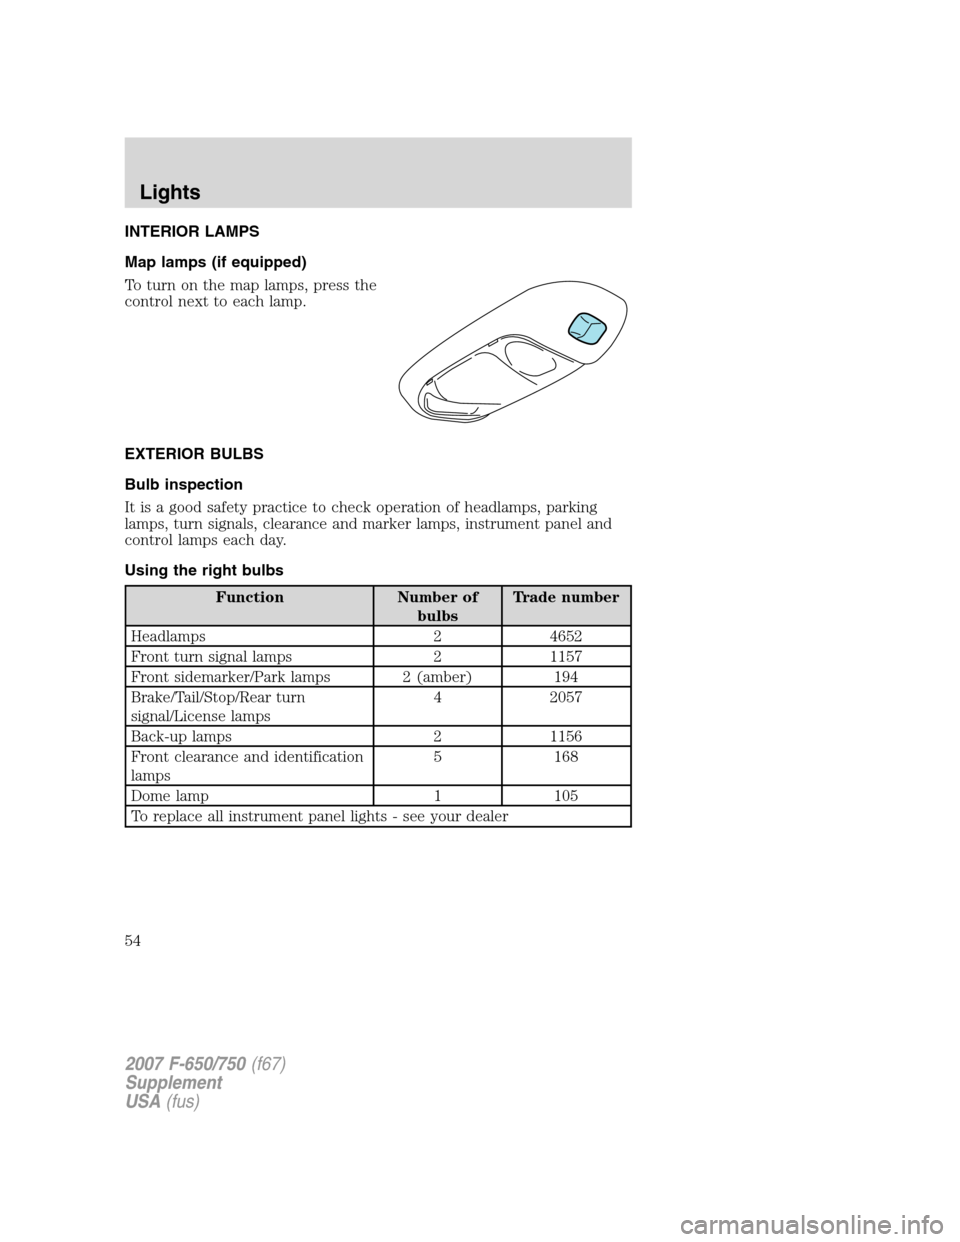
INTERIOR LAMPS
Map lamps (if equipped)
To turn on the map lamps, press the
control next to each lamp.
EXTERIOR BULBS
Bulb inspection
It is a good safety practice to check operation of headlamps, parking
lamps, turn signals, clearance and marker lamps, instrument panel and
control lamps each day.
Using the right bulbs
Function Number of
bulbsTrade number
Headlamps 2 4652
Front turn signal lamps 2 1157
Front sidemarker/Park lamps 2 (amber) 194
Brake/Tail/Stop/Rear turn
signal/License lamps4 2057
Back-up lamps 2 1156
Front clearance and identification
lamps5 168
Dome lamp 1 105
To replace all instrument panel lights - see your dealer
2007 F-650/750(f67)
Supplement
USA(fus)
Lights
54
Page 57 of 280
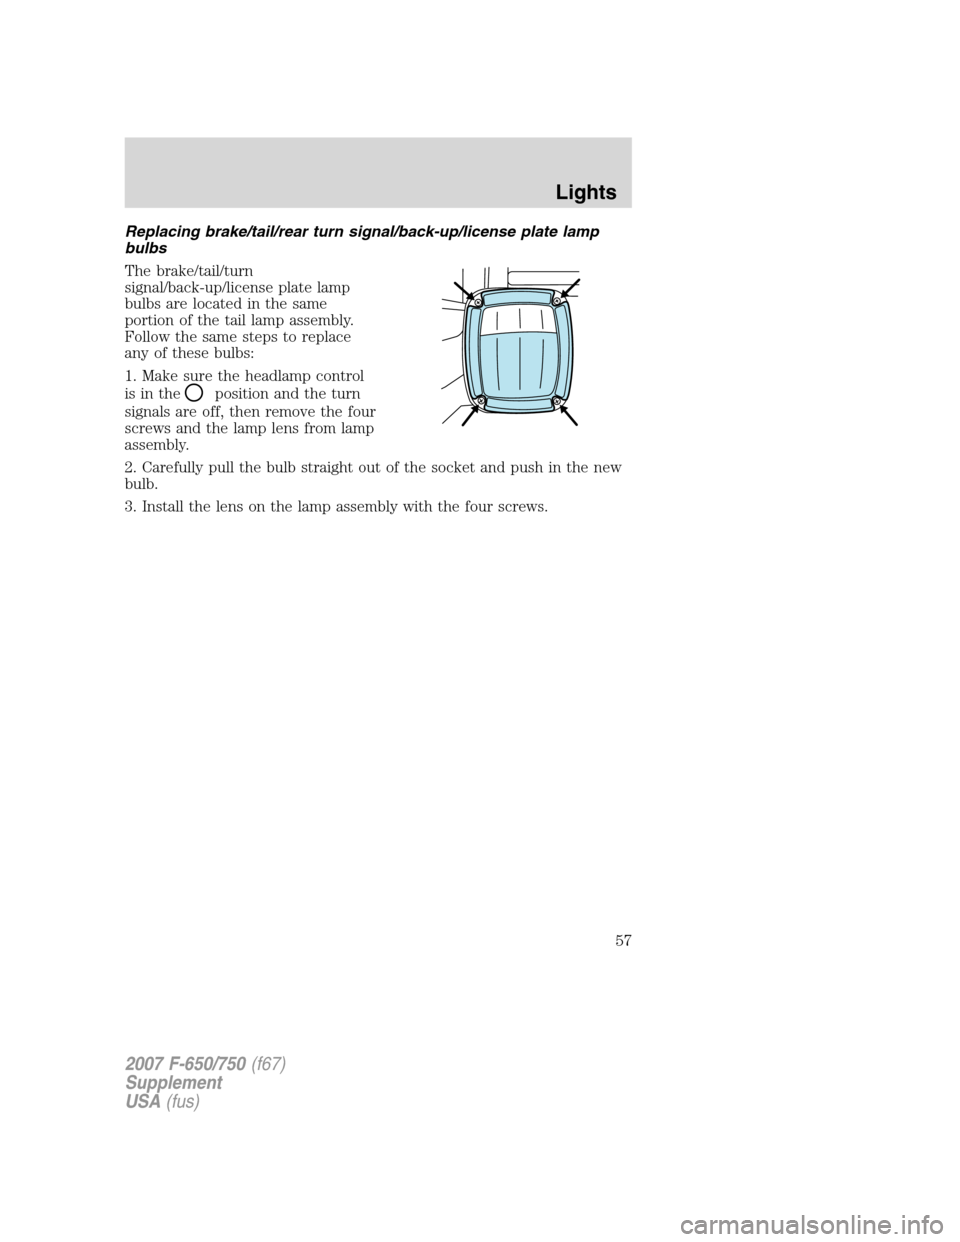
Replacing brake/tail/rear turn signal/back-up/license plate lamp
bulbs
The brake/tail/turn
signal/back-up/license plate lamp
bulbs are located in the same
portion of the tail lamp assembly.
Follow the same steps to replace
any of these bulbs:
1. Make sure the headlamp control
is in the
position and the turn
signals are off, then remove the four
screws and the lamp lens from lamp
assembly.
2. Carefully pull the bulb straight out of the socket and push in the new
bulb.
3. Install the lens on the lamp assembly with the four screws.
2007 F-650/750(f67)
Supplement
USA(fus)
Lights
57
Page 64 of 280
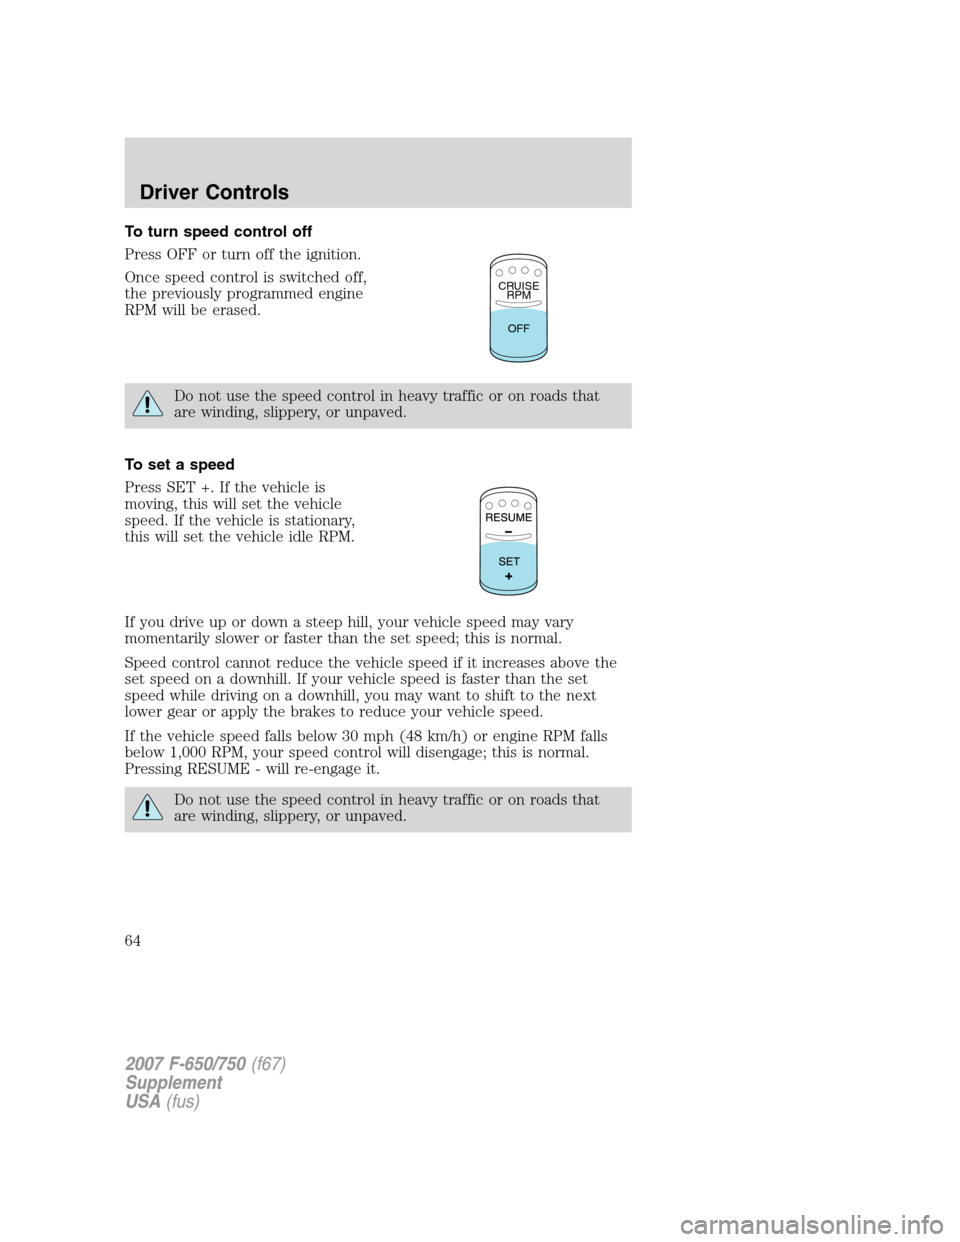
To turn speed control off
Press OFF or turn off the ignition.
Once speed control is switched off,
the previously programmed engine
RPM will be erased.
Do not use the speed control in heavy traffic or on roads that
are winding, slippery, or unpaved.
To set a speed
Press SET +. If the vehicle is
moving, this will set the vehicle
speed. If the vehicle is stationary,
this will set the vehicle idle RPM.
If you drive up or down a steep hill, your vehicle speed may vary
momentarily slower or faster than the set speed; this is normal.
Speed control cannot reduce the vehicle speed if it increases above the
set speed on a downhill. If your vehicle speed is faster than the set
speed while driving on a downhill, you may want to shift to the next
lower gear or apply the brakes to reduce your vehicle speed.
If the vehicle speed falls below 30 mph (48 km/h) or engine RPM falls
below 1,000 RPM, your speed control will disengage; this is normal.
Pressing RESUME - will re-engage it.
Do not use the speed control in heavy traffic or on roads that
are winding, slippery, or unpaved.
CRUISE
RPM
OFF
2007 F-650/750(f67)
Supplement
USA(fus)
Driver Controls
64
Page 66 of 280
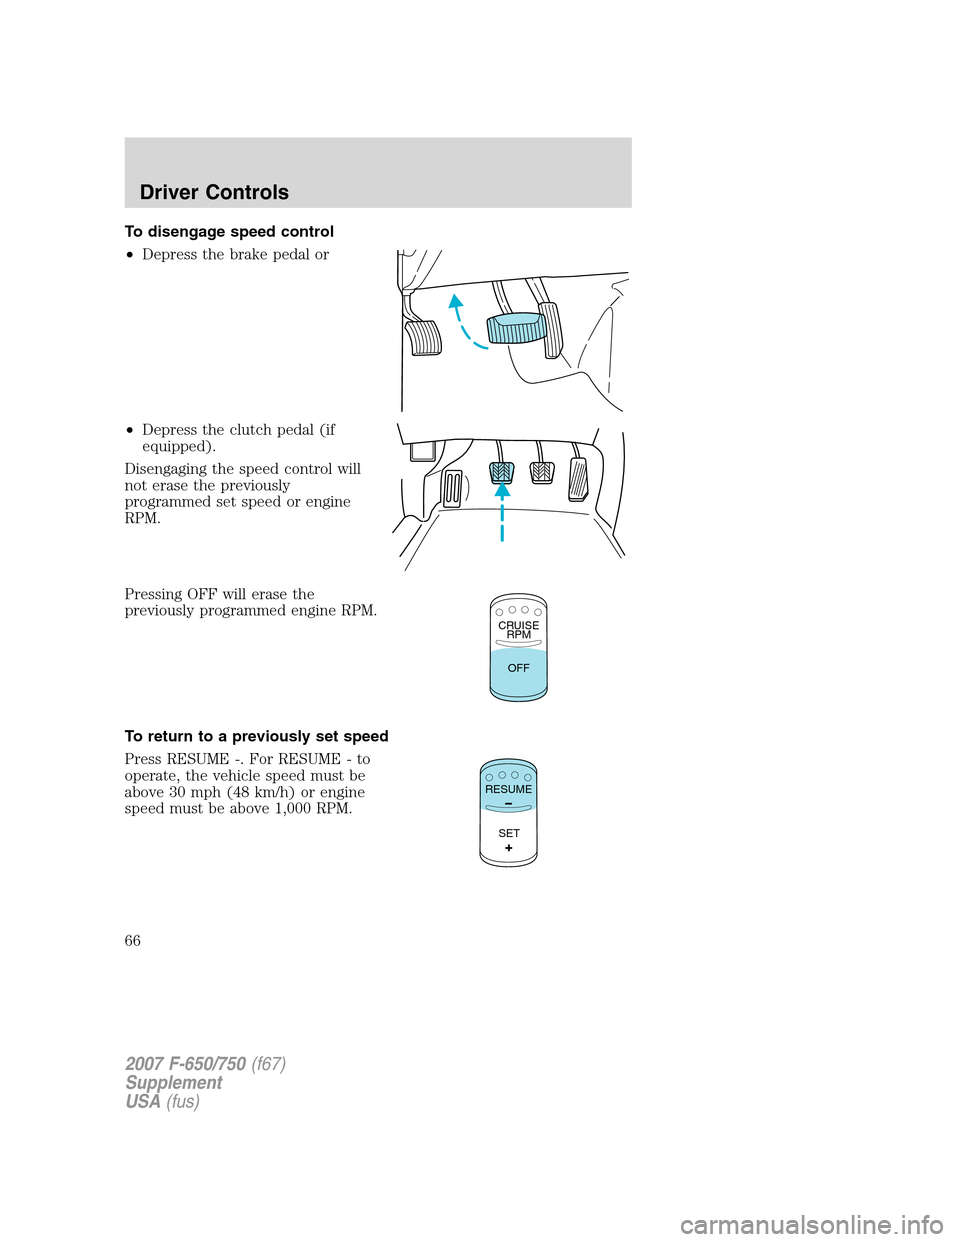
To disengage speed control
•Depress the brake pedal or
•Depress the clutch pedal (if
equipped).
Disengaging the speed control will
not erase the previously
programmed set speed or engine
RPM.
Pressing OFF will erase the
previously programmed engine RPM.
To return to a previously set speed
Press RESUME -. For RESUME - to
operate, the vehicle speed must be
above 30 mph (48 km/h) or engine
speed must be above 1,000 RPM.
CRUISE
RPM
OFF
SET RESUME
2007 F-650/750(f67)
Supplement
USA(fus)
Driver Controls
66