Checking the Fluid Level
1. Park your vehicle on level ground.
2. Set the parking brake and shift into
position neutral (N) or park (P). Turn
the engine off.
3. Clean any dirt from around the axle filler plug.
4. Remove the filler plug and inspect the lubricant level. It should be at the
bottom of the filler plug opening.
5. Add lubricant, if necessary, through the
filler plug opening.
6. Clean and install the filler plug securely.
Changing the Fluid
Note: Drain the rear axle while the lubricant
is warm.
1. Park your vehicle on level ground.
2. Set the parking brake and shift into position neutral (N) or park (P). Turn
the engine off.
3. Clean any dirt from around the axle filler and drain plugs.
4. Remove the filler and drain plugs. Drain
the lubricant into a suitable container.
Dispose of all used automotive fluids
in a responsible manner following your
local authorized standards.
5. Clean and install the drain plug securely.
6. Add lubricant through the filler plug opening.
7. Clean and install the filler plug securely.
SPRING U-BOLT CHECK
Check and tighten the U-bolt nuts after
your vehicle has been operated under load
for 1,000 mi (1,600 km) or six months,
whichever occurs first. Thereafter, install new U-bolt nuts and
washers every
36,000 mi (58,000 km).
Check and tighten the U-bolt nuts with
your vehicle at curb height and unloaded.
Inspect the U-bolt threads for rust and
debris. Clean the threads if contaminated.
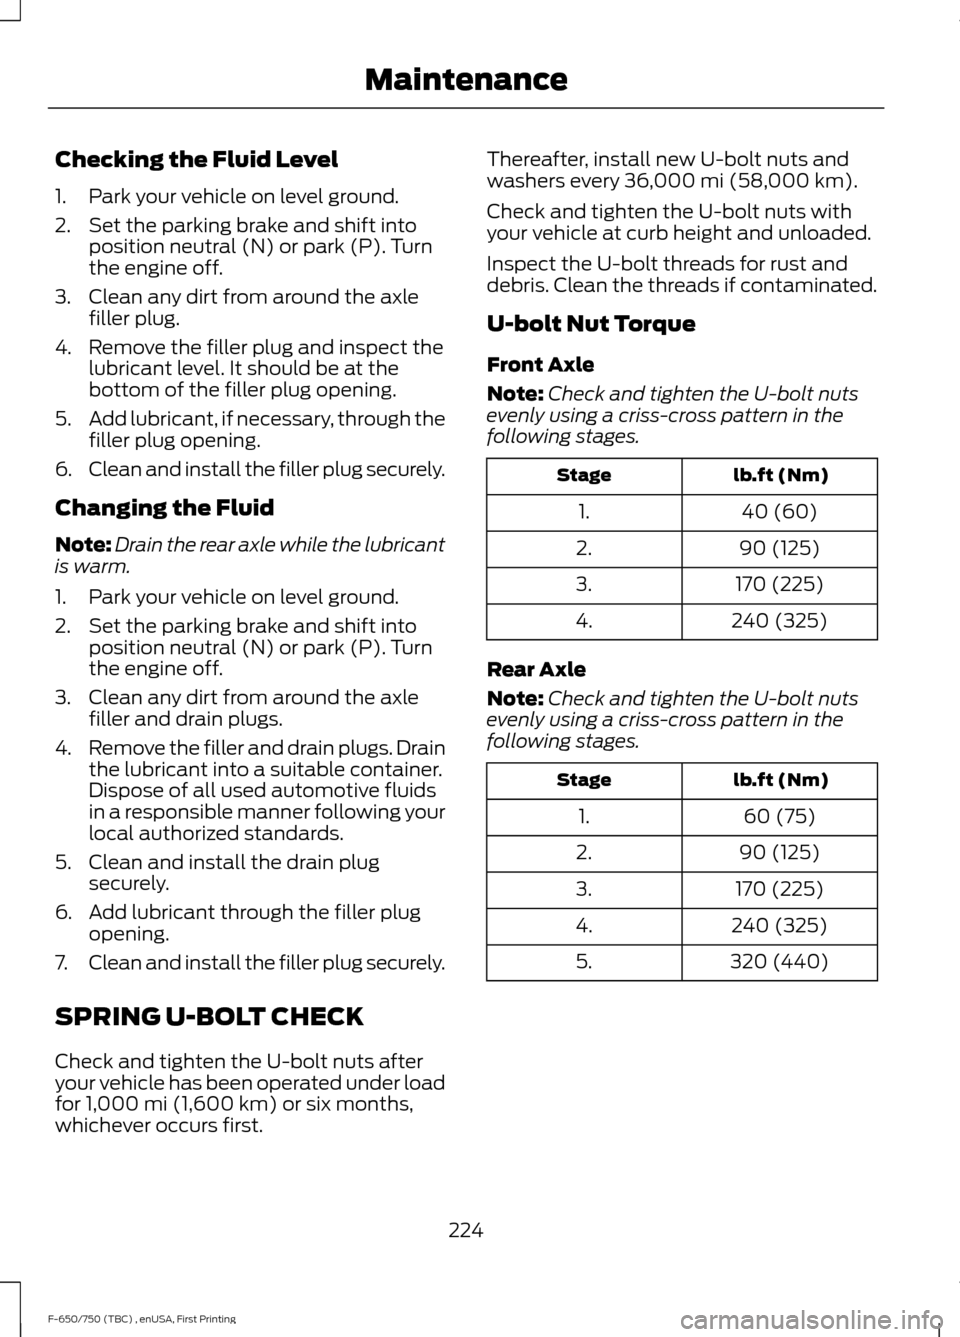
U-bolt Nut Torque
Front Axle
Note: Check and tighten the U-bolt nuts
evenly using a criss-cross pattern in the
following stages. lb.ft (Nm)
Stage
40 (60)
1.
90 (125)
2.
170 (225)
3.
240 (325)
4.
Rear Axle
Note: Check and tighten the U-bolt nuts
evenly using a criss-cross pattern in the
following stages. lb.ft (Nm)
Stage
60 (75)
1.
90 (125)
2.
170 (225)
3.
240 (325)
4.
320 (440)
5.
224
F-650/750 (TBC) , enUSA, First Printing Maintenance
