brake fluid FORD F750 2001 10.G Owners Manual
[x] Cancel search | Manufacturer: FORD, Model Year: 2001, Model line: F750, Model: FORD F750 2001 10.GPages: 240, PDF Size: 1.3 MB
Page 4 of 240
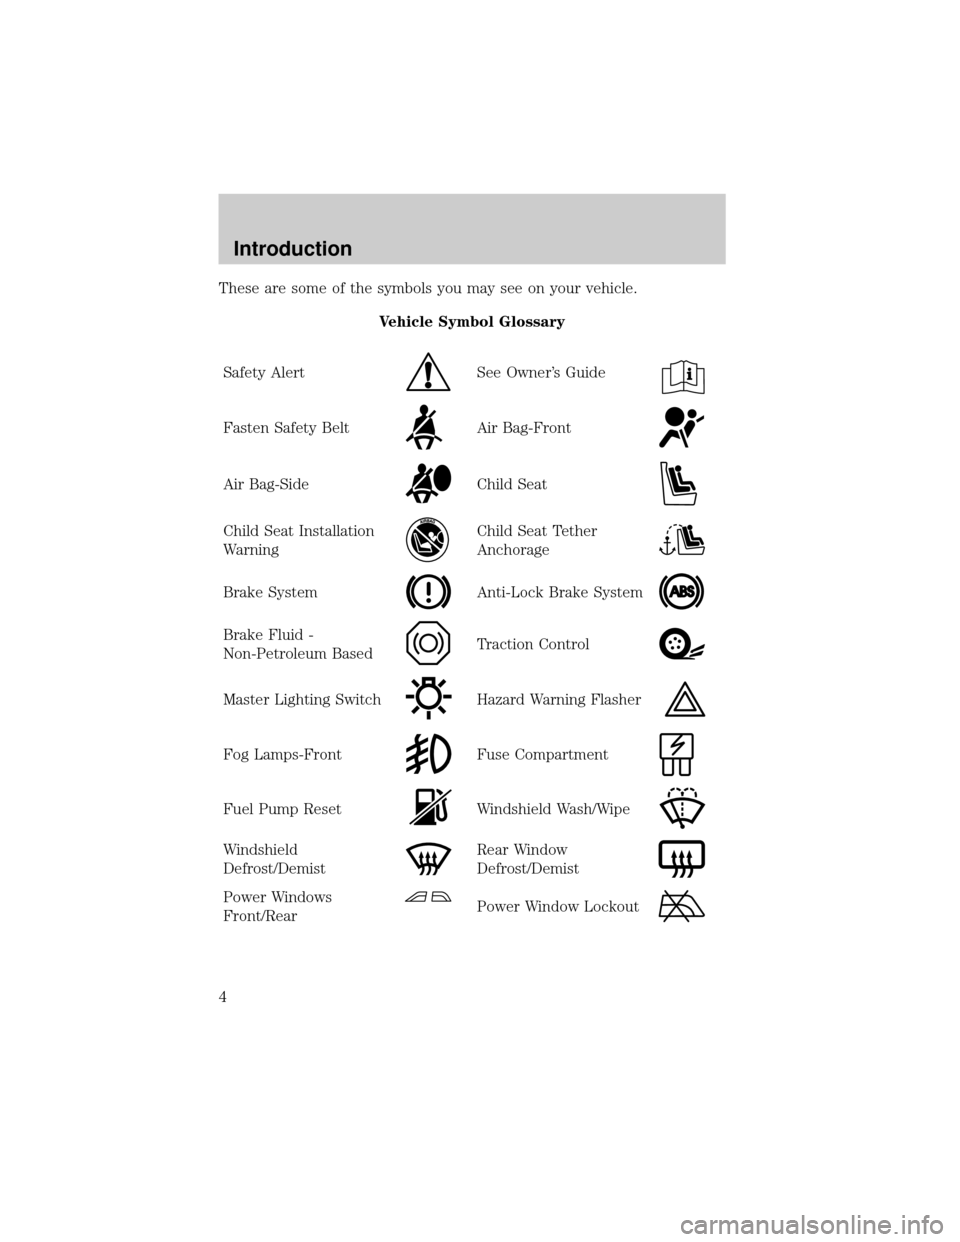
These are some of the symbols you may see on your vehicle.
Vehicle Symbol Glossary
Safety Alert
See Owner's Guide
Fasten Safety BeltAir Bag-Front
Air Bag-SideChild Seat
Child Seat Installation
WarningChild Seat Tether
Anchorage
Brake SystemAnti-Lock Brake System
Brake Fluid -
Non-Petroleum BasedTraction Control
Master Lighting SwitchHazard Warning Flasher
Fog Lamps-FrontFuse Compartment
Fuel Pump ResetWindshield Wash/Wipe
Windshield
Defrost/DemistRear Window
Defrost/Demist
Power Windows
Front/RearPower Window Lockout
Introduction
4
Page 13 of 240
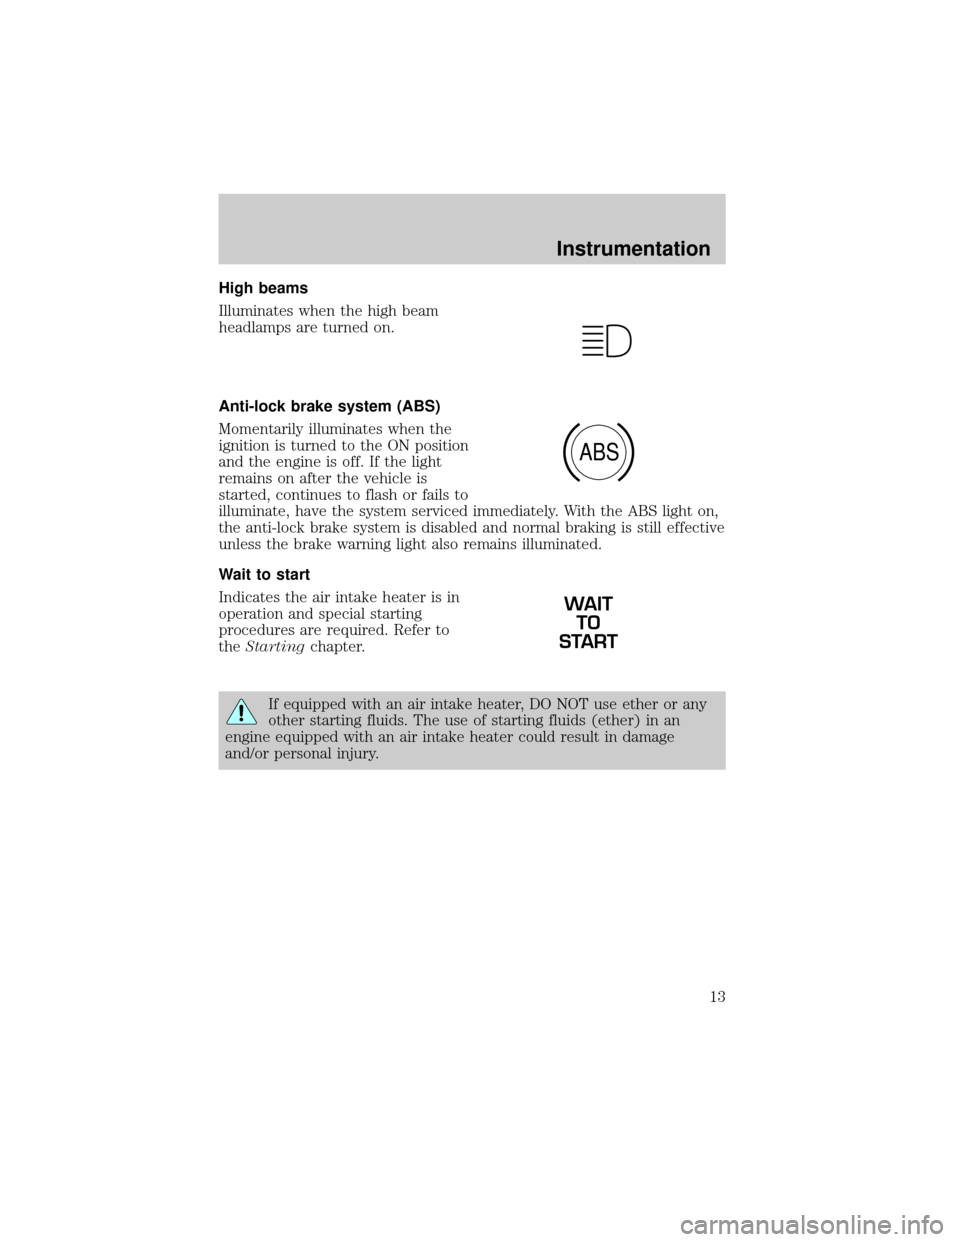
High beams
Illuminates when the high beam
headlamps are turned on.
Anti-lock brake system (ABS)
Momentarily illuminates when the
ignition is turned to the ON position
and the engine is off. If the light
remains on after the vehicle is
started, continues to flash or fails to
illuminate, have the system serviced immediately. With the ABS light on,
the anti-lock brake system is disabled and normal braking is still effective
unless the brake warning light also remains illuminated.
Wait to start
Indicates the air intake heater is in
operation and special starting
procedures are required. Refer to
theStartingchapter.
If equipped with an air intake heater, DO NOT use ether or any
other starting fluids. The use of starting fluids (ether) in an
engine equipped with an air intake heater could result in damage
and/or personal injury.
ABS
WAIT
TO
START
Instrumentation
13
Page 102 of 240
STARTING PROCEDURES
Operating precautions
²
Always shift to a lower gear at high altitudes to prevent engine smoking.
²Avoid extended and unnecessary idling.
Do not operate a diesel engine where the vapors can be
combustible. These vapors can be sucked through the air intake
system and cause engine acceleration and overspeeding, which may
result in bodily injury and extensive property damage. The equipment
owner and operator are responsible for safe operation in a hostile
environment.
STARTING THE ENGINE
1. Ensure headlamps and all accessories are turned off and the parking
brake is applied.
2.Automatic transmissions,ensure gearshift is in N (Neutral).
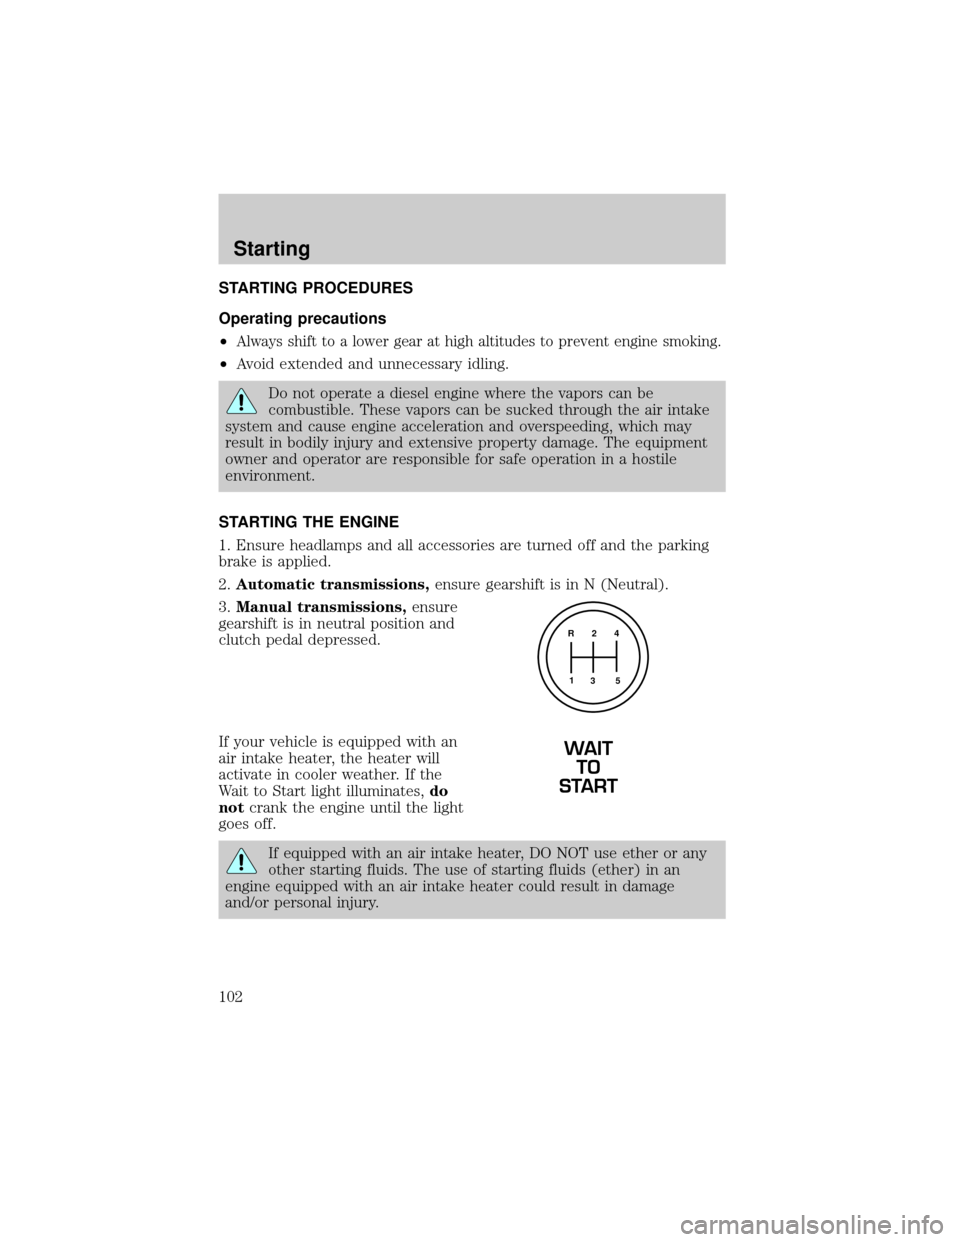
3.Manual transmissions,ensure
gearshift is in neutral position and
clutch pedal depressed.
If your vehicle is equipped with an
air intake heater, the heater will
activate in cooler weather. If the
Wait to Start light illuminates,do
notcrank the engine until the light
goes off.
If equipped with an air intake heater, DO NOT use ether or any
other starting fluids. The use of starting fluids (ether) in an
engine equipped with an air intake heater could result in damage
and/or personal injury.
R 2 4
3 5 1
WAIT
TO
START
Starting
102
Page 109 of 240

Hydraulic brake booster system (Hydromax)
The Hydromax systems receive fluid pressure from the power steering
pump to provide power assist during braking.
The Hydromax booster receives backup pressure from the reserve
system electric pump whenever the fluid in the power steering system is
not flowing. When the engine is OFF, the pump will turn on if the brake
pedal is applied, or if the ignition is turned to the ON position.
The sound of the pump operating may be heard by the driver, but this is
a normal characteristic of the system.
The reserve system provides reduced braking power, so the vehicle
should be operated under these conditions with caution, and only to seek
service repair and remove the vehicle from the roadway.
For Hydromax under normal operating conditions noise of the fluid
flowing through the booster may be heard whenever the brake is applied.
This condition is normal. Vehicle service is not required.
If braking performance or pedal response becomes very poor, even when
the pedal is strongly applied, this may indicate the presence of air in the
hydraulic system or fluid leakage. Stop the vehicle safely as soon as
possible and seek service immediately.
If the red BRAKE warning lamp in
the instrument cluster remains
illuminated after engine start up,
this indicates a system failure in the
master cylinder of the brake system.
Stop the vehicle safely as soon as possible and seek service immediately.
If the yellow BRAKE RESERVE
(E-motor) warning light remains on
while the engine is running, this
indicates inadequate hydraulic
booster pressure or reserve pump
system failure. Stop the vehicle safely as soon as possible and seek
service immediately.
!
BRAKE
BRAKE
Driving
109
Page 123 of 240
Exhaust brake operating characteristics
When you remove your feet from both the accelerator and clutch pedals
and the exhaust brake switch is in the ON position, the exhaust brake is
activated. The following conditions should exist if the brake is operating
properly:
²A slight change in the sound of the engine when the exhaust brake is
activated.
²Exhaust smoke appears normal.
²Engine temperature remains in the normal operating range.
²Road speed usually decreases when the exhaust brake is applied
during a descent, except when the vehicle is carrying a heavy load or
the grade is extremely steep. In these instances, you may need to
apply the service brakes occasionally.
²During a descent, the tachometer usually shows a drop in RPM
depending on the grade and the vehicle load.
²Do not expect a retarding effect similar to sudden hard application of
the service brakes. The exhaust brake retards the vehicle with a
smooth braking effect.
²Depending on the grade and vehicle load, you may or may not feel the
retarding force acting against your body when the brake is applied.
The brake's retarding force is actually preventing the vehicle from
going much faster.
Make sure the exhaust brake is turned off before shutting off the engine.
Installing an exhaust or auxiliary brake should never allow the
engine to exceed maximum governed speeds under any
conditions. Refer to theStartingchapter.
Air brake reservoir draining
Failure to drain air brake reservoirs can result in a reduction or
loss of braking ability due to fluid accumulation in the reservoir
and/or possible freeze-up during cold weather.
Driving
123
Page 163 of 240
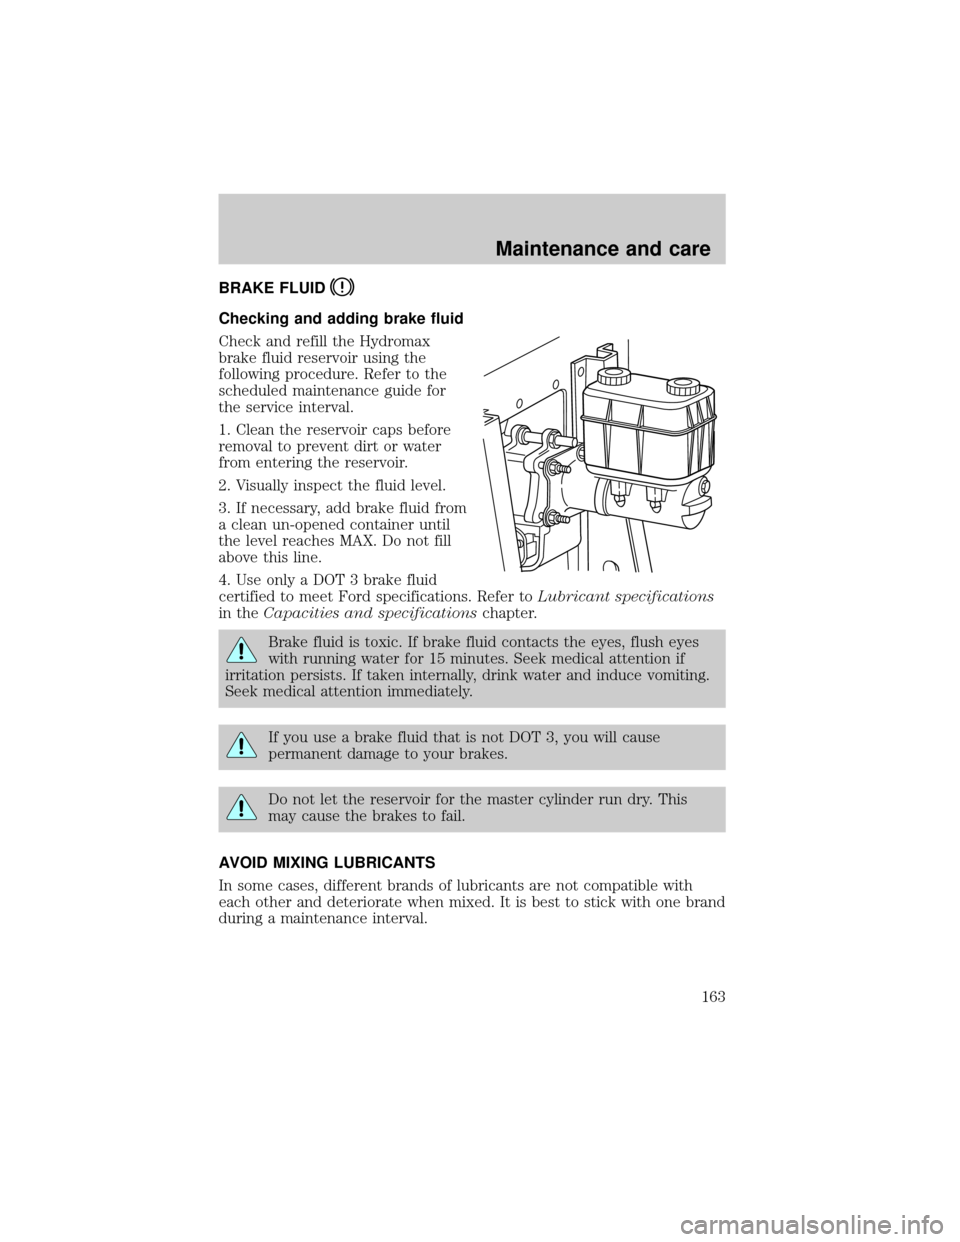
BRAKE FLUID
Checking and adding brake fluid
Check and refill the Hydromax
brake fluid reservoir using the
following procedure. Refer to the
scheduled maintenance guide for
the service interval.
1. Clean the reservoir caps before
removal to prevent dirt or water
from entering the reservoir.
2. Visually inspect the fluid level.
3. If necessary, add brake fluid from
a clean un-opened container until
the level reaches MAX. Do not fill
above this line.
4. Use only a DOT 3 brake fluid
certified to meet Ford specifications. Refer toLubricant specifications
in theCapacities and specificationschapter.
Brake fluid is toxic. If brake fluid contacts the eyes, flush eyes
with running water for 15 minutes. Seek medical attention if
irritation persists. If taken internally, drink water and induce vomiting.
Seek medical attention immediately.
If you use a brake fluid that is not DOT 3, you will cause
permanent damage to your brakes.
Do not let the reservoir for the master cylinder run dry. This
may cause the brakes to fail.
AVOID MIXING LUBRICANTS
In some cases, different brands of lubricants are not compatible with
each other and deteriorate when mixed. It is best to stick with one brand
during a maintenance interval.
Maintenance and care
163
Page 164 of 240
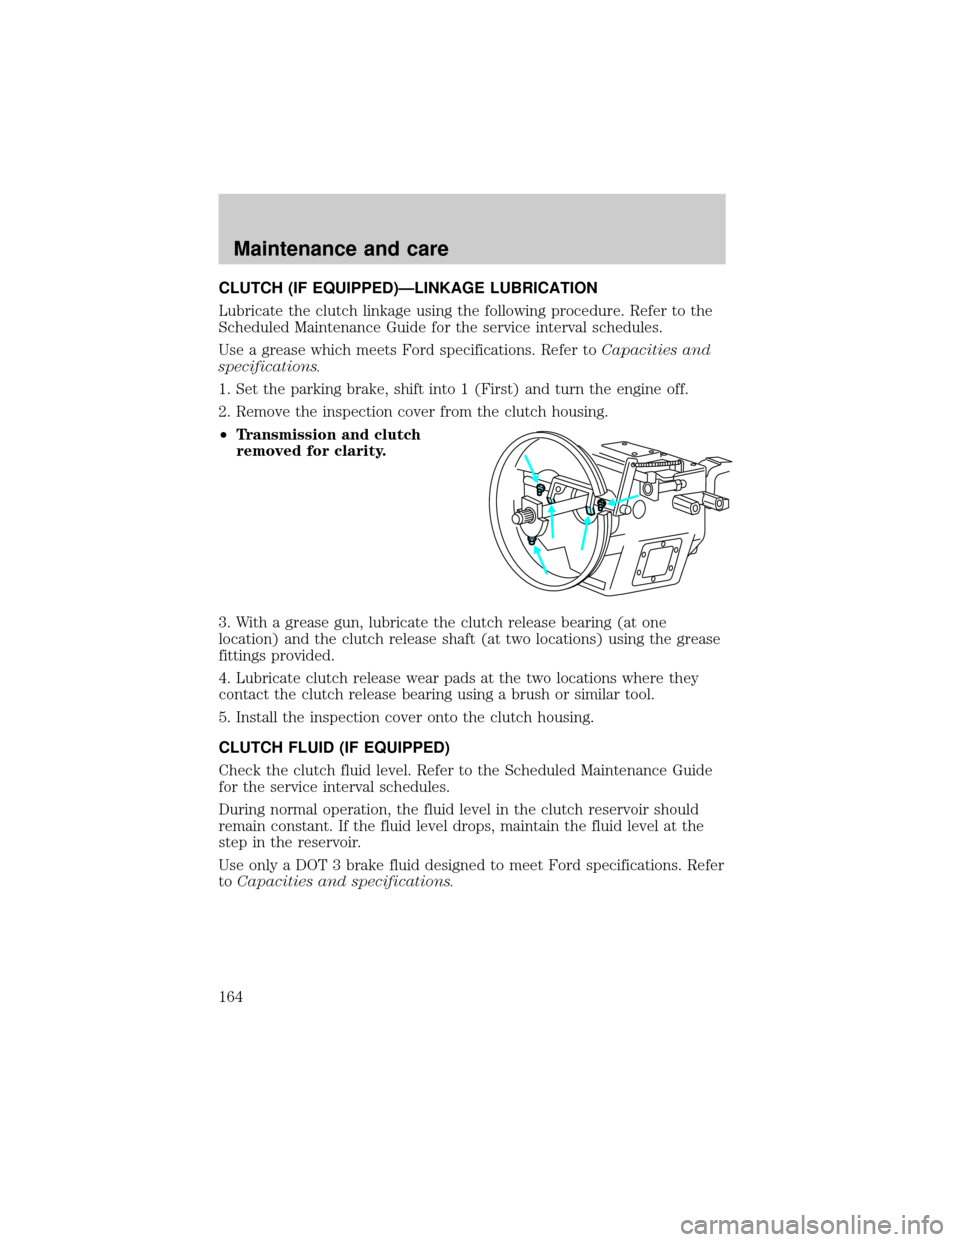
CLUTCH (IF EQUIPPED)ÐLINKAGE LUBRICATION
Lubricate the clutch linkage using the following procedure. Refer to the
Scheduled Maintenance Guide for the service interval schedules.
Use a grease which meets Ford specifications. Refer toCapacities and
specifications.
1. Set the parking brake, shift into 1 (First) and turn the engine off.
2. Remove the inspection cover from the clutch housing.
²Transmission and clutch
removed for clarity.
3. With a grease gun, lubricate the clutch release bearing (at one
location) and the clutch release shaft (at two locations) using the grease
fittings provided.
4. Lubricate clutch release wear pads at the two locations where they
contact the clutch release bearing using a brush or similar tool.
5. Install the inspection cover onto the clutch housing.
CLUTCH FLUID (IF EQUIPPED)
Check the clutch fluid level. Refer to the Scheduled Maintenance Guide
for the service interval schedules.
During normal operation, the fluid level in the clutch reservoir should
remain constant. If the fluid level drops, maintain the fluid level at the
step in the reservoir.
Use only a DOT 3 brake fluid designed to meet Ford specifications. Refer
toCapacities and specifications.
Maintenance and care
164
Page 165 of 240
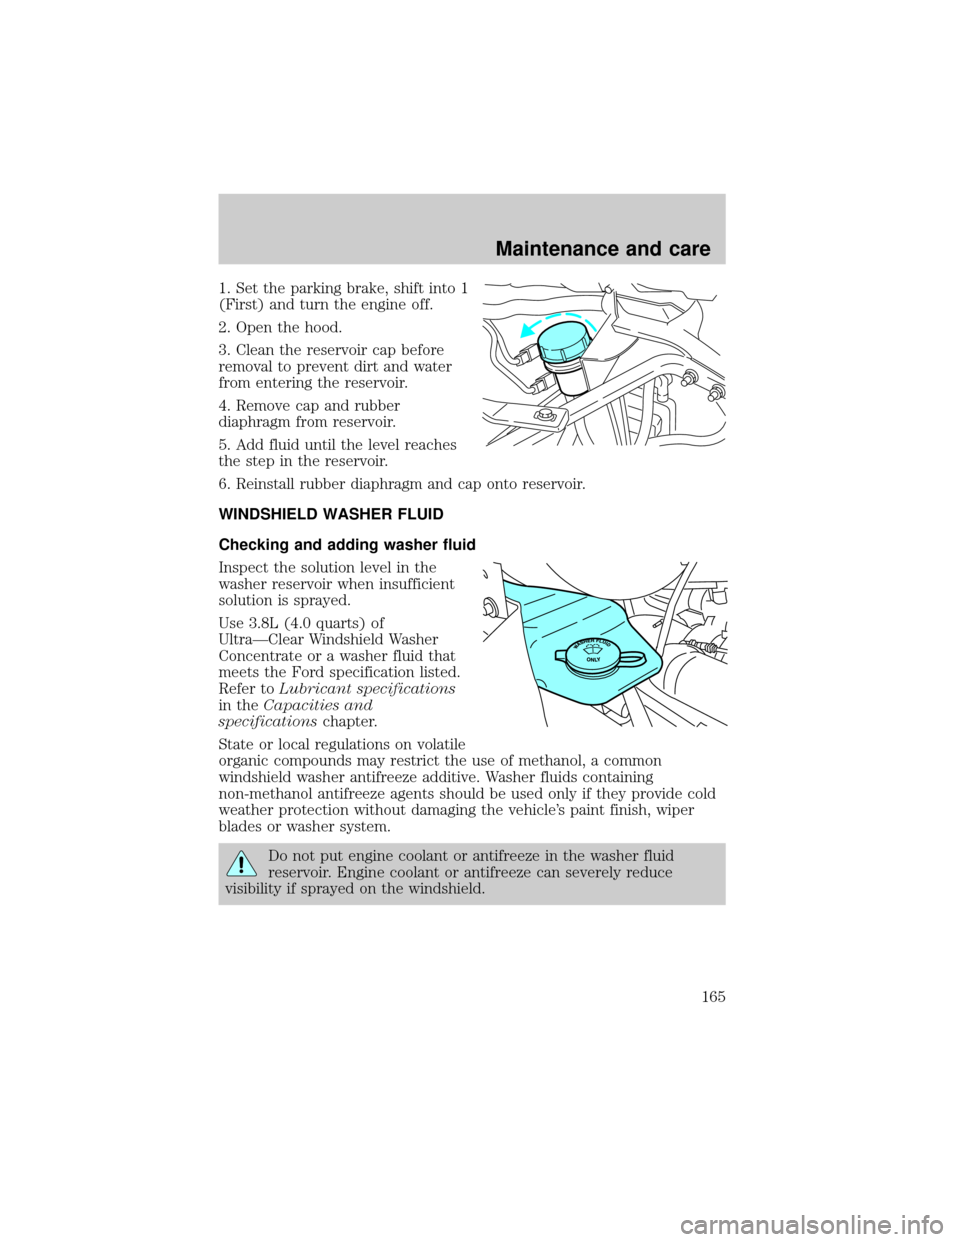
1. Set the parking brake, shift into 1
(First) and turn the engine off.
2. Open the hood.
3. Clean the reservoir cap before
removal to prevent dirt and water
from entering the reservoir.
4. Remove cap and rubber
diaphragm from reservoir.
5. Add fluid until the level reaches
the step in the reservoir.
6. Reinstall rubber diaphragm and cap onto reservoir.
WINDSHIELD WASHER FLUID
Checking and adding washer fluid
Inspect the solution level in the
washer reservoir when insufficient
solution is sprayed.
Use 3.8L (4.0 quarts) of
UltraÐClear Windshield Washer
Concentrate or a washer fluid that
meets the Ford specification listed.
Refer toLubricant specifications
in theCapacities and
specificationschapter.
State or local regulations on volatile
organic compounds may restrict the use of methanol, a common
windshield washer antifreeze additive. Washer fluids containing
non-methanol antifreeze agents should be used only if they provide cold
weather protection without damaging the vehicle's paint finish, wiper
blades or washer system.
Do not put engine coolant or antifreeze in the washer fluid
reservoir. Engine coolant or antifreeze can severely reduce
visibility if sprayed on the windshield.
Maintenance and care
165
Page 168 of 240
Adding and replacing engine coolant-Caterpillar 3126 B engine
Refer to the engine operator's manual for additional engine cooling
system information.
FAN CLUTCHES
Your vehicle's cooling system is equipped with a viscous variable speed
fan clutch.
²The fan clutch helps control cooling, increase performance, improve
fuel economy and reduce noise.
²The fan clutch is controlled by bimetallic spring sensors. Do not
tamper with these sensors as this may change their calibration or keep
the fan clutch from operating at all.
Stay clear of the fan/fan area while the engine is running or
possible personal injury may occur.
CHECKING AND ADDING POWER STEERING FLUID
Checking power steering fluid level
Check the power steering fluid level using the following procedure. Refer
to the scheduled maintenance guide for the recommended service
intervals. If adding fluid is necessary, use only MERCONtAT F.
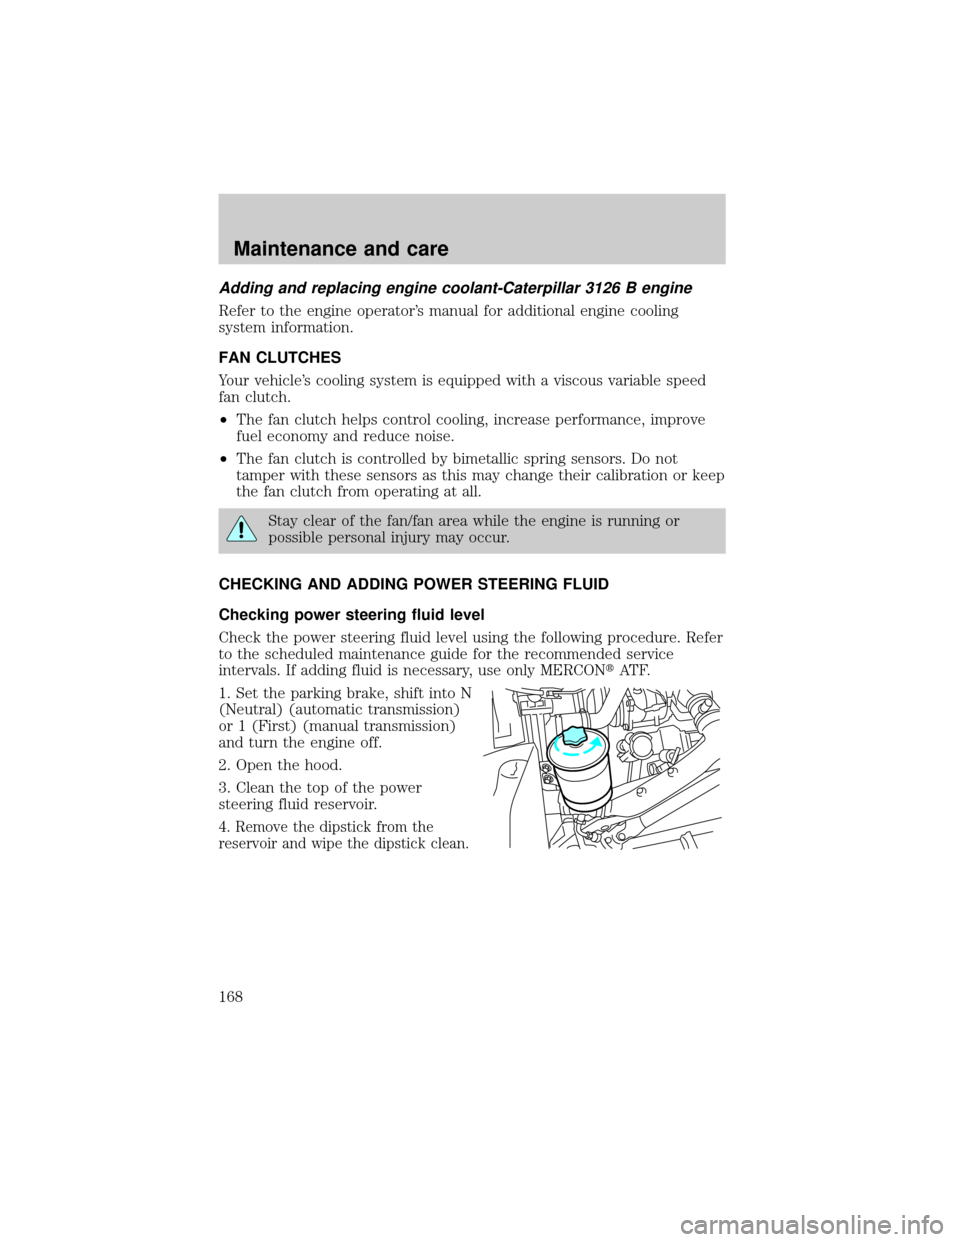
1. Set the parking brake, shift into N
(Neutral) (automatic transmission)
or 1 (First) (manual transmission)
and turn the engine off.
2. Open the hood.
3. Clean the top of the power
steering fluid reservoir.
4. Remove the dipstick from the
reservoir and wipe the dipstick clean.
Maintenance and care
168
Page 170 of 240

Transmission fluid level should be checked by your dealer or a qualified
service technician.
If you must add transmission fluid, make sure the correct type of fluid is
being used. The type of fluid used is indicated in your Allison Automatic
Transmission Operator's Manual.
Use of a non-approved automatic transmission fluid may cause
internal transmission component damage.
Manual transmission fluid
Refer to your scheduled maintenance guide for transmission fluid level
checks and fluid change intervals.
Your manual transmission may be filled with an optional synthetic fluid
which allows the use of extended service intervals. A tag on the filler
plug will identify the use of the synthetic fluid.
Use only fluid that meets Ford specifications (refer toLubricant
specificationsin theCapacities and specificationchapter).
Use of a non-approved transmission fluid may cause internal
transmission component damage.
For location of the transmission filler plug, refer to your transmission
operator's manual orTransmission Refill Capacitiesin theCapacities
and specificationschapter.
Check your transmission fluid level using the following procedure:
1. Park the vehicle on level ground.
2. Set the parking brake and shift into 1 (First) and turn the engine off.
3. Clean any dirt from around the filler plug.
4. Remove the filler plug and inspect the fluid level.
5. The fluid level should be up to the bottom of the filler plug opening.
6. If necessary, add enough fluid through the filler plug opening so that
the fluid level is at the bottom of the opening.
7. Clean and install the filler plug securely.
Drain and refill your transmission fluid using the following procedure:
1. Drain the transmission while the fluid is warm.
2. Park the vehicle on level ground.
3. Set the parking brake and shift into 1 (First) and turn the engine off.
Maintenance and care
170