FORD F750 2002 10.G Manual Online
Manufacturer: FORD, Model Year: 2002, Model line: F750, Model: FORD F750 2002 10.GPages: 256, PDF Size: 1.75 MB
Page 81 of 256
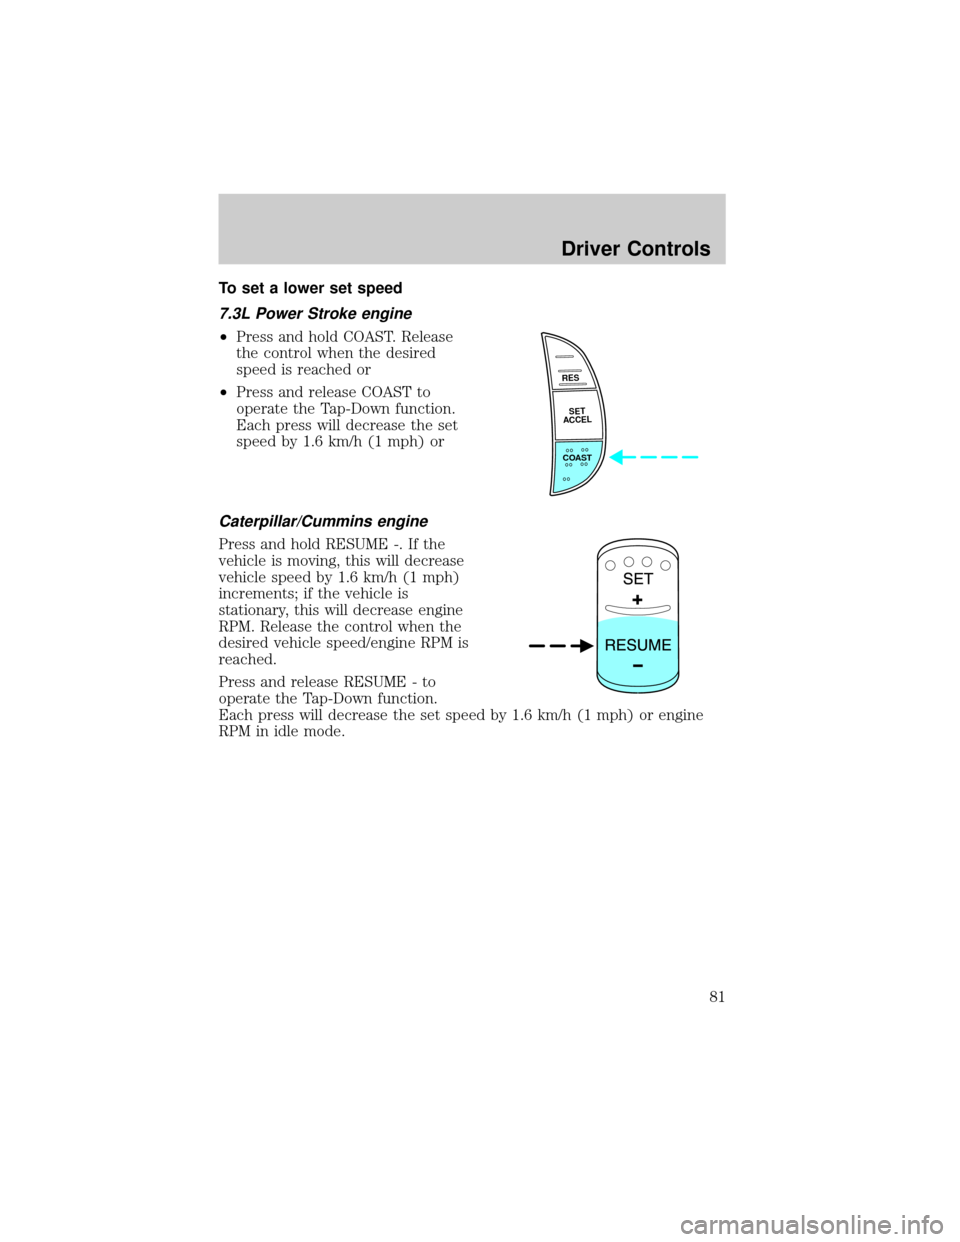
To set a lower set speed
7.3L Power Stroke engine
²Press and hold COAST. Release
the control when the desired
speed is reached or
²Press and release COAST to
operate the Tap-Down function.
Each press will decrease the set
speed by 1.6 km/h (1 mph) or
Caterpillar/Cummins engine
Press and hold RESUME -. If the
vehicle is moving, this will decrease
vehicle speed by 1.6 km/h (1 mph)
increments; if the vehicle is
stationary, this will decrease engine
RPM. Release the control when the
desired vehicle speed/engine RPM is
reached.
Press and release RESUME - to
operate the Tap-Down function.
Each press will decrease the set speed by 1.6 km/h (1 mph) or engine
RPM in idle mode.
RES
SET
ACCEL
COAST
Driver Controls
81
Page 82 of 256
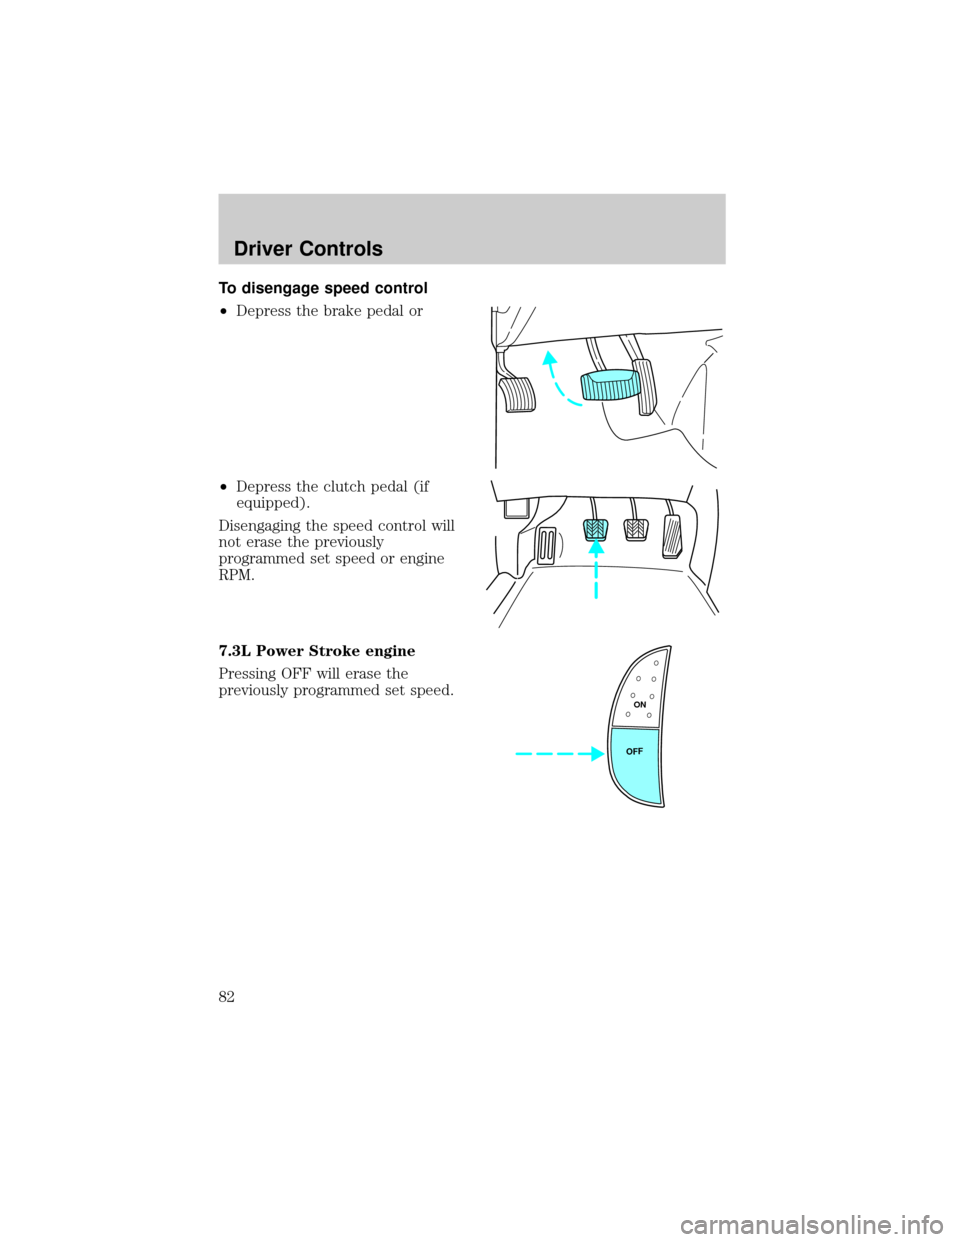
To disengage speed control
²Depress the brake pedal or
²Depress the clutch pedal (if
equipped).
Disengaging the speed control will
not erase the previously
programmed set speed or engine
RPM.
7.3L Power Stroke engine
Pressing OFF will erase the
previously programmed set speed.
ON
OFF
Driver Controls
82
Page 83 of 256
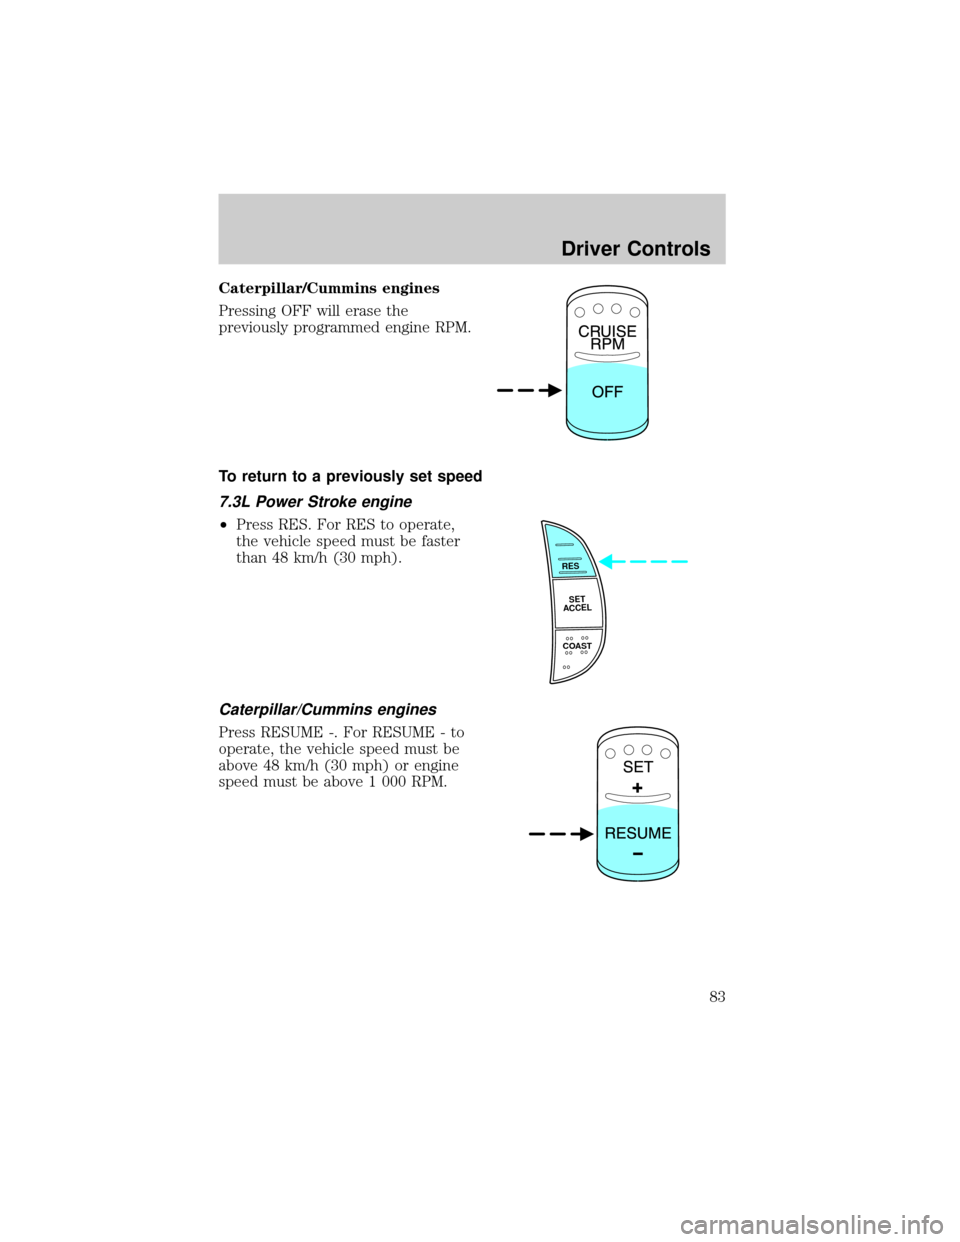
Caterpillar/Cummins engines
Pressing OFF will erase the
previously programmed engine RPM.
To return to a previously set speed
7.3L Power Stroke engine
²Press RES. For RES to operate,
the vehicle speed must be faster
than 48 km/h (30 mph).
Caterpillar/Cummins engines
Press RESUME -. For RESUME - to
operate, the vehicle speed must be
above 48 km/h (30 mph) or engine
speed must be above 1 000 RPM.
RES
SET
ACCEL
COAST
Driver Controls
83
Page 84 of 256
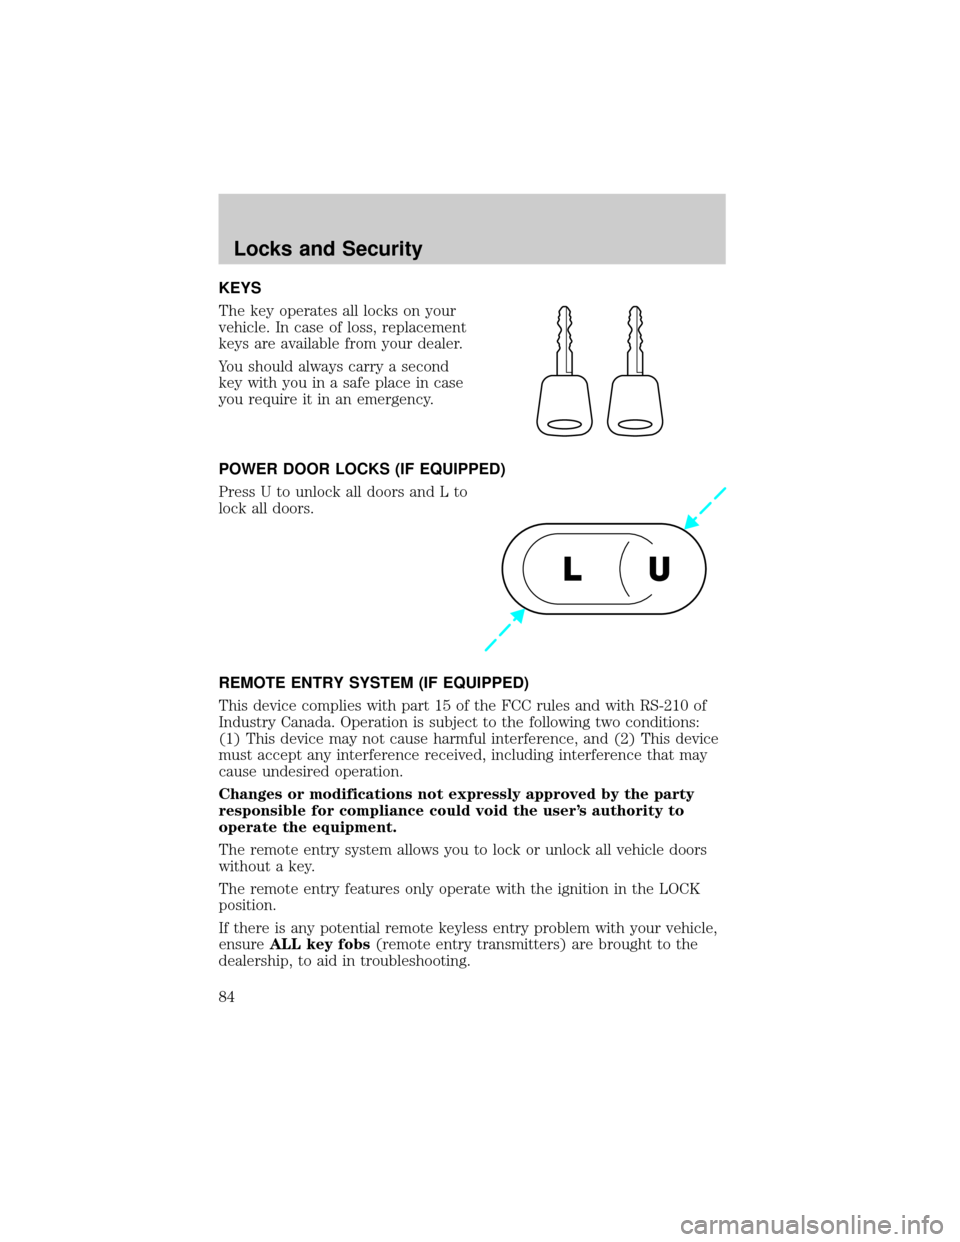
KEYS
The key operates all locks on your
vehicle. In case of loss, replacement
keys are available from your dealer.
You should always carry a second
key with you in a safe place in case
you require it in an emergency.
POWER DOOR LOCKS (IF EQUIPPED)
Press U to unlock all doors and L to
lock all doors.
REMOTE ENTRY SYSTEM (IF EQUIPPED)
This device complies with part 15 of the FCC rules and with RS-210 of
Industry Canada. Operation is subject to the following two conditions:
(1) This device may not cause harmful interference, and (2) This device
must accept any interference received, including interference that may
cause undesired operation.
Changes or modifications not expressly approved by the party
responsible for compliance could void the user's authority to
operate the equipment.
The remote entry system allows you to lock or unlock all vehicle doors
without a key.
The remote entry features only operate with the ignition in the LOCK
position.
If there is any potential remote keyless entry problem with your vehicle,
ensureALL key fobs(remote entry transmitters) are brought to the
dealership, to aid in troubleshooting.
U L
Locks and Security
84
Page 85 of 256
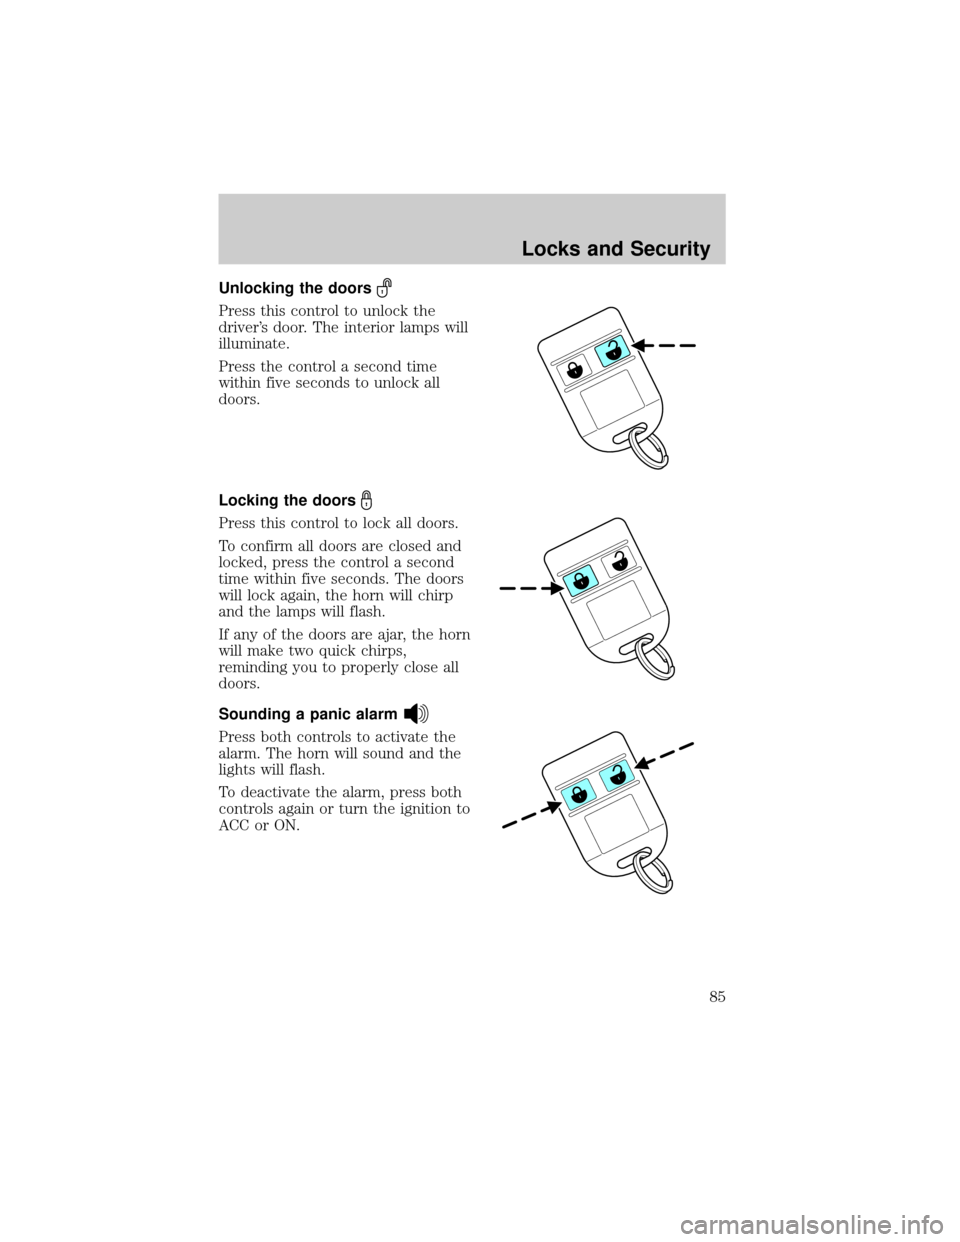
Unlocking the doors
Press this control to unlock the
driver's door. The interior lamps will
illuminate.
Press the control a second time
within five seconds to unlock all
doors.
Locking the doors
Press this control to lock all doors.
To confirm all doors are closed and
locked, press the control a second
time within five seconds. The doors
will lock again, the horn will chirp
and the lamps will flash.
If any of the doors are ajar, the horn
will make two quick chirps,
reminding you to properly close all
doors.
Sounding a panic alarm
Press both controls to activate the
alarm. The horn will sound and the
lights will flash.
To deactivate the alarm, press both
controls again or turn the ignition to
ACC or ON.
Locks and Security
85
Page 86 of 256
Replacing the battery
The remote transmitter is powered by one coin type three-volt lithium
battery CR2032 or equivalent. Typical operating range will allow you to
be up to 10 meters (33 feet) away from your vehicle. A decrease in
operating range can be caused by:
²weather conditions
²nearby radio towers
²structures around the vehicle
²other vehicles parked next to the vehicle
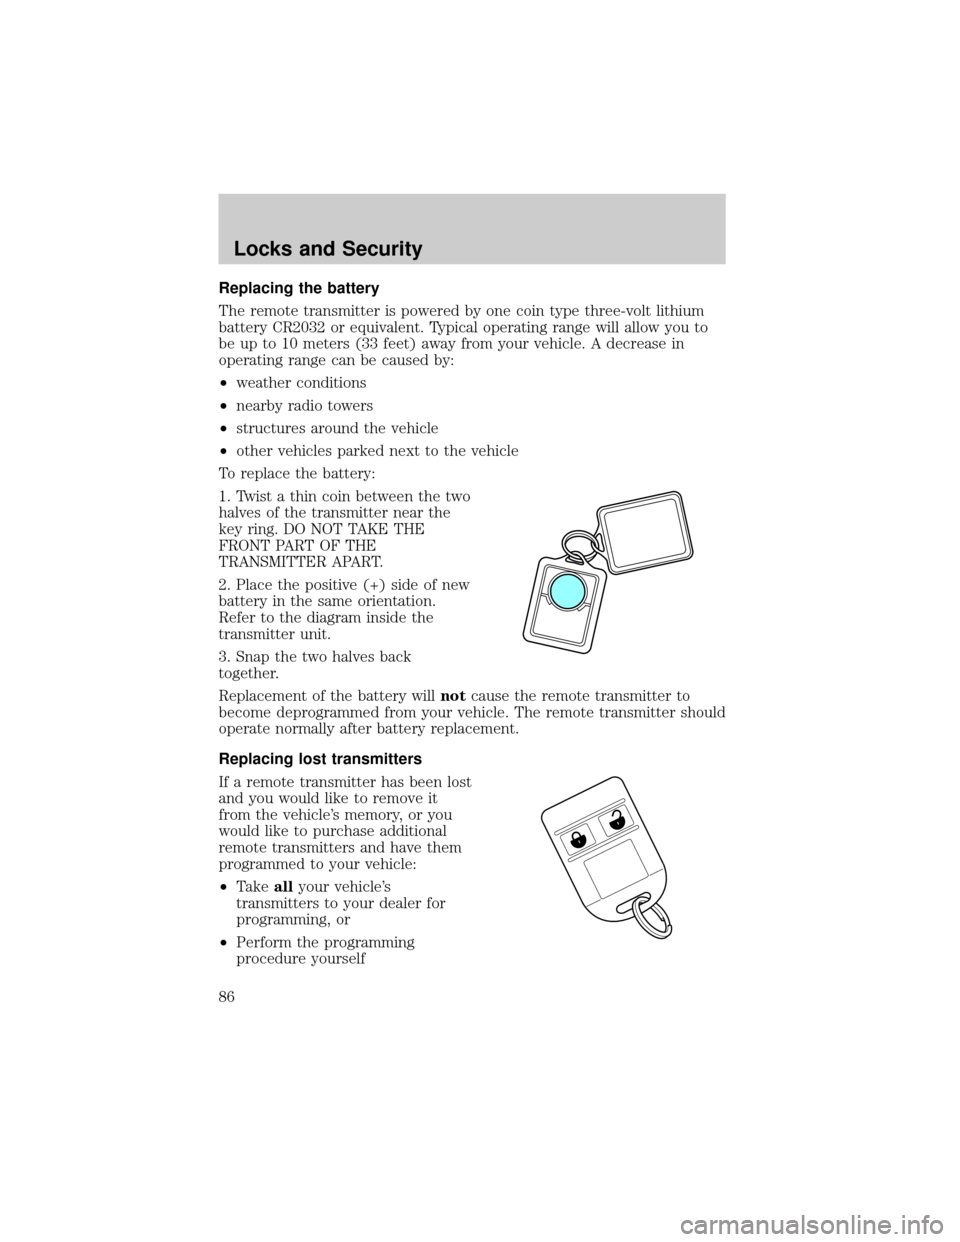
To replace the battery:
1. Twist a thin coin between the two
halves of the transmitter near the
key ring. DO NOT TAKE THE
FRONT PART OF THE
TRANSMITTER APART.
2. Place the positive (+) side of new
battery in the same orientation.
Refer to the diagram inside the
transmitter unit.
3. Snap the two halves back
together.
Replacement of the battery willnotcause the remote transmitter to
become deprogrammed from your vehicle. The remote transmitter should
operate normally after battery replacement.
Replacing lost transmitters
If a remote transmitter has been lost
and you would like to remove it
from the vehicle's memory, or you
would like to purchase additional
remote transmitters and have them
programmed to your vehicle:
²Takeallyour vehicle's
transmitters to your dealer for
programming, or
²Perform the programming
procedure yourself
Locks and Security
86
Page 87 of 256
Programming remote transmitters
It is necessary to haveall(maximum of four Ð original and/or new) of
your remote transmitters available prior to beginning this procedure.
To program the transmitters yourself:
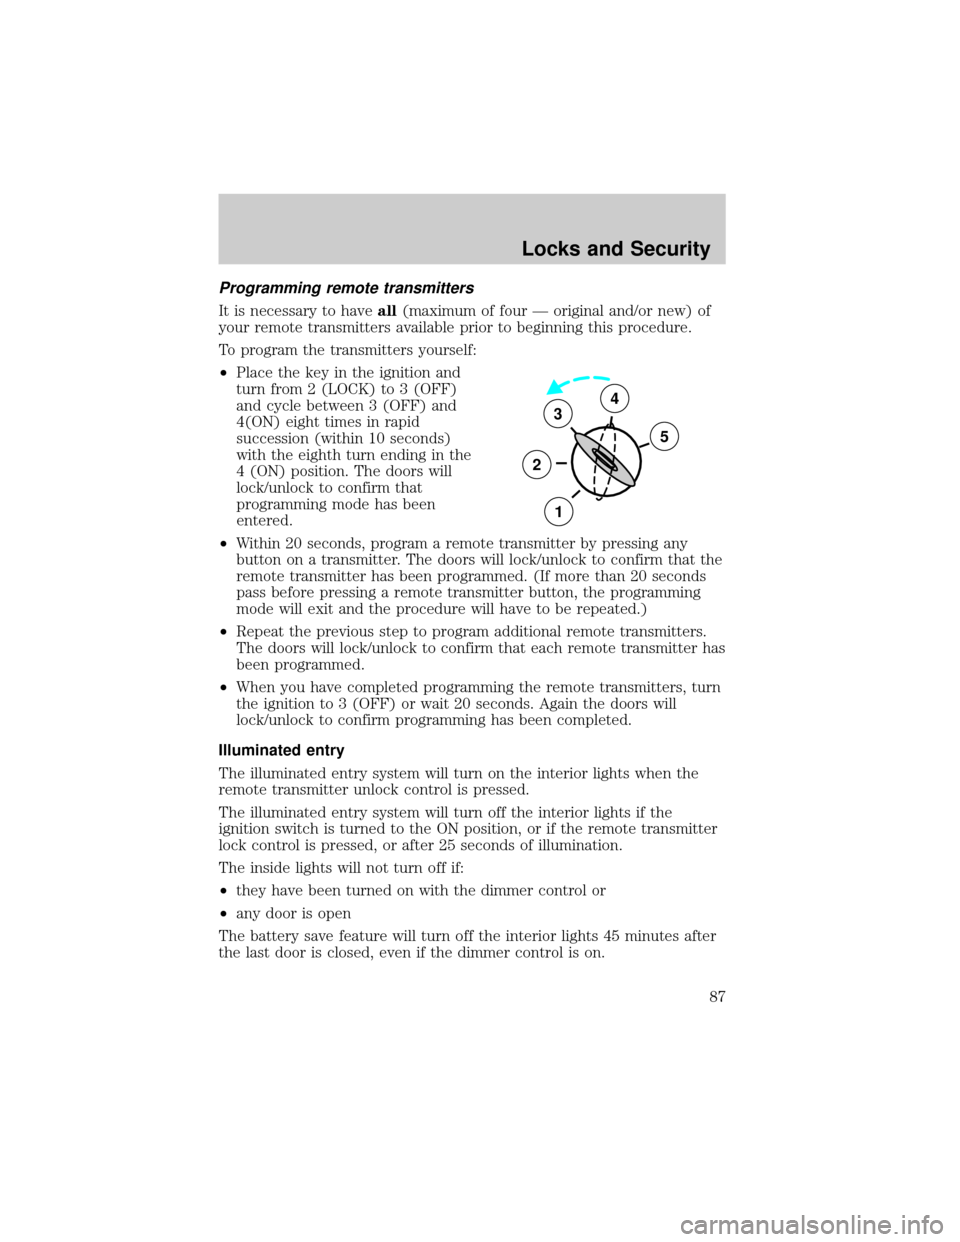
²Place the key in the ignition and
turn from 2 (LOCK) to 3 (OFF)
and cycle between 3 (OFF) and
4(ON) eight times in rapid
succession (within 10 seconds)
with the eighth turn ending in the
4 (ON) position. The doors will
lock/unlock to confirm that
programming mode has been
entered.
²Within 20 seconds, program a remote transmitter by pressing any
button on a transmitter. The doors will lock/unlock to confirm that the
remote transmitter has been programmed. (If more than 20 seconds
pass before pressing a remote transmitter button, the programming
mode will exit and the procedure will have to be repeated.)
²Repeat the previous step to program additional remote transmitters.
The doors will lock/unlock to confirm that each remote transmitter has
been programmed.
²When you have completed programming the remote transmitters, turn
the ignition to 3 (OFF) or wait 20 seconds. Again the doors will
lock/unlock to confirm programming has been completed.
Illuminated entry
The illuminated entry system will turn on the interior lights when the
remote transmitter unlock control is pressed.
The illuminated entry system will turn off the interior lights if the
ignition switch is turned to the ON position, or if the remote transmitter
lock control is pressed, or after 25 seconds of illumination.
The inside lights will not turn off if:
²they have been turned on with the dimmer control or
²any door is open
The battery save feature will turn off the interior lights 45 minutes after
the last door is closed, even if the dimmer control is on.
3
2
1
5
4
Locks and Security
87
Page 88 of 256
SEATING
Driver's seat adjustment
Never adjust the driver's seat or seatback when the vehicle is
moving.
Always drive and ride with your seatback upright and the lap
belt snug and low across the hips.
Reclining the seatback can reduce the effectiveness of the seat's
safety belt in the event of a collision.
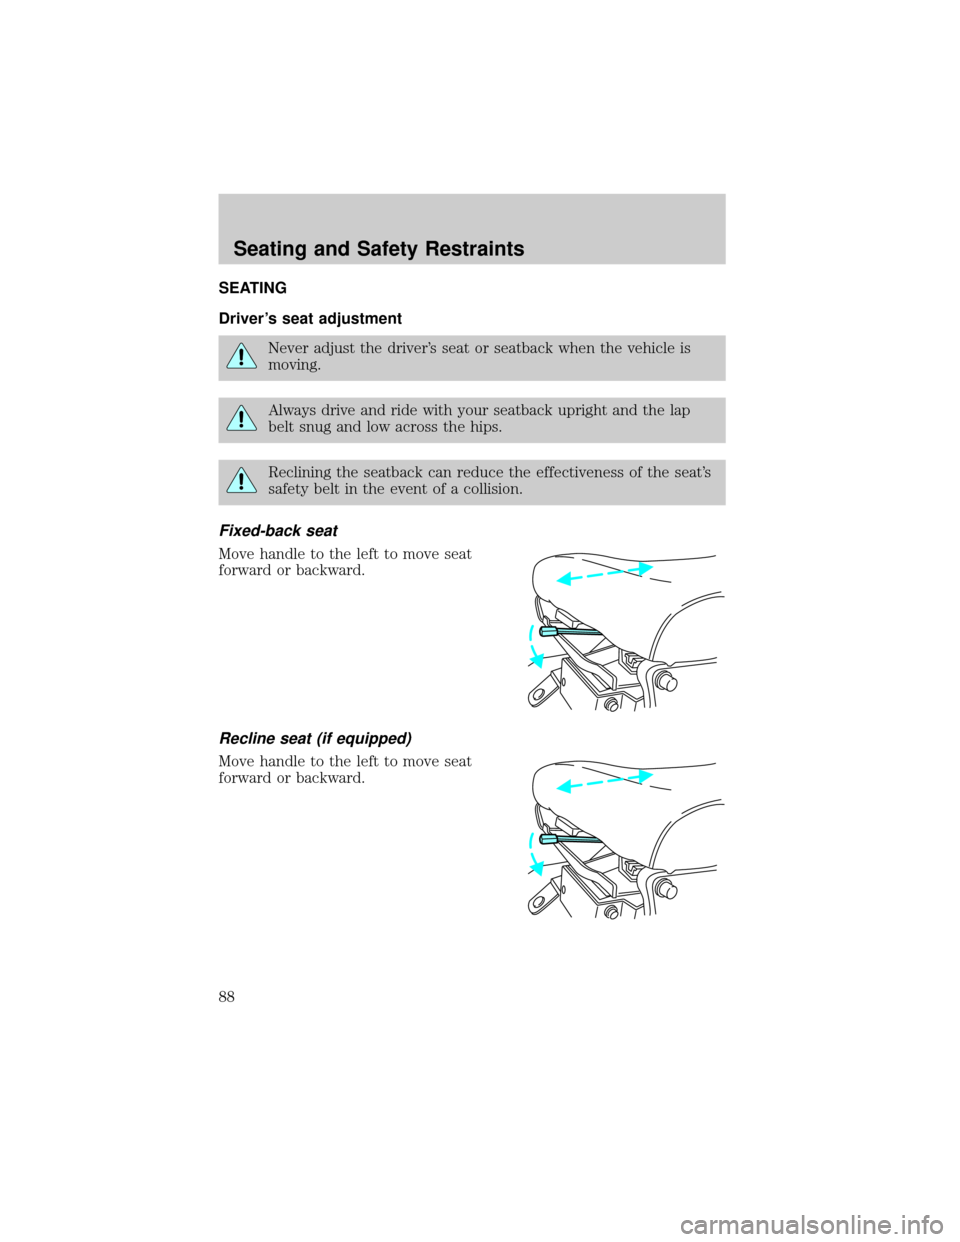
Fixed-back seat
Move handle to the left to move seat
forward or backward.
Recline seat (if equipped)
Move handle to the left to move seat
forward or backward.
Seating and Safety Restraints
88
Page 89 of 256
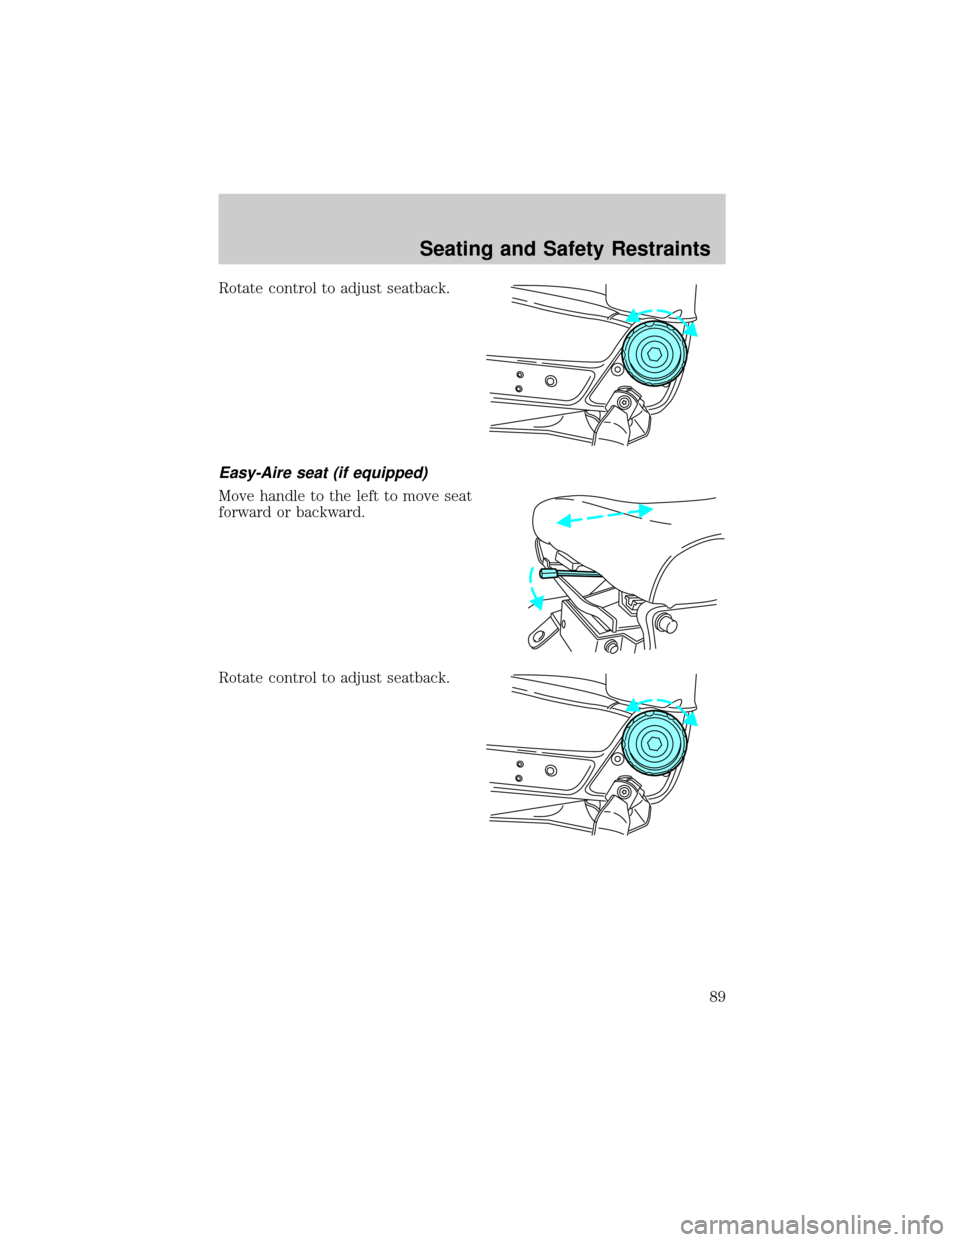
Rotate control to adjust seatback.
Easy-Aire seat (if equipped)
Move handle to the left to move seat
forward or backward.
Rotate control to adjust seatback.
Seating and Safety Restraints
89
Page 90 of 256
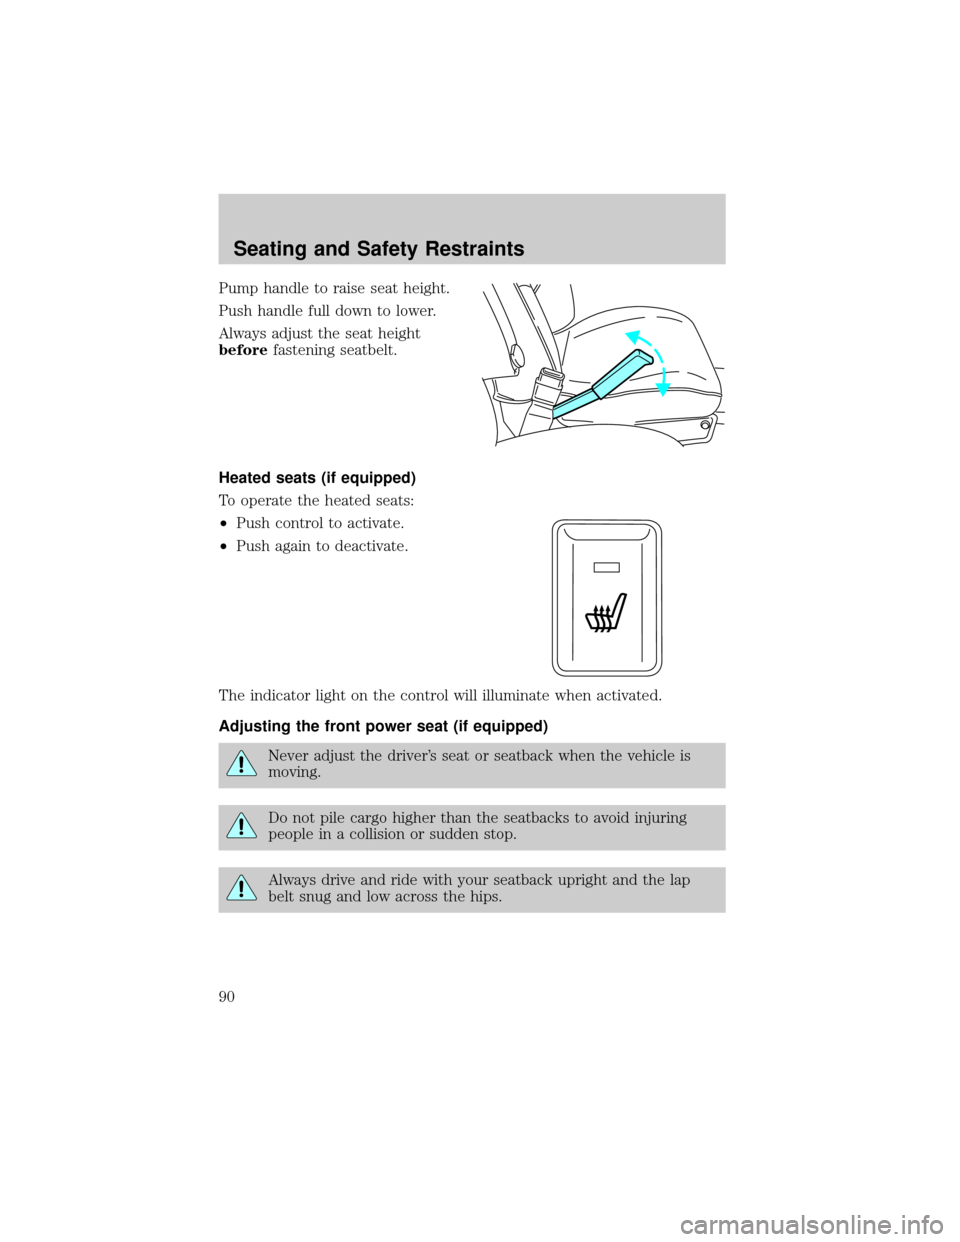
Pump handle to raise seat height.
Push handle full down to lower.
Always adjust the seat height
beforefastening seatbelt.
Heated seats (if equipped)
To operate the heated seats:
²Push control to activate.
²Push again to deactivate.
The indicator light on the control will illuminate when activated.
Adjusting the front power seat (if equipped)
Never adjust the driver's seat or seatback when the vehicle is
moving.
Do not pile cargo higher than the seatbacks to avoid injuring
people in a collision or sudden stop.
Always drive and ride with your seatback upright and the lap
belt snug and low across the hips.
Seating and Safety Restraints
90