alternator FORD F750 2004 11.G Owners Manual
[x] Cancel search | Manufacturer: FORD, Model Year: 2004, Model line: F750, Model: FORD F750 2004 11.GPages: 264, PDF Size: 1.47 MB
Page 9 of 264

To be sure your vehicle is ready to operate, conduct a pre-trip inspection
at the beginning of each work period. Follow the steps listed in this
section to assure a proper vehicle inspection procedure. The pages in
this section may be produced locally and used on a regular basis.
VEHICLE INSPECTION INFORMATION
Note:Always make sure the parking brake is applied before starting the
engine.
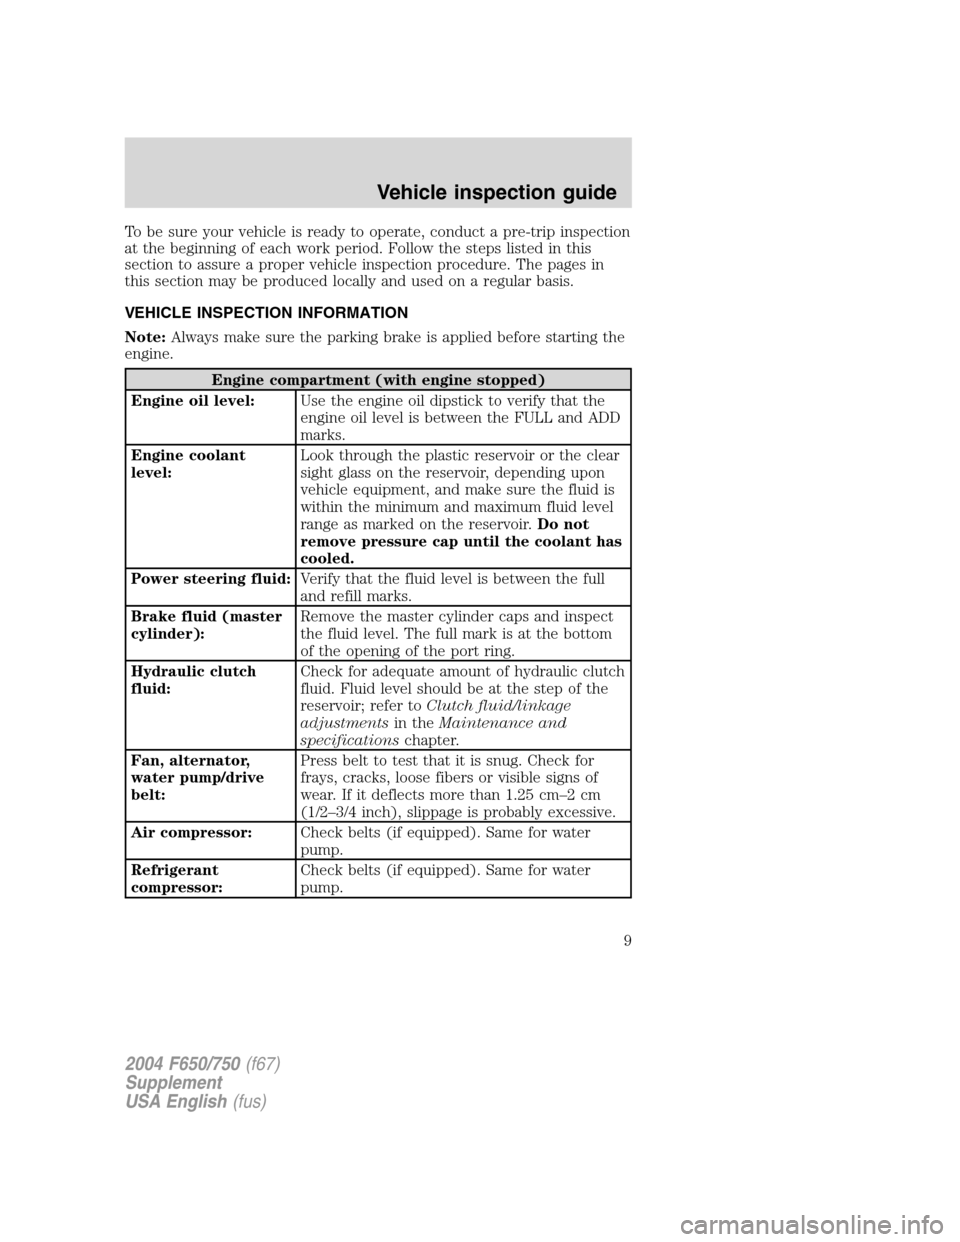
Engine compartment (with engine stopped)
Engine oil level:Use the engine oil dipstick to verify that the
engine oil level is between the FULL and ADD
marks.
Engine coolant
level:Look through the plastic reservoir or the clear
sight glass on the reservoir, depending upon
vehicle equipment, and make sure the fluid is
within the minimum and maximum fluid level
range as marked on the reservoir.Do not
remove pressure cap until the coolant has
cooled.
Power steering fluid:Verify that the fluid level is between the full
and refill marks.
Brake fluid (master
cylinder):Remove the master cylinder caps and inspect
the fluid level. The full mark is at the bottom
of the opening of the port ring.
Hydraulic clutch
fluid:Check for adequate amount of hydraulic clutch
fluid. Fluid level should be at the step of the
reservoir; refer toClutch fluid/linkage
adjustmentsin theMaintenance and
specificationschapter.
Fan, alternator,
water pump/drive
belt:Press belt to test that it is snug. Check for
frays, cracks, loose fibers or visible signs of
wear. If it deflects more than 1.25 cm–2cm
(1/2–3/4 inch), slippage is probably excessive.
Air compressor:Check belts (if equipped). Same for water
pump.
Refrigerant
compressor:Check belts (if equipped). Same for water
pump.
2004 F650/750(f67)
Supplement
USA English(fus)
Vehicle inspection guide
Vehicle inspection guide
9
Page 11 of 264

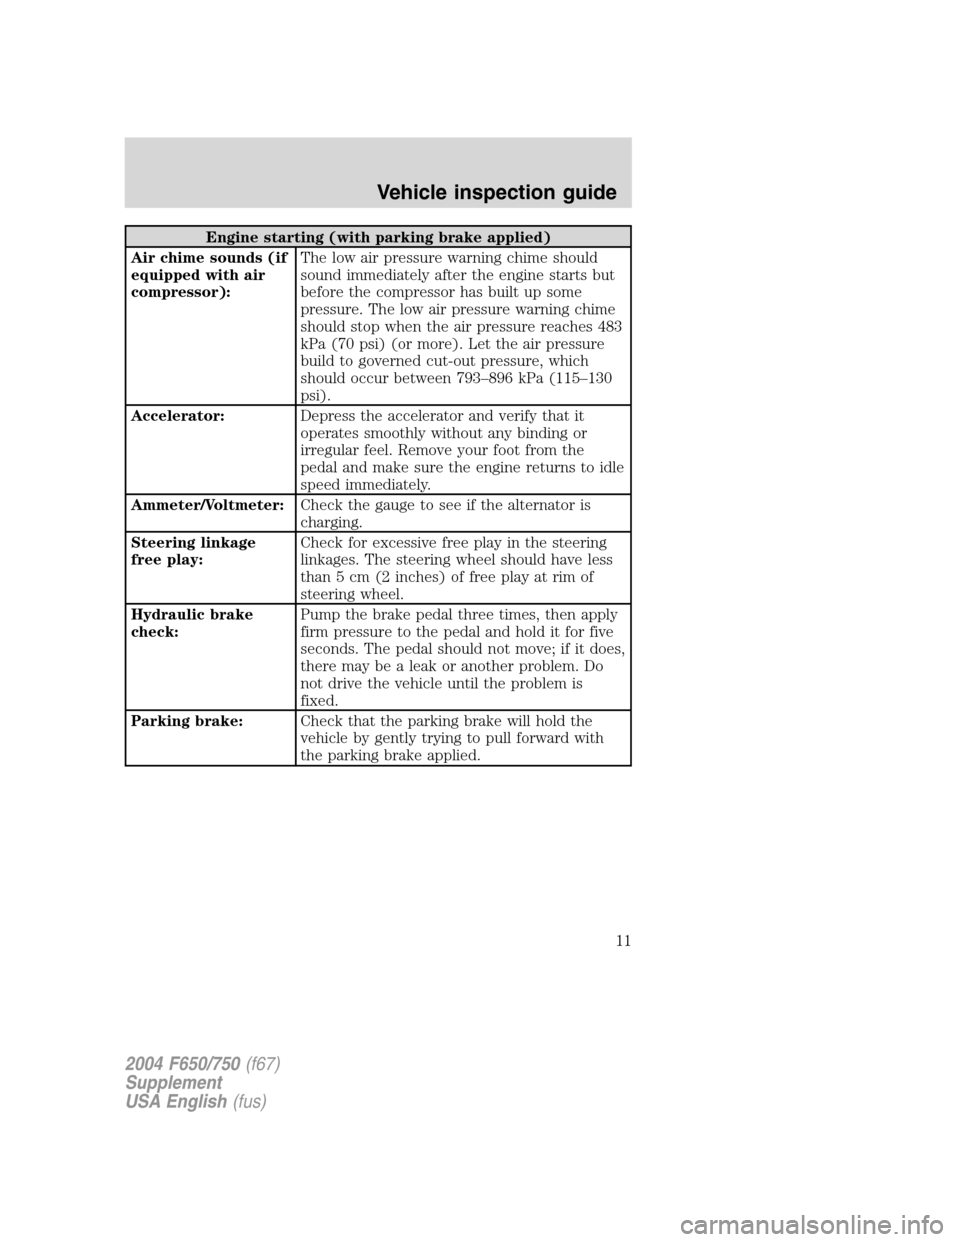
Engine starting (with parking brake applied)
Air chime sounds (if
equipped with air
compressor):The low air pressure warning chime should
sound immediately after the engine starts but
before the compressor has built up some
pressure. The low air pressure warning chime
should stop when the air pressure reaches 483
kPa (70 psi) (or more). Let the air pressure
build to governed cut-out pressure, which
should occur between 793–896 kPa (115–130
psi).
Accelerator:Depress the accelerator and verify that it
operates smoothly without any binding or
irregular feel. Remove your foot from the
pedal and make sure the engine returns to idle
speed immediately.
Ammeter/Voltmeter:Check the gauge to see if the alternator is
charging.
Steering linkage
free play:Check for excessive free play in the steering
linkages. The steering wheel should have less
than 5 cm (2 inches) of free play at rim of
steering wheel.
Hydraulic brake
check:Pump the brake pedal three times, then apply
firm pressure to the pedal and hold it for five
seconds. The pedal should not move; if it does,
there may be a leak or another problem. Do
not drive the vehicle until the problem is
fixed.
Parking brake:Check that the parking brake will hold the
vehicle by gently trying to pull forward with
the parking brake applied.
2004 F650/750(f67)
Supplement
USA English(fus)
Vehicle inspection guide
11
Page 178 of 264

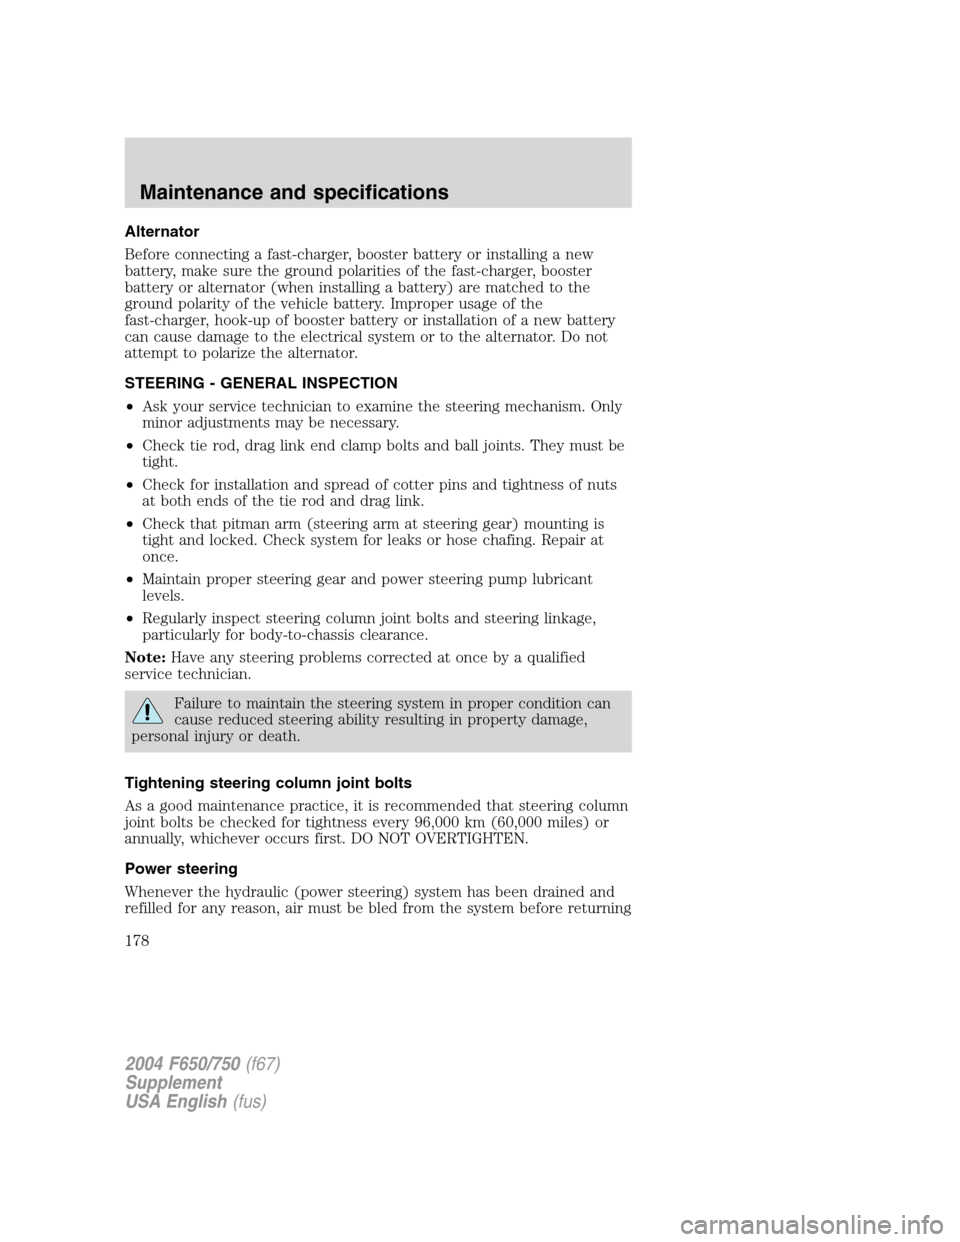
Alternator
Before connecting a fast-charger, booster battery or installing a new
battery, make sure the ground polarities of the fast-charger, booster
battery or alternator (when installing a battery) are matched to the
ground polarity of the vehicle battery. Improper usage of the
fast-charger, hook-up of booster battery or installation of a new battery
can cause damage to the electrical system or to the alternator. Do not
attempt to polarize the alternator.
STEERING - GENERAL INSPECTION
•Ask your service technician to examine the steering mechanism. Only
minor adjustments may be necessary.
•Check tie rod, drag link end clamp bolts and ball joints. They must be
tight.
•Check for installation and spread of cotter pins and tightness of nuts
at both ends of the tie rod and drag link.
•Check that pitman arm (steering arm at steering gear) mounting is
tight and locked. Check system for leaks or hose chafing. Repair at
once.
•Maintain proper steering gear and power steering pump lubricant
levels.
•Regularly inspect steering column joint bolts and steering linkage,
particularly for body-to-chassis clearance.
Note:Have any steering problems corrected at once by a qualified
service technician.
Failure to maintain the steering system in proper condition can
cause reduced steering ability resulting in property damage,
personal injury or death.
Tightening steering column joint bolts
As a good maintenance practice, it is recommended that steering column
joint bolts be checked for tightness every 96,000 km (60,000 miles) or
annually, whichever occurs first. DO NOT OVERTIGHTEN.
Power steering
Whenever the hydraulic (power steering) system has been drained and
refilled for any reason, air must be bled from the system before returning
2004 F650/750(f67)
Supplement
USA English(fus)
Maintenance and specifications
178
Page 195 of 264

Inspect air intake piping
•Check for accumulation of salt deposits (where applicable). If present,
disassemble and clean the complete air intake piping system. If the
intake piping is pitted, use RTV silicone to seal joints against leakage.
•Check for loose hoses and clamps.
•Check for ruptured or collapsed hoses.
•Check air cleaner housing for cracks.
ELECTRICAL SYSTEM INSPECTIONS
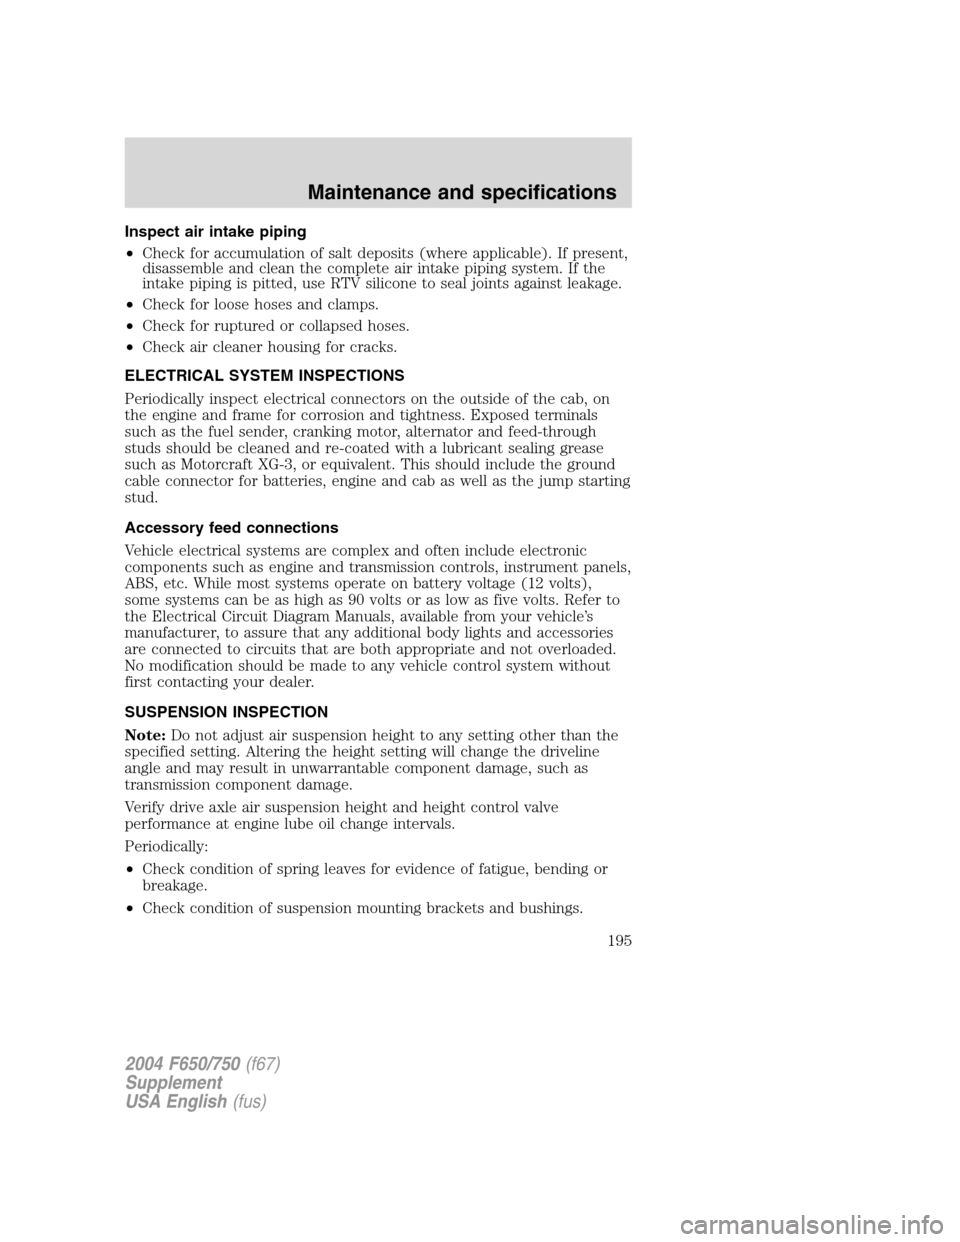
Periodically inspect electrical connectors on the outside of the cab, on
the engine and frame for corrosion and tightness. Exposed terminals
such as the fuel sender, cranking motor, alternator and feed-through
studs should be cleaned and re-coated with a lubricant sealing grease
such as Motorcraft XG-3, or equivalent. This should include the ground
cable connector for batteries, engine and cab as well as the jump starting
stud.
Accessory feed connections
Vehicle electrical systems are complex and often include electronic
components such as engine and transmission controls, instrument panels,
ABS, etc. While most systems operate on battery voltage (12 volts),
some systems can be as high as 90 volts or as low as five volts. Refer to
the Electrical Circuit Diagram Manuals, available from your vehicle’s
manufacturer, to assure that any additional body lights and accessories
are connected to circuits that are both appropriate and not overloaded.
No modification should be made to any vehicle control system without
first contacting your dealer.
SUSPENSION INSPECTION
Note:Do not adjust air suspension height to any setting other than the
specified setting. Altering the height setting will change the driveline
angle and may result in unwarrantable component damage, such as
transmission component damage.
Verify drive axle air suspension height and height control valve
performance at engine lube oil change intervals.
Periodically:
•Check condition of spring leaves for evidence of fatigue, bending or
breakage.
•Check condition of suspension mounting brackets and bushings.
2004 F650/750(f67)
Supplement
USA English(fus)
Maintenance and specifications
195