steering wheel FORD F750 2005 11.G Owners Manual
[x] Cancel search | Manufacturer: FORD, Model Year: 2005, Model line: F750, Model: FORD F750 2005 11.GPages: 272, PDF Size: 1.5 MB
Page 1 of 272
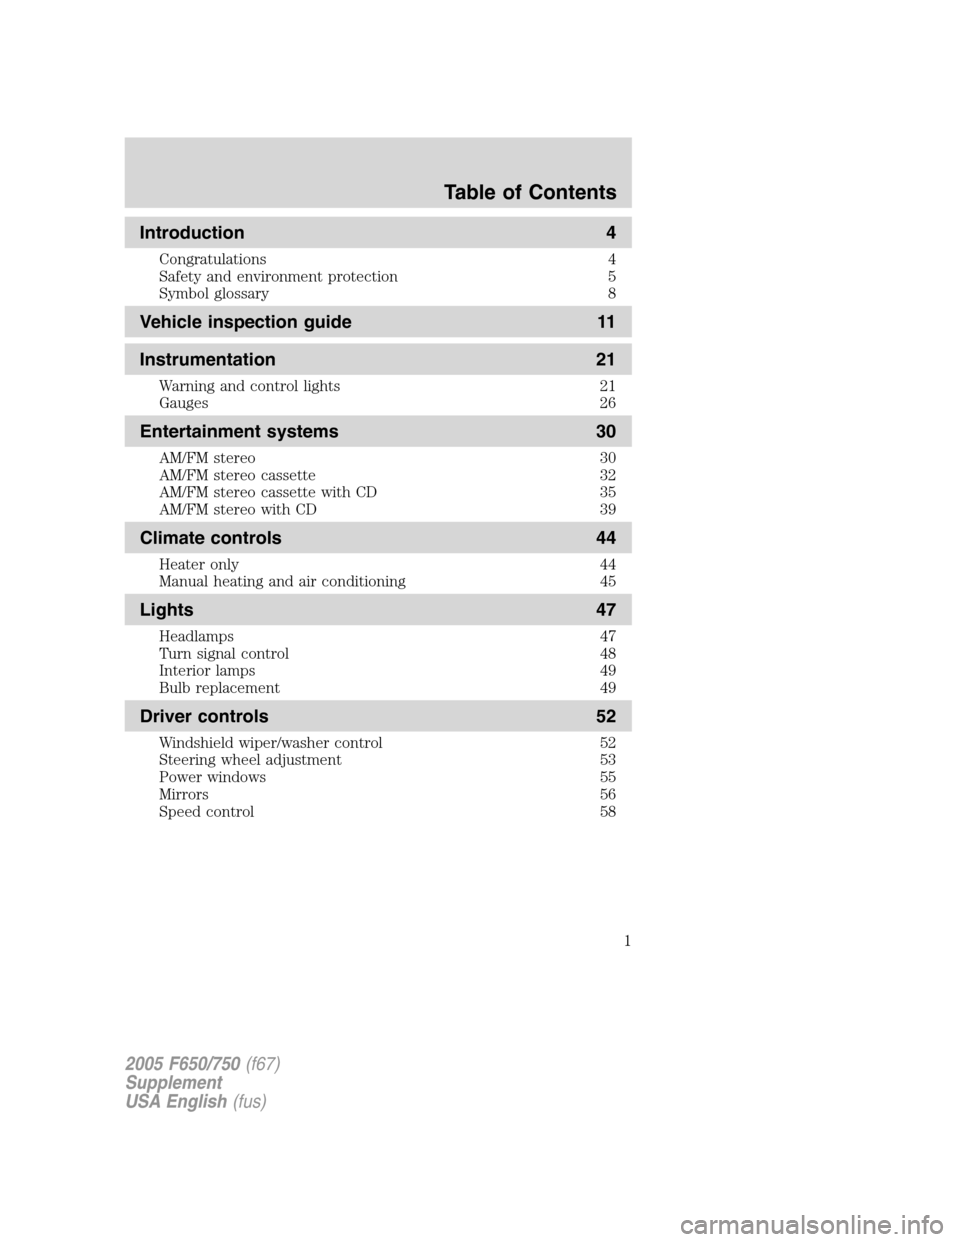
Introduction 4
Congratulations 4
Safety and environment protection 5
Symbol glossary 8
Vehicle inspection guide 11
Instrumentation 21
Warning and control lights 21
Gauges 26
Entertainment systems 30
AM/FM stereo 30
AM/FM stereo cassette 32
AM/FM stereo cassette with CD 35
AM/FM stereo with CD 39
Climate controls 44
Heater only 44
Manual heating and air conditioning 45
Lights 47
Headlamps 47
Turn signal control 48
Interior lamps 49
Bulb replacement 49
Driver controls 52
Windshield wiper/washer control 52
Steering wheel adjustment 53
Power windows 55
Mirrors 56
Speed control 58
Table of Contents
1
2005 F650/750(f67)
Supplement
USA English(fus)
Table of Contents
Page 7 of 272
Event Data Recording
Other modules in your vehicle—event data recorders—are capable of
collecting and storing data during a crash or near crash event. The
recorded information may assist in the investigation of such an event.
The modules may record information about both the vehicle and the
occupants, potentially including information such as:
•how various systems in your vehicle were operating;
•whether or not the driver and passenger seatbelts were buckled;
•how far (if at all) the driver was depressing the accelerator and/or the
brake pedal;
•how fast the vehicle was traveling; and
•where the driver was positioning the steering wheel.
To access this information, special equipment must be directly connected
to the recording modules. Ford Motor Company and Ford of Canada do
not access event data recorder information without obtaining consent,
unless pursuant to court order or where required by law enforcement,
other government authorities or other third parties acting with lawful
authority. Other parties may seek to access the information
independently of Ford Motor Company and Ford of Canada.
Introduction
7
Page 13 of 272
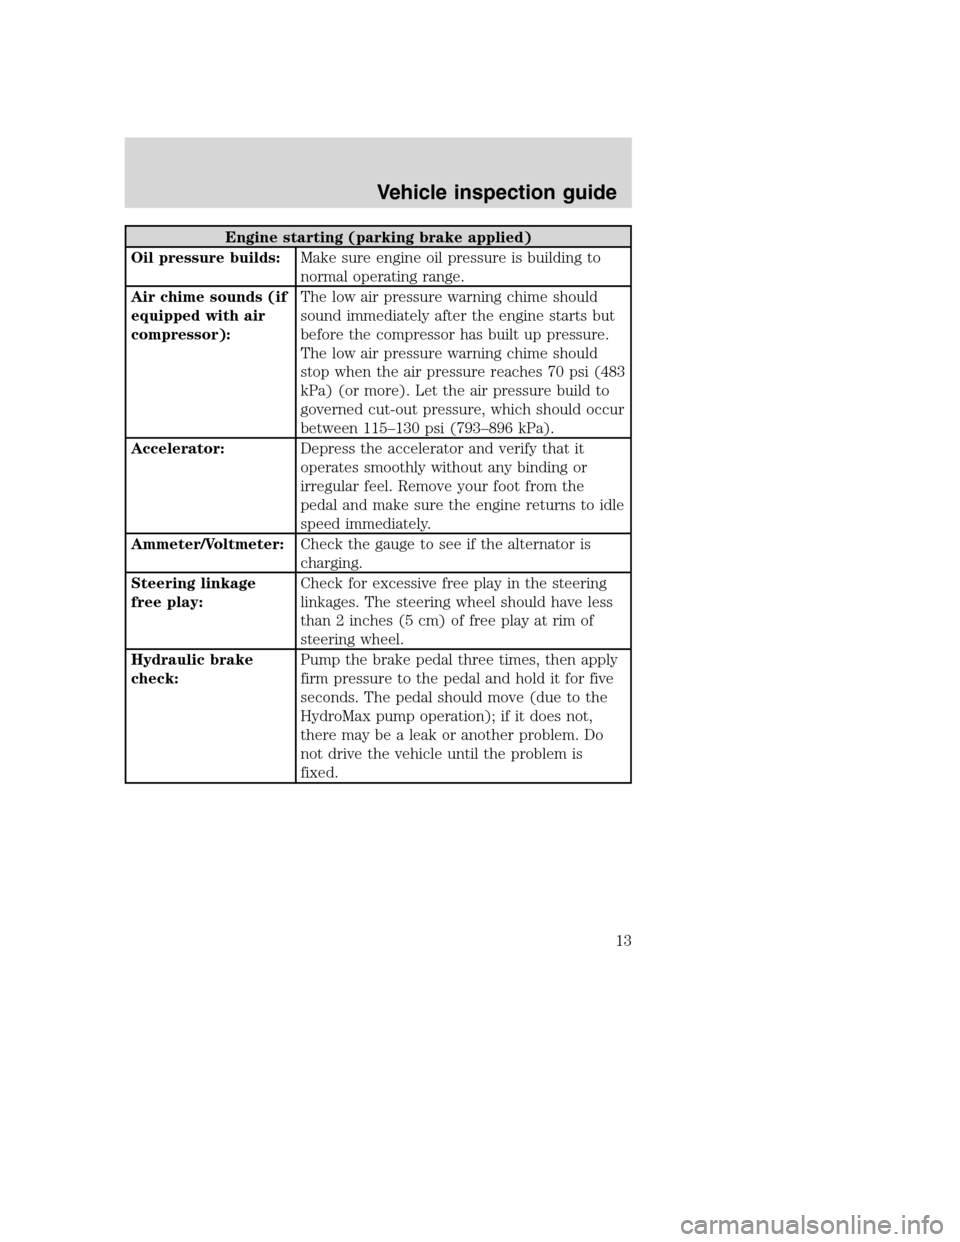
Engine starting (parking brake applied)
Oil pressure builds:Make sure engine oil pressure is building to
normal operating range.
Air chime sounds (if
equipped with air
compressor):The low air pressure warning chime should
sound immediately after the engine starts but
before the compressor has built up pressure.
The low air pressure warning chime should
stop when the air pressure reaches 70 psi (483
kPa) (or more). Let the air pressure build to
governed cut-out pressure, which should occur
between 115–130 psi (793–896 kPa).
Accelerator:Depress the accelerator and verify that it
operates smoothly without any binding or
irregular feel. Remove your foot from the
pedal and make sure the engine returns to idle
speed immediately.
Ammeter/Voltmeter:Check the gauge to see if the alternator is
charging.
Steering linkage
free play:Check for excessive free play in the steering
linkages. The steering wheel should have less
than 2 inches (5 cm) of free play at rim of
steering wheel.
Hydraulic brake
check:Pump the brake pedal three times, then apply
firm pressure to the pedal and hold it for five
seconds. The pedal should move (due to the
HydroMax pump operation); if it does not,
there may be a leak or another problem. Do
not drive the vehicle until the problem is
fixed.
Vehicle inspection guide
13
Page 22 of 272
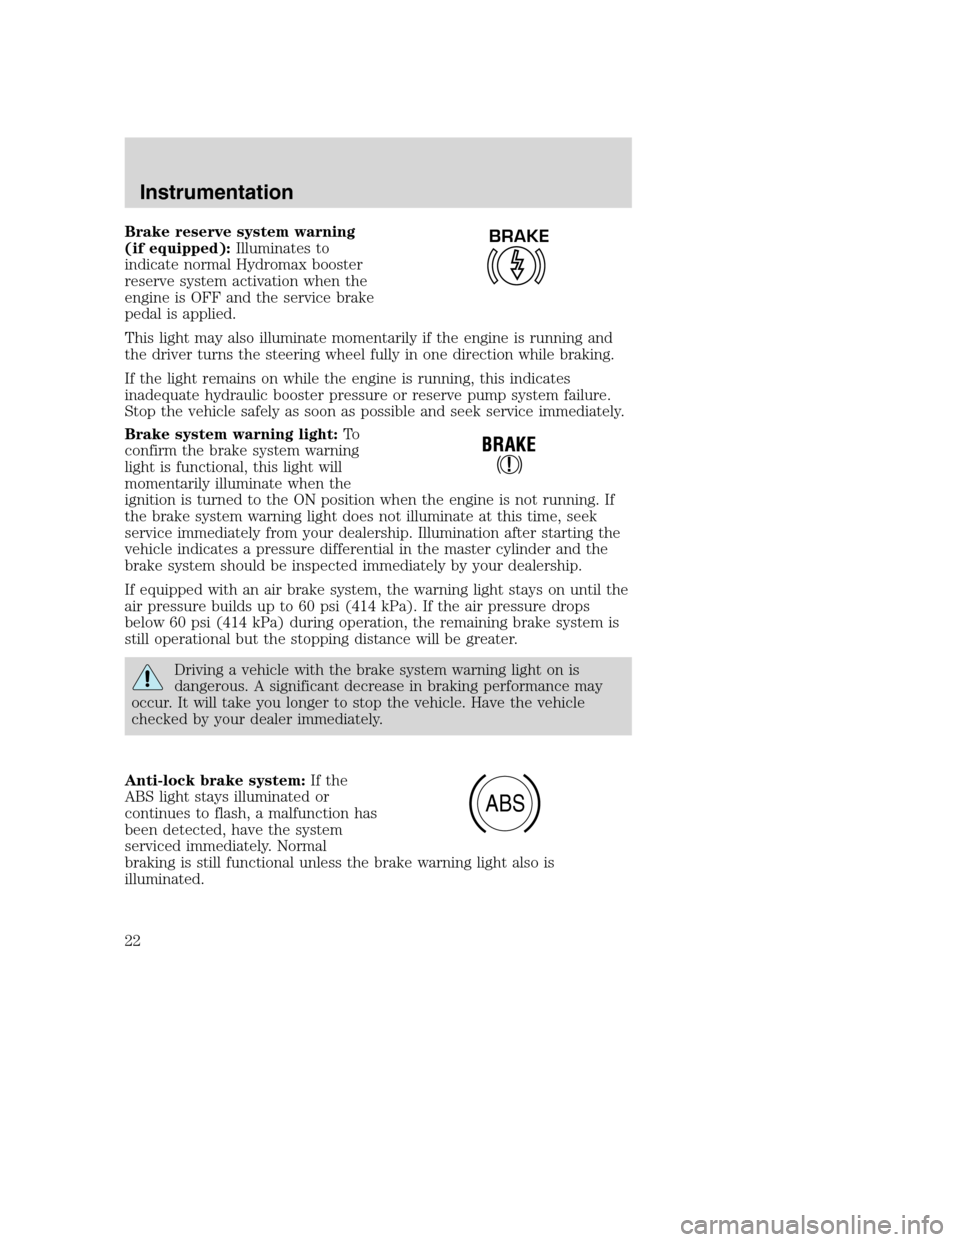
Brake reserve system warning
(if equipped):Illuminates to
indicate normal Hydromax booster
reserve system activation when the
engine is OFF and the service brake
pedal is applied.
This light may also illuminate momentarily if the engine is running and
the driver turns the steering wheel fully in one direction while braking.
If the light remains on while the engine is running, this indicates
inadequate hydraulic booster pressure or reserve pump system failure.
Stop the vehicle safely as soon as possible and seek service immediately.
Brake system warning light:To
confirm the brake system warning
light is functional, this light will
momentarily illuminate when the
ignition is turned to the ON position when the engine is not running. If
the brake system warning light does not illuminate at this time, seek
service immediately from your dealership. Illumination after starting the
vehicle indicates a pressure differential in the master cylinder and the
brake system should be inspected immediately by your dealership.
If equipped with an air brake system, the warning light stays on until the
air pressure builds up to 60 psi (414 kPa). If the air pressure drops
below 60 psi (414 kPa) during operation, the remaining brake system is
still operational but the stopping distance will be greater.
Driving a vehicle with the brake system warning light on is
dangerous. A significant decrease in braking performance may
occur. It will take you longer to stop the vehicle. Have the vehicle
checked by your dealer immediately.
Anti-lock brake system:If the
ABS light stays illuminated or
continues to flash, a malfunction has
been detected, have the system
serviced immediately. Normal
braking is still functional unless the brake warning light also is
illuminated.
BRAKE
ABS
Instrumentation
22
Page 53 of 272
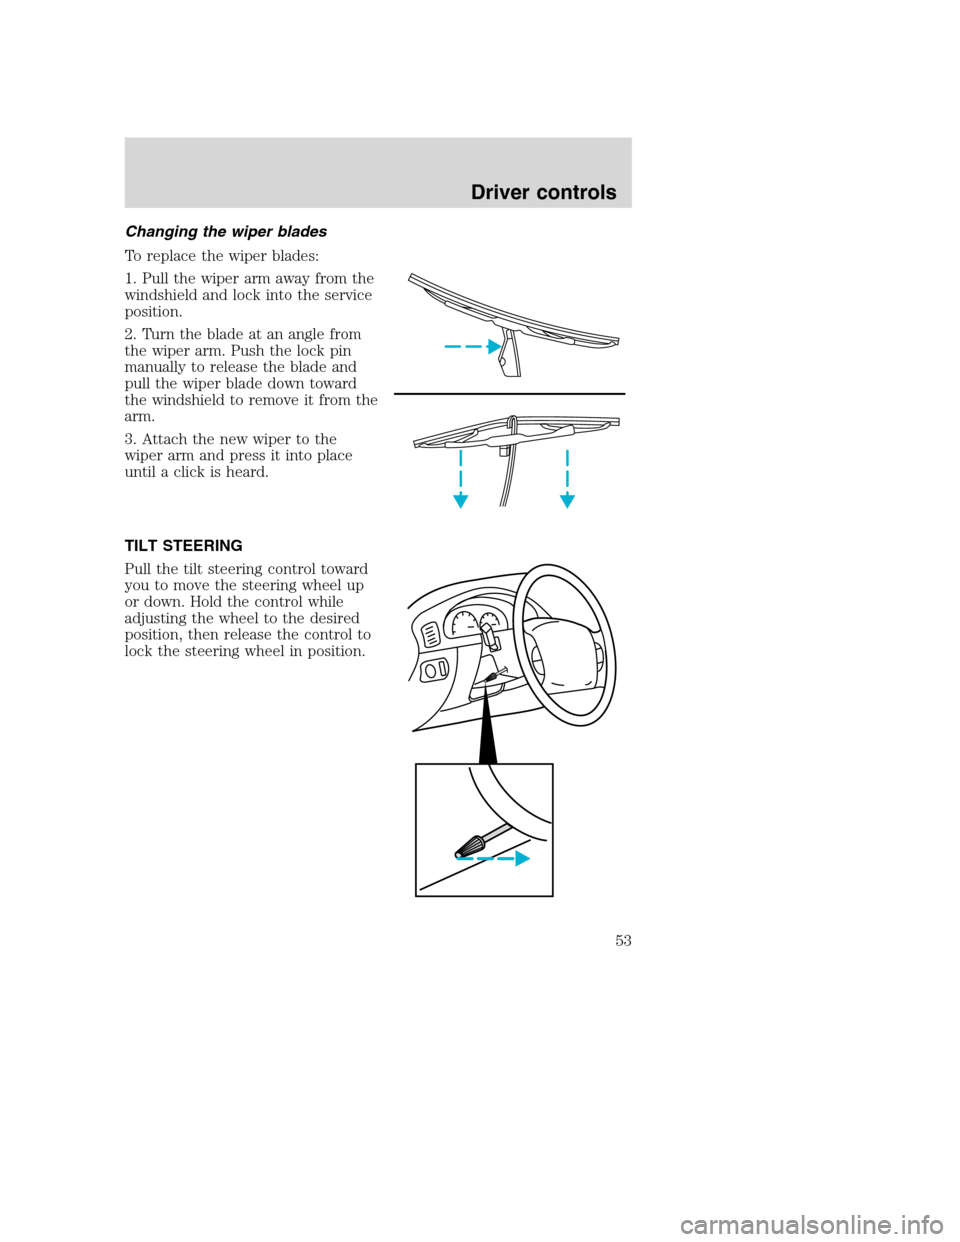
Changing the wiper blades
To replace the wiper blades:
1. Pull the wiper arm away from the
windshield and lock into the service
position.
2. Turn the blade at an angle from
the wiper arm. Push the lock pin
manually to release the blade and
pull the wiper blade down toward
the windshield to remove it from the
arm.
3. Attach the new wiper to the
wiper arm and press it into place
until a click is heard.
TILT STEERING
Pull the tilt steering control toward
you to move the steering wheel up
or down. Hold the control while
adjusting the wheel to the desired
position, then release the control to
lock the steering wheel in position.
Driver controls
53
Page 54 of 272
Never adjust the steering wheel when the vehicle is moving.
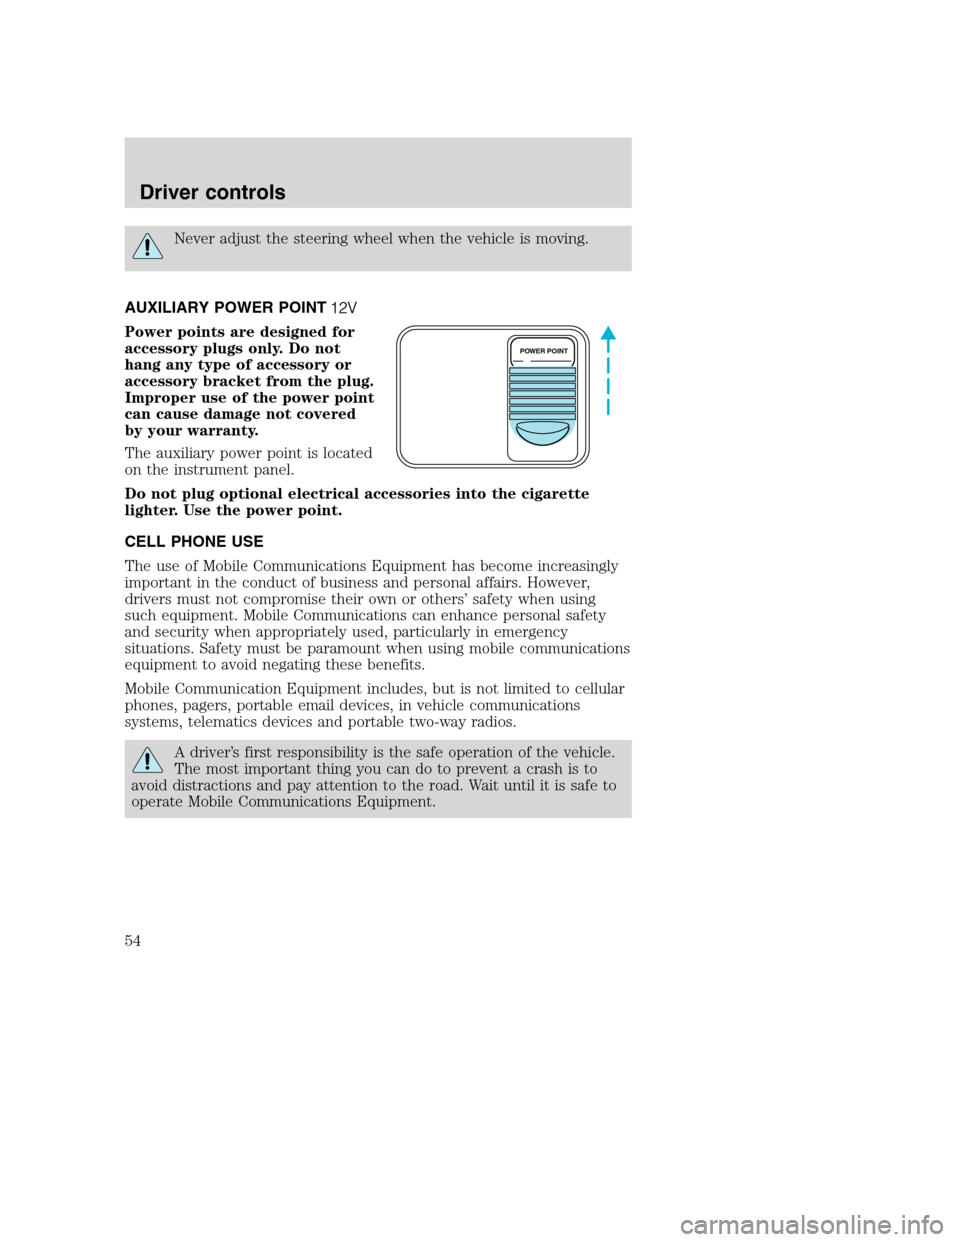
AUXILIARY POWER POINT
Power points are designed for
accessory plugs only. Do not
hang any type of accessory or
accessory bracket from the plug.
Improper use of the power point
can cause damage not covered
by your warranty.
The auxiliary power point is located
on the instrument panel.
Do not plug optional electrical accessories into the cigarette
lighter. Use the power point.
CELL PHONE USE
The use of Mobile Communications Equipment has become increasingly
important in the conduct of business and personal affairs. However,
drivers must not compromise their own or others’safety when using
such equipment. Mobile Communications can enhance personal safety
and security when appropriately used, particularly in emergency
situations. Safety must be paramount when using mobile communications
equipment to avoid negating these benefits.
Mobile Communication Equipment includes, but is not limited to cellular
phones, pagers, portable email devices, in vehicle communications
systems, telematics devices and portable two-way radios.
A driver’s first responsibility is the safe operation of the vehicle.
The most important thing you can do to prevent a crash is to
avoid distractions and pay attention to the road. Wait until it is safe to
operate Mobile Communications Equipment.
POWER POINT
Driver controls
54
Page 58 of 272
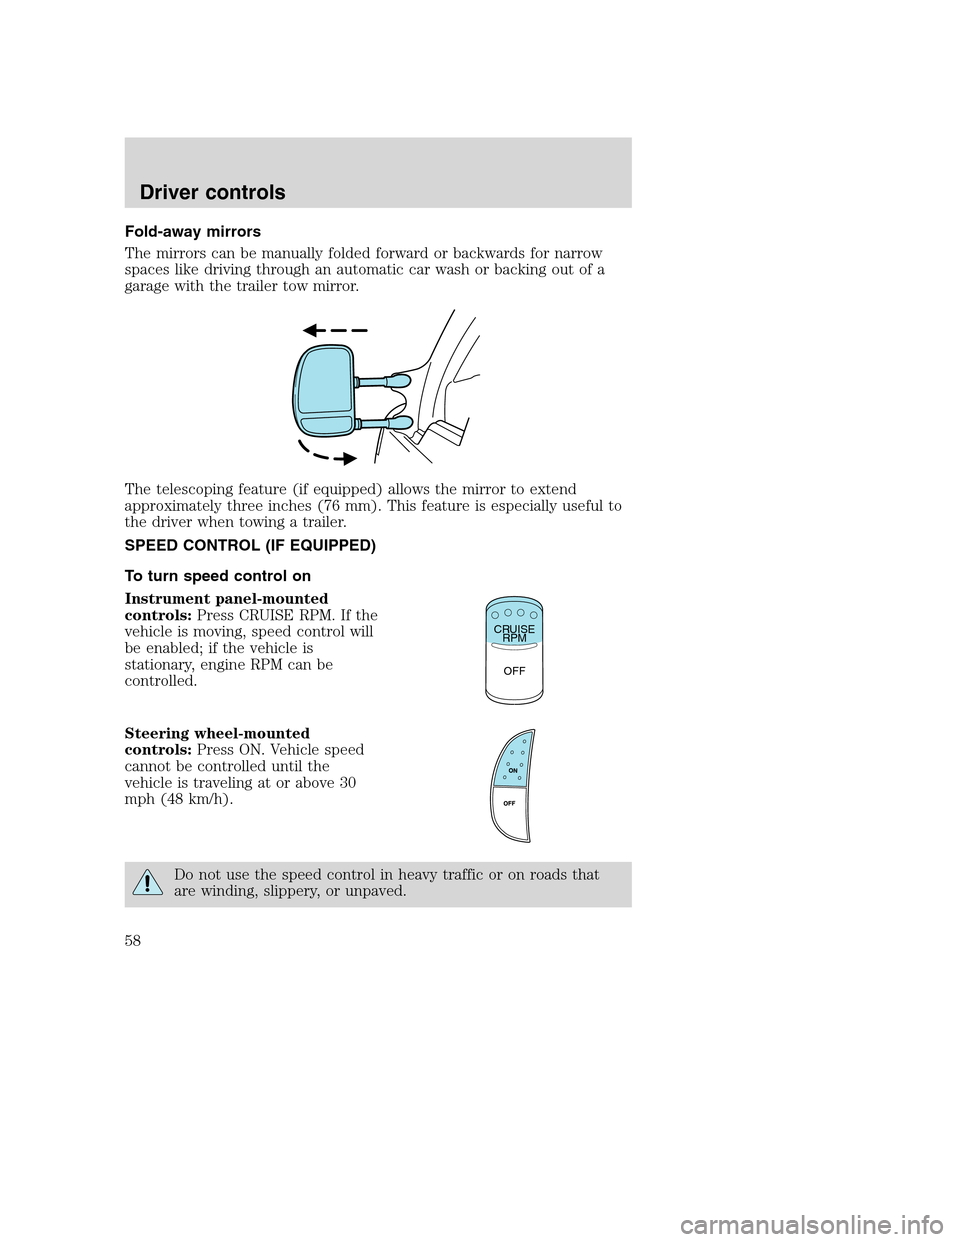
Fold-away mirrors
The mirrors can be manually folded forward or backwards for narrow
spaces like driving through an automatic car wash or backing out of a
garage with the trailer tow mirror.
The telescoping feature (if equipped) allows the mirror to extend
approximately three inches (76 mm). This feature is especially useful to
the driver when towing a trailer.
SPEED CONTROL (IF EQUIPPED)
To turn speed control on
Instrument panel-mounted
controls:Press CRUISE RPM. If the
vehicle is moving, speed control will
be enabled; if the vehicle is
stationary, engine RPM can be
controlled.
Steering wheel-mounted
controls:Press ON. Vehicle speed
cannot be controlled until the
vehicle is traveling at or above 30
mph (48 km/h).
Do not use the speed control in heavy traffic or on roads that
are winding, slippery, or unpaved.
CRUISE
RPM
OFF
Driver controls
58
Page 59 of 272
Do not shift the gearshift lever into N (Neutral) with the speed
control on.
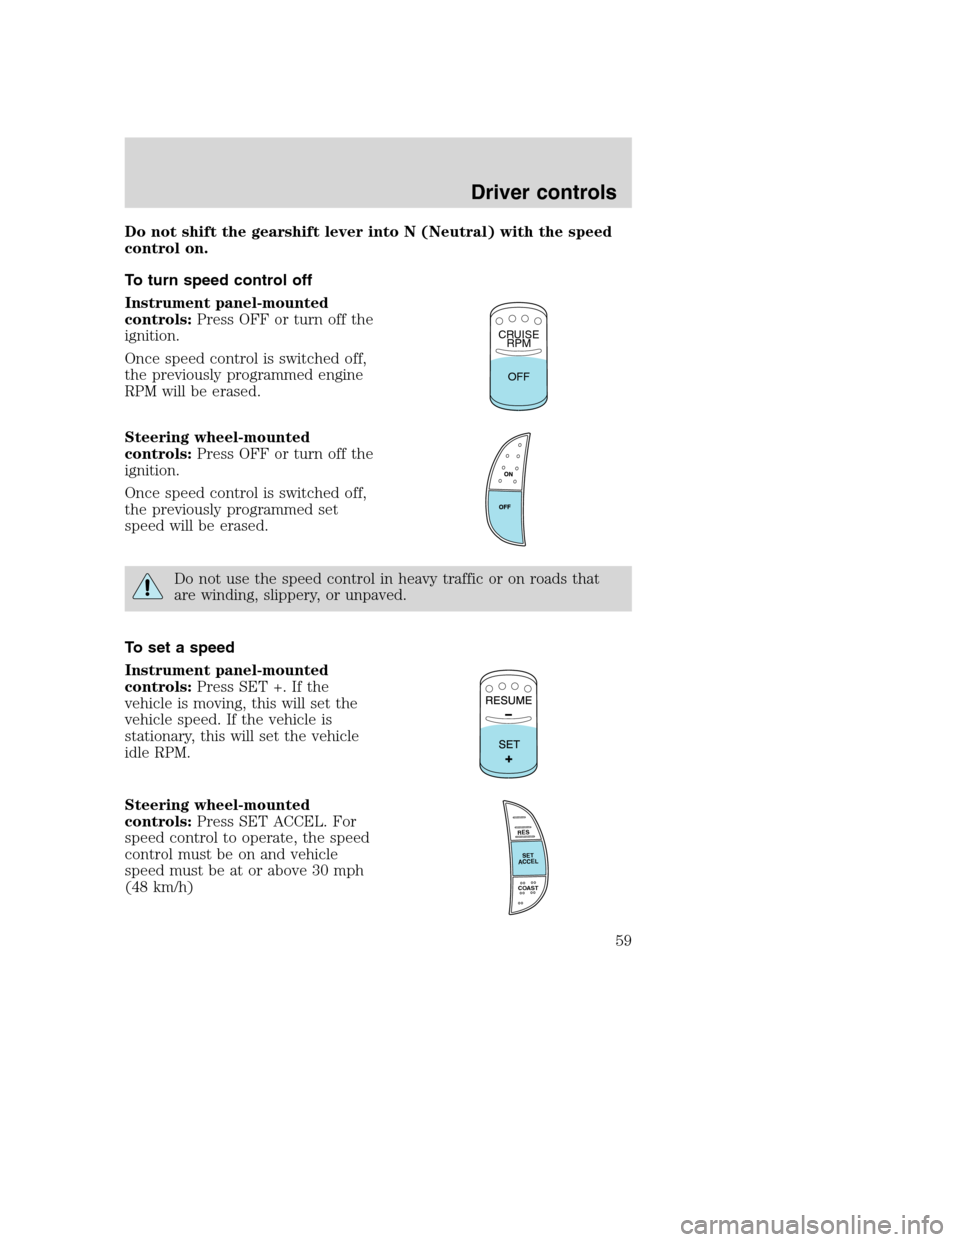
To turn speed control off
Instrument panel-mounted
controls:Press OFF or turn off the
ignition.
Once speed control is switched off,
the previously programmed engine
RPM will be erased.
Steering wheel-mounted
controls:Press OFF or turn off the
ignition.
Once speed control is switched off,
the previously programmed set
speed will be erased.
Do not use the speed control in heavy traffic or on roads that
are winding, slippery, or unpaved.
To set a speed
Instrument panel-mounted
controls:Press SET +. If the
vehicle is moving, this will set the
vehicle speed. If the vehicle is
stationary, this will set the vehicle
idle RPM.
Steering wheel-mounted
controls:Press SET ACCEL. For
speed control to operate, the speed
control must be on and vehicle
speed must be at or above 30 mph
(48 km/h)
CRUISE
RPM
OFF
RES
SET
ACCEL
COAST
Driver controls
59
Page 60 of 272
If you drive up or down a steep hill, your vehicle speed may vary
momentarily slower or faster than the set speed; this is normal.
Speed control cannot reduce the vehicle speed if it increases above the
set speed on a downhill. If your vehicle speed is faster than the set
speed while driving on a downhill, you may want to shift to the next
lower gear or apply the brakes to reduce your vehicle speed.
If the vehicle speed falls below 30 mph (48 km/h) or engine RPM falls
below 1,000 RPM, your speed control will disengage; this is normal.
Pressing RESUME - (instrument panel-mounted controls) or RES
(steering wheel-mounted controls) will re-engage it.
Do not use the speed control in heavy traffic or on roads that
are winding, slippery, or unpaved.
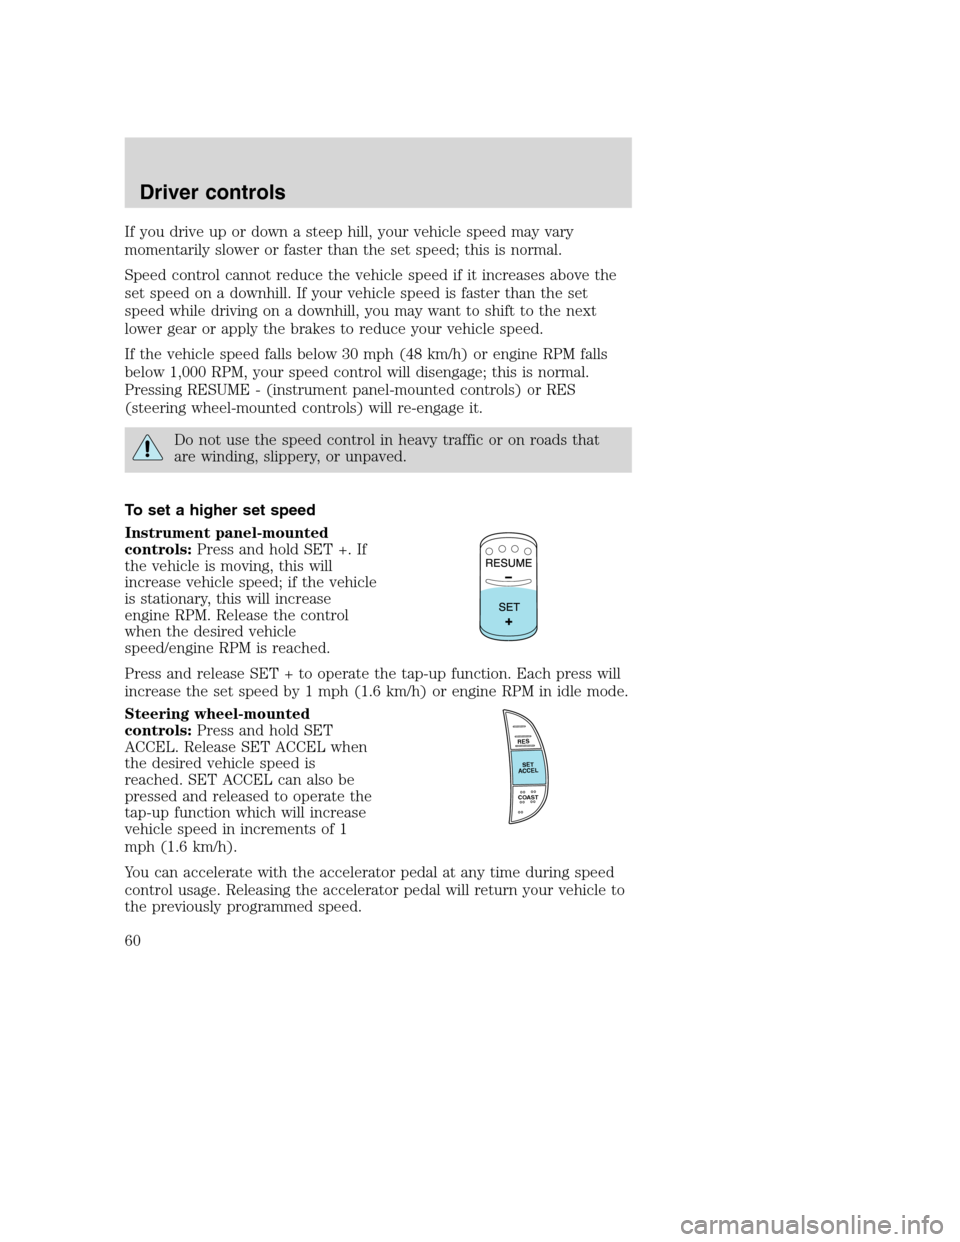
To set a higher set speed
Instrument panel-mounted
controls:Press and hold SET +. If
the vehicle is moving, this will
increase vehicle speed; if the vehicle
is stationary, this will increase
engine RPM. Release the control
when the desired vehicle
speed/engine RPM is reached.
Press and release SET + to operate the tap-up function. Each press will
increase the set speed by 1 mph (1.6 km/h) or engine RPM in idle mode.
Steering wheel-mounted
controls:Press and hold SET
ACCEL. Release SET ACCEL when
the desired vehicle speed is
reached. SET ACCEL can also be
pressed and released to operate the
tap-up function which will increase
vehicle speed in increments of 1
mph (1.6 km/h).
You can accelerate with the accelerator pedal at any time during speed
control usage. Releasing the accelerator pedal will return your vehicle to
the previously programmed speed.
RES
SET
ACCEL
COAST
Driver controls
60
Page 61 of 272
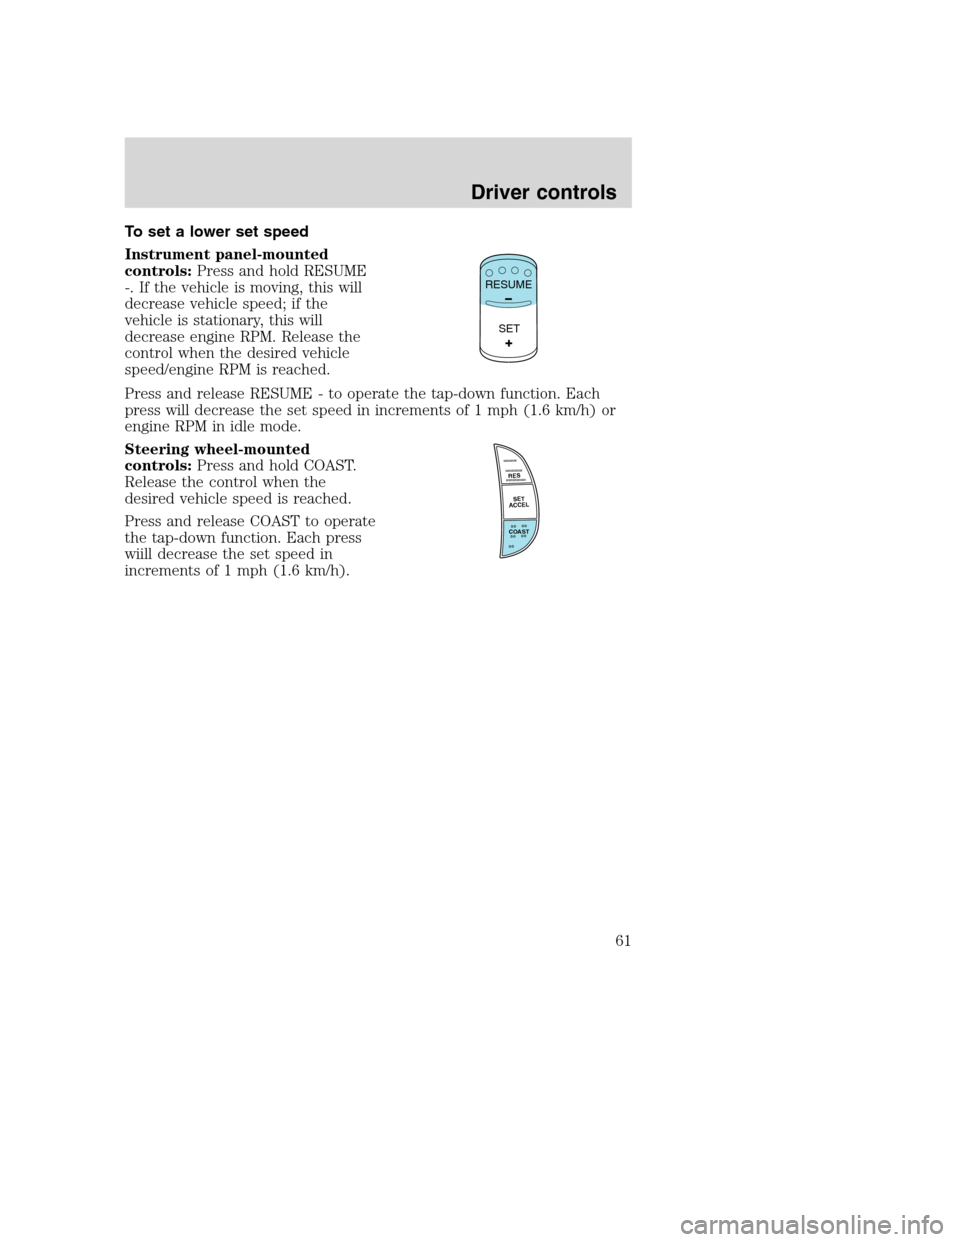
To set a lower set speed
Instrument panel-mounted
controls:Press and hold RESUME
-. If the vehicle is moving, this will
decrease vehicle speed; if the
vehicle is stationary, this will
decrease engine RPM. Release the
control when the desired vehicle
speed/engine RPM is reached.
Press and release RESUME - to operate the tap-down function. Each
press will decrease the set speed in increments of 1 mph (1.6 km/h) or
engine RPM in idle mode.
Steering wheel-mounted
controls:Press and hold COAST.
Release the control when the
desired vehicle speed is reached.
Press and release COAST to operate
the tap-down function. Each press
wiill decrease the set speed in
increments of 1 mph (1.6 km/h).
SET RESUME
RES
SET
ACCEL
COAST
Driver controls
61