key FORD F750 2009 12.G Owners Manual
[x] Cancel search | Manufacturer: FORD, Model Year: 2009, Model line: F750, Model: FORD F750 2009 12.GPages: 276, PDF Size: 1.75 MB
Page 1 of 276
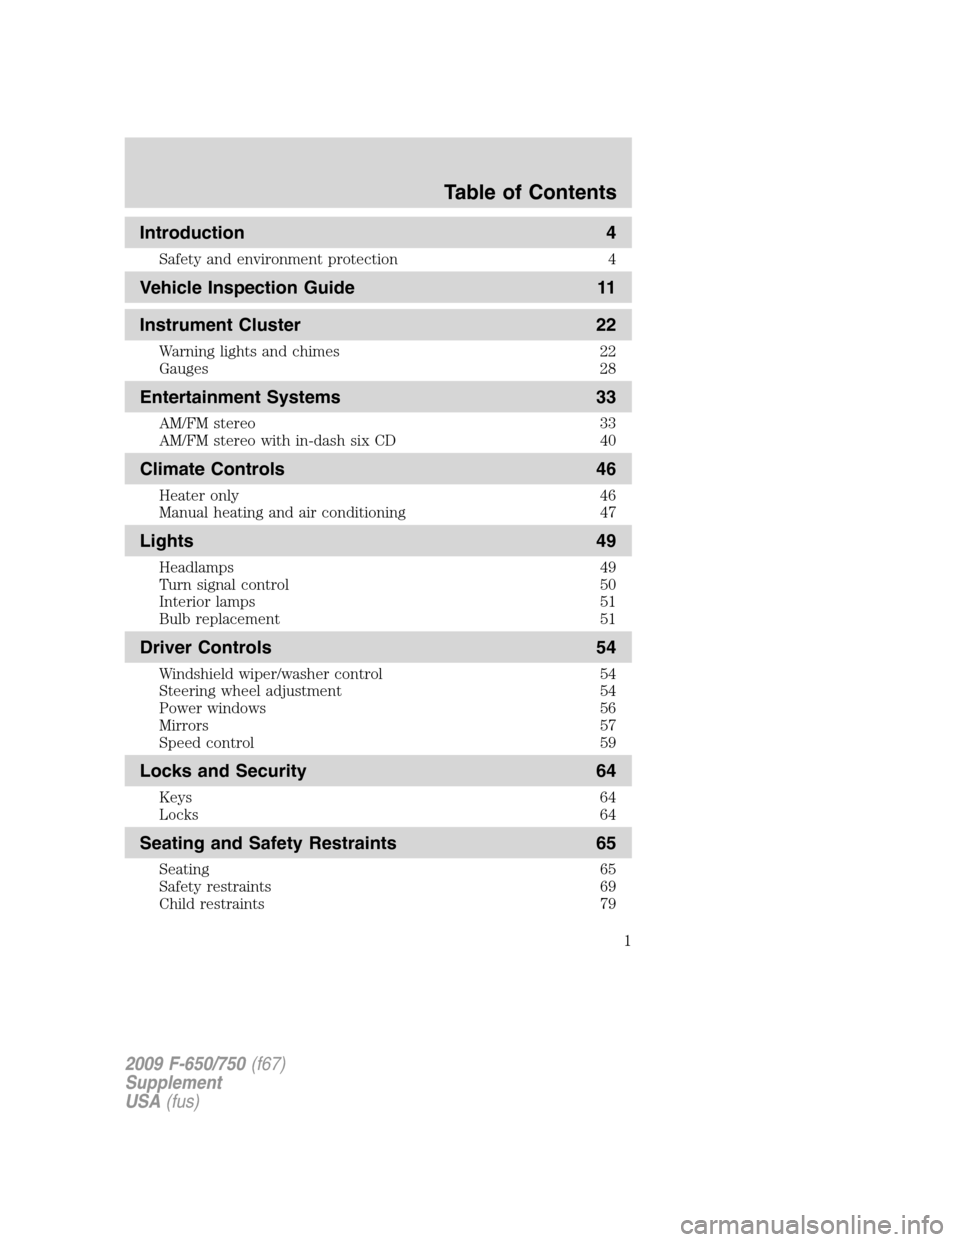
Introduction 4
Safety and environment protection 4
Vehicle Inspection Guide 11
Instrument Cluster 22
Warning lights and chimes 22
Gauges 28
Entertainment Systems 33
AM/FM stereo 33
AM/FM stereo with in-dash six CD 40
Climate Controls 46
Heater only 46
Manual heating and air conditioning 47
Lights 49
Headlamps 49
Turn signal control 50
Interior lamps 51
Bulb replacement 51
Driver Controls 54
Windshield wiper/washer control 54
Steering wheel adjustment 54
Power windows 56
Mirrors 57
Speed control 59
Locks and Security 64
Keys 64
Locks 64
Seating and Safety Restraints 65
Seating 65
Safety restraints 69
Child restraints 79
Table of Contents
1
2009 F-650/750(f67)
Supplement
USA(fus)
Page 13 of 276
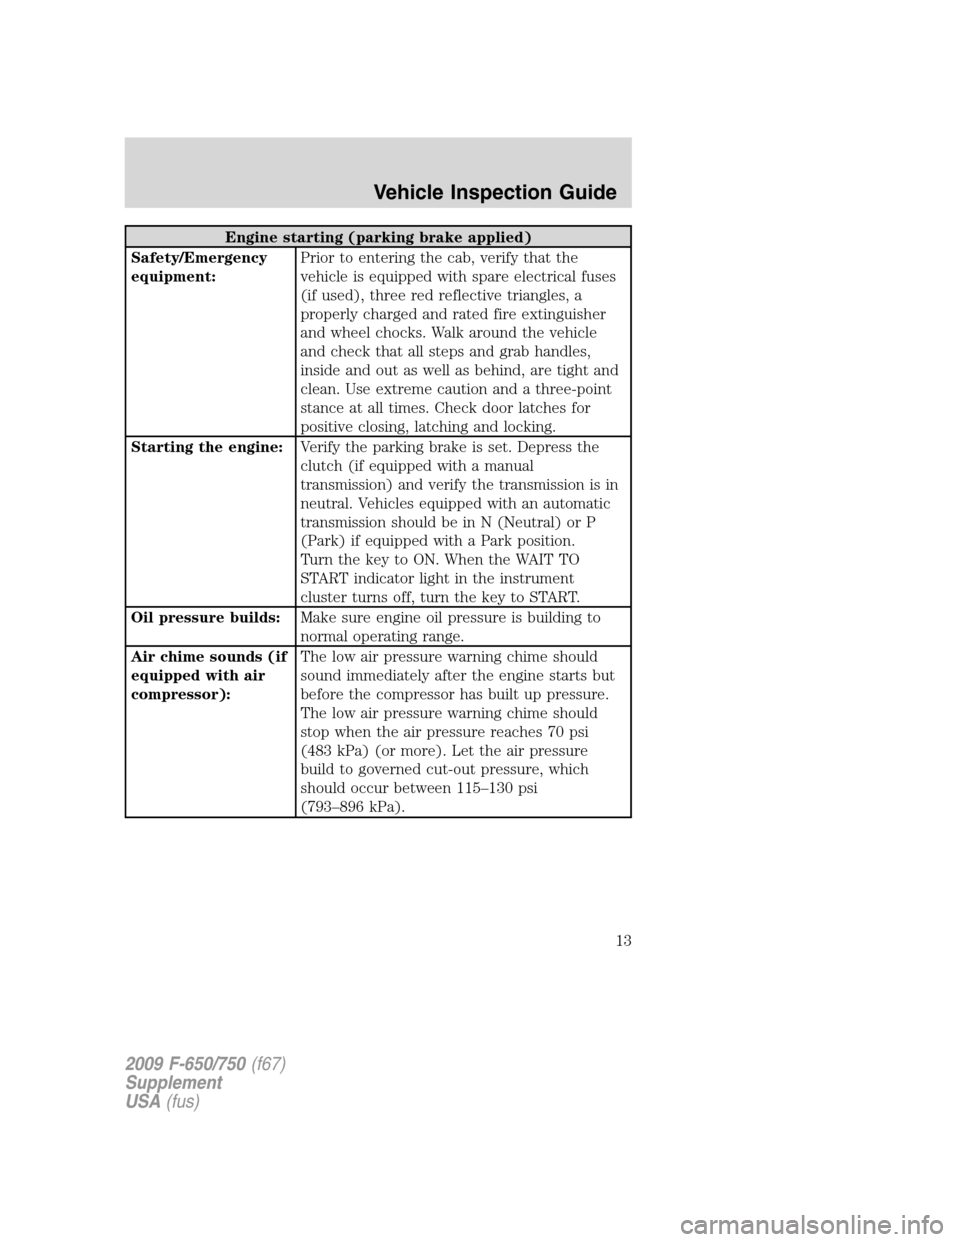
Engine starting (parking brake applied)
Safety/Emergency
equipment:Prior to entering the cab, verify that the
vehicle is equipped with spare electrical fuses
(if used), three red reflective triangles, a
properly charged and rated fire extinguisher
and wheel chocks. Walk around the vehicle
and check that all steps and grab handles,
inside and out as well as behind, are tight and
clean. Use extreme caution and a three-point
stance at all times. Check door latches for
positive closing, latching and locking.
Starting the engine:Verify the parking brake is set. Depress the
clutch (if equipped with a manual
transmission) and verify the transmission is in
neutral. Vehicles equipped with an automatic
transmission should be in N (Neutral) or P
(Park) if equipped with a Park position.
Turn the key to ON. When the WAIT TO
START indicator light in the instrument
cluster turns off, turn the key to START.
Oil pressure builds:Make sure engine oil pressure is building to
normal operating range.
Air chime sounds (if
equipped with air
compressor):The low air pressure warning chime should
sound immediately after the engine starts but
before the compressor has built up pressure.
The low air pressure warning chime should
stop when the air pressure reaches 70 psi
(483 kPa) (or more). Let the air pressure
build to governed cut-out pressure, which
should occur between 115–130 psi
(793–896 kPa).
2009 F-650/750(f67)
Supplement
USA(fus)
Vehicle Inspection Guide
13
Page 15 of 276
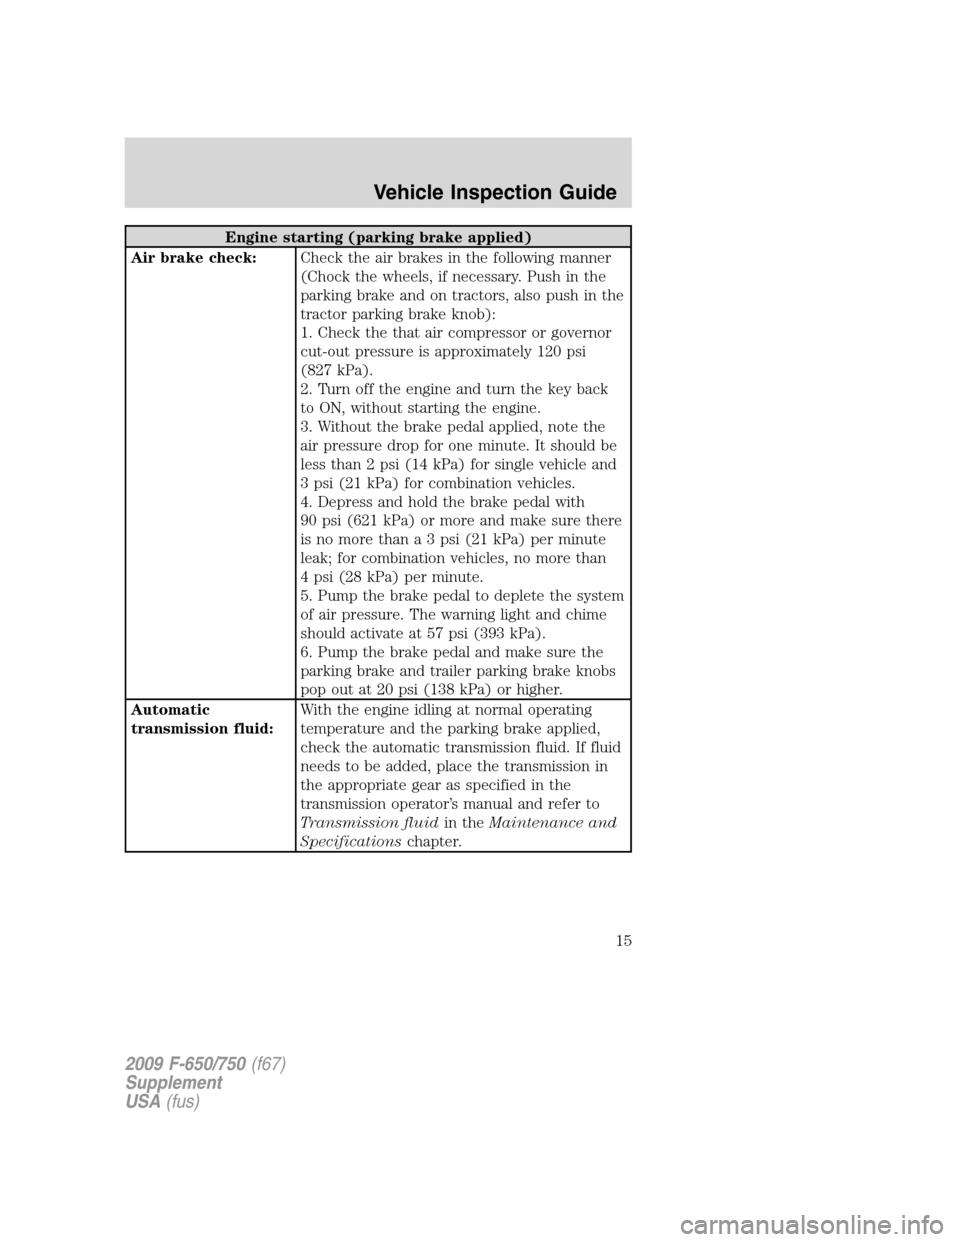
Engine starting (parking brake applied)
Air brake check:Check the air brakes in the following manner
(Chock the wheels, if necessary. Push in the
parking brake and on tractors, also push in the
tractor parking brake knob):
1. Check the that air compressor or governor
cut-out pressure is approximately 120 psi
(827 kPa).
2. Turn off the engine and turn the key back
to ON, without starting the engine.
3. Without the brake pedal applied, note the
air pressure drop for one minute. It should be
less than 2 psi (14 kPa) for single vehicle and
3 psi (21 kPa) for combination vehicles.
4. Depress and hold the brake pedal with
90 psi (621 kPa) or more and make sure there
is no more than a 3 psi (21 kPa) per minute
leak; for combination vehicles, no more than
4 psi (28 kPa) per minute.
5. Pump the brake pedal to deplete the system
of air pressure. The warning light and chime
should activate at 57 psi (393 kPa).
6. Pump the brake pedal and make sure the
parking brake and trailer parking brake knobs
pop out at 20 psi (138 kPa) or higher.
Automatic
transmission fluid:With the engine idling at normal operating
temperature and the parking brake applied,
check the automatic transmission fluid. If fluid
needs to be added, place the transmission in
the appropriate gear as specified in the
transmission operator’s manual and refer to
Transmission fluidin theMaintenance and
Specificationschapter.
2009 F-650/750(f67)
Supplement
USA(fus)
Vehicle Inspection Guide
15
Page 16 of 276
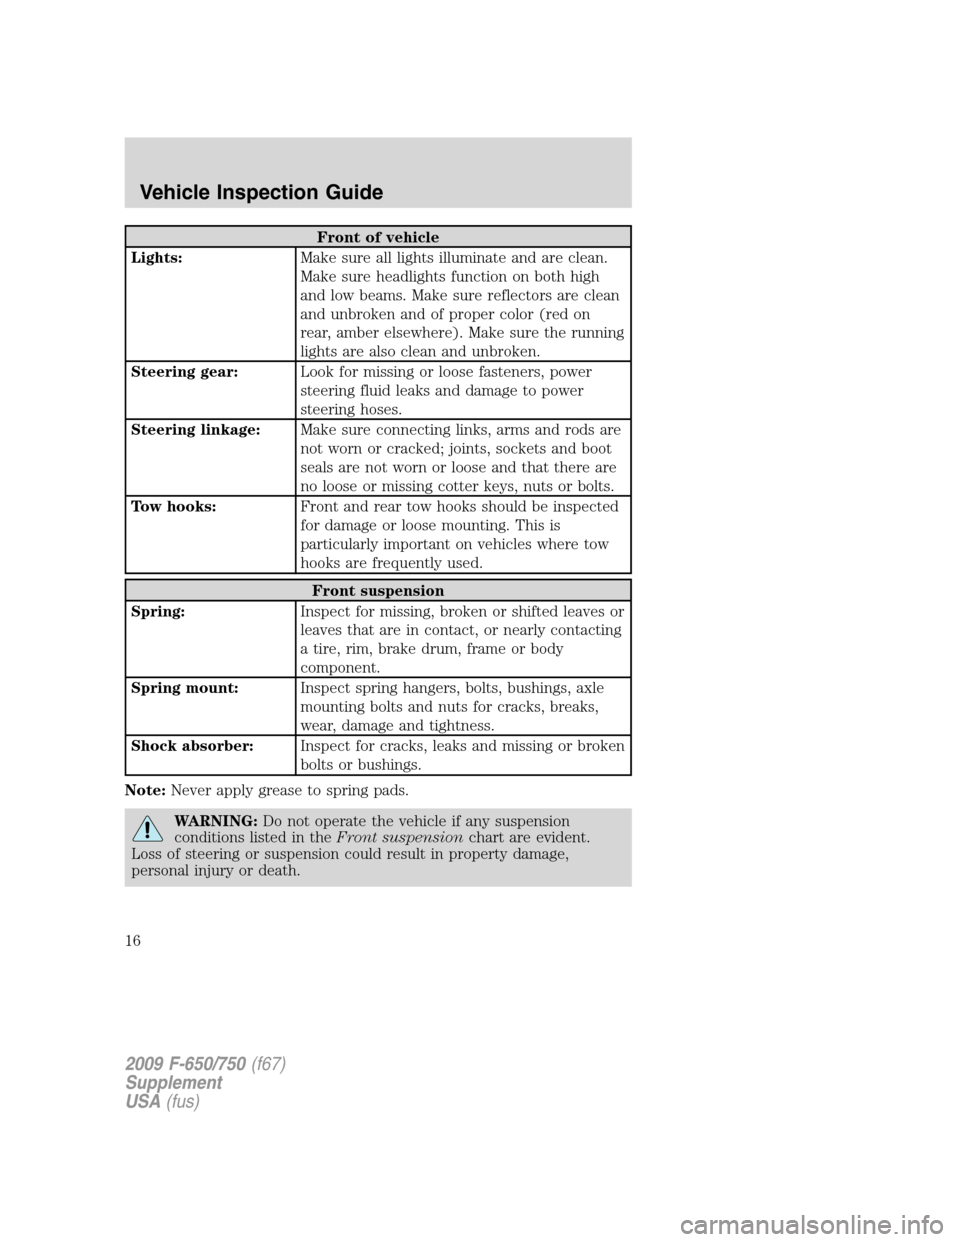
Front of vehicle
Lights:Make sure all lights illuminate and are clean.
Make sure headlights function on both high
and low beams. Make sure reflectors are clean
and unbroken and of proper color (red on
rear, amber elsewhere). Make sure the running
lights are also clean and unbroken.
Steering gear:Look for missing or loose fasteners, power
steering fluid leaks and damage to power
steering hoses.
Steering linkage:Make sure connecting links, arms and rods are
not worn or cracked; joints, sockets and boot
seals are not worn or loose and that there are
no loose or missing cotter keys, nuts or bolts.
Tow hooks:Front and rear tow hooks should be inspected
for damage or loose mounting. This is
particularly important on vehicles where tow
hooks are frequently used.
Front suspension
Spring:Inspect for missing, broken or shifted leaves or
leaves that are in contact, or nearly contacting
a tire, rim, brake drum, frame or body
component.
Spring mount:Inspect spring hangers, bolts, bushings, axle
mounting bolts and nuts for cracks, breaks,
wear, damage and tightness.
Shock absorber:Inspect for cracks, leaks and missing or broken
bolts or bushings.
Note:Never apply grease to spring pads.
WARNING:Do not operate the vehicle if any suspension
conditions listed in theFront suspensionchart are evident.
Loss of steering or suspension could result in property damage,
personal injury or death.
2009 F-650/750(f67)
Supplement
USA(fus)
Vehicle Inspection Guide
16
Page 27 of 276
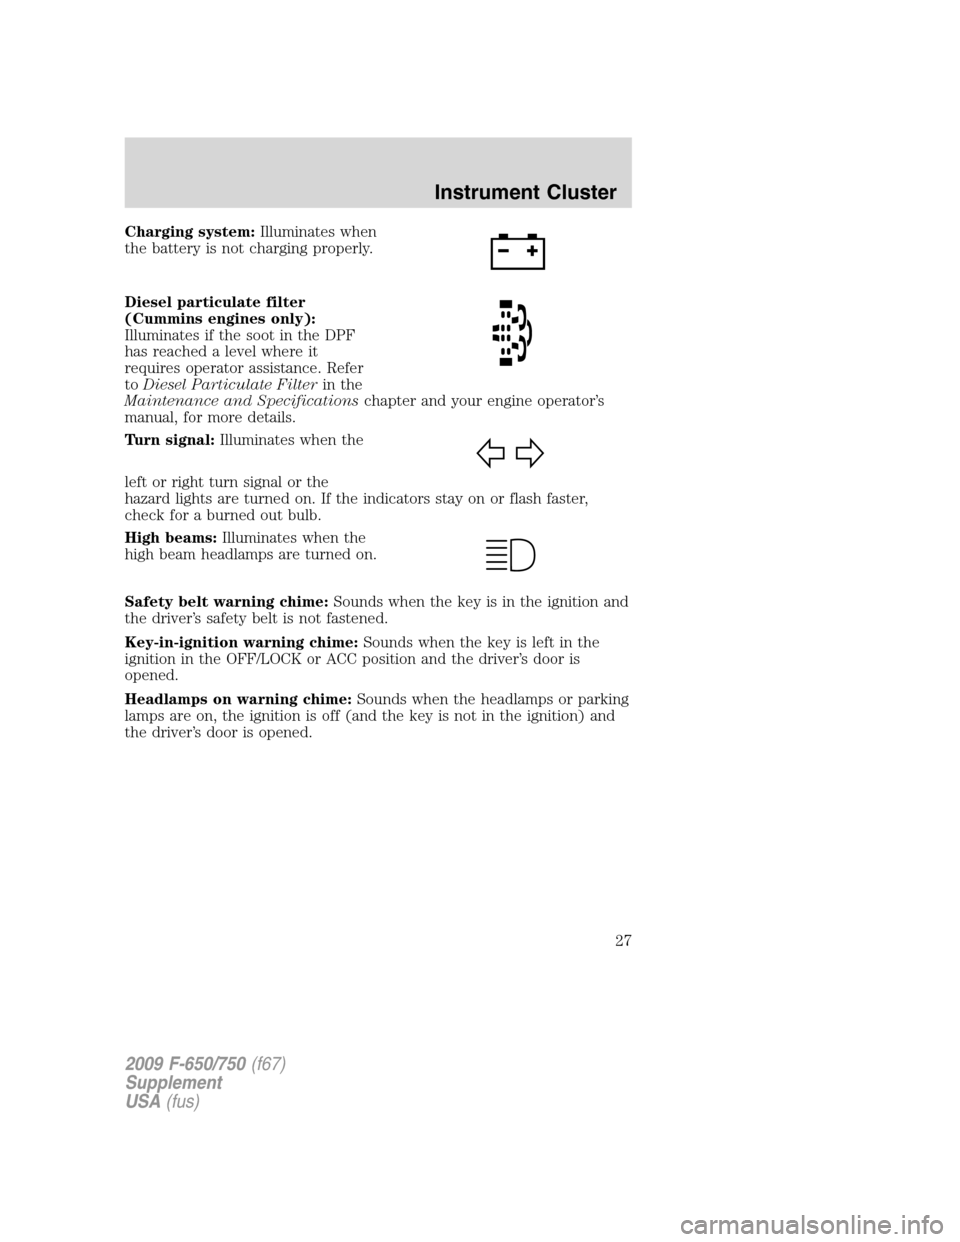
Charging system:Illuminates when
the battery is not charging properly.
Diesel particulate filter
(Cummins engines only):
Illuminates if the soot in the DPF
has reached a level where it
requires operator assistance. Refer
toDiesel Particulate Filterin the
Maintenance and Specificationschapter and your engine operator’s
manual, for more details.
Turn signal:Illuminates when the
left or right turn signal or the
hazard lights are turned on. If the indicators stay on or flash faster,
check for a burned out bulb.
High beams:Illuminates when the
high beam headlamps are turned on.
Safety belt warning chime:Sounds when the key is in the ignition and
the driver’s safety belt is not fastened.
Key-in-ignition warning chime:Sounds when the key is left in the
ignition in the OFF/LOCK or ACC position and the driver’s door is
opened.
Headlamps on warning chime:Sounds when the headlamps or parking
lamps are on, the ignition is off (and the key is not in the ignition) and
the driver’s door is opened.
2009 F-650/750(f67)
Supplement
USA(fus)
Instrument Cluster
27
Page 64 of 276
KEYS
The key operates all locks on your vehicle. In case of loss, replacement
keys are available from your dealer.
You should always carry a second key with you in a safe place in case
you require it in an emergency.
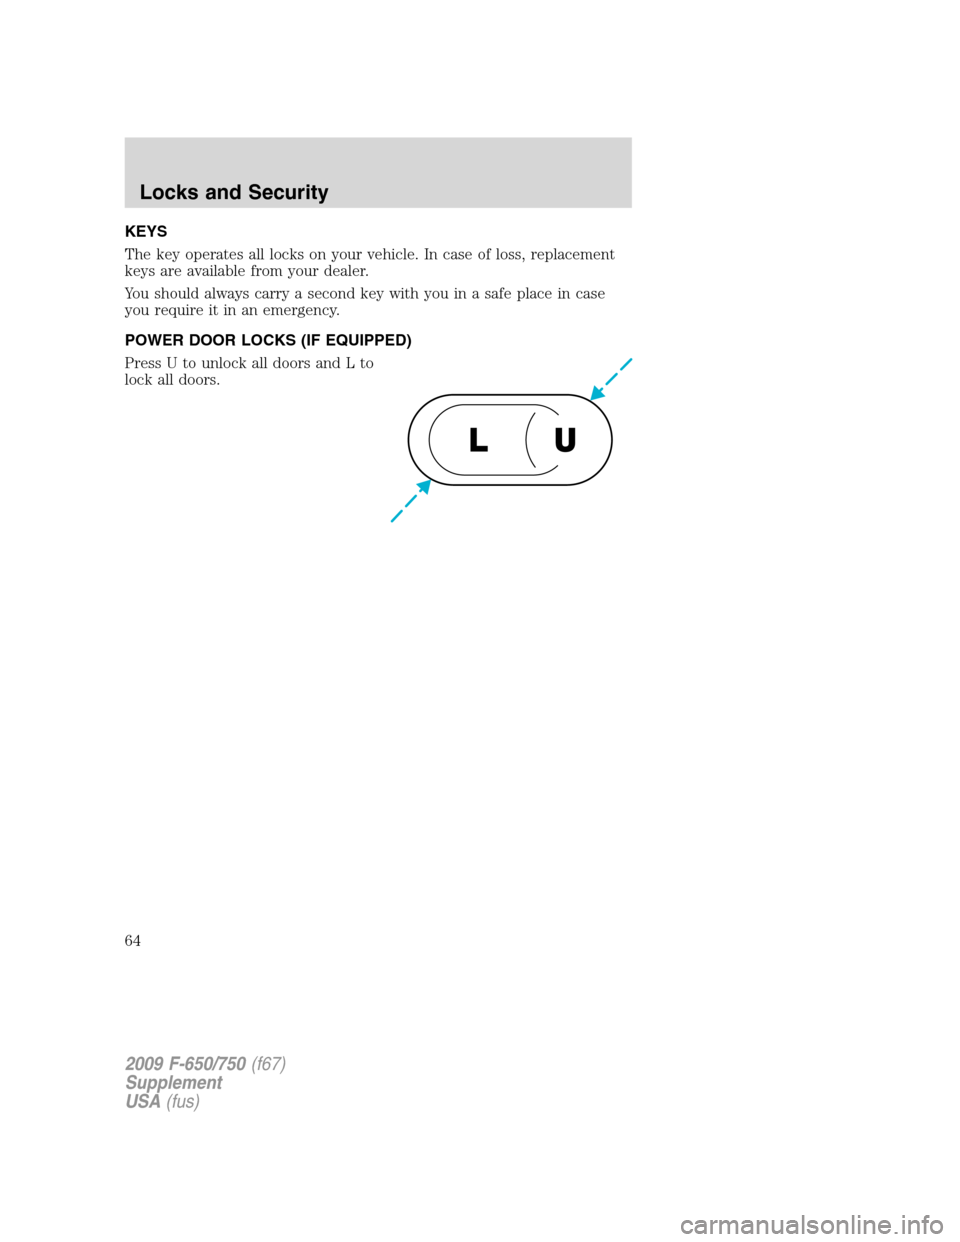
POWER DOOR LOCKS (IF EQUIPPED)
Press U to unlock all doors and L to
lock all doors.
U L
2009 F-650/750(f67)
Supplement
USA(fus)
Locks and Security
64
Page 92 of 276

STARTING
Positions of the ignition
1. ACCESSORY, allows the electrical
accessories such as the radio to
operate while the engine is not
running.
2. LOCK, locks the steering wheel,
automatic transmission gearshift
lever and allows key removal.
3. OFF, shuts off the engine and all
accessories without locking the
steering wheel.
4. ON, all electrical circuits operational. Warning lights illuminated. Key
position when driving.
5. START, cranks the engine. Release the key as soon as the engine
starts.
Starting the engine
WARNING:Operation of a diesel engine near flammable vapors
in the air may cause the engine speed to increase uncontrollably
and over speed. If this situation occurs, mechanical damage, fire,
explosion, personal injury or death could result.Turning off the
ignition key will not slow or stop the engine due to uncontrollable
fueling of the engine through flammable vapors being drawn into
the engine air inlet.Operation of components such as starter,
alternator, electric motors, etc. and static electricity could also ignite
flammable vapors.
Do not operate the truck in the possible presence of flammable vapors
unless both a complete hazard analysis is performed and necessary
additional safety processes and/or equipment such as vapor testing, air
intake shutoff devices, ventilation, etc. are utilized. The operator is
responsible for using those processes and/or equipment to ensure that
the diesel engine and all other components on the truck can be
operated safely under the specific conditions and hazards that may be
encountered.
Note:If equipped with Eaton UltraShift transmission, allow UltraShift to
power up before starting the engine. Engine cranking is delayed until the
transmission power up is complete and the gear display shows a solid N.
3
1
2
5
4
2009 F-650/750(f67)
Supplement
USA(fus)
Driving
92
Page 93 of 276
Note:When starting the engine, do not press the accelerator as engine
damage may result.
1. Ensure headlamps and all accessories are turned off, the parking
brake is applied and the transmission is in the neutral position (or P
[Park] for Allison 2200 transmissions).
2. Turn the key to ON, but do not start the engine.
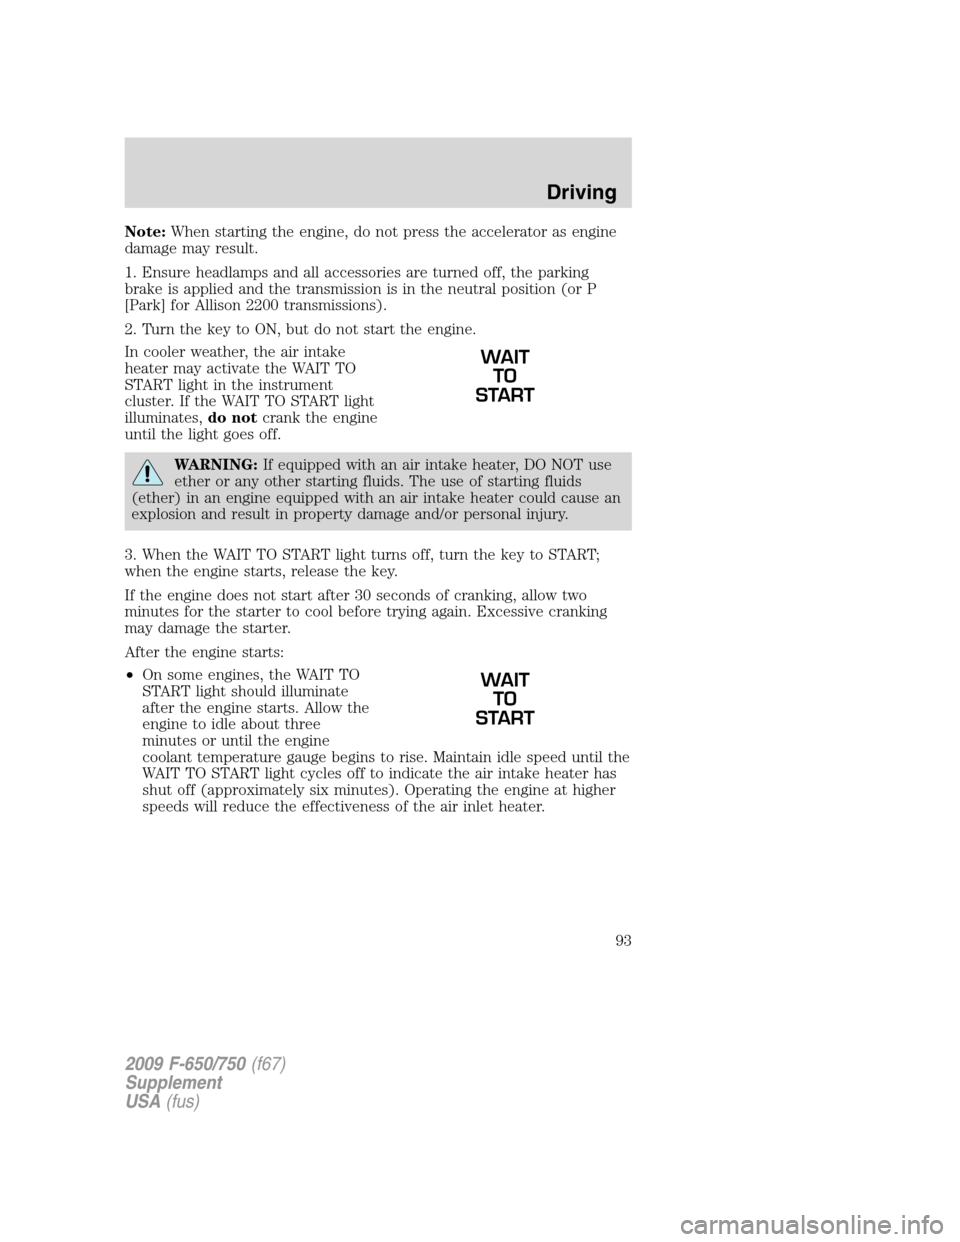
In cooler weather, the air intake
heater may activate the WAIT TO
START light in the instrument
cluster. If the WAIT TO START light
illuminates,do notcrank the engine
until the light goes off.
WARNING:If equipped with an air intake heater, DO NOT use
ether or any other starting fluids. The use of starting fluids
(ether) in an engine equipped with an air intake heater could cause an
explosion and result in property damage and/or personal injury.
3. When the WAIT TO START light turns off, turn the key to START;
when the engine starts, release the key.
If the engine does not start after 30 seconds of cranking, allow two
minutes for the starter to cool before trying again. Excessive cranking
may damage the starter.
After the engine starts:
•On some engines, the WAIT TO
START light should illuminate
after the engine starts. Allow the
engine to idle about three
minutes or until the engine
coolant temperature gauge begins to rise. Maintain idle speed until the
WAIT TO START light cycles off to indicate the air intake heater has
shut off (approximately six minutes). Operating the engine at higher
speeds will reduce the effectiveness of the air inlet heater.
WAIT
TO
START
WAIT
TO
START
2009 F-650/750(f67)
Supplement
USA(fus)
Driving
93
Page 97 of 276
Although OSHA or some governmental regulations may require the use
of an electrical or mechanical back-up alarm to warn bystanders, such an
alarm does not ensure that the intended path is clear. When in doubt,
get out of the vehicle and visually check the intended path is clear;
back-up slowly as to allow others time to move, if necessary.
If an electrical back-up alarm is installed, it should be connected to the
back-up lamp circuit.
Parking your vehicle
Always use the parking brake. When parking on a grade, block the
wheels and turn the front wheels to one side so that if the vehicle rolls,
the front tires will act against the curb to stop the vehicle. The front
wheels will be more effective at stopping a rolling vehicle than the rear
wheels.
WARNING:When parking your vehicle, do not leave the
transmission in gear; if the key is in the ON position and the
vehicle rolls, the engine could start. Failure to follow these instructions
could result in an unattended vehicle moving, possibly causing personal
injury or property damage.
Driving through water
If driving through deep or standing water is unavoidable, proceed very
slowly especially if the depth is not known. Never drive through water
that is higher than the bottom of the hubs. Traction or brake capability
may be limited and your vehicle may stall. Water may also enter your
engine’s air intake and severely damage your engine, drive axles or the
transmission (through the breather ports).
Once through the water, always dry the brakes by moving your vehicle
slowly while applying light pressure on the brake pedal. Wet brakes do
not stop the vehicle as quickly as dry brakes.
ENGINE IDLE SHUTDOWN (IF EQUIPPED)
Your vehicle may be equipped with an Engine Idle Shutdown system.
This system will automatically shut down your engine when it has been
idling in P (Park) or N (Neutral) for five minutes (parking brake set) or
15 minutes (parking brake not set). During the engine idle shutdown
process:
•TheService Engine Soonlight will flash, once per second, for the
final 30 seconds just prior to shutdown.
2009 F-650/750(f67)
Supplement
USA(fus)
Driving
97
Page 98 of 276
•Within the final 30 seconds, the timer can be reset by:
1. changing the position of the accelerator pedal, or
2. changing the brake pedal, clutch pedal, or park brake from engaged
to disengaged or from disengaged to engaged.
•When the timer reaches zero, the engine will shut down.
•In this event, the key remains in the ON (Run) position, and power
continues to be supplied to the accessories.
Battery power may be drained if the key is left in the ON (Run)
position without the engine running.
Note:The engine idle shutdown timer will not start if:
•The engine is operating in power take-off (PTO) mode.
•The engine coolant temperature is below 60° F (16° C).
•The exhaust emission control system is regenerating the diesel
particulate filter (DPF).
ENGINE AUTOMATIC SHUTDOWN WARNING LIGHT OR CHIME
(IF EQUIPPED)
Your vehicle may be equipped with an automatic shutdown feature that
stops the engine in the event of high coolant temperature, low engine oil
pressure, high diesel particulate filter soot loading or low engine coolant
level. A warning light in the instrument cluster and a warning chime will
indicate high engine coolant temperature, low engine oil pressure or the
need to have the diesel particulate filter cleaned or serviced. If the
engine coolant temperature becomes too high, engine oil pressure too
low or the diesel particulate filter too restricted, the engine will
automatically shut down.
If the engine shuts down, it can be restarted and operated for
30 seconds at a time or until the problem is corrected. Do not attempt to
use this restarting feature to drive the vehicle very far as serious engine
damage could result.
WARNING:In the event of engine shutdown, make sure the
vehicle is safely off the road and the problem is remedied prior
to returning to the road. Failure to remove the vehicle from the road
could result in an accident, causing serious injury or death.
GENERAL BRAKE INFORMATION
All standard equipment brakes are designed to be self-adjusting.
Automatic adjustment, when required, occurs whenever the brakes are
applied and released during forward or reverse operation. Refer to the
Scheduled Maintenance Guidechapter for scheduled maintenance.
2009 F-650/750(f67)
Supplement
USA(fus)
Driving
98