brake fluid FORD F750 2012 12.G Owners Manual
[x] Cancel search | Manufacturer: FORD, Model Year: 2012, Model line: F750, Model: FORD F750 2012 12.GPages: 306, PDF Size: 1.74 MB
Page 2 of 306
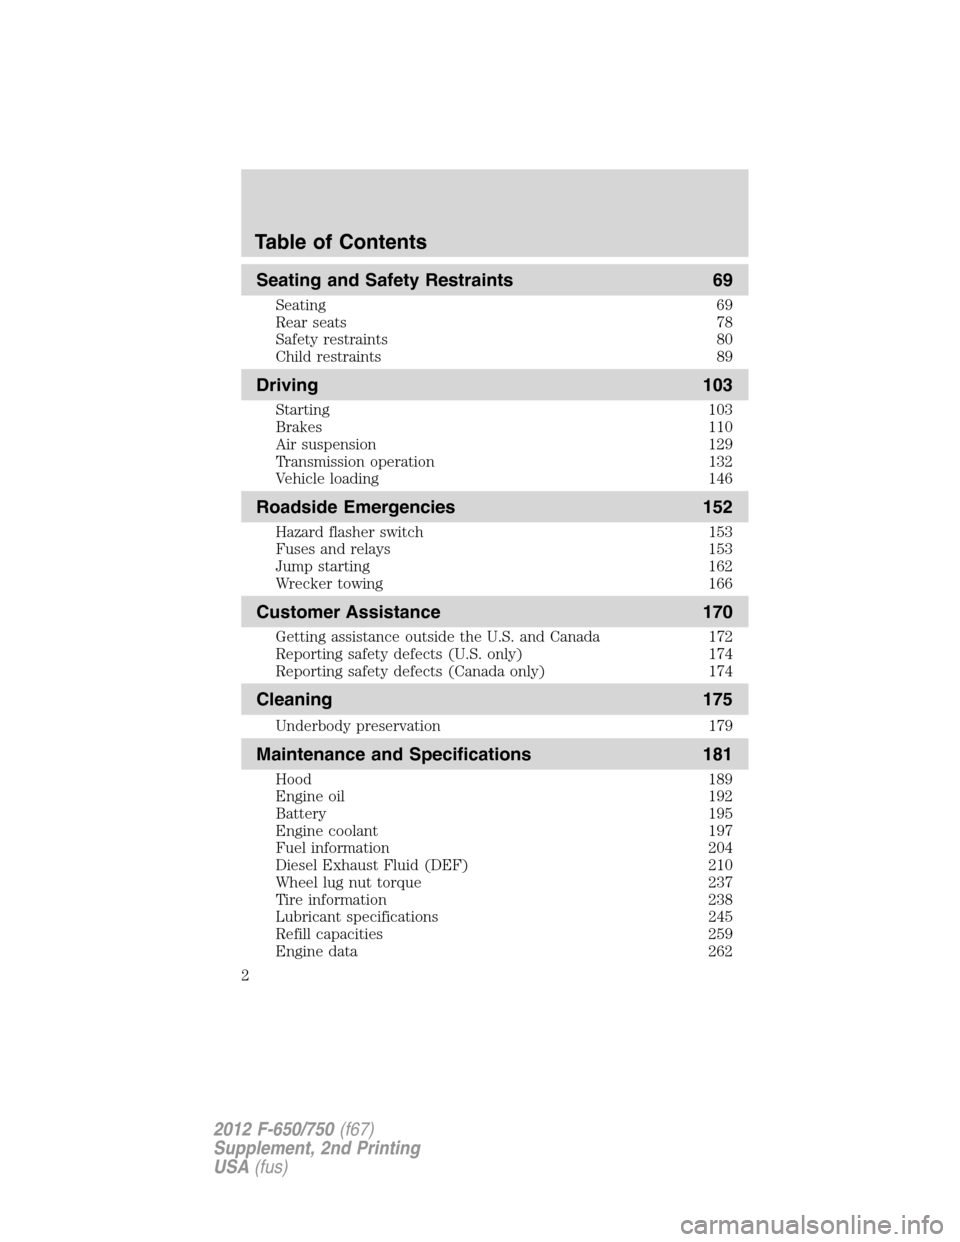
Seating and Safety Restraints 69
Seating 69
Rear seats 78
Safety restraints 80
Child restraints 89
Driving 103
Starting 103
Brakes 110
Air suspension 129
Transmission operation 132
Vehicle loading 146
Roadside Emergencies 152
Hazard flasher switch 153
Fuses and relays 153
Jump starting 162
Wrecker towing 166
Customer Assistance 170
Getting assistance outside the U.S. and Canada 172
Reporting safety defects (U.S. only) 174
Reporting safety defects (Canada only) 174
Cleaning 175
Underbody preservation 179
Maintenance and Specifications 181
Hood 189
Engine oil 192
Battery 195
Engine coolant 197
Fuel information 204
Diesel Exhaust Fluid (DEF) 210
Wheel lug nut torque 237
Tire information 238
Lubricant specifications 245
Refill capacities 259
Engine data 262
Table of Contents
2
2012 F-650/750(f67)
Supplement, 2nd Printing
USA(fus)
Page 8 of 306
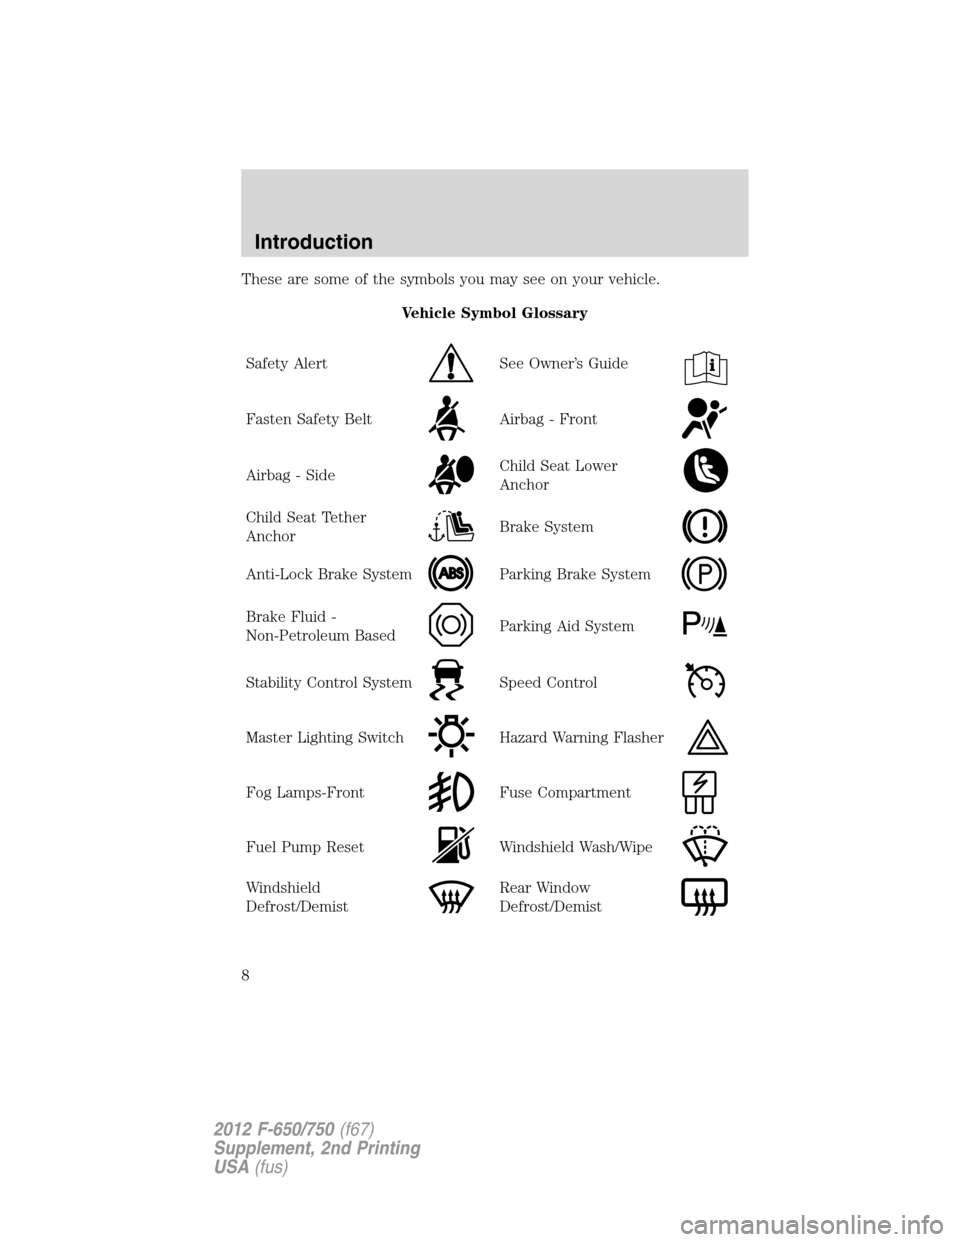
These are some of the symbols you may see on your vehicle.
Vehicle Symbol Glossary
Safety Alert
See Owner’s Guide
Fasten Safety BeltAirbag - Front
Airbag - SideChild Seat Lower
Anchor
Child Seat Tether
AnchorBrake System
Anti-Lock Brake SystemParking Brake System
Brake Fluid -
Non-Petroleum BasedParking Aid System
Stability Control SystemSpeed Control
Master Lighting SwitchHazard Warning Flasher
Fog Lamps-FrontFuse Compartment
Fuel Pump ResetWindshield Wash/Wipe
Windshield
Defrost/DemistRear Window
Defrost/Demist
Introduction
8
2012 F-650/750(f67)
Supplement, 2nd Printing
USA(fus)
Page 10 of 306
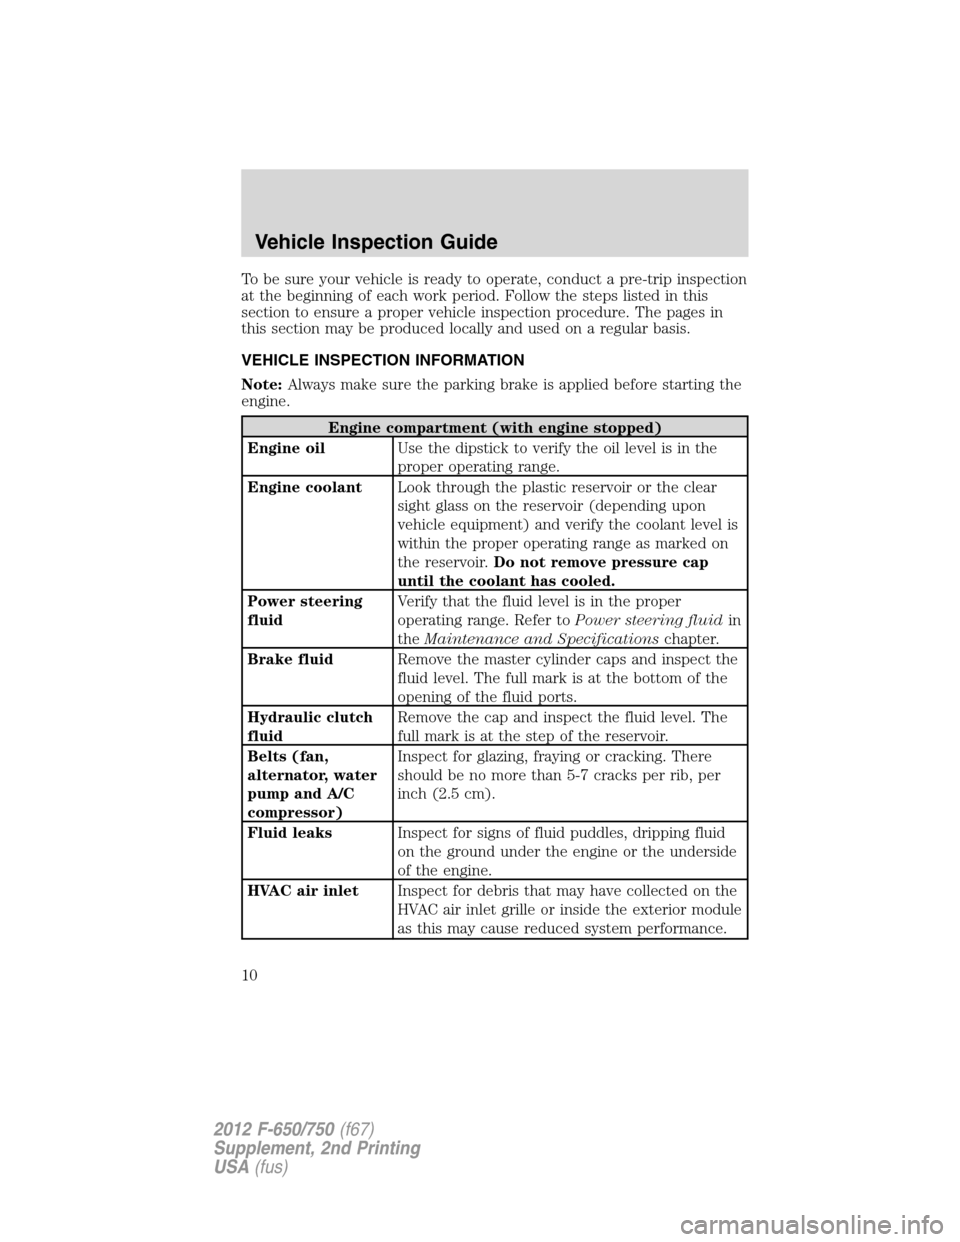
To be sure your vehicle is ready to operate, conduct a pre-trip inspection
at the beginning of each work period. Follow the steps listed in this
section to ensure a proper vehicle inspection procedure. The pages in
this section may be produced locally and used on a regular basis.
VEHICLE INSPECTION INFORMATION
Note:Always make sure the parking brake is applied before starting the
engine.
Engine compartment (with engine stopped)
Engine oilUse the dipstick to verify the oil level is in the
proper operating range.
Engine coolantLook through the plastic reservoir or the clear
sight glass on the reservoir (depending upon
vehicle equipment) and verify the coolant level is
within the proper operating range as marked on
the reservoir.Do not remove pressure cap
until the coolant has cooled.
Power steering
fluidVerify that the fluid level is in the proper
operating range. Refer toPower steering fluidin
theMaintenance and Specificationschapter.
Brake fluidRemove the master cylinder caps and inspect the
fluid level. The full mark is at the bottom of the
opening of the fluid ports.
Hydraulic clutch
fluidRemove the cap and inspect the fluid level. The
full mark is at the step of the reservoir.
Belts (fan,
alternator, water
pump and A/C
compressor)Inspect for glazing, fraying or cracking. There
should be no more than 5-7 cracks per rib, per
inch (2.5 cm).
Fluid leaksInspect for signs of fluid puddles, dripping fluid
on the ground under the engine or the underside
of the engine.
HVAC air inletInspect for debris that may have collected on the
HVAC air inlet grille or inside the exterior module
as this may cause reduced system performance.
Vehicle Inspection Guide
10
2012 F-650/750(f67)
Supplement, 2nd Printing
USA(fus)
Page 13 of 306
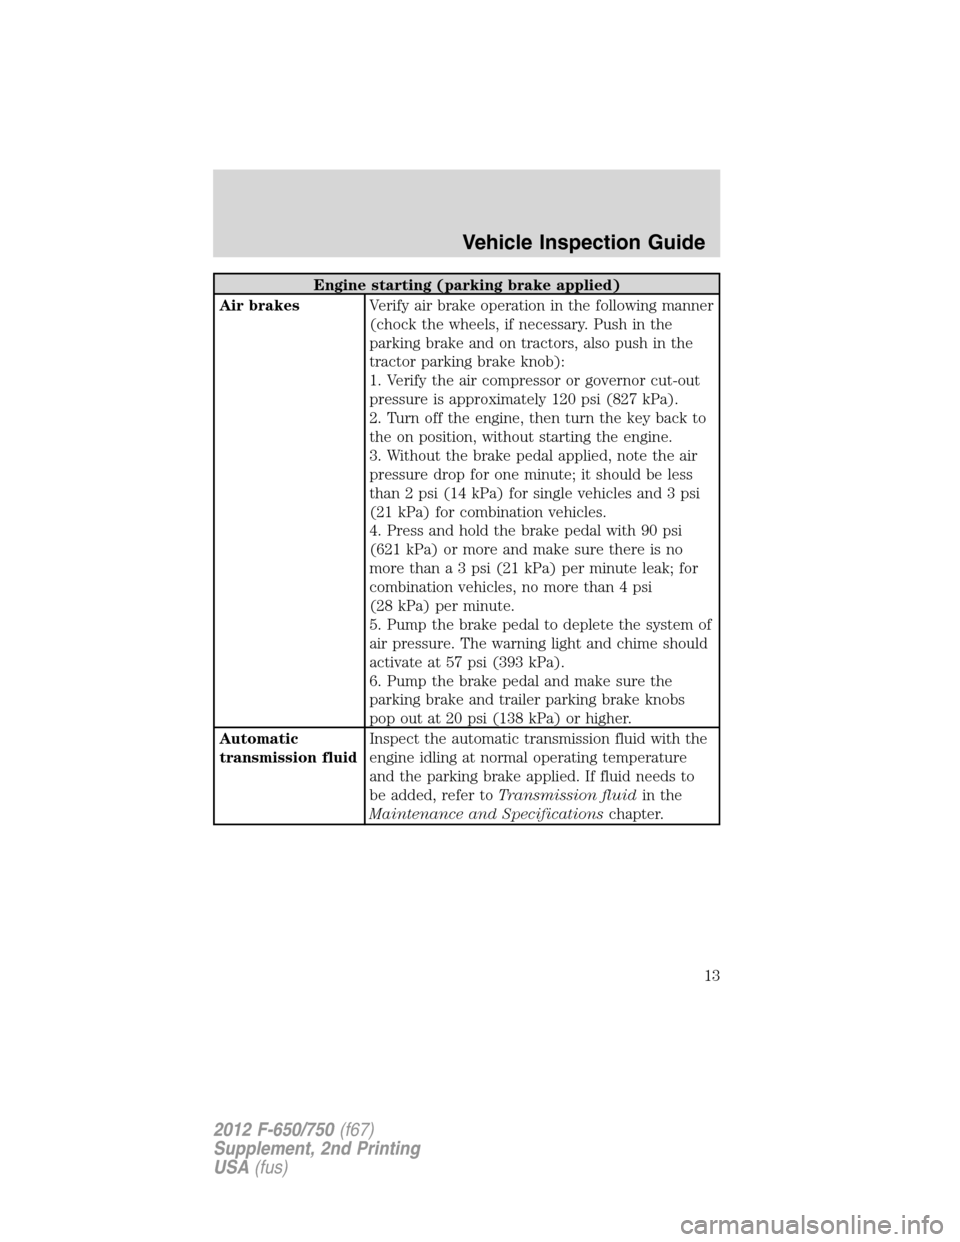
Engine starting (parking brake applied)
Air brakesVerify air brake operation in the following manner
(chock the wheels, if necessary. Push in the
parking brake and on tractors, also push in the
tractor parking brake knob):
1. Verify the air compressor or governor cut-out
pressure is approximately 120 psi (827 kPa).
2. Turn off the engine, then turn the key back to
the on position, without starting the engine.
3. Without the brake pedal applied, note the air
pressure drop for one minute; it should be less
than 2 psi (14 kPa) for single vehicles and 3 psi
(21 kPa) for combination vehicles.
4. Press and hold the brake pedal with 90 psi
(621 kPa) or more and make sure there is no
more than a 3 psi (21 kPa) per minute leak; for
combination vehicles, no more than 4 psi
(28 kPa) per minute.
5. Pump the brake pedal to deplete the system of
air pressure. The warning light and chime should
activate at 57 psi (393 kPa).
6. Pump the brake pedal and make sure the
parking brake and trailer parking brake knobs
pop out at 20 psi (138 kPa) or higher.
Automatic
transmission fluidInspect the automatic transmission fluid with the
engine idling at normal operating temperature
and the parking brake applied. If fluid needs to
be added, refer toTransmission fluidin the
Maintenance and Specificationschapter.
Vehicle Inspection Guide
13
2012 F-650/750(f67)
Supplement, 2nd Printing
USA(fus)
Page 14 of 306
Front of vehicle
LightsVerify all lights illuminate and are clean,
headlights function (on high and low beam),
reflectors are clean, unbroken and of proper color
(red on rear, amber elsewhere) and running
lights are also clean and unbroken.
Steering gearInspect for missing or loose fasteners, power
steering fluid leaks and damage to power steering
hoses.
Steering linkageVerify connecting links, arms and rods are not
worn or cracked, joints, sockets and boot seals
are not worn or loose and that there are no loose
or missing cotter keys, nuts or bolts.
Tow hooksInspect front and rear tow hooks for damage or
loose mounting; this is particularly important on
vehicles where they are used frequently.
Front suspension
SpringsInspect for missing, broken or shifted leaves or
leaves that are in contact with (or nearly
contacting) a tire, rim, brake drum, frame or
body component.
Spring mountsInspect spring hangers, bolts, bushings, axle
mounting bolts and nuts for cracks, breaks, wear,
damage and tightness.
Shock absorbersInspect for cracks, leaks and missing or broken
bolts or bushings.
Note:Never apply grease to spring pads.
WARNING:Do not operate the vehicle if any suspension
conditions listed in theFront suspensionchart are evident.
Loss of steering or suspension could result in property damage,
personal injury or death.
Vehicle Inspection Guide
14
2012 F-650/750(f67)
Supplement, 2nd Printing
USA(fus)
Page 19 of 306
Rear wheels
SpacersVerify dual wheels are evenly separated and that
tires are not touching one another.
RimsInspect for damaged or bent rims. Rims should
not have welding repairs and no rust trails that
indicate it is loose on the wheel.
Lug nutsVerify all lug nuts are present and not loose (look
for rust trails around the lug nuts); there should
be no cracks radiating from the lug bolt holes or
distortion of the bolt holes.
Trailer
If you are pulling a trailer, an inspection of the trailer similar to that of
the tractor should be done. The inspection should follow trailer
manufacturer recommendations and should include at a minimum:
general condition, landing gear, doors, sides, lights, reflectors,
suspension, brakes, tires, wheels, cargo placement, stability and
tie-downs.
Transmission
If your vehicle is equipped with an automatic transmission, regularly
inspect the transmission’s neutral start switch. The engine should only
start in the N (Neutral) or P (Park) positions.
WARNING:If the unit starts in gear and/or the neutral start
switch is not functioning correctly, the vehicle may inadvertently
move which could result in property damage, personal injury or death.
Inspect the transmission fluid level and shift linkage for proper
operation.
Vehicle Inspection Guide
19
2012 F-650/750(f67)
Supplement, 2nd Printing
USA(fus)
Page 21 of 306
when you start your vehicle to make sure the bulb works. If any light
remains on after starting the vehicle, refer to the respective system
warning light for additional information.
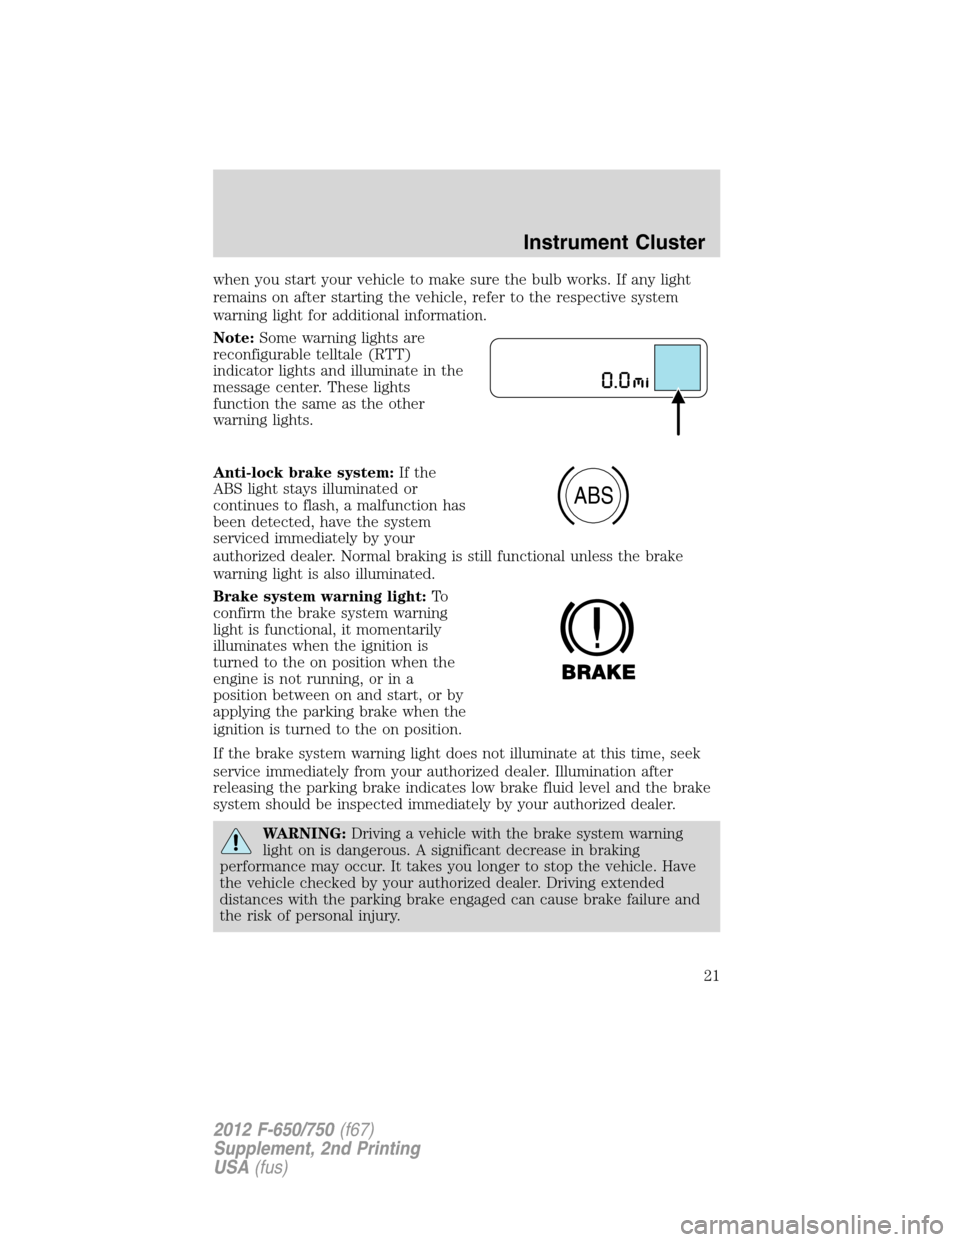
Note:Some warning lights are
reconfigurable telltale (RTT)
indicator lights and illuminate in the
message center. These lights
function the same as the other
warning lights.
Anti-lock brake system:If the
ABS light stays illuminated or
continues to flash, a malfunction has
been detected, have the system
serviced immediately by your
authorized dealer. Normal braking is still functional unless the brake
warning light is also illuminated.
Brake system warning light:To
confirm the brake system warning
light is functional, it momentarily
illuminates when the ignition is
turned to the on position when the
engine is not running, or in a
position between on and start, or by
applying the parking brake when the
ignition is turned to the on position.
If the brake system warning light does not illuminate at this time, seek
service immediately from your authorized dealer. Illumination after
releasing the parking brake indicates low brake fluid level and the brake
system should be inspected immediately by your authorized dealer.
WARNING:Driving a vehicle with the brake system warning
light on is dangerous. A significant decrease in braking
performance may occur. It takes you longer to stop the vehicle. Have
the vehicle checked by your authorized dealer. Driving extended
distances with the parking brake engaged can cause brake failure and
the risk of personal injury.
ABS
Instrument Cluster
21
2012 F-650/750(f67)
Supplement, 2nd Printing
USA(fus)
Page 26 of 306
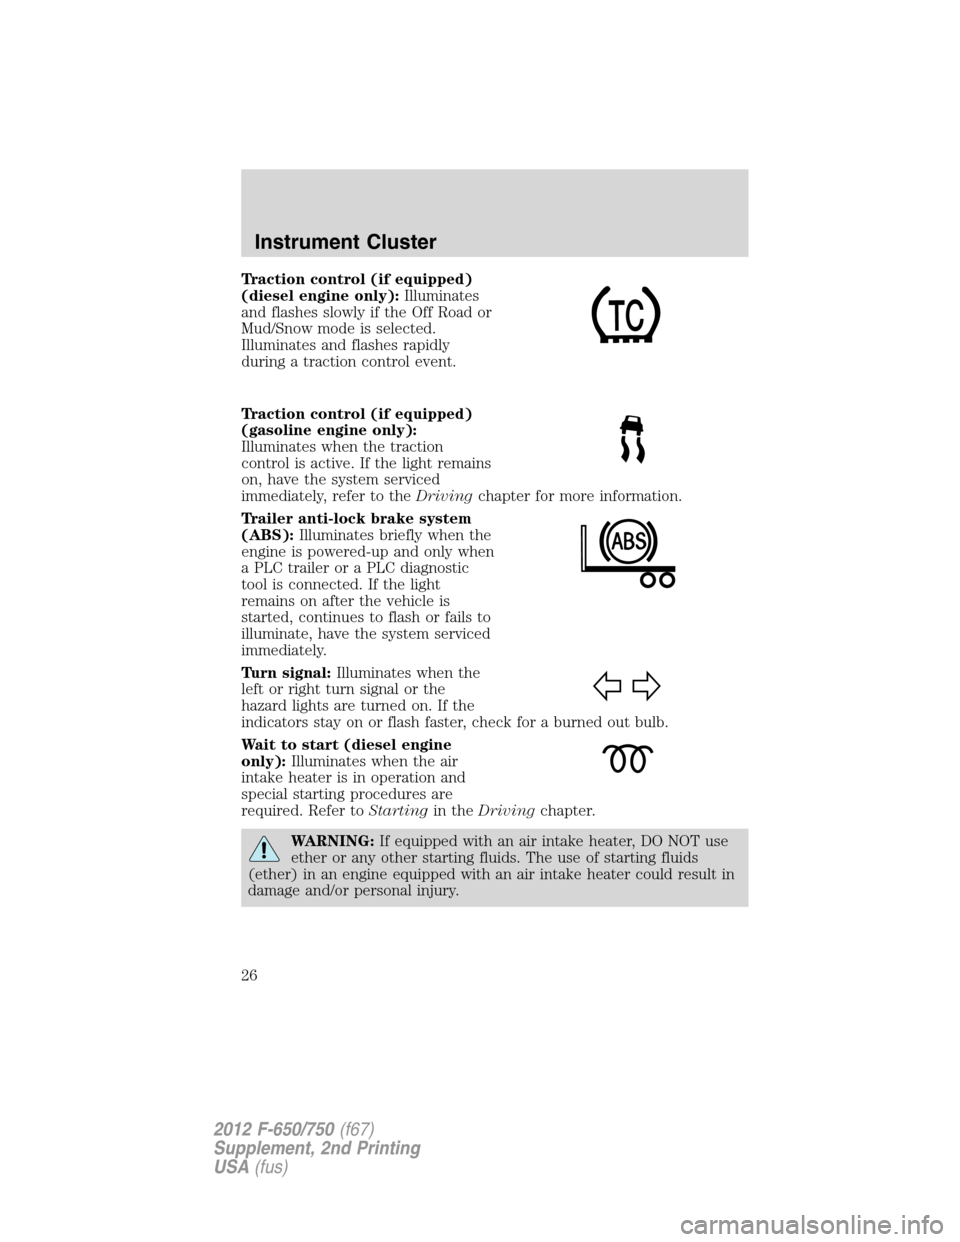
Traction control (if equipped)
(diesel engine only):Illuminates
and flashes slowly if the Off Road or
Mud/Snow mode is selected.
Illuminates and flashes rapidly
during a traction control event.
Traction control (if equipped)
(gasoline engine only):
Illuminates when the traction
control is active. If the light remains
on, have the system serviced
immediately, refer to theDrivingchapter for more information.
Trailer anti-lock brake system
(ABS):Illuminates briefly when the
engine is powered-up and only when
a PLC trailer or a PLC diagnostic
tool is connected. If the light
remains on after the vehicle is
started, continues to flash or fails to
illuminate, have the system serviced
immediately.
Turn signal:Illuminates when the
left or right turn signal or the
hazard lights are turned on. If the
indicators stay on or flash faster, check for a burned out bulb.
Wait to start (diesel engine
only):Illuminates when the air
intake heater is in operation and
special starting procedures are
required. Refer toStartingin theDrivingchapter.
WARNING:If equipped with an air intake heater, DO NOT use
ether or any other starting fluids. The use of starting fluids
(ether) in an engine equipped with an air intake heater could result in
damage and/or personal injury.
Instrument Cluster
26
2012 F-650/750(f67)
Supplement, 2nd Printing
USA(fus)
Page 33 of 306
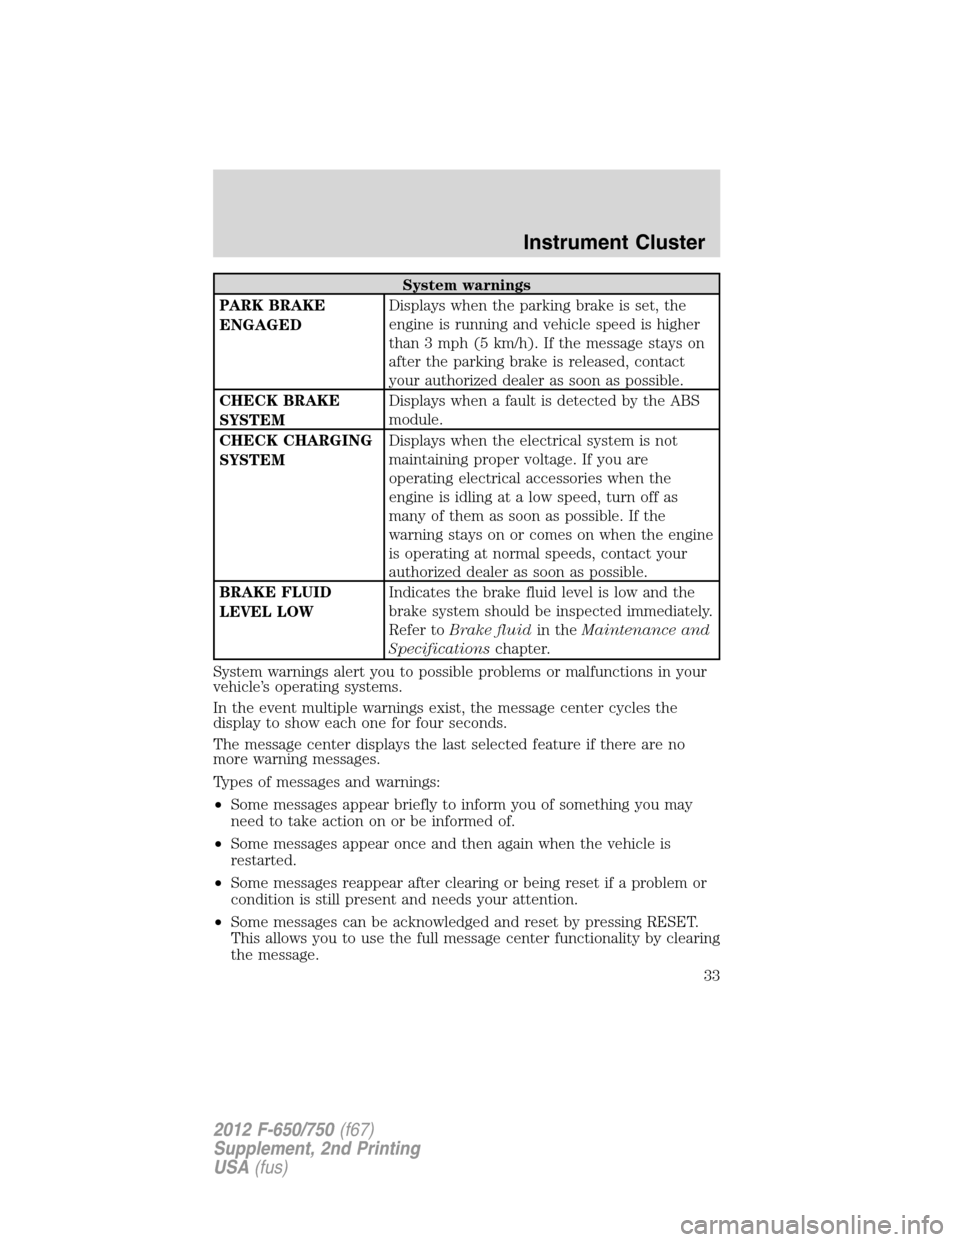
System warnings
PARK BRAKE
ENGAGEDDisplays when the parking brake is set, the
engine is running and vehicle speed is higher
than 3 mph (5 km/h). If the message stays on
after the parking brake is released, contact
your authorized dealer as soon as possible.
CHECK BRAKE
SYSTEMDisplays when a fault is detected by the ABS
module.
CHECK CHARGING
SYSTEMDisplays when the electrical system is not
maintaining proper voltage. If you are
operating electrical accessories when the
engine is idling at a low speed, turn off as
many of them as soon as possible. If the
warning stays on or comes on when the engine
is operating at normal speeds, contact your
authorized dealer as soon as possible.
BRAKE FLUID
LEVEL LOWIndicates the brake fluid level is low and the
brake system should be inspected immediately.
Refer toBrake fluidin theMaintenance and
Specificationschapter.
System warnings alert you to possible problems or malfunctions in your
vehicle’s operating systems.
In the event multiple warnings exist, the message center cycles the
display to show each one for four seconds.
The message center displays the last selected feature if there are no
more warning messages.
Types of messages and warnings:
•Some messages appear briefly to inform you of something you may
need to take action on or be informed of.
•Some messages appear once and then again when the vehicle is
restarted.
•Some messages reappear after clearing or being reset if a problem or
condition is still present and needs your attention.
•Some messages can be acknowledged and reset by pressing RESET.
This allows you to use the full message center functionality by clearing
the message.
Instrument Cluster
33
2012 F-650/750(f67)
Supplement, 2nd Printing
USA(fus)
Page 104 of 306
![FORD F750 2012 12.G Owners Manual 1. Ensure headlamps and all electrical accessories are turned off, the
parking brake is applied and the transmission is in the neutral position
(or P [Park], if equipped).
2. Turn the key to the on po FORD F750 2012 12.G Owners Manual 1. Ensure headlamps and all electrical accessories are turned off, the
parking brake is applied and the transmission is in the neutral position
(or P [Park], if equipped).
2. Turn the key to the on po](/img/11/5078/w960_5078-103.png)
1. Ensure headlamps and all electrical accessories are turned off, the
parking brake is applied and the transmission is in the neutral position
(or P [Park], if equipped).
2. Turn the key to the on position, but do not start the engine.
In cooler weather, the air intake heater may activate the
light. If
the
light illuminates,do notcrank the engine until it goes off.
WARNING:If equipped with an air intake heater, DO NOT use
ether or any other starting fluids. The use of starting fluids
(ether) in an engine equipped with an air intake heater could cause an
explosion and result in property damage and/or personal injury.
3. When the
light turns off, turn the key to the start position;
when the engine starts, release the key.
If the engine does not start after 30 seconds of cranking, allow two
minutes for the starter to cool before trying again. Excessive cranking
may damage the starter.
After the engine starts:
•On some engines, the
light should illuminate after the engine
starts. Allow the engine to idle about three minutes or until the engine
coolant temperature gauge begins to rise. Maintain idle speed until
the
light turns off to indicate the air intake heater has shut off
(approximately six minutes); operating the engine at higher speeds
reduces the effectiveness of the air inlet heater.
•Do not increase engine speed until the oil pressure gauge indicates
normal pressure (as indicated by the arrows); this should be indicated
on the gauge within 15 seconds after starting.
•Idle the engine for three to five minutes before operating with a full
load.
•Try to limit engine idle to 10 minutes; excessive idling reduces fuel
economy.
•When starting a cold engine, increase the engine RPM slowly to make
sure adequate lubrication is available to the bearings.
Starting the engine (gasoline engine only)
Engine starting is controlled by the powertrain control system.
This system meets all Canadian interference-causing equipment standard
requirements regulating the impulse electrical field strength of radio noise.
Driving
104
2012 F-650/750(f67)
Supplement, 2nd Printing
USA(fus)