set clock FORD FOCUS 2003 1.G Owners Manual
[x] Cancel search | Manufacturer: FORD, Model Year: 2003, Model line: FOCUS, Model: FORD FOCUS 2003 1.GPages: 216, PDF Size: 4.15 MB
Page 19 of 216
Press the security release control and remove the front panel. To
reposition the panel, insert the right-hand edge first, then the left-hand
side, until the retaining latch is engaged.
Replacement panels:Your Ford Dealer will require the following if you
need to order a replacement panel:
•Your name and address.
•The vehicle identification number (visible in the corner of the
windscreen).
•The audio unit type.
•Proof of identification (i.e. driver’s license).
•A vehicle invoice (if the audio unit was installed in the vehicle prior to
delivery) or a parts invoice if the audio unit was purchased separately
form the vehicle, or an appropriate vehicle registration document.
9.Clock:Press and hold CLK until
the hour digit flashes. Turn the
volume control to increase/decrease
the hours. Press again to set the minutes. Turn the volume control to
increase/decrease the minutes.
10.Power/volume:Press to turn
ON/OFF; turn to increase or
decrease volume levels. The display
will indicate the level selected.
11.Scan:Press SCAN to hear a
brief sampling of all listenable radio
stations. Press again to stop.
12.Bass/Treble:Press once for
bass, twice for treble. Turn the
volume control to decrease/increase
the output. The display will indicate the level selected.
13.AMS(Automatic Music Search):
Press to advance to the next tape
selection.
14.Fade/Balance:Press once for
fade and twice for balance. Turn the
volume control to shift sound to the
rear/front speakers, or to the left and right speakers.
VOL ON/OFF
SCAN
FADE/BALBASS/TREB
FADE/BALBASS/TREB
Entertainment Systems
19
Page 22 of 216
Replacement panels:Your Ford Dealer will require the following if you
need to order a replacement panel:
•Your name and address.
•The vehicle identification number (visible in the corner of the
windscreen).
•The audio unit type.
•Proof of identification (i.e. driver’s license).
•A vehicle invoice (if the audio unit was installed in the vehicle prior to
delivery) or a parts invoice if the audio unit was purchased separately
form the vehicle, or an appropriate vehicle registration document.
8.Clock:Press and hold until the
hour digit flashes. Turn the volume
control to increase/decrease the
hours. Press again to set the minutes. Turn the volume control to
increase/decrease the minutes.
9.Power/volume:Press to turn
ON/OFF; turn to increase or
decrease volume levels. The system
may function for up to an hour after
the ignition is turned off.
10.Scan:Press for a brief sampling
of all listenable radio stations or CD
tracks. Press again to stop.
11.Bass/Treble:Press once for
bass, twice for treble. Turn the
volume control to increase/decrease
the output. The display will indicate the level selected.
12.Fade/Balance:Press once for
fade and twice for balance. Turn the
volume control to shift sound to the
rear/front speakers or to the left/right speakers.
13.Eject:Press to eject the CD.
VOL ON/OFF
SCAN
FADE/BALBASS/TREB
FADE/BALBASS/TREB
Entertainment Systems
22
Page 27 of 216
11.Scan:Press SCAN to move up
the radio frequency band. SCAN
automatically finds a station, plays it
for five seconds, then moves to the next station. Press again to stop.
CD:Press SCAN to sample CD selections for eight seconds. Press again
to stop.
DSP:
Press once to enter occupancy mode and use the volume control to
optimize sound for ALL seats, DRIVER or REAR. Press twice to select one
of the settings: DSP OFF, NEWS, JAZZ, CONCERT, CHURCH or STADIUM.
12.Clock:Press CLK to access
clock mode. Press and release
SEEK
/to select
hours/minutes. Turn the volume control to set both hours and minutes.
13.Menu:Press MENU to access
main menu functions. Use
SEEK
/for adjustments.
Tune adjust:Press MENU until MAN appears in the display. Press
orto manually move up/down the radio frequency band.
Compression:Press MENU until COMP appears in the display. Press
SEEK to engage/disengage the feature. Compression adjust brings soft
and loud CD passages together for a more consistent listening level.
Shuffle:Press MENU until SHUF appears in the display. Press SEEK to
engage/disengage the feature.
Audio distortion reduction (CLIP):Press and hold MENU until the
display changes. Then, press MENU until the CLIP menu displays. Press
SEEK to engage/disengage the feature. The feature automatically detects
sound distortions and reduces the volume level until the distortion has
been eliminated.
Automatic volume control (AVC) (if equipped):With this feature,
radio volume changes automatically with vehicle speed to compensate for
road and wind noise. Press MENU until AVC is displayed, then use the
SEEK
/control to adjust the volume.
SCAN
CLK
MENU
Entertainment Systems
27
Page 30 of 216
Display/brightness:Adjusts the
brightness level of the display. Press
ENTER and select DISPLAY. Press
ENTER again to confirm. You may
adjust the setting to: DAY/NIGHT,
DIM DAY, DIM NIGHT or ANGLE.
Press ENTER again to confirm.
Automatic volume control (AVC):Radio volume changes
automatically with vehicle speed to compensate for road and wind noise.
Select VOLUME and press ENTER. Select AVC, then press ENTER. Turn
the control to adjust the levels. Press ENTER again to save the setting.
Status clock:When ON, the time is shown in the lower left hand corner
of the display. Select CLOCK and press ENTER. Select STATUS CLOCK
and press ENTER. Turn the control to turn the feature on/off.
Main clock:When selected, the time appears in the display when the
audio is off but the ignition is on. Select MAIN CLOCK and press
ENTER. Turn the control to turn on/off. Press ENTER to save the
setting.
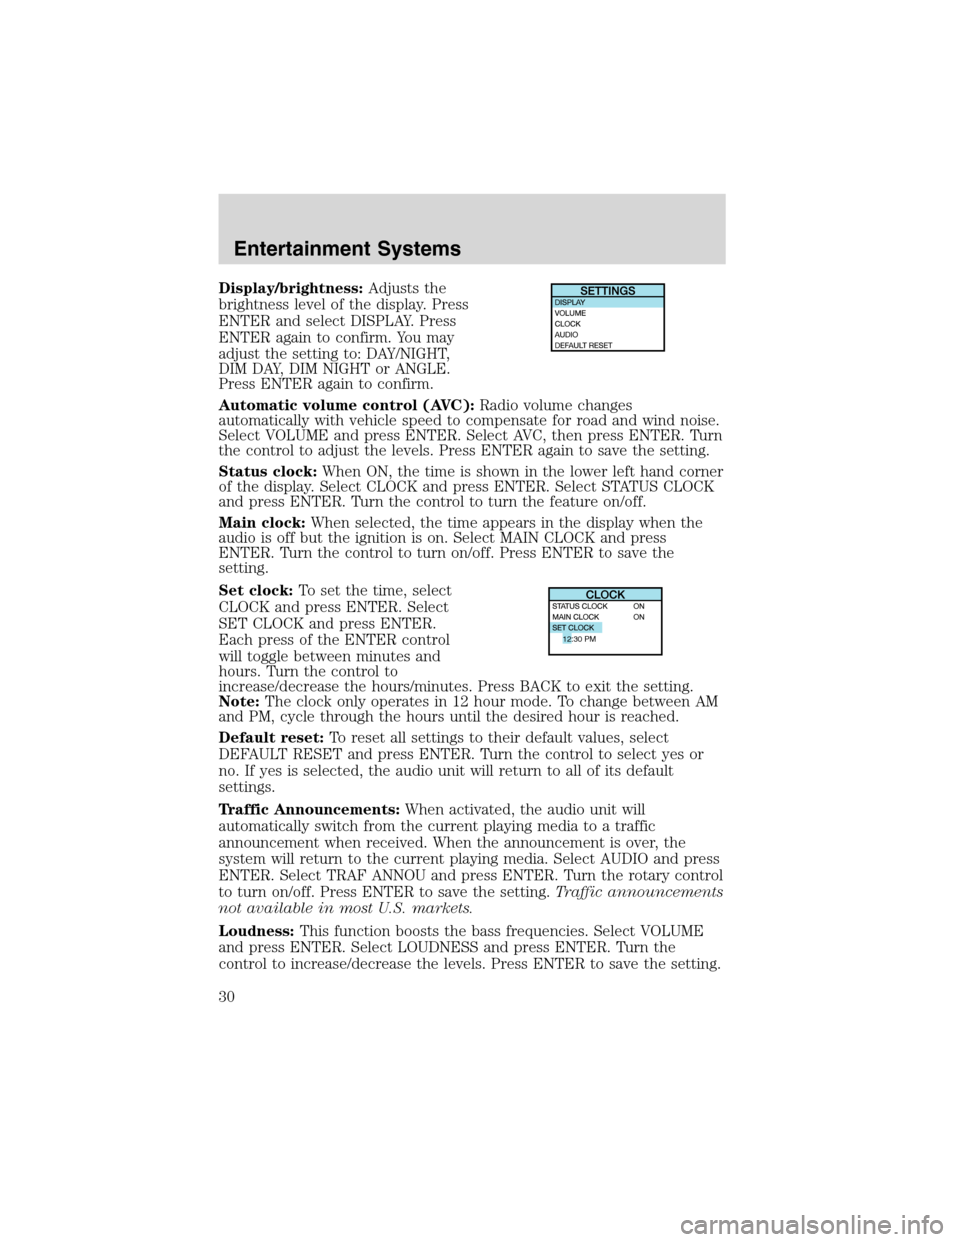
Set clock:To set the time, select
CLOCK and press ENTER. Select
SET CLOCK and press ENTER.
Each press of the ENTER control
will toggle between minutes and
hours. Turn the control to
increase/decrease the hours/minutes. Press BACK to exit the setting.
Note:The clock only operates in 12 hour mode. To change between AM
and PM, cycle through the hours until the desired hour is reached.
Default reset:To reset all settings to their default values, select
DEFAULT RESET and press ENTER. Turn the control to select yes or
no. If yes is selected, the audio unit will return to all of its default
settings.
Traffic Announcements:When activated, the audio unit will
automatically switch from the current playing media to a traffic
announcement when received. When the announcement is over, the
system will return to the current playing media. Select AUDIO and press
ENTER. Select TRAF ANNOU and press ENTER. Turn the rotary control
to turn on/off. Press ENTER to save the setting.Traffic announcements
not available in most U.S. markets.
Loudness:This function boosts the bass frequencies. Select VOLUME
and press ENTER. Select LOUDNESS and press ENTER. Turn the
control to increase/decrease the levels. Press ENTER to save the setting.
12:30 PM
Entertainment Systems
30
Page 53 of 216
MIRRORS
Power side view mirrors
The ignition must be in the ACC or ON position to adjust the power side
view mirrors.
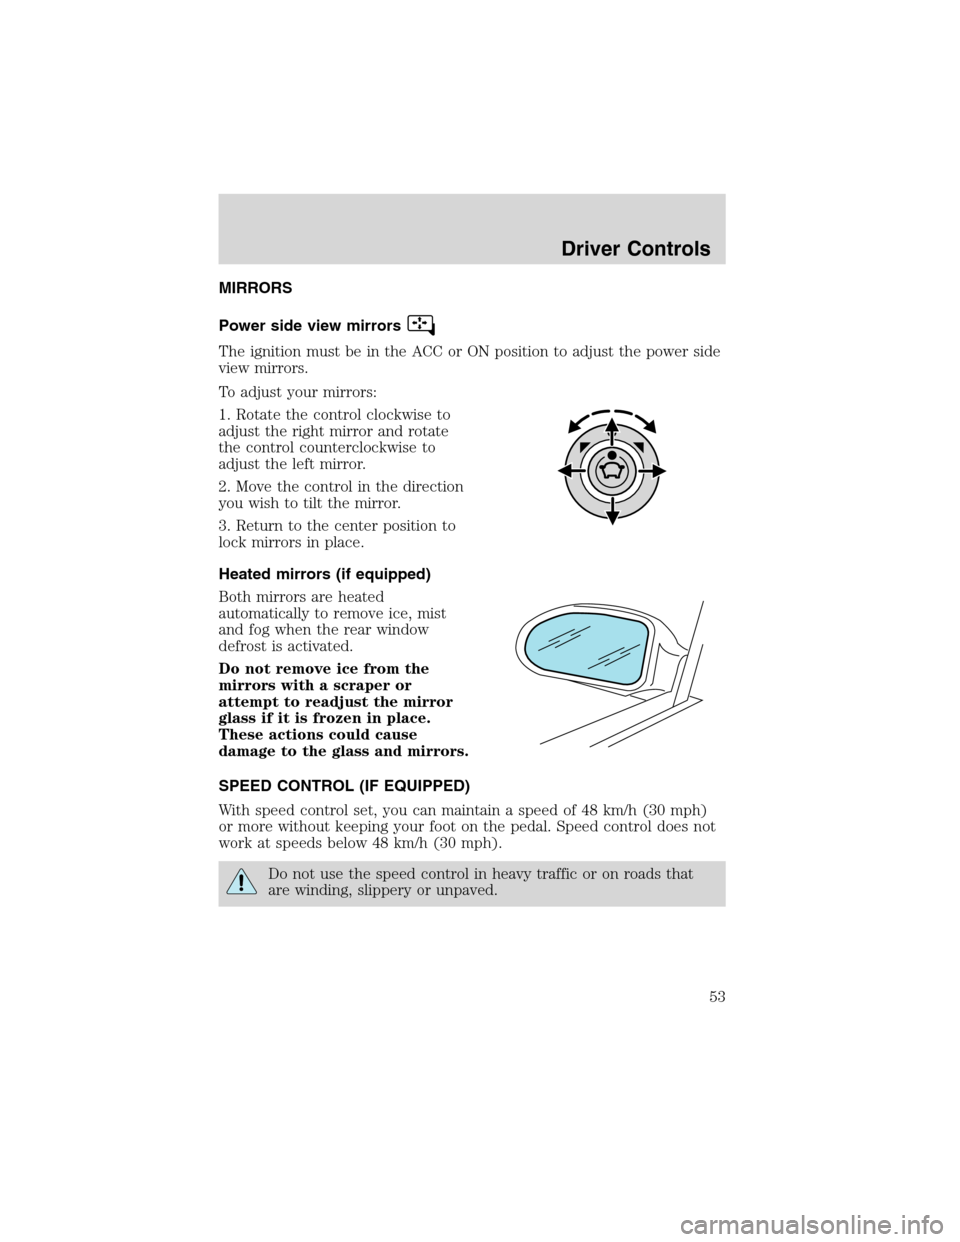
To adjust your mirrors:
1. Rotate the control clockwise to
adjust the right mirror and rotate
the control counterclockwise to
adjust the left mirror.
2. Move the control in the direction
you wish to tilt the mirror.
3. Return to the center position to
lock mirrors in place.
Heated mirrors (if equipped)
Both mirrors are heated
automatically to remove ice, mist
and fog when the rear window
defrost is activated.
Do not remove ice from the
mirrors with a scraper or
attempt to readjust the mirror
glass if it is frozen in place.
These actions could cause
damage to the glass and mirrors.
SPEED CONTROL (IF EQUIPPED)
With speed control set, you can maintain a speed of 48 km/h (30 mph)
or more without keeping your foot on the pedal. Speed control does not
work at speeds below 48 km/h (30 mph).
Do not use the speed control in heavy traffic or on roads that
are winding, slippery or unpaved.
Driver Controls
53
Page 136 of 216
Tire change procedure
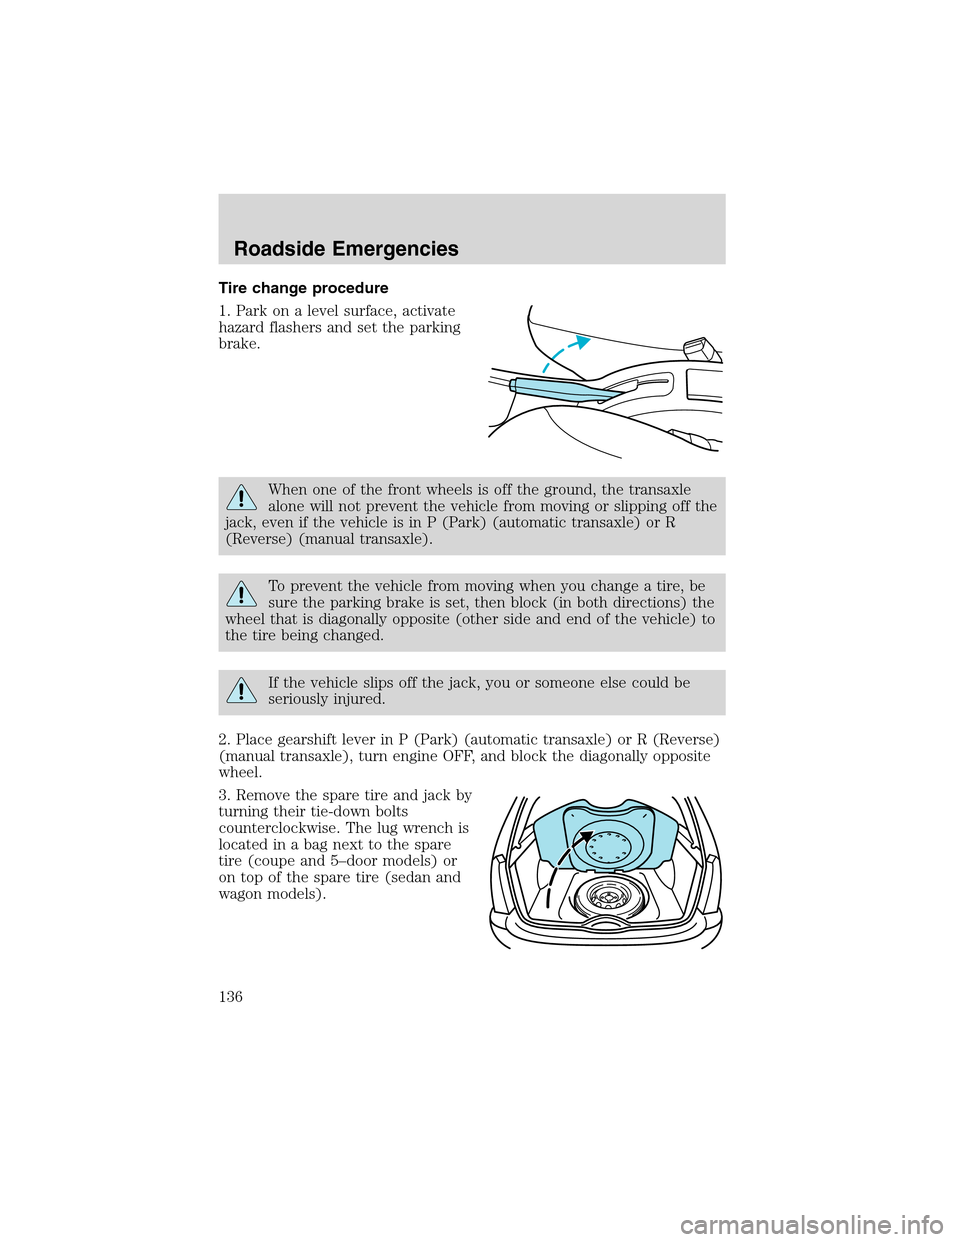
1. Park on a level surface, activate
hazard flashers and set the parking
brake.
When one of the front wheels is off the ground, the transaxle
alone will not prevent the vehicle from moving or slipping off the
jack, even if the vehicle is in P (Park) (automatic transaxle) or R
(Reverse) (manual transaxle).
To prevent the vehicle from moving when you change a tire, be
sure the parking brake is set, then block (in both directions) the
wheel that is diagonally opposite (other side and end of the vehicle) to
the tire being changed.
If the vehicle slips off the jack, you or someone else could be
seriously injured.
2. Place gearshift lever in P (Park) (automatic transaxle) or R (Reverse)
(manual transaxle), turn engine OFF, and block the diagonally opposite
wheel.
3. Remove the spare tire and jack by
turning their tie-down bolts
counterclockwise. The lug wrench is
located in a bag next to the spare
tire (coupe and 5–door models) or
on top of the spare tire (sedan and
wagon models).
Roadside Emergencies
136
Page 172 of 216
If the battery has been disconnected or a new battery has been installed,
the clock and the preset radio stations must be reset once the battery is
reconnected.
•Always dispose of automotive
batteries in a responsible manner.
Follow your local authorized
standards for disposal. Call your
local authorized recycling center
to find out more about recycling
automotive batteries.
ENGINE COOLANT
Checking engine coolant
The concentration and level of engine coolant should be checked at the
mileage intervals listed in the scheduled maintenance guide. The coolant
concentration should be maintained at 50/50 coolant and distilled water,
which equates to a freeze point of -36°C (-34°F). Coolant concentration
testing is possible with a hydrometer or antifreeze tester (such as the
Rotunda Battery and Antifreeze Tester, 014–R1060). The level of coolant
should be maintained at the“cold full”of“cold fill range”level in the
coolant reservoir. If the level falls below, add coolant per the instructions
in theAdding engine coolantsection.
Your vehicle was factory-filled with a 50/50 engine coolant and water
concentration. If the concentration of coolant falls below 40% or above
60%, the engine parts could become damaged or not work properly.A
50–50 mixture of coolant and water provides the following:
•Freeze protection down to -36°C (-34°F).
•Boiling protection up to 129°C (265°F).
•Protection against rust and other forms of corrosion.
•Enables calibrated gauges to work properly.
LEAD
RETURN
RECYCLE
Maintenance and Specifications
172