display FORD FREESTAR 2004 1.G Owners Manual
[x] Cancel search | Manufacturer: FORD, Model Year: 2004, Model line: FREESTAR, Model: FORD FREESTAR 2004 1.GPages: 280, PDF Size: 5.08 MB
Page 14 of 280
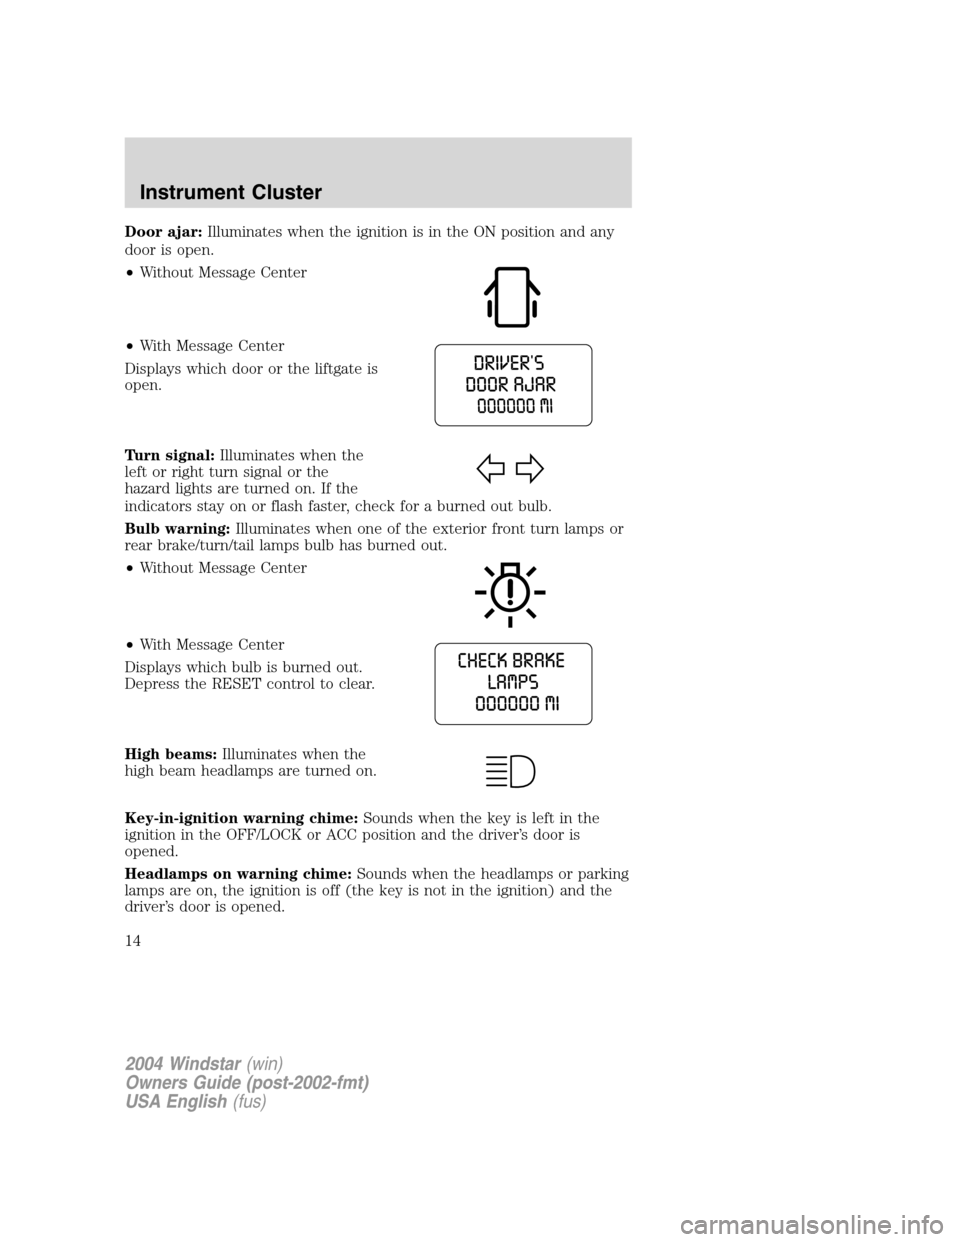
Door ajar:Illuminates when the ignition is in the ON position and any
door is open.
•Without Message Center
•With Message Center
Displays which door or the liftgate is
open.
Turn signal:Illuminates when the
left or right turn signal or the
hazard lights are turned on. If the
indicators stay on or flash faster, check for a burned out bulb.
Bulb warning:Illuminates when one of the exterior front turn lamps or
rear brake/turn/tail lamps bulb has burned out.
•Without Message Center
•With Message Center
Displays which bulb is burned out.
Depress the RESET control to clear.
High beams:Illuminates when the
high beam headlamps are turned on.
Key-in-ignition warning chime:Sounds when the key is left in the
ignition in the OFF/LOCK or ACC position and the driver’s door is
opened.
Headlamps on warning chime:Sounds when the headlamps or parking
lamps are on, the ignition is off (the key is not in the ignition) and the
driver’s door is opened.
2004 Windstar(win)
Owners Guide (post-2002-fmt)
USA English(fus)
Instrument Cluster
14
Page 16 of 280
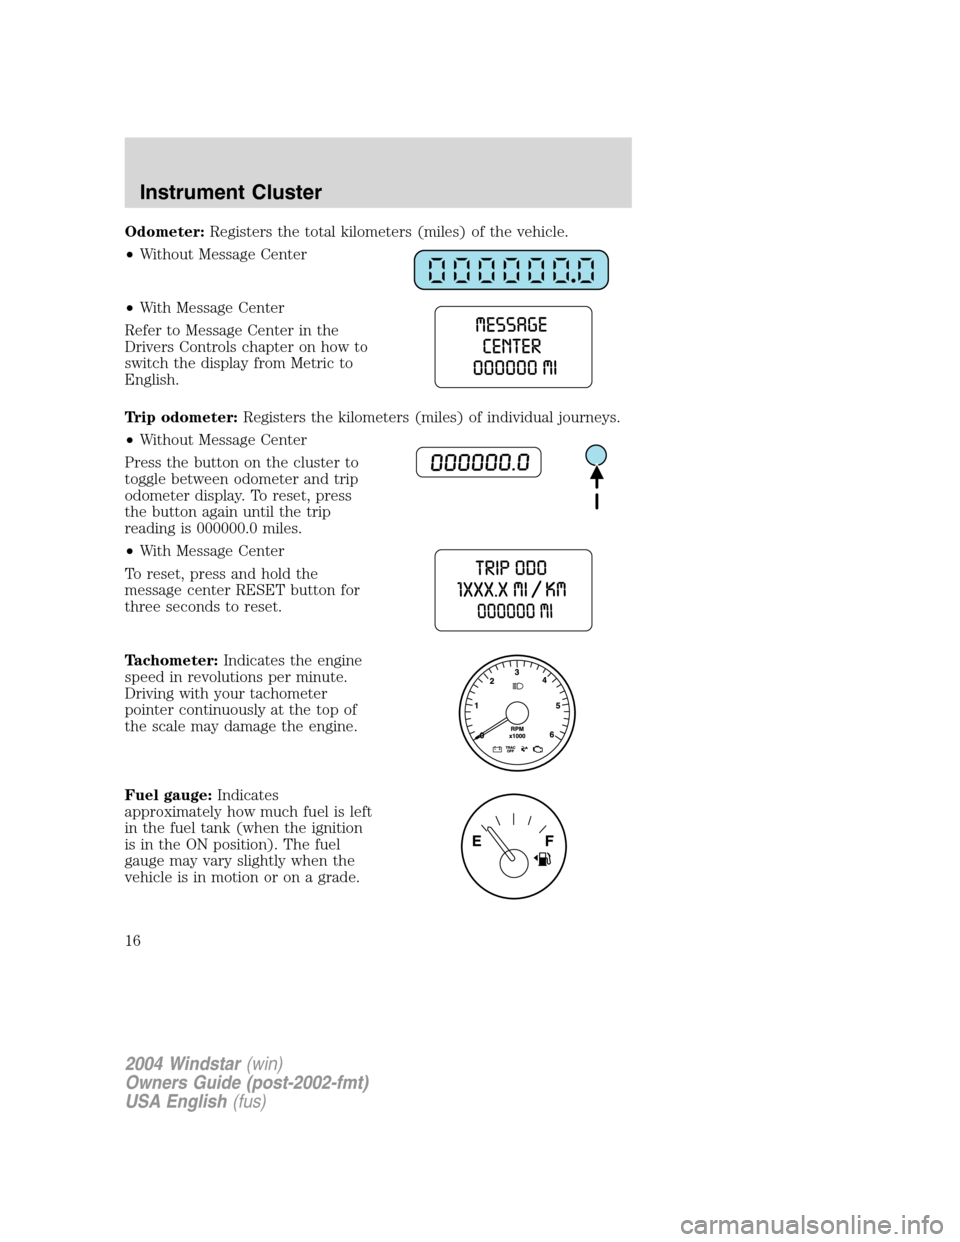
Odometer:Registers the total kilometers (miles) of the vehicle.
•Without Message Center
•With Message Center
Refer to Message Center in the
Drivers Controls chapter on how to
switch the display from Metric to
English.
Trip odometer:Registers the kilometers (miles) of individual journeys.
•Without Message Center
Press the button on the cluster to
toggle between odometer and trip
odometer display. To reset, press
the button again until the trip
reading is 000000.0 miles.
•With Message Center
To reset, press and hold the
message center RESET button for
three seconds to reset.
Tachometer:Indicates the engine
speed in revolutions per minute.
Driving with your tachometer
pointer continuously at the top of
the scale may damage the engine.
Fuel gauge:Indicates
approximately how much fuel is left
in the fuel tank (when the ignition
is in the ON position). The fuel
gauge may vary slightly when the
vehicle is in motion or on a grade.
2004 Windstar(win)
Owners Guide (post-2002-fmt)
USA English(fus)
Instrument Cluster
16
Page 19 of 280
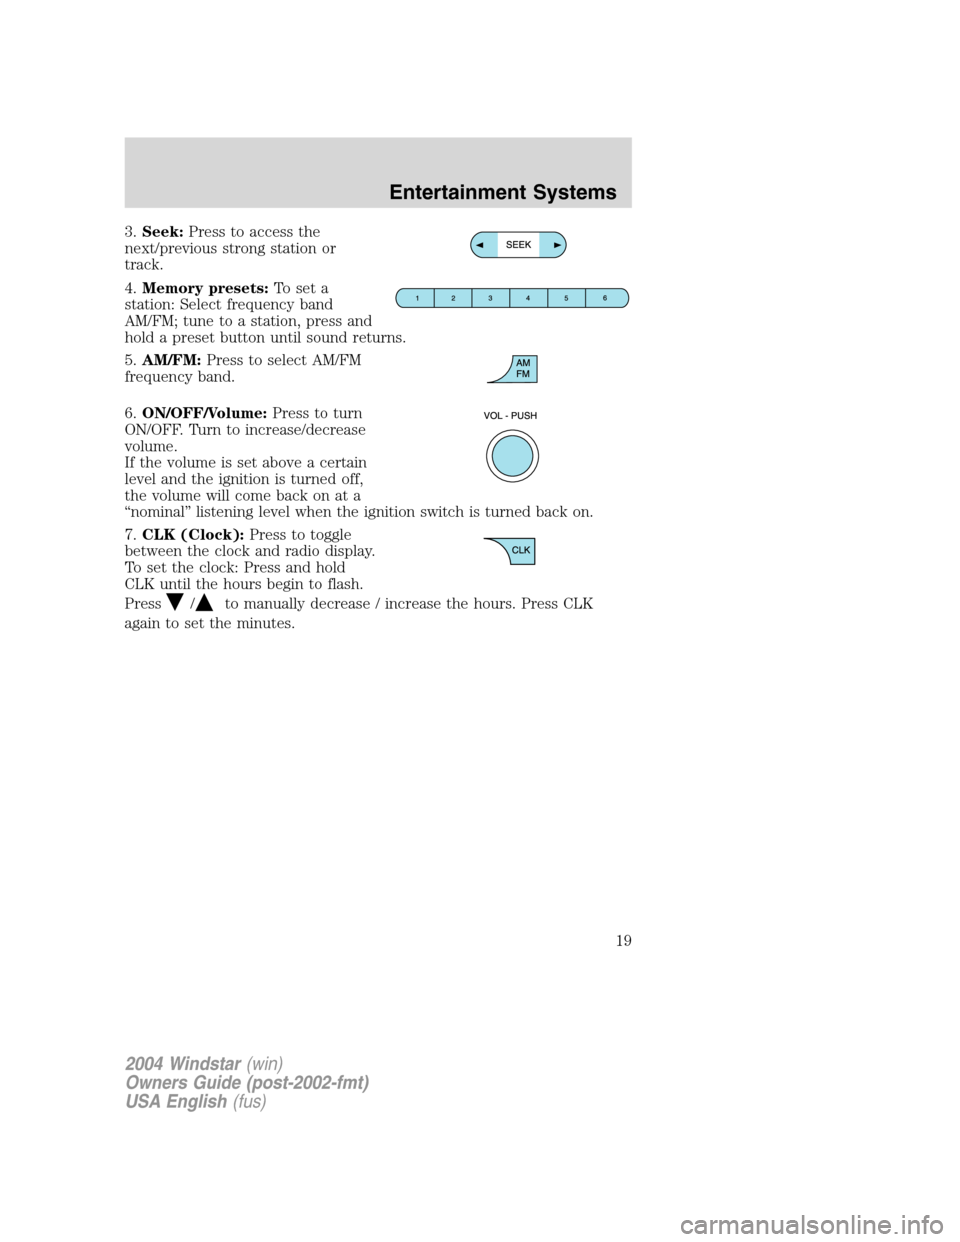
3.Seek:Press to access the
next/previous strong station or
track.
4.Memory presets:To set a
station: Select frequency band
AM/FM; tune to a station, press and
hold a preset button until sound returns.
5.AM/FM:Press to select AM/FM
frequency band.
6.ON/OFF/Volume:Press to turn
ON/OFF. Turn to increase/decrease
volume.
If the volume is set above a certain
level and the ignition is turned off,
the volume will come back on at a
“nominal” listening level when the ignition switch is turned back on.
7.CLK (Clock):Press to toggle
between the clock and radio display.
To set the clock: Press and hold
CLK until the hours begin to flash.
Press
/to manually decrease / increase the hours. Press CLK
again to set the minutes.
2004 Windstar(win)
Owners Guide (post-2002-fmt)
USA English(fus)
Entertainment Systems
19
Page 21 of 280
Fade:Press to adjust the audio between the front and rear speakers.
Use
//SEEK.
Speed sensitive volume (if equipped):Radio volume automatically
changes slightly with vehicle speed to compensate for road and wind
noise. Press MENU to access and use
//SEEKto adjust.
Setting the clock:Press MENU until SELECT HOUR or SELECT
MINUTE is displayed. Use
/to manually increase/decrease Press
MENU again to disengage clock mode.
If your vehicle is equipped with an in-dash clock, refer to “Setting the
clock” in theDriver Controlschapter.
Autoset:Allows you to set the strongest local radio stations without
losing your original manually set preset stations for AM/FM1/FM2 . Press
MENU to access. Use
//SEEKto set.
When the six strongest stations are filled, the station stored in preset 1
will begin playing. If there are less than six strong stations, the system
will store the last one in the remaining presets.
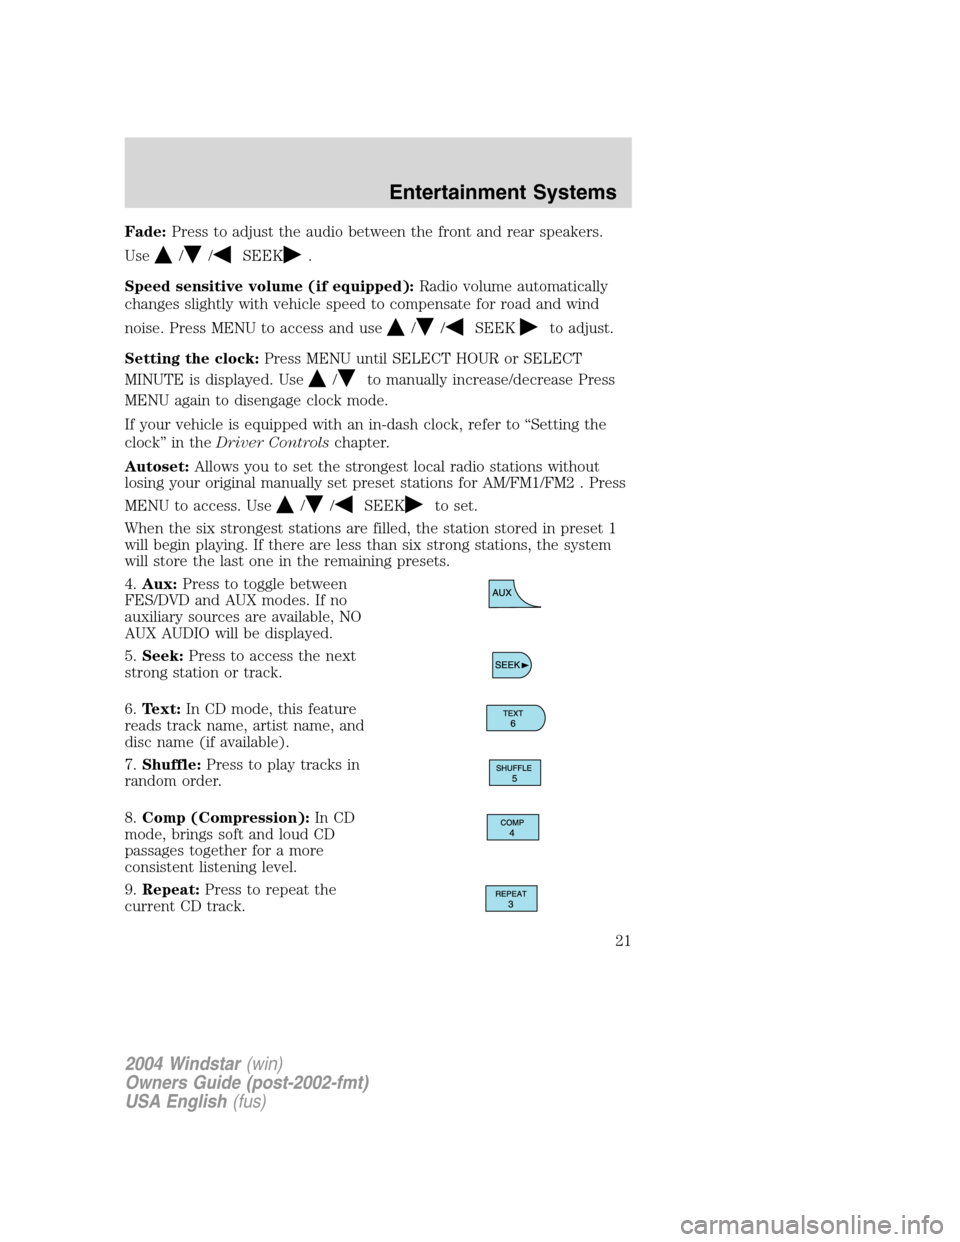
4.Aux:Press to toggle between
FES/DVD and AUX modes. If no
auxiliary sources are available, NO
AUX AUDIO will be displayed.
5.Seek:Press to access the next
strong station or track.
6.Text:In CD mode, this feature
reads track name, artist name, and
disc name (if available).
7.Shuffle:Press to play tracks in
random order.
8.Comp (Compression):In CD
mode, brings soft and loud CD
passages together for a more
consistent listening level.
9.Repeat:Press to repeat the
current CD track.
2004 Windstar(win)
Owners Guide (post-2002-fmt)
USA English(fus)
Entertainment Systems
21
Page 24 of 280
Speed sensitive volume (if equipped):Radio volume automatically
changes slightly with vehicle speed to compensate for road and wind
noise. Press MENU to access and use
//SEEKto adjust.
Setting the clock:Press MENU until SELECT HOUR or SELECT MINUTE
is displayed. Press
//SEEKto adjust the hours/minutes.
If your vehicle is equipped with an in-dash clock, refer to “Setting the
clock” in theDriver Controlschapter.
Autoset:Allows you to set the strongest local radio stations without
losing your original manually set preset stations for AM/FM1/FM2 . Press
MENU to access. Use
//SEEKto set.
When the six strongest stations are filled, the station stored in preset 1
will begin playing. If there are less than six strong stations, the system
will store the last one in the remaining presets.
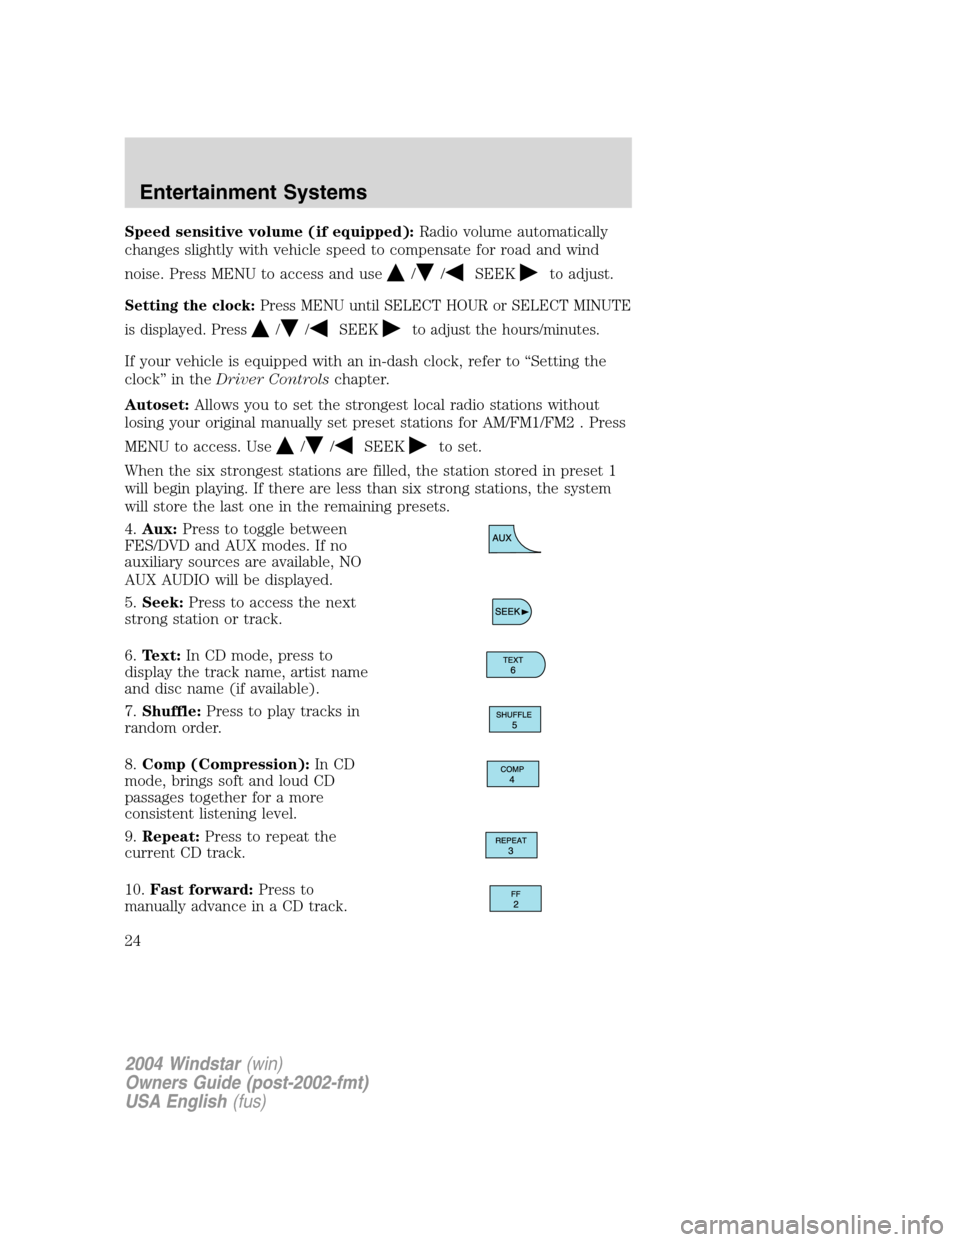
4.Aux:Press to toggle between
FES/DVD and AUX modes. If no
auxiliary sources are available, NO
AUX AUDIO will be displayed.
5.Seek:Press to access the next
strong station or track.
6.Text:In CD mode, press to
display the track name, artist name
and disc name (if available).
7.Shuffle:Press to play tracks in
random order.
8.Comp (Compression):In CD
mode, brings soft and loud CD
passages together for a more
consistent listening level.
9.Repeat:Press to repeat the
current CD track.
10.Fast forward:Press to
manually advance in a CD track.
2004 Windstar(win)
Owners Guide (post-2002-fmt)
USA English(fus)
Entertainment Systems
24
Page 27 of 280
Balance:Press to adjust the audio between the left and right speakers.
Use
//SEEK.
Fade:Press to adjust the audio between the front and rear speakers.
Use
//SEEK.
Speed sensitive volume (if equipped):Radio volume automatically
changes slightly with vehicle speed to compensate for road and wind
noise. Press MENU to access and use
//SEEKto adjust.
Setting the clock:Press MENU until SELECT HOUR or SELECT
MINUTE is displayed. Press
//SEEKto adjust the
hours/minutes.
If your vehicle is equipped with an in-dash clock, refer to “Setting the
clock” in theDriver Controlschapter.
Autoset:Allows you to set the strongest local radio stations without
losing your original manually set preset stations for AM/FM1/FM2 . Press
MENU to access. Use
//SEEKto set.
When the six strongest stations are filled, the station stored in preset 1
will begin playing. If there are less than six strong stations, the system
will store the last one in the remaining presets.
Clean tape reminder:After 20 hours of cassette operation, the radio
will notify you that it is time to clean the cassette player head. After
cleaning the player head, you can clear the reminder through menu
control and selecting YES.
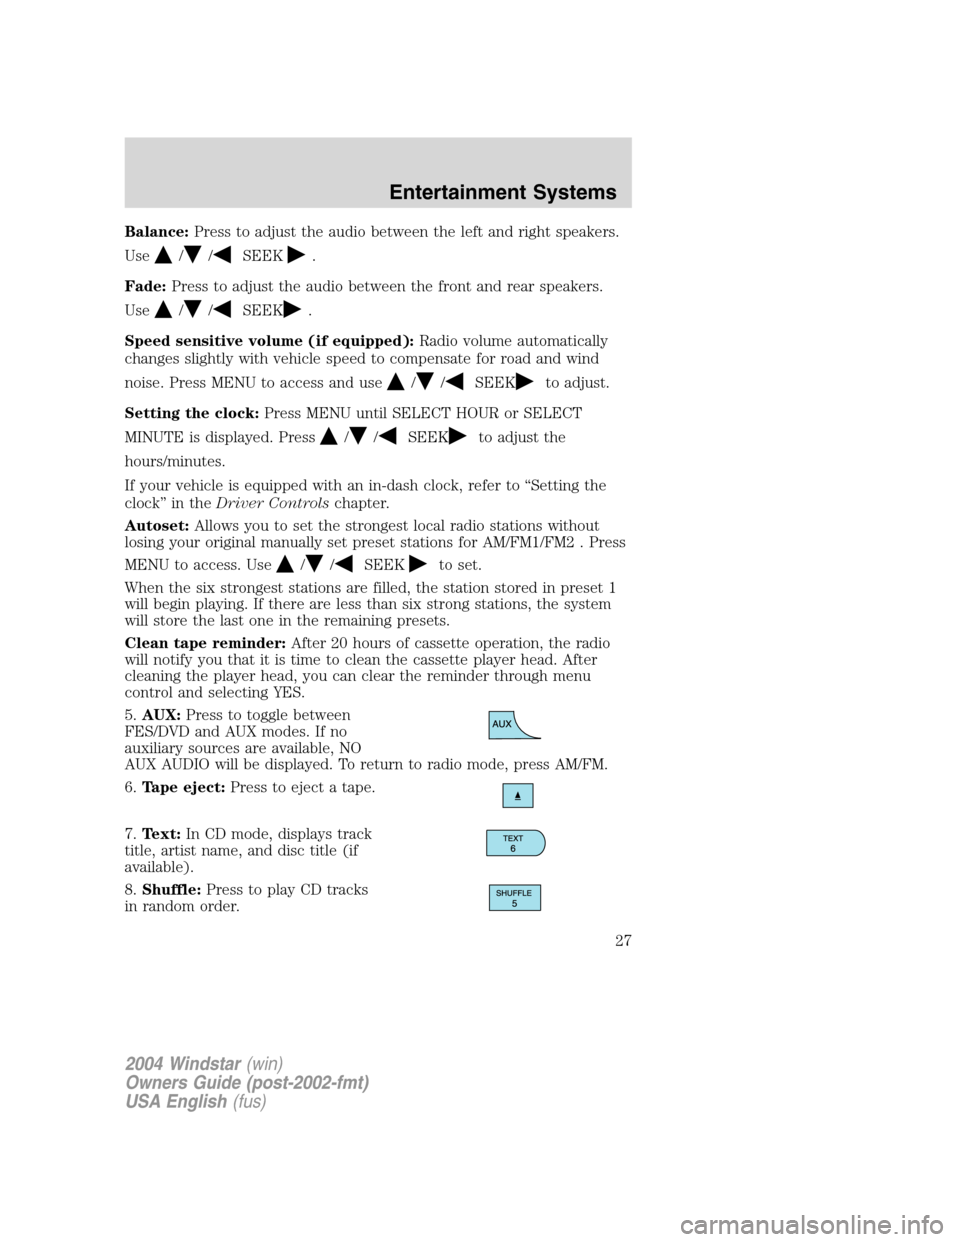
5.AUX:Press to toggle between
FES/DVD and AUX modes. If no
auxiliary sources are available, NO
AUX AUDIO will be displayed. To return to radio mode, press AM/FM.
6.Tape eject:Press to eject a tape.
7.Text:In CD mode, displays track
title, artist name, and disc title (if
available).
8.Shuffle:Press to play CD tracks
in random order.
2004 Windstar(win)
Owners Guide (post-2002-fmt)
USA English(fus)
Entertainment Systems
27
Page 30 of 280
If there is a discrepancy between the rear seat controls and the front
audio controls (such as both trying to listen to the same playing media),
the front audio system will receive the desired selection.
To activate Dual Play mode (rear seat passengers listen to a different
playing media than the front seat passengers):
•Press the speaker/headphone control.
•Press MEDIA to change audio sources (for headphone mode only).
•Use the SEEK, VOLUME and MEMORY controls to make adjustments
to the playing media.
RADIO FREQUENCIES
AM and FM frequencies are established by the Federal Communications
Commission (FCC) and the Canadian Radio and Telecommunications
Commission (CRTC). Those frequencies are:
AM - 530, 540–1700, 1710 kHz
FM- 87.7, 87.9–107.7, 107.9 MHz
RADIO RECEPTION FACTORS
There are three factors that can affect radio reception:
•Distance/strength: The further you travel from an FM station, the
weaker the signal and the weaker the reception.
•Terrain: Hills, mountains, tall buildings, power lines, electric fences,
traffic lights and thunderstorms can interfere with your reception.
•Station overload: When you pass a broadcast tower, a stronger signal
may overtake a weaker one and play while the weak station frequency
is displayed.
CASSETTE/PLAYER CARE
Do:
•Tighten very loose tapes by inserting a pen or pencil into the hole and
turning the hub.
•Remove loose labels before inserting tapes.
•Allow tapes which have been subjected to extreme heat, humidity or
cold to reach a moderate temperature before playing.
•Clean the cassette player head with a cassette cleaning cartridge after
10–12 hours of play to maintain good sound/operation.
2004 Windstar(win)
Owners Guide (post-2002-fmt)
USA English(fus)
Entertainment Systems
30
Page 54 of 280
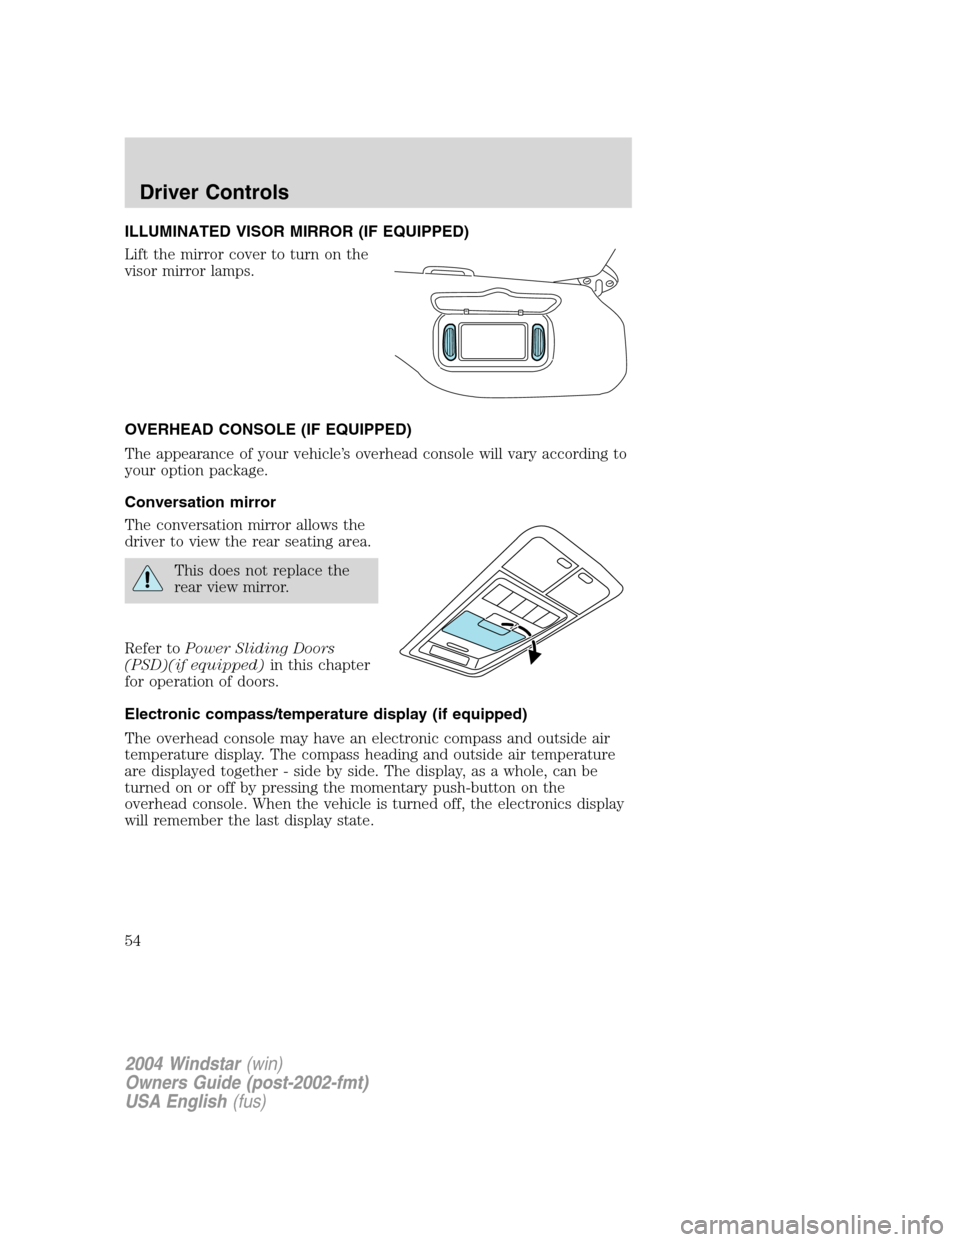
ILLUMINATED VISOR MIRROR (IF EQUIPPED)
Lift the mirror cover to turn on the
visor mirror lamps.
OVERHEAD CONSOLE (IF EQUIPPED)
The appearance of your vehicle’s overhead console will vary according to
your option package.
Conversation mirror
The conversation mirror allows the
driver to view the rear seating area.
This does not replace the
rear view mirror.
Refer toPower Sliding Doors
(PSD)(if equipped)in this chapter
for operation of doors.
Electronic compass/temperature display (if equipped)
The overhead console may have an electronic compass and outside air
temperature display. The compass heading and outside air temperature
are displayed together - side by side. The display, as a whole, can be
turned on or off by pressing the momentary push-button on the
overhead console. When the vehicle is turned off, the electronics display
will remember the last display state.
2004 Windstar(win)
Owners Guide (post-2002-fmt)
USA English(fus)
Driver Controls
54
Page 55 of 280
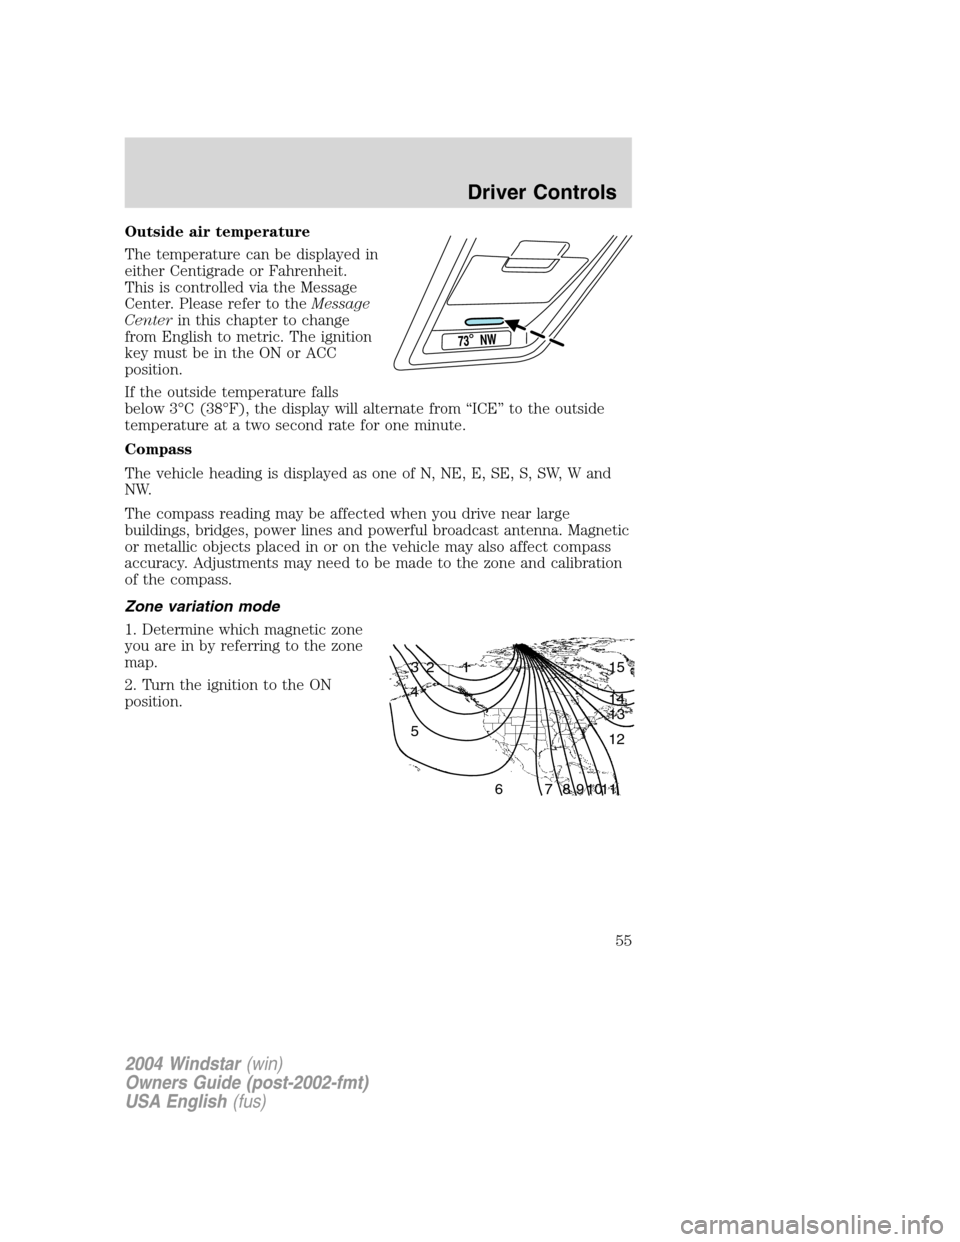
Outside air temperature
The temperature can be displayed in
either Centigrade or Fahrenheit.
This is controlled via the Message
Center. Please refer to theMessage
Centerin this chapter to change
from English to metric. The ignition
key must be in the ON or ACC
position.
If the outside temperature falls
below 3°C (38°F), the display will alternate from “ICE” to the outside
temperature at a two second rate for one minute.
Compass
The vehicle heading is displayed as one of N, NE, E, SE, S, SW, W and
NW.
The compass reading may be affected when you drive near large
buildings, bridges, power lines and powerful broadcast antenna. Magnetic
or metallic objects placed in or on the vehicle may also affect compass
accuracy. Adjustments may need to be made to the zone and calibration
of the compass.
Zone variation mode
1. Determine which magnetic zone
you are in by referring to the zone
map.
2. Turn the ignition to the ON
position.
1 2 3
4
5
6 7 8 9 101112 13 14 15
2004 Windstar(win)
Owners Guide (post-2002-fmt)
USA English(fus)
Driver Controls
55
Page 56 of 280
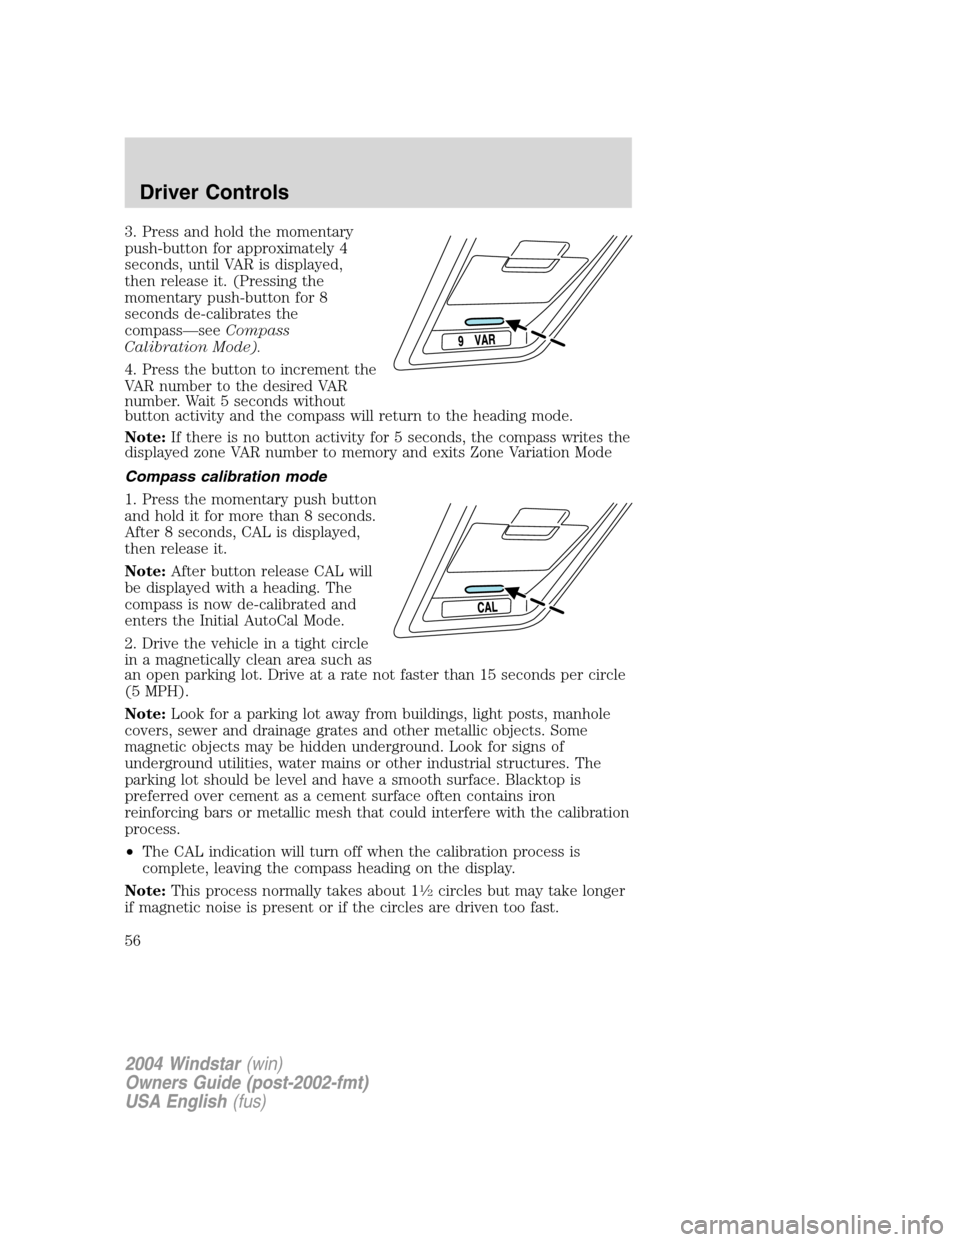
3. Press and hold the momentary
push-button for approximately 4
seconds, until VAR is displayed,
then release it. (Pressing the
momentary push-button for 8
seconds de-calibrates the
compass—seeCompass
Calibration Mode).
4. Press the button to increment the
VAR number to the desired VAR
number. Wait 5 seconds without
button activity and the compass will return to the heading mode.
Note:If there is no button activity for 5 seconds, the compass writes the
displayed zone VAR number to memory and exits Zone Variation Mode
Compass calibration mode
1. Press the momentary push button
and hold it for more than 8 seconds.
After 8 seconds, CAL is displayed,
then release it.
Note:After button release CAL will
be displayed with a heading. The
compass is now de-calibrated and
enters the Initial AutoCal Mode.
2. Drive the vehicle in a tight circle
in a magnetically clean area such as
an open parking lot. Drive at a rate not faster than 15 seconds per circle
(5 MPH).
Note:Look for a parking lot away from buildings, light posts, manhole
covers, sewer and drainage grates and other metallic objects. Some
magnetic objects may be hidden underground. Look for signs of
underground utilities, water mains or other industrial structures. The
parking lot should be level and have a smooth surface. Blacktop is
preferred over cement as a cement surface often contains iron
reinforcing bars or metallic mesh that could interfere with the calibration
process.
•The CAL indication will turn off when the calibration process is
complete, leaving the compass heading on the display.
Note:This process normally takes about 1
1�2circles but may take longer
if magnetic noise is present or if the circles are driven too fast.
2004 Windstar(win)
Owners Guide (post-2002-fmt)
USA English(fus)
Driver Controls
56