lights FORD FUSION (AMERICAS) 2013 2.G Owners Manual
[x] Cancel search | Manufacturer: FORD, Model Year: 2013, Model line: FUSION (AMERICAS), Model: FORD FUSION (AMERICAS) 2013 2.GPages: 458
Page 35 of 458
The Personal Safety System provides an
improved overall level of frontal crash
protection to front seat occupants and is
designed to help further reduce the risk of
airbag-related injuries. The system is able
to analyze different occupant conditions
and crash severity before activating the
appropriate safety devices to help better
protect a range of occupants in a variety
of frontal crash situations.
Your vehicle's Personal Safety System
consists of:
•
Driver and passenger dual-stage airbag
supplemental restraints.
• Front outboard safety belts with
pretensioners, energy management
retractors (first row only), and safety
belt usage sensors.
• Driver ’s seat position sensor.
• Front passenger sensing system.
• Passenger airbag off and on indicator
lamp.
• Front crash severity sensors.
• Restraints control module with impact
and safing sensors.
• Restraint system warning light and
backup tone.
• The electrical wiring for the airbags,
crash sensor(s), safety belt
pretensioners, front safety belt usage
sensors, driver seat position sensor,
front passenger sensing system, and
indicator lights.
How Does the Personal Safety
System Work?
The Personal Safety System can adapt the
deployment strategy of your vehicle ’s
safety devices according to crash severity
and occupant conditions. A collection of
crash and occupant sensors provides
information to the restraints control module. During a crash, the restraints
control module may activate the safety
belt pretensioners and may activate either
one or both stages of the dual-stage airbag
supplemental restraints based on crash
severity and occupant conditions.
32
Fusion/Mondeo (CC7) Personal Safety System
™
Page 58 of 458
The illuminated entry system will turn off
the lights if:
•
the ignition is on,
• you press the remote control lock
button, or
• after 25 seconds of illumination.
The lights will not turn off if:
• you turn them on with the lamp control,
or
• any door is open.
Illuminated Exit
The interior lamps and select exterior
lamps will illuminate when all doors are
closed, you switch the ignition off and you
remove the key from the ignition
(integrated keyhead transmitter only).
The lamps will turn off if all the doors
remain closed and:
• 25 seconds elapse
• you insert the key in the ignition
(integrated keyhead transmitter only)
• you press the START/STOP button
(intelligent access key only).
Battery Saver
If you leave the courtesy lamps, dome
lamps or headlamps on, the battery saver
will shut them off 10 minutes after you
switch the ignition off.
Accessory Mode Battery Saver for
Intelligent Access Keys (If Equipped)
If you leave your vehicle in the run ignition
state, it will shut off once it detects a
certain amount of battery drain or after 45
minutes. Luggage Compartment
With the Remote Control Press twice within three seconds
to unlatch the trunk.
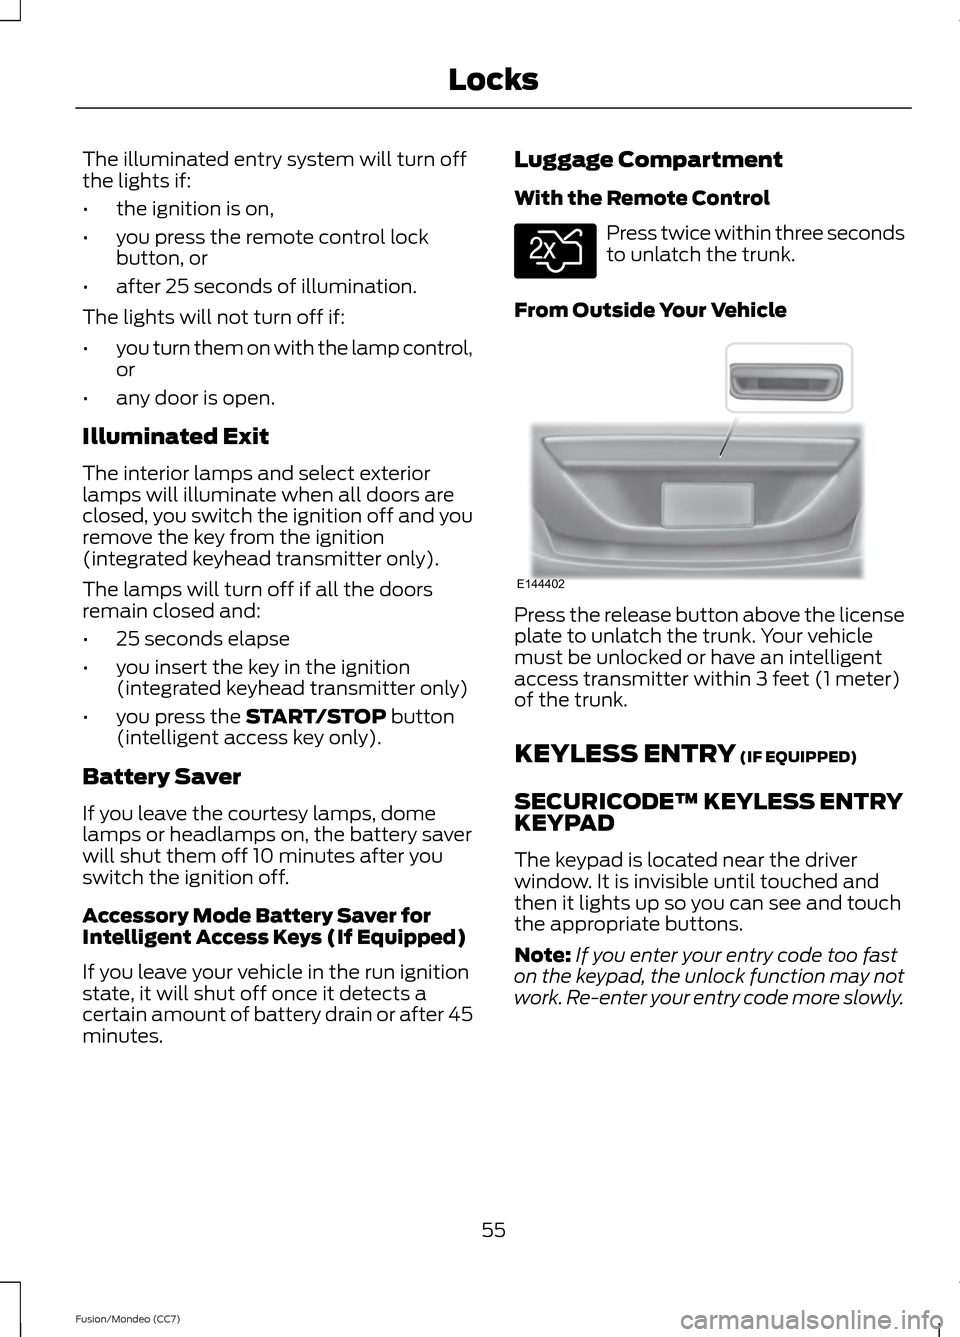
From Outside Your Vehicle Press the release button above the license
plate to unlatch the trunk. Your vehicle
must be unlocked or have an intelligent
access transmitter within 3 feet (1 meter)
of the trunk.
KEYLESS ENTRY
(IF EQUIPPED)
SECURICODE™ KEYLESS ENTRY
KEYPAD
The keypad is located near the driver
window. It is invisible until touched and
then it lights up so you can see and touch
the appropriate buttons.
Note: If you enter your entry code too fast
on the keypad, the unlock function may not
work. Re-enter your entry code more slowly.
55
Fusion/Mondeo (CC7) LocksE138630 E144402
Page 72 of 458
The system switches the low beam
headlamps on at a reduced intensity in
daylight conditions.
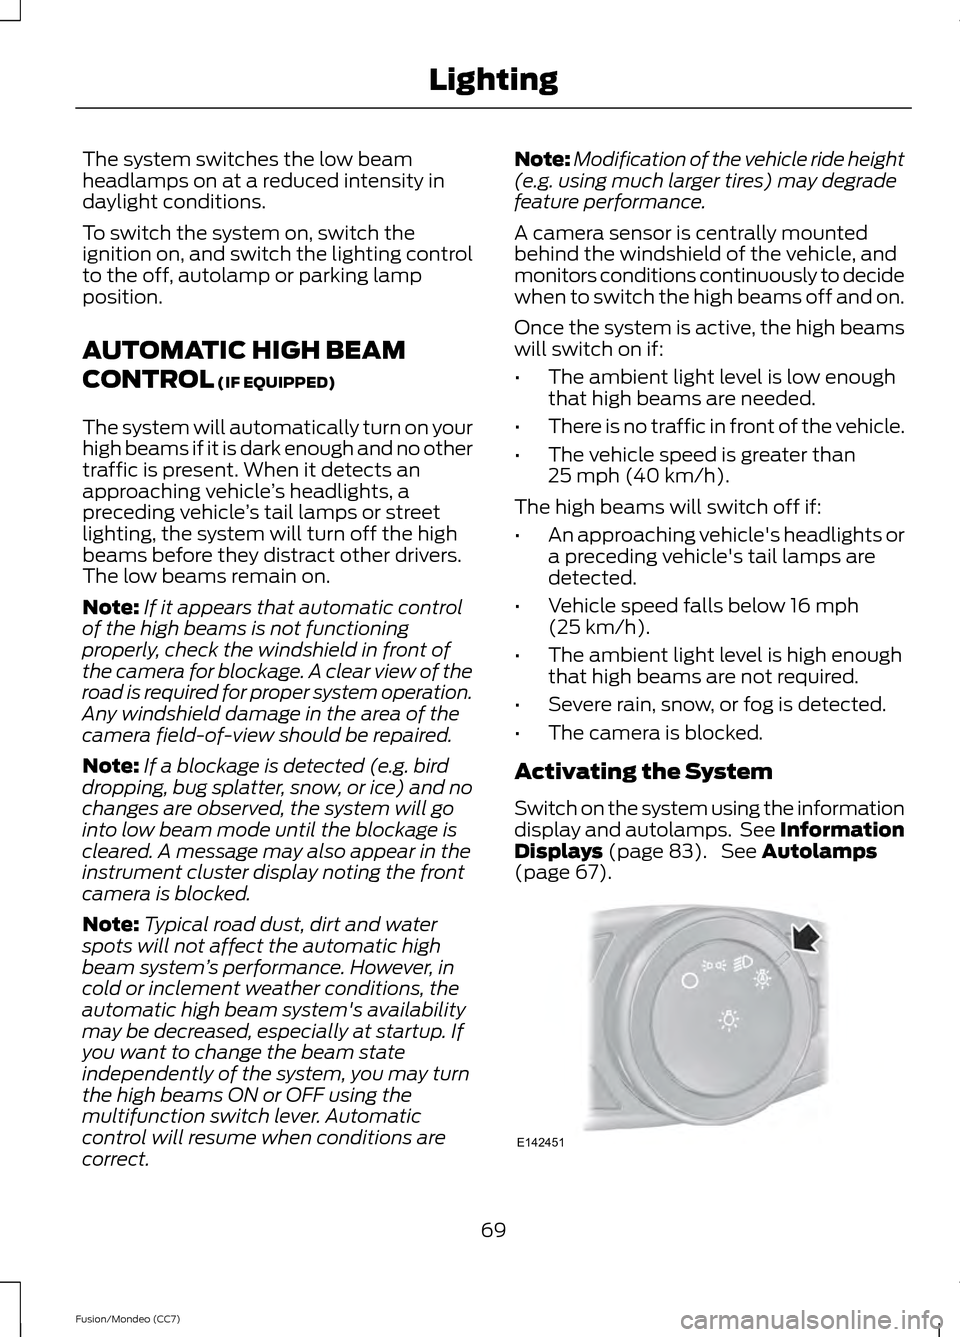
To switch the system on, switch the
ignition on, and switch the lighting control
to the off, autolamp or parking lamp
position.
AUTOMATIC HIGH BEAM
CONTROL (IF EQUIPPED)
The system will automatically turn on your
high beams if it is dark enough and no other
traffic is present. When it detects an
approaching vehicle ’s headlights, a
preceding vehicle ’s tail lamps or street
lighting, the system will turn off the high
beams before they distract other drivers.
The low beams remain on.
Note: If it appears that automatic control
of the high beams is not functioning
properly, check the windshield in front of
the camera for blockage. A clear view of the
road is required for proper system operation.
Any windshield damage in the area of the
camera field-of-view should be repaired.
Note: If a blockage is detected (e.g. bird
dropping, bug splatter, snow, or ice) and no
changes are observed, the system will go
into low beam mode until the blockage is
cleared. A message may also appear in the
instrument cluster display noting the front
camera is blocked.
Note: Typical road dust, dirt and water
spots will not affect the automatic high
beam system ’s performance. However, in
cold or inclement weather conditions, the
automatic high beam system's availability
may be decreased, especially at startup. If
you want to change the beam state
independently of the system, you may turn
the high beams ON or OFF using the
multifunction switch lever. Automatic
control will resume when conditions are
correct. Note:
Modification of the vehicle ride height
(e.g. using much larger tires) may degrade
feature performance.
A camera sensor is centrally mounted
behind the windshield of the vehicle, and
monitors conditions continuously to decide
when to switch the high beams off and on.
Once the system is active, the high beams
will switch on if:
• The ambient light level is low enough
that high beams are needed.
• There is no traffic in front of the vehicle.
• The vehicle speed is greater than
25 mph (40 km/h)
.
The high beams will switch off if:
• An approaching vehicle's headlights or
a preceding vehicle's tail lamps are
detected.
• Vehicle speed falls below
16 mph
(25 km/h).
• The ambient light level is high enough
that high beams are not required.
• Severe rain, snow, or fog is detected.
• The camera is blocked.
Activating the System
Switch on the system using the information
display and autolamps. See Information
Displays
(page 83). See Autolamps
(page 67). 69
Fusion/Mondeo (CC7) LightingE142451
Page 78 of 458
Note:
Do not clean the housing or glass of
any mirror with harsh abrasives, fuel or other
petroleum or ammonia-based cleaning
products.
You can adjust the interior mirror to your
preference. Some mirrors also have a
second pivot point. This lets you move the
mirror head up or down and from side to
side.
Pull the tab below the mirror toward you
to reduce glare at night.
Auto-Dimming Mirror (If Equipped)
Note: Do not block the sensors on the front
and back of the mirror. Mirror performance
may be affected. A rear center passenger or
raised rear center head restraint may also
block light from reaching the sensor.
The mirror will dim automatically to reduce
glare when bright lights are detected from
behind your vehicle. It will automatically
return to normal reflection when you select
reverse gear to make sure you have a clear
view when backing up.
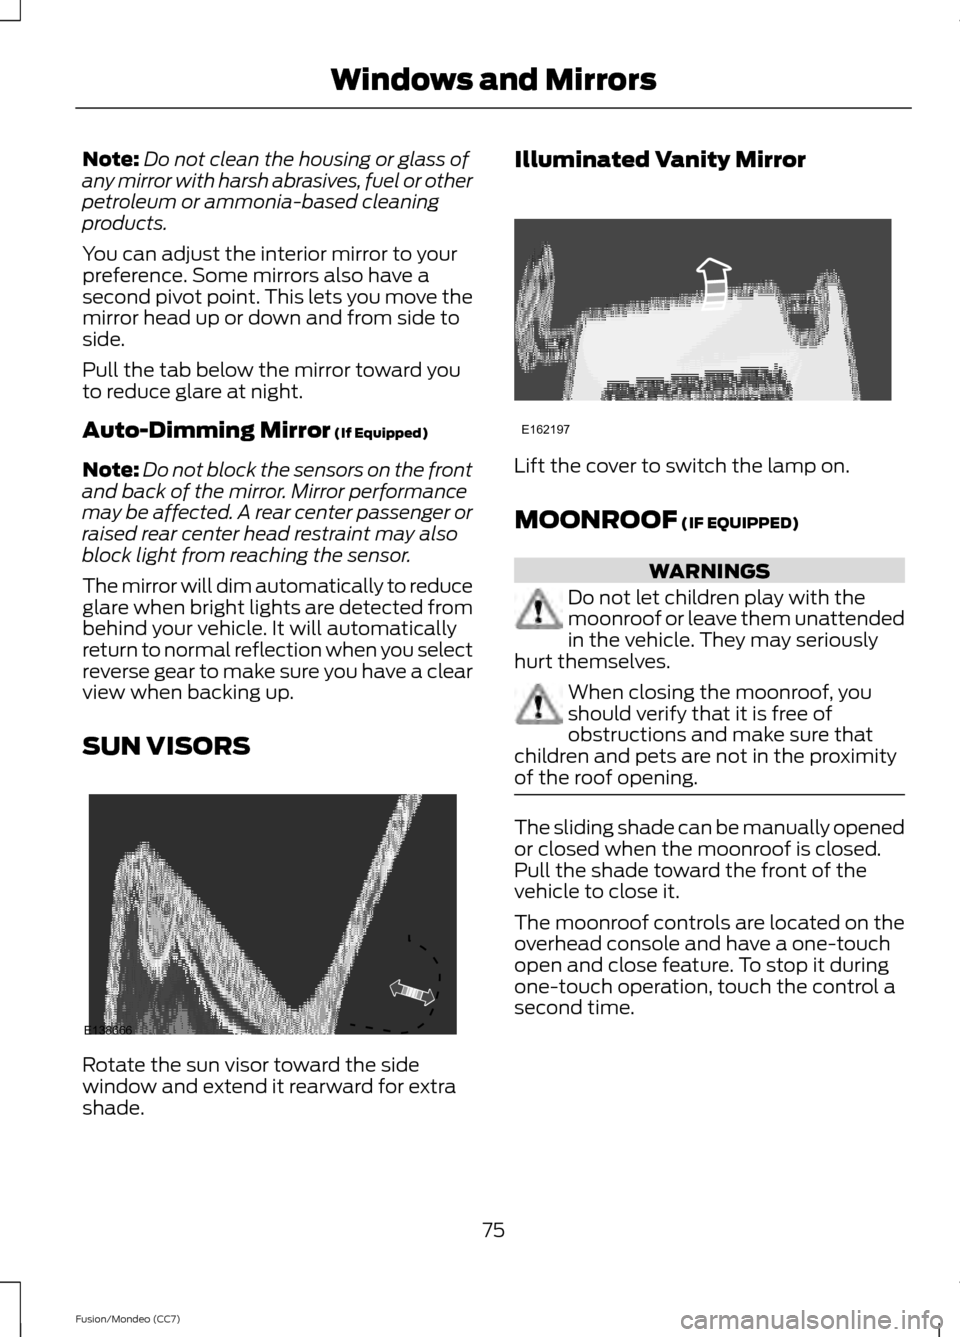
SUN VISORS Rotate the sun visor toward the side
window and extend it rearward for extra
shade. Illuminated Vanity Mirror
Lift the cover to switch the lamp on.
MOONROOF
(IF EQUIPPED)
WARNINGS
Do not let children play with the
moonroof or leave them unattended
in the vehicle. They may seriously
hurt themselves. When closing the moonroof, you
should verify that it is free of
obstructions and make sure that
children and pets are not in the proximity
of the roof opening. The sliding shade can be manually opened
or closed when the moonroof is closed.
Pull the shade toward the front of the
vehicle to close it.
The moonroof controls are located on the
overhead console and have a one-touch
open and close feature. To stop it during
one-touch operation, touch the control a
second time.
75
Fusion/Mondeo (CC7) Windows and MirrorsE138666 E162197
Page 84 of 458
Heads Up Display (If Equipped)
A red beam of lights will
illuminate on the windshield in
certain instances when using
adaptive cruise control and/or the collision
warning system. It will also illuminate
momentarily when you start your vehicle
to make sure the display works.
High Beam It will illuminate when you switch
the high beam headlamps on. It
will flash when you use the
headlamp flasher.
Hood Ajar Displays when the ignition is on
and the hood is not completely
closed.
Lane Keeping Aid
(If Equipped) Illuminates when the lane
keeping system is activated.
Low Fuel Level It will illuminate when the fuel
level is low or the fuel tank is
nearly empty. Refuel as soon as
possible.
Low Tire Pressure Warning It will illuminate when your tire
pressure is low. If the lamp
remains on with the engine
running or when driving, check
your tire pressure as soon as possible. It will also illuminate momentarily when
you switch the ignition on to confirm the
lamp is functional. If it does not illuminate
when you switch the ignition on, or begins
to flash at any time, have the system
checked by your authorized dealer.
Parking Lamps It will illuminate when you switch
the parking lamps on.
Powertrain Fault Illuminates when a powertrain
or an AWD fault has been
detected. Contact your
authorized dealer as soon as possible.
Service Engine Soon If the service engine soon
indicator light stays illuminated
after the engine is started, it
indicates that the On Board Diagnostics
system (OBD) has detected a malfunction
of the vehicle emissions control system.
Refer to On board diagnostics (OBD) in
the Fuel and Refueling chapter for more
information about having your vehicle
serviced. See Emission Control System
(page
157).
If the light is blinking, engine misfire is
occurring which could damage your
catalytic converter. Drive in a moderate
fashion (avoid heavy acceleration and
deceleration) and have your vehicle
serviced immediately.
Note: Under engine misfire conditions,
excessive exhaust temperatures could
damage the catalytic converter or other
vehicle components.
81
Fusion/Mondeo (CC7) Instrument ClusterE156133 E159324 E144813
Page 138 of 458
HEATED SEATS (IF EQUIPPED)
WARNING
People who are unable to feel pain
to their skin because of advanced
age, chronic illness, diabetes, spinal
cord injury, medication, alcohol use,
exhaustion or other physical conditions,
must exercise care when using the heated
seat. The heated seat may cause burns
even at low temperatures, especially if
used for long periods of time. Do not place
anything on the seat that insulates against
heat, such as a blanket or cushion. This
may cause the heated seat to overheat.
Do not puncture the seat with pins, needles
or other pointed objects. This may damage
the heating element which may cause the
heated seat to overheat. An overheated
seat may cause serious personal injury. Do not do the following:
•
Place heavy objects on the seat.
• Operate the heated seat if water or any
other liquid is spilled on the seat. Allow
the seat to dry thoroughly.
• Operate the heated seats unless the
engine is running. Doing so can cause
the battery to lose charge. Press the heated seat symbol to cycle
through the various heat settings and off.
Warmer settings are indicated by more
indicator lights. VENTILATED SEATS (IF EQUIPPED)
The ventilated seats will only function
when the engine is running.
To operate the ventilated seats: Press the ventilated seat symbol to cycle
through the various cooling settings and
off. Cooler settings are indicated by more
indicator lights.
If the engine falls below 350 RPM while
the ventilated seats are on, the feature will
turn itself off and will need to be
reactivated.
Heated and ventilated seat air
filter replacement (if equipped)
The climate controlled seat system
includes air filters. You must replace them
periodically.
The filters are located under each front
seat. You can access them from the
second row foot-well area. Move the front
seats all the way forward and to the full
up positions to ease access.
135
Fusion/Mondeo (CC7) SeatsE146941 E146309
Page 142 of 458
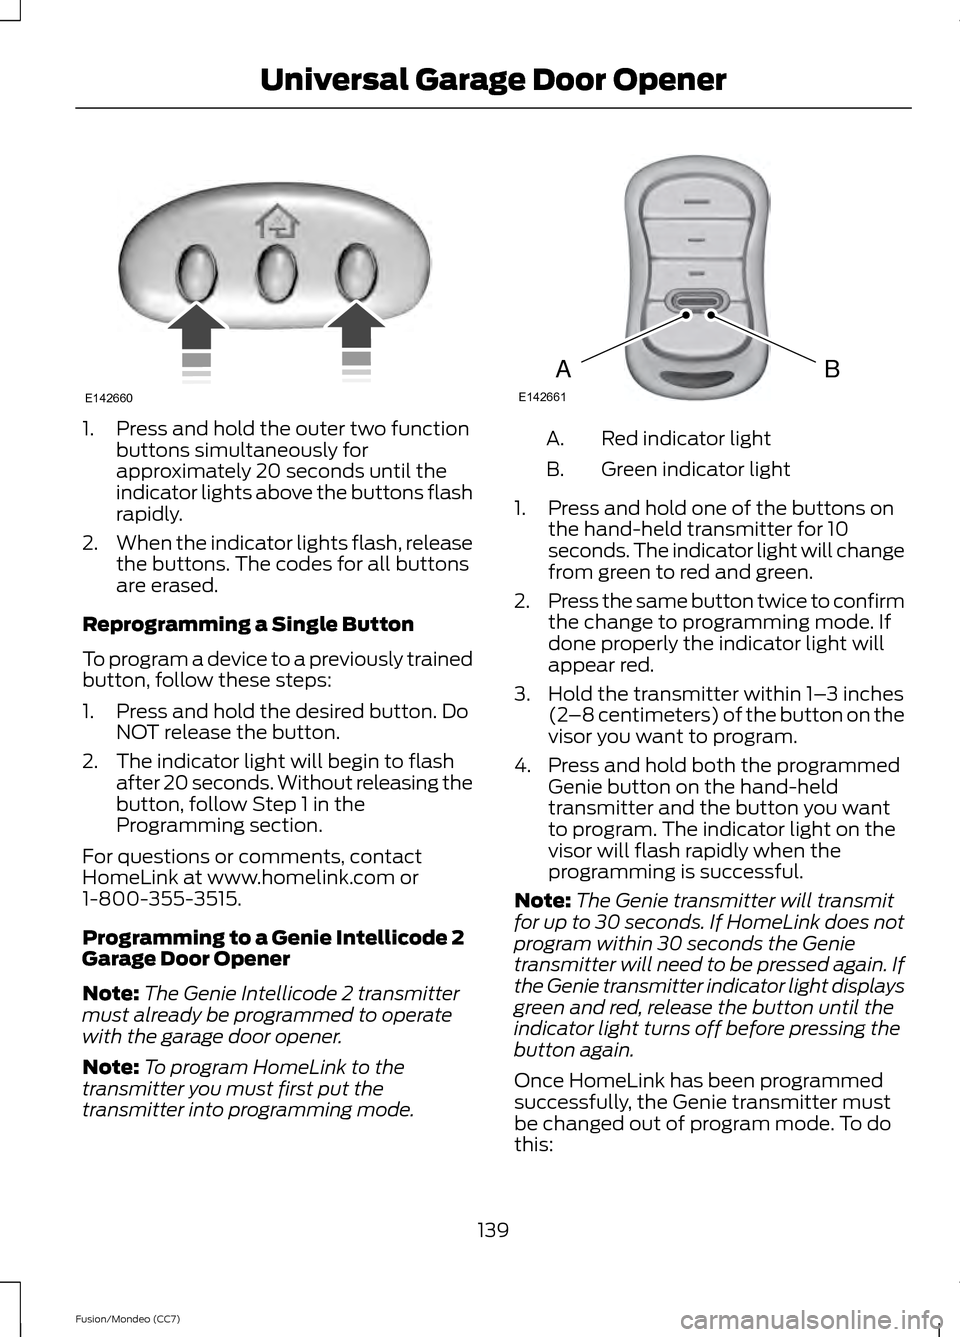
1. Press and hold the outer two function
buttons simultaneously for
approximately 20 seconds until the
indicator lights above the buttons flash
rapidly.
2. When the indicator lights flash, release
the buttons. The codes for all buttons
are erased.
Reprogramming a Single Button
To program a device to a previously trained
button, follow these steps:
1. Press and hold the desired button. Do NOT release the button.
2. The indicator light will begin to flash after 20 seconds. Without releasing the
button, follow Step 1 in the
Programming section.
For questions or comments, contact
HomeLink at www.homelink.com or
1-800-355-3515.
Programming to a Genie Intellicode 2
Garage Door Opener
Note: The Genie Intellicode 2 transmitter
must already be programmed to operate
with the garage door opener.
Note: To program HomeLink to the
transmitter you must first put the
transmitter into programming mode. Red indicator light
A.
Green indicator light
B.
1. Press and hold one of the buttons on the hand-held transmitter for 10
seconds. The indicator light will change
from green to red and green.
2. Press the same button twice to confirm
the change to programming mode. If
done properly the indicator light will
appear red.
3. Hold the transmitter within 1– 3 inches
(2 –8 centimeters) of the button on the
visor you want to program.
4. Press and hold both the programmed Genie button on the hand-held
transmitter and the button you want
to program. The indicator light on the
visor will flash rapidly when the
programming is successful.
Note: The Genie transmitter will transmit
for up to 30 seconds. If HomeLink does not
program within 30 seconds the Genie
transmitter will need to be pressed again. If
the Genie transmitter indicator light displays
green and red, release the button until the
indicator light turns off before pressing the
button again.
Once HomeLink has been programmed
successfully, the Genie transmitter must
be changed out of program mode. To do
this:
139
Fusion/Mondeo (CC7) Universal Garage Door OpenerE142660 BAE142661
Page 143 of 458
1. Press and hold the previously
programmed Genie button on the
hand-held transmitter for 10 seconds.
The indicator light will change from red
to red and green.
2. Press the same button twice to confirm
the change. If done correctly the
indicator light will turn green.
Programming HomeLink to the Genie
Intellicode Garage Door Opener Motor
Note: You may need a ladder to access the
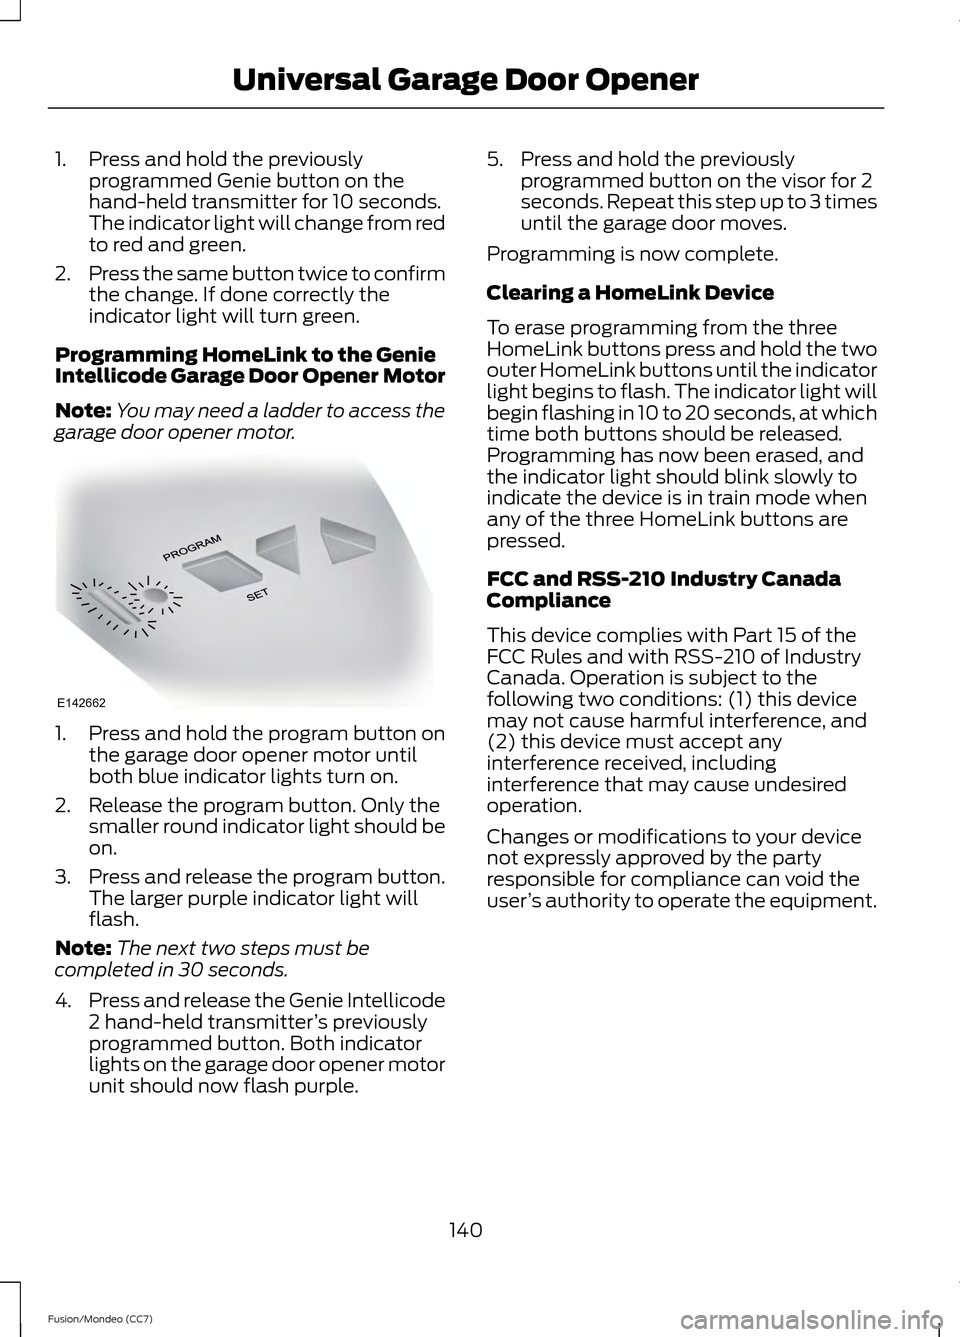
garage door opener motor. 1. Press and hold the program button on
the garage door opener motor until
both blue indicator lights turn on.
2. Release the program button. Only the smaller round indicator light should be
on.
3. Press and release the program button.
The larger purple indicator light will
flash.
Note: The next two steps must be
completed in 30 seconds.
4. Press and release the Genie Intellicode
2 hand-held transmitter ’s previously
programmed button. Both indicator
lights on the garage door opener motor
unit should now flash purple. 5. Press and hold the previously
programmed button on the visor for 2
seconds. Repeat this step up to 3 times
until the garage door moves.
Programming is now complete.
Clearing a HomeLink Device
To erase programming from the three
HomeLink buttons press and hold the two
outer HomeLink buttons until the indicator
light begins to flash. The indicator light will
begin flashing in 10 to 20 seconds, at which
time both buttons should be released.
Programming has now been erased, and
the indicator light should blink slowly to
indicate the device is in train mode when
any of the three HomeLink buttons are
pressed.
FCC and RSS-210 Industry Canada
Compliance
This device complies with Part 15 of the
FCC Rules and with RSS-210 of Industry
Canada. Operation is subject to the
following two conditions: (1) this device
may not cause harmful interference, and
(2) this device must accept any
interference received, including
interference that may cause undesired
operation.
Changes or modifications to your device
not expressly approved by the party
responsible for compliance can void the
user ’s authority to operate the equipment.
140
Fusion/Mondeo (CC7) Universal Garage Door OpenerE142662
Page 167 of 458
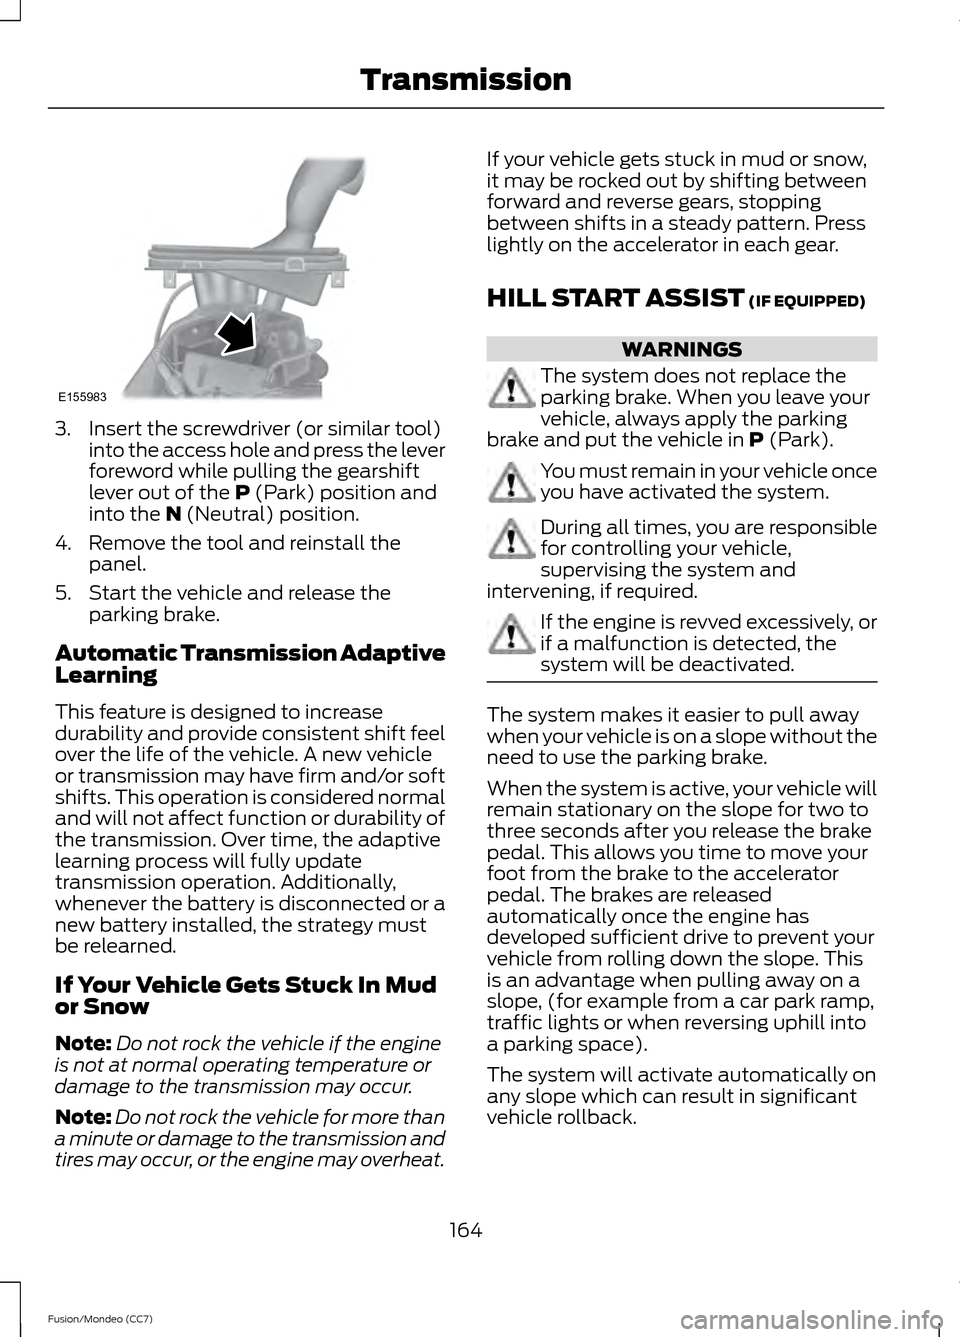
3. Insert the screwdriver (or similar tool)
into the access hole and press the lever
foreword while pulling the gearshift
lever out of the P (Park) position and
into the N (Neutral) position.
4. Remove the tool and reinstall the panel.
5. Start the vehicle and release the parking brake.
Automatic Transmission Adaptive
Learning
This feature is designed to increase
durability and provide consistent shift feel
over the life of the vehicle. A new vehicle
or transmission may have firm and/or soft
shifts. This operation is considered normal
and will not affect function or durability of
the transmission. Over time, the adaptive
learning process will fully update
transmission operation. Additionally,
whenever the battery is disconnected or a
new battery installed, the strategy must
be relearned.
If Your Vehicle Gets Stuck In Mud
or Snow
Note: Do not rock the vehicle if the engine
is not at normal operating temperature or
damage to the transmission may occur.
Note: Do not rock the vehicle for more than
a minute or damage to the transmission and
tires may occur, or the engine may overheat. If your vehicle gets stuck in mud or snow,
it may be rocked out by shifting between
forward and reverse gears, stopping
between shifts in a steady pattern. Press
lightly on the accelerator in each gear.
HILL START ASSIST
(IF EQUIPPED)
WARNINGS
The system does not replace the
parking brake. When you leave your
vehicle, always apply the parking
brake and put the vehicle in
P (Park). You must remain in your vehicle once
you have activated the system.
During all times, you are responsible
for controlling your vehicle,
supervising the system and
intervening, if required. If the engine is revved excessively, or
if a malfunction is detected, the
system will be deactivated.
The system makes it easier to pull away
when your vehicle is on a slope without the
need to use the parking brake.
When the system is active, your vehicle will
remain stationary on the slope for two to
three seconds after you release the brake
pedal. This allows you time to move your
foot from the brake to the accelerator
pedal. The brakes are released
automatically once the engine has
developed sufficient drive to prevent your
vehicle from rolling down the slope. This
is an advantage when pulling away on a
slope, (for example from a car park ramp,
traffic lights or when reversing uphill into
a parking space).
The system will activate automatically on
any slope which can result in significant
vehicle rollback.
164
Fusion/Mondeo (CC7) TransmissionE155983
Page 178 of 458
PRINCIPLE OF OPERATION
The traction control system helps avoid
drive wheel spin and loss of traction.
If your vehicle begins to slide, the system
applies the brakes to individual wheels
and, when needed, reduces engine power
at the same time. If the wheels spin when
accelerating on slippery or loose surfaces,
the system reduces engine power in order
to increase traction.
USING TRACTION CONTROL
In certain situations (for example, stuck in
snow or mud), turning the traction control
off may be beneficial as this allows the
wheels to spin with full engine power. Turn
off the traction control system through the
information display. See General
Information (page 83).
System Indicator Lights and
Messages WARNING
If a failure has been detected within
the AdvanceTrac system, the
stability control light will illuminate
steadily. Verify that the AdvanceTrac
system was not manually disabled through
the information display. If the stability
control light still illuminates steadily, have
the system serviced by an authorized
dealer immediately. Operating your vehicle
with AdvanceTrac disabled could lead to
an increased risk of loss of vehicle control,
vehicle rollover, personal injury and death. The stability control light
temporarily illuminates on
engine start-up and flashes
when a driving condition activates the
stability system. The stability control off light
temporarily illuminates on
engine start-up and stays on
when you turn the traction control system
off.
When you turn the traction control system
off or on, a message appears in the
information display showing system status.
175
Fusion/Mondeo (CC7) Traction ControlE138639