spare wheel FORD RANGER 2011 2.G User Guide
[x] Cancel search | Manufacturer: FORD, Model Year: 2011, Model line: RANGER, Model: FORD RANGER 2011 2.GPages: 302, PDF Size: 2.33 MB
Page 192 of 302
WARNING:The use of tire sealants may damage your tire
pressure monitoring system (TPMS) and should not be used.
However, if you must use a sealant, the TPMS sensor and valve stem
on the wheel must be replaced by an authorized Ford dealer.
WARNING:Refer toTire pressure monitoring system (TPMS)
in theTires, Wheels and Loadingchapter for important
information. If the tire pressure monitor sensor becomes damaged, it
will no longer function.
Dissimilar spare tire/wheel information
WARNING:Failure to follow these guidelines could result in an
increased risk of loss of vehicle control, injury or death.
If you have a dissimilar spare tire/wheel, then it is intended for
temporary use only. This means that if you need to use it, you should
replace it as soon as possible with a road tire/wheel that is the same size
and type as the road tires and wheels that were originally provided by
Ford. If the dissimilar spare tire or wheel is damaged, it should be
replaced rather than repaired.
A dissimilar spare tire/wheel is defined as a spare tire and/or wheel that
is different in brand, size or appearance from the road tires and wheels
and can be one of three types:
1.T-type mini-spare:This spare tire begins with the letter “T” for tire
size and may have “Temporary Use Only” molded in the sidewall
2.Full-size dissimilar spare with label on wheel:This spare tire has
a label on the wheel that states: “THIS TIRE AND WHEEL FOR
TEMPORARY USE ONLY”
When driving with one of the dissimilar spare tires listed above,do not:
•Exceed 50 mph (80 km/h)
•Load the vehicle beyond maximum vehicle load rating listed on the
Safety Compliance Label
•Tow a trailer
•Use snow chains on the end of the vehicle with the dissimilar spare
tire
•Use more than one dissimilar spare tire at a time
Roadside Emergencies
192
2011 Ranger(ran)
Owners Guide, 1st Printing
USA(fus)
Page 193 of 302
•Use commercial car washing equipment
•Try to repair the dissimilar spare tire
Use of one of the dissimilar spare tires listed above at any one wheel
location can lead to impairment of the following:
•Handling, stability and braking performance
•Comfort and noise
•Ground clearance and parking at curbs
•Winter weather driving capability
•Wet weather driving capability
3.Full-size dissimilar spare without label on wheel
When driving with the full-size dissimilar spare tire/wheel,do not:
•Exceed 70 mph (113 km/h)
•Use more than one dissimilar spare tire/wheel at a time
•Use commercial car washing equipment
•Use snow chains on the end of the vehicle with the dissimilar spare
tire/wheel
The usage of a full-size dissimilar spare tire/wheel can lead to
impairment of the following:
•Handling, stability and braking performance
•Comfort and noise
•Ground clearance and parking at curbs
•Winter weather driving capability
•Wet weather driving capability
•All-wheel driving capability (if applicable)
•Load leveling adjustment (if applicable)
When driving with the full-size dissimilar spare tire/wheel additional
caution should be given to:
•Towing a trailer
•Driving vehicles equipped with a camper body
•Driving vehicles with a load on the cargo rack
Drive cautiously when using a full-size dissimilar spare tire/wheel and
seek service as soon as possible.
Roadside Emergencies
193
2011 Ranger(ran)
Owners Guide, 1st Printing
USA(fus)
Page 194 of 302
Stopping and securing the vehicle
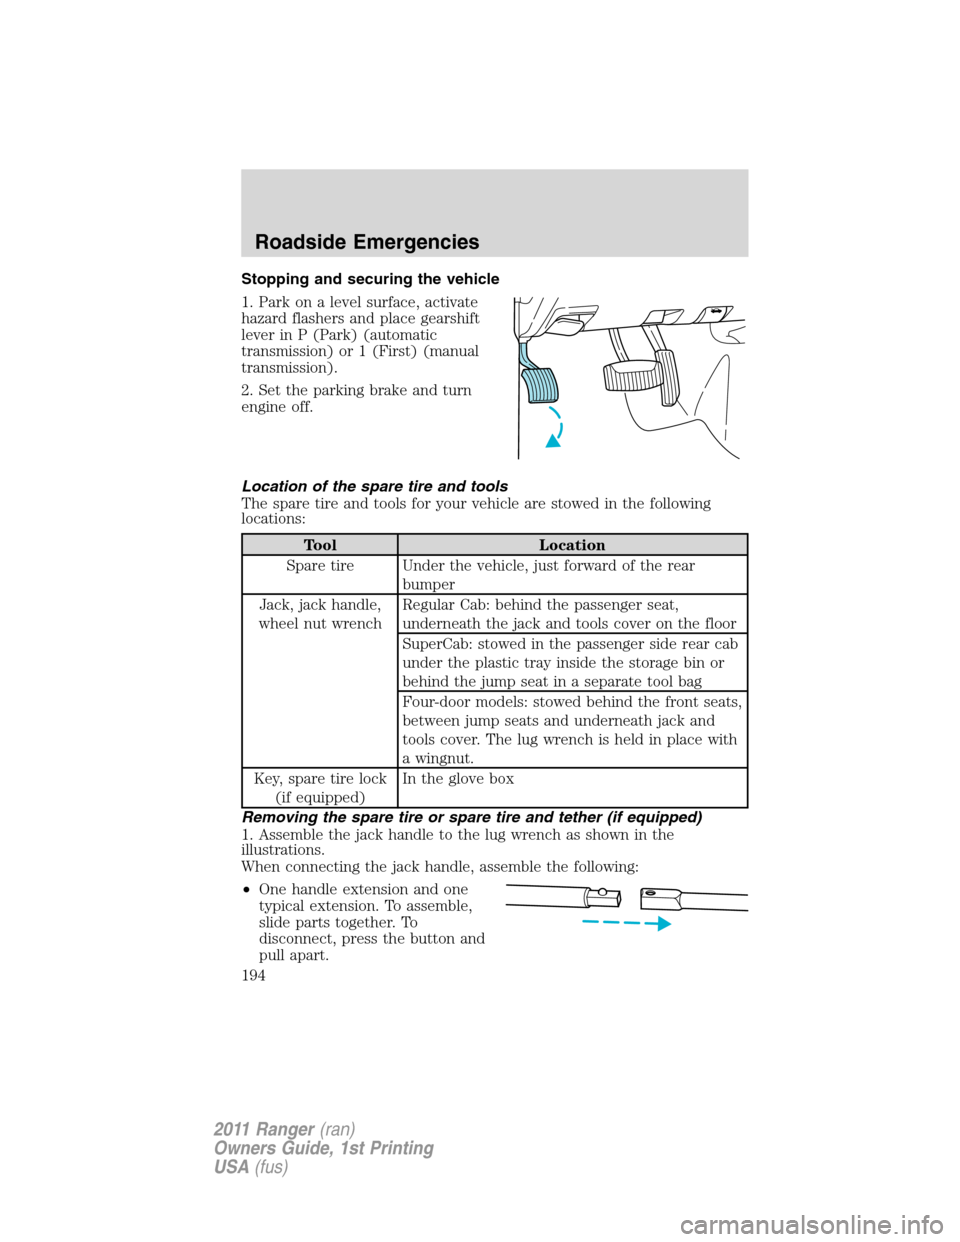
1. Park on a level surface, activate
hazard flashers and place gearshift
lever in P (Park) (automatic
transmission) or 1 (First) (manual
transmission).
2. Set the parking brake and turn
engine off.
Location of the spare tire and tools
The spare tire and tools for your vehicle are stowed in the following
locations:
Tool Location
Spare tire Under the vehicle, just forward of the rear
bumper
Jack, jack handle,
wheel nut wrenchRegular Cab: behind the passenger seat,
underneath the jack and tools cover on the floor
SuperCab: stowed in the passenger side rear cab
under the plastic tray inside the storage bin or
behind the jump seat in a separate tool bag
Four-door models: stowed behind the front seats,
between jump seats and underneath jack and
tools cover. The lug wrench is held in place with
a wingnut.
Key, spare tire lock
(if equipped)In the glove box
Removing the spare tire or spare tire and tether (if equipped)
1. Assemble the jack handle to the lug wrench as shown in the
illustrations.
When connecting the jack handle, assemble the following:
•One handle extension and one
typical extension. To assemble,
slide parts together. To
disconnect, press the button and
pull apart.
Roadside Emergencies
194
2011 Ranger(ran)
Owners Guide, 1st Printing
USA(fus)
Page 195 of 302
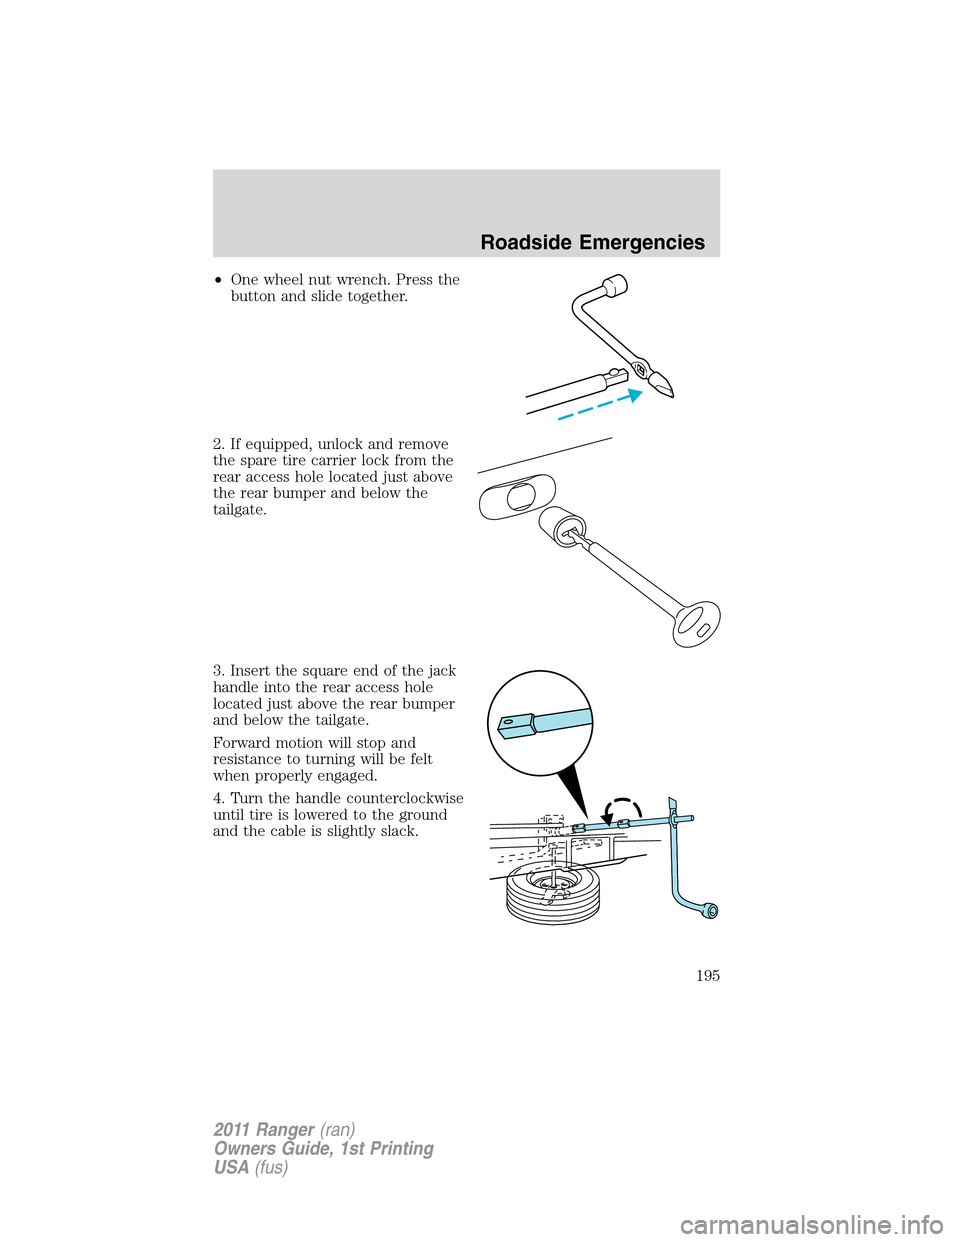
•One wheel nut wrench. Press the
button and slide together.
2. If equipped, unlock and remove
the spare tire carrier lock from the
rear access hole located just above
the rear bumper and below the
tailgate.
3. Insert the square end of the jack
handle into the rear access hole
located just above the rear bumper
and below the tailgate.
Forward motion will stop and
resistance to turning will be felt
when properly engaged.
4. Turn the handle counterclockwise
until tire is lowered to the ground
and the cable is slightly slack.
Roadside Emergencies
195
2011 Ranger(ran)
Owners Guide, 1st Printing
USA(fus)
Page 196 of 302
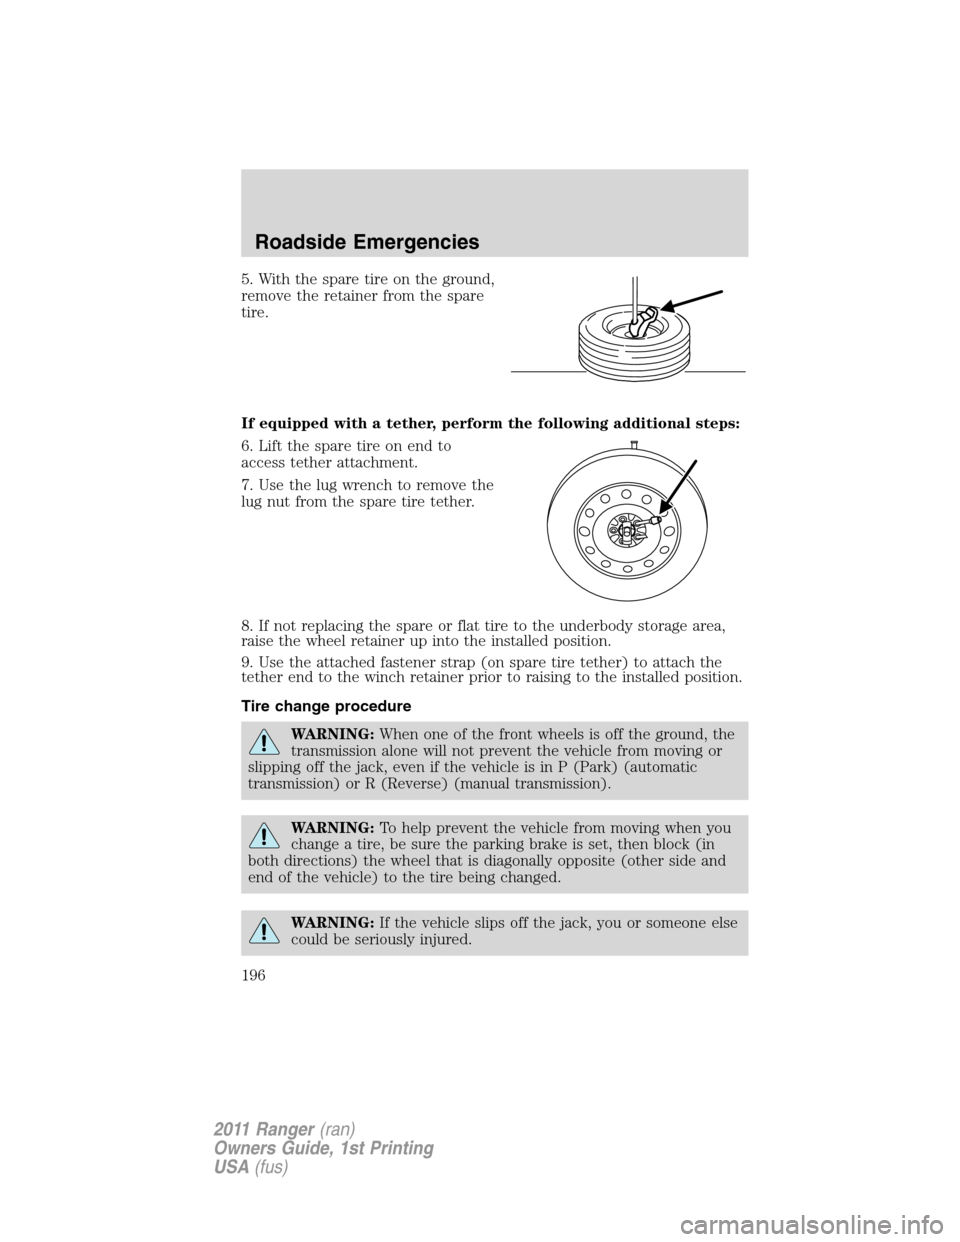
5. With the spare tire on the ground,
remove the retainer from the spare
tire.
If equipped with a tether, perform the following additional steps:
6. Lift the spare tire on end to
access tether attachment.
7. Use the lug wrench to remove the
lug nut from the spare tire tether.
8. If not replacing the spare or flat tire to the underbody storage area,
raise the wheel retainer up into the installed position.
9. Use the attached fastener strap (on spare tire tether) to attach the
tether end to the winch retainer prior to raising to the installed position.
Tire change procedure
WARNING:When one of the front wheels is off the ground, the
transmission alone will not prevent the vehicle from moving or
slipping off the jack, even if the vehicle is in P (Park) (automatic
transmission) or R (Reverse) (manual transmission).
WARNING:To help prevent the vehicle from moving when you
change a tire, be sure the parking brake is set, then block (in
both directions) the wheel that is diagonally opposite (other side and
end of the vehicle) to the tire being changed.
WARNING:If the vehicle slips off the jack, you or someone else
could be seriously injured.
Roadside Emergencies
196
2011 Ranger(ran)
Owners Guide, 1st Printing
USA(fus)
Page 198 of 302
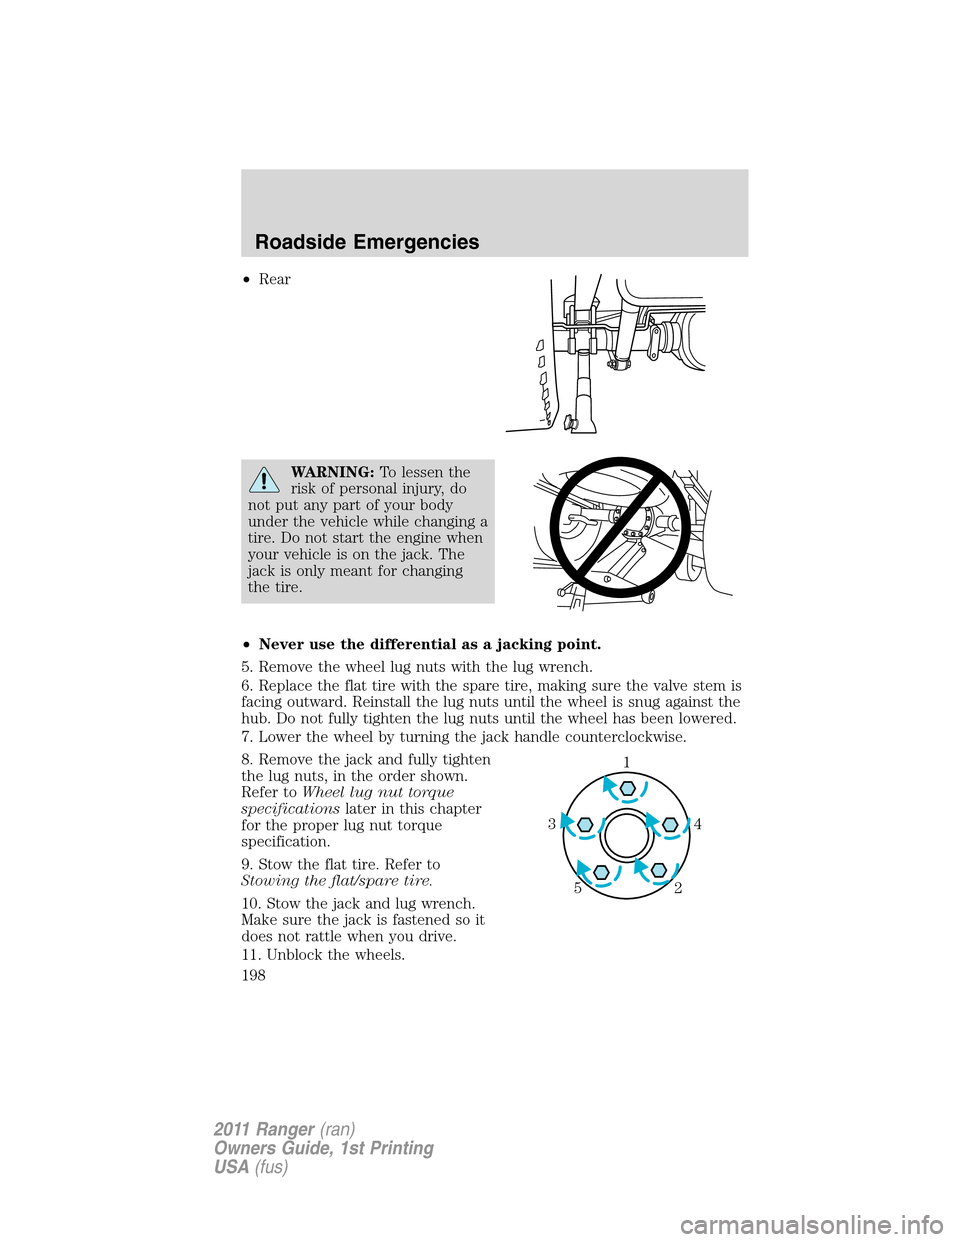
•Rear
WARNING:To lessen the
risk of personal injury, do
not put any part of your body
under the vehicle while changing a
tire. Do not start the engine when
your vehicle is on the jack. The
jack is only meant for changing
the tire.
•Never use the differential as a jacking point.
5. Remove the wheel lug nuts with the lug wrench.
6. Replace the flat tire with the spare tire, making sure the valve stem is
facing outward. Reinstall the lug nuts until the wheel is snug against the
hub. Do not fully tighten the lug nuts until the wheel has been lowered.
7. Lower the wheel by turning the jack handle counterclockwise.
8. Remove the jack and fully tighten
the lug nuts, in the order shown.
Refer toWheel lug nut torque
specificationslater in this chapter
for the proper lug nut torque
specification.
9. Stow the flat tire. Refer to
Stowing the flat/spare tire.
10. Stow the jack and lug wrench.
Make sure the jack is fastened so it
does not rattle when you drive.
11. Unblock the wheels.
1
4 3
2 5
Roadside Emergencies
198
2011 Ranger(ran)
Owners Guide, 1st Printing
USA(fus)
Page 199 of 302
Stowing the flat/spare tire
Note:Failure to follow spare tire stowage instructions may result in
failure of cable or loss of spare tire.
If you are stowing a tire that requires reattaching it to the
vehicle with a tether, perform these steps first, then proceed with
the steps following.
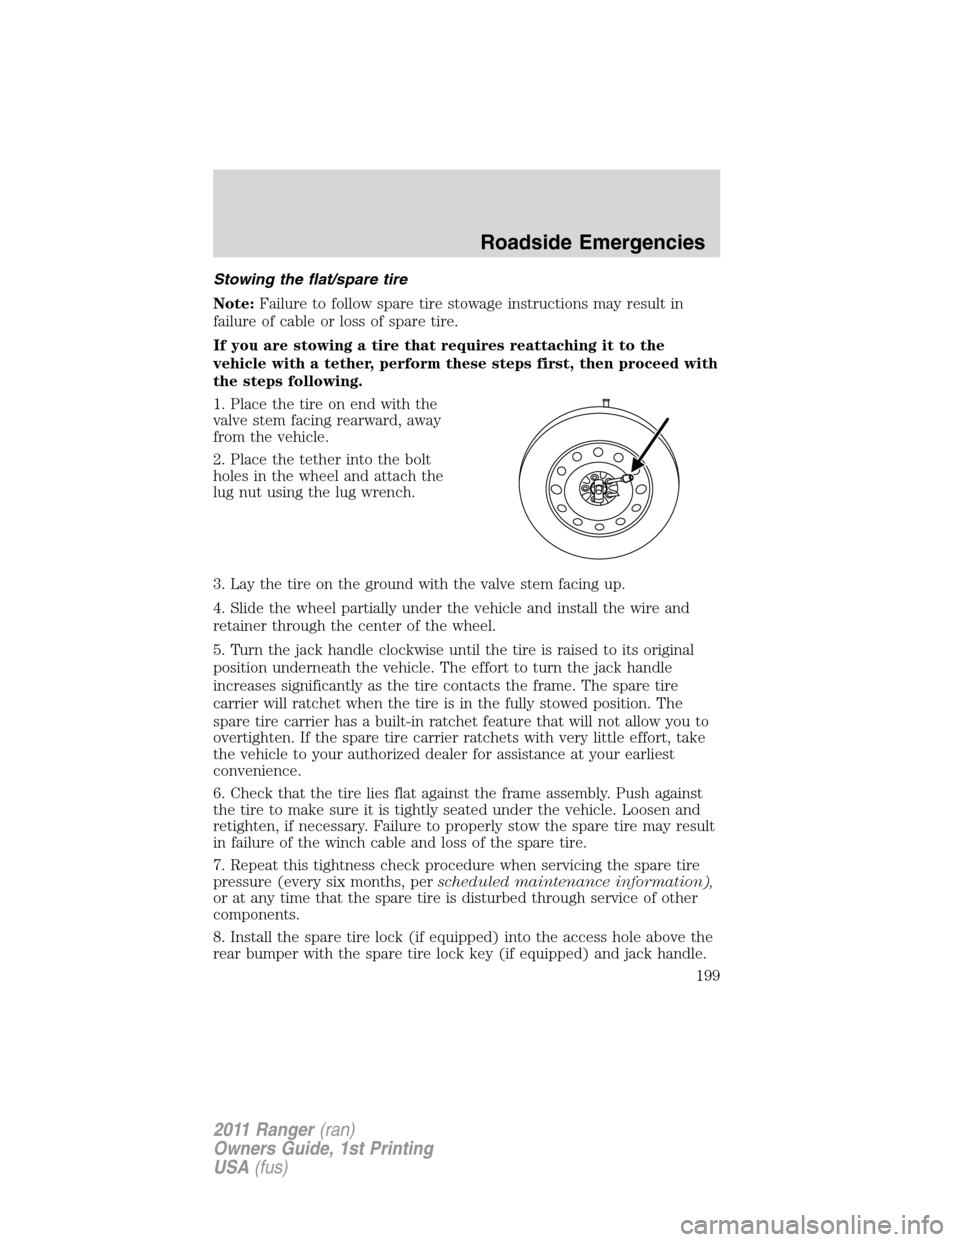
1. Place the tire on end with the
valve stem facing rearward, away
from the vehicle.
2. Place the tether into the bolt
holes in the wheel and attach the
lug nut using the lug wrench.
3. Lay the tire on the ground with the valve stem facing up.
4. Slide the wheel partially under the vehicle and install the wire and
retainer through the center of the wheel.
5. Turn the jack handle clockwise until the tire is raised to its original
position underneath the vehicle. The effort to turn the jack handle
increases significantly as the tire contacts the frame. The spare tire
carrier will ratchet when the tire is in the fully stowed position. The
spare tire carrier has a built-in ratchet feature that will not allow you to
overtighten. If the spare tire carrier ratchets with very little effort, take
the vehicle to your authorized dealer for assistance at your earliest
convenience.
6. Check that the tire lies flat against the frame assembly. Push against
the tire to make sure it is tightly seated under the vehicle. Loosen and
retighten, if necessary. Failure to properly stow the spare tire may result
in failure of the winch cable and loss of the spare tire.
7. Repeat this tightness check procedure when servicing the spare tire
pressure (every six months, perscheduled maintenance information),
or at any time that the spare tire is disturbed through service of other
components.
8. Install the spare tire lock (if equipped) into the access hole above the
rear bumper with the spare tire lock key (if equipped) and jack handle.
Roadside Emergencies
199
2011 Ranger(ran)
Owners Guide, 1st Printing
USA(fus)
Page 301 of 302

extension assembly ..................77
for adults .......................72, 74, 76
for children ...............................94
lap belt ......................................73
Occupant Classification
Sensor ........................................69
safety belt maintenance .........109
warning light and chime ..........78
Safety restraints - LATCH
anchors ......................................102
Safety seats for children ............98
Safety Compliance
Certification Label ....................267
Satellite Radio Information ........32
Scheduled Maintenance Guide
Normal Scheduled
Maintenance and Log .............281
What Maintenance Schedule
Should You Follow? ................277
Seats ............................................62
child safety seats ......................98
cleaning ...................................220
SecuriLock passive anti-theft
system ..........................................59
Servicing your vehicle ..............222
Setting the clock
AM/FM stereo ...........................20
AM/FM stereo CD .....................21
Snowplowing .................................6
Spark plugs,
specifications .....................259, 265
Special notice
ambulance conversions ..............7
utility-type vehicles ....................6
Specification chart,
lubricants ...................................260
Speed control ..............................52Starting your vehicle ........150–152
jump starting ..........................201
Steering wheel
tilting .........................................49
T
Tilt steering wheel ......................49
Tire Pressure Monitoring
System (TPMS)
Tires, Wheels and Loading ....128
Tires ...........................113–114, 191
alignment ................................121
care ..........................................117
changing ..........................191, 196
checking the pressure ............117
inflating ...................................115
label .........................................127
replacing ..................................119
rotating ....................................121
safety practices .......................120
sidewall information ...............122
snow tires and chains ............132
spare tire .................................192
terminology .............................114
tire grades ...............................114
treadwear ........................113, 118
Towing .......................................139
recreational towing .................148
trailer towing ..........................139
wrecker ....................................204
Transfer case
fluid checking .........................254
Transmission
automatic operation ...............166
brake-shift interlock (BSI) ....164
fluid, checking and adding
(manual) .................................253
fluid, refill capacities ..............260
lubricant specifications ..........260
Index
301
2011 Ranger(ran)
Owners Guide, 1st Printing
USA(fus)