reset FORD SUPER DUTY 2000 1.G Owners Manual
[x] Cancel search | Manufacturer: FORD, Model Year: 2000, Model line: SUPER DUTY, Model: FORD SUPER DUTY 2000 1.GPages: 256, PDF Size: 2.06 MB
Page 6 of 256
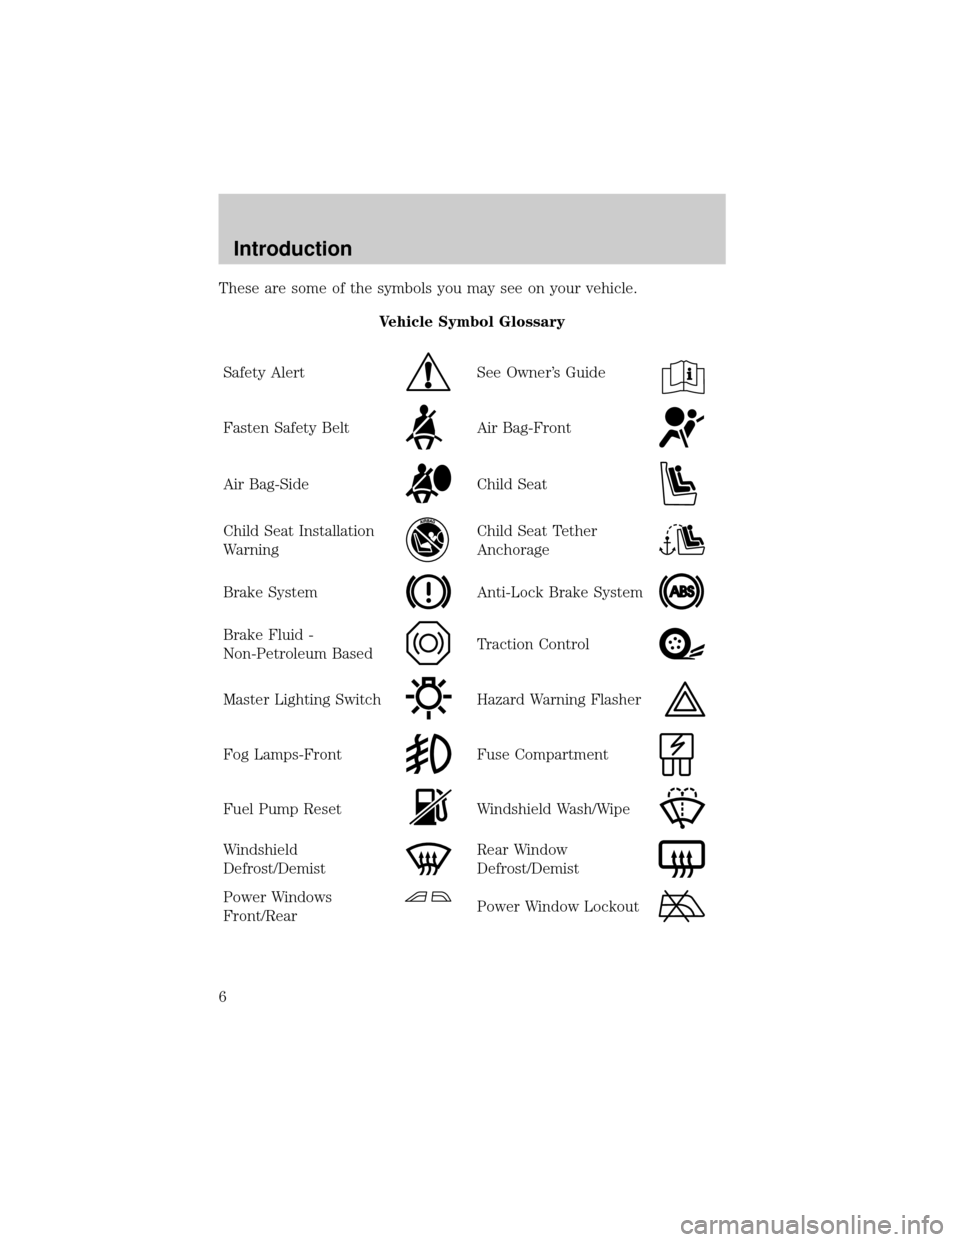
These are some of the symbols you may see on your vehicle.
Vehicle Symbol Glossary
Safety Alert
See Owner's Guide
Fasten Safety BeltAir Bag-Front
Air Bag-SideChild Seat
Child Seat Installation
WarningChild Seat Tether
Anchorage
Brake SystemAnti-Lock Brake System
Brake Fluid -
Non-Petroleum BasedTraction Control
Master Lighting SwitchHazard Warning Flasher
Fog Lamps-FrontFuse Compartment
Fuel Pump ResetWindshield Wash/Wipe
Windshield
Defrost/DemistRear Window
Defrost/Demist
Power Windows
Front/RearPower Window Lockout
Introduction
6
Page 18 of 256
Never remove the coolant reservoir cap while the engine is
running or hot.
This gauge indicates the temperature of the engine coolant, not the
coolant level. If the coolant is not at its proper level the gauge indication
will not be accurate.
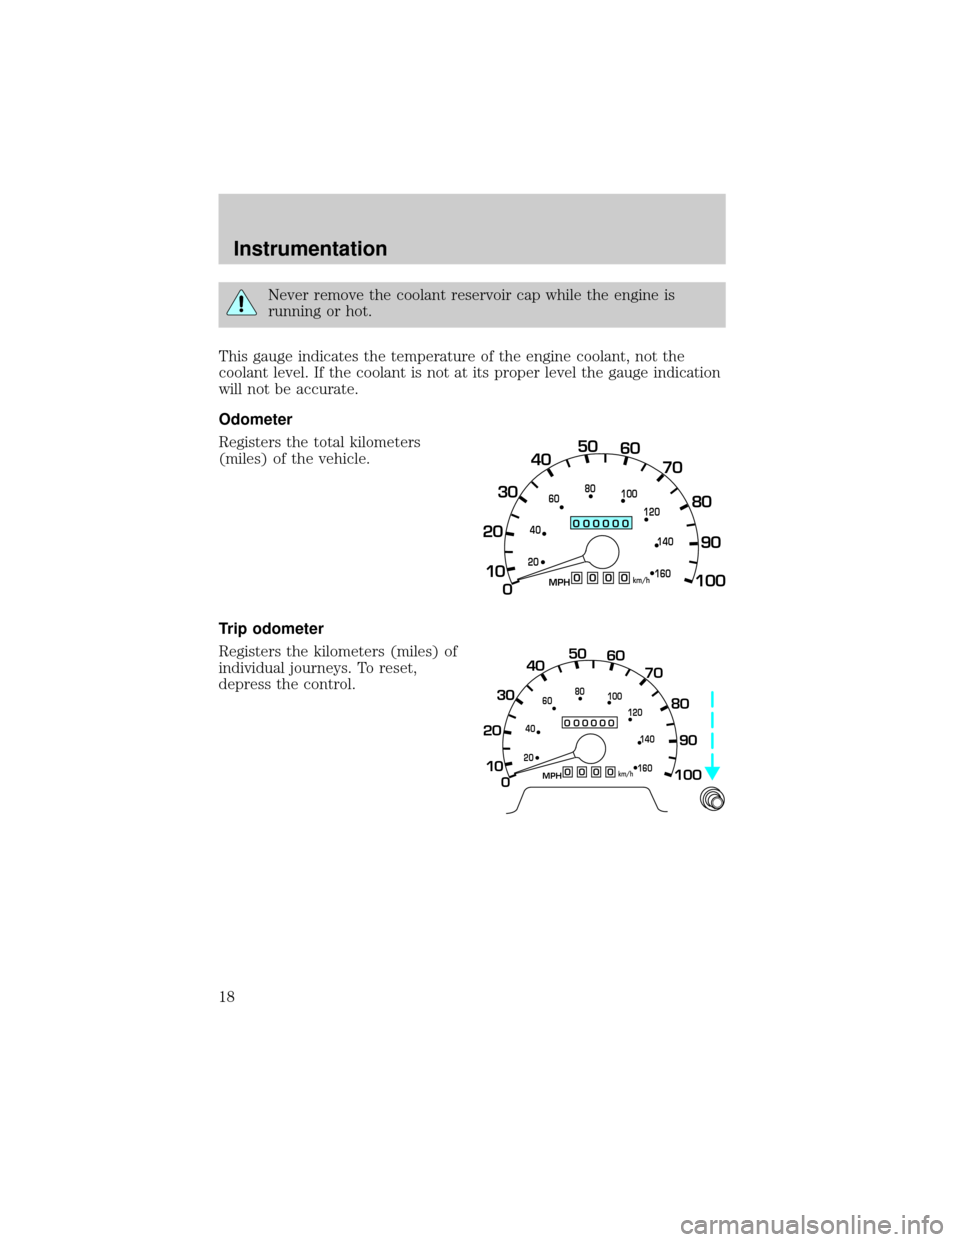
Odometer
Registers the total kilometers
(miles) of the vehicle.
Trip odometer
Registers the kilometers (miles) of
individual journeys. To reset,
depress the control.
0000MPH
20
km/h
406080
100
120
140
160
0
10 20304050
60
70
80
90
100
000000
0
000000000
MPH
20km/h
406080
100
120
140
160
0
10 20304050
60
70
80
90
100
Instrumentation
18
Page 20 of 256
TRIP COMPUTER (IF EQUIPPED)
The trip computer tells you about the condition of your vehicle through
a constant monitor of vehicle systems. You may select display features on
the trip computer for a display of status.
The appearance of your vehicle's trip computer may differ depending on
your vehicle's option package, but the functions are the same.
The trip computer only operates with the ignition in the ON position.
Trip computer features follow:
Selectable features
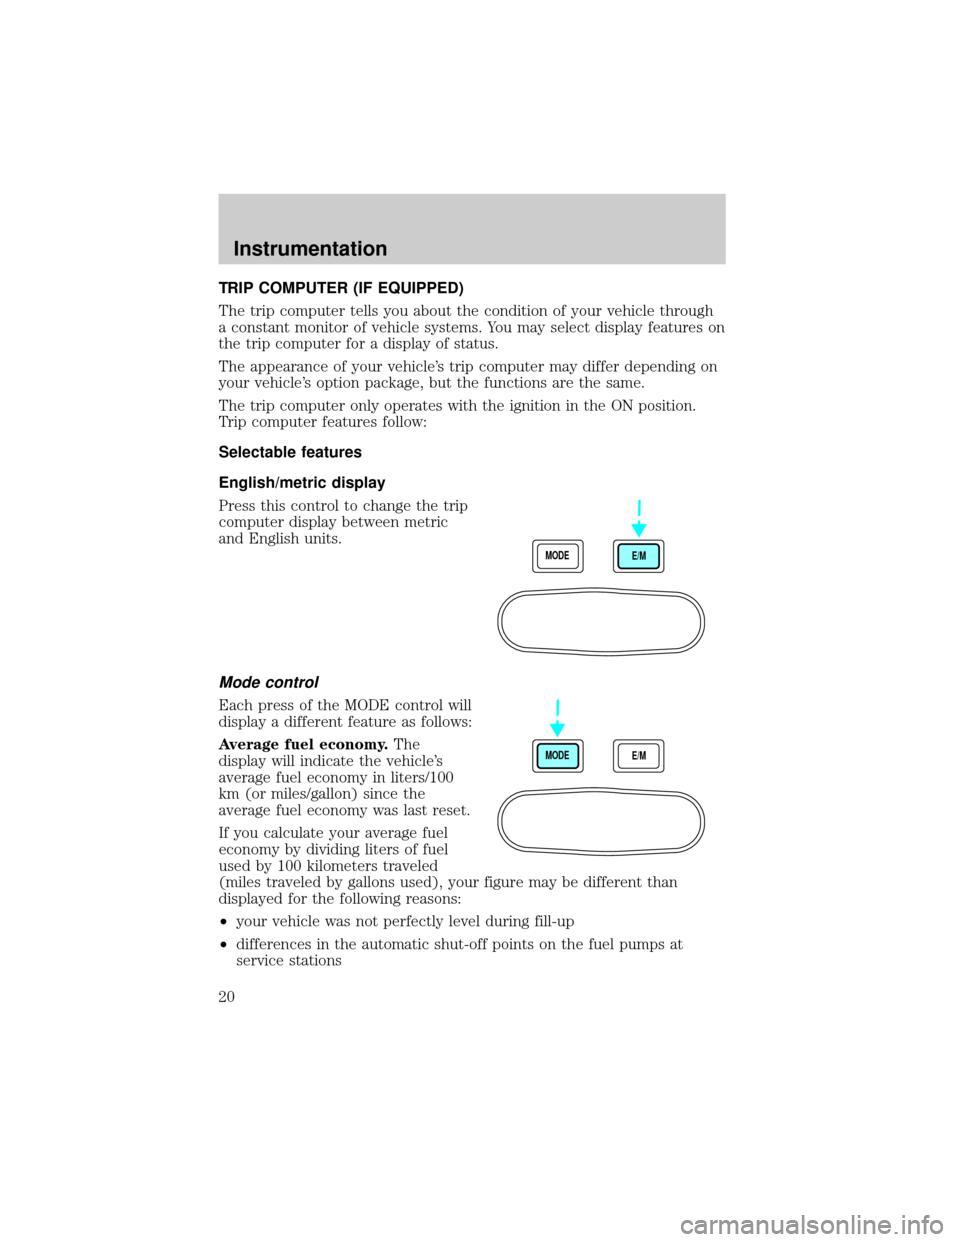
English/metric display
Press this control to change the trip
computer display between metric
and English units.
Mode control
Each press of the MODE control will
display a different feature as follows:
Average fuel economy.The
display will indicate the vehicle's
average fuel economy in liters/100
km (or miles/gallon) since the
average fuel economy was last reset.
If you calculate your average fuel
economy by dividing liters of fuel
used by 100 kilometers traveled
(miles traveled by gallons used), your figure may be different than
displayed for the following reasons:
²your vehicle was not perfectly level during fill-up
²differences in the automatic shut-off points on the fuel pumps at
service stations
MODE
E/M
MODE
E/M
Instrumentation
20
Page 21 of 256
²variations in top-off procedure from one fill-up to another
²rounding of the displayed values to the nearest liter (gallon)
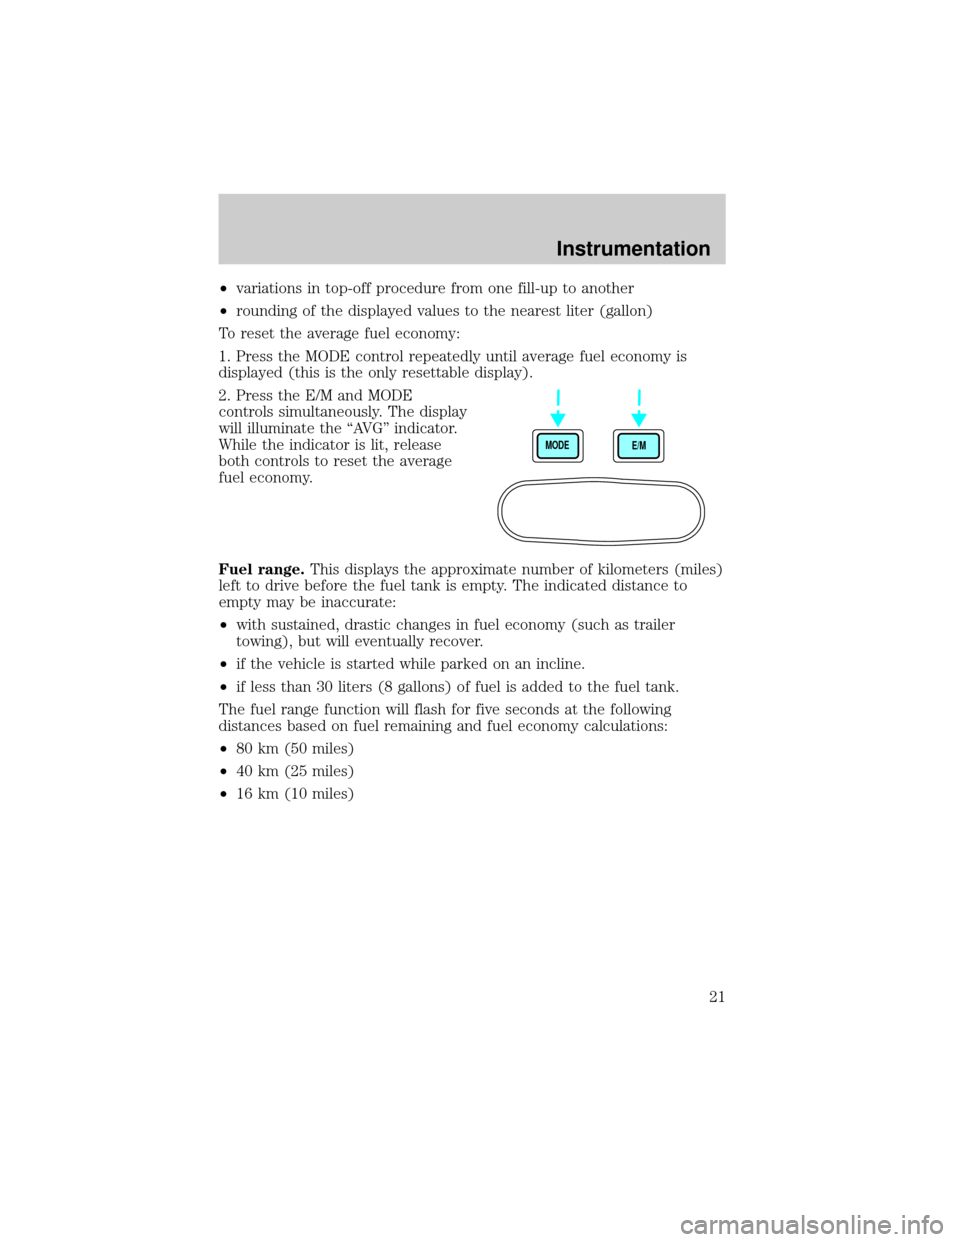
To reset the average fuel economy:
1. Press the MODE control repeatedly until average fuel economy is
displayed (this is the only resettable display).
2. Press the E/M and MODE
controls simultaneously. The display
will illuminate the ªAVGº indicator.
While the indicator is lit, release
both controls to reset the average
fuel economy.
Fuel range.This displays the approximate number of kilometers (miles)
left to drive before the fuel tank is empty. The indicated distance to
empty may be inaccurate:
²with sustained, drastic changes in fuel economy (such as trailer
towing), but will eventually recover.
²if the vehicle is started while parked on an incline.
²if less than 30 liters (8 gallons) of fuel is added to the fuel tank.
The fuel range function will flash for five seconds at the following
distances based on fuel remaining and fuel economy calculations:
²80 km (50 miles)
²40 km (25 miles)
²16 km (10 miles)
MODE
E/M
Instrumentation
21
Page 33 of 256
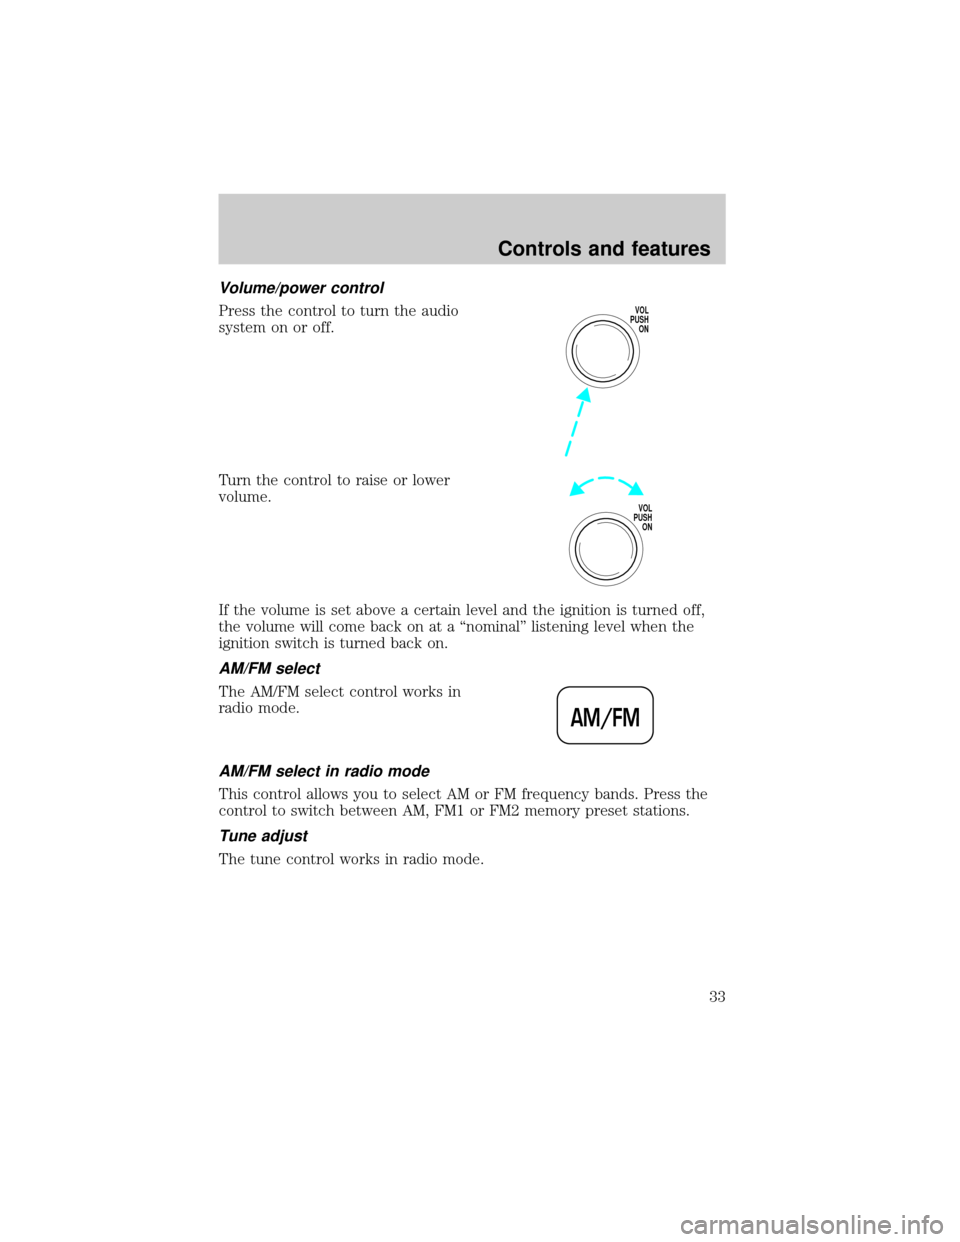
Volume/power control
Press the control to turn the audio
system on or off.
Turn the control to raise or lower
volume.
If the volume is set above a certain level and the ignition is turned off,
the volume will come back on at a ªnominalº listening level when the
ignition switch is turned back on.
AM/FM select
The AM/FM select control works in
radio mode.
AM/FM select in radio mode
This control allows you to select AM or FM frequency bands. Press the
control to switch between AM, FM1 or FM2 memory preset stations.
Tune adjust
The tune control works in radio mode.
VOL
PUSH
ON
VOL
PUSH
ON
AM/FM
Controls and features
33
Page 34 of 256
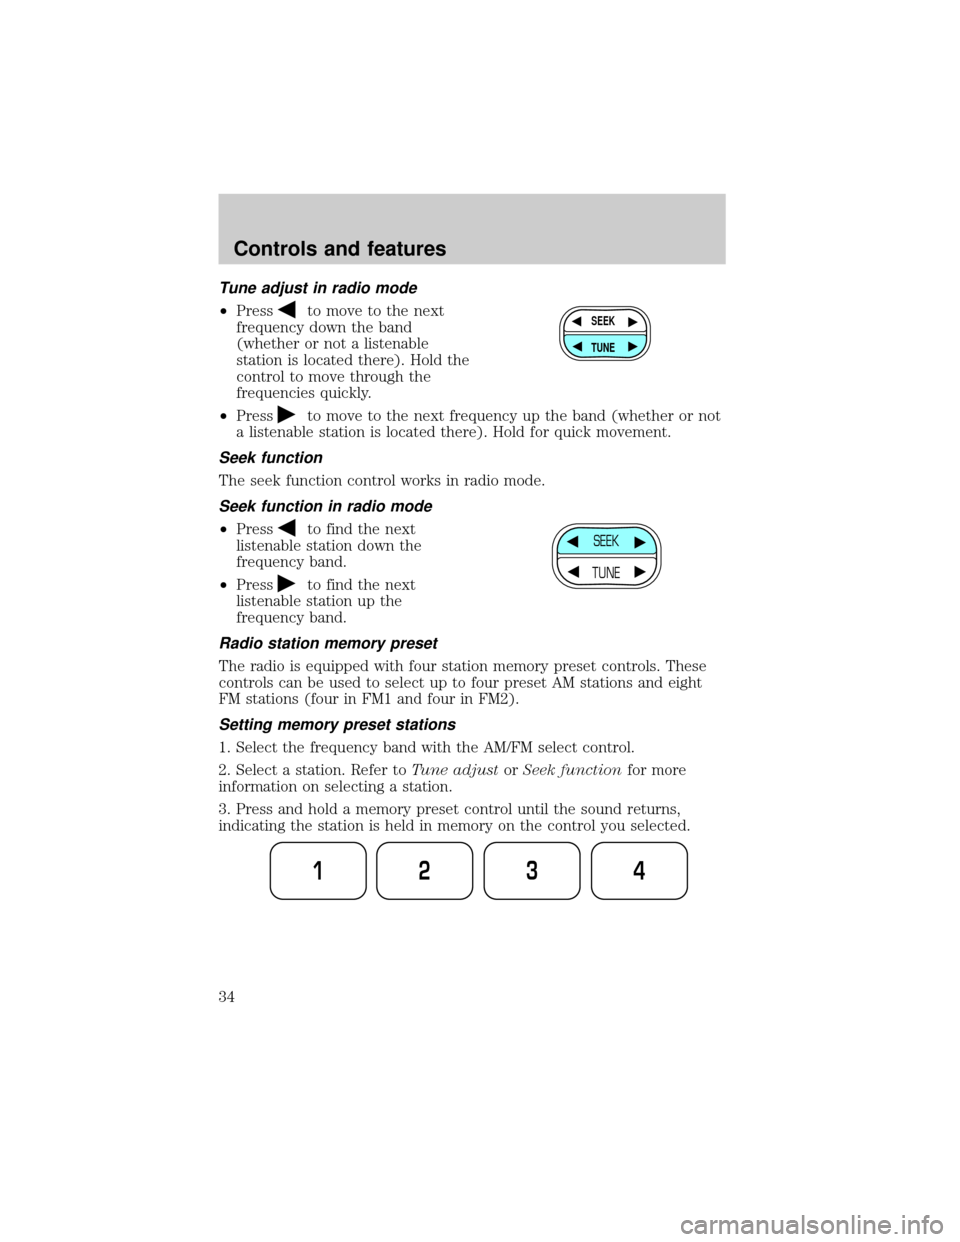
Tune adjust in radio mode
²Pressto move to the next
frequency down the band
(whether or not a listenable
station is located there). Hold the
control to move through the
frequencies quickly.
²Press
to move to the next frequency up the band (whether or not
a listenable station is located there). Hold for quick movement.
Seek function
The seek function control works in radio mode.
Seek function in radio mode
²Pressto find the next
listenable station down the
frequency band.
²Press
to find the next
listenable station up the
frequency band.
Radio station memory preset
The radio is equipped with four station memory preset controls. These
controls can be used to select up to four preset AM stations and eight
FM stations (four in FM1 and four in FM2).
Setting memory preset stations
1. Select the frequency band with the AM/FM select control.
2. Select a station. Refer toTune adjustorSeek functionfor more
information on selecting a station.
3. Press and hold a memory preset control until the sound returns,
indicating the station is held in memory on the control you selected.
SEEK
TUNE
SEEK
TUNE
1234
Controls and features
34
Page 38 of 256
If the volume is set above a certain level and the ignition is turned off,
the volume will come back on at a ªnominalº listening level when the
ignition switch is turned back on.
AM/FM select
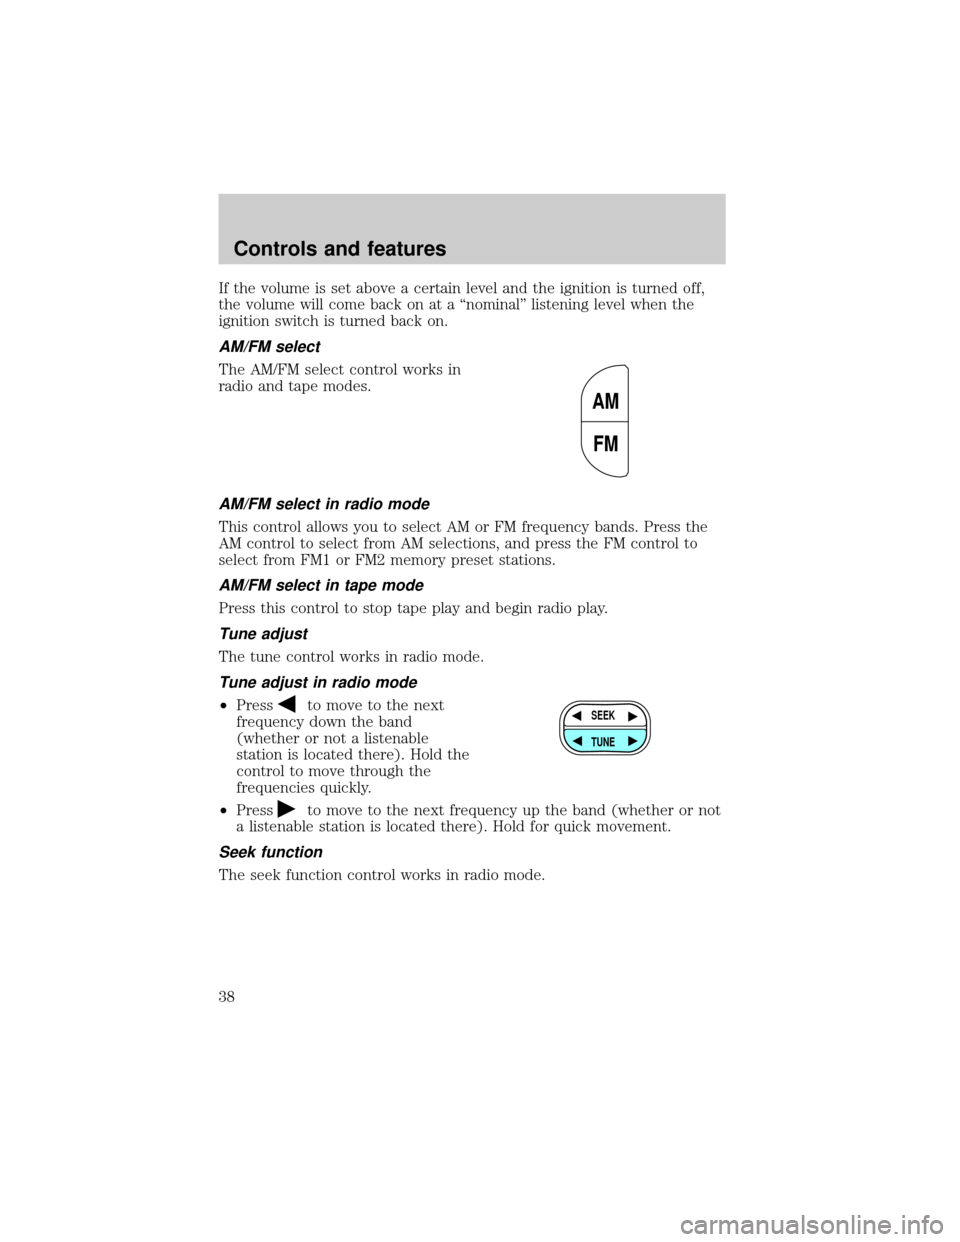
The AM/FM select control works in
radio and tape modes.
AM/FM select in radio mode
This control allows you to select AM or FM frequency bands. Press the
AM control to select from AM selections, and press the FM control to
select from FM1 or FM2 memory preset stations.
AM/FM select in tape mode
Press this control to stop tape play and begin radio play.
Tune adjust
The tune control works in radio mode.
Tune adjust in radio mode
²Pressto move to the next
frequency down the band
(whether or not a listenable
station is located there). Hold the
control to move through the
frequencies quickly.
²Press
to move to the next frequency up the band (whether or not
a listenable station is located there). Hold for quick movement.
Seek function
The seek function control works in radio mode.
AM
FM
SEEK
TUNE
Controls and features
38
Page 39 of 256
Seek function in radio mode
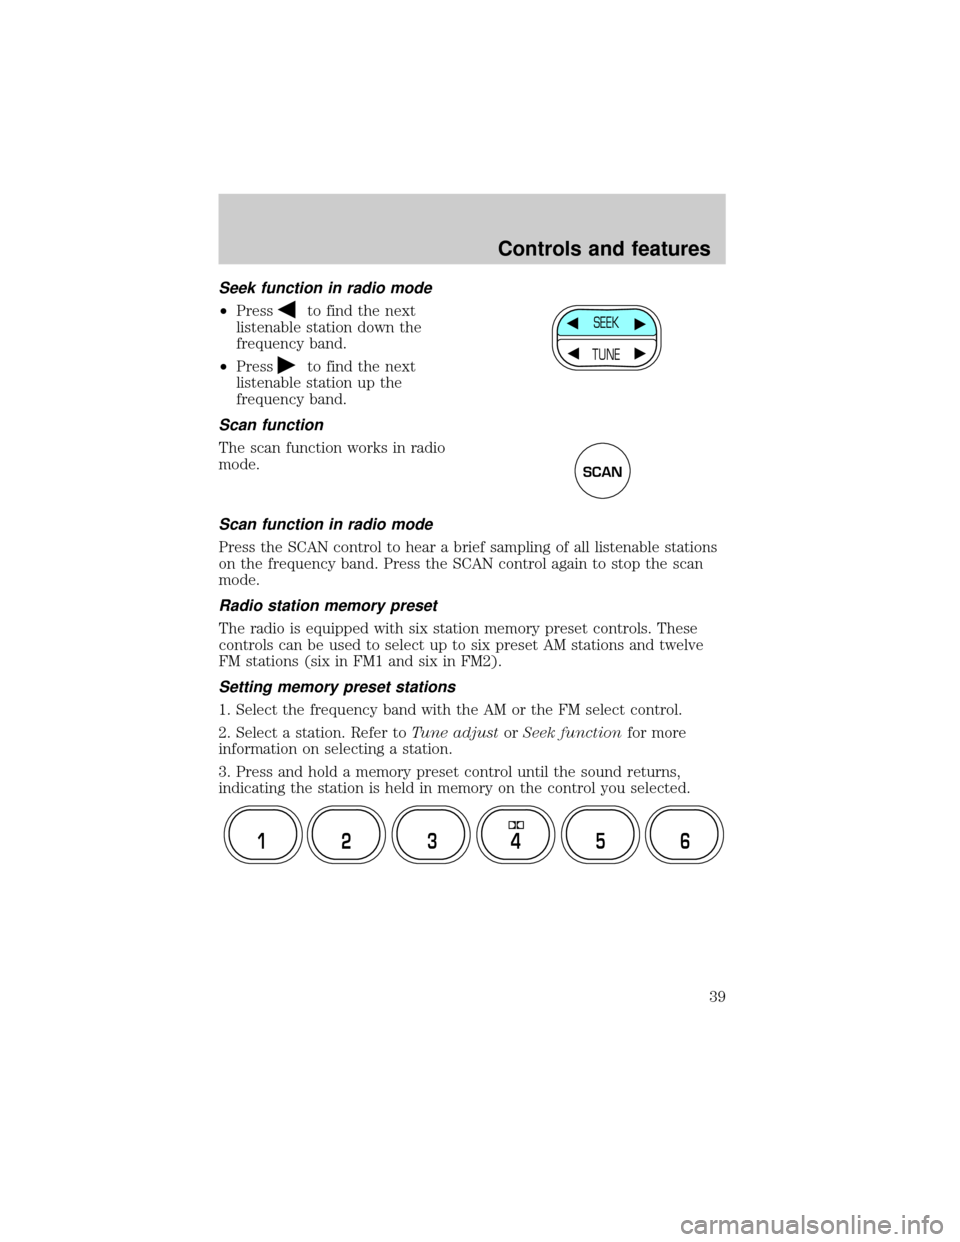
²Pressto find the next
listenable station down the
frequency band.
²Press
to find the next
listenable station up the
frequency band.
Scan function
The scan function works in radio
mode.
Scan function in radio mode
Press the SCAN control to hear a brief sampling of all listenable stations
on the frequency band. Press the SCAN control again to stop the scan
mode.
Radio station memory preset
The radio is equipped with six station memory preset controls. These
controls can be used to select up to six preset AM stations and twelve
FM stations (six in FM1 and six in FM2).
Setting memory preset stations
1. Select the frequency band with the AM or the FM select control.
2. Select a station. Refer toTune adjustorSeek functionfor more
information on selecting a station.
3. Press and hold a memory preset control until the sound returns,
indicating the station is held in memory on the control you selected.
SEEK
TUNE
SCAN
12 3456
Controls and features
39
Page 44 of 256
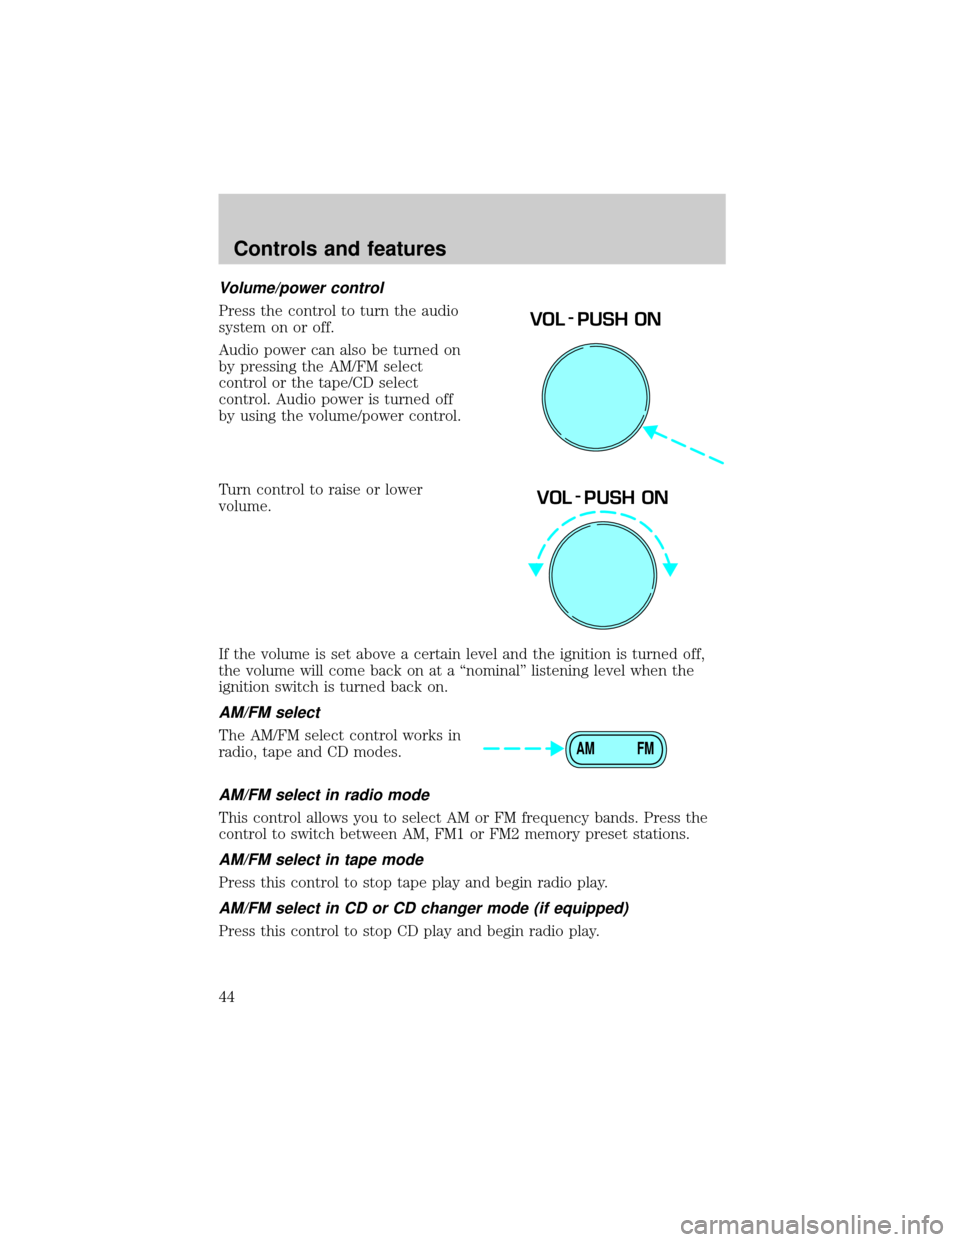
Volume/power control
Press the control to turn the audio
system on or off.
Audio power can also be turned on
by pressing the AM/FM select
control or the tape/CD select
control. Audio power is turned off
by using the volume/power control.
Turn control to raise or lower
volume.
If the volume is set above a certain level and the ignition is turned off,
the volume will come back on at a ªnominalº listening level when the
ignition switch is turned back on.
AM/FM select
The AM/FM select control works in
radio, tape and CD modes.
AM/FM select in radio mode
This control allows you to select AM or FM frequency bands. Press the
control to switch between AM, FM1 or FM2 memory preset stations.
AM/FM select in tape mode
Press this control to stop tape play and begin radio play.
AM/FM select in CD or CD changer mode (if equipped)
Press this control to stop CD play and begin radio play.
VOL - PUSH ON
VOL - PUSH ON
AM FM
Controls and features
44
Page 47 of 256
Scan function in tape mode
Press the SCAN control to hear a short sampling of all selections on the
tape. (The tape scans in a forward direction. At the end of the tape's
first side, direction automatically reverses to the opposite side of the
tape.) To stop on a particular selection, press the control again.
Scan function in CD or CD changer mode (if equipped)
Press the SCAN control to hear a short sampling of all selections on the
CD. (The CD scans in a forward direction, wrapping back to the first
track at the end of the CD.) To stop on a particular selection, press the
control again.
Radio station memory preset
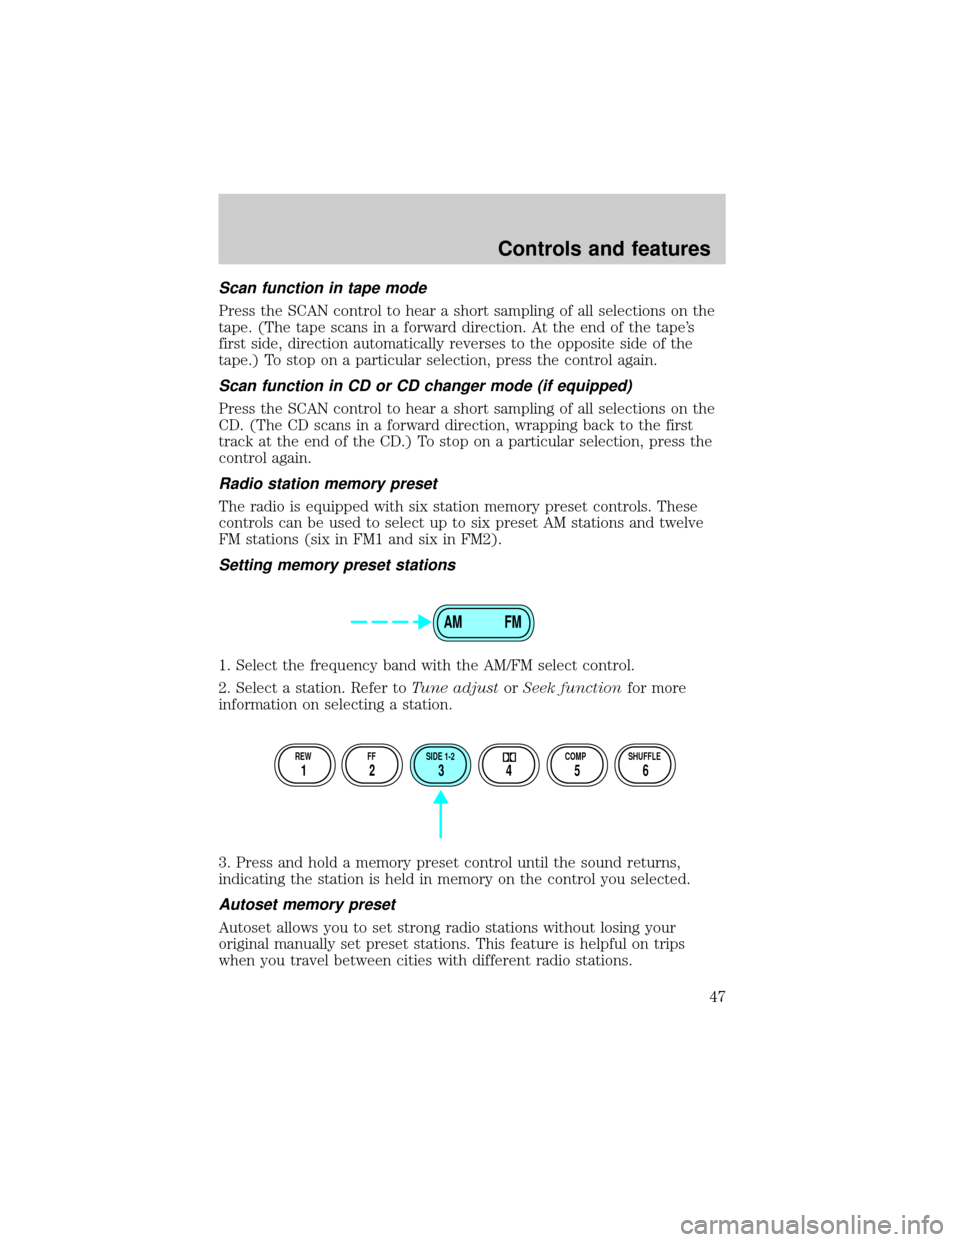
The radio is equipped with six station memory preset controls. These
controls can be used to select up to six preset AM stations and twelve
FM stations (six in FM1 and six in FM2).
Setting memory preset stations
1. Select the frequency band with the AM/FM select control.
2. Select a station. Refer toTune adjustorSeek functionfor more
information on selecting a station.
3. Press and hold a memory preset control until the sound returns,
indicating the station is held in memory on the control you selected.
Autoset memory preset
Autoset allows you to set strong radio stations without losing your
original manually set preset stations. This feature is helpful on trips
when you travel between cities with different radio stations.
AM FM
REW FF SIDE 1-2 COMP SHUFFLE
12 3456
Controls and features
47