buttons FORD SUPER DUTY 2009 2.G Navigation System Manual
[x] Cancel search | Manufacturer: FORD, Model Year: 2009, Model line: SUPER DUTY, Model: FORD SUPER DUTY 2009 2.GPages: 194, PDF Size: 2.84 MB
Page 4 of 194
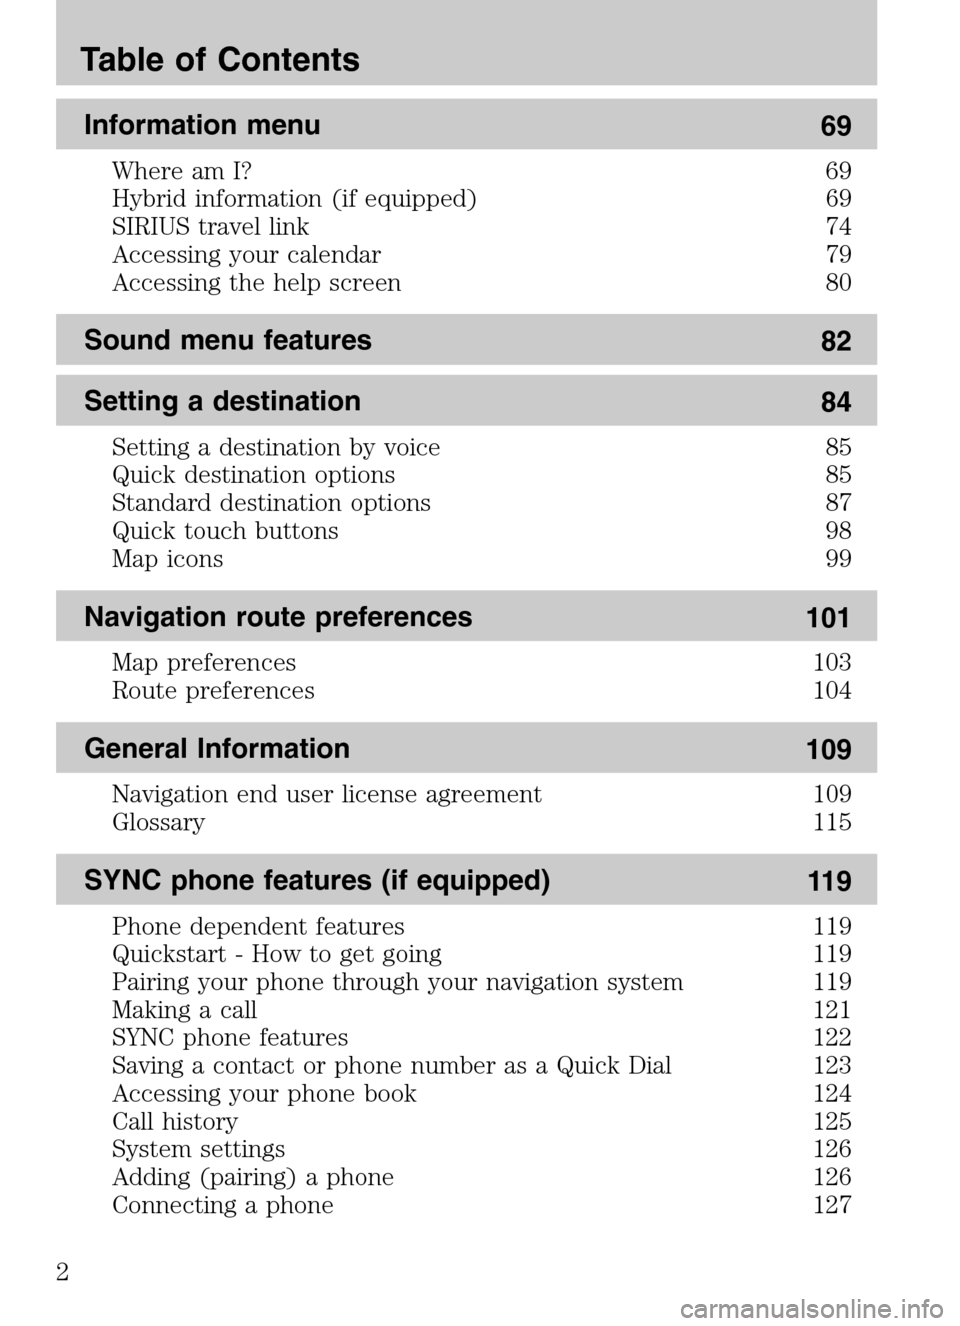
Information menu 69
Where am I? 69
Hybrid information (if equipped) 69
SIRIUS travel link 74
Accessing your calendar 79
Accessing the help screen 80
Sound menu features 82
Setting a destination 84
Setting a destination by voice 85
Quick destination options 85
Standard destination options 87
Quick touch buttons 98
Map icons 99
Navigation route preferences
101
Map preferences 103
Route preferences 104
General Information 109
Navigation end user license agreement 109
Glossary 115
SYNC phone features (if equipped) 11 9
Phone dependent features 119
Quickstart - How to get going 119
Pairing your phone through your navigation system 119
Making a call 121
SYNC phone features 122
Saving a contact or phone number as a Quick Dial 123
Accessing your phone book 124
Call history 125
System settings 126
Adding (pairing) a phone 126
Connecting a phone 127
Table of Contents
2
2009 Centerstack (ng1)
Supplement
USA (fus)
Page 19 of 194
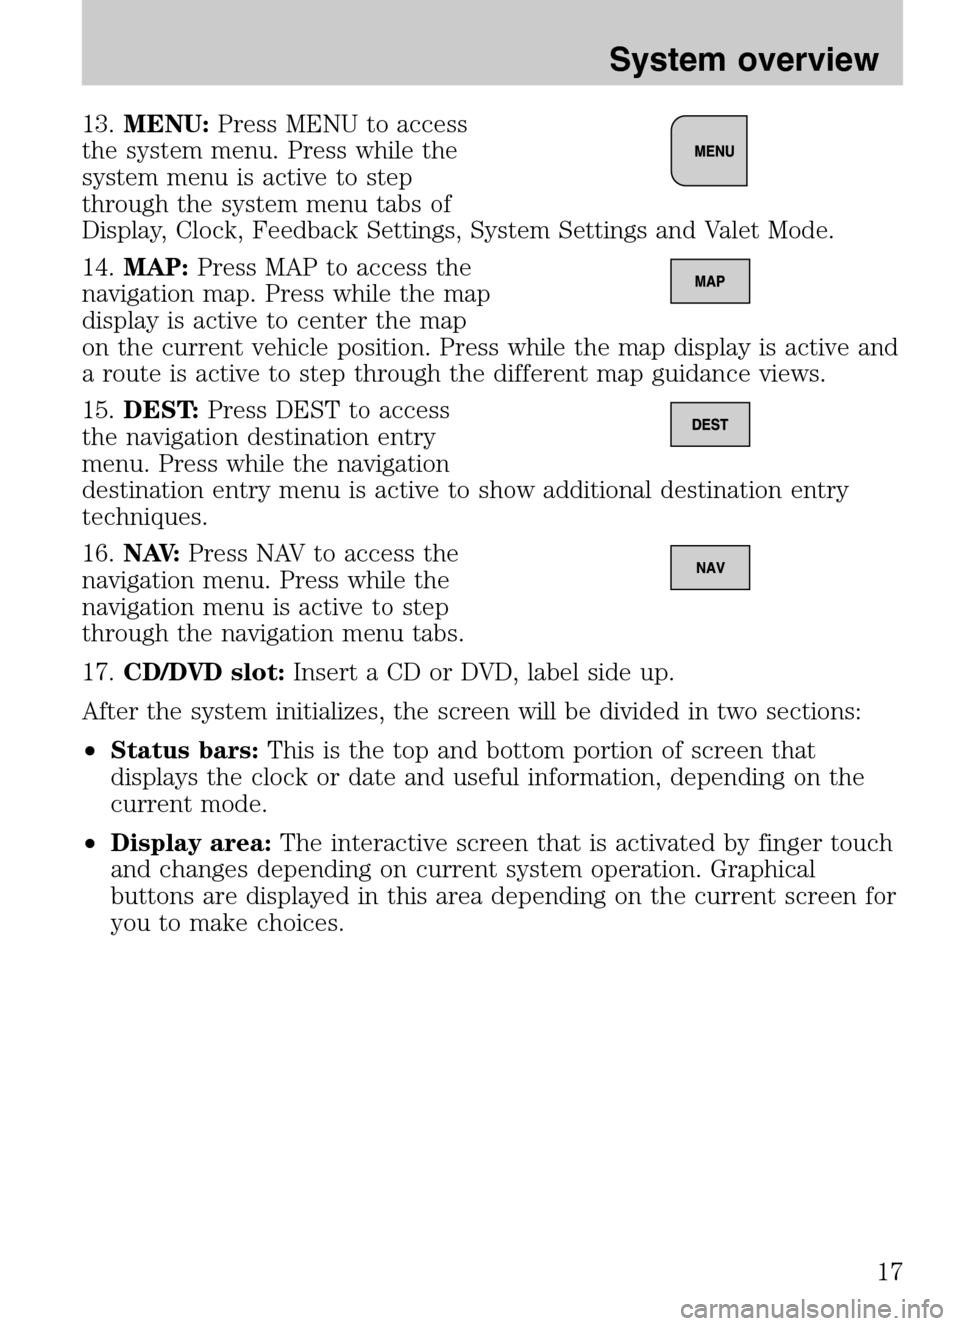
13.MENU: Press MENU to access
the system menu. Press while the
system menu is active to step
through the system menu tabs of
Display, Clock, Feedback Settings, System Settings and Valet Mode.
14. MAP: Press MAP to access the
navigation map. Press while the map
display is active to center the map
on the current vehicle position. Press while the map display is active and
a route is active to step through the different map guidance views.
15. DEST: Press DEST to access
the navigation destination entry
menu. Press while the navigation
destination entry menu is active to show additional destination entry
techniques.
16. N AV: Press NAV to access the
navigation menu. Press while the
navigation menu is active to step
through the navigation menu tabs.
17. CD/DVD slot: Insert a CD or DVD, label side up.
After the system initializes, the screen will be divided in two sections:
• Status bars: This is the top and bottom portion of screen that
displays the clock or date and useful information, depending on the
current mode.
• Display area: The interactive screen that is activated by finger touch
and changes depending on current system operation. Graphical
buttons are displayed in this area depending on the current screen for
you to make choices.
2009 Centerstack (ng1)
Supplement
USA (fus)
System overview
17
Page 23 of 194
16.VOL (On/off/volume): Press to
turn the audio system on/off. Press
and hold to turn the navigation
radio completely off. Turn to adjust
the volume of the audio system or the navigation voice prompts as they
are being given.
Note: If a route is active when the navigation system is turned off, the
route is resumed when the system is turned on again.
After the system initializes, the screen will be divided in two sections:
• Status bars: This is the top and bottom portion of screen that
displays the clock or date and useful information, depending on the
current mode.
• Display area: The interactive screen that is activated by finger touch
and changes depending on current system operation. Graphical
buttons are displayed in this area depending on the current screen for
you to make choices.
SCREEN DIFFERENCES
Depending on your vehicle line and option package, your navigation
screen may vary in appearance from the screens shown in this
supplement. These differences could include: background color, tab
options, climate controls and other features. Your features may also be
limited depending on your market. (For example, SIRIUS Travel Link is
only available in the continental United States). Please check with your
authorized dealer for availability.
Display options
You can choose to turn your navigation screen on/off and also if you
would like to view the status bars on the top and bottom of the screen.
To access:
Press DISP on the navigation system repeatedly to cycle through these
options.
2009 Centerstack (ng1)
Supplement
USA (fus)
System overview
21
Page 29 of 194
Display options
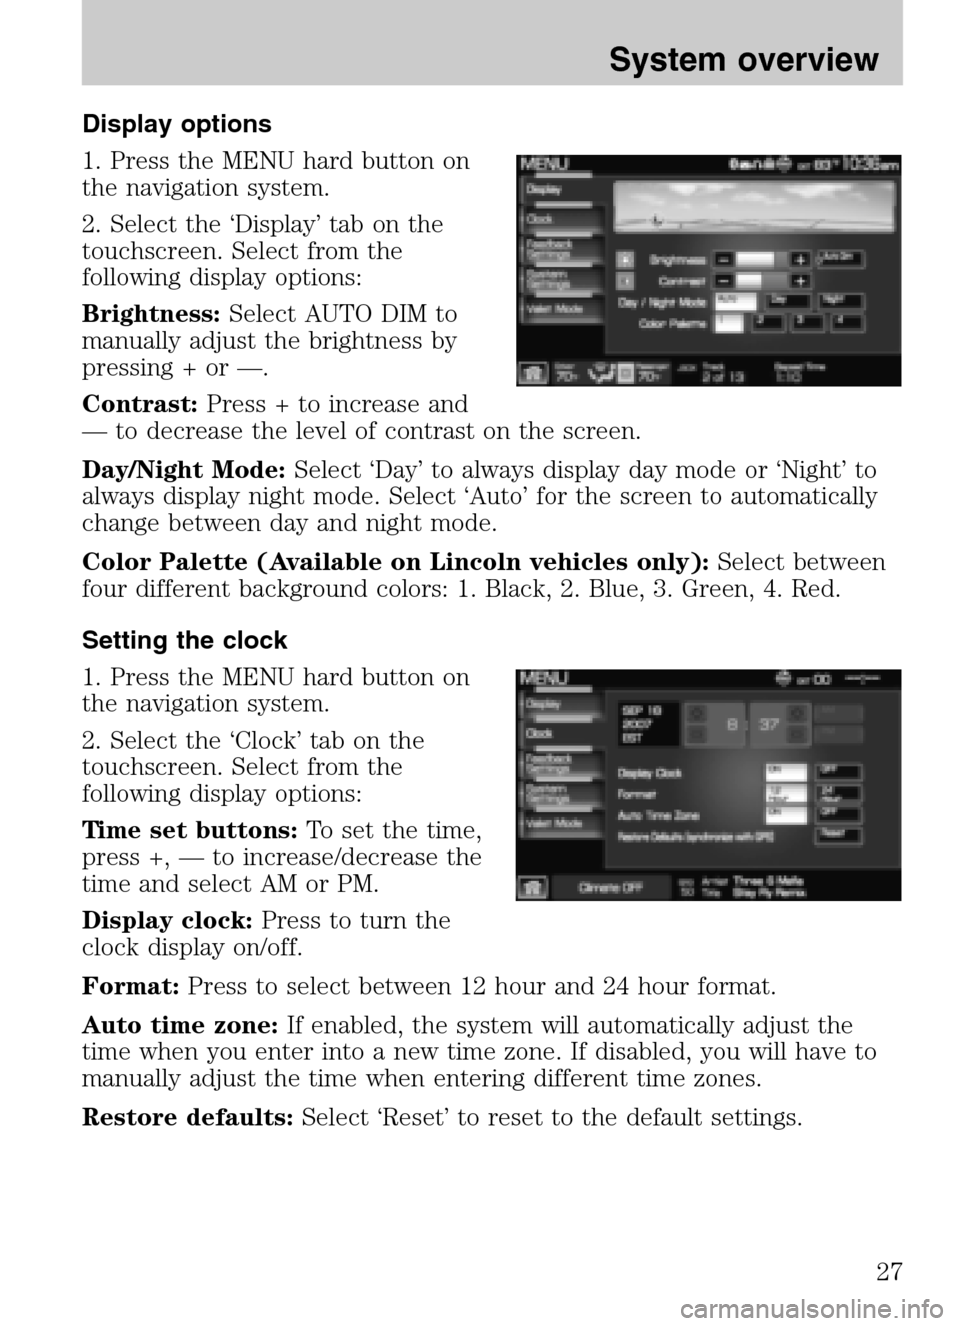
1. Press the MENU hard button on
the navigation system.
2. Select the ‘Display’ tab on the
touchscreen. Select from the
following display options:
Brightness: Select AUTO DIM to
manually adjust the brightness by
pressing + or —.
Contrast: Press + to increase and
— to decrease the level of contrast on the screen.
Day/Night Mode: Select ‘Day’ to always display day mode or ‘Night’ to
always display night mode. Select ‘Auto’ for the screen to automatically
change between day and night mode.
Color Palette (Available on Lincoln vehicles only): Select between
four different background colors: 1. Black, 2. Blue, 3. Green, 4. Red.
Setting the clock
1. Press the MENU hard button on
the navigation system.
2. Select the ‘Clock’ tab on the
touchscreen. Select from the
following display options:
Time set buttons: To set the time,
press +, — to increase/decrease the
time and select AM or PM.
Display clock: Press to turn the
clock display on/off.
Format: Press to select between 12 hour and 24 hour format.
Auto time zone: If enabled, the system will automatically adjust the
time when you enter into a new time zone. If disabled, you will have to
manually adjust the time when entering different time zones.
Restore defaults: Select ‘Reset’ to reset to the default settings.
2009 Centerstack(ng1)
Supplement
USA (fus)
System overview
27
Page 30 of 194
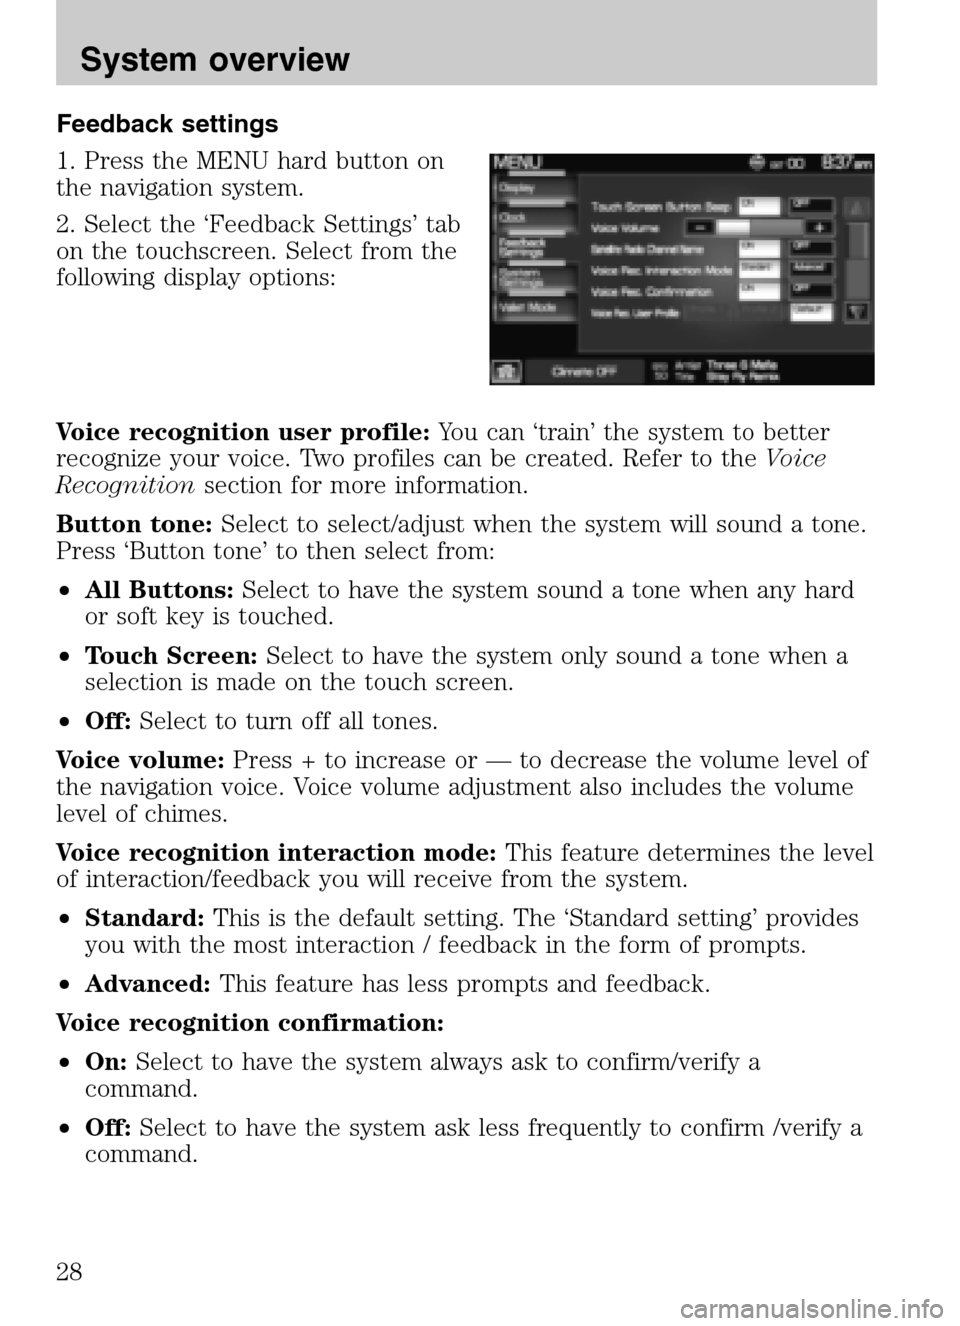
Feedback settings
1. Press the MENU hard button on
the navigation system.
2. Select the ‘Feedback Settings’ tab
on the touchscreen. Select from the
following display options:
Voice recognition user profile: You can ‘train’ the system to better
recognize your voice. Two profiles can be created. Refer to the Voice
Recognition section for more information.
Button tone: Select to select/adjust when the system will sound a tone.
Press ‘Button tone’ to then select from:
• All Buttons: Select to have the system sound a tone when any hard
or soft key is touched.
• Touch Screen: Select to have the system only sound a tone when a
selection is made on the touch screen.
• Off: Select to turn off all tones.
Voice volume: Press + to increase or — to decrease the volume level of
the navigation voice. Voice volume adjustment also includes the volume
level of chimes.
Voice recognition interaction mode: This feature determines the level
of interaction/feedback you will receive from the system.
• Standard: This is the default setting. The ‘Standard setting’ provides
you with the most interaction / feedback in the form of prompts.
• Advanced: This feature has less prompts and feedback.
Voice recognition confirmation:
• On: Select to have the system always ask to confirm/verify a
command.
• Off: Select to have the system ask less frequently to confirm /verify a
command.
2009 Centerstack (ng1)
Supplement
USA (fus)
System overview
28
Page 36 of 194
•Pressor VOICE and wait until the second tone sounds before
speaking a command.
• Speak naturally without large pauses in between words.
• Speak louder if background noise is preventing the system from
recognizing your command
• Only one person should speak while the system is listening for a
command.
• Please realize voice recognition performance is not 100% and varies by
user. The voice recognition system is meant to be a secondary
convenience control and if it doesn’t operate optimally, you can still
operate your navigation system via the touch screen and hard buttons.
To speak voice commands:
Depending on the feedback setting, the system will respond differently. If
the feedback settings are set to ‘Standard’, the system will respond with
a tone, a prompt and another tone. If the feedback settings are set to
Advanced, the system will respond without a prompt and with tones
only.
1. Press
or VOICE on the steering wheel. A tone will sound.
2. The system will say, “Please say a command” and VOICE/Main Menu
and
will appear in the status bar.
3. A tone will sound and the ’Listening’ icon will appear in the status bar
signifying the system is ready for your command.
4. Speak your command loudly and clearly.
5. If the system is not confident that it recognized the command, it will
ask you for confirmation. If the system does not recognize or hear your
voice command, it will say, “Sorry, please say a command or say Help”
and will allow you to repeat the voice command. The ’voice failed’ icon
will appear in the status bar.
6. If the system does not recognize or hear your voice command a
second time, the system will say, “Sorry, please say a command” and will
allow you to repeat the voice command. The ’voice failed’ icon will
appear in the status bar.
7. If the system doesn’t recognize or hear your command a third time,
the voice session is terminated.
8. Once the system does understand your command, (and the feedback
settings are set to standard), a tone will sound and the system will say,
“
will
appear in the status bar.
9. The listening tone will sound and the appropriate voice menu name
and the listening icon will appear in the status bar as the system waits
for your response. Speak the command clearly and loudly.
2009 Centerstack (ng1)
Supplement
USA (fus)
Voice recognition system overview
34
Page 44 of 194
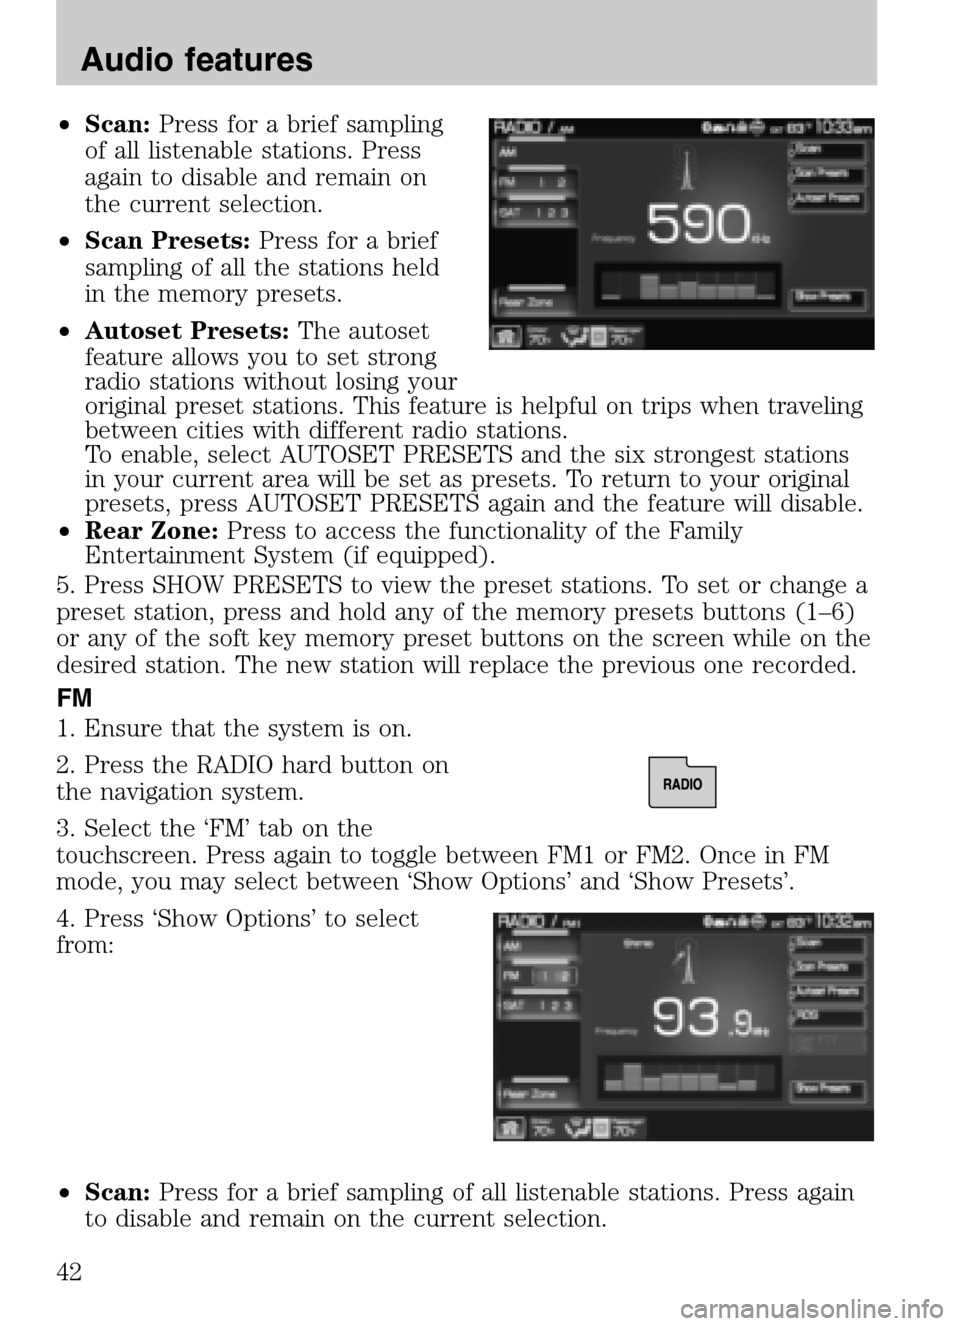
•Scan: Press for a brief sampling
of all listenable stations. Press
again to disable and remain on
the current selection.
• Scan Presets: Press for a brief
sampling of all the stations held
in the memory presets.
• Autoset Presets: The autoset
feature allows you to set strong
radio stations without losing your
original preset stations. This feature is helpful on trips when traveling
between cities with different radio stations.
To enable, select AUTOSET PRESETS and the six strongest stations
in your current area will be set as presets. To return to your original
presets, press AUTOSET PRESETS again and the feature will disable.
• Rear Zone: Press to access the functionality of the Family
Entertainment System (if equipped).
5. Press SHOW PRESETS to view the preset stations. To set or change a
preset station, press and hold any of the memory presets buttons (1–6)
or any of the soft key memory preset buttons on the screen while on the
desired station. The new station will replace the previous one recorded.
FM
1. Ensure that the system is on.
2. Press the RADIO hard button on
the navigation system.
3. Select the ‘FM’ tab on the
touchscreen. Press again to toggle between FM1 or FM2. Once in FM
mode, you may select between ‘Show Options’ and ‘Show Presets’.
4. Press ‘Show Options’ to select
from:
• Scan: Press for a brief sampling of all listenable stations. Press again
to disable and remain on the current selection.
2009 Centerstack (ng1)
Supplement
USA (fus)
Audio features
42
Page 82 of 194
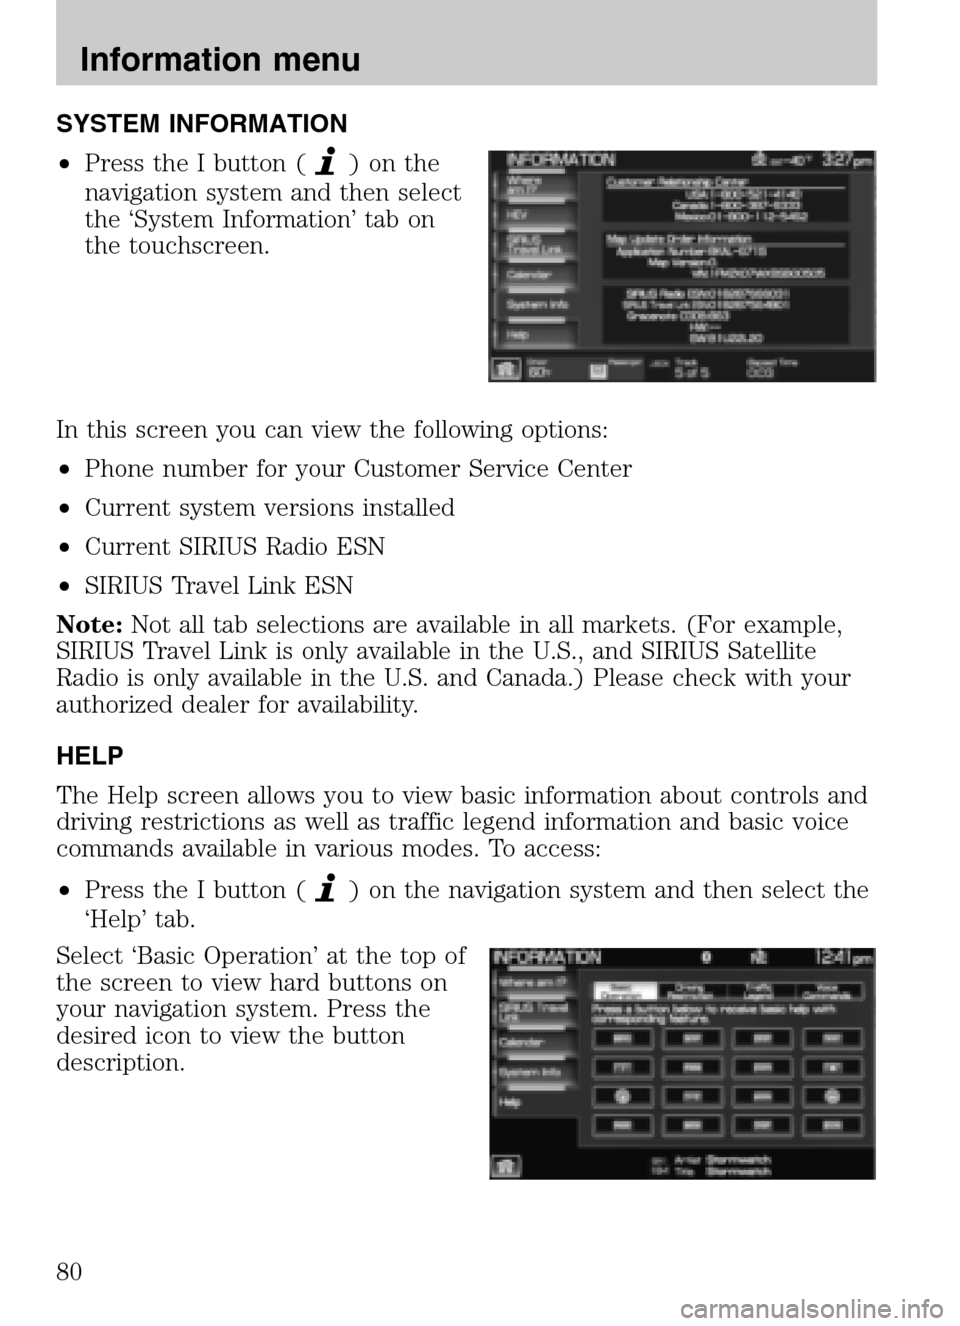
SYSTEM INFORMATION
• Press the I button (
)onthe
navigation system and then select
the ‘System Information’ tab on
the touchscreen.
In this screen you can view the following options:
• Phone number for your Customer Service Center
• Current system versions installed
• Current SIRIUS Radio ESN
• SIRIUS Travel Link ESN
Note: Not all tab selections are available in all markets. (For example,
SIRIUS Travel Link is only available in the U.S., and SIRIUS Satellite
Radio is only available in the U.S. and Canada.) Please check with your
authorized dealer for availability.
HELP
The Help screen allows you to view basic information about controls and
driving restrictions as well as traffic legend information and basic voice
commands available in various modes. To access:
• Press the I button (
) on the navigation system and then select the
‘Help’ tab.
Select ‘Basic Operation’ at the top of
the screen to view hard buttons on
your navigation system. Press the
desired icon to view the button
description.
2009 Centerstack (ng1)
Supplement
USA (fus)
Information menu
80
Page 88 of 194
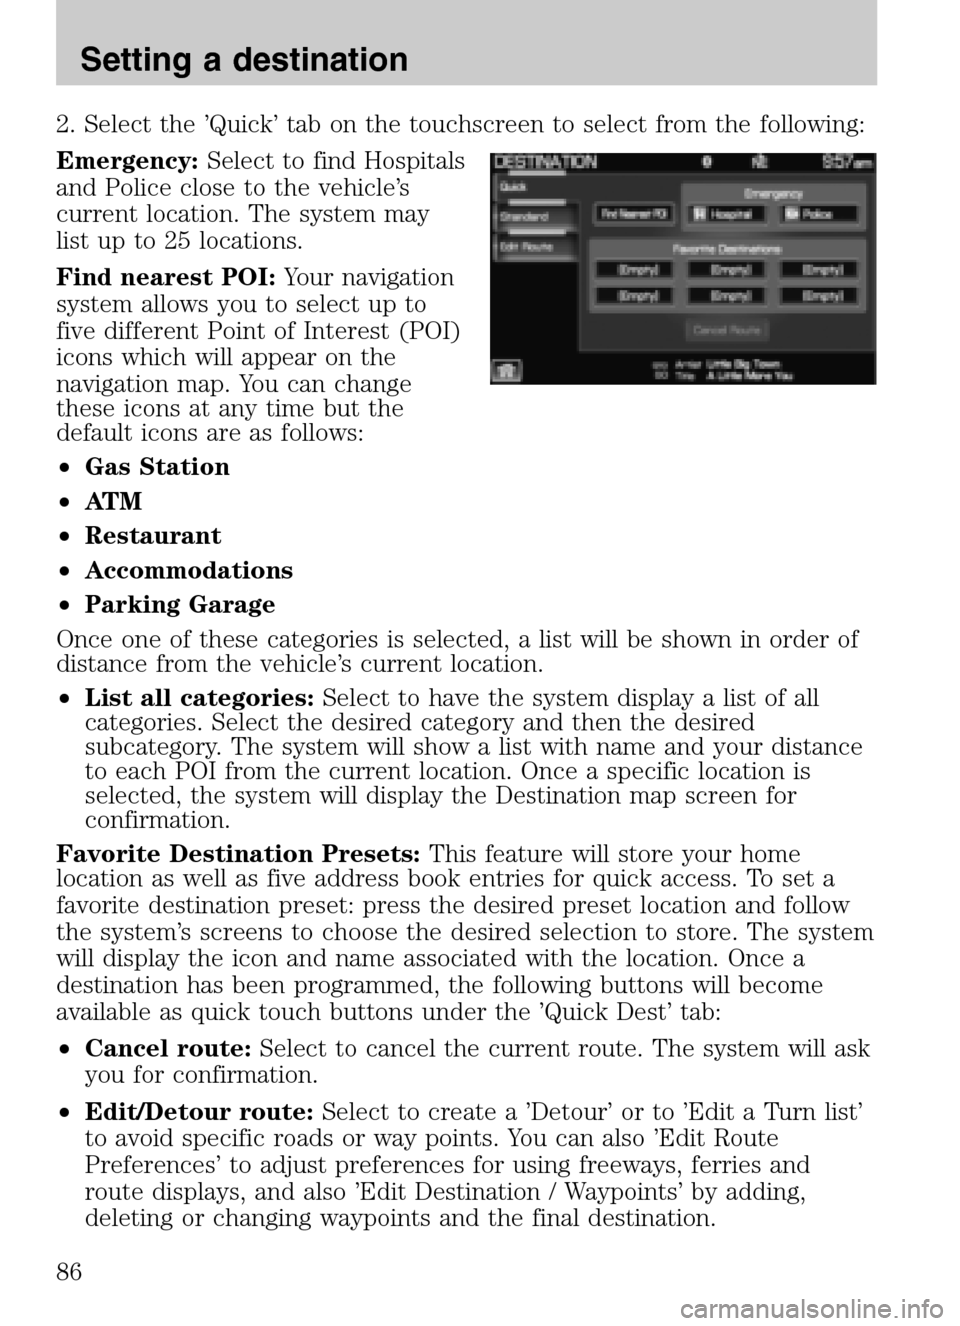
2. Select the ’Quick’ tab on the touchscreen to select from the following:
Emergency: Select to find Hospitals
and Police close to the vehicle’s
current location. The system may
list up to 25 locations.
Find nearest POI: Your navigation
system allows you to select up to
five different Point of Interest (POI)
icons which will appear on the
navigation map. You can change
these icons at any time but the
default icons are as follows:
• Gas Station
• AT M
• Restaurant
• Accommodations
• Parking Garage
Once one of these categories is selected, a list will be shown in order of
distance from the vehicle’s current location.
• List all categories: Select to have the system display a list of all
categories. Select the desired category and then the desired
subcategory. The system will show a list with name and your distance
to each POI from the current location. Once a specific location is
selected, the system will display the Destination map screen for
confirmation.
Favorite Destination Presets: This feature will store your home
location as well as five address book entries for quick access. To set a
favorite destination preset: press the desired preset location and follow
the system’s screens to choose the desired selection to store. The system
will display the icon and name associated with the location. Once a
destination has been programmed, the following buttons will become
available as quick touch buttons under the ’Quick Dest’ tab:
• Cancel route: Select to cancel the current route. The system will ask
you for confirmation.
• Edit/Detour route: Select to create a ’Detour’ or to ’Edit a Turn list’
to avoid specific roads or way points. You can also ’Edit Route
Preferences’ to adjust preferences for using freeways, ferries and
route displays, and also ’Edit Destination / Waypoints’ by adding,
deleting or changing waypoints and the final destination.
2009 Centerstack (ng1)
Supplement
USA (fus)
Setting a destination
86
Page 99 of 194
•Some functions are unavailable while the vehicle is in motion to help
minimize distraction.
• Please refer to your Owner’s Guide for further details.
• Periodic map updates are available at an additional cost.
MAP MODE
To enter map mode:
1. Ensure that the system is on.
2. Press the MAP hard button on the navigation system. The map screen
will display.
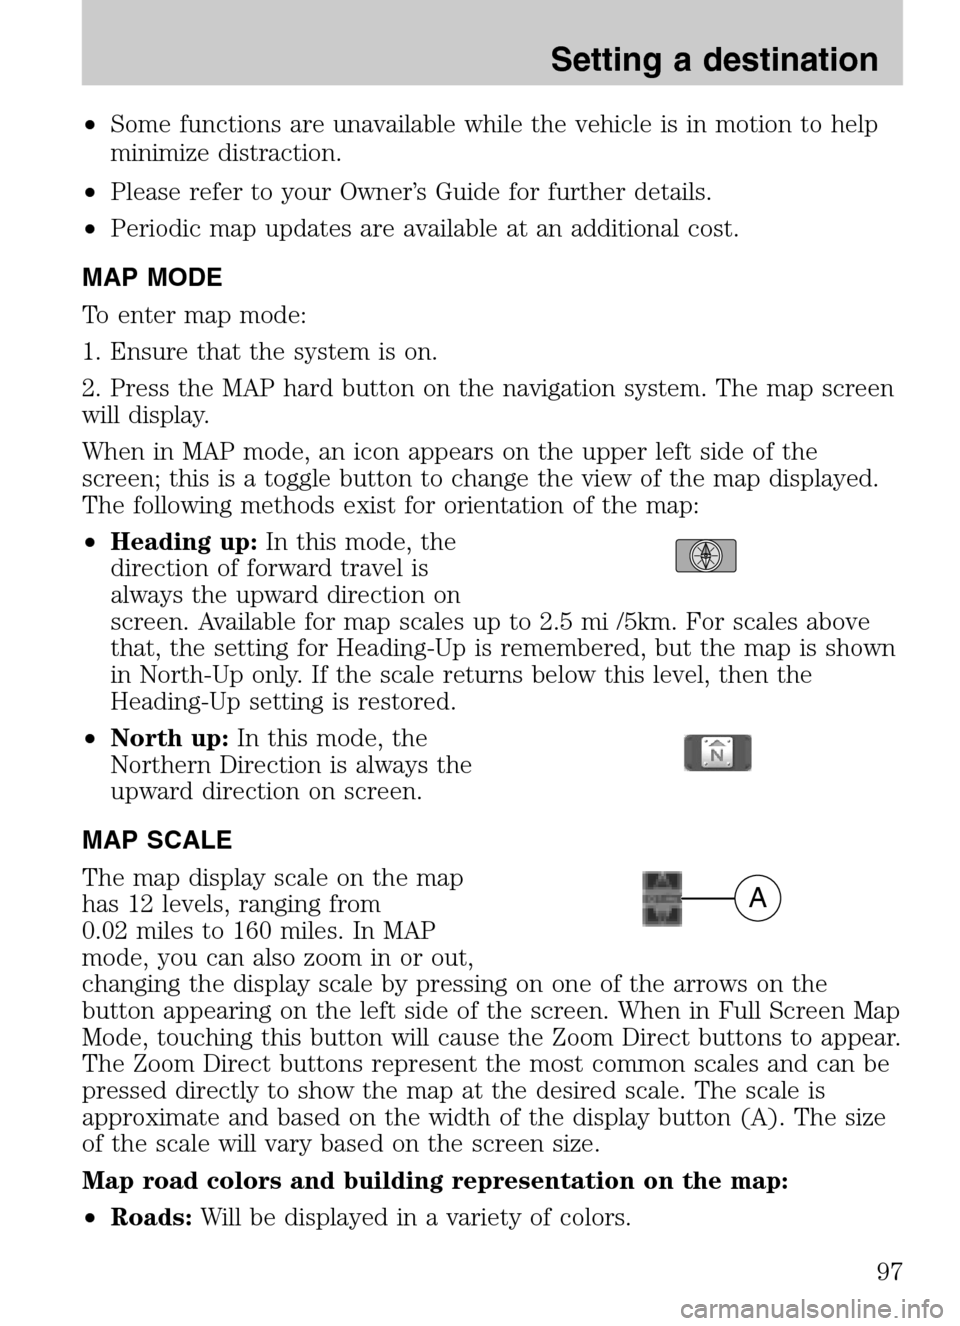
When in MAP mode, an icon appears on the upper left side of the
screen; this is a toggle button to change the view of the map displayed.
The following methods exist for orientation of the map:
• Heading up: In this mode, the
direction of forward travel is
always the upward direction on
screen. Available for map scales up to 2.5 mi /5km. For scales above
that, the setting for Heading-Up is remembered, but the map is shown
in North-Up only. If the scale returns below this level, then the
Heading-Up setting is restored.
• North up: In this mode, the
Northern Direction is always the
upward direction on screen.
MAP SCALE
The map display scale on the map
has 12 levels, ranging from
0.02 miles to 160 miles. In MAP
mode, you can also zoom in or out,
changing the display scale by pressing on one of the arrows on the
button appearing on the left side of the screen. When in Full Screen Map
Mode, touching this button will cause the Zoom Direct buttons to appear.
The Zoom Direct buttons represent the most common scales and can be
pressed directly to show the map at the desired scale. The scale is
approximate and based on the width of the display button (A). The size
of the scale will vary based on the screen size.
Map road colors and building representation on the map:
• Roads: Will be displayed in a variety of colors.
A
2009 Centerstack (ng1)
Supplement
USA (fus)
Setting a destination
97