FORD SUPER DUTY 2013 3.G Manual Online
Manufacturer: FORD, Model Year: 2013, Model line: SUPER DUTY, Model: FORD SUPER DUTY 2013 3.GPages: 563, PDF Size: 7.27 MB
Page 81 of 563
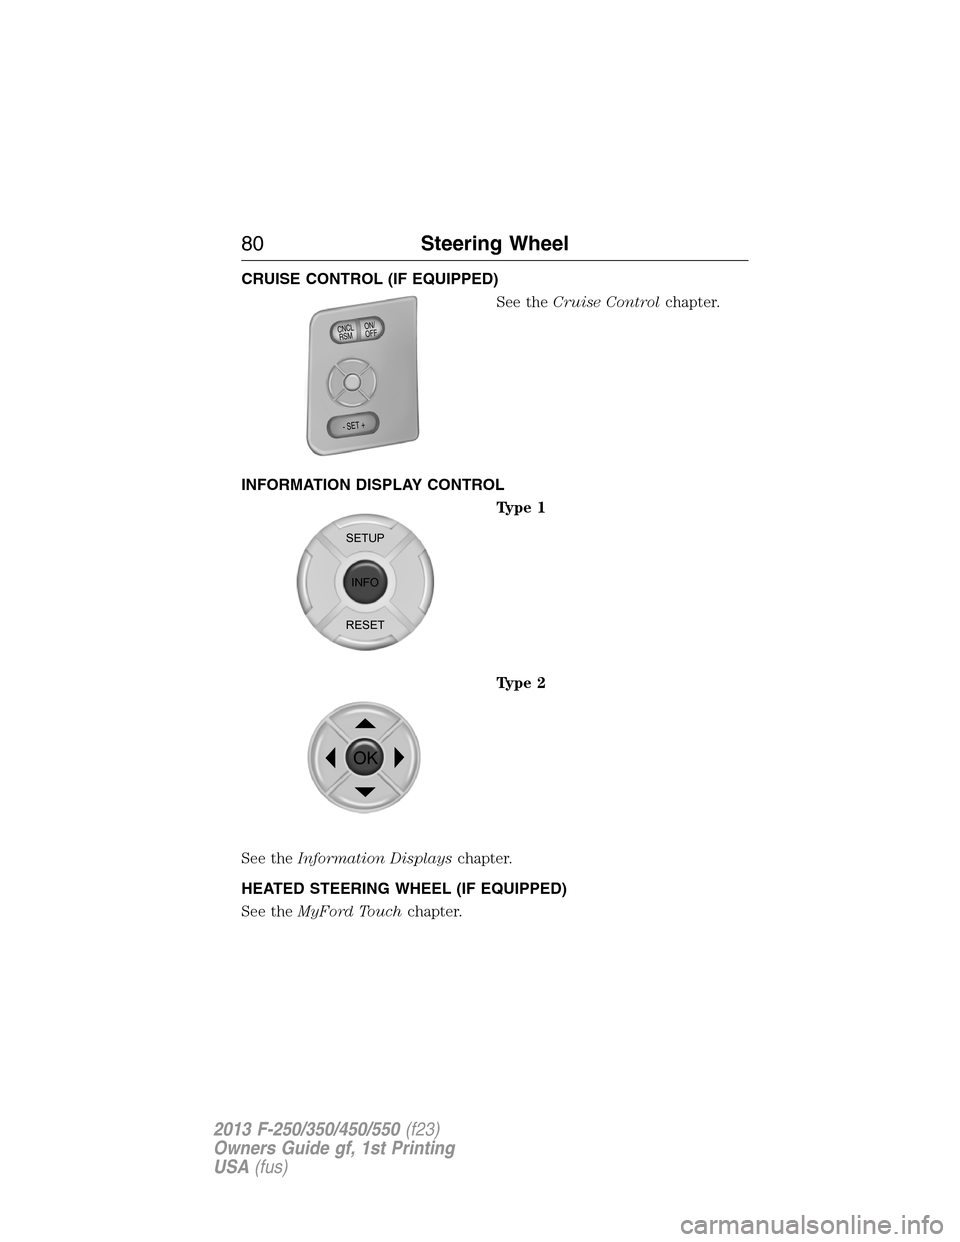
CRUISE CONTROL (IF EQUIPPED)
See theCruise Controlchapter.
INFORMATION DISPLAY CONTROL
Type 1
Type 2
See theInformation Displayschapter.
HEATED STEERING WHEEL (IF EQUIPPED)
See theMyFord Touchchapter.
ON/
OFF CNCLR
S
M
- SET +
SETUP
INFO
RESET
OK
80Steering Wheel
2013 F-250/350/450/550(f23)
Owners Guide gf, 1st Printing
USA(fus)
Page 82 of 563
ADJUSTABLE PEDALS (IF EQUIPPED)
WARNING:Never adjust the accelerator and brake pedal with
feet on the pedals while the vehicle is moving.
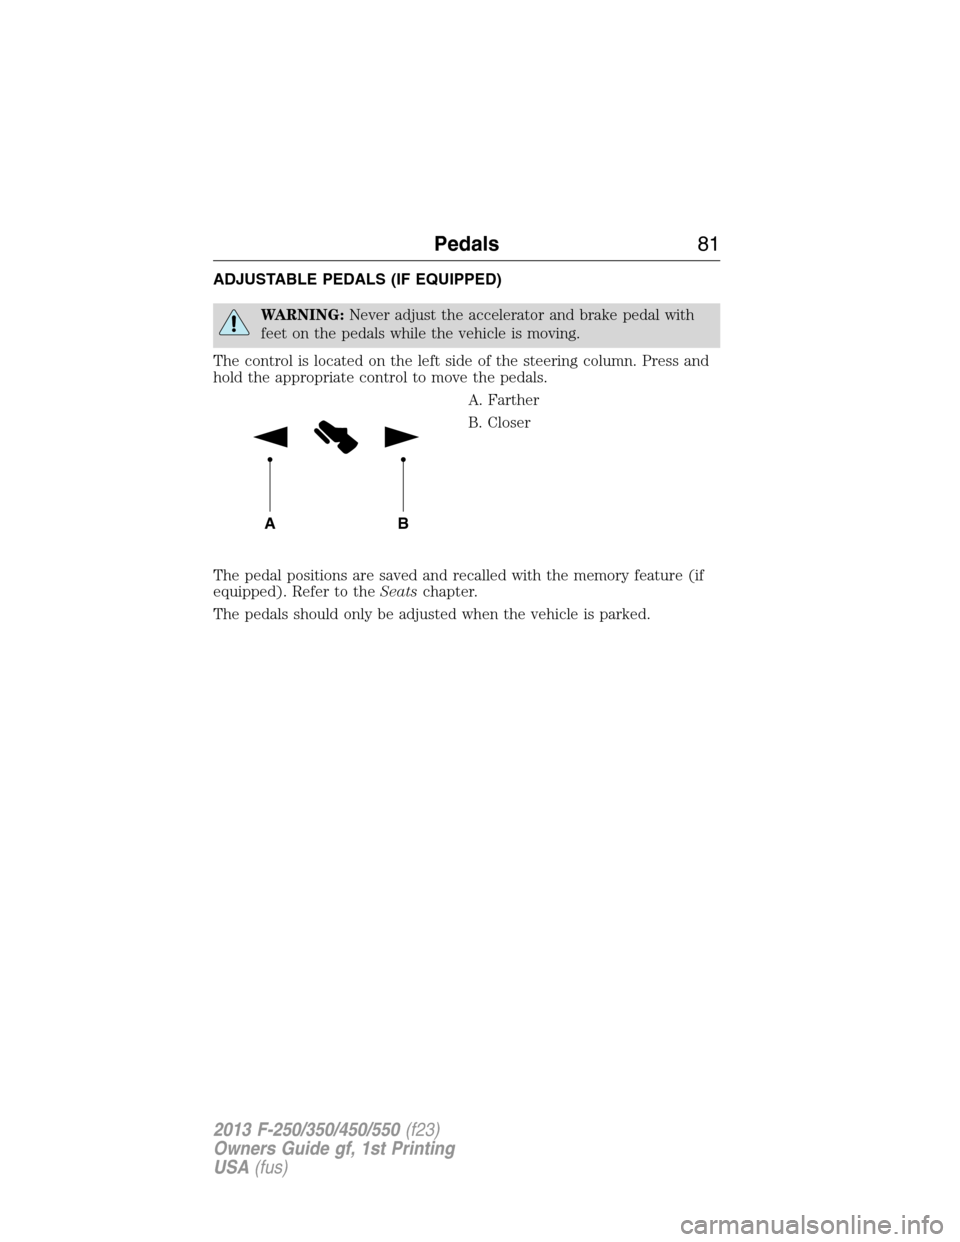
The control is located on the left side of the steering column. Press and
hold the appropriate control to move the pedals.
A. Farther
B. Closer
The pedal positions are saved and recalled with the memory feature (if
equipped). Refer to theSeatschapter.
The pedals should only be adjusted when the vehicle is parked.
AB
Pedals81
2013 F-250/350/450/550(f23)
Owners Guide gf, 1st Printing
USA(fus)
Page 83 of 563
WINDSHIELD WIPERS
Note:Fully defrost the windshield in icy conditions before turning on
the windshield wipers.
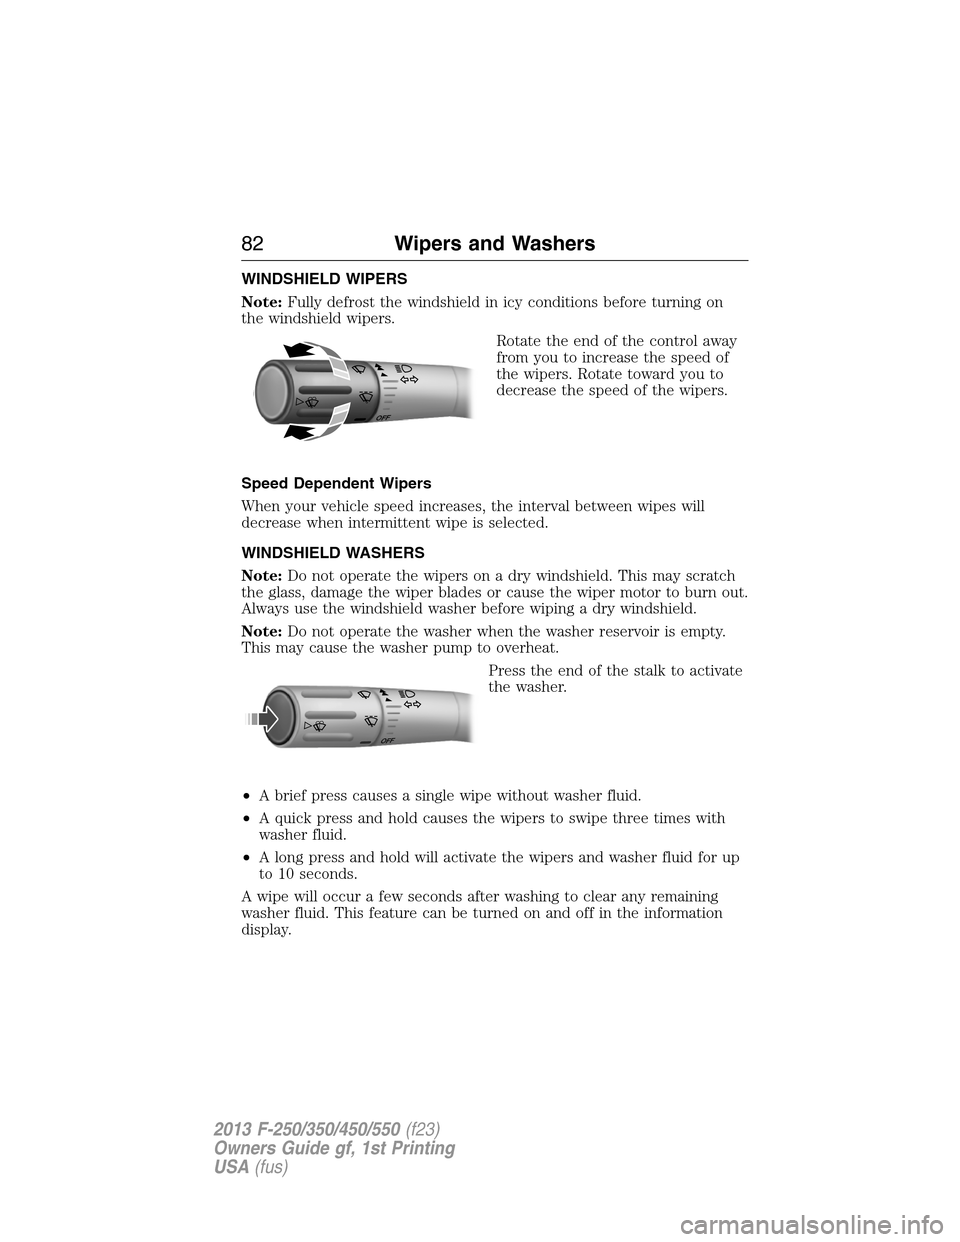
Rotate the end of the control away
from you to increase the speed of
the wipers. Rotate toward you to
decrease the speed of the wipers.
Speed Dependent Wipers
When your vehicle speed increases, the interval between wipes will
decrease when intermittent wipe is selected.
WINDSHIELD WASHERS
Note:Do not operate the wipers on a dry windshield. This may scratch
the glass, damage the wiper blades or cause the wiper motor to burn out.
Always use the windshield washer before wiping a dry windshield.
Note:Do not operate the washer when the washer reservoir is empty.
This may cause the washer pump to overheat.
Press the end of the stalk to activate
the washer.
•A brief press causes a single wipe without washer fluid.
•A quick press and hold causes the wipers to swipe three times with
washer fluid.
•A long press and hold will activate the wipers and washer fluid for up
to 10 seconds.
A wipe will occur a few seconds after washing to clear any remaining
washer fluid. This feature can be turned on and off in the information
display.
O
F
F
OFF
82Wipers and Washers
2013 F-250/350/450/550(f23)
Owners Guide gf, 1st Printing
USA(fus)
Page 84 of 563
LIGHTING CONTROL
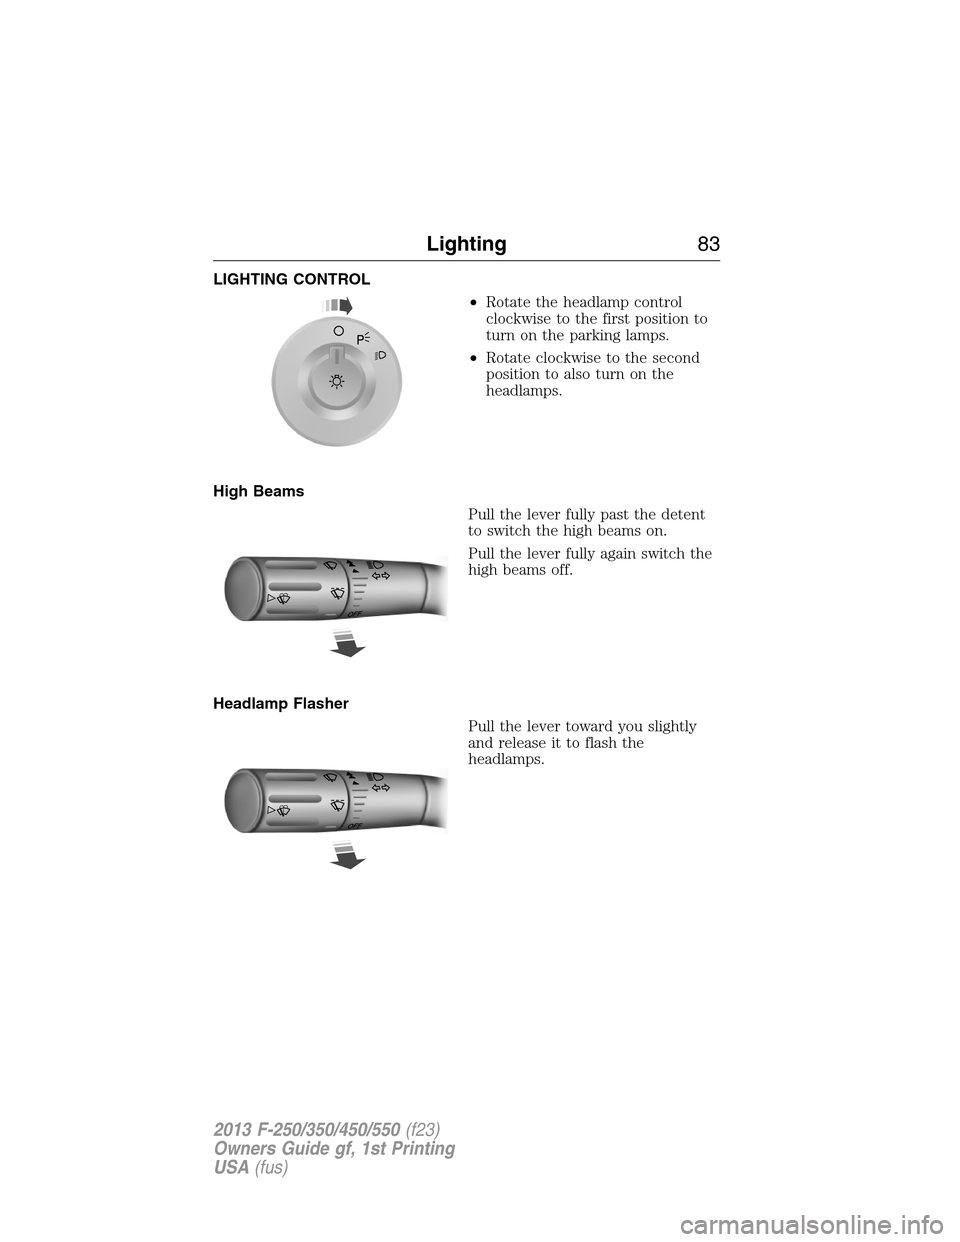
•Rotate the headlamp control
clockwise to the first position to
turn on the parking lamps.
•Rotate clockwise to the second
position to also turn on the
headlamps.
High Beams
Pull the lever fully past the detent
to switch the high beams on.
Pull the lever fully again switch the
high beams off.
Headlamp Flasher
Pull the lever toward you slightly
and release it to flash the
headlamps.
OF
F
OF
F
Lighting83
2013 F-250/350/450/550(f23)
Owners Guide gf, 1st Printing
USA(fus)
Page 85 of 563
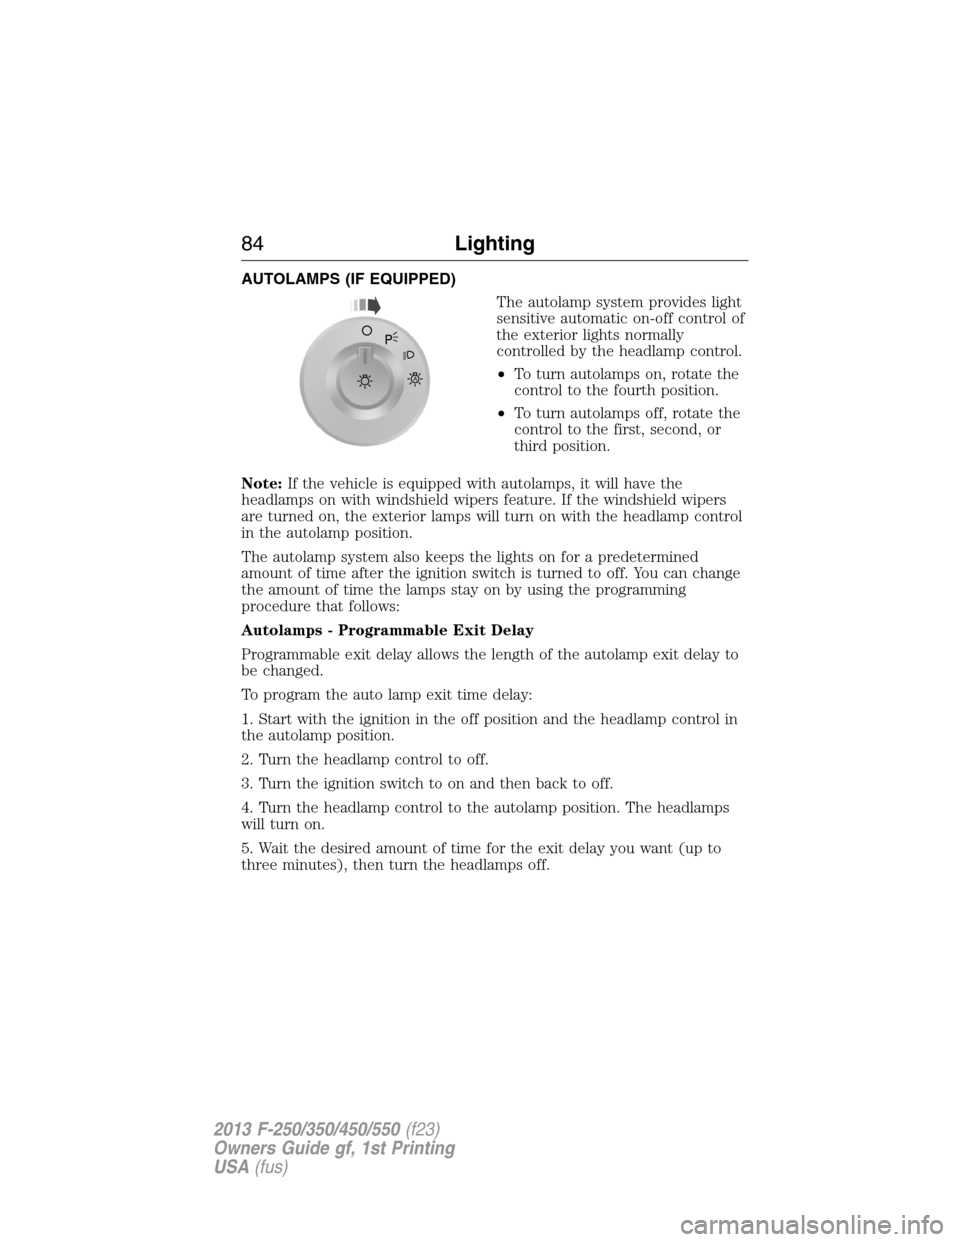
AUTOLAMPS (IF EQUIPPED)
The autolamp system provides light
sensitive automatic on-off control of
the exterior lights normally
controlled by the headlamp control.
•To turn autolamps on, rotate the
control to the fourth position.
•To turn autolamps off, rotate the
control to the first, second, or
third position.
Note:If the vehicle is equipped with autolamps, it will have the
headlamps on with windshield wipers feature. If the windshield wipers
are turned on, the exterior lamps will turn on with the headlamp control
in the autolamp position.
The autolamp system also keeps the lights on for a predetermined
amount of time after the ignition switch is turned to off. You can change
the amount of time the lamps stay on by using the programming
procedure that follows:
Autolamps - Programmable Exit Delay
Programmable exit delay allows the length of the autolamp exit delay to
be changed.
To program the auto lamp exit time delay:
1. Start with the ignition in the off position and the headlamp control in
the autolamp position.
2. Turn the headlamp control to off.
3. Turn the ignition switch to on and then back to off.
4. Turn the headlamp control to the autolamp position. The headlamps
will turn on.
5. Wait the desired amount of time for the exit delay you want (up to
three minutes), then turn the headlamps off.
A
84Lighting
2013 F-250/350/450/550(f23)
Owners Guide gf, 1st Printing
USA(fus)
Page 86 of 563
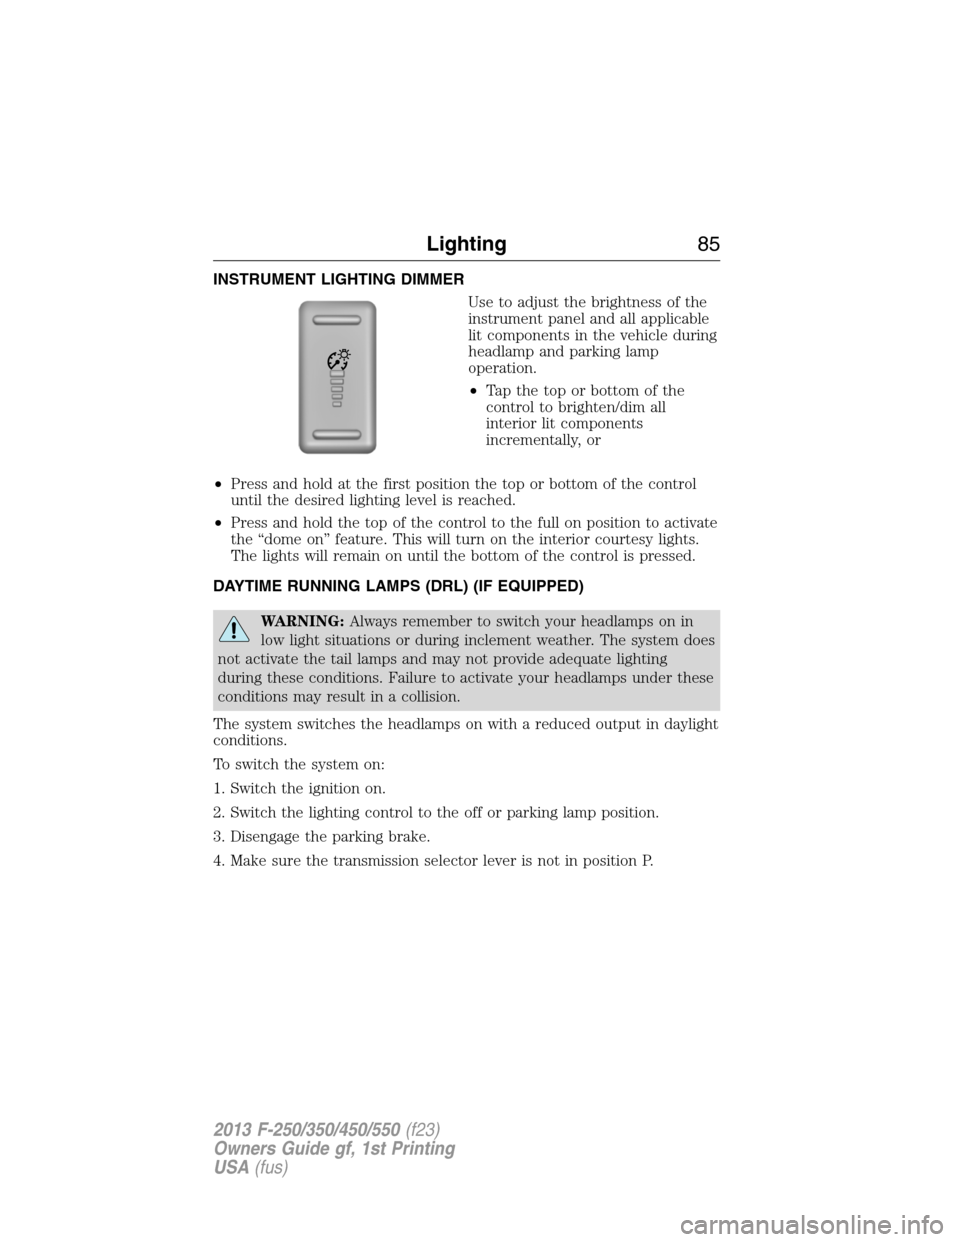
INSTRUMENT LIGHTING DIMMER
Use to adjust the brightness of the
instrument panel and all applicable
lit components in the vehicle during
headlamp and parking lamp
operation.
•Tapthetoporbottomofthe
control to brighten/dim all
interior lit components
incrementally, or
•Press and hold at the first position the top or bottom of the control
until the desired lighting level is reached.
•Press and hold the top of the control to the full on position to activate
the “dome on” feature. This will turn on the interior courtesy lights.
The lights will remain on until the bottom of the control is pressed.
DAYTIME RUNNING LAMPS (DRL) (IF EQUIPPED)
WARNING:Always remember to switch your headlamps on in
low light situations or during inclement weather. The system does
not activate the tail lamps and may not provide adequate lighting
during these conditions. Failure to activate your headlamps under these
conditions may result in a collision.
The system switches the headlamps on with a reduced output in daylight
conditions.
To switch the system on:
1. Switch the ignition on.
2. Switch the lighting control to the off or parking lamp position.
3. Disengage the parking brake.
4. Make sure the transmission selector lever is not in position P.
Lighting85
2013 F-250/350/450/550(f23)
Owners Guide gf, 1st Printing
USA(fus)
Page 87 of 563
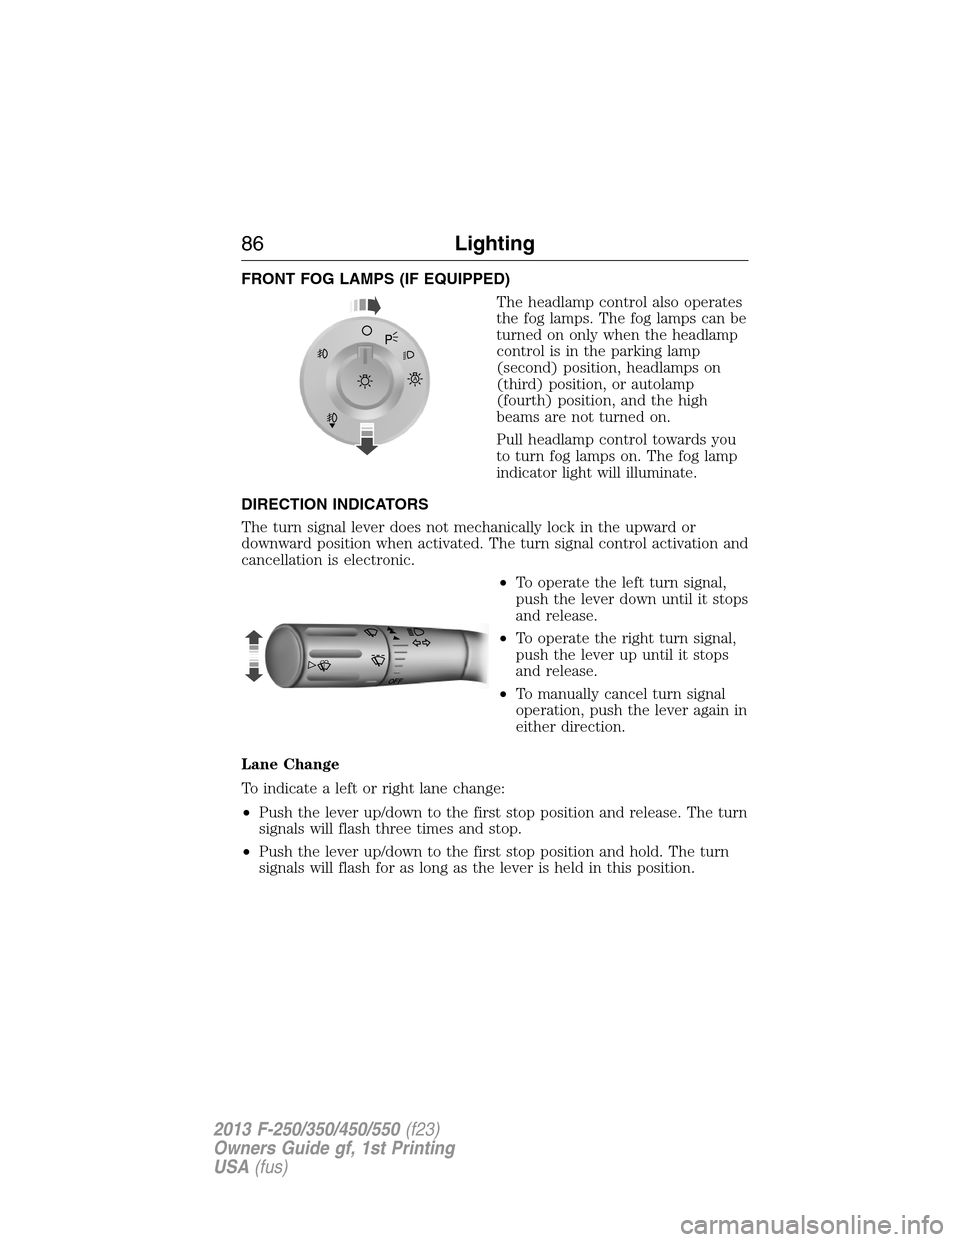
FRONT FOG LAMPS (IF EQUIPPED)
The headlamp control also operates
the fog lamps. The fog lamps can be
turned on only when the headlamp
control is in the parking lamp
(second) position, headlamps on
(third) position, or autolamp
(fourth) position, and the high
beams are not turned on.
Pull headlamp control towards you
to turn fog lamps on. The fog lamp
indicator light will illuminate.
DIRECTION INDICATORS
The turn signal lever does not mechanically lock in the upward or
downward position when activated. The turn signal control activation and
cancellation is electronic.
•To operate the left turn signal,
push the lever down until it stops
and release.
•To operate the right turn signal,
push the lever up until it stops
and release.
•To manually cancel turn signal
operation, push the lever again in
either direction.
Lane Change
To indicate a left or right lane change:
•Push the lever up/down to the first stop position and release. The turn
signals will flash three times and stop.
•Push the lever up/down to the first stop position and hold. The turn
signals will flash for as long as the lever is held in this position.
A
OF
F
86Lighting
2013 F-250/350/450/550(f23)
Owners Guide gf, 1st Printing
USA(fus)
Page 88 of 563
INTERIOR LAMPS
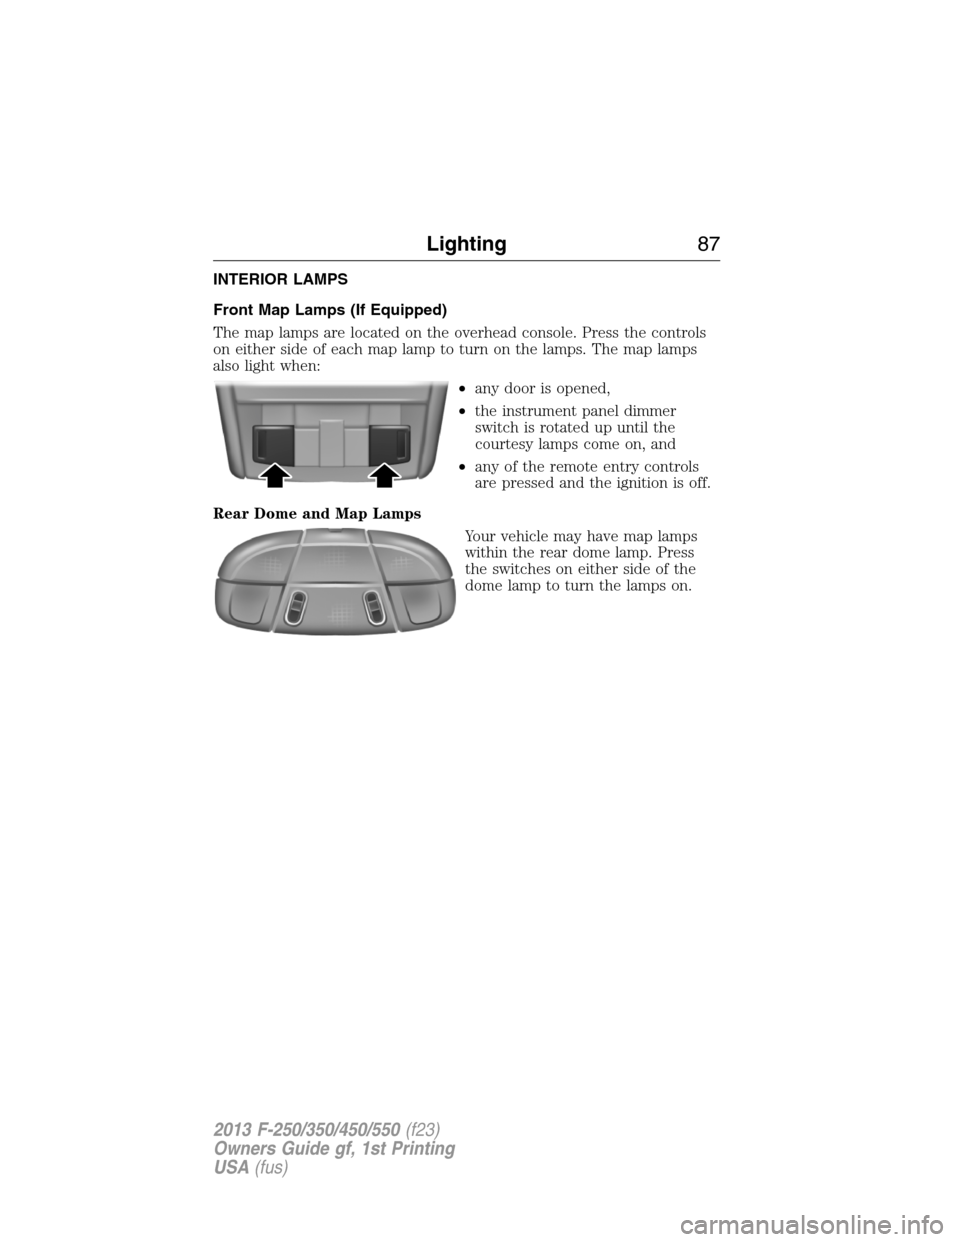
Front Map Lamps (If Equipped)
The map lamps are located on the overhead console. Press the controls
on either side of each map lamp to turn on the lamps. The map lamps
also light when:
•any door is opened,
•the instrument panel dimmer
switch is rotated up until the
courtesy lamps come on, and
•any of the remote entry controls
are pressed and the ignition is off.
Rear Dome and Map Lamps
Your vehicle may have map lamps
within the rear dome lamp. Press
the switches on either side of the
dome lamp to turn the lamps on.
Lighting87
2013 F-250/350/450/550(f23)
Owners Guide gf, 1st Printing
USA(fus)
Page 89 of 563
POWER WINDOWS (IF EQUIPPED)
WARNING:Do not leave children unattended in the vehicle and
do not let them play with the power windows. They may
seriously injure themselves.
WARNING:When closing the power windows, you should verify
they are free of obstructions and make sure that children and
pets are not in the proximity of the window openings.
Note:You may hear a rumbling noise when one or both of the rear
windows are open. Lower a front window slightly to reduce this noise.
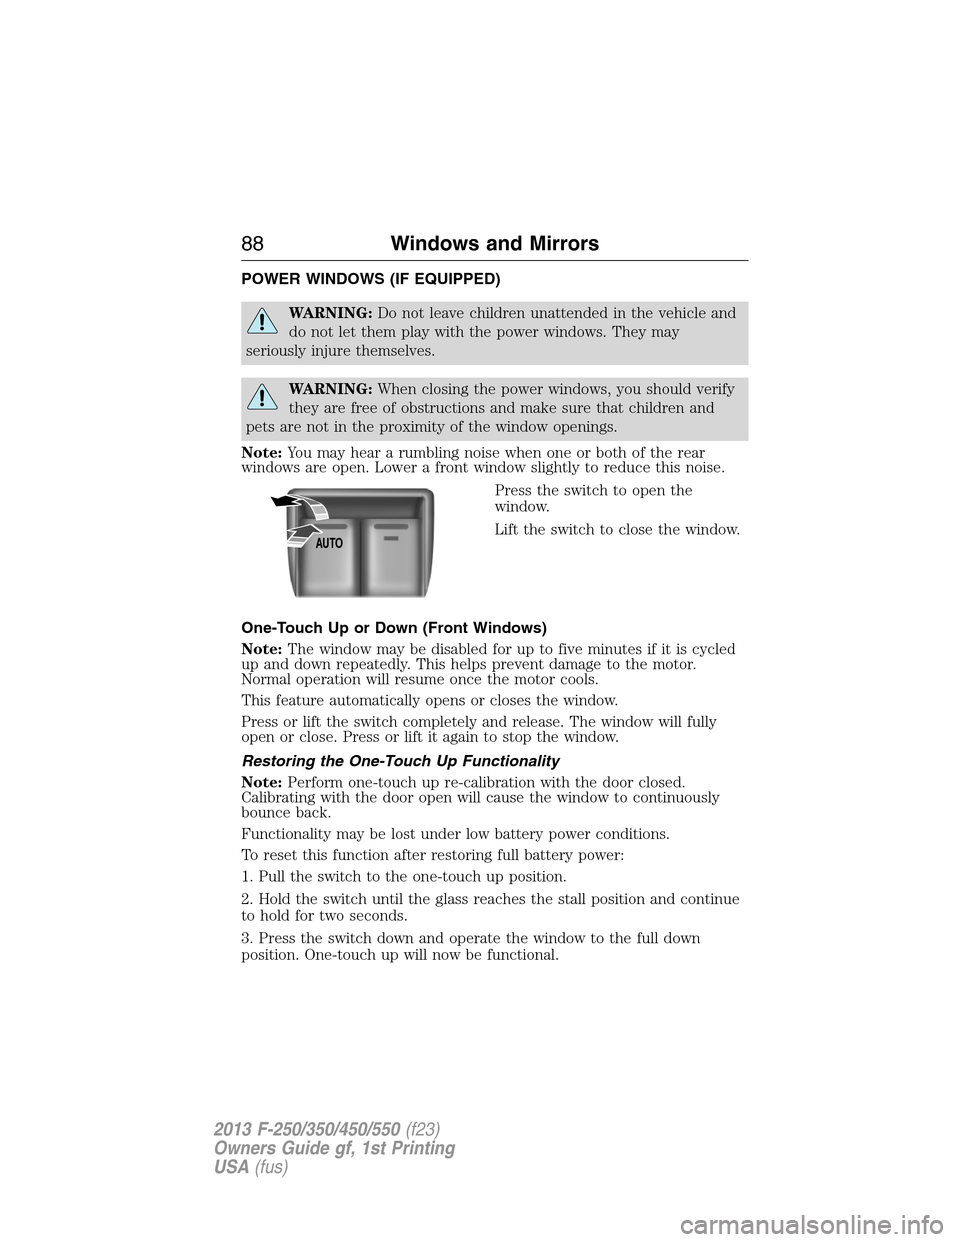
Press the switch to open the
window.
Lift the switch to close the window.
One-Touch Up or Down (Front Windows)
Note:The window may be disabled for up to five minutes if it is cycled
up and down repeatedly. This helps prevent damage to the motor.
Normal operation will resume once the motor cools.
This feature automatically opens or closes the window.
Press or lift the switch completely and release. The window will fully
open or close. Press or lift it again to stop the window.
Restoring the One-Touch Up Functionality
Note:Perform one-touch up re-calibration with the door closed.
Calibrating with the door open will cause the window to continuously
bounce back.
Functionality may be lost under low battery power conditions.
To reset this function after restoring full battery power:
1. Pull the switch to the one-touch up position.
2. Hold the switch until the glass reaches the stall position and continue
to hold for two seconds.
3. Press the switch down and operate the window to the full down
position. One-touch up will now be functional.
AUTO
88Windows and Mirrors
2013 F-250/350/450/550(f23)
Owners Guide gf, 1st Printing
USA(fus)
Page 90 of 563
Bounce-Back (One-Touch Up or Down Windows Only)
The window will stop automatically while closing and reverse some
distance if there is an obstacle in the way.
Overriding the Bounce-Back Feature
Pull up the window switch and hold within two seconds of the window
reaching the bounce-back position. The window will travel up with no
bounce-back protection. The window will stop if the switch is released
before the window is fully closed.
Global Open Windows (If Equipped)
Note:The ignition must be off and the accessory delay feature must not
be activated in order for this feature to operate.
Note:This feature can be disabled or enabled by your authorized dealer or
through the information display. Refer toInformation Displayschapter.
Press and hold the unlock button on the remote control to begin opening
the windows.
Press the lock or unlock button on the remote control to stop motion.
Window Lock
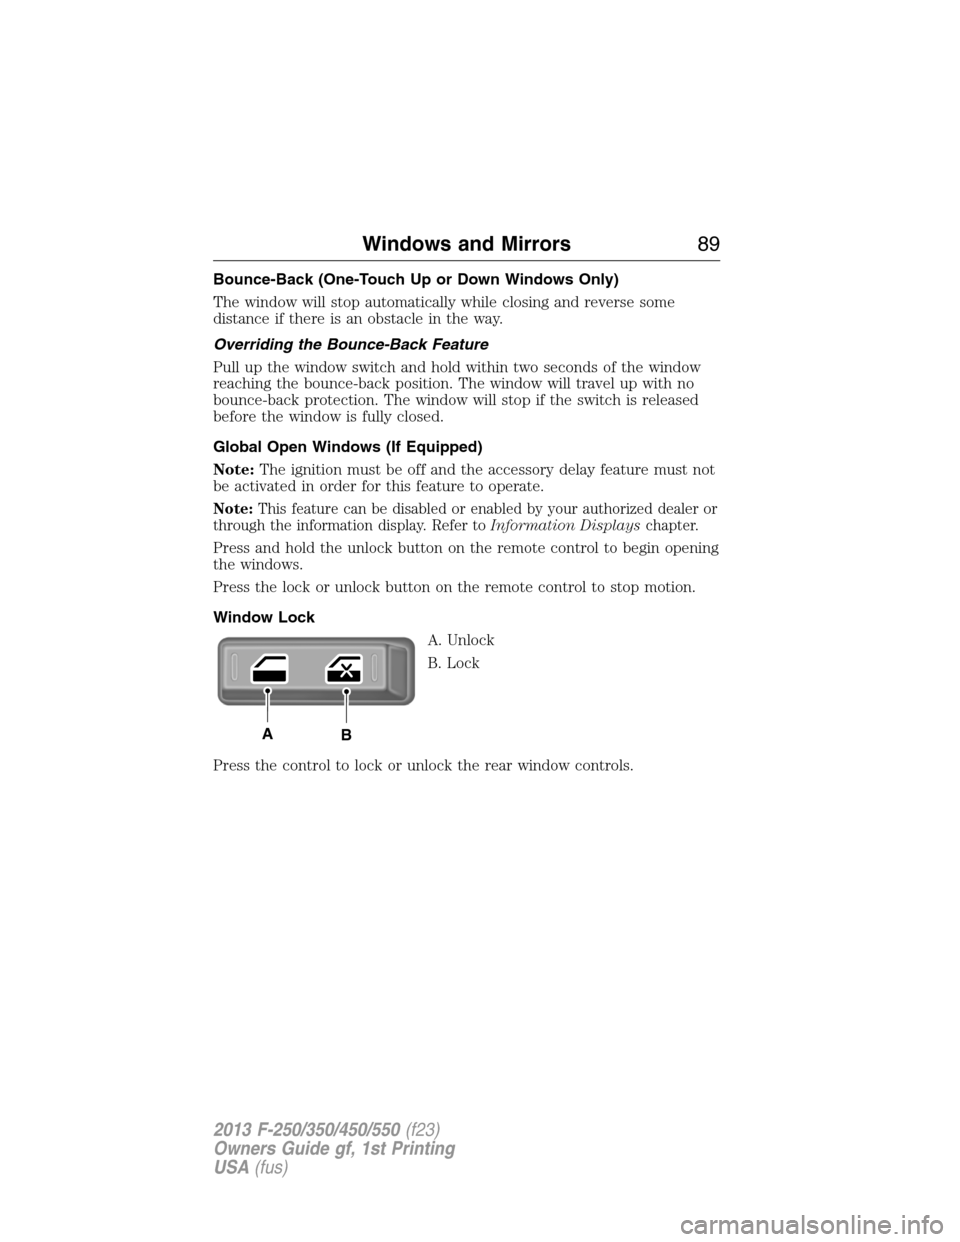
A. Unlock
B. Lock
Press the control to lock or unlock the rear window controls.
AB
Windows and Mirrors89
2013 F-250/350/450/550(f23)
Owners Guide gf, 1st Printing
USA(fus)