warning lights FORD SUPER DUTY 2013 3.G Owners Manual
[x] Cancel search | Manufacturer: FORD, Model Year: 2013, Model line: SUPER DUTY, Model: FORD SUPER DUTY 2013 3.GPages: 563, PDF Size: 7.27 MB
Page 86 of 563
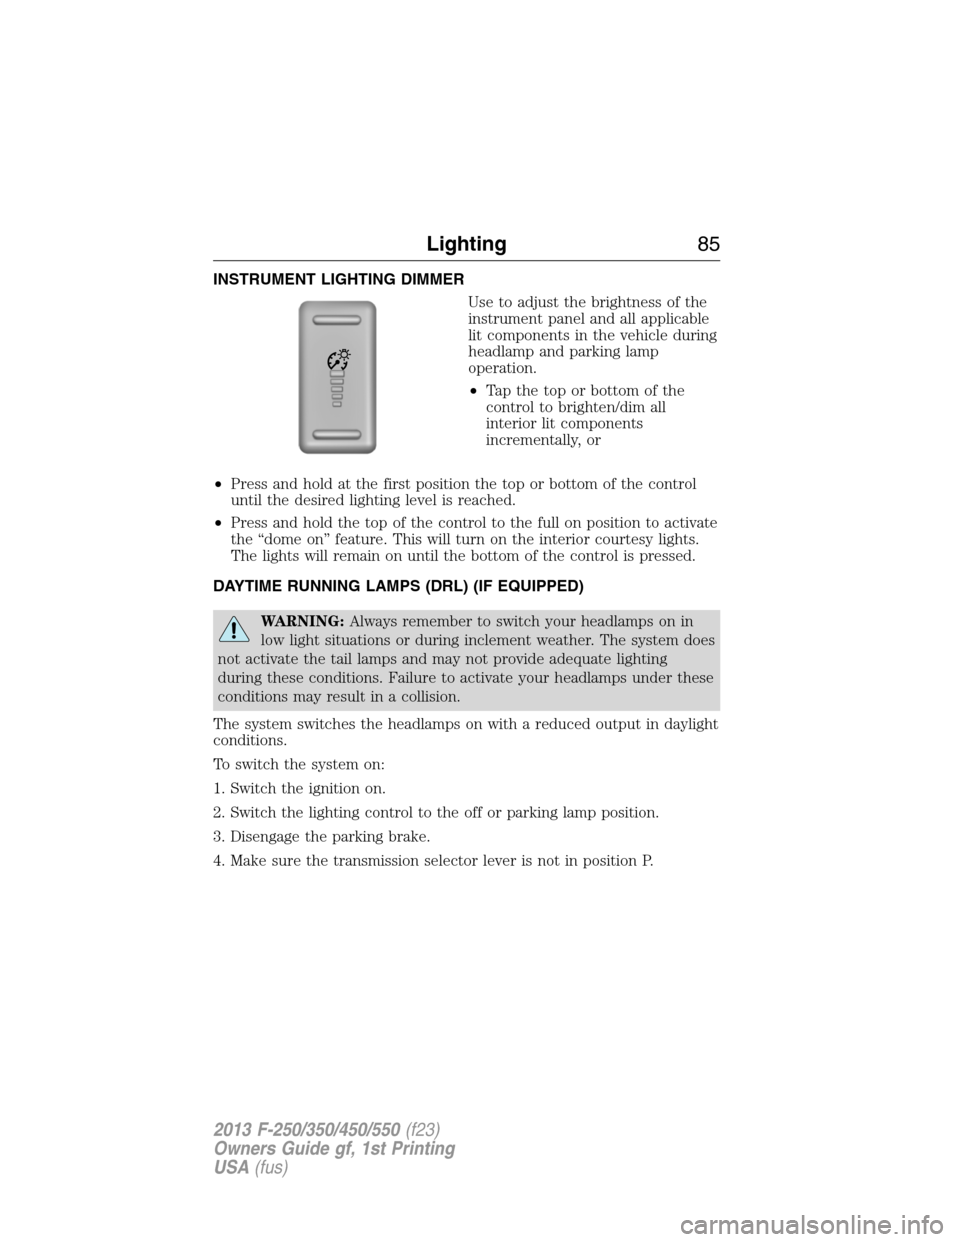
INSTRUMENT LIGHTING DIMMER
Use to adjust the brightness of the
instrument panel and all applicable
lit components in the vehicle during
headlamp and parking lamp
operation.
•Tapthetoporbottomofthe
control to brighten/dim all
interior lit components
incrementally, or
•Press and hold at the first position the top or bottom of the control
until the desired lighting level is reached.
•Press and hold the top of the control to the full on position to activate
the “dome on” feature. This will turn on the interior courtesy lights.
The lights will remain on until the bottom of the control is pressed.
DAYTIME RUNNING LAMPS (DRL) (IF EQUIPPED)
WARNING:Always remember to switch your headlamps on in
low light situations or during inclement weather. The system does
not activate the tail lamps and may not provide adequate lighting
during these conditions. Failure to activate your headlamps under these
conditions may result in a collision.
The system switches the headlamps on with a reduced output in daylight
conditions.
To switch the system on:
1. Switch the ignition on.
2. Switch the lighting control to the off or parking lamp position.
3. Disengage the parking brake.
4. Make sure the transmission selector lever is not in position P.
Lighting85
2013 F-250/350/450/550(f23)
Owners Guide gf, 1st Printing
USA(fus)
Page 102 of 563
4X4 HIGH
Illuminates when four-wheel drive high is engaged. If the light
fails to display when the ignition is turned on, or remains on,
have the system serviced immediately by your authorized dealer.
Diesel Warning Lights:If your vehicle is equipped with a diesel engine,
it has some unique warning lights; refer to theInstrument Clusterin
your diesel supplement for detailed information on their function.
•Glow plug pre-heat
•Waterinfuel
•Diesel exhaust fluid
AUDIBLE WARNINGS AND INDICATORS
Key In Ignition Warning Chime
Sounds when the key is left in the ignition in the off or accessory
position and the driver’s door is opened.
Keyless Warning Alert (If Equipped)
Sounds when the keyless vehicle is in RUN and the driver’s door is
opened.
Headlamps On Warning Chime
Sounds when the headlamps or parking lamps are on, the ignition is off
(the key is not in the ignition) and the driver’s door is opened.
Parking Brake On Warning Chime
Sounds when you have left the parking brake on and drive your vehicle.
If the warning chime remains on after you have released the parking
brake, have the system checked by your authorized dealer immediately.
Instrument Cluster101
2013 F-250/350/450/550(f23)
Owners Guide gf, 1st Printing
USA(fus)
Page 165 of 563
HEATED AND COOLED SEATS (IF EQUIPPED)
Heated Seats
WARNING:Persons who are unable to feel pain to the skin
because of advanced age, chronic illness, diabetes, spinal cord
injury, medication, alcohol use, exhaustion, or other physical conditions,
must exercise care when using the seat heater. The seat heater may
cause burns even at low temperatures, especially if used for long
periods of time. Do not place anything on the seat that insulates against
heat, such as a blanket or cushion, because this may cause the seat
heater to overheat. Do not puncture the seat with pins, needles, or
other pointed objects because this may damage the heating element
which may cause the seat heater to overheat. An overheated seat may
cause serious personal injury.
•Do not place heavy objects on the seat.
•Do not operate the seat heater if water or any other liquid is spilled
on the seat. Allow the seat to dry thoroughly.
The heated seats will only function when the engine is running.
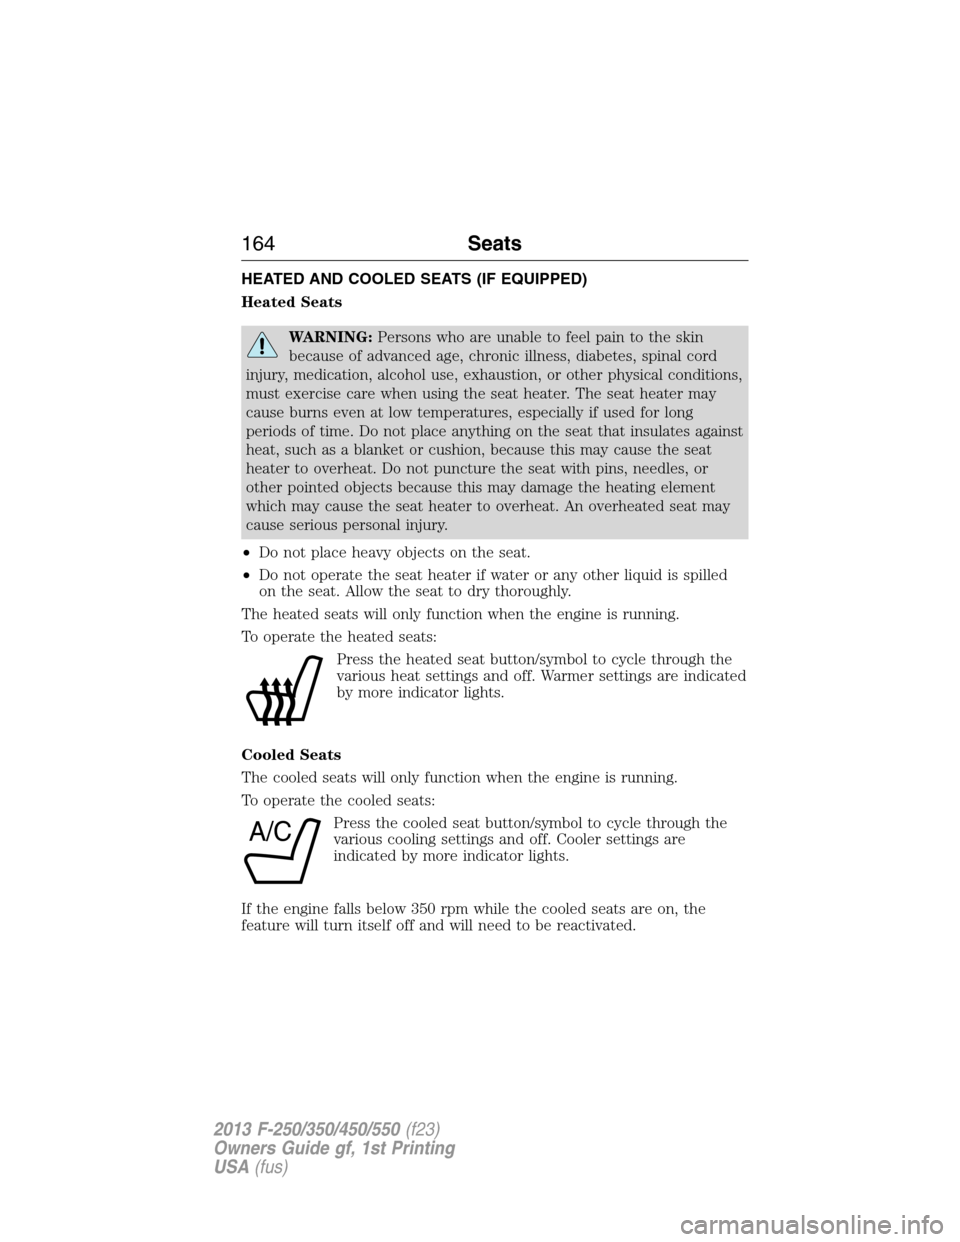
To operate the heated seats:
Press the heated seat button/symbol to cycle through the
various heat settings and off. Warmer settings are indicated
by more indicator lights.
Cooled Seats
The cooled seats will only function when the engine is running.
To operate the cooled seats:
Press the cooled seat button/symbol to cycle through the
various cooling settings and off. Cooler settings are
indicated by more indicator lights.
If the engine falls below 350 rpm while the cooled seats are on, the
feature will turn itself off and will need to be reactivated.
A/C
164Seats
2013 F-250/350/450/550(f23)
Owners Guide gf, 1st Printing
USA(fus)
Page 184 of 563
IGNITION SWITCH
Note:To switch the engine off when your vehicle is moving, move the
transmission selector lever to positionN.Use the brakes to bring your
vehicle to a safe stop. After your vehicle has stopped, switch the engine
off and move the transmission selector lever to positionP.Turn the key
to the accessory or off position.
Note:Do not store the key in the ignition after the vehicle is turned off
and you have left the vehicle. This could cause a drain on the battery.
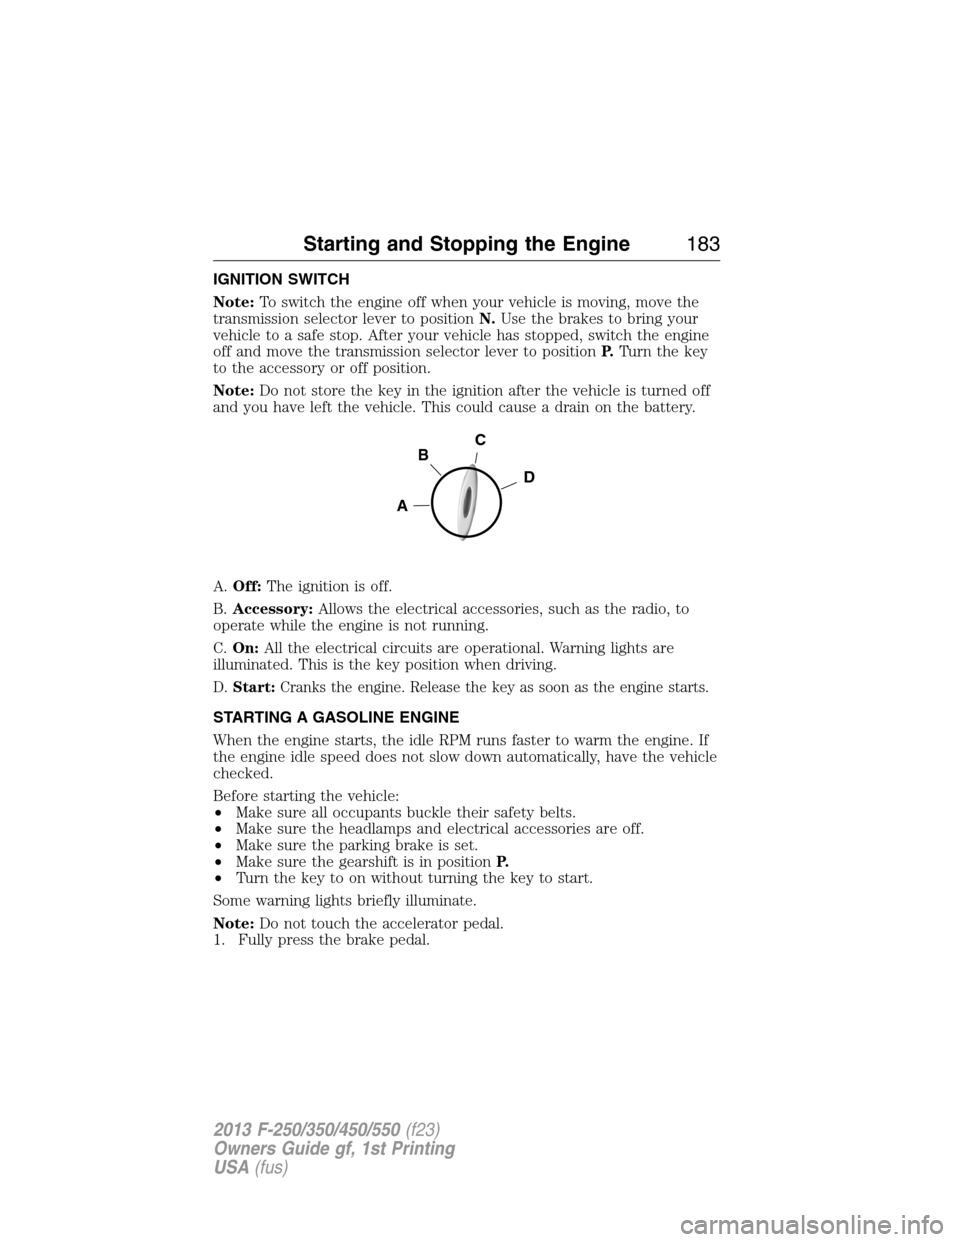
A.Off:The ignition is off.
B.Accessory:Allows the electrical accessories, such as the radio, to
operate while the engine is not running.
C.On:All the electrical circuits are operational. Warning lights are
illuminated. This is the key position when driving.
D.Start:Cranks the engine. Release the key as soon as the engine starts.
STARTING A GASOLINE ENGINE
When the engine starts, the idle RPM runs faster to warm the engine. If
the engine idle speed does not slow down automatically, have the vehicle
checked.
Before starting the vehicle:
•Make sure all occupants buckle their safety belts.
•Make sure the headlamps and electrical accessories are off.
•Make sure the parking brake is set.
•Make sure the gearshift is in positionP.
•Turn the key to on without turning the key to start.
Some warning lights briefly illuminate.
Note:Do not touch the accelerator pedal.
1. Fully press the brake pedal.
C
D
B
A
Starting and Stopping the Engine183
2013 F-250/350/450/550(f23)
Owners Guide gf, 1st Printing
USA(fus)
Page 207 of 563
HILL START ASSIST
WARNING:The hill start assist feature does not replace the
parking brake. When you leave the vehicle, always apply the
parking brake and shift the transmission into P (Park).
WARNING:You must remain in the vehicle once you have
activated the hill start assist feature.
WARNING:During all times, you are responsible for controlling
the vehicle, supervising the hill start assist system and
intervening, if required.
WARNING:If the engine is revved excessively, or if a
malfunction is detected when the hill start assist feature is active,
the hill start assist feature will be deactivated.
Note:This feature will not operate if the parking brake is activated.
Hill start assist keeps your vehicle stationary long enough to move your
foot from the brake pedal to the accelerator pedal when your vehicle is
on a slope.
The brakes are released automatically once the engine has developed
sufficient drive to prevent the vehicle from rolling down the slope. This
is an advantage when pulling away on a slope, (for example from a car
park ramp, traffic lights or when reversing uphill into a parking space).
Using Hill Start Assist
1. Press the brake pedal to bring the vehicle to a complete standstill.
Keep the brake pedal pressed.
2. If the sensors detect that the vehicle is on a slope, the hill start assist
feature will be activated automatically.
3. When you remove your foot from the brake pedal, the vehicle will
remain on the slope without rolling away for approximately two or three
seconds. This hold time will automatically be extended if you are in the
process of driving off.
4. Drive off in the normal manner. The brakes will be released
automatically.
206Transmission
2013 F-250/350/450/550(f23)
Owners Guide gf, 1st Printing
USA(fus)
Page 209 of 563
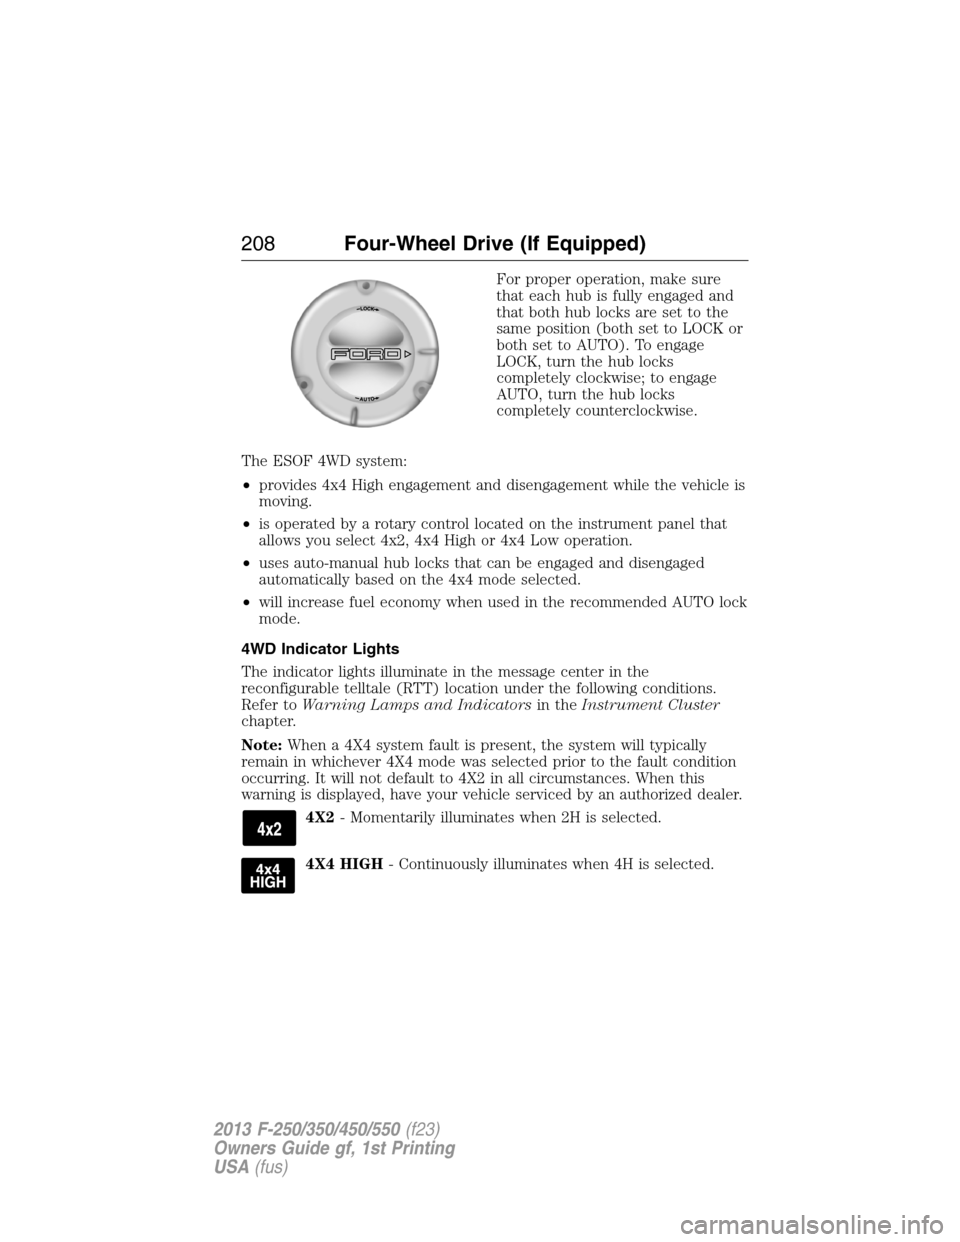
For proper operation, make sure
that each hub is fully engaged and
that both hub locks are set to the
same position (both set to LOCK or
both set to AUTO). To engage
LOCK, turn the hub locks
completely clockwise; to engage
AUTO, turn the hub locks
completely counterclockwise.
The ESOF 4WD system:
•provides 4x4 High engagement and disengagement while the vehicle is
moving.
•is operated by a rotary control located on the instrument panel that
allows you select 4x2, 4x4 High or 4x4 Low operation.
•uses auto-manual hub locks that can be engaged and disengaged
automatically based on the 4x4 mode selected.
•will increase fuel economy when used in the recommended AUTO lock
mode.
4WD Indicator Lights
The indicator lights illuminate in the message center in the
reconfigurable telltale (RTT) location under the following conditions.
Refer toWarning Lamps and Indicatorsin theInstrument Cluster
chapter.
Note:When a 4X4 system fault is present, the system will typically
remain in whichever 4X4 mode was selected prior to the fault condition
occurring. It will not default to 4X2 in all circumstances. When this
warning is displayed, have your vehicle serviced by an authorized dealer.
4X2- Momentarily illuminates when 2H is selected.
4X4 HIGH- Continuously illuminates when 4H is selected.
208Four-Wheel Drive (If Equipped)
2013 F-250/350/450/550(f23)
Owners Guide gf, 1st Printing
USA(fus)
Page 224 of 563
System indicator lights and messages
WARNING:If a failure has been detected within the Traction
Control System, the stability control light will illuminate steadily.
Verify that the Traction Control System was not manually disabled
using the stability control button. If the stability control light still
illuminates steadily, have the system serviced by an authorized dealer
immediately. Operating your vehicle with Traction Control disabled
could lead to an increased risk of loss of vehicle control, vehicle
rollover, personal injury and death.
The stability control light temporarily illuminates on engine
start-up and flashes when a driving condition activates the
stability system.
The stability control off light temporarily illuminates on engine
start-up and stays on when the traction control system is
turned off or if a problem occurs in the stability system.
Traction Control223
2013 F-250/350/450/550(f23)
Owners Guide gf, 1st Printing
USA(fus)
Page 364 of 563
Low tire
pressure
warning lightPossible cause Customer action required
Flashing warning
lightSpare tire in use Repair the damaged road wheel and
tire and reinstall it on the vehicle to
restore system function. For a
description on how the system
functions, seeWhen your
temporary spare tire is installedin
this section.
Tire pressure
monitoring
system
malfunctionIf the tires are properly inflated and
the spare tire is not in use but the
light remains on, contact your
authorized dealer as soon as possible.
When inflating your tires
When putting air into your tires (such as at a gas station or in your
garage), the tire pressure monitoring system may not respond
immediately to the air added to your tires.
It may take up to two minutes of driving over 20 mph (32 km/h) for the
light to turn off after you have filled your tires to the recommended
inflation pressure.
How temperature affects your tire pressure
The tire pressure monitoring system monitors tire pressure in each
pneumatic tire. While driving in a normal manner, a typical passenger
tire inflation pressure may increase approximately 2 to 4 psi (14 to
28 kPa) from a cold start situation. If the vehicle is stationary overnight
with the outside temperature significantly lower than the daytime
temperature, the tire pressure may decrease approximately 3 psi
(21 kPa) for a drop of 30°F (17°C) in ambient temperature. This lower
pressure value may be detected by the system as being significantly
lower than the recommended inflation pressure and activate the system
warning light for low tire pressure. If the low tire pressure warning light
is on, visually check each tire to verify that no tire is flat. If one or more
tires are flat, repair as necessary. Check air pressure in the road tires. If
any tire is under-inflated, carefully drive the vehicle to the nearest
location where air can be added to the tires. Inflate all the tires to the
recommended inflation pressure.
Wheels and Tires363
2013 F-250/350/450/550(f23)
Owners Guide gf, 1st Printing
USA(fus)
Page 399 of 563
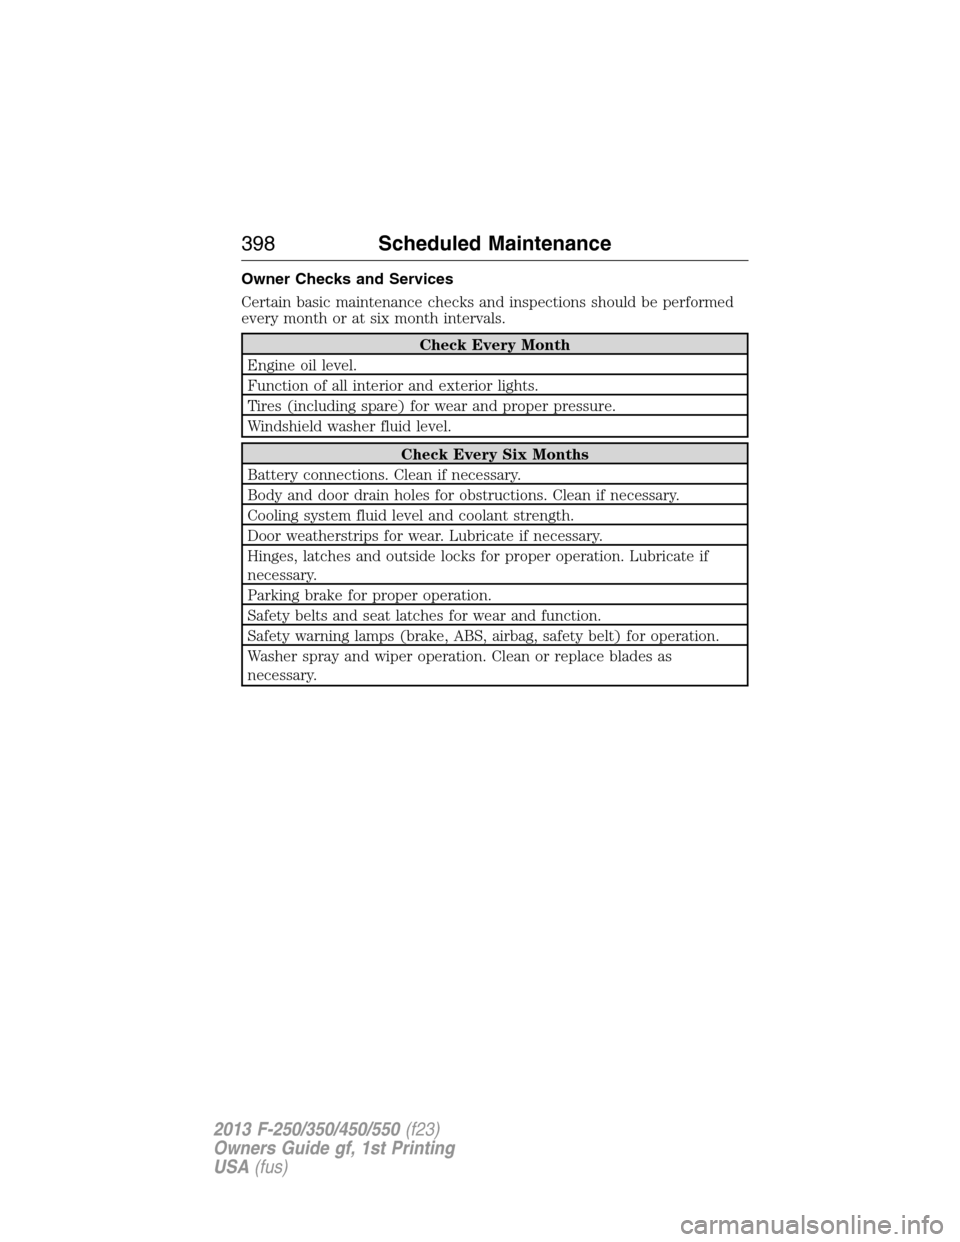
Owner Checks and Services
Certain basic maintenance checks and inspections should be performed
every month or at six month intervals.
Check Every Month
Engine oil level.
Function of all interior and exterior lights.
Tires (including spare) for wear and proper pressure.
Windshield washer fluid level.
Check Every Six Months
Battery connections. Clean if necessary.
Body and door drain holes for obstructions. Clean if necessary.
Cooling system fluid level and coolant strength.
Door weatherstrips for wear. Lubricate if necessary.
Hinges, latches and outside locks for proper operation. Lubricate if
necessary.
Parking brake for proper operation.
Safety belts and seat latches for wear and function.
Safety warning lamps (brake, ABS, airbag, safety belt) for operation.
Washer spray and wiper operation. Clean or replace blades as
necessary.
398Scheduled Maintenance
2013 F-250/350/450/550(f23)
Owners Guide gf, 1st Printing
USA(fus)
Page 560 of 563
Lane change indicator
(see Turn signal) ........................86
LATCH anchors ...........................31
Lights, warning and indicator ....97
Listening to music ....................469
Loading instructions .................243
Load limits .................................237
Locks
autolock .....................................71
childproof ..................................35
doors ..........................................70
Lug nuts ....................................380
Lumbar support, seats .............157
M
Making and receiving calls .......492
Manual transmission
fluid capacities ........................384
MAP DVD - Loading and
Unloading ..................................492
Map icons ..................................532
Map mode ..................................531
Map preferences .......................529
Map updates ..............................534
Media Bluetooth menu options
(adding, connecting, deleting,
turning on/off) ..........................449
Message center .................102–103
warning messages ...................117
Mirrors ...................................90, 92
fold away .............................91–92
programmable memory ............62
side view mirrors (power) .......90
Moon roof ....................................94
Motorcraft® parts .............327, 388MyFord Touch™ system ..........458
MyKey ..........................................66
N
Navigation features ...................525
Navigation voice commands ....534
Notifications ..............................504
O
Octane rating ............................190
P
Pairing other phones ........419, 491
Pairing your phone ...................491
Pairing your phone for the
first time ............................418, 491
Parental MyKey programming ...66
Parking brake ............................221
Parts
(see Motorcraft® parts) ..........388
Phone Bluetooth menu options
(adding, connecting, deleting,
turning on/off) ..........................429
Phone redial ..............................423
Phone settings ..................495, 516
Phone voice commands ............496
Playing music (by artist,
album, genre, playlist,
tracks, similar) ..........................446
POI categories ...........................526
Point of Interest (POI) .............526
Power distribution box
(see Fuses) ...............................286
Power door locks ........................70
Index559
2013 F-250/350/450/550(f23)
Owners Guide gf, 1st Printing
USA(fus)