remove seats FORD SUPER DUTY 2016 3.G User Guide
[x] Cancel search | Manufacturer: FORD, Model Year: 2016, Model line: SUPER DUTY, Model: FORD SUPER DUTY 2016 3.GPages: 510, PDF Size: 5.42 MB
Page 124 of 510

Returning the Seat to the Seating
Position
WARNING
Make sure that cargo or any objects
are not trapped underneath the seat
cushion before returning the seat
cushion to its original position, and that the
seat cushion locks into place. Failure to do
so may prevent the seat from operating
properly in the event of a crash, which
could increase the risk of serious injury. 1. Pull the control on the side of the seat
to release the seat cushion from the
storage position.
2. Push the seat cushion down until it locks into the horizontal position.
Rear Under Seat Storage (Crew
Cab) (If Equipped)
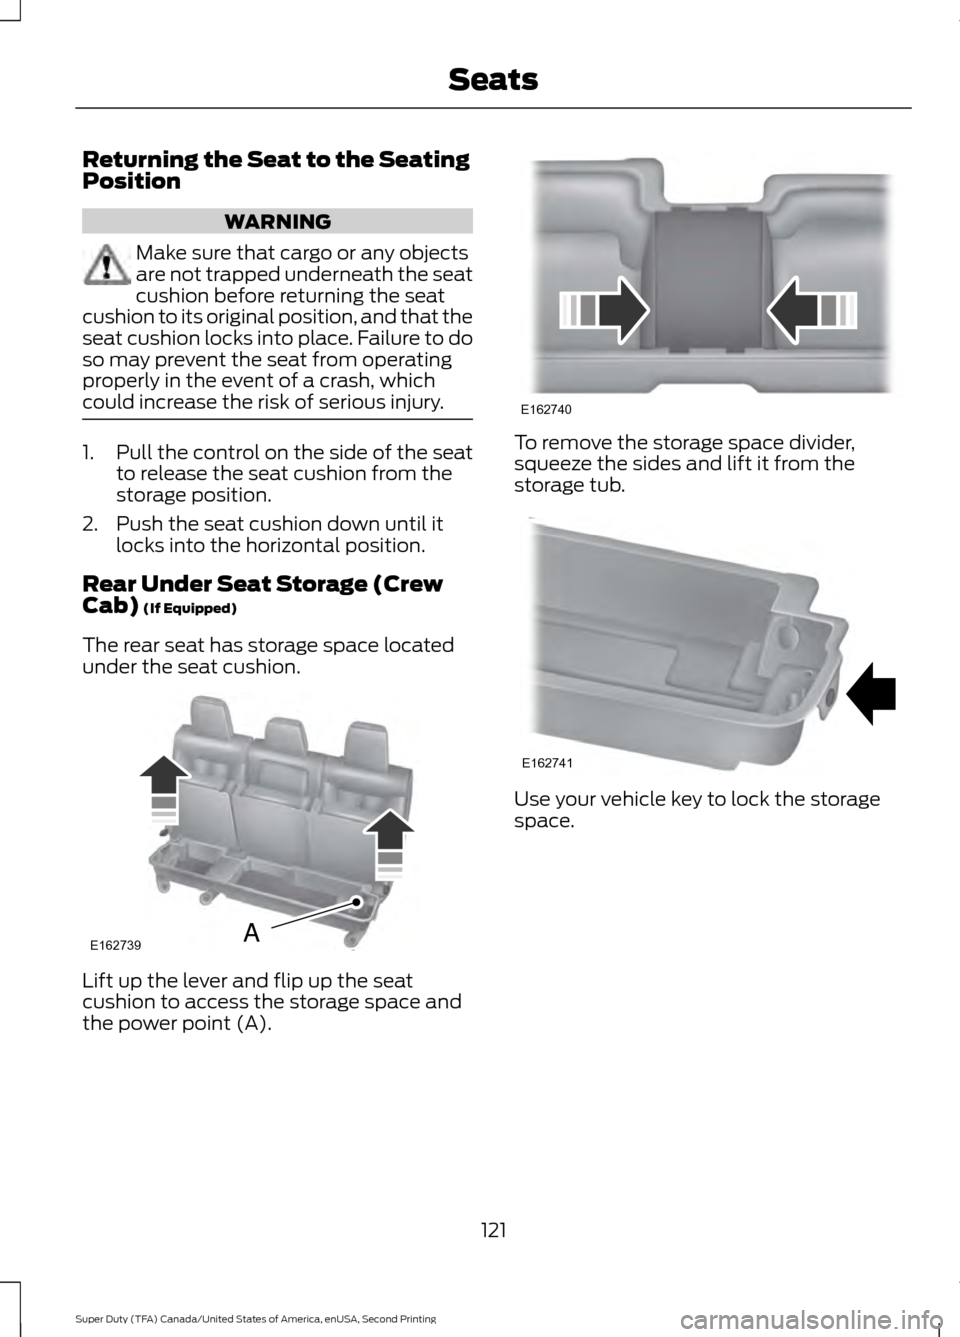
The rear seat has storage space located
under the seat cushion. Lift up the lever and flip up the seat
cushion to access the storage space and
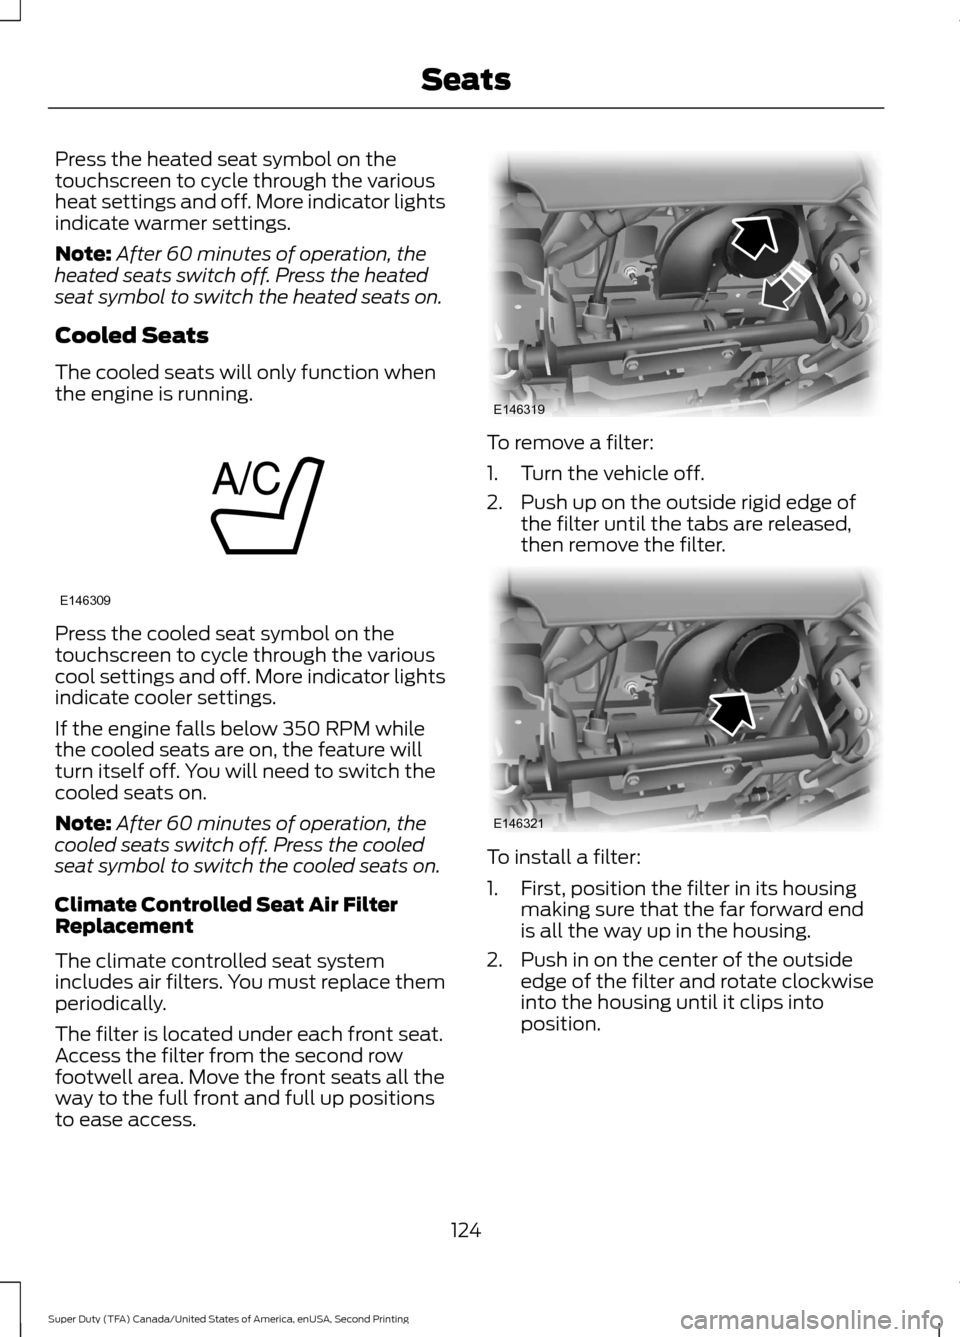
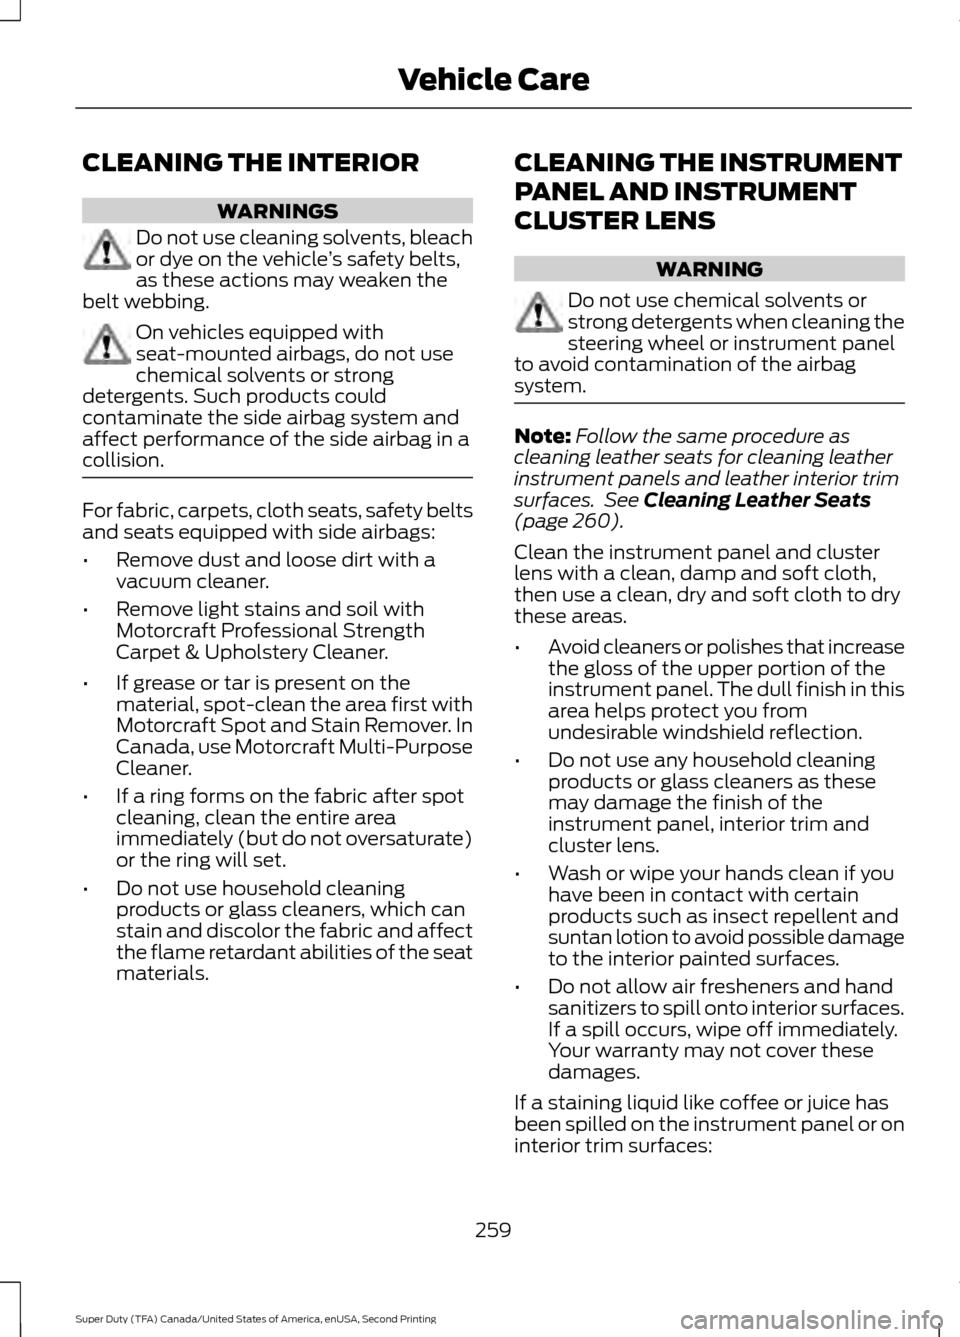
the power point (A). To remove the storage space divider,
squeeze the sides and lift it from the
storage tub.
Use your vehicle key to lock the storage
space.
121
Super Duty (TFA) Canada/United States of America, enUSA, Second Printing SeatsE162739A E162740 E162741
Page 127 of 510

Press the heated seat symbol on the
touchscreen to cycle through the various
heat settings and off. More indicator lights
indicate warmer settings.
Note:
After 60 minutes of operation, the
heated seats switch off. Press the heated
seat symbol to switch the heated seats on.
Cooled Seats
The cooled seats will only function when
the engine is running. Press the cooled seat symbol on the
touchscreen to cycle through the various
cool settings and off. More indicator lights
indicate cooler settings.
If the engine falls below 350 RPM while
the cooled seats are on, the feature will
turn itself off. You will need to switch the
cooled seats on.
Note:
After 60 minutes of operation, the
cooled seats switch off. Press the cooled
seat symbol to switch the cooled seats on.
Climate Controlled Seat Air Filter
Replacement
The climate controlled seat system
includes air filters. You must replace them
periodically.
The filter is located under each front seat.
Access the filter from the second row
footwell area. Move the front seats all the
way to the full front and full up positions
to ease access. To remove a filter:
1. Turn the vehicle off.
2. Push up on the outside rigid edge of
the filter until the tabs are released,
then remove the filter. To install a filter:
1. First, position the filter in its housing
making sure that the far forward end
is all the way up in the housing.
2. Push in on the center of the outside edge of the filter and rotate clockwise
into the housing until it clips into
position.
124
Super Duty (TFA) Canada/United States of America, enUSA, Second Printing SeatsE146309 E146319 E146321
Page 262 of 510

CLEANING THE INTERIOR
WARNINGS
Do not use cleaning solvents, bleach
or dye on the vehicle
’s safety belts,
as these actions may weaken the
belt webbing. On vehicles equipped with
seat-mounted airbags, do not use
chemical solvents or strong
detergents. Such products could
contaminate the side airbag system and
affect performance of the side airbag in a
collision. For fabric, carpets, cloth seats, safety belts
and seats equipped with side airbags:
•
Remove dust and loose dirt with a
vacuum cleaner.
• Remove light stains and soil with
Motorcraft Professional Strength
Carpet & Upholstery Cleaner.
• If grease or tar is present on the
material, spot-clean the area first with
Motorcraft Spot and Stain Remover. In
Canada, use Motorcraft Multi-Purpose
Cleaner.
• If a ring forms on the fabric after spot
cleaning, clean the entire area
immediately (but do not oversaturate)
or the ring will set.
• Do not use household cleaning
products or glass cleaners, which can
stain and discolor the fabric and affect
the flame retardant abilities of the seat
materials. CLEANING THE INSTRUMENT
PANEL AND INSTRUMENT
CLUSTER LENS WARNING
Do not use chemical solvents or
strong detergents when cleaning the
steering wheel or instrument panel
to avoid contamination of the airbag
system. Note:
Follow the same procedure as
cleaning leather seats for cleaning leather
instrument panels and leather interior trim
surfaces. See Cleaning Leather Seats
(page 260).
Clean the instrument panel and cluster
lens with a clean, damp and soft cloth,
then use a clean, dry and soft cloth to dry
these areas.
• Avoid cleaners or polishes that increase
the gloss of the upper portion of the
instrument panel. The dull finish in this
area helps protect you from
undesirable windshield reflection.
• Do not use any household cleaning
products or glass cleaners as these
may damage the finish of the
instrument panel, interior trim and
cluster lens.
• Wash or wipe your hands clean if you
have been in contact with certain
products such as insect repellent and
suntan lotion to avoid possible damage
to the interior painted surfaces.
• Do not allow air fresheners and hand
sanitizers to spill onto interior surfaces.
If a spill occurs, wipe off immediately.
Your warranty may not cover these
damages.
If a staining liquid like coffee or juice has
been spilled on the instrument panel or on
interior trim surfaces:
259
Super Duty (TFA) Canada/United States of America, enUSA, Second Printing Vehicle Care
Page 263 of 510

1. Wipe up spilled liquid using a clean,
soft cloth as quickly as possible.
2. Use Motorcraft Premium Leather and Vinyl Cleaner or a commercially
available leather cleaning product for
automotive interiors. Test any cleaner
or stain remover on an inconspicuous
area.
3. Alternatively, wipe the surface with a clean, soft cloth and a mild soap and
water solution. Dry the area with a
clean, soft cloth.
4. If necessary, apply more soap and water solution or cleaning product to
a clean, soft cloth and press it onto the
soiled area. Allow this to set at room
temperature for 30 minutes.
5. Remove the soaked cloth, then with a clean, damp cloth, use a rubbing
motion for 60 seconds on the soiled
area.
6. Dry the area with a clean, soft cloth.
CLEANING LEATHER SEATS (If
Equipped)
Without King Ranch Edition
Note: Follow the same procedure as
cleaning leather seats for cleaning leather
instrument panels and leather interior trim
surfaces.
For routine cleaning, wipe the surface with
a soft, damp cloth and a mild soap and
water solution. Dry the area with a clean,
soft cloth.
For cleaning and removing spots and stains
such as dye transfer, use Motorcraft
Premium Leather and Vinyl Cleaner or a
commercially available leather cleaning
product for automotive interiors.
Note: Test any cleaner or stain remover on
an inconspicuous area. You should:
•
Remove dust and loose dirt with a
vacuum cleaner.
• Clean and treat spills and stains as
soon as possible.
Do not use the following products as these
may damage the leather:
• Oil and petroleum or silicone-based
leather conditioners.
• Household cleaners.
• Alcohol solutions.
• Solvents or cleaners intended
specifically for rubber, vinyl and
plastics.
With King Ranch Edition
Your vehicle has seating covered in
premium, top-grain leather that is
extremely durable, but still requires special
care and maintenance in order to preserve
longevity and comfort.
Regular cleaning and conditioning
maintains the appearance of the leather.
Cleaning
For dirt, use a vacuum cleaner then use a
clean, damp cloth or soft brush.
For routine cleaning, wipe the surface with
a soft, damp cloth. For more thorough
cleaning, wipe the surface with a mild soap
and water solution.
• Clean spills as quickly as possible.
• Test any cleaner or stain remover on
an inconspicuous part of the leather as
cleaners may darken the leather.
260
Super Duty (TFA) Canada/United States of America, enUSA, Second Printing Vehicle Care